
This week the new Clover Die is our feature die. I’ve chosen Pattern #368, Really Buff Mosaic Moments Grid Paper and black cardstock for creating this layout.
There are many color combinations that would work well for this design but today, we’re thinking back-to-school with this die. There also are many mostly square patterns to choose from in the Pattern Gallery that will work well for displaying large pictures of your kids work and journaling, but today I thought I’d get you started with this new specialty die for a new look on a page.


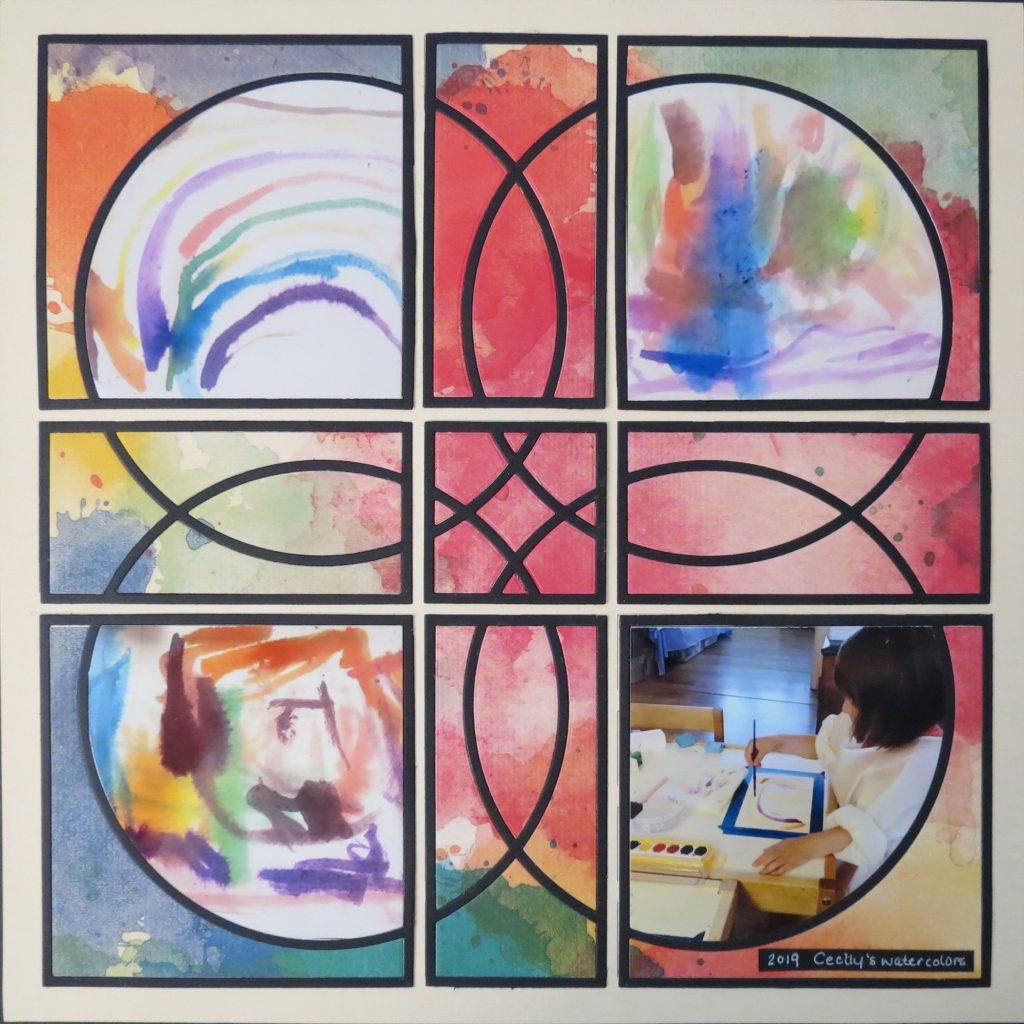
I’ve chosen to use the new Clover die to feature the artwork of my three-year-old granddaughter. If you have children at school you know that keeping their precious artwork or lessons can quickly fill boxes. I thought I’d like to show off an idea for keeping track of their projects, without keeping massive amounts of papers.
Take Pictures and turn them into a layout!
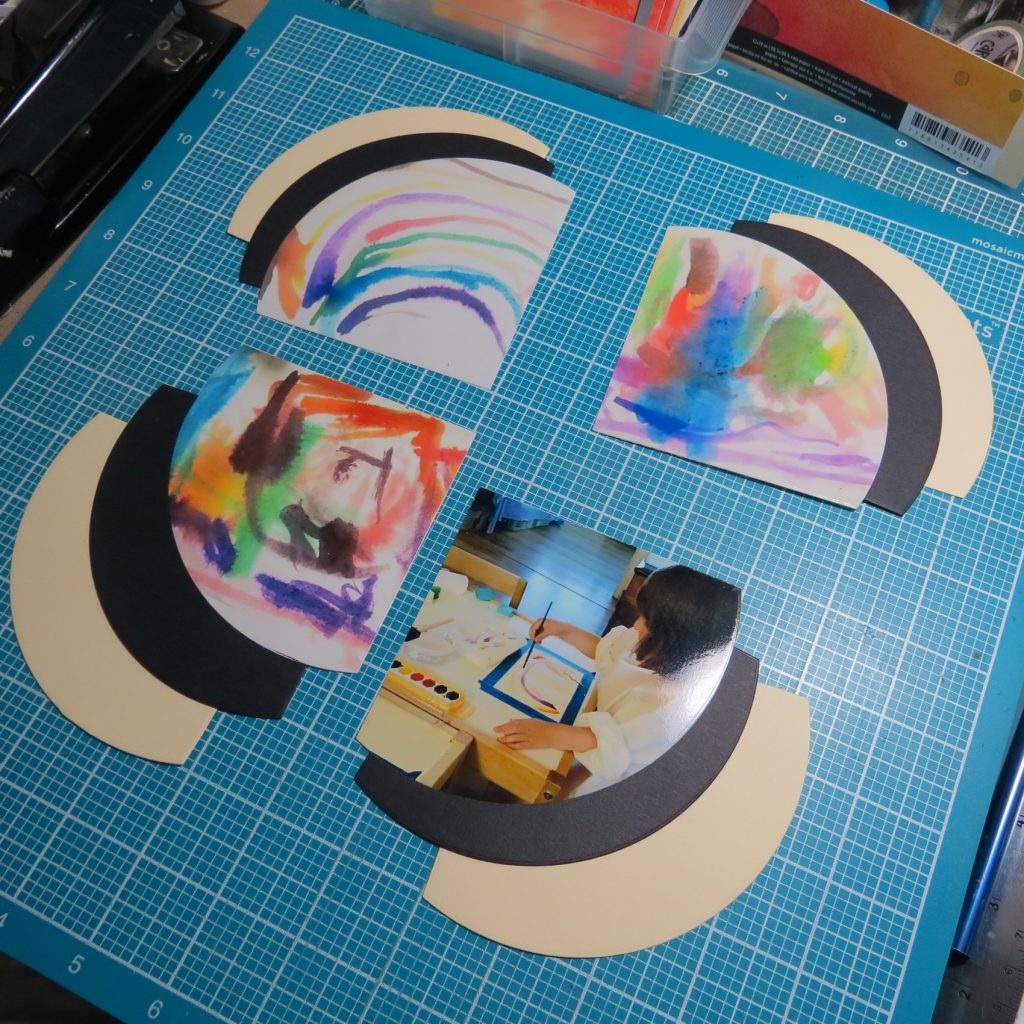
I took photos of three of her pictures that we worked on one day from our watercolor ‘lessons’, I squared them off and cut. I also happened to have one of her in the act of painting those pictures!
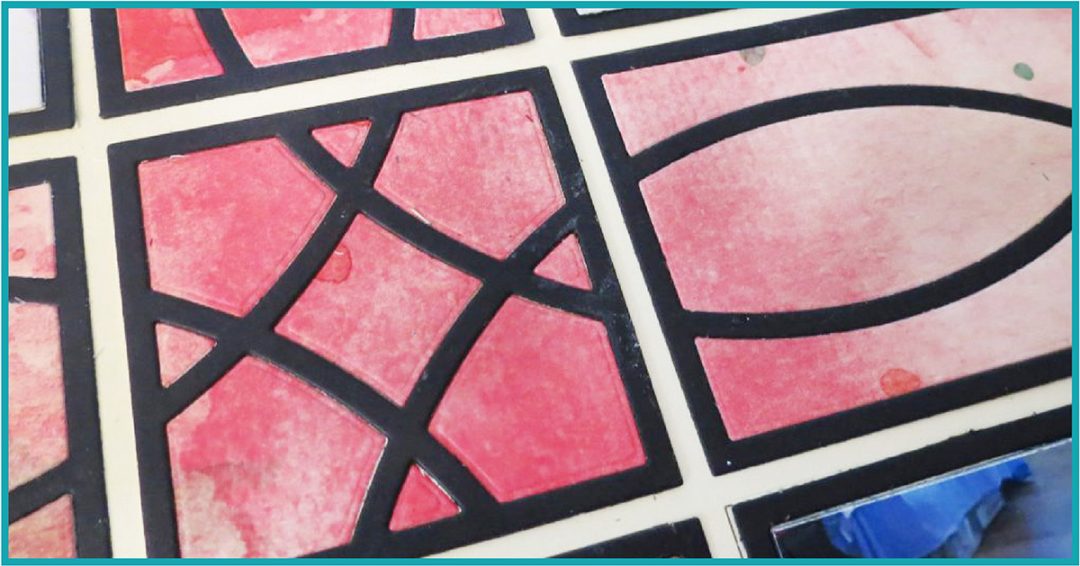
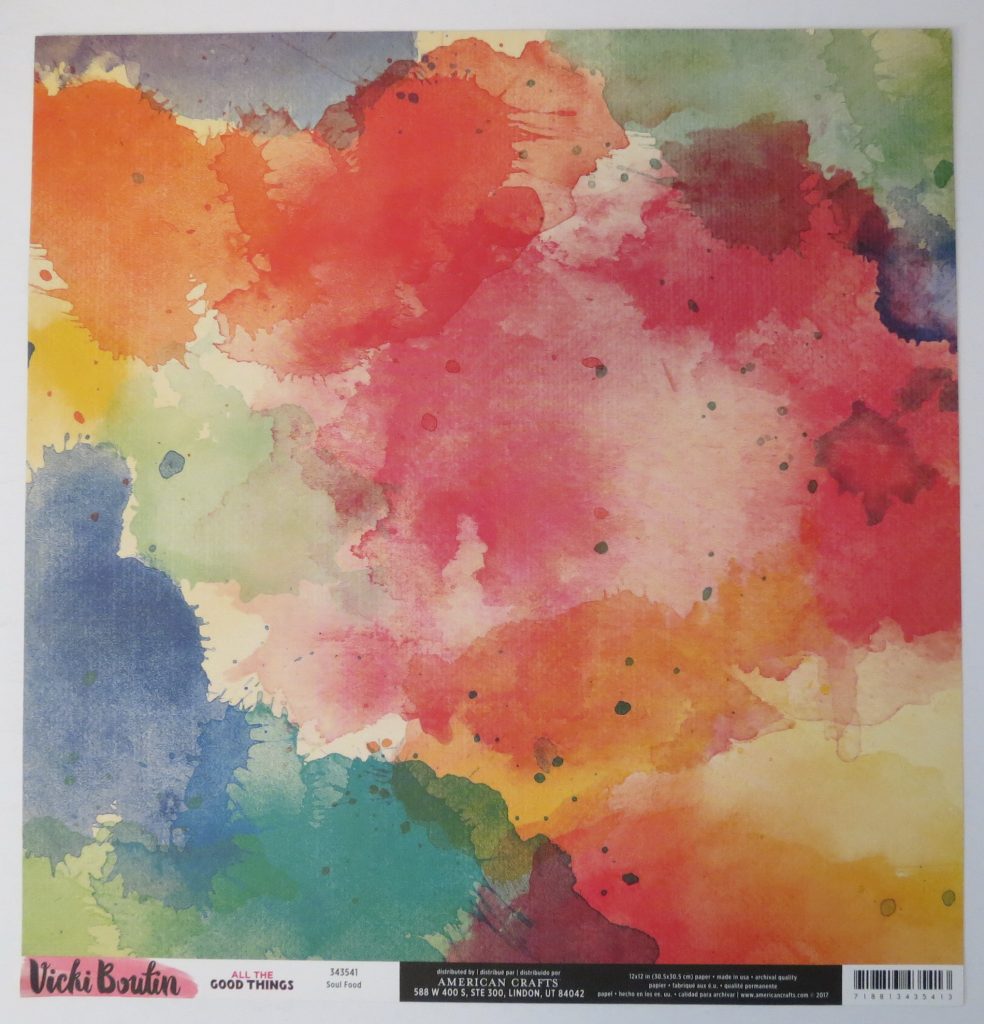
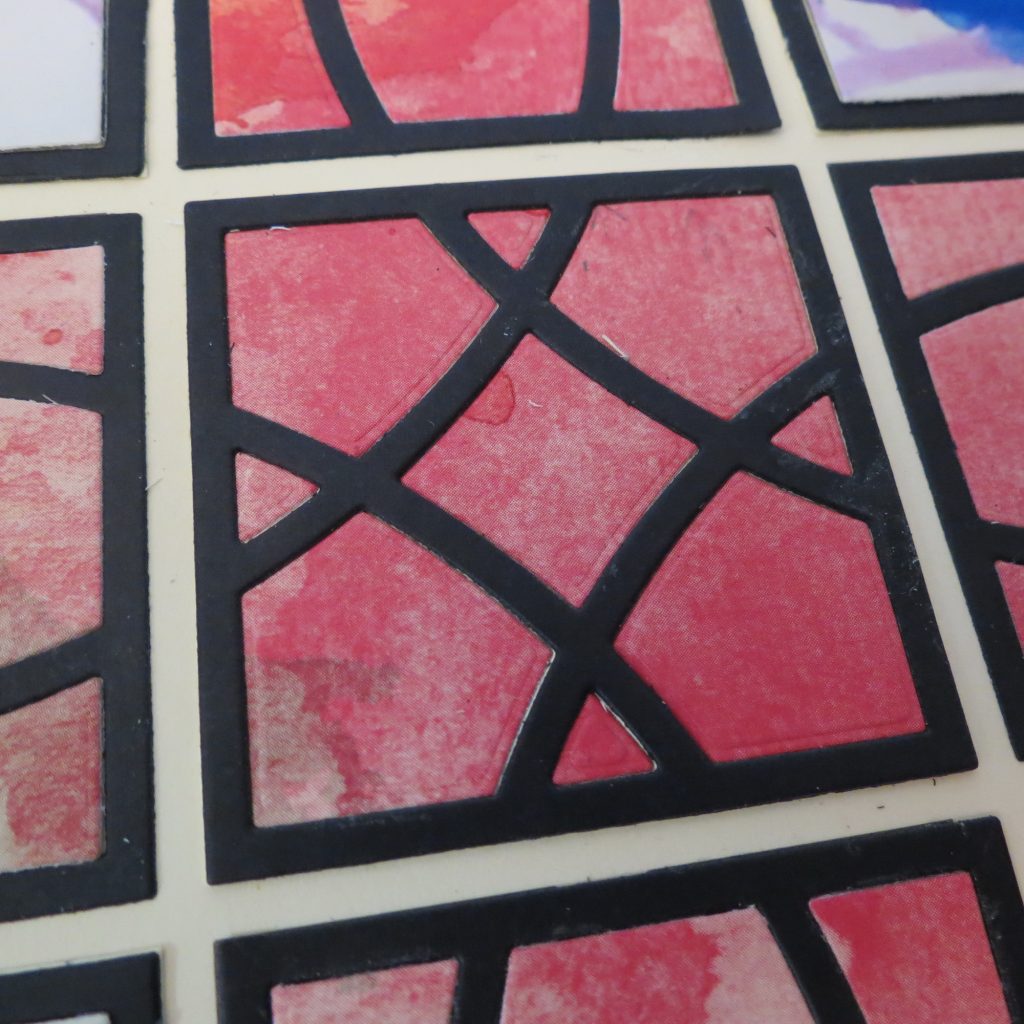
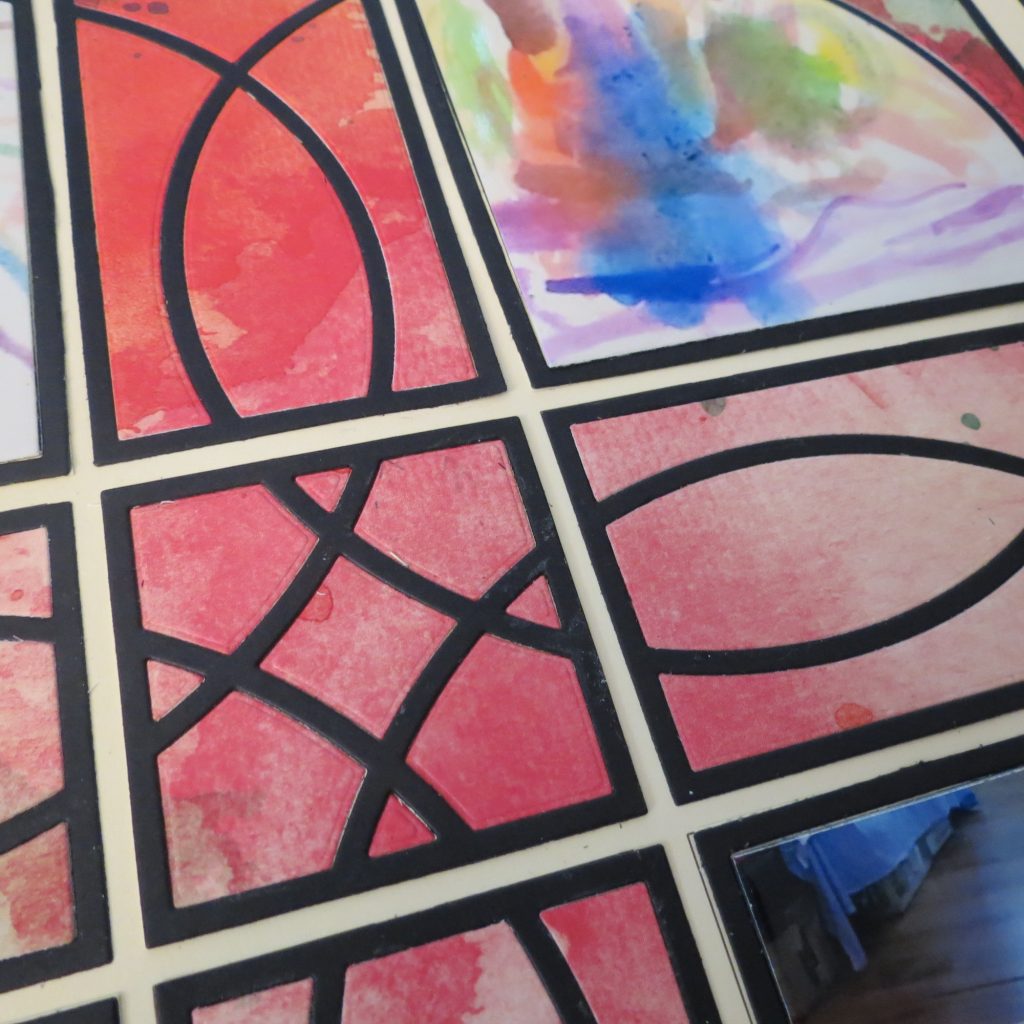
I played around with a few colors for the die cut and eventually went with the high contrast black to the Really Buff grid paper. The grid paper worked so well with the bold colors of the Vicki Boutin’s watercolor print paper, Soul Food, and the black achieved a stained glass type look.
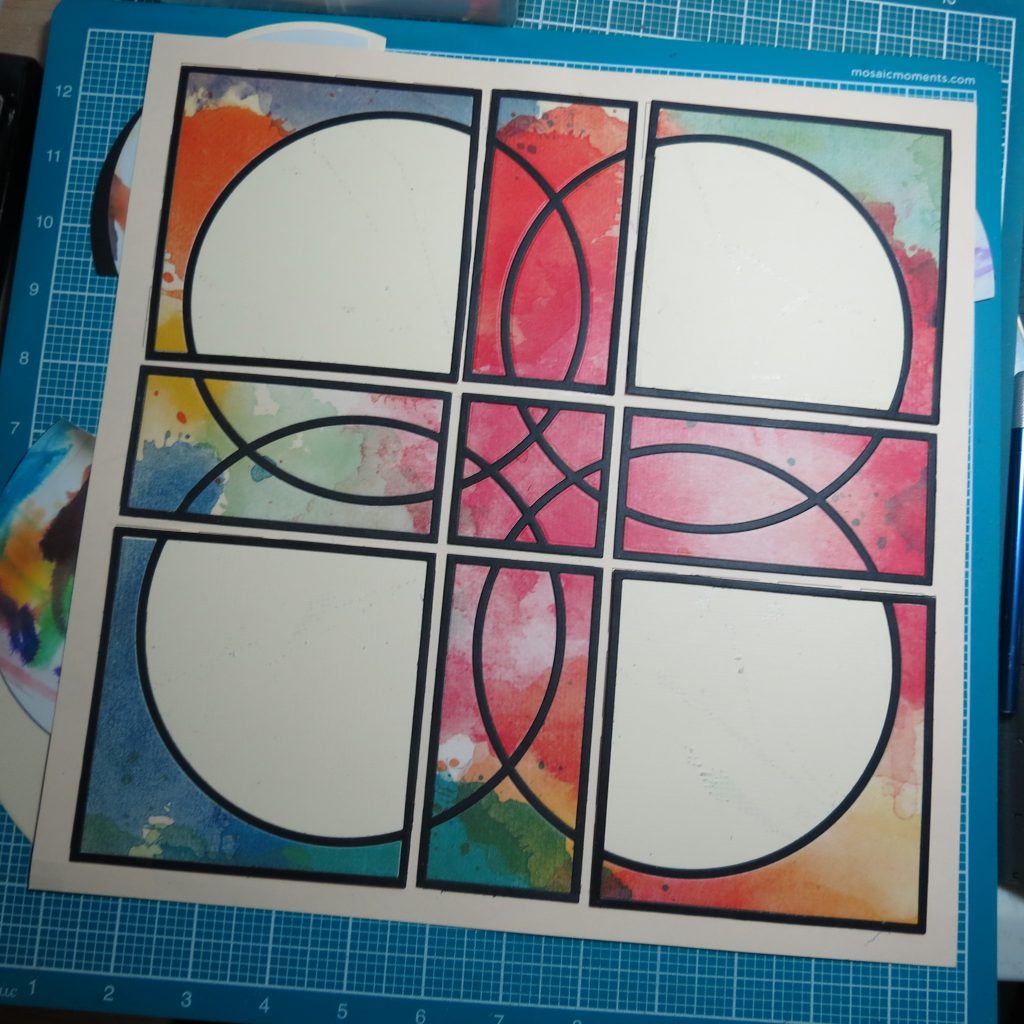
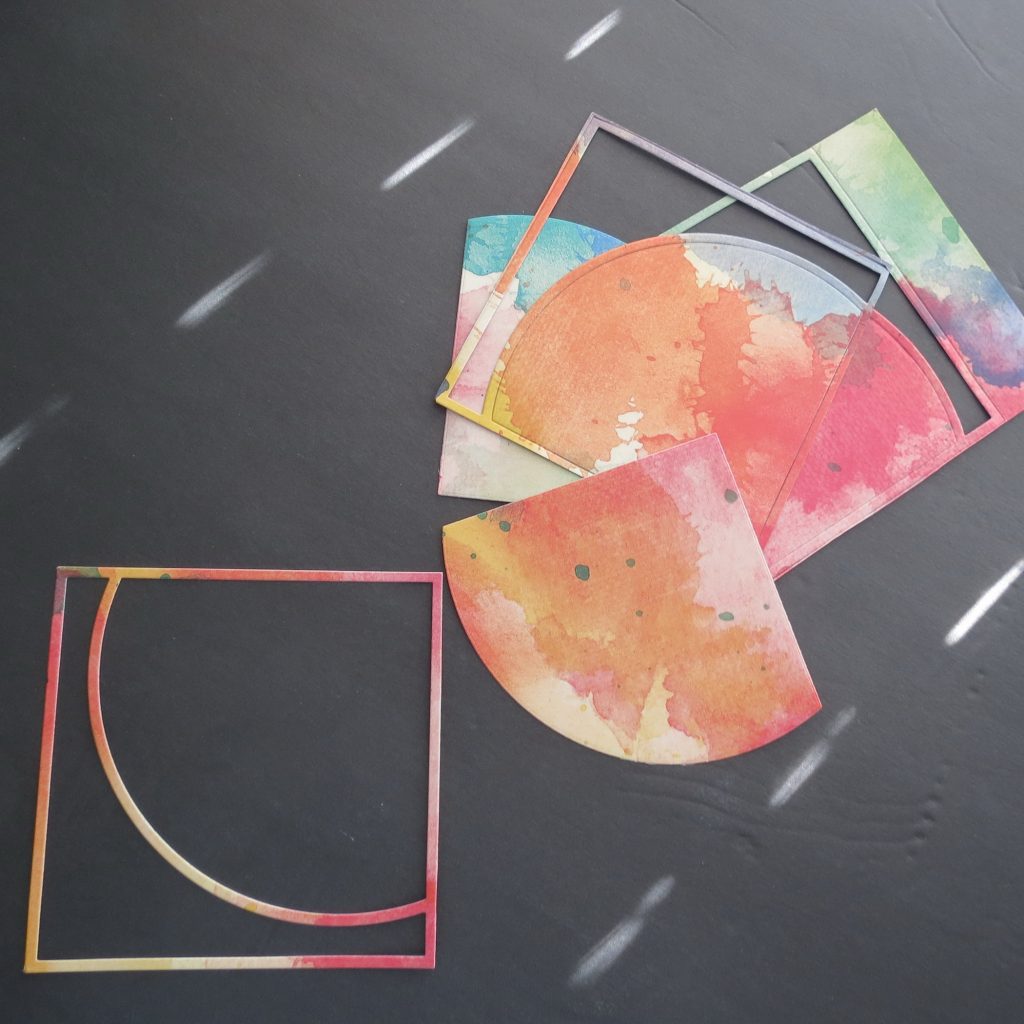
As I’ve done in previous layouts when using the full sheet of patterned paper in the layout I cut the strips and the sections as they would appear continuously on the page.
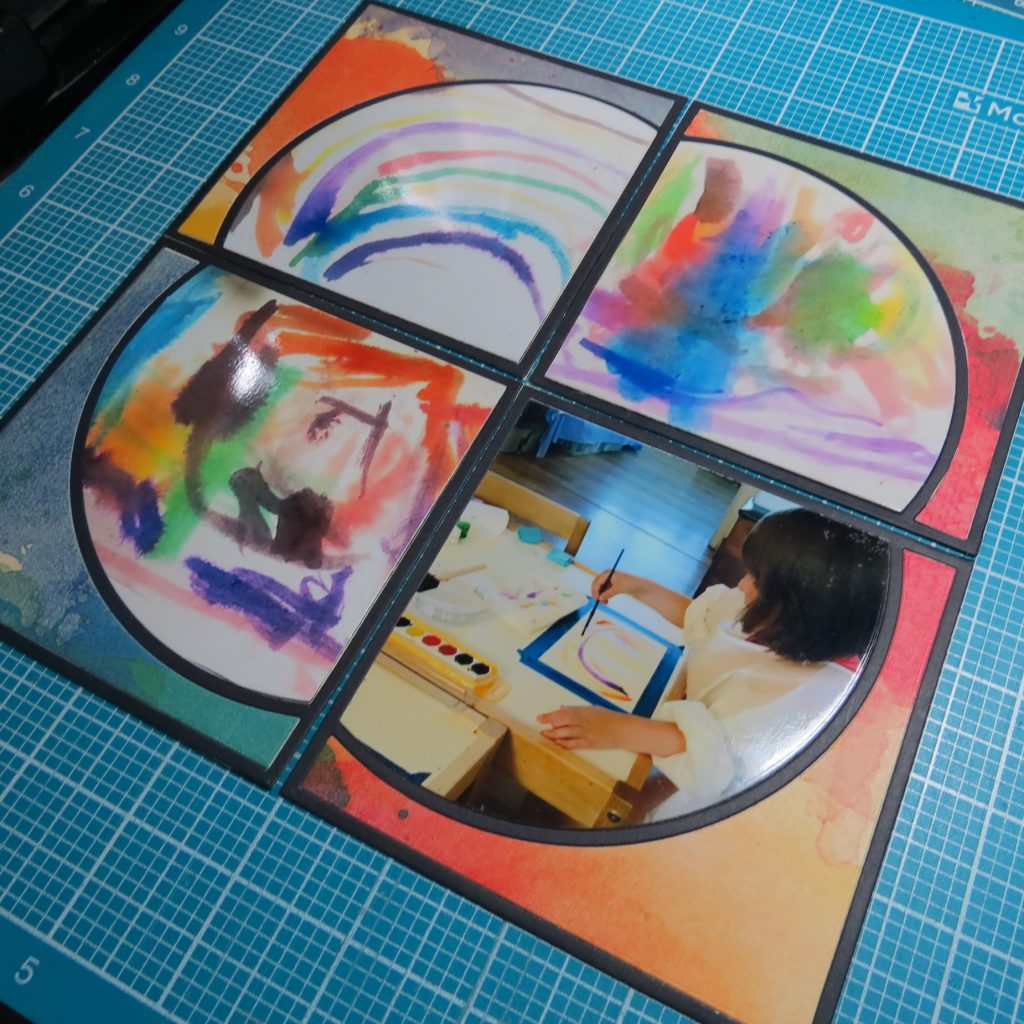
There are places the patterned paper almost blends with the artwork and may not seem to stand out, but I’ve done a slight buildup of the photo section of the die to set the featured photos apart from the background. It’s hard to see in a photo and is only slightly noticeable physically but visually it adds just enough depth to separate the artwork from the paper.
Here’s how my layers went together.
1. A 4×4 base is cut in the grid paper color to attach the die-cut in black to and keep the shape while adding the other components.
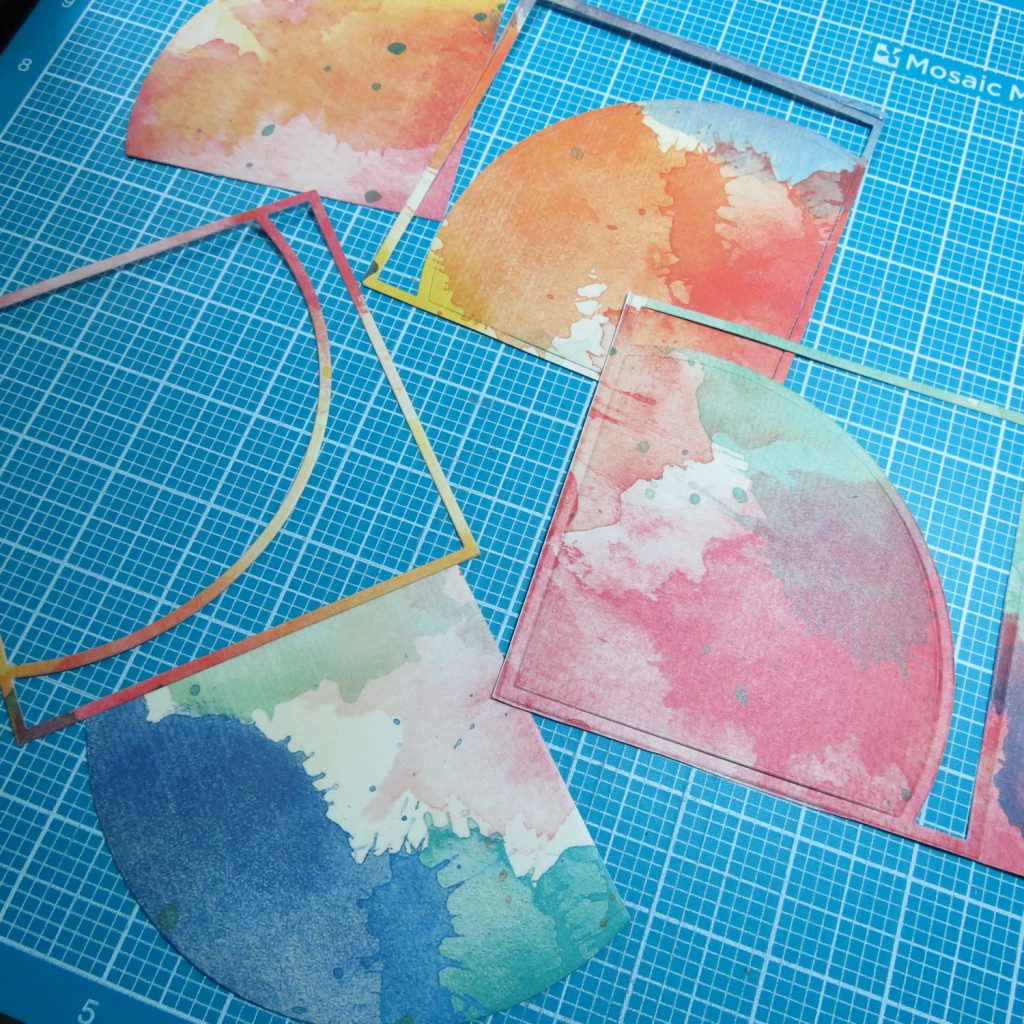
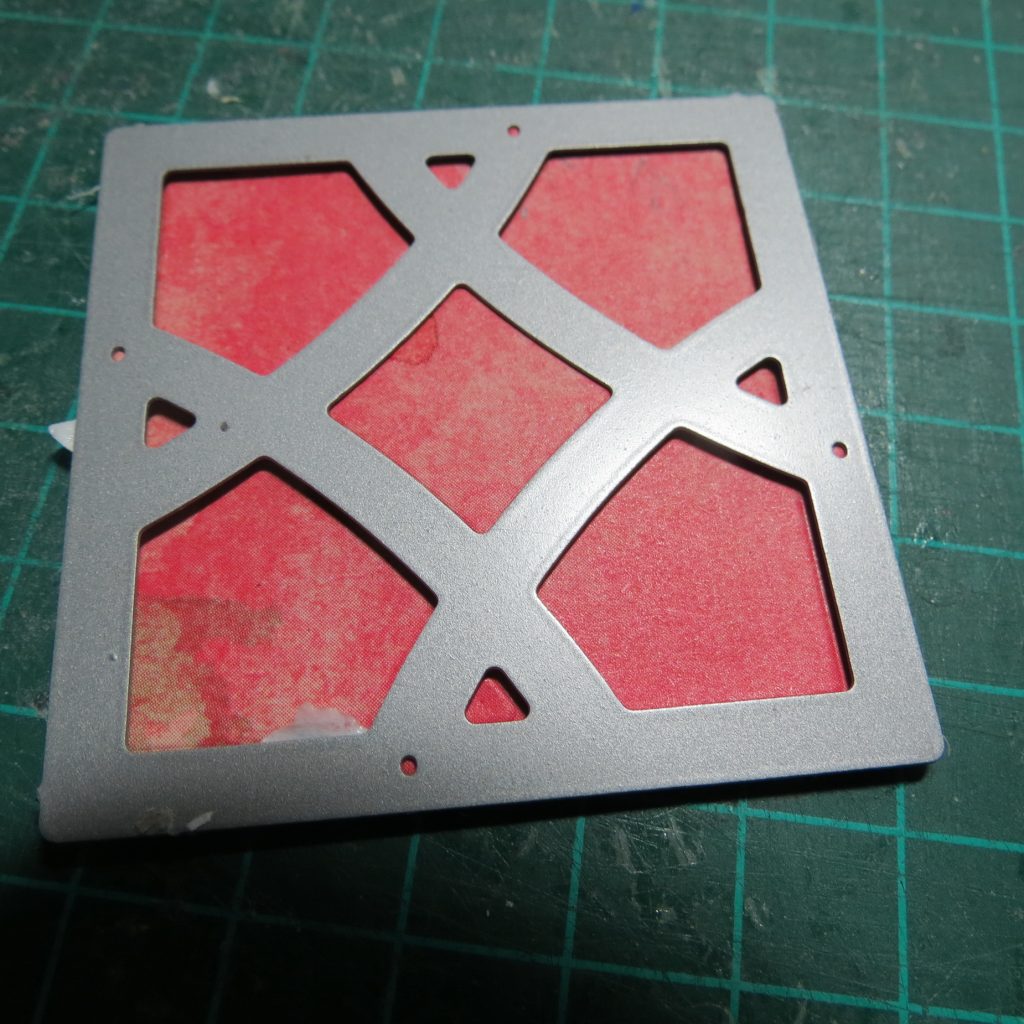
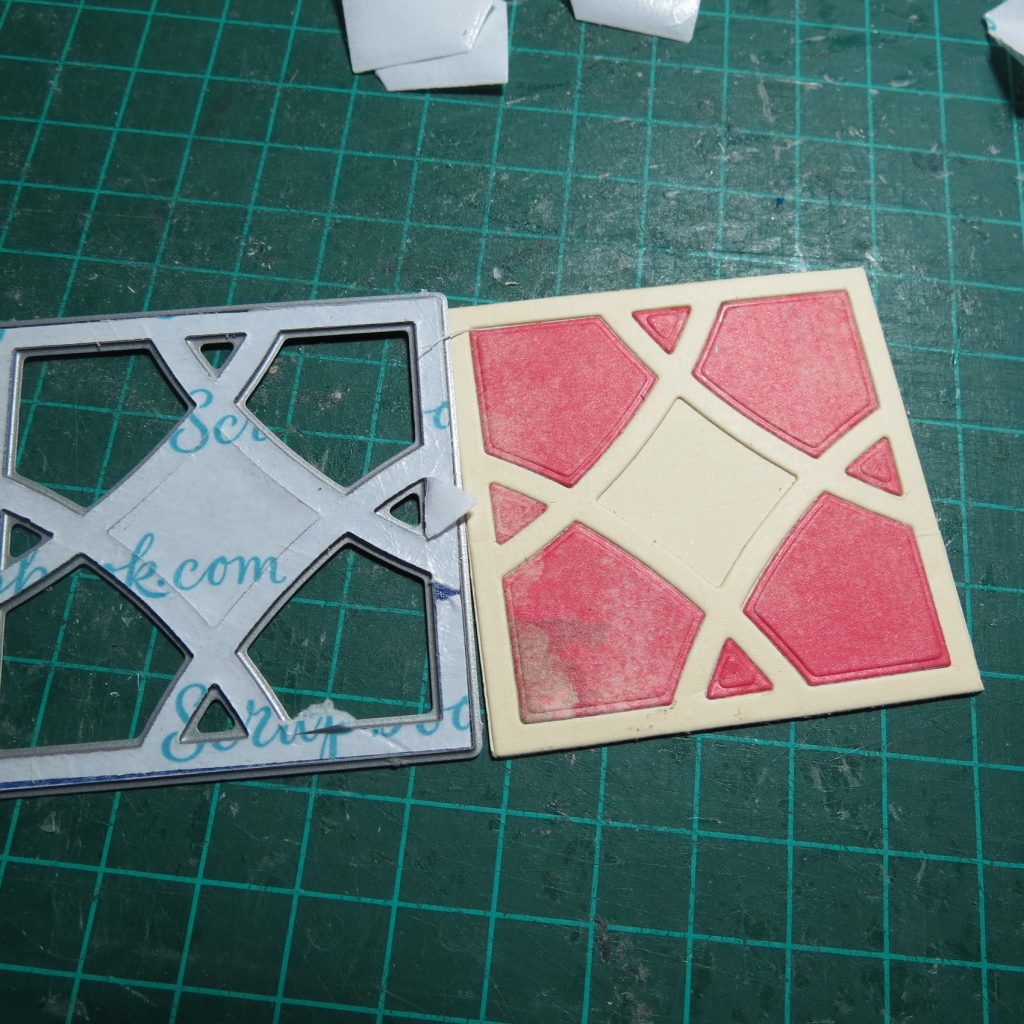
2. The outer section needed to be cut from the patterned paper and while I could have used that as the base, I like the paper and didn’t want to hide any of it so I saved the circle portion of the large 4×4 Clover Die for another project. I can get a 2×3 or 2×2 out of each remaining portion. I can also use the die cut frame in the watercolor pattern paper in another layout for a fancier look. I think it would look stunning on black grid paper or accent pieces.
3. I used a buff color cut-out to lay into the circle portion making this a full layer filled in.
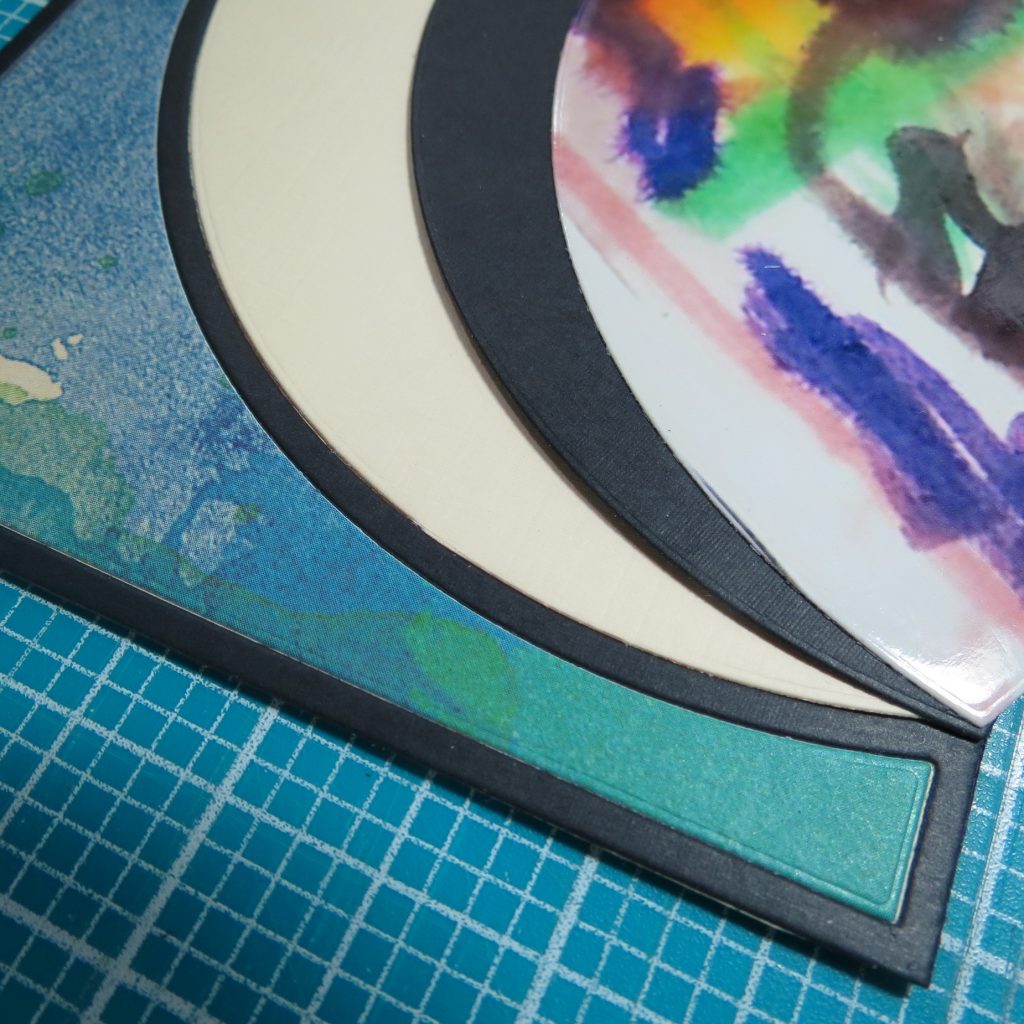
4. Next I took black cardstock cut the same Clover die piece and backed the photo. Then I laid it in place on top of the buff layer. Now the photo is slightly raised so it does set it apart from the very colorful watercolor paper.
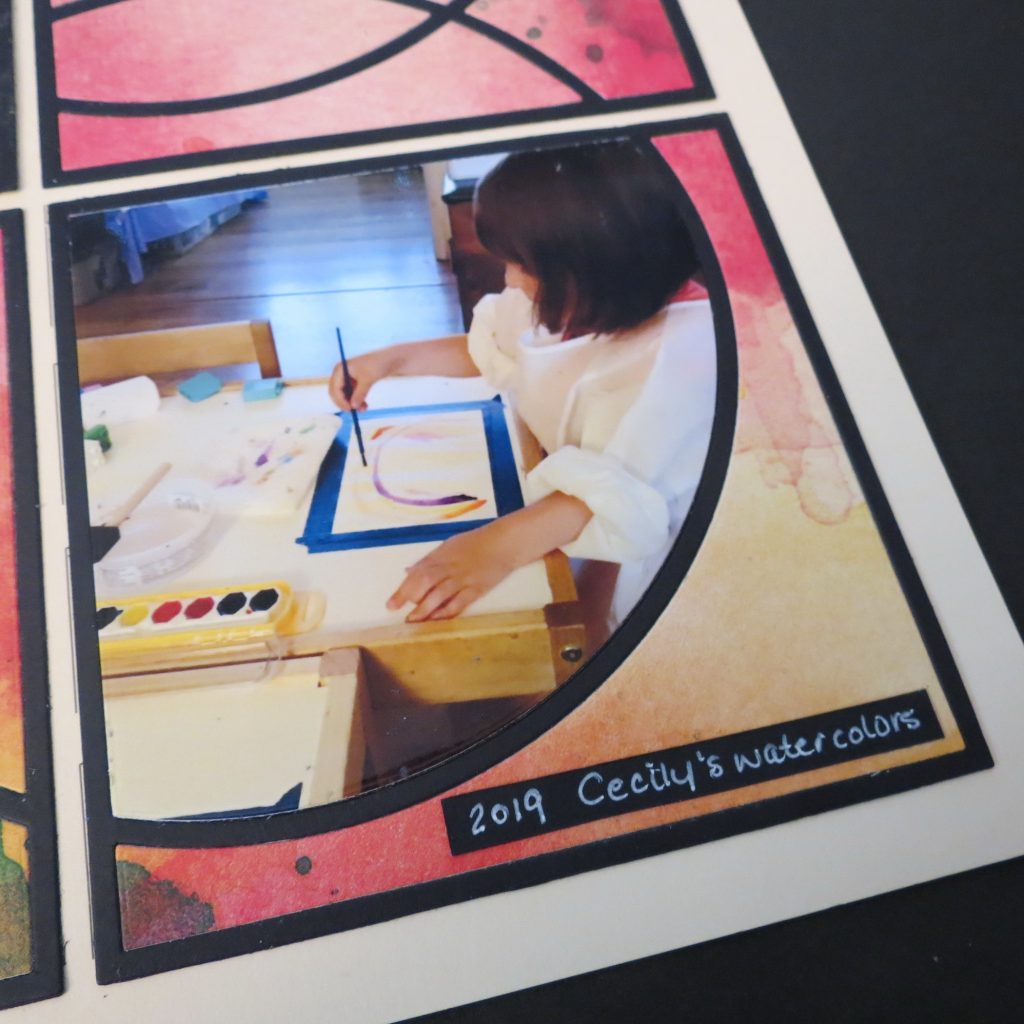
I added a simple small black tag and used a white gel pen to write the date, and subject and then placed it in the block in the lower right-hand corner.
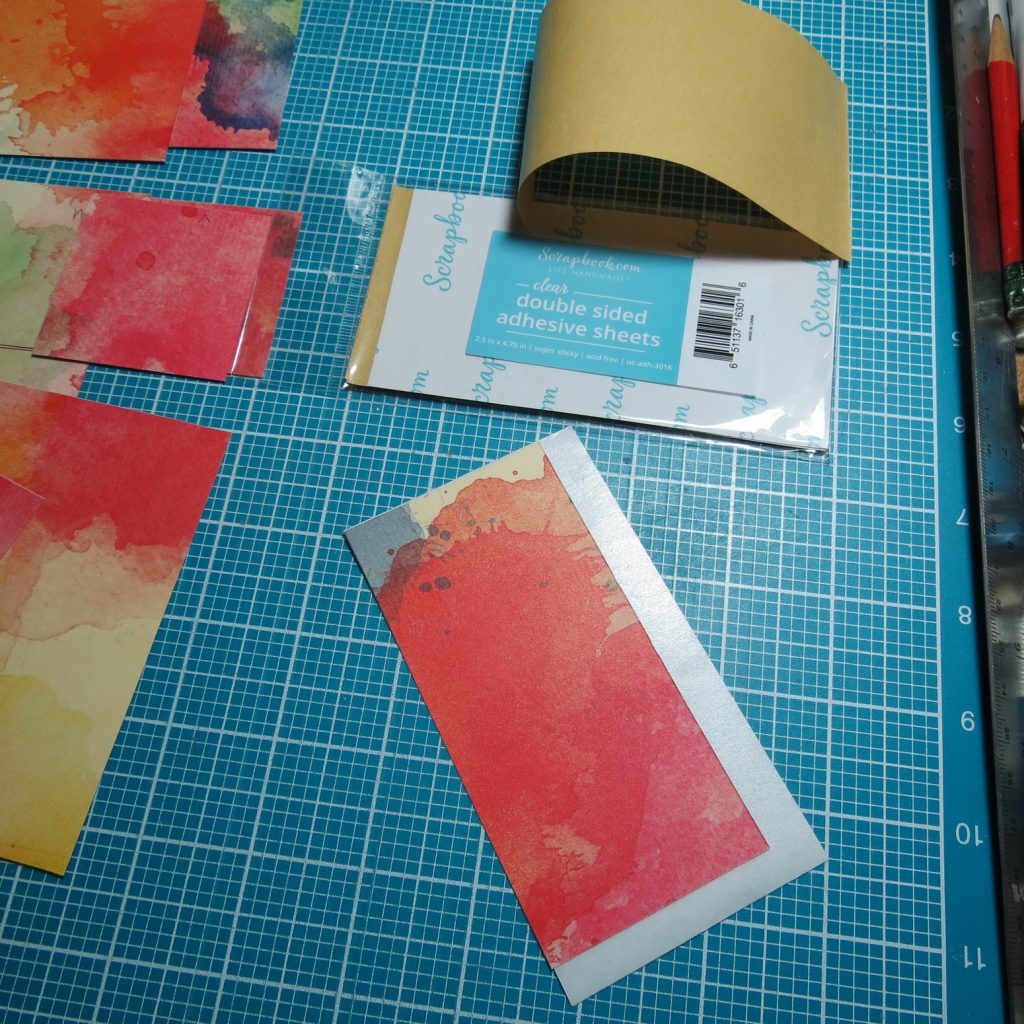
Tip:
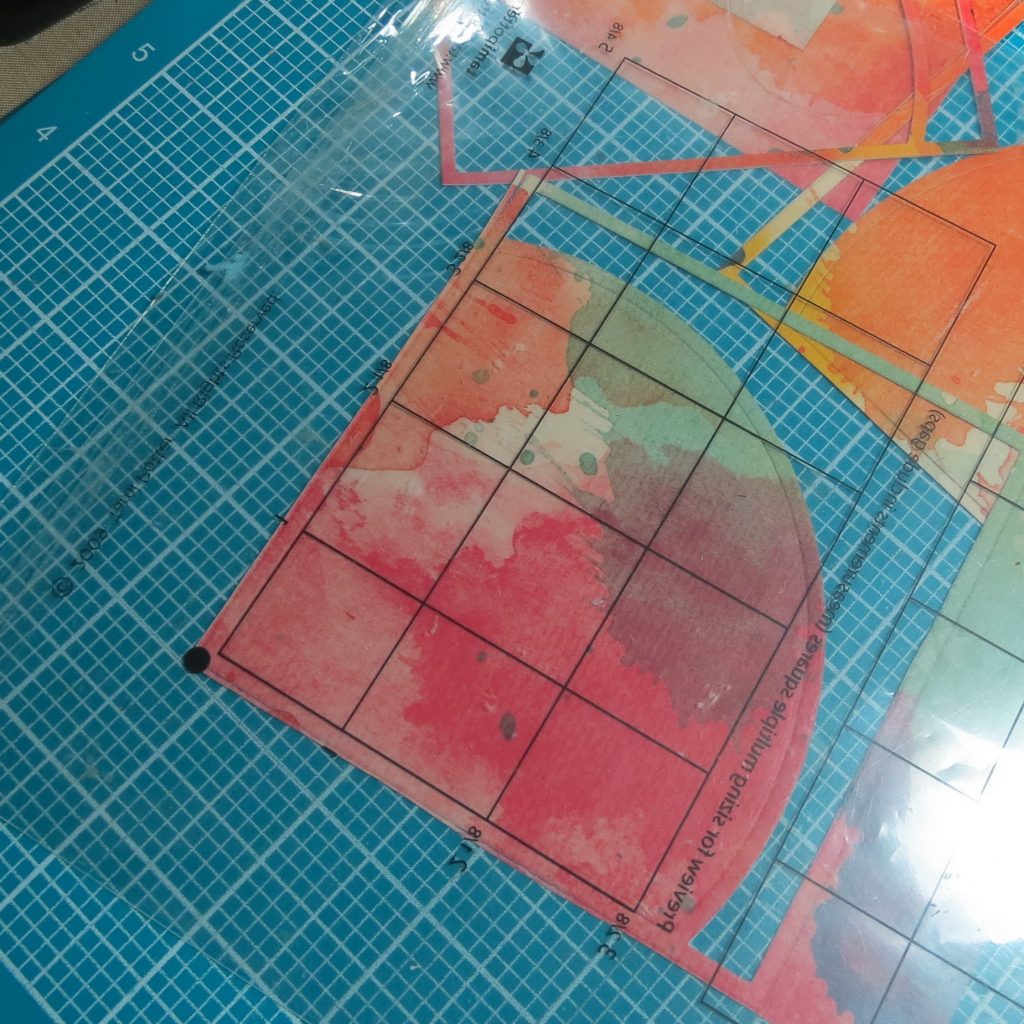
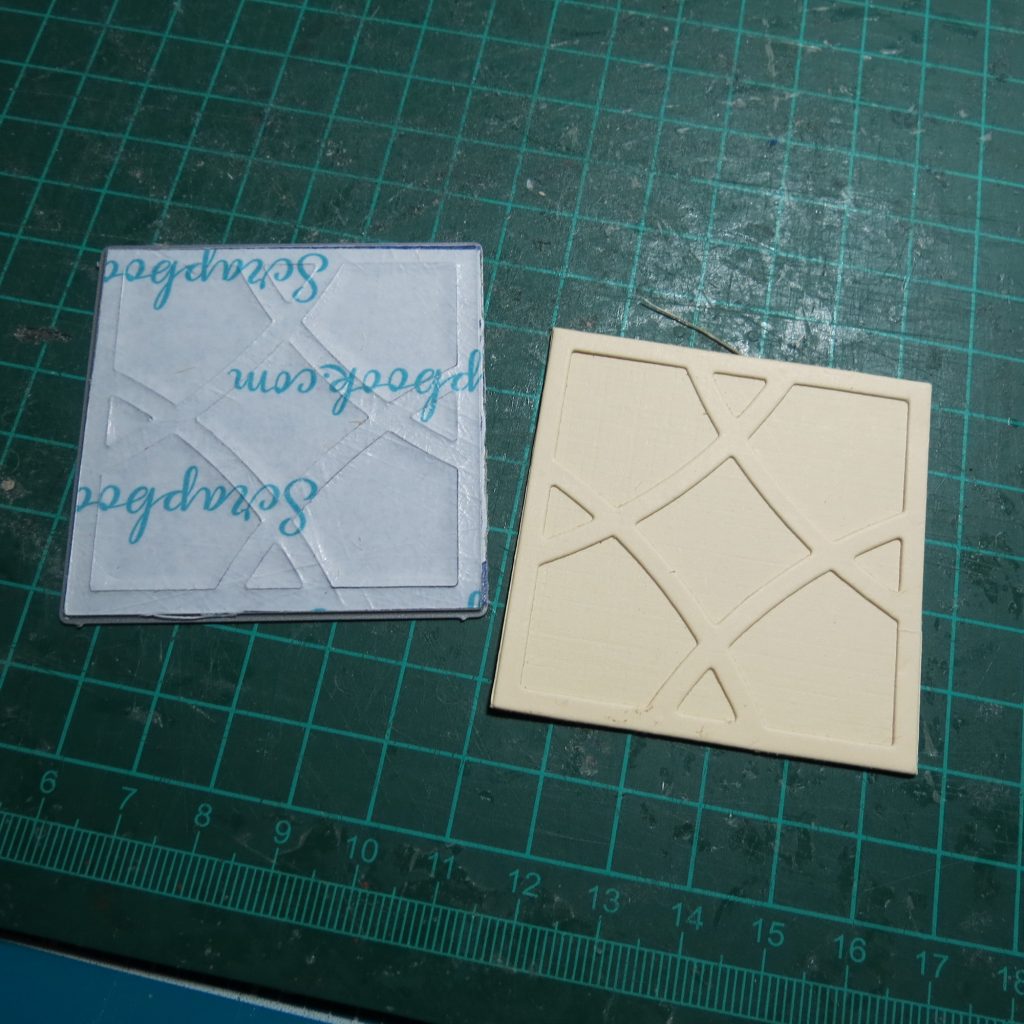
I tried a new product I found on scrapbook.com. They are adhesive strips that measure 2.5” x 4.75”, there are a variety of sizes, but this is perfect for our cornerstones and alphabets.. I thought they would work really well in applying stick to even the smallest of pieces like the 2×2 die that goes with the set. I cut a section from the whole paper where it will set and then applied it to the back, ran it through the die cutting machine and then peeled pieces off one at a time and filled the square.
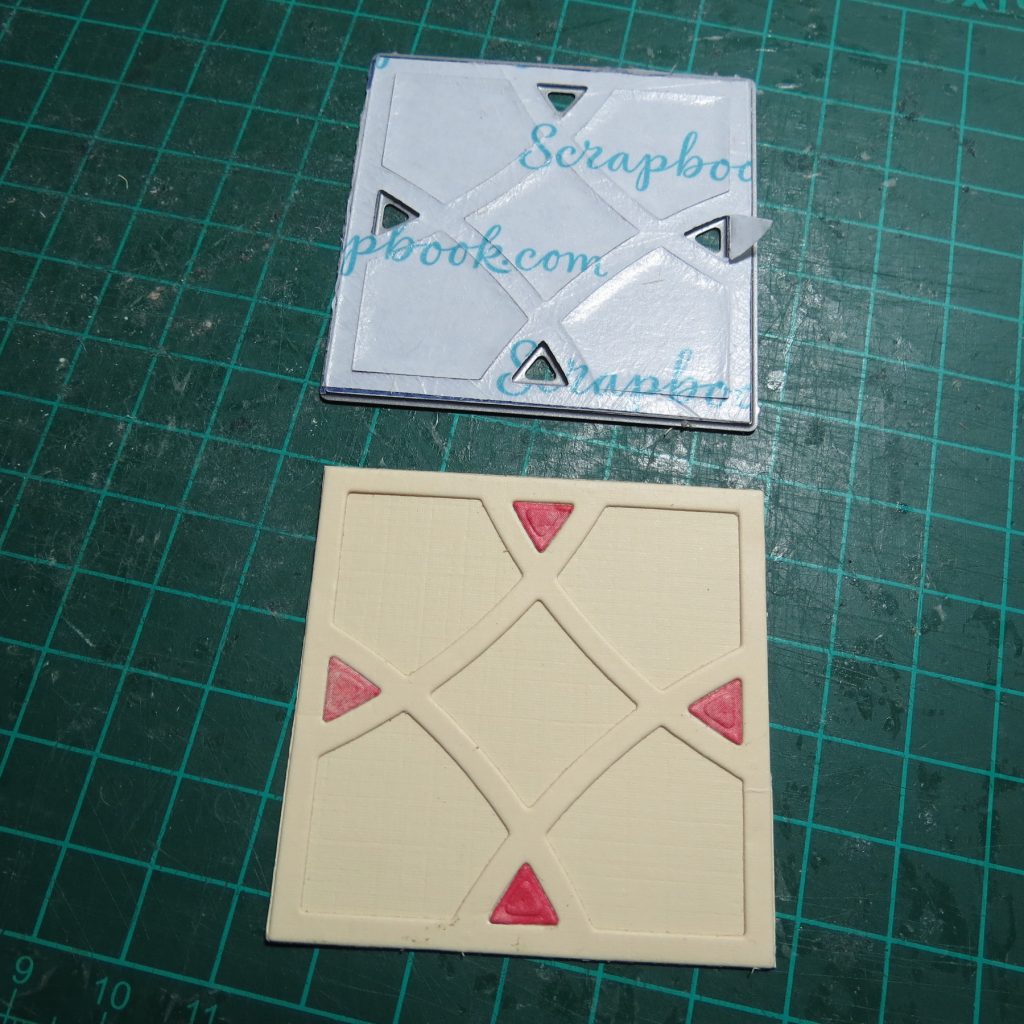
With the 2×2 Clover die cut in place, the patterned paper piece with the backing still in the die, I removed the backing from the smallest sections first. I turned the die over and used a piercing tool to push out the small pieces and into the die square below. As I played with the design I added the corresponding sections the same way.
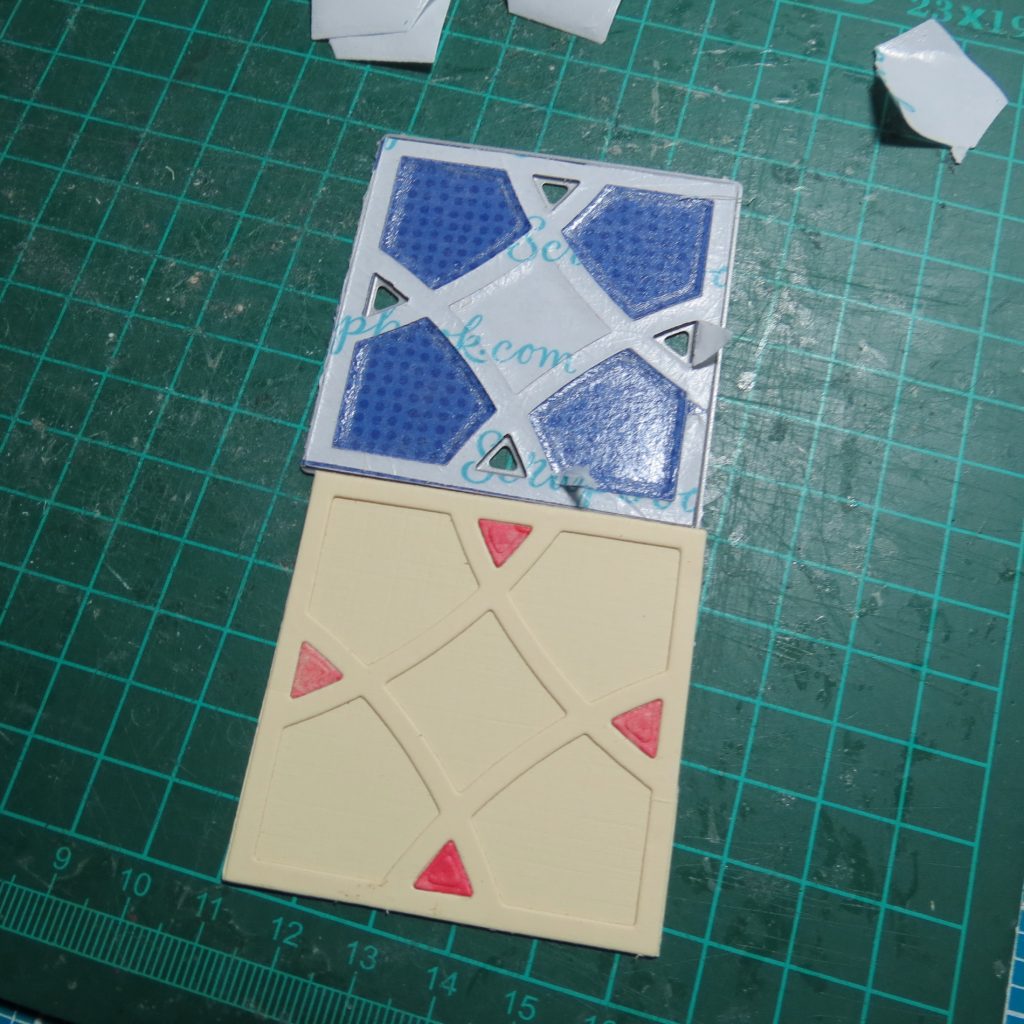
I had begun with the buff color, but when I decided to go with the black I just overlaid the black making this another stacked piece of the page.
So when you are scrapbooking special school moments this year, include some of their school work, artwork or projects by capturing the images in a photo and then creating a layout to preserve it forever.
Andrea Fisher