
Huntington Beach
Are you ready for summer time photos and scrapbooking? If you head to the beach on a regular basis and have photos ready to scrap you may like to try a few of these techniques on your pages.
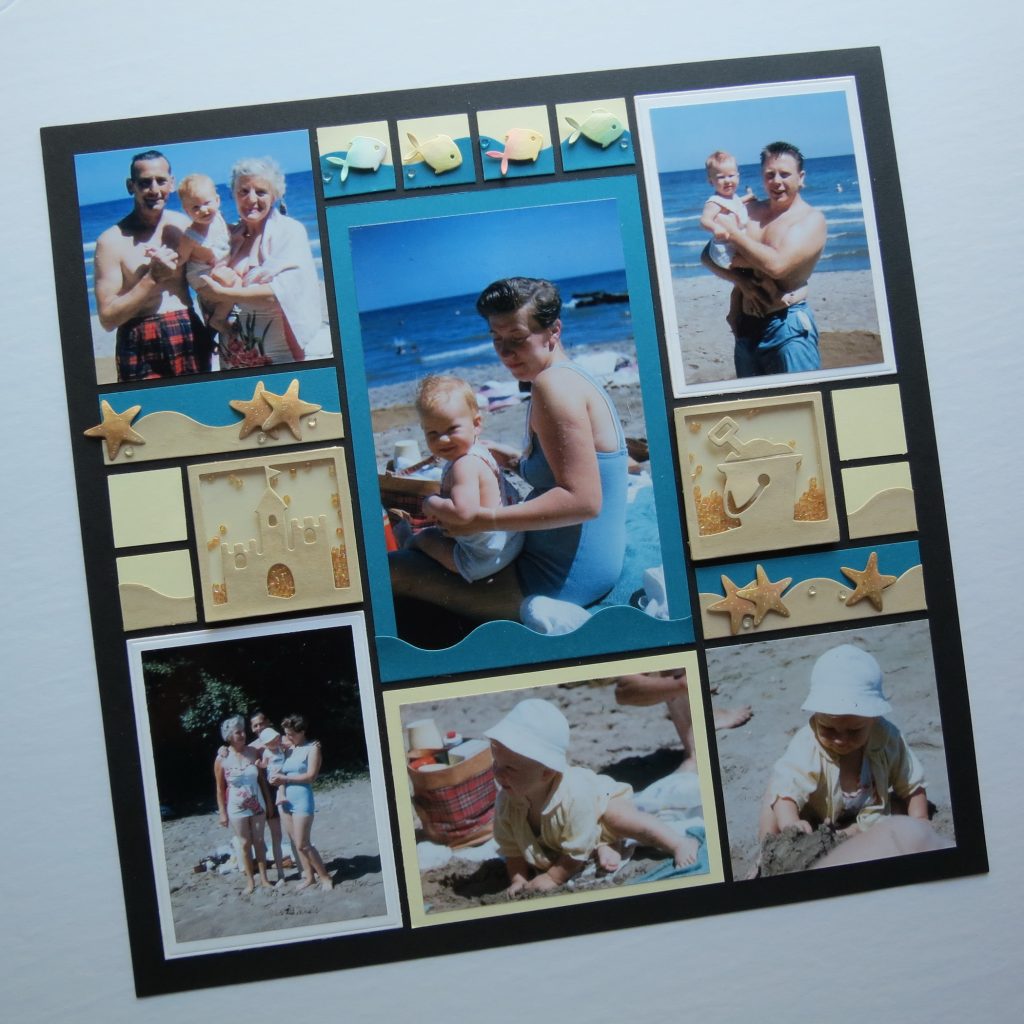
I finally decided to put these photos into a layout; I’ve only been planning to do it for ages. These are prints from my father’s slides and this page will join others in an album I’ve been working on about my life. Because I wanted to create this album with a feel of the times in which I grew up I’ve chosen to use all Black 12×12 Mosaic Moments Grid Papers for the project.
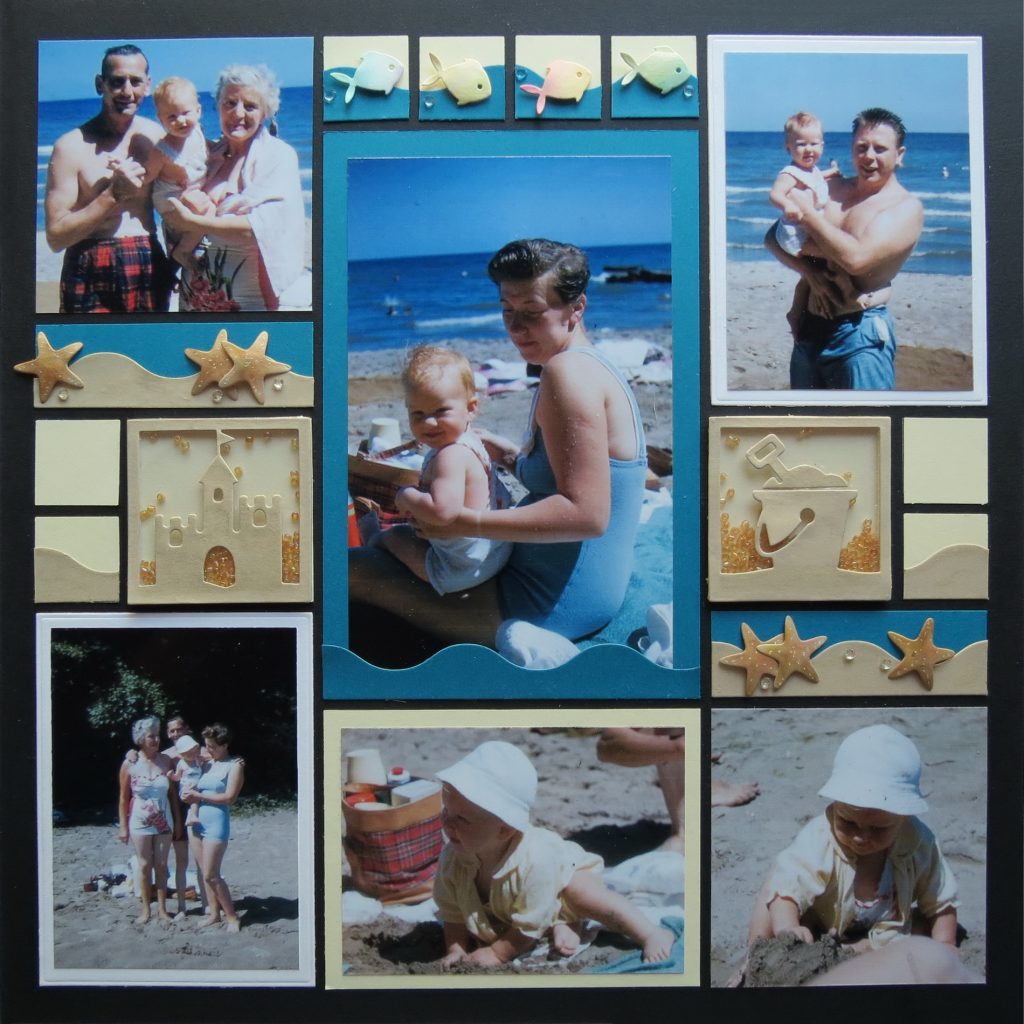

Pattern #270 accommodates the orientation of my photos. I’ve squared off two and mounted them directly to the grid, then all three of the 3×4 spaces I’ve matted the photos, two in the typical white edging of photos back then and the third in an ivory to draw out the yellow of the outfit and I repeat that yellow at the top of this column to tie things together. Finally, my largest photo is featured in the center with a blue ¼” mat. I added a blue wave section to the bottom of the photo frame covering a portion of the photo. I used the Basic Die Sets A, B, C for all the photos and mats.

All of that comes together fairly quick and allows me to spend some time adding interest with several of our beachy themed dies. (Beachcomber, Waves, Sand Play Dies and Fishy Border) Let’s begin with the first technique using 2×2 cornerstone dies.
Technique 1
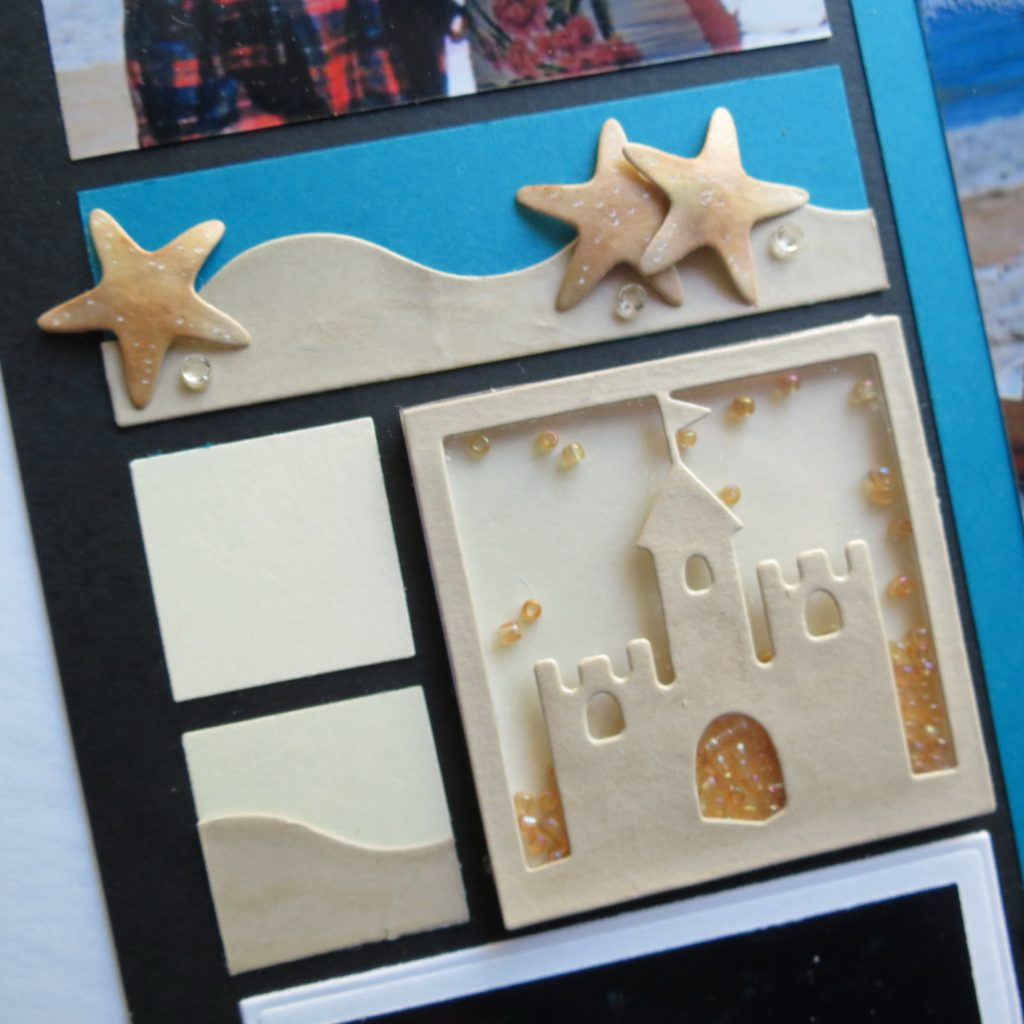
Shaker Box
What you will need:
- 2 – 2×2 backing squares
- 2 – 2×2 die cuts
- Acetate sheet
- Seed beads
- Foam mounting tape strips (available at Pretty Pink Posh)
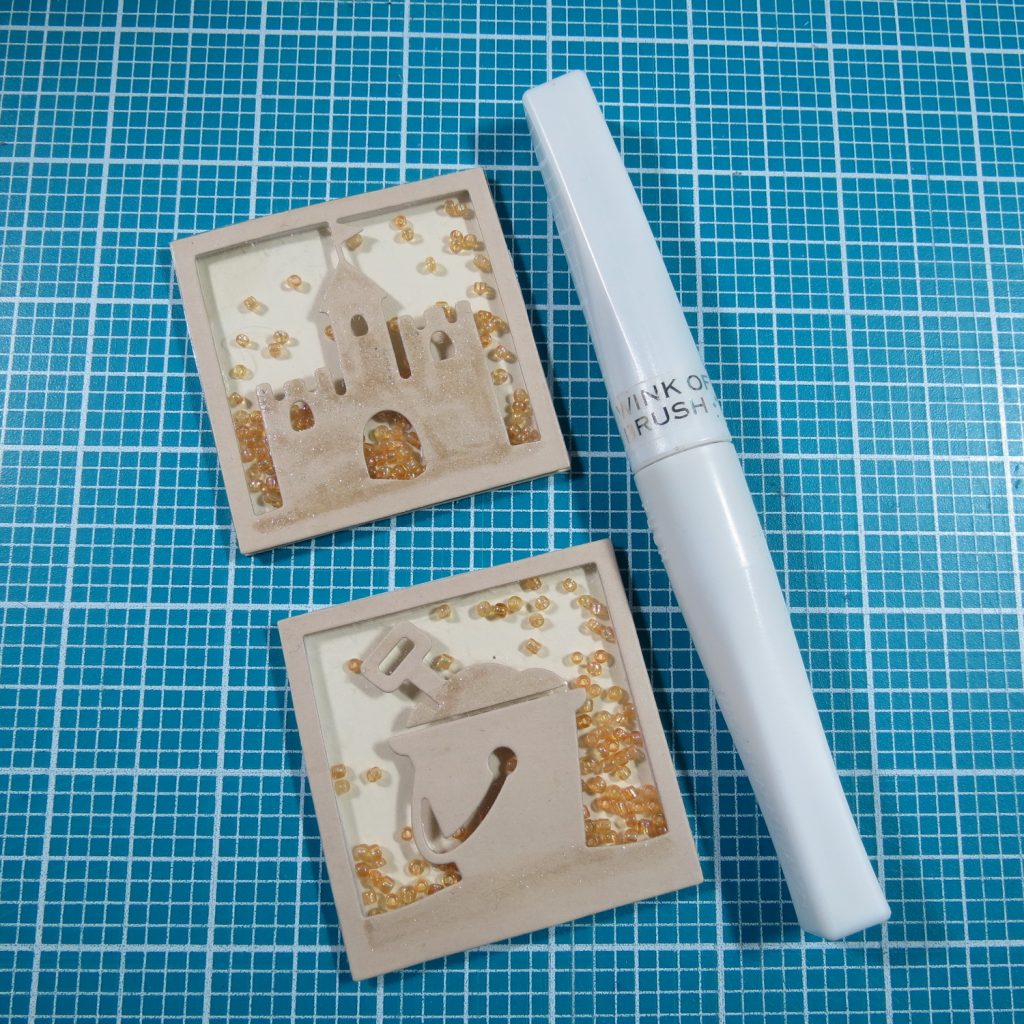
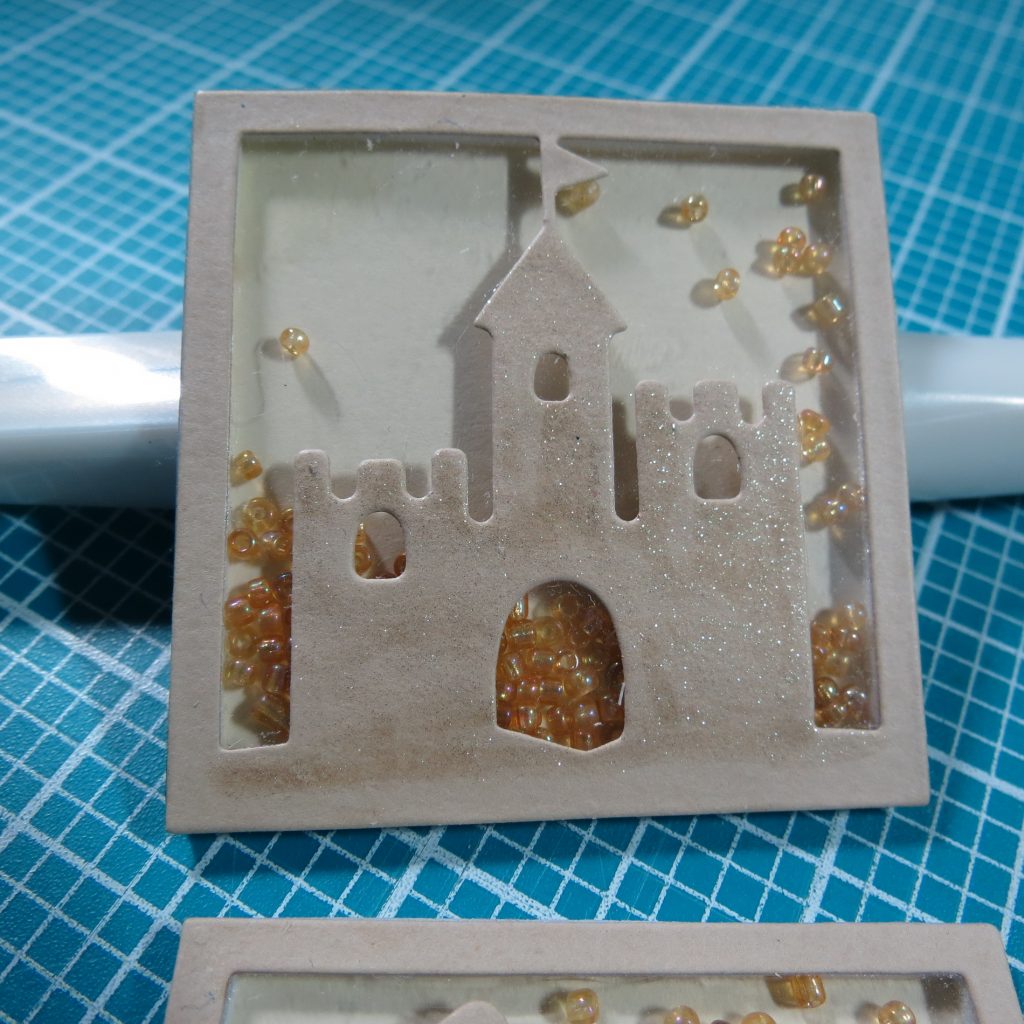
- Wink of Stella glimmer pen, clear (optional)
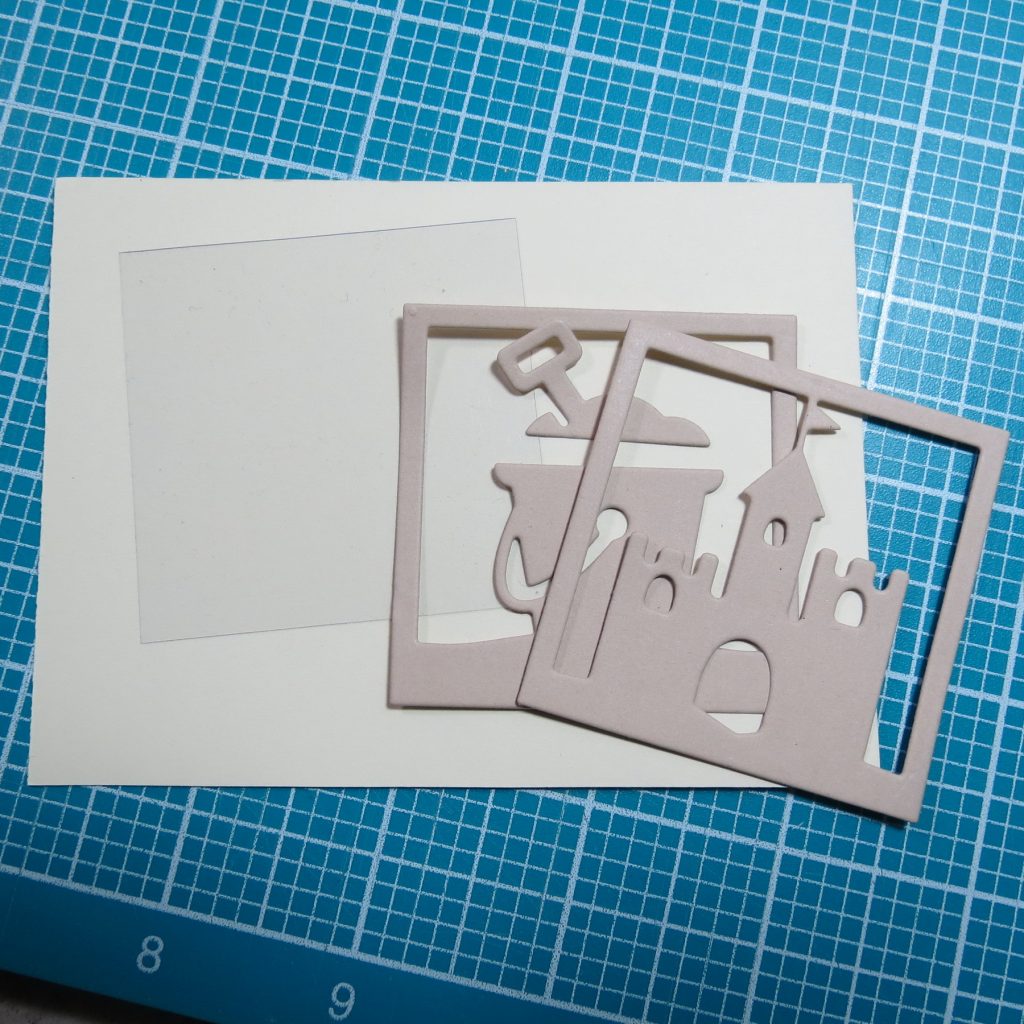
1. Size and attach the acetate to the backside of the die cut.
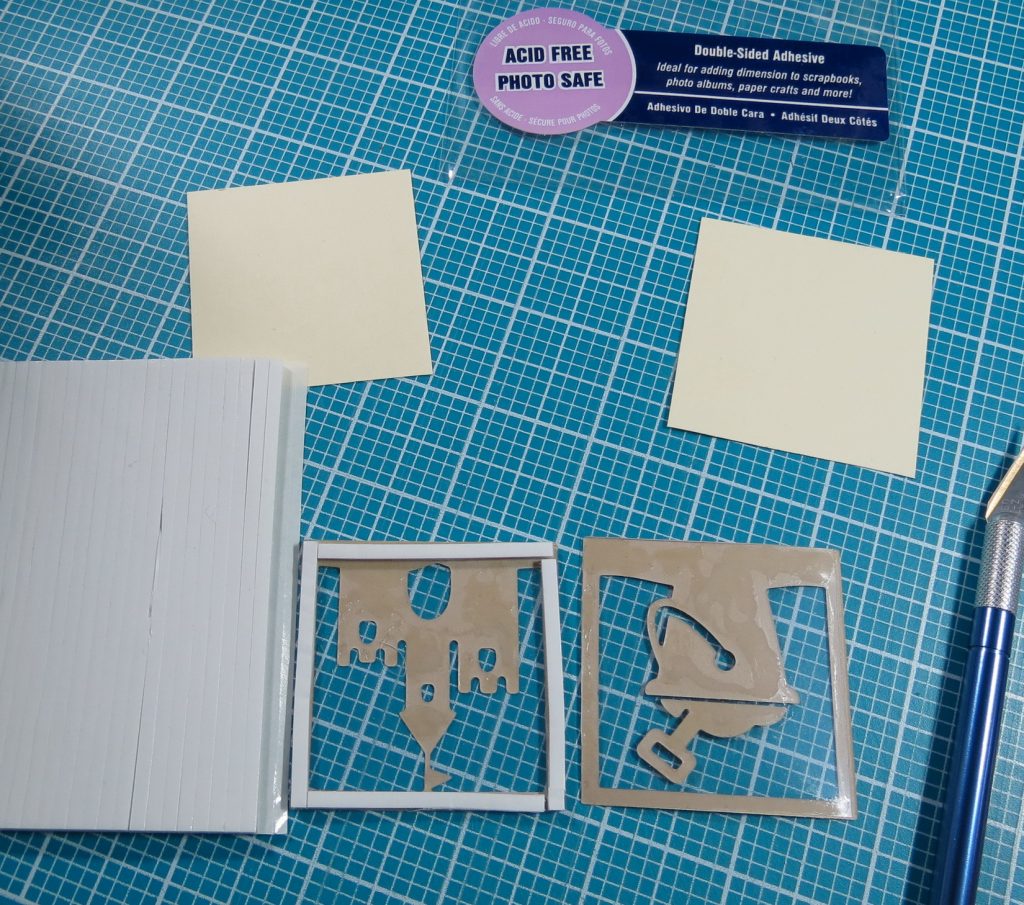
2. Add the foam mounting tape to the perimeter of the die cut. Keep all edges touching tightly; you don’t want the contents falling out!
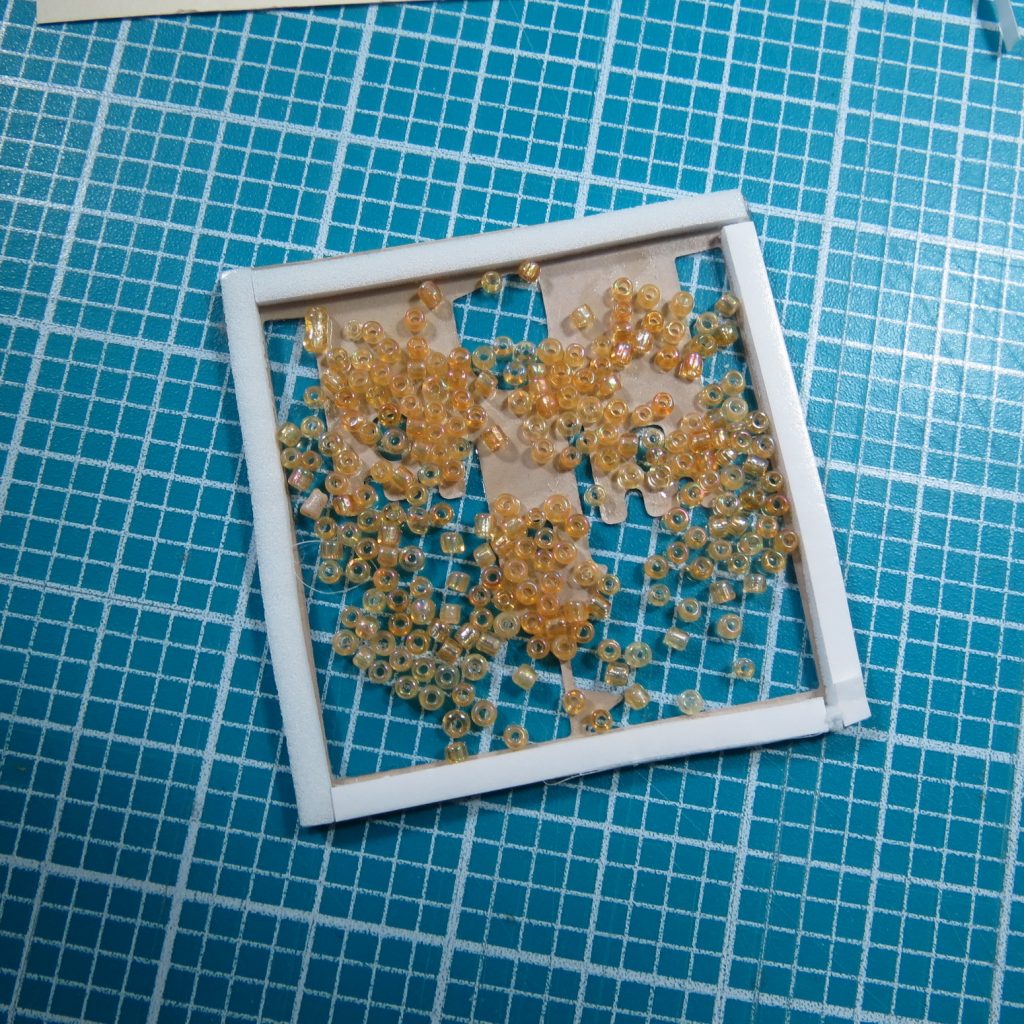
3. Fill the well you’ve created with seed beads.
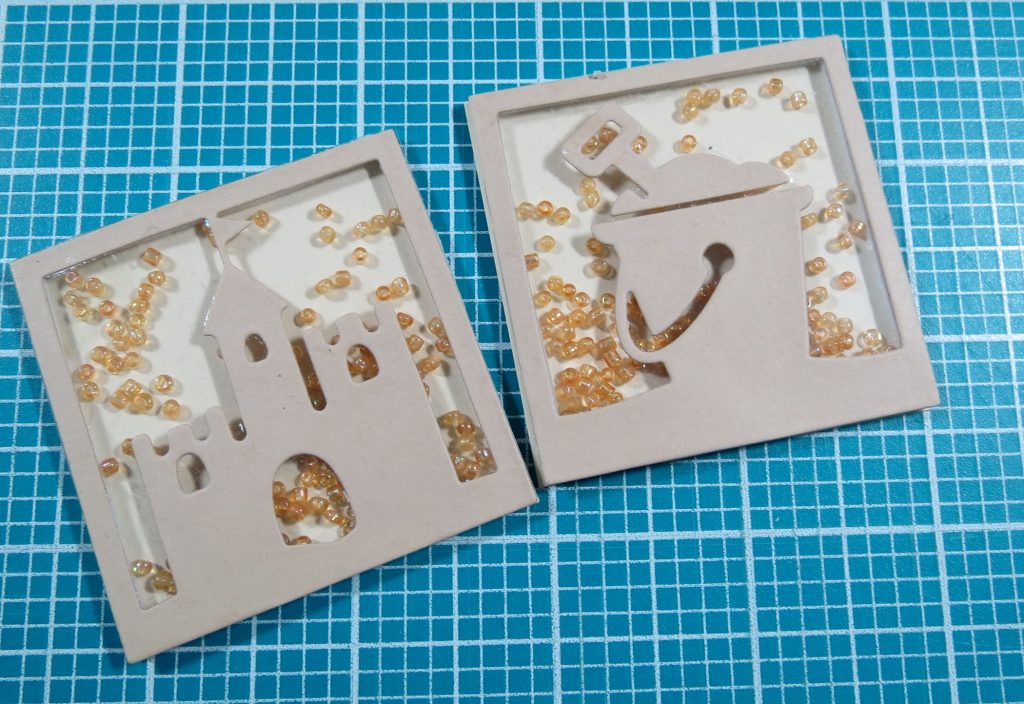
4. Attach the backing to the mounting tape and then attach to your layout.
Technique 2
Watercolor Fish
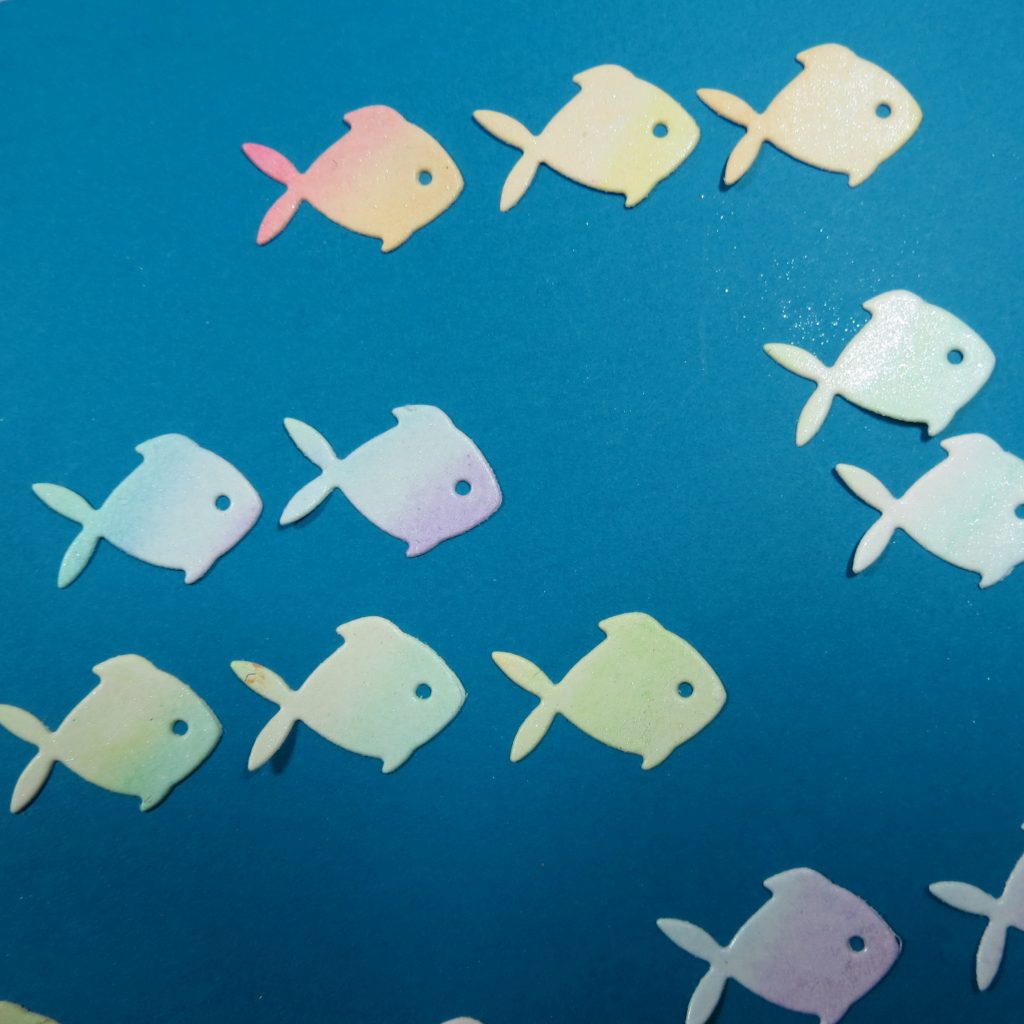
I love our little Fishy Border because you can use the 1×5 strip as a strip or take the little fishies out and create something with them for your layout. I’m going to take them out this time and bring a little life to them.
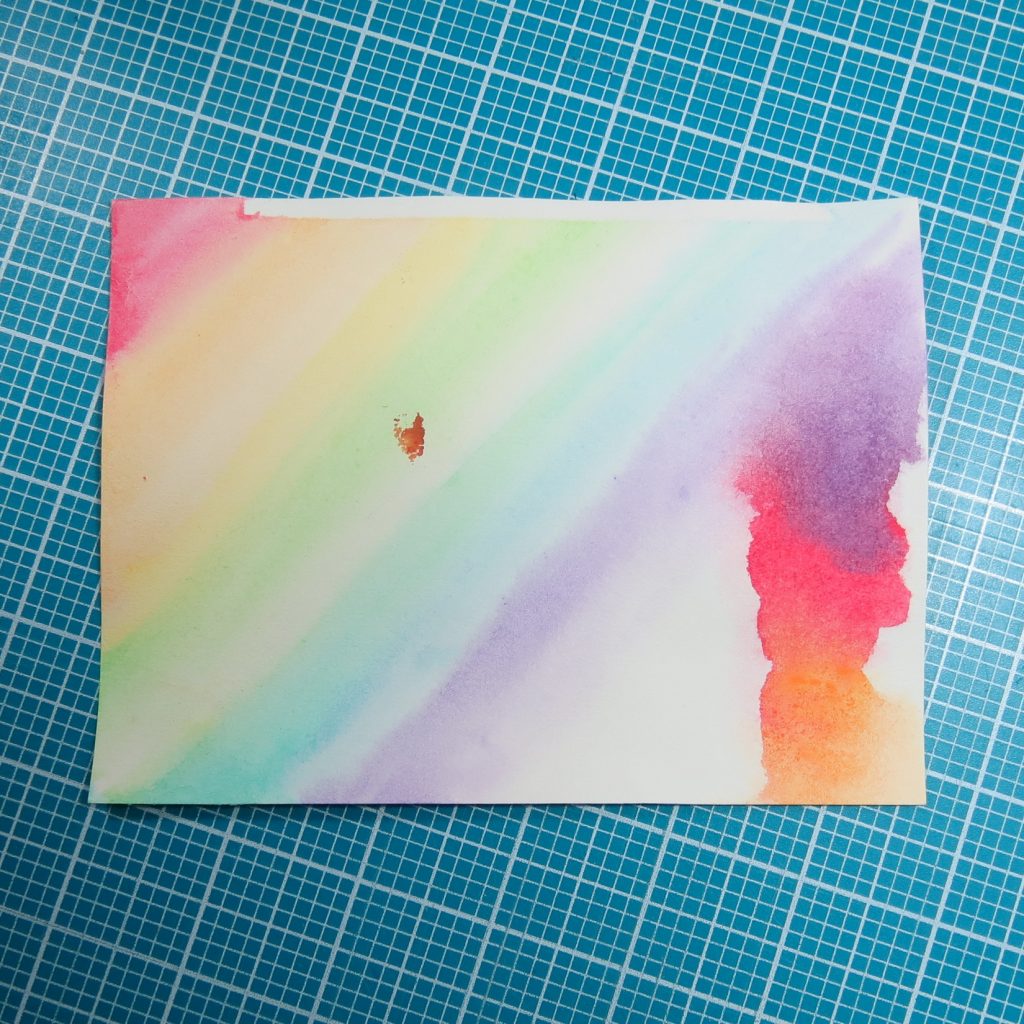
I’m beginning with a sample of a watercolor technique I recently demonstrated for paper tiles for a layout. I took a 4×6 section of watercolor paper and a simple box of kid’s watercolors. I wet the paper down and let it slightly dry before brushing in my colors. If you want a very pastel look, make sure your watercolors are fairly diluted before laying them into the wet of your paper. If you want to go for a more vibrant color, reduce the amount of water you add as you mix your colors. Let dry.
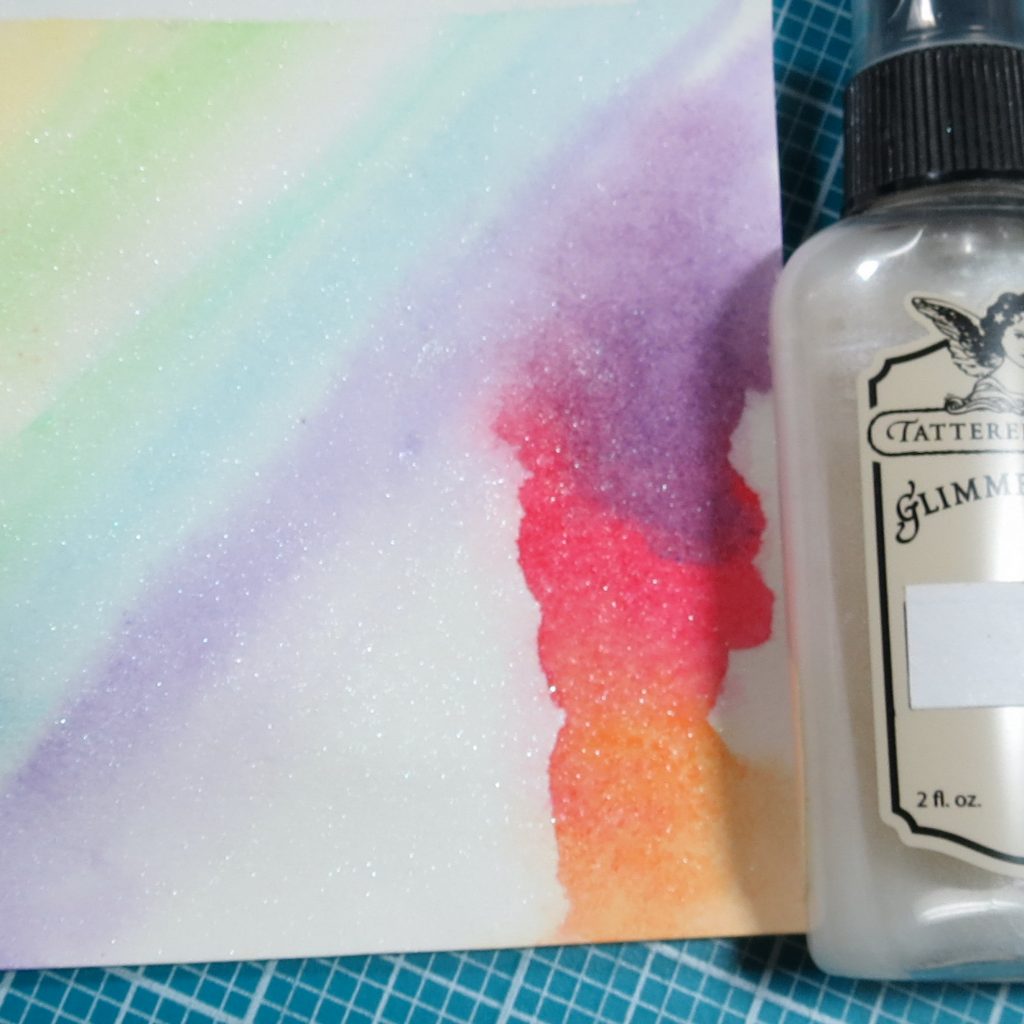
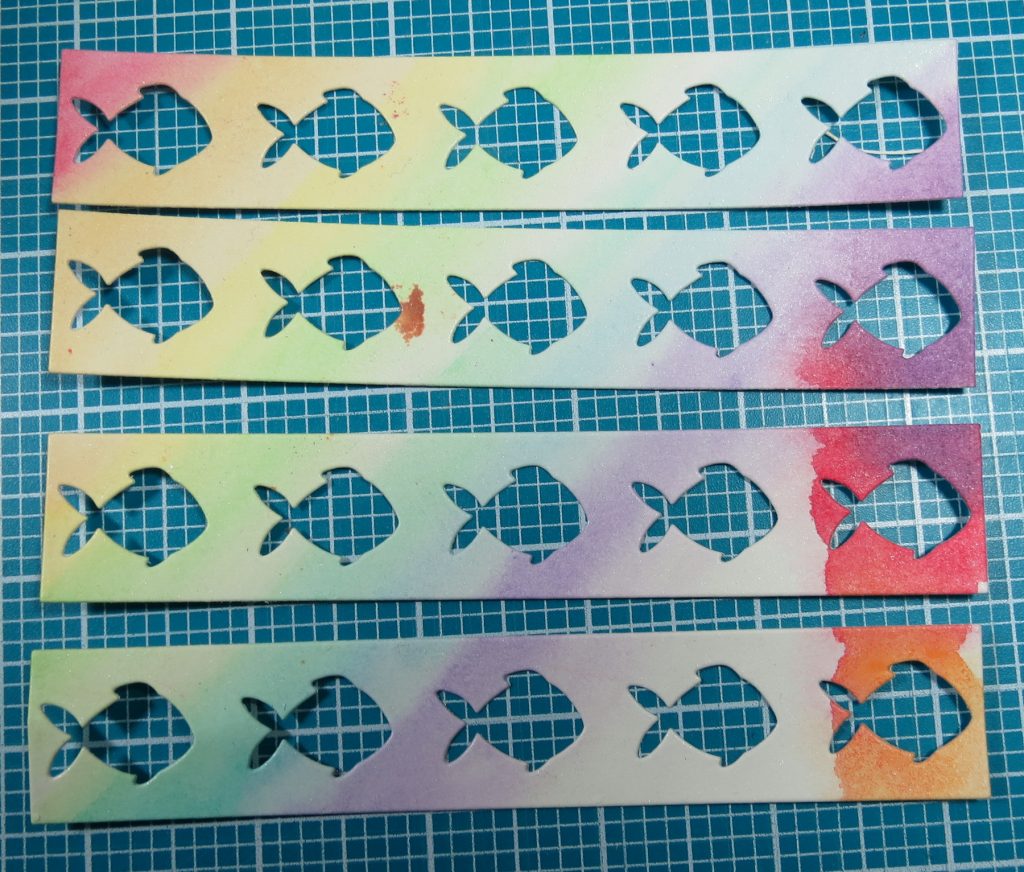
Fish have a natural shimmer that I thought I could mimic by adding a layer of glimmer mist by Tattered Angels to the paper. Once the paper has dried I then cut several strips of the Fishy Border. I’ve now got a multitude of colors of fish to choose from.
Now, to add a little more life to the fish!
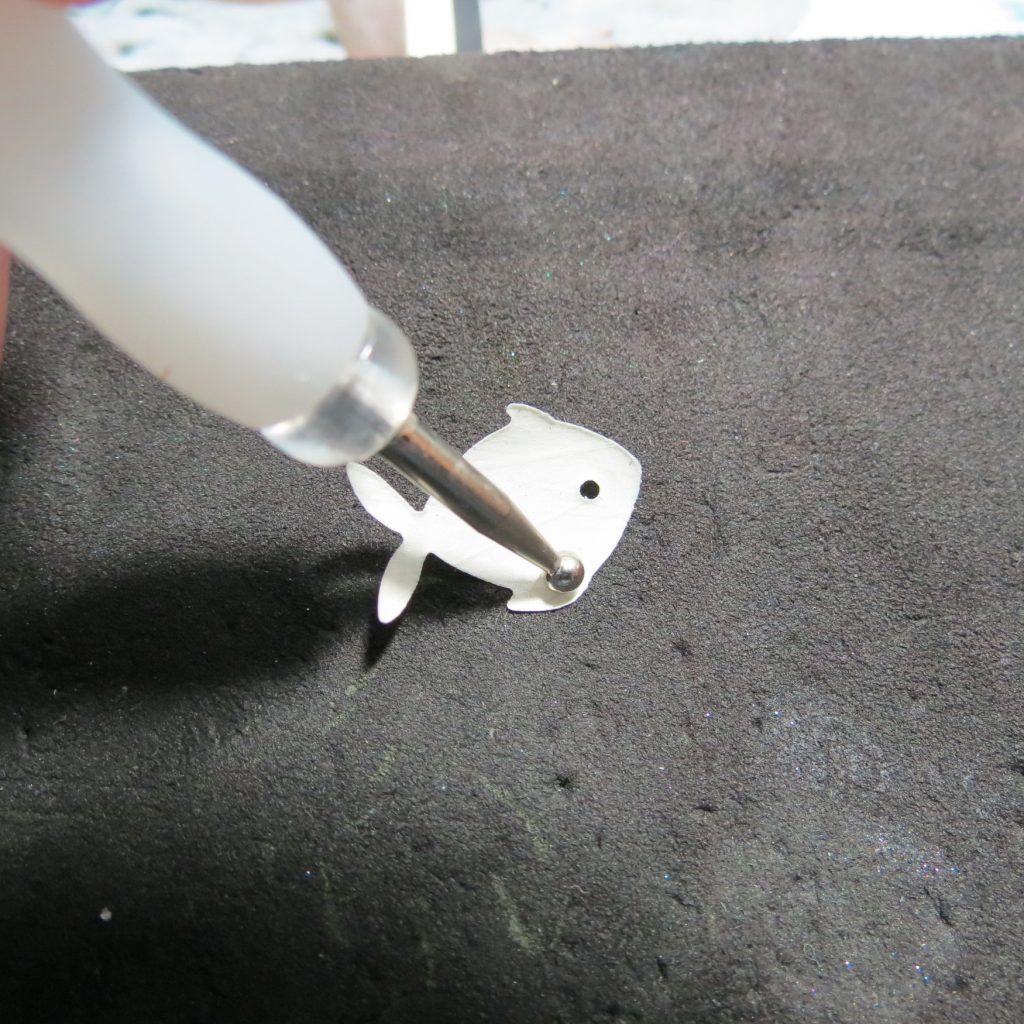
I’m going to do that by turning each fish over onto a foam mat and take an embossing tool to break the paper fibers by gently rotating around the fish. It will start to curl in and you can then turn back to the front side and run the tool over the tail to get it to flip up a bit. The fish can be mounted using a tiny foam square hidden in the rounded body of the fish. It’s now ready to be added to your page.
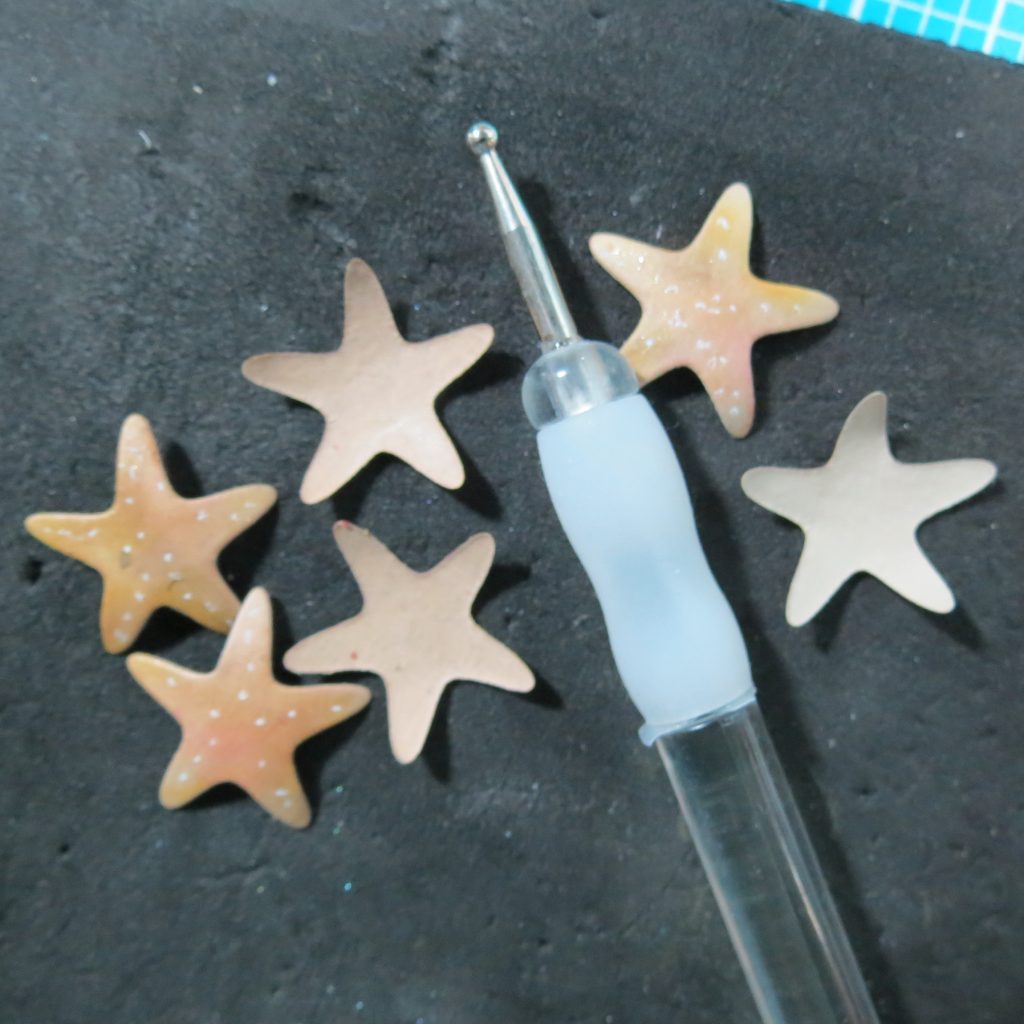
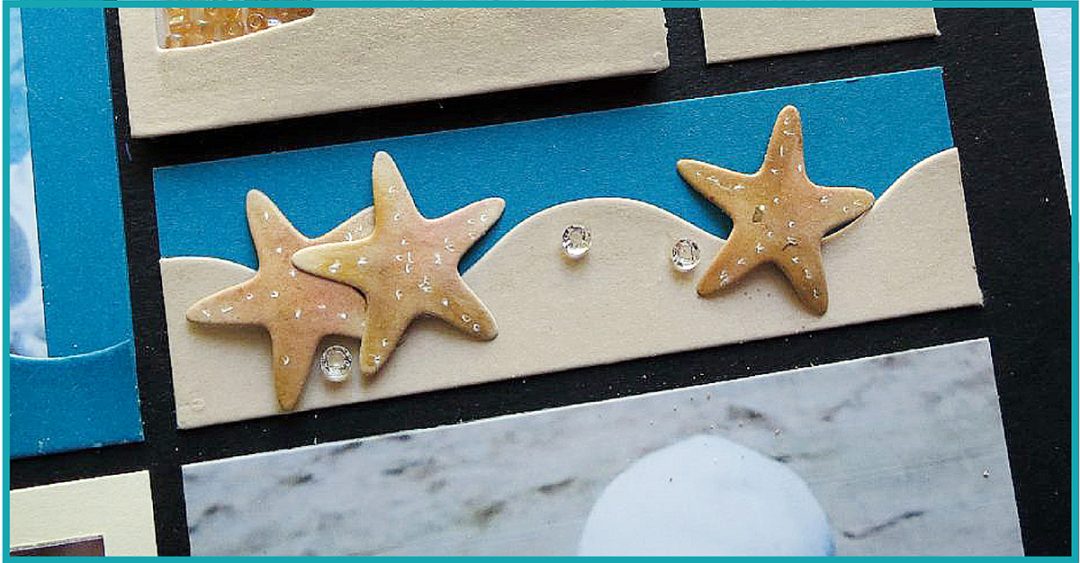
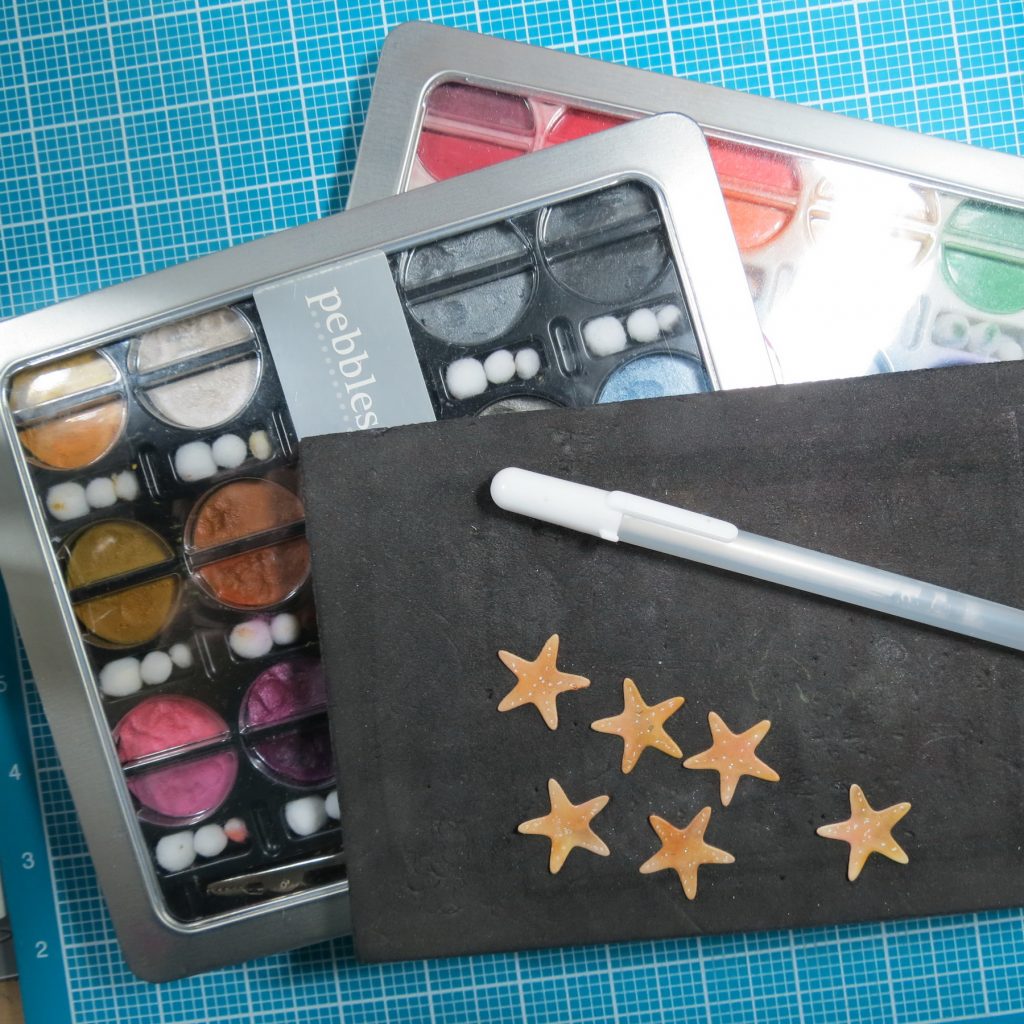
This is the same technique you will use if you want to achieve life-like starfish. I did add chalk shading, a touch of Wink of Stella (glimmer pen) and white gel pen details.
Now that you have all these extras, we need somewhere to place them. So let’s see how we can use the wave die to create two different tile strips to hold both fish and starfish.
Technique 3
Landscaping
I’ve used the rolling wave side to get a sandy beach as well as my lake waves. (think green grass for other outdoor pages)
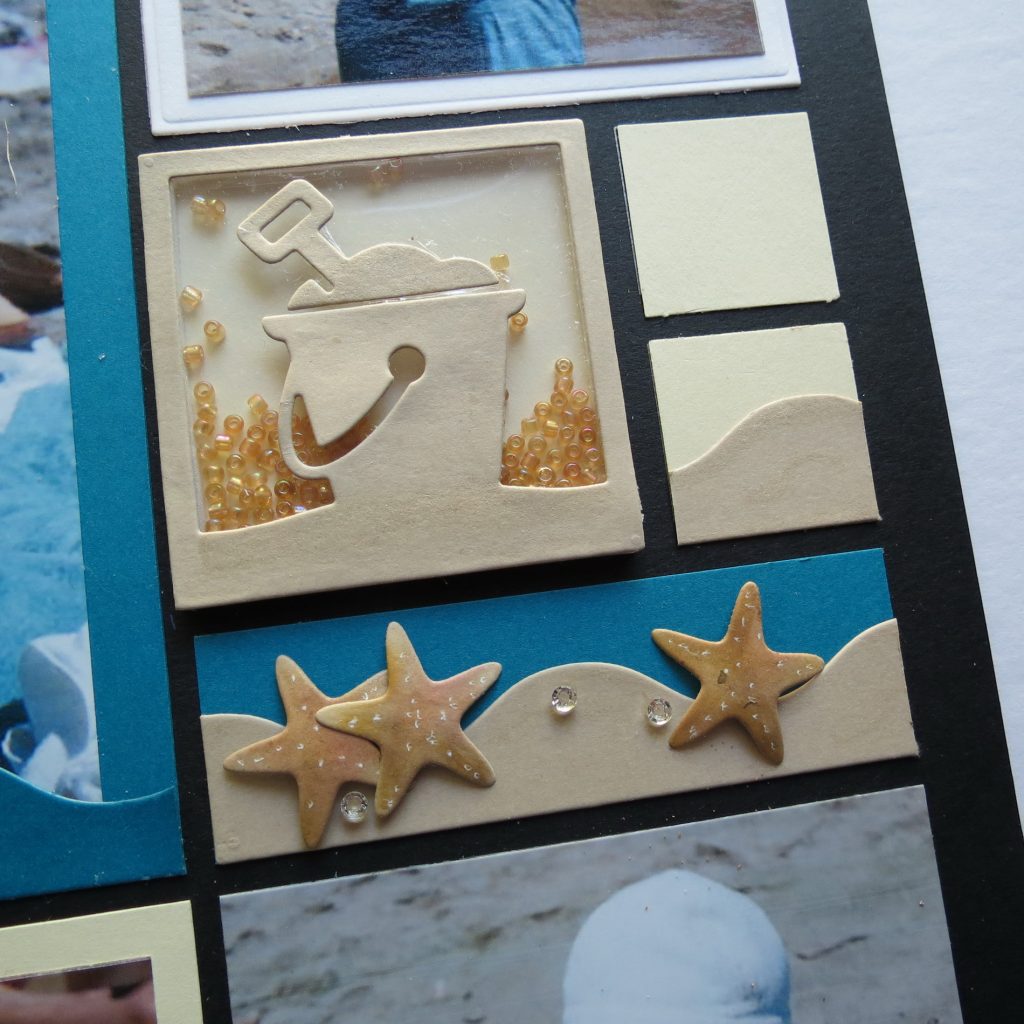
I have two 1×3 sections for my beach spots. Dark blue background with a sand wave added on top. Taking a few swipes with the Wink of Stella glimmer pen to make that sand come alive, it’s the perfect spot to add the starfish. Adding a few Sparkling Clear Jewels to each strip adds a little more sparkle.
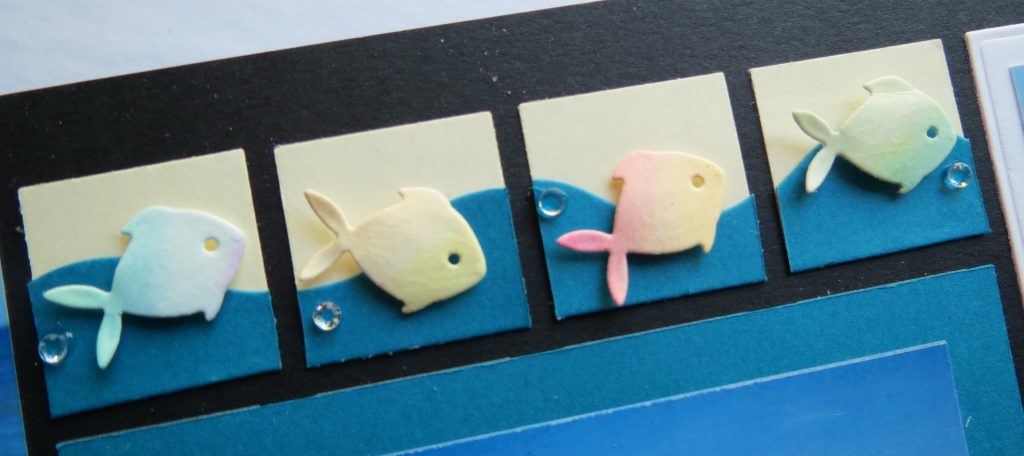
Next spot is the four 1” tiles at the top of the center column. I’ve repeated the ivory color in the tiles to tie the bottom to the top. I’ve topped each tile with a continuous blue wave and then separated each tile and adhered to the grid. Each of the fish were arranged and applied to each block and I added a Sparkling Clear Jewels from Pretty Pink Posh.
Then I’ve added a sand wave to two of the 1”sq tiles next to my shaker boxes to create a look that continues the scene of the shaker box to the outside of the boxes.
So that’s a few ways to dress up your die cuts for all those summer time layouts you’ll be eager to get started creating!
Andrea Fisher