 Advanced Techniques: Creative ways to design with dies or on the grid – beyond the obvious
Featuring these Dies: Strip Frame 4×6 and Strip Frame 3×4, plus Mr. Snow and Flakes and Alphabet 3
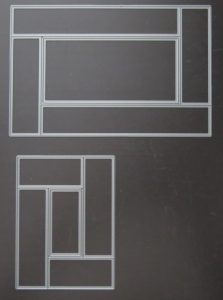
We have two new dies to show off today that will bring many possibilities for creative ways to incorporate them into your scrapbook pages. The 3×4 and 4×6 Strip Frame Dies can be used to cut your photos in a new pattern or can be used to add some color and interest with papers, words or embellishments. We’ll show off both ways.
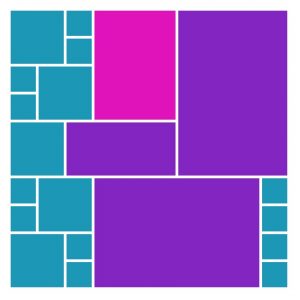
Pattern Selection: The pattern needed to include a 4×6 and 3×4 pattern size for our dies.
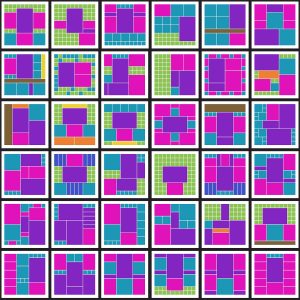
From the Mosaic Moments Pattern Gallery choices for using both the 4×6 and 3×4 dies in this project.
I had two patterns I began to work with unsure of which was the best choice. After thinking about how I wanted to show a new idea/technique I chose Pattern #210.
TWO WAYS to use these new dies
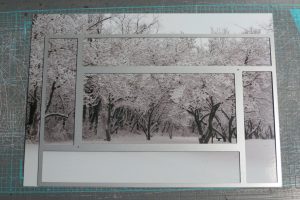
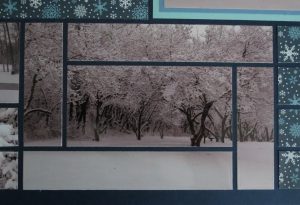
The first way is the obvious by cutting a 5×7 photo to fit to the grid space of the 4×6 pattern. You can see that I have some room to adjust the area I want to capture. I have framed the center section so that the row of trees is in the center block; none of the trunks extend to the bottom section.
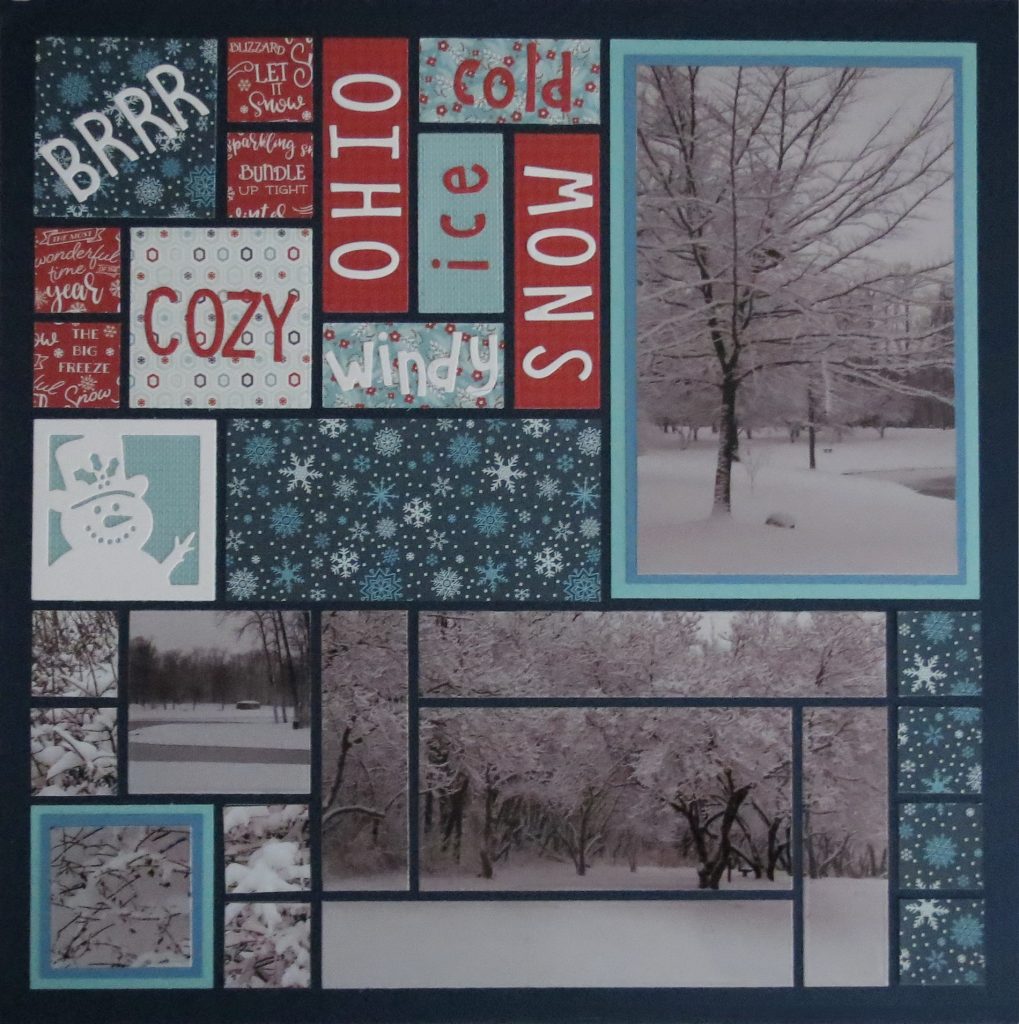
My base for building this winter wonderland is a navy 12” x 12” Mosaic Moments Grid.
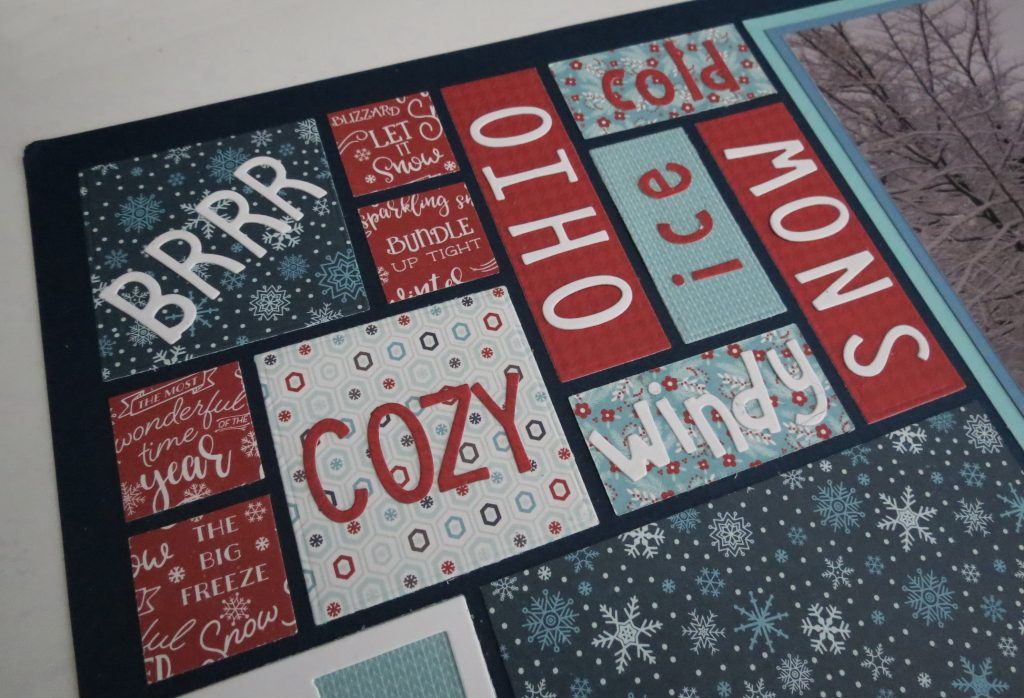
For the second way it is a bit beyond the obvious. I was inspired by several different things for this idea. I’ve kept a few pins on Pinterest for inspiration and I’ve been playing with this idea a few years. These new dies will make it work so much easier!
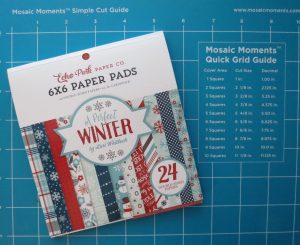
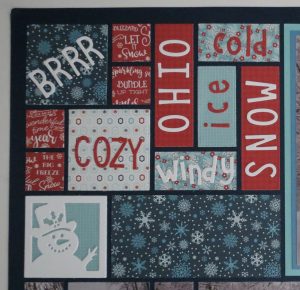
I’ve chosen A Perfect Winter from Echo Park for my pattern papers to be cut with the 3×4 Strip Frame Die. I love the little 6×6 packs of coordinating papers they are perfect for Mosaic style scrapping or card making, just enough to use and lots of pattern choices. The area I’m going to work with is the top left quadrant of the pattern. There are a series of 2×2’s and 1” squares that line the left side border and I’ll extend my word collage from the 3×4 pattern and incorporate two 2×2’s and 4-1” squares.
The papers in this pack are double sided so I only used the die once to cut and flipped to the back side on two. Another section for the center was cut from another pattern paper. The four 1” squares were fussy cut with a 1”sq EK Success punch to be able to capture the words I wanted to include.
Additional words were cut from red patterned paper and white cardstock using Alphabet 3 for a more whimsical look. These words are good descriptions of winter related words.
Once again I’ve included the Mr. Snow and Flakes Die in a simple white cardstock on top of the pale blue knit patterned paper background.
Two of the photos have been double matted to pick up colors from the patterned papers and are in opposite corners.
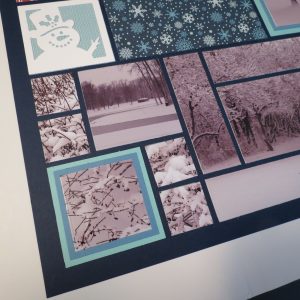
Mosaic Moments featuring the Strip Frame Dies Three views, details, close up and very close up. Double matting photos
Photos include detailed snow on branches, near views and also distant views. Although they look like they are black & white photos they aren’t it’s just the stark winter appearance in the park.
Now if you’d like to do a larger word piece with these two new dies
imagine what you could do with these three:
Check out the pattern selection at the beginning or the Pattern Gallery online for more possibilities and be adventurous and explore!
Andrea Fisher

