
 Simple Steps: The Basics 101.02
Matting Basics
In today’s Basics 101.02 let’s talk about photo mats.
Occasionally there are photo spots in the patterns that are larger than your photo and you need to create a mat for your photo so that it fits the pattern. Other times you may add a mat just because it adds to the look of your layout and nicely frames your photo.
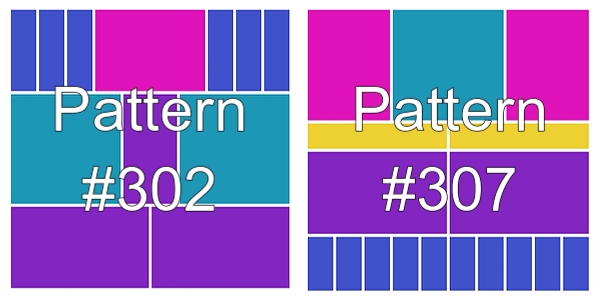
Mosaic Moments Patterns #302 and #307
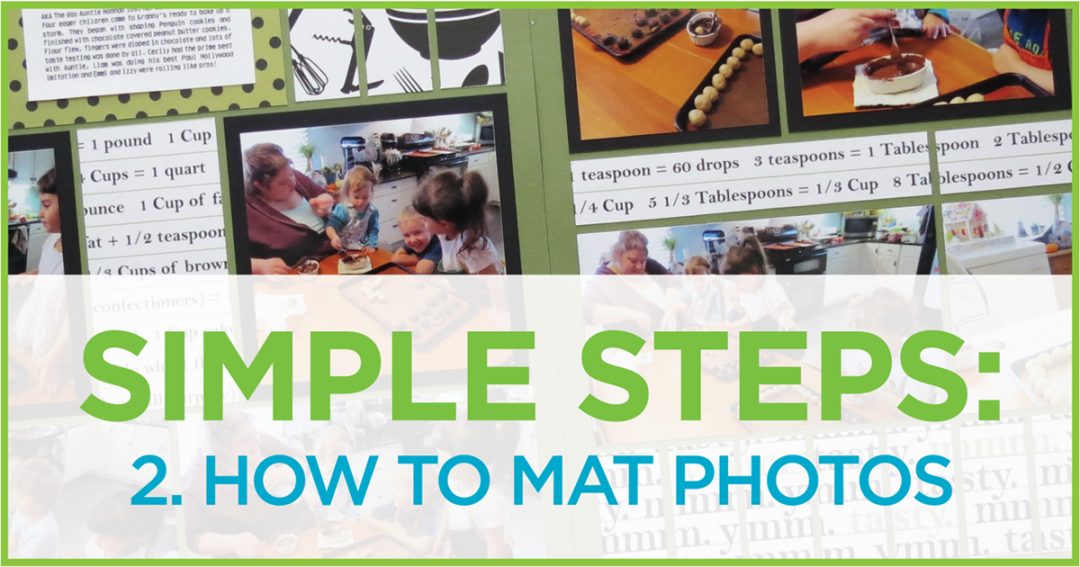
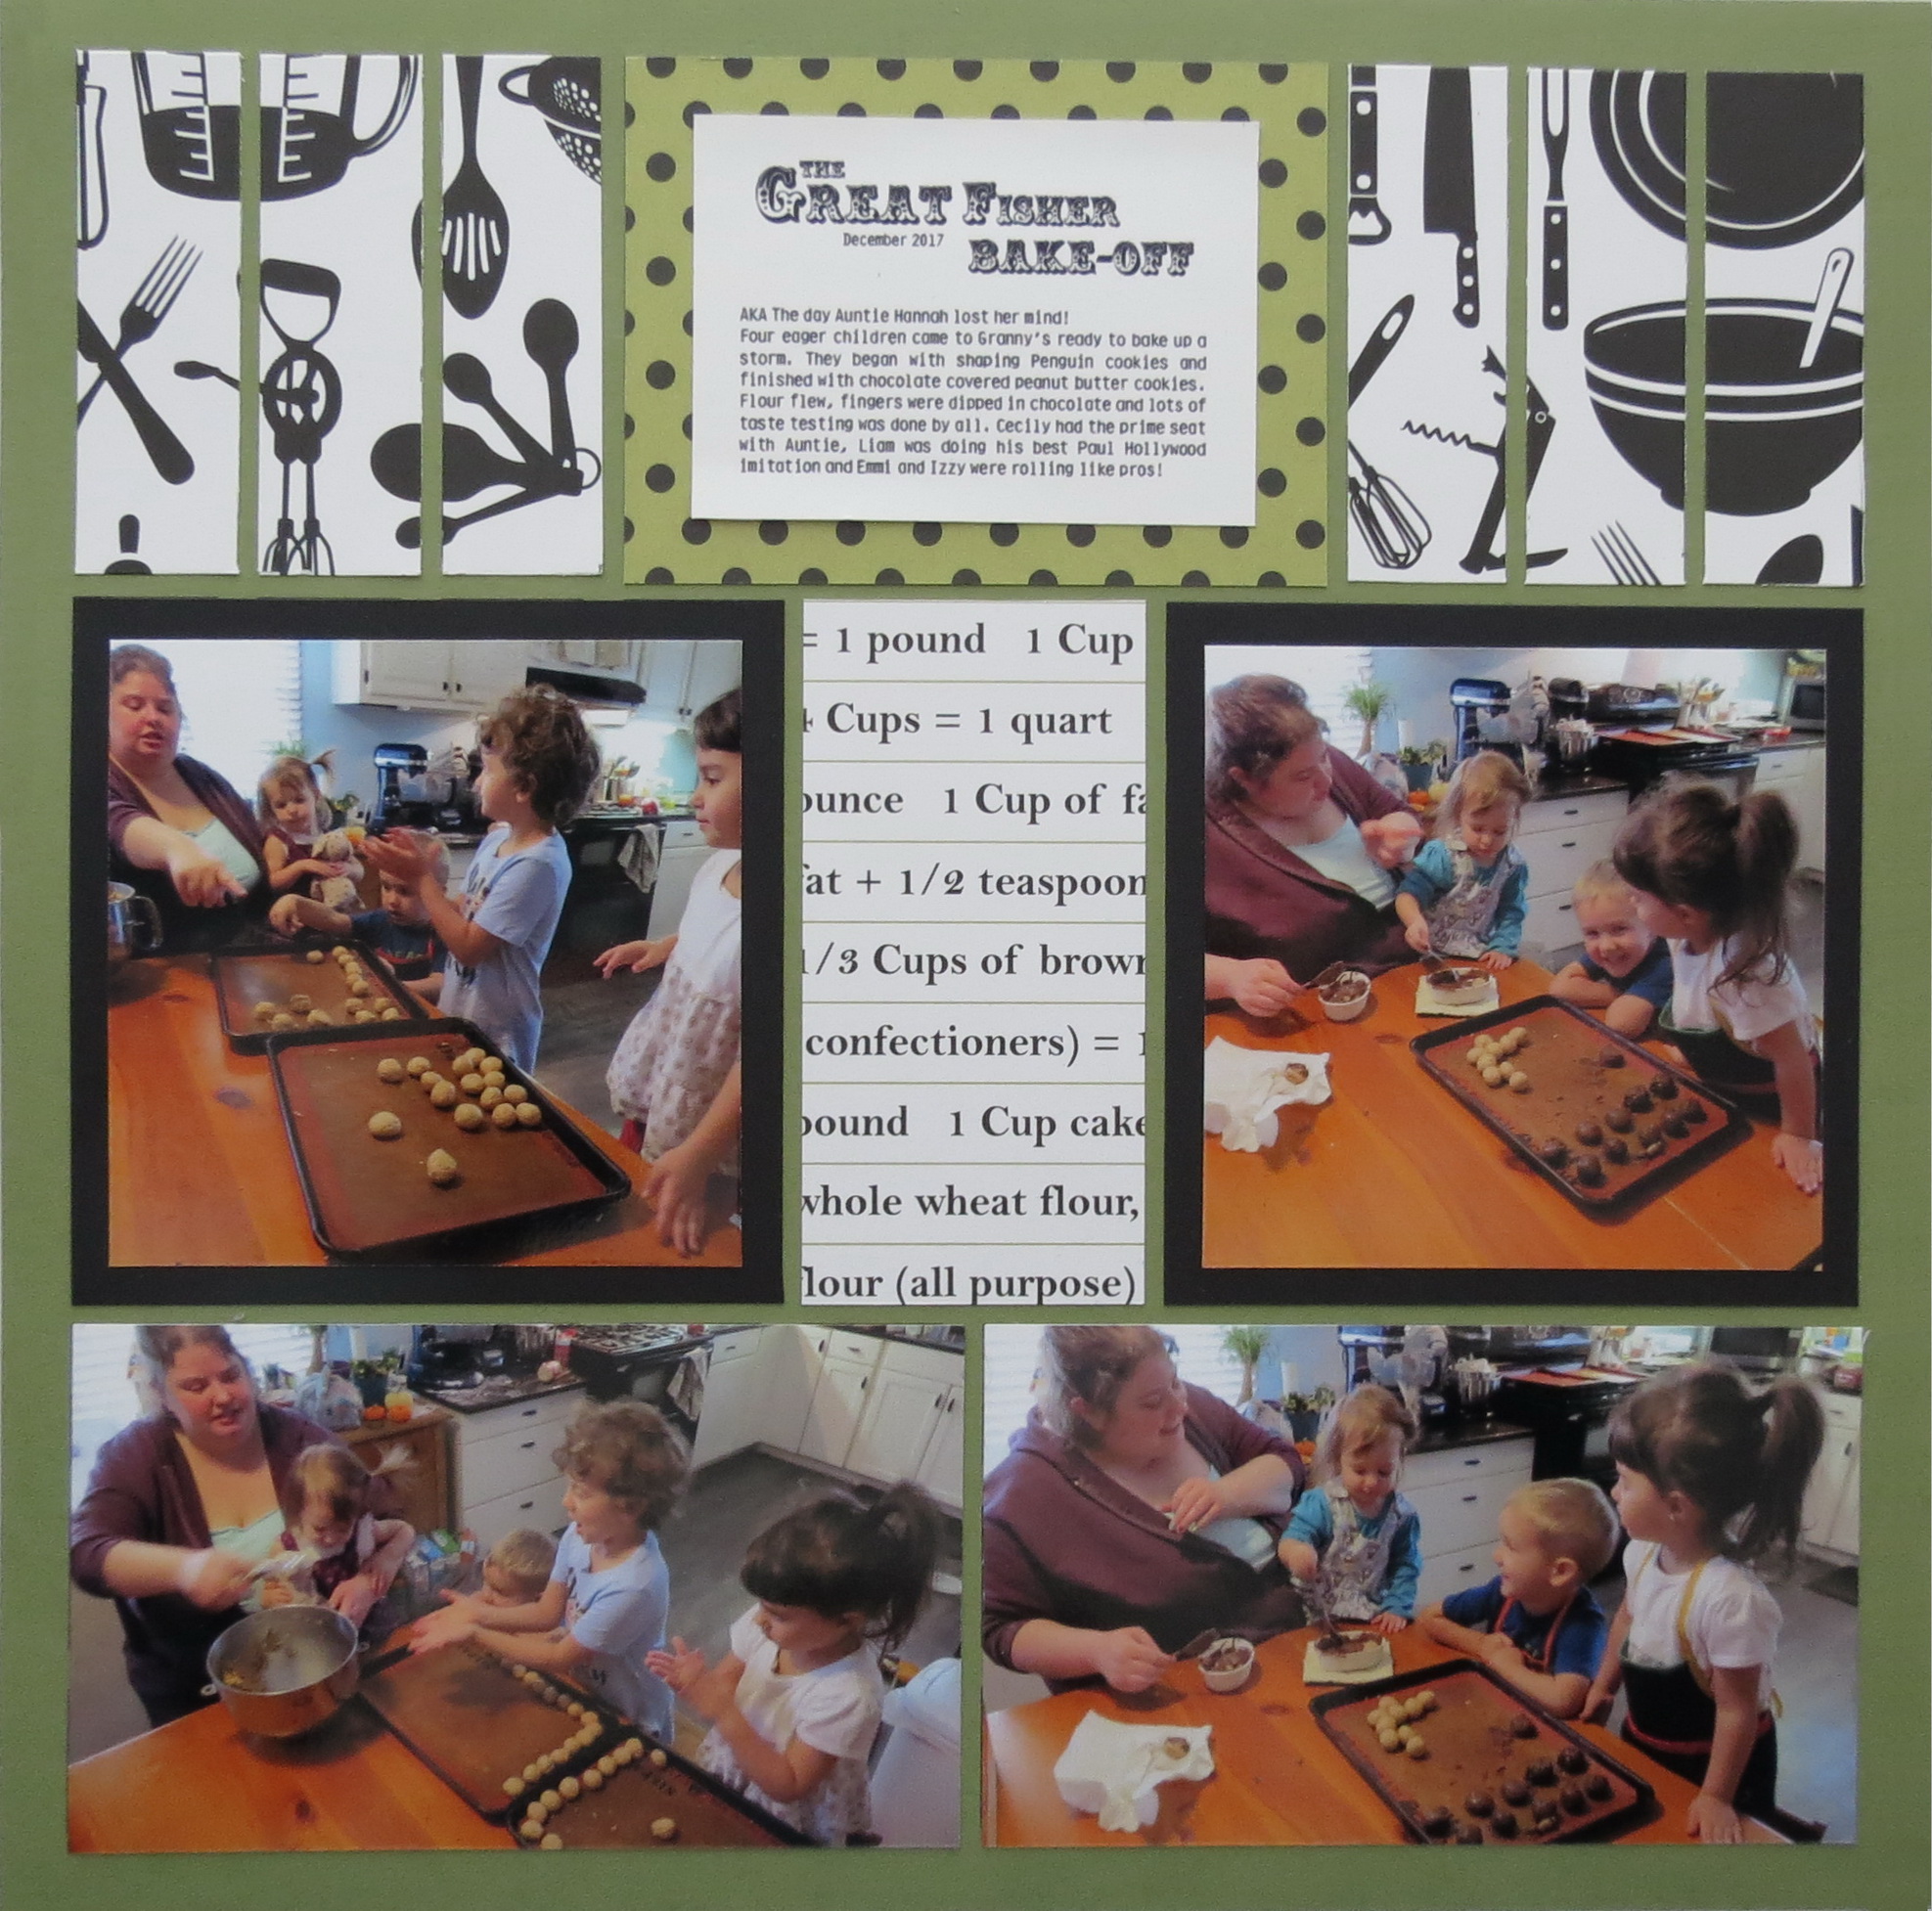
The patterns for this layout, #302 and #307 strip patterns, relate to each other with both 3×5 and 4×4 spots and both pages have strip sections that I’ve filled with pattern paper. Five photos will need a mat while four will be cut to fit the grid. Additional spots will hold title/journaling and patterned paper.
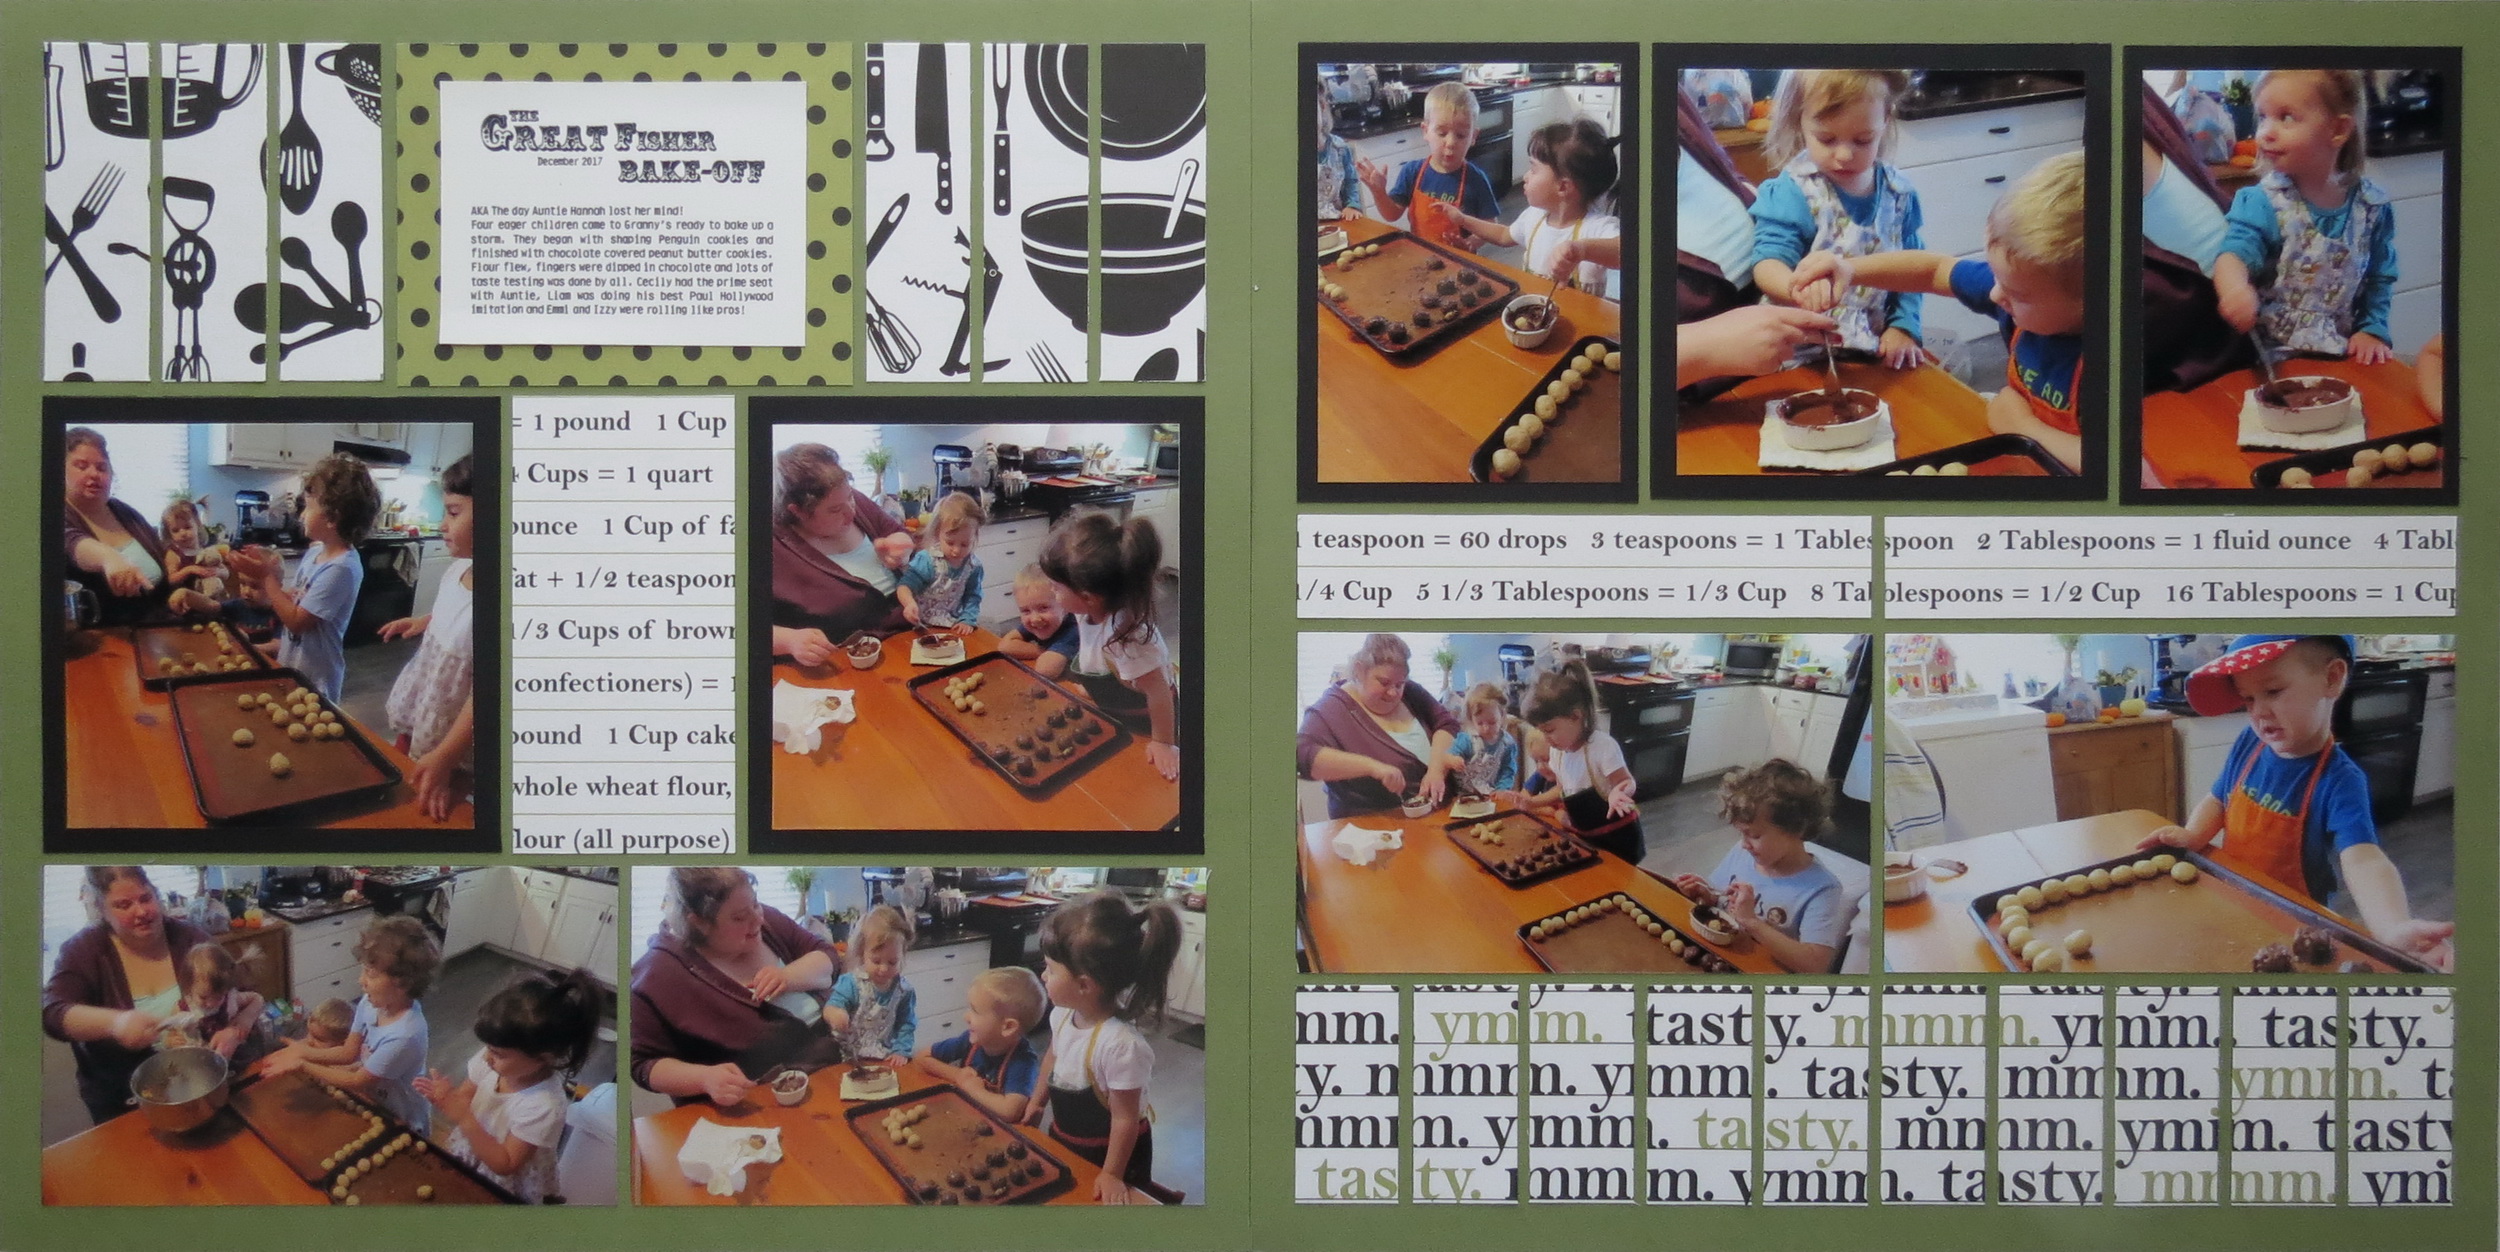
Mosaic Moments Simple Steps: Matting Basics Layout
I’ve cut these mats by hand and used the quick-cut side of the Mosaic Moments Cutting Mat to create mats for my 4×4 and 4×3 photos. It’s easy to line up your cardstock at the large white dot and cut along the “4”. Turn a quarter turn, line up at the dot and cut again at the four. Take the remaining section and repeat lining at the dot and cut at the four. From a second paper repeat and cut for one more 4×4. In the remaining section you can cut two 4×3 sections for the remaining needed mats.
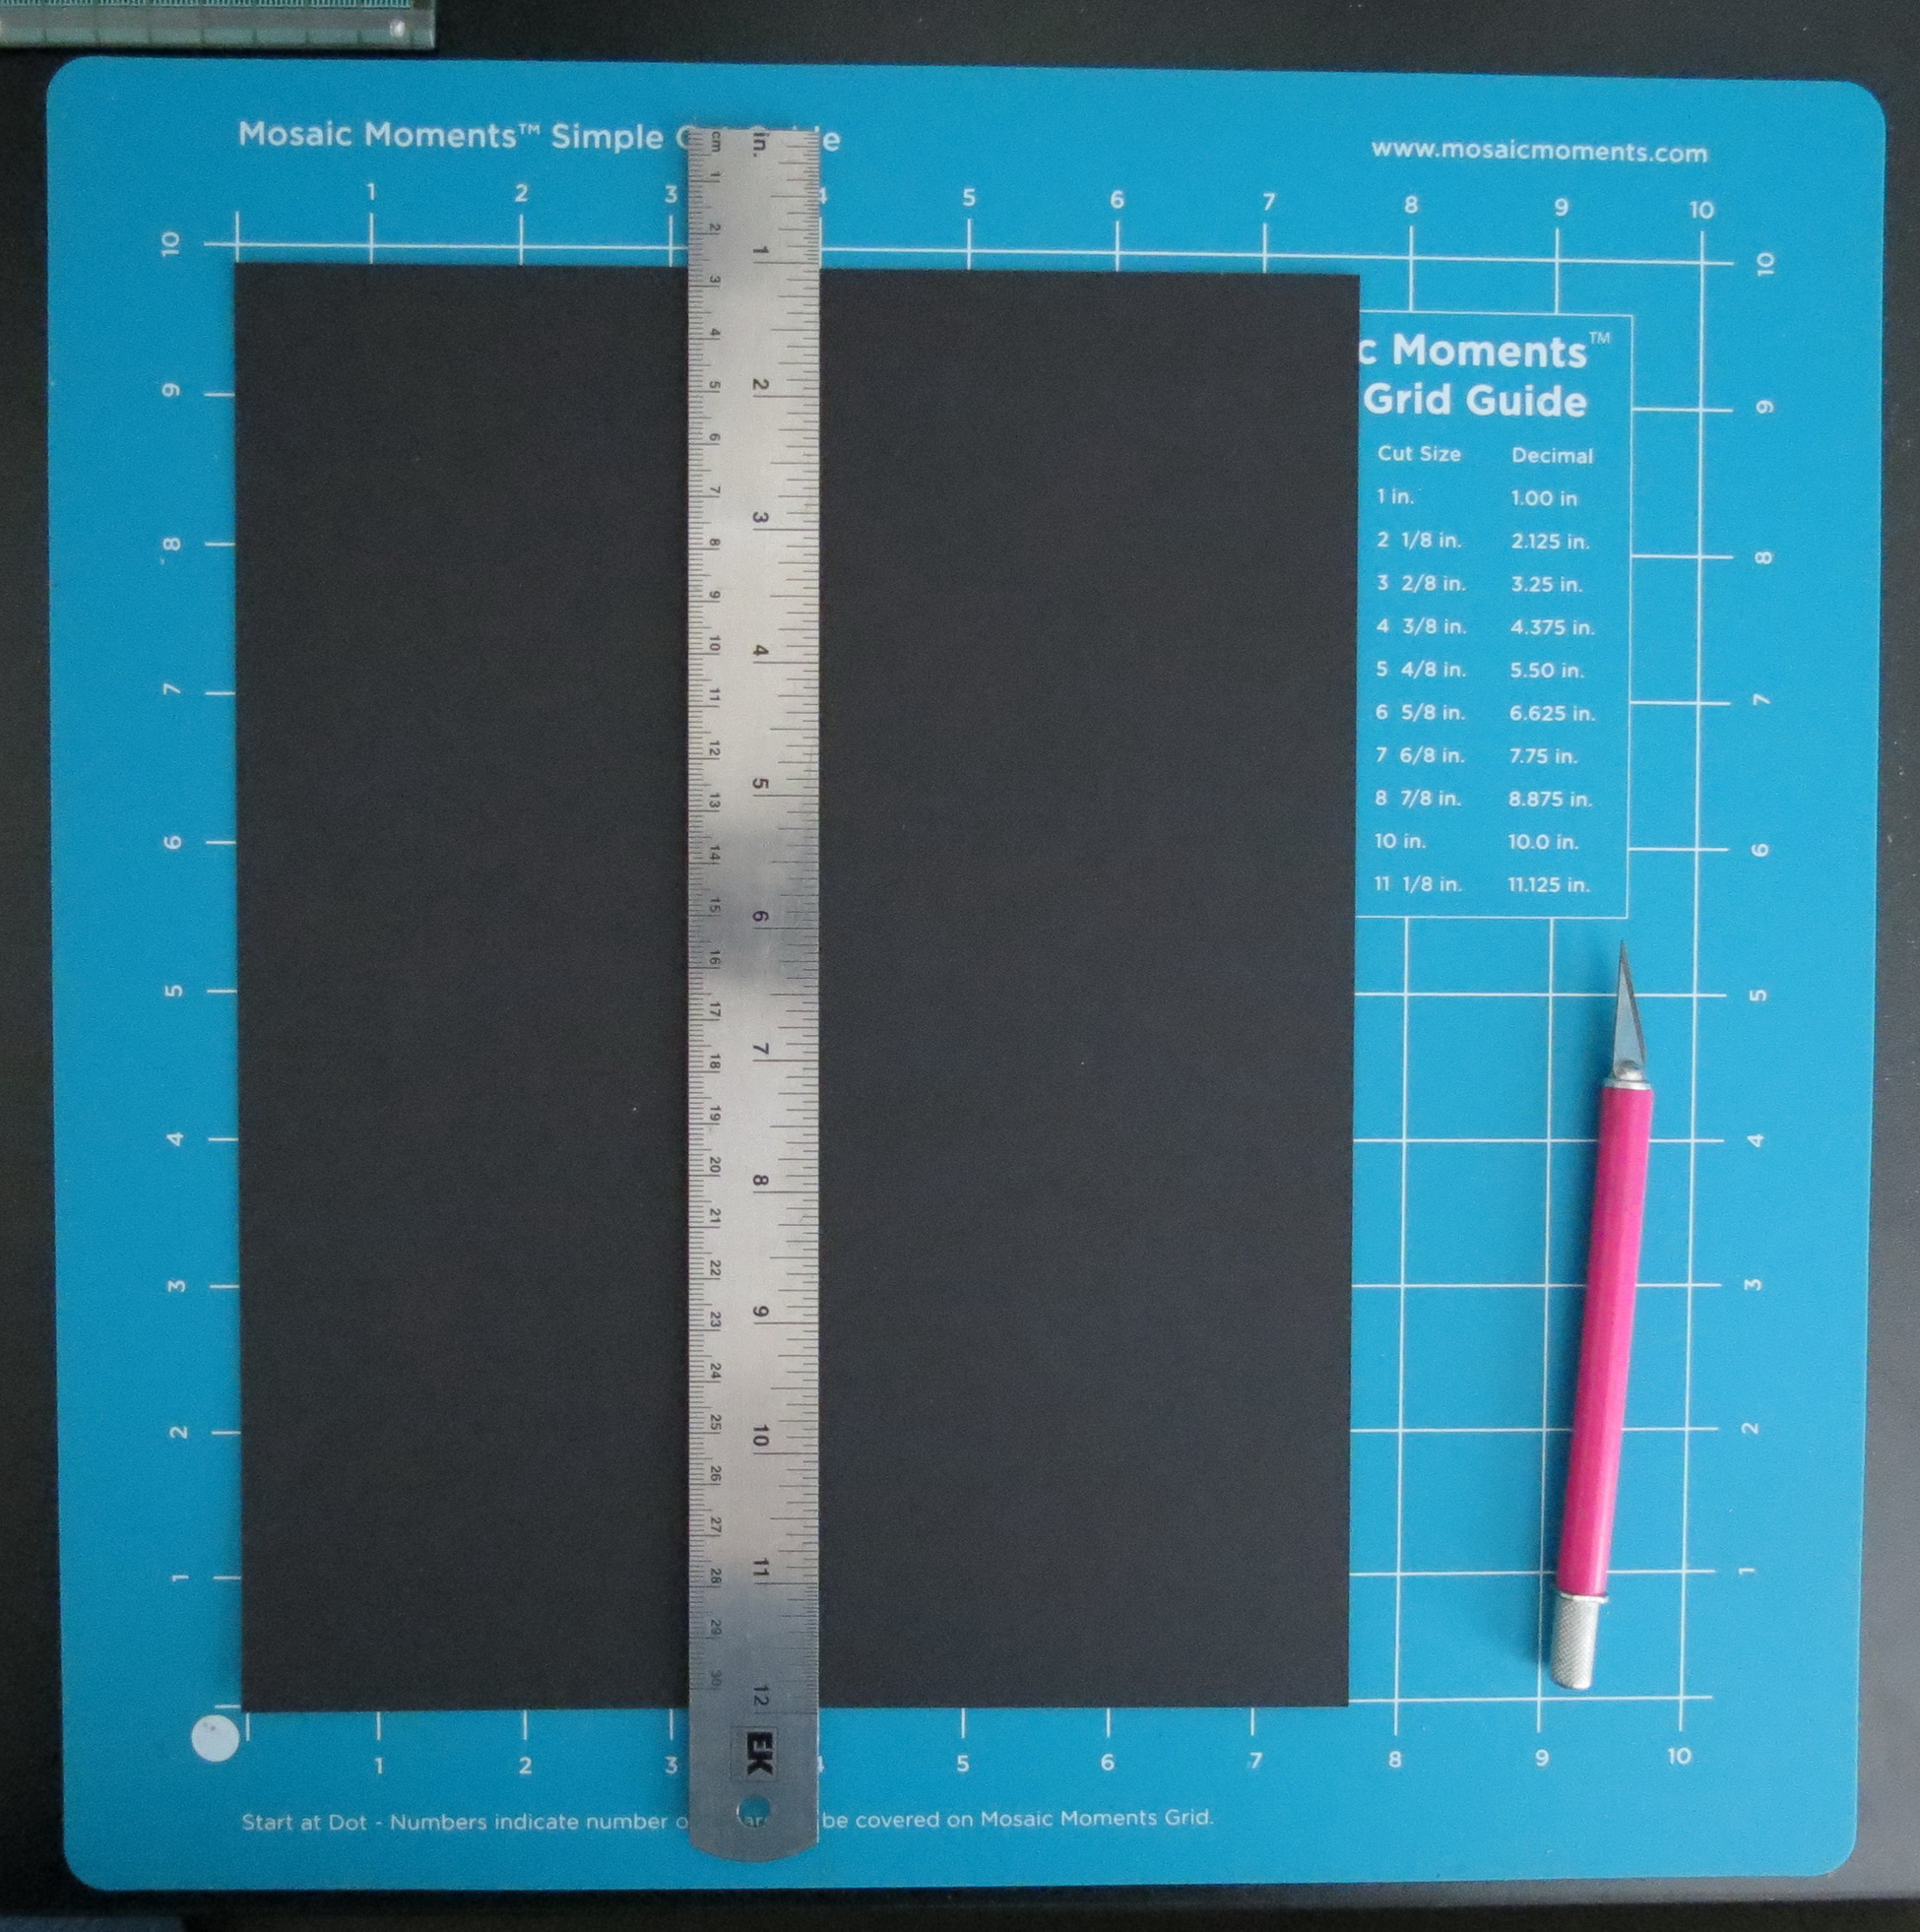
Mosaic Moments Simple Steps: Matting Basics Using the Simple Cut Guide step 1
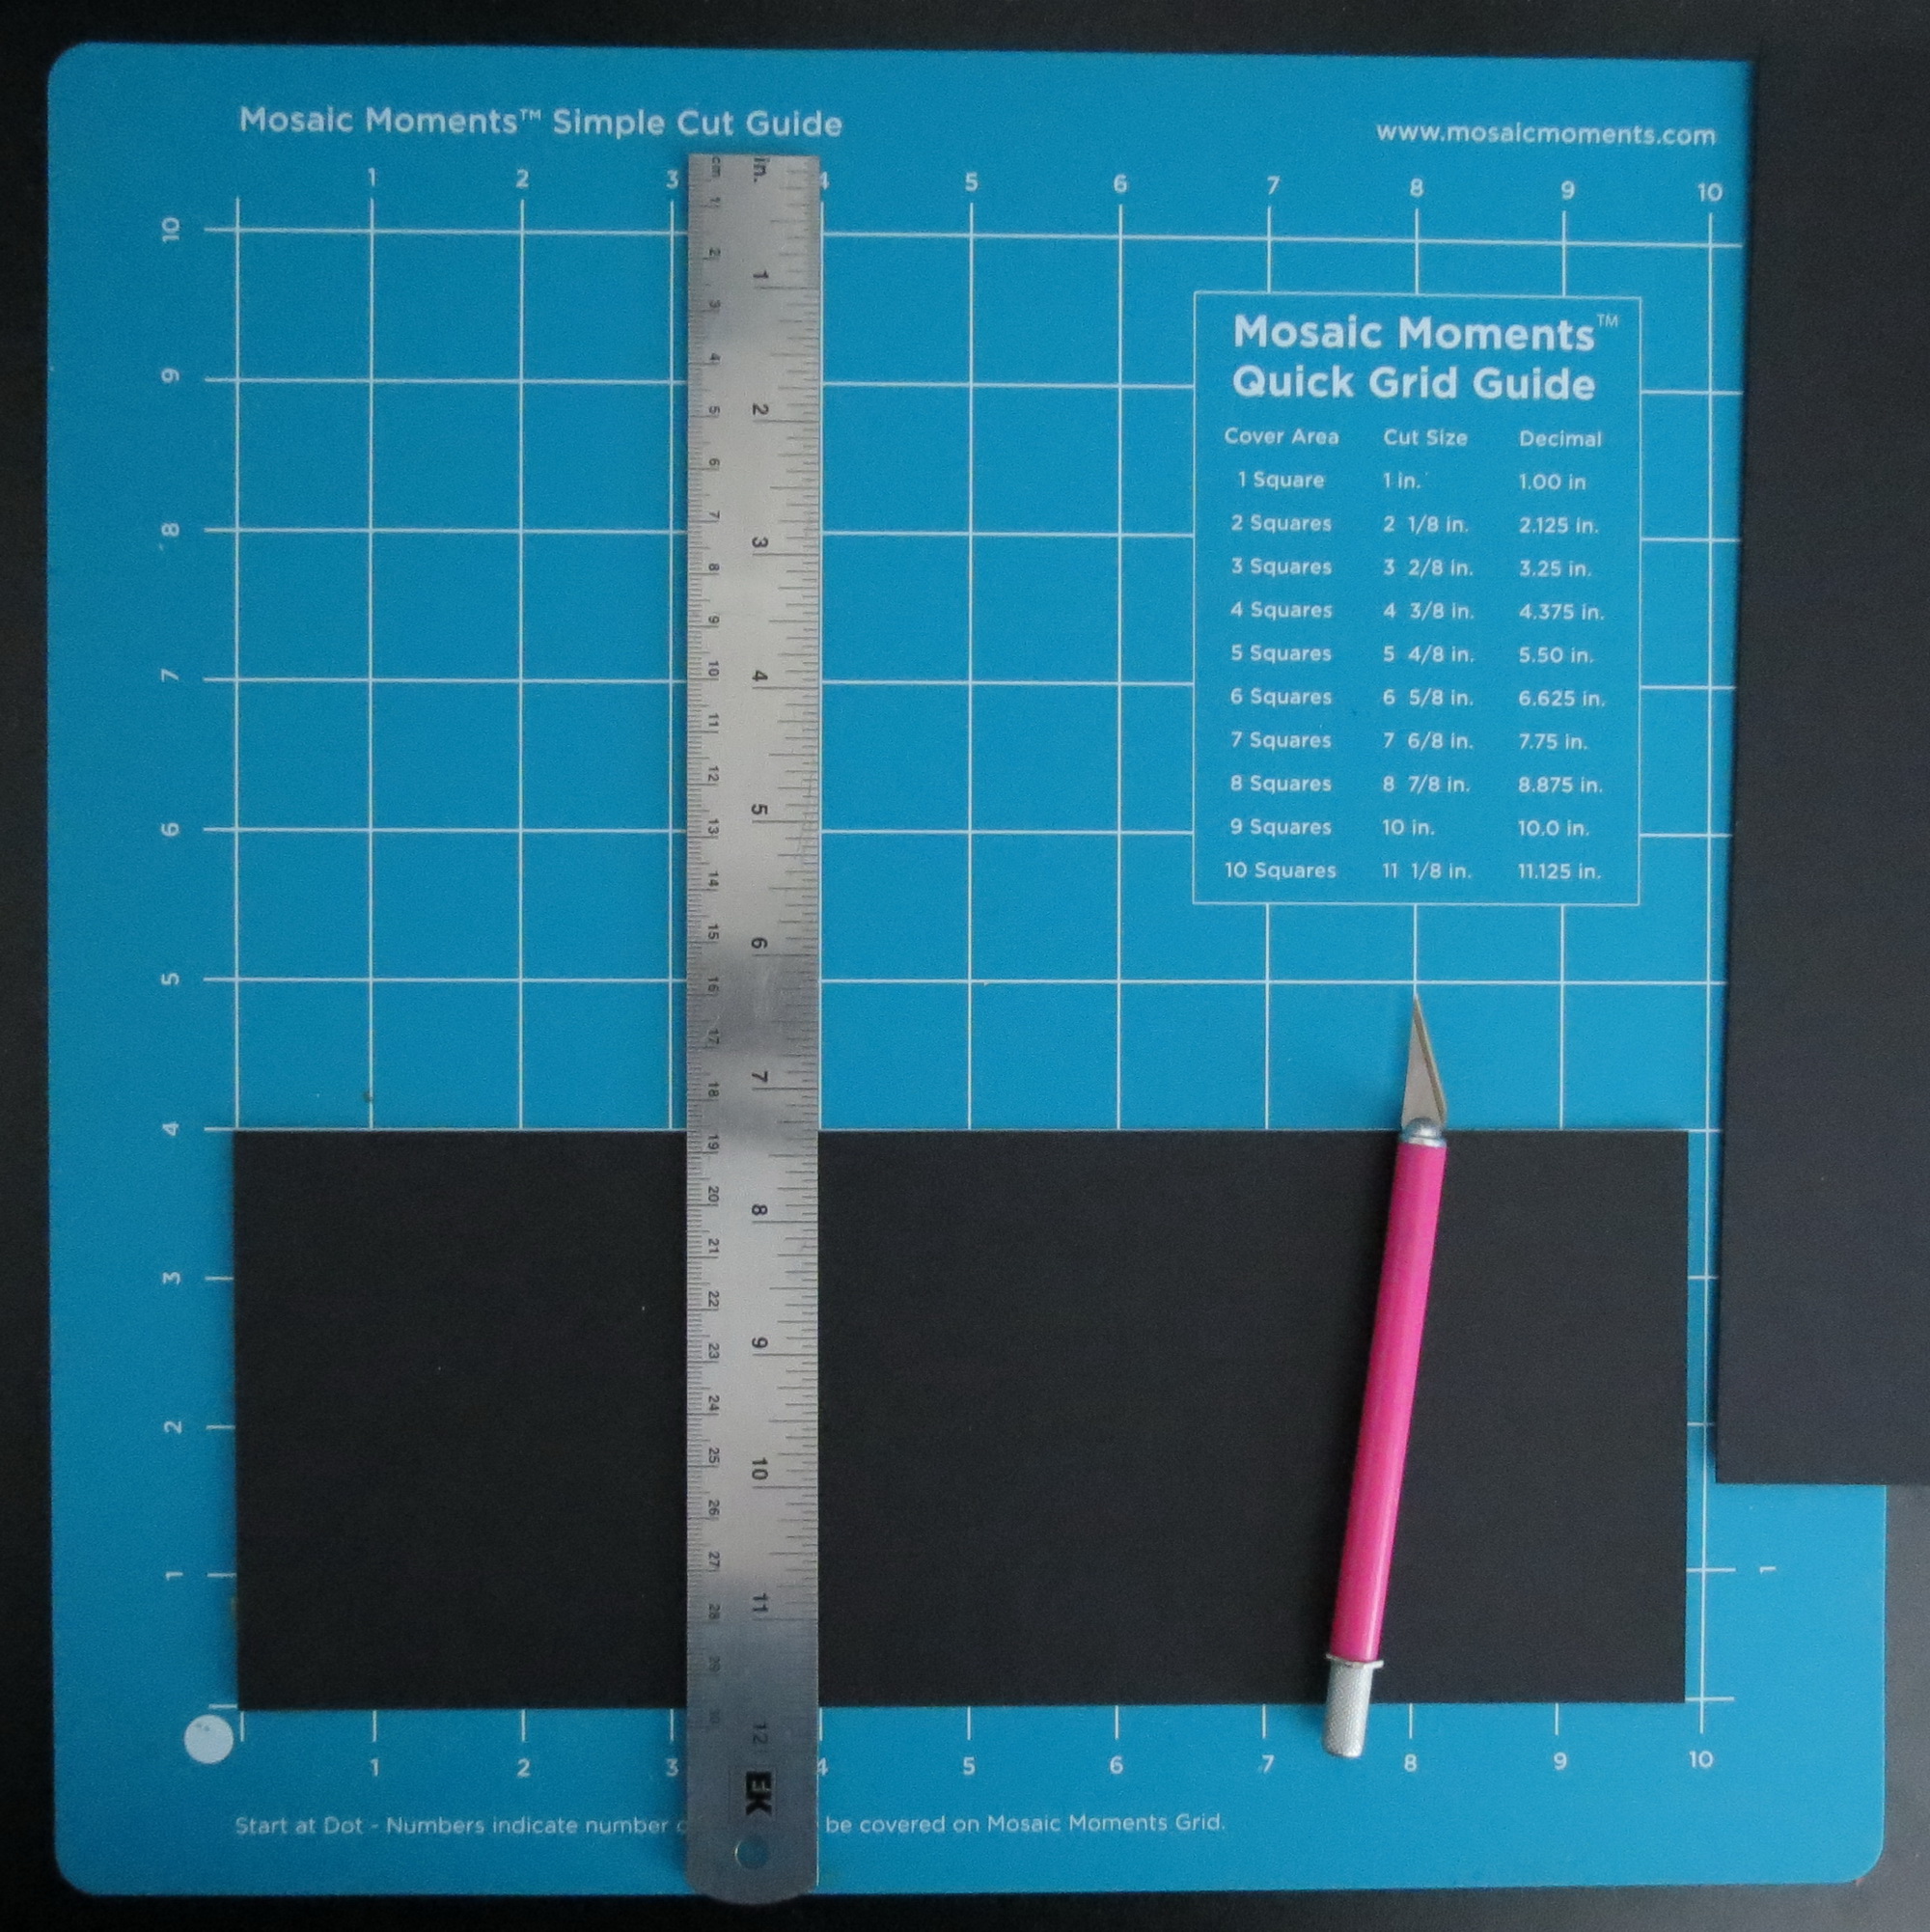
Mosaic Moments Simple Steps: Matting Basics Cutting by hand using the Simple Cut Guide
Mosaic Moments Simple Steps: Matting Basics Step 3
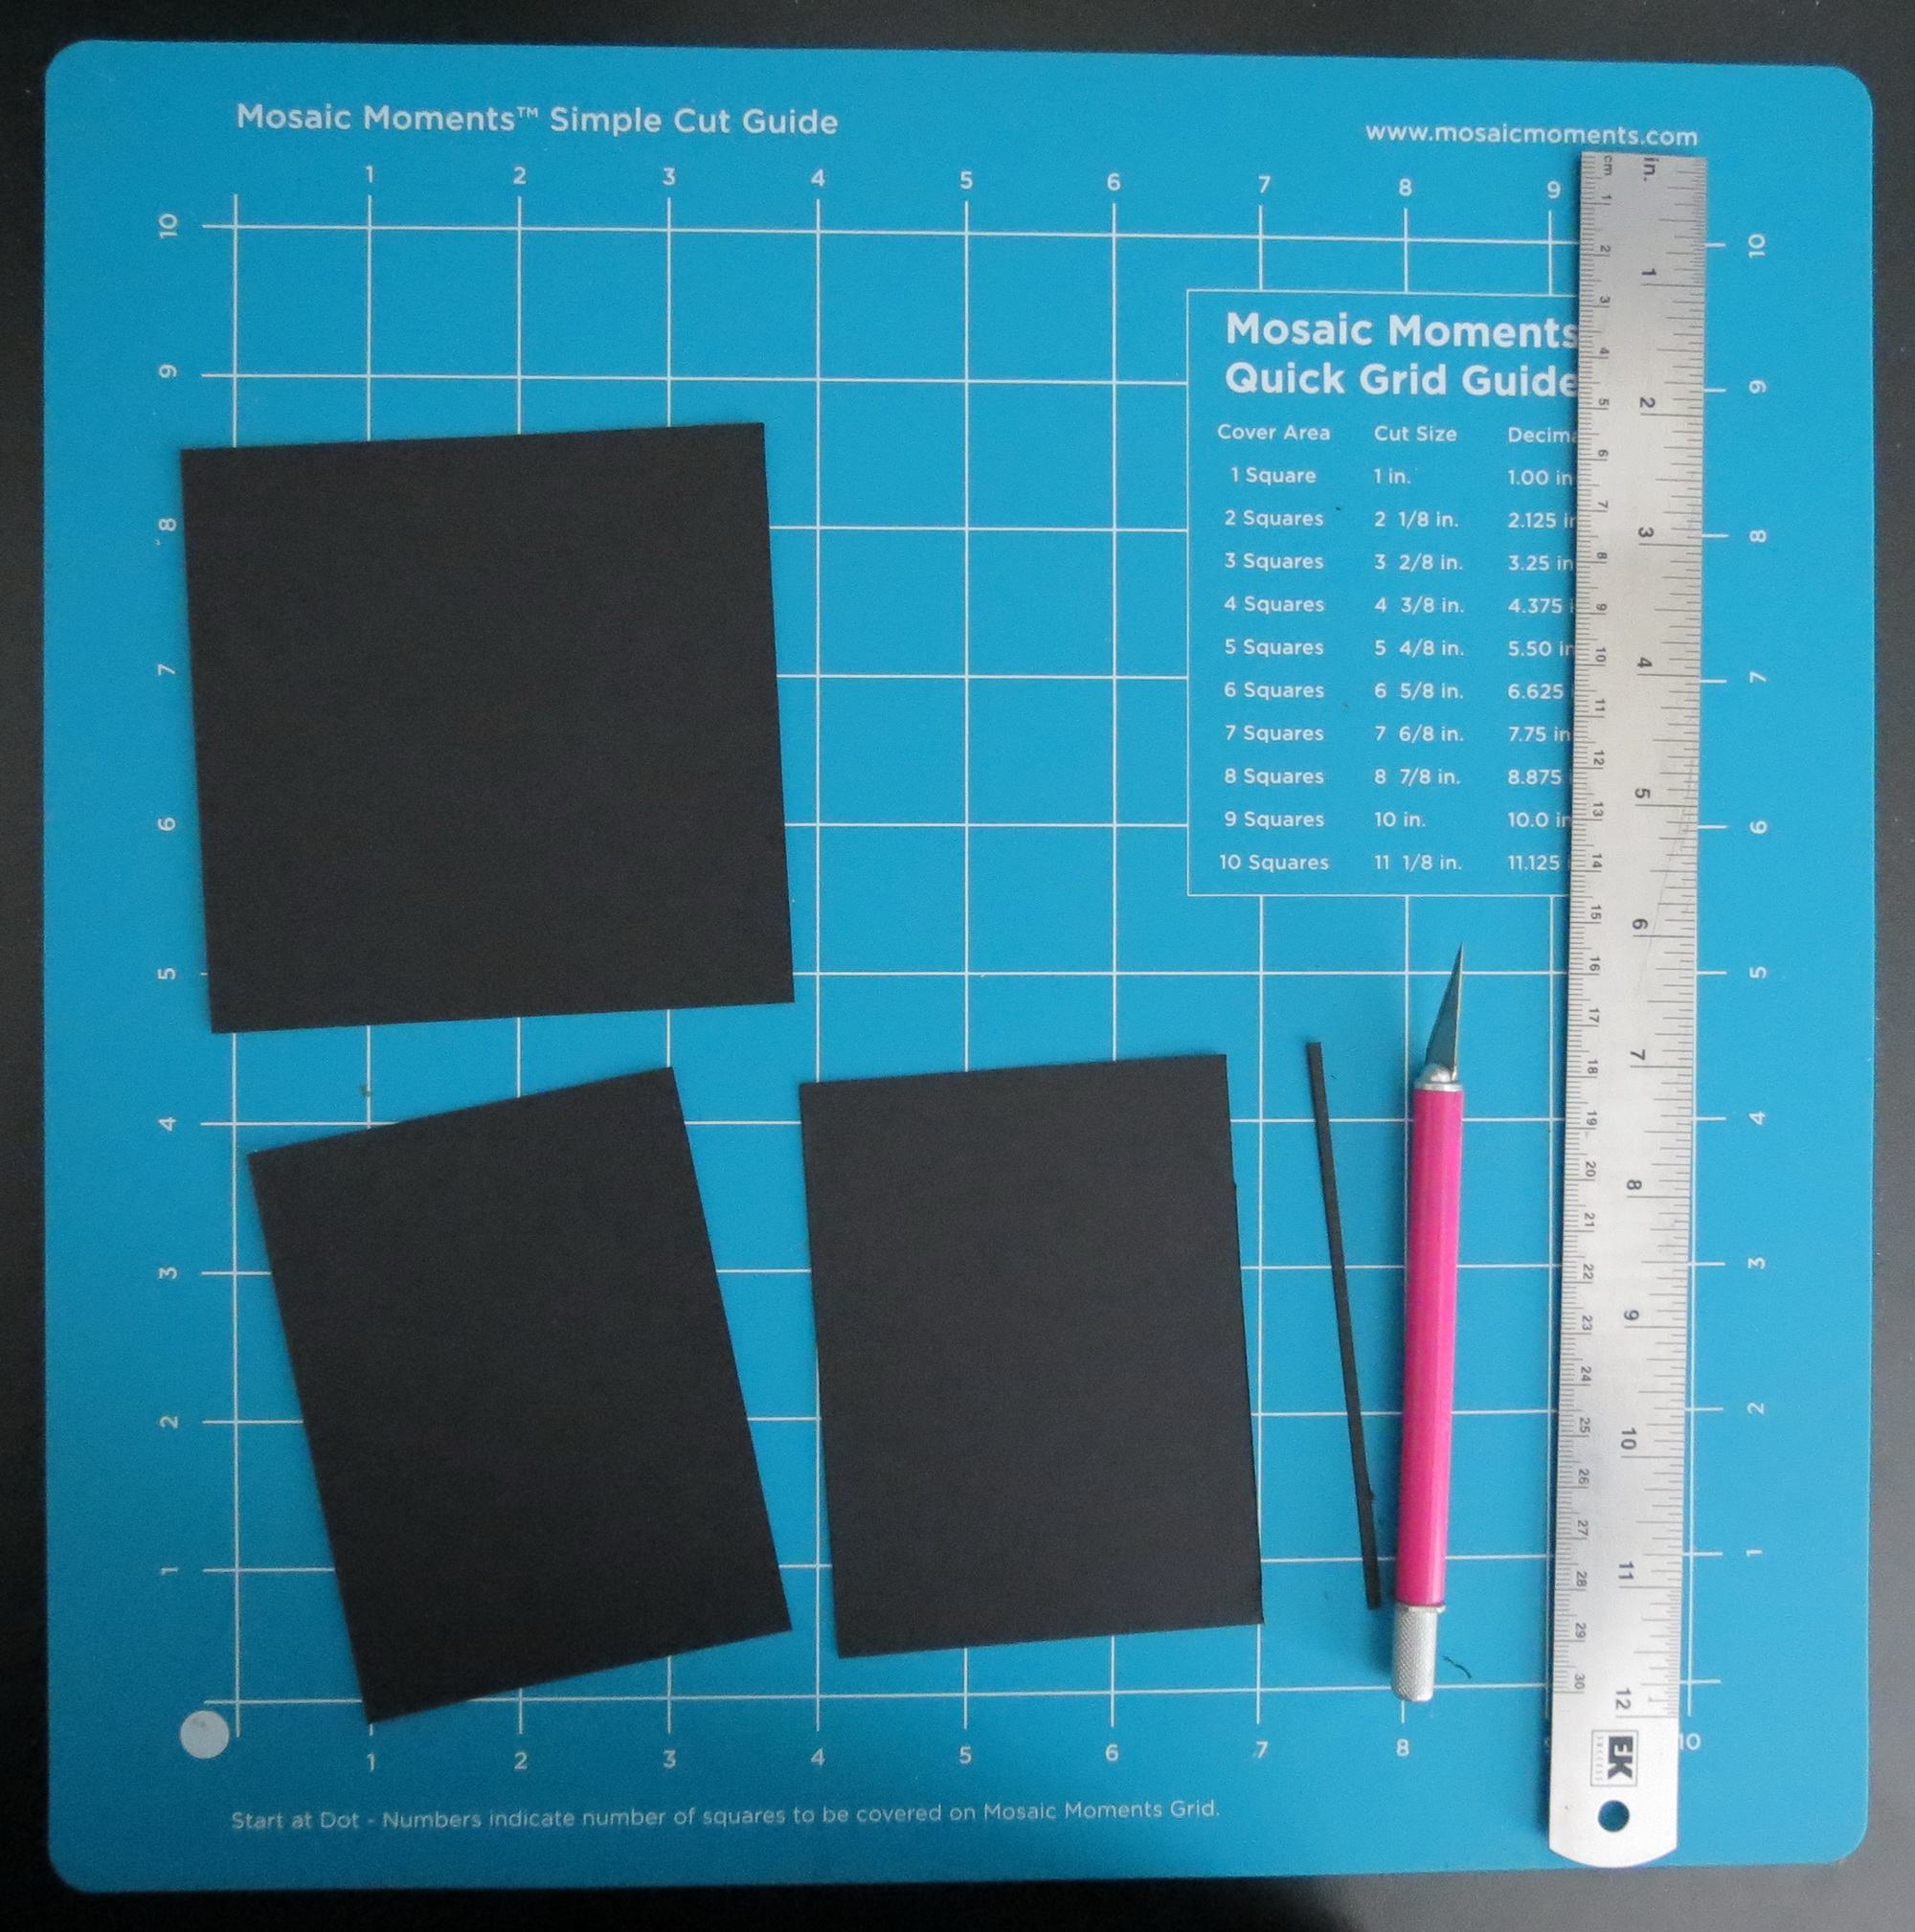
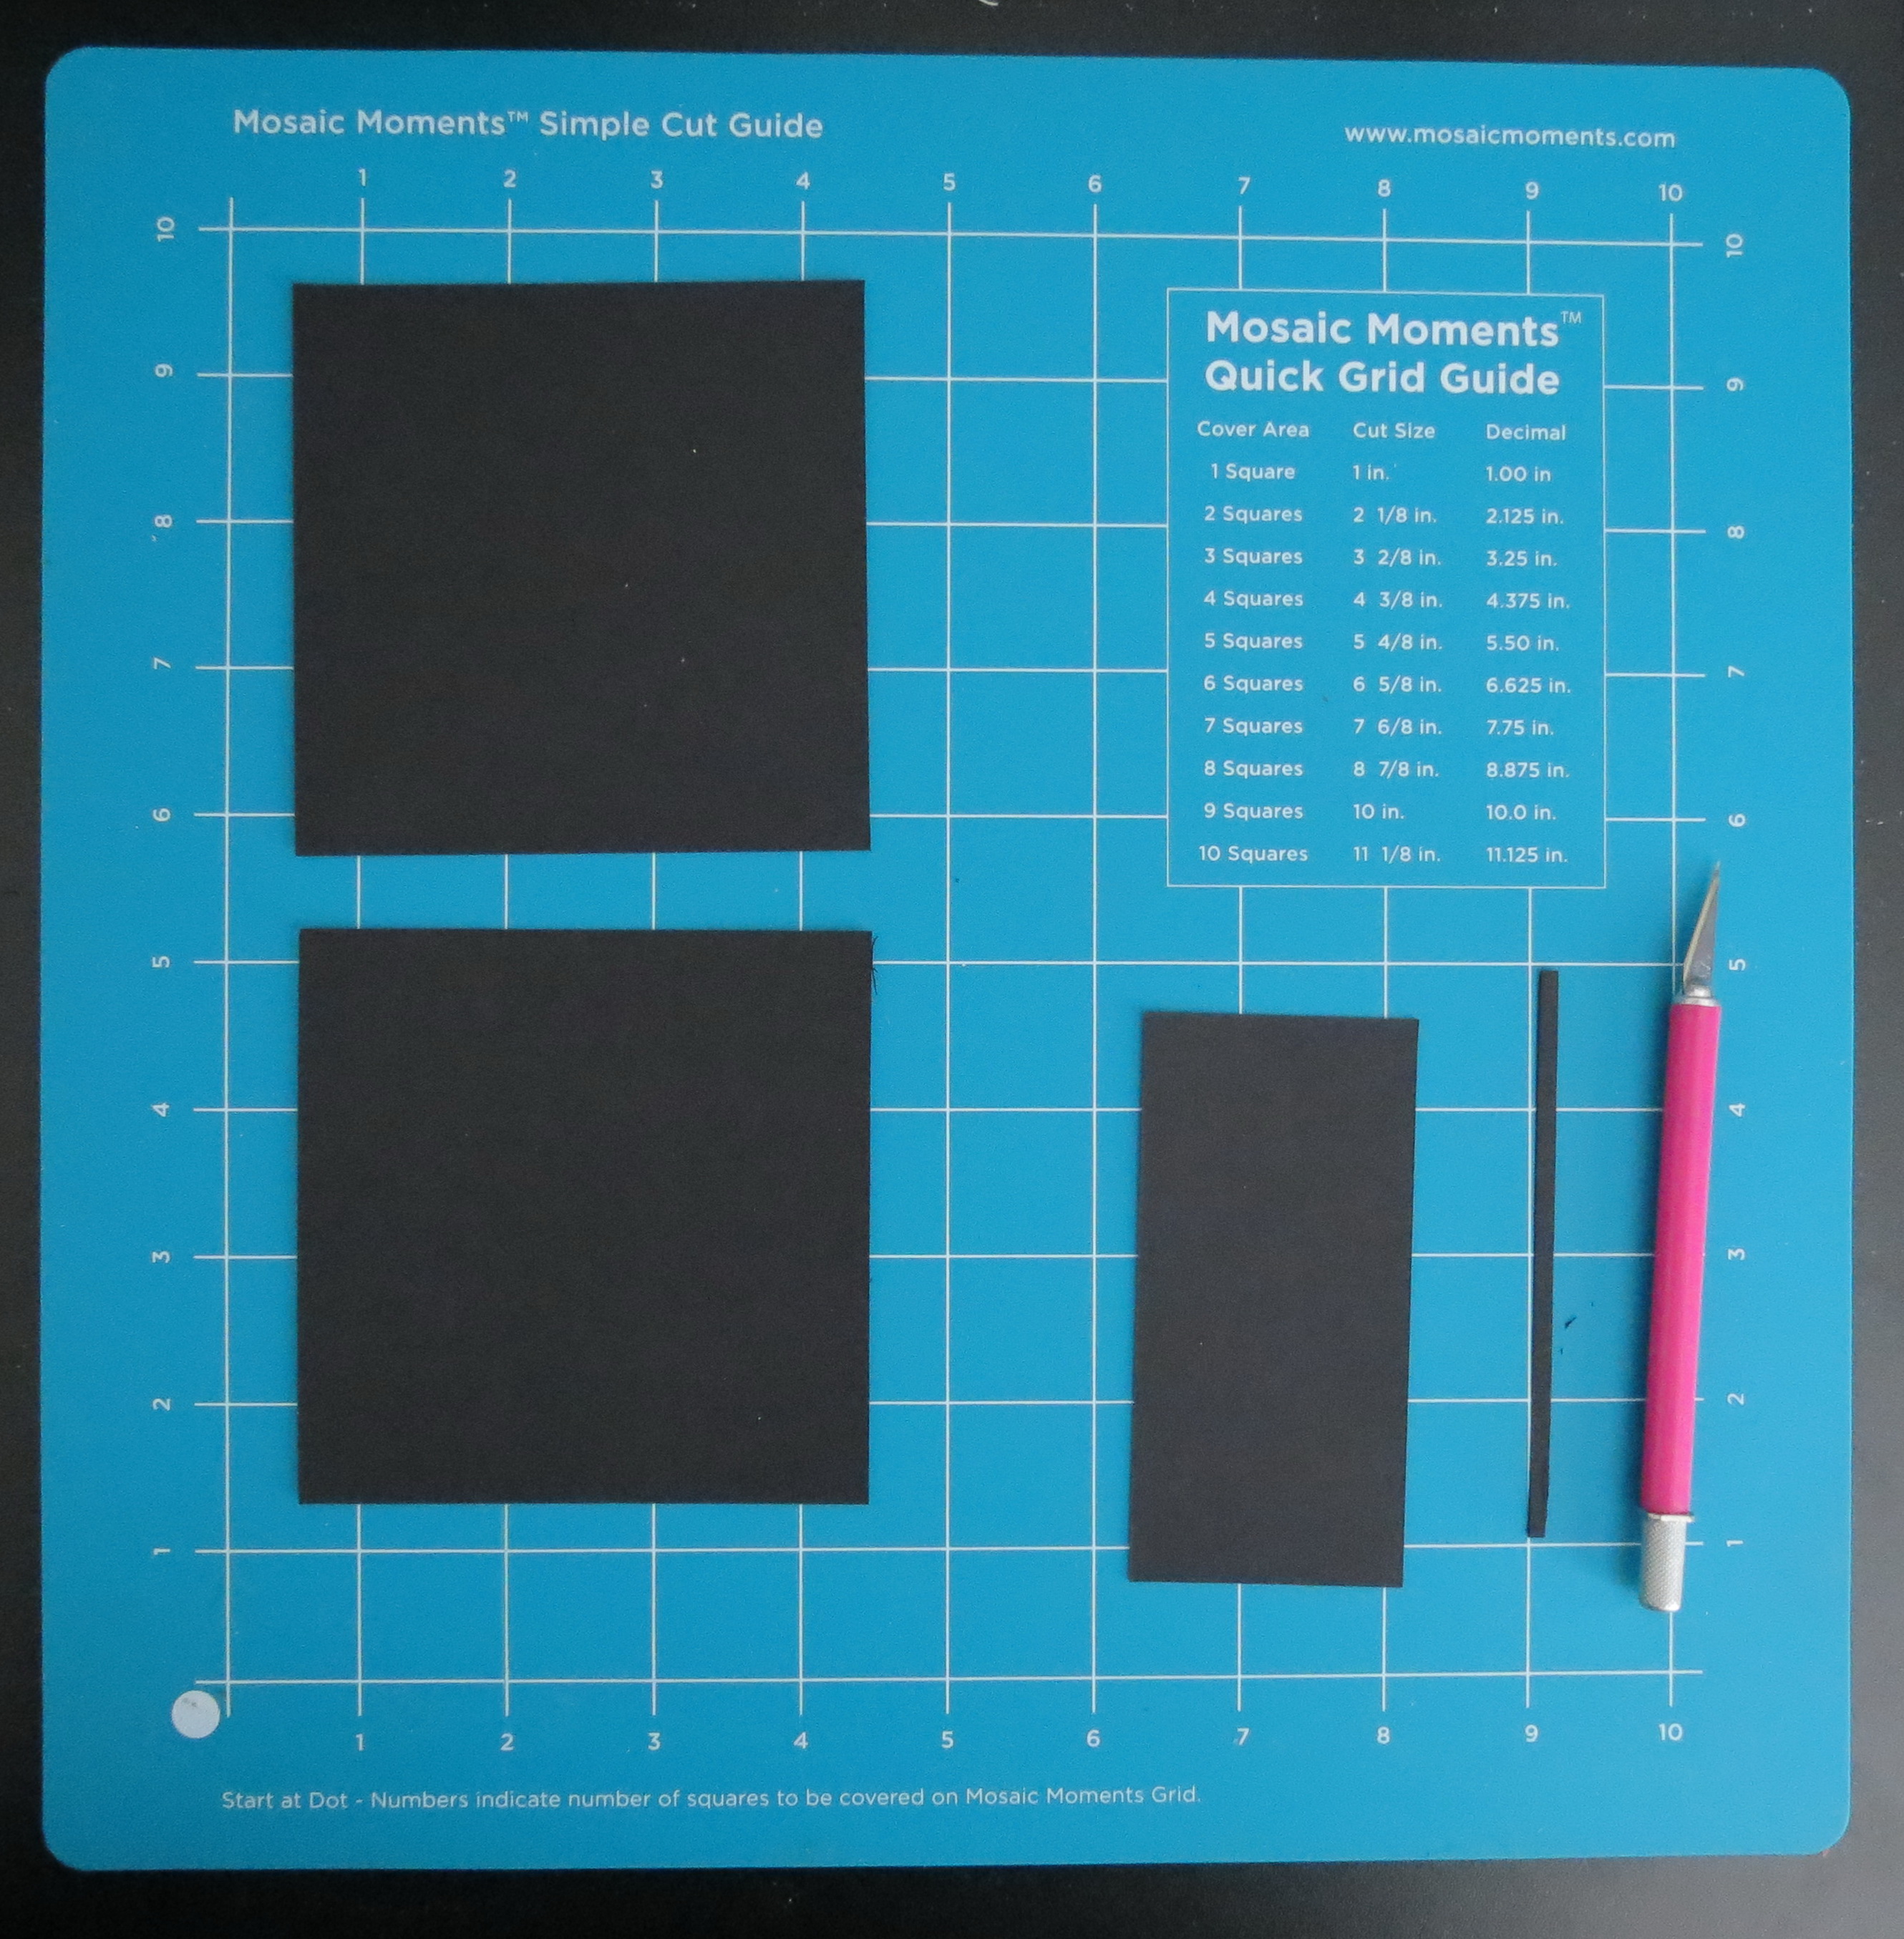
Mosaic Moments Simple Steps: Matting Basics Step 4
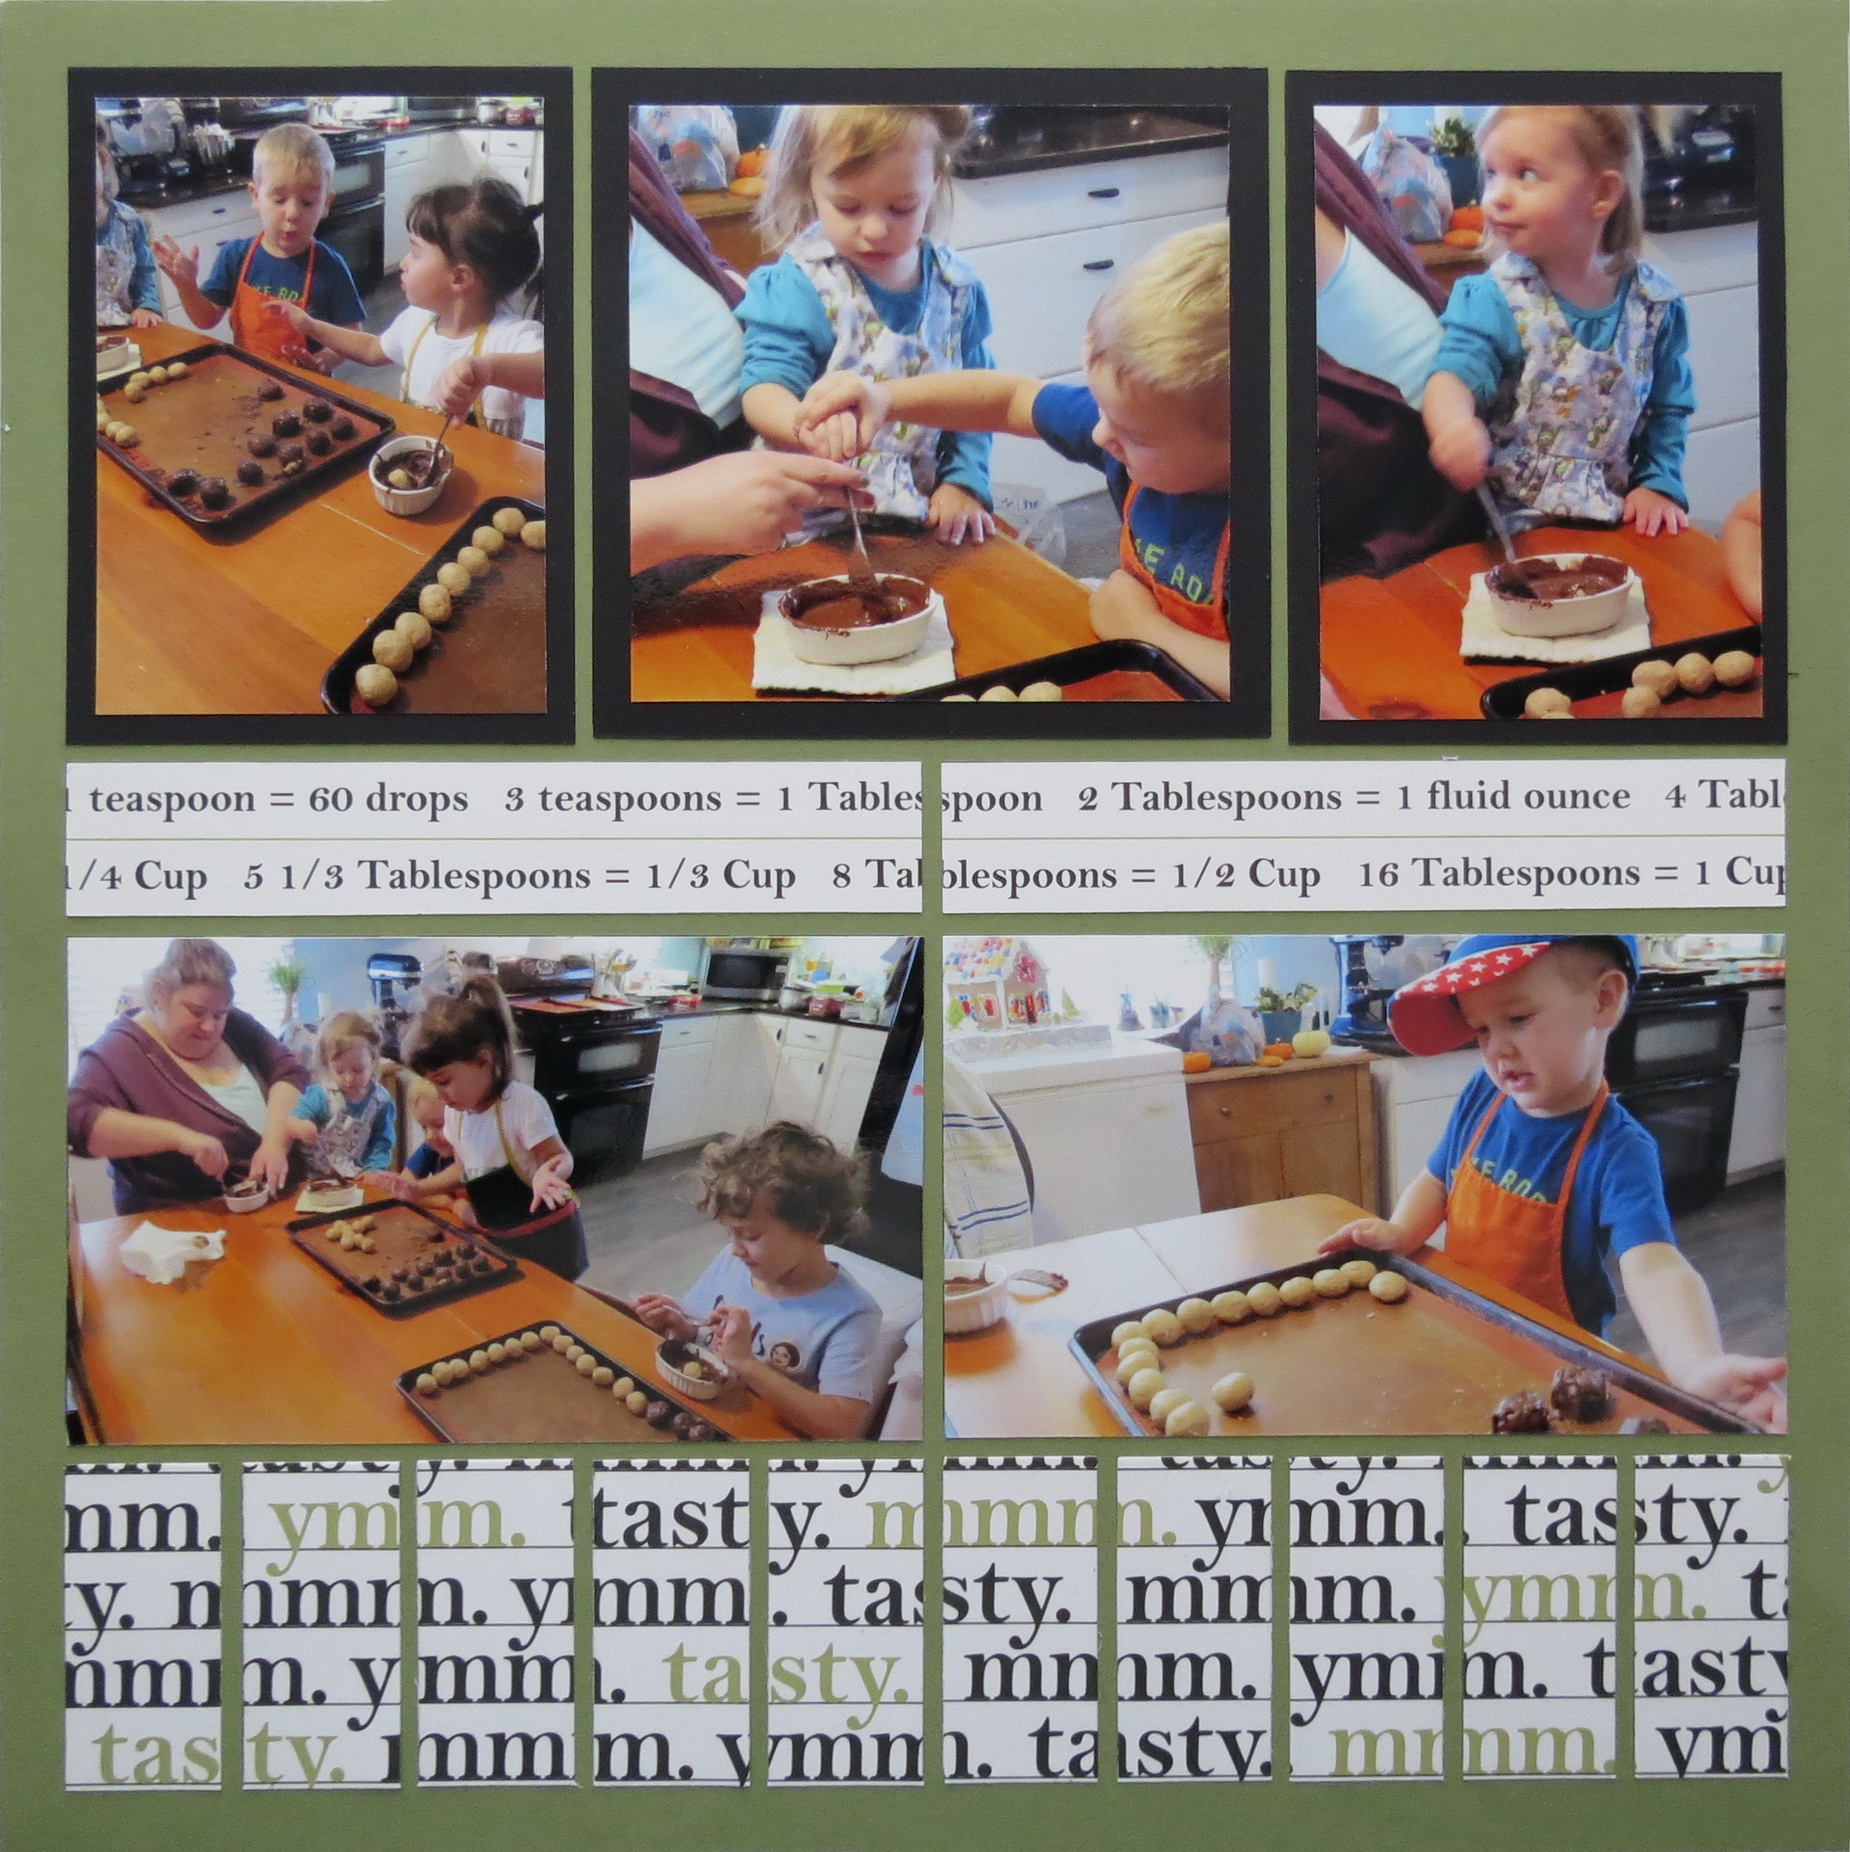
The photos to fit the 4×3 spot were printed two to a 4×6 page so I could get the whole photo not just a portion, but this made it smaller than the spot in the pattern. The black mats I’ve chosen for this compliment the pattern papers adding a nice frame to the action in the photos.
Now when you want to add your photos to the top of your mats, you can use them just the size they are, trim a bit off for an even border all around or use the layering dies from the various die sets.
Another type of mat is one you may use for your journaling block. In this case I’ve made the borders wide to allow the pattern paper to shine while keeping the journaling short and to the point with a bold title font.
Mosaic Moments Simple Steps: Matting Basics Decorative Mat with Pattern Paper
Whether you choose to cut by hand or use our Basic Die sets you will see that a mat is easy to do and makes a big difference to the finished look of your layout.
Mosaic Moments Simple Steps: Matting Basics
Techniques:
Featuring the Strip Dies

Mosaic Moments Simple Steps: Matting Basics Strip Dies
Strip Dies 1”x 5.5”, 1”x 3.25” and 1”x2.125”
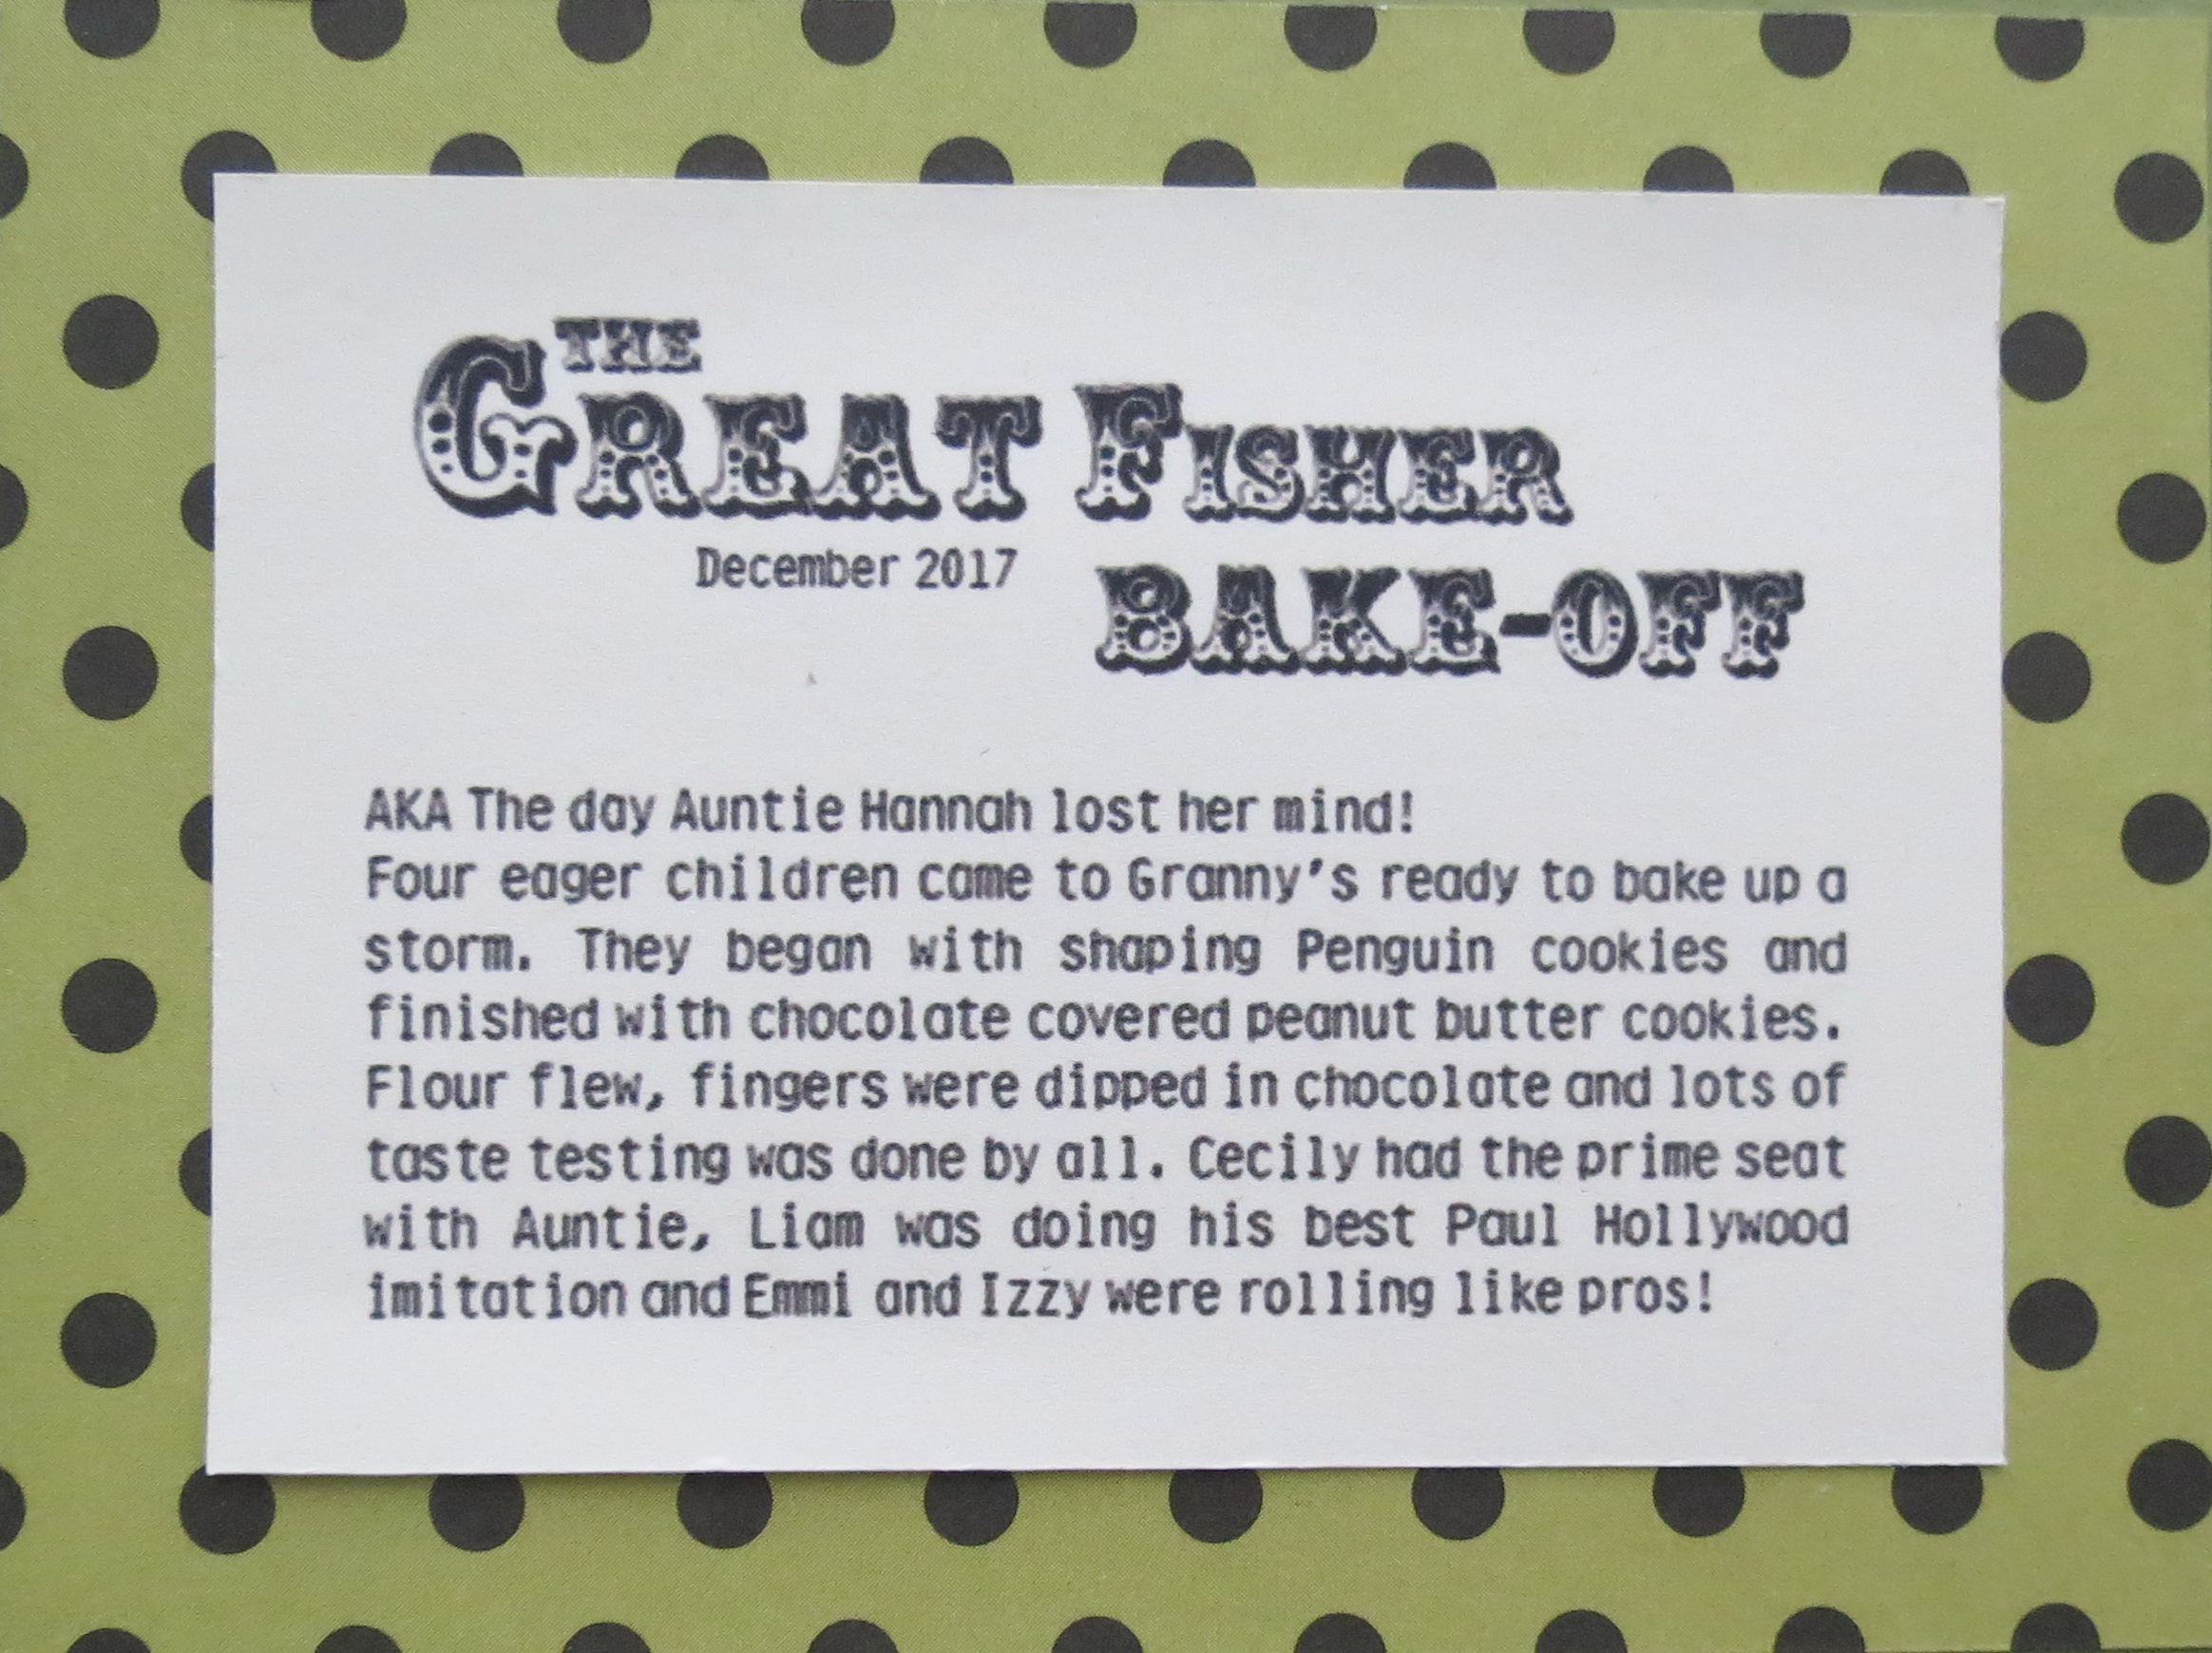
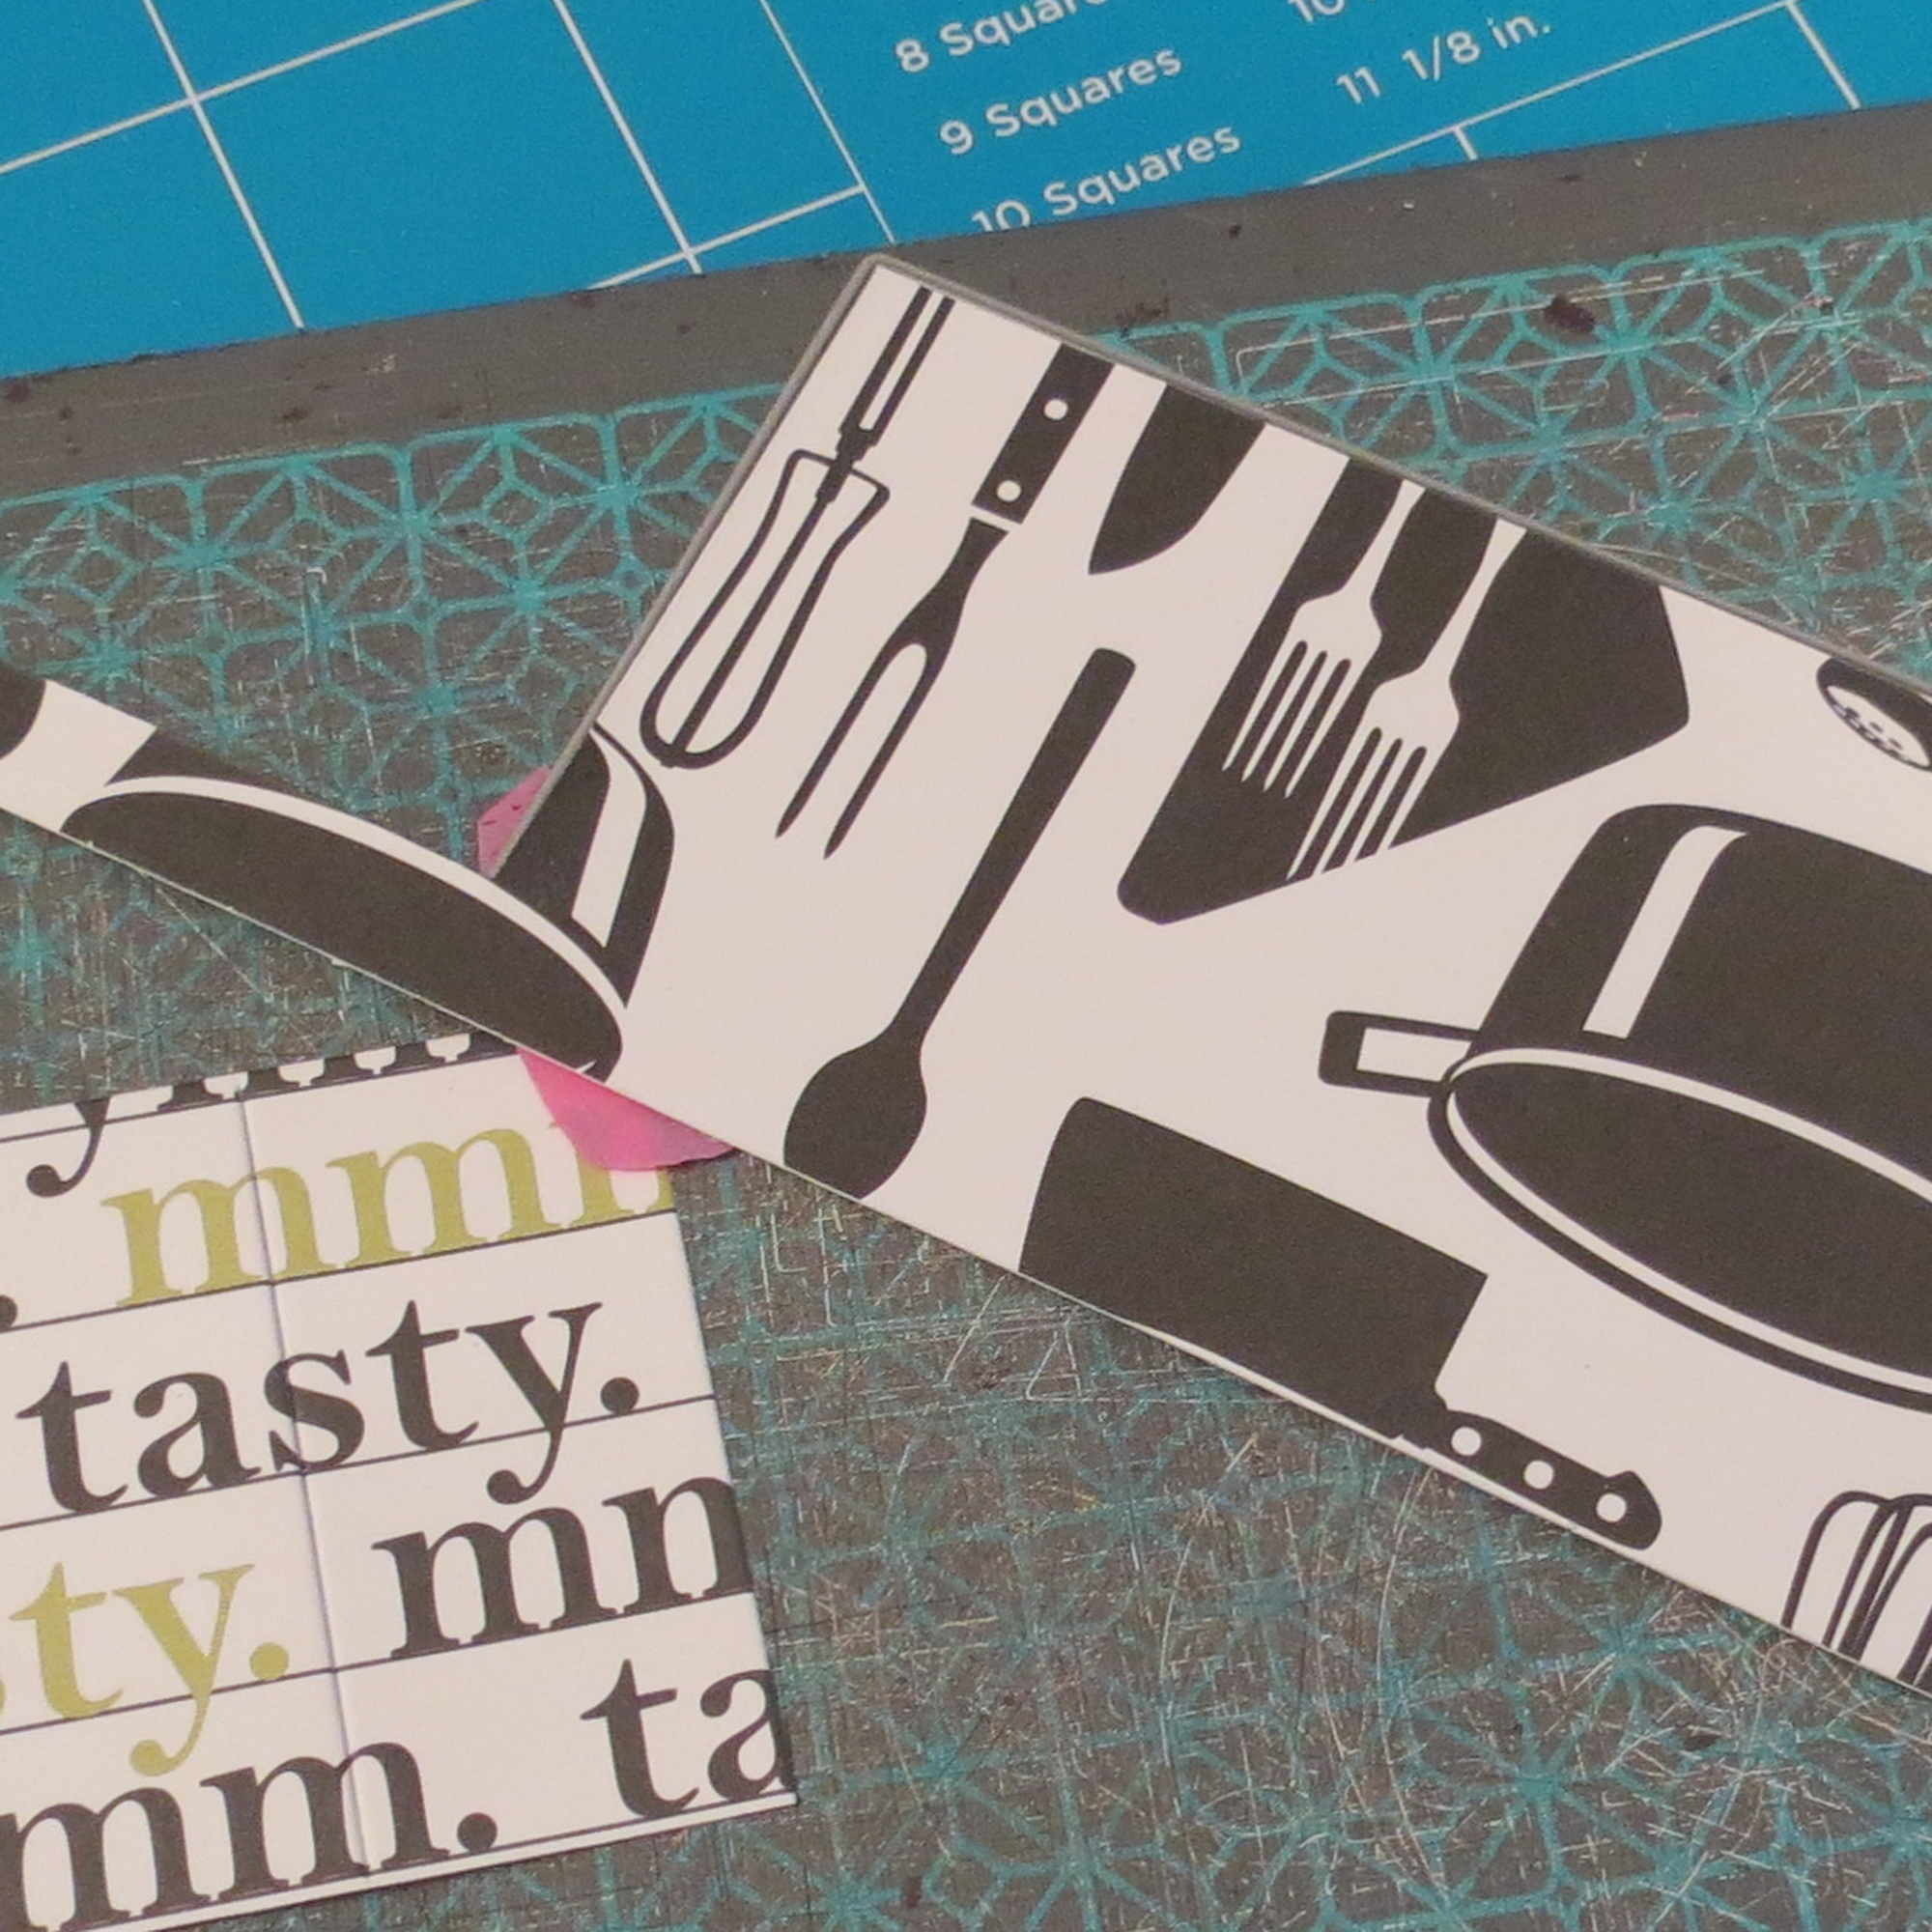
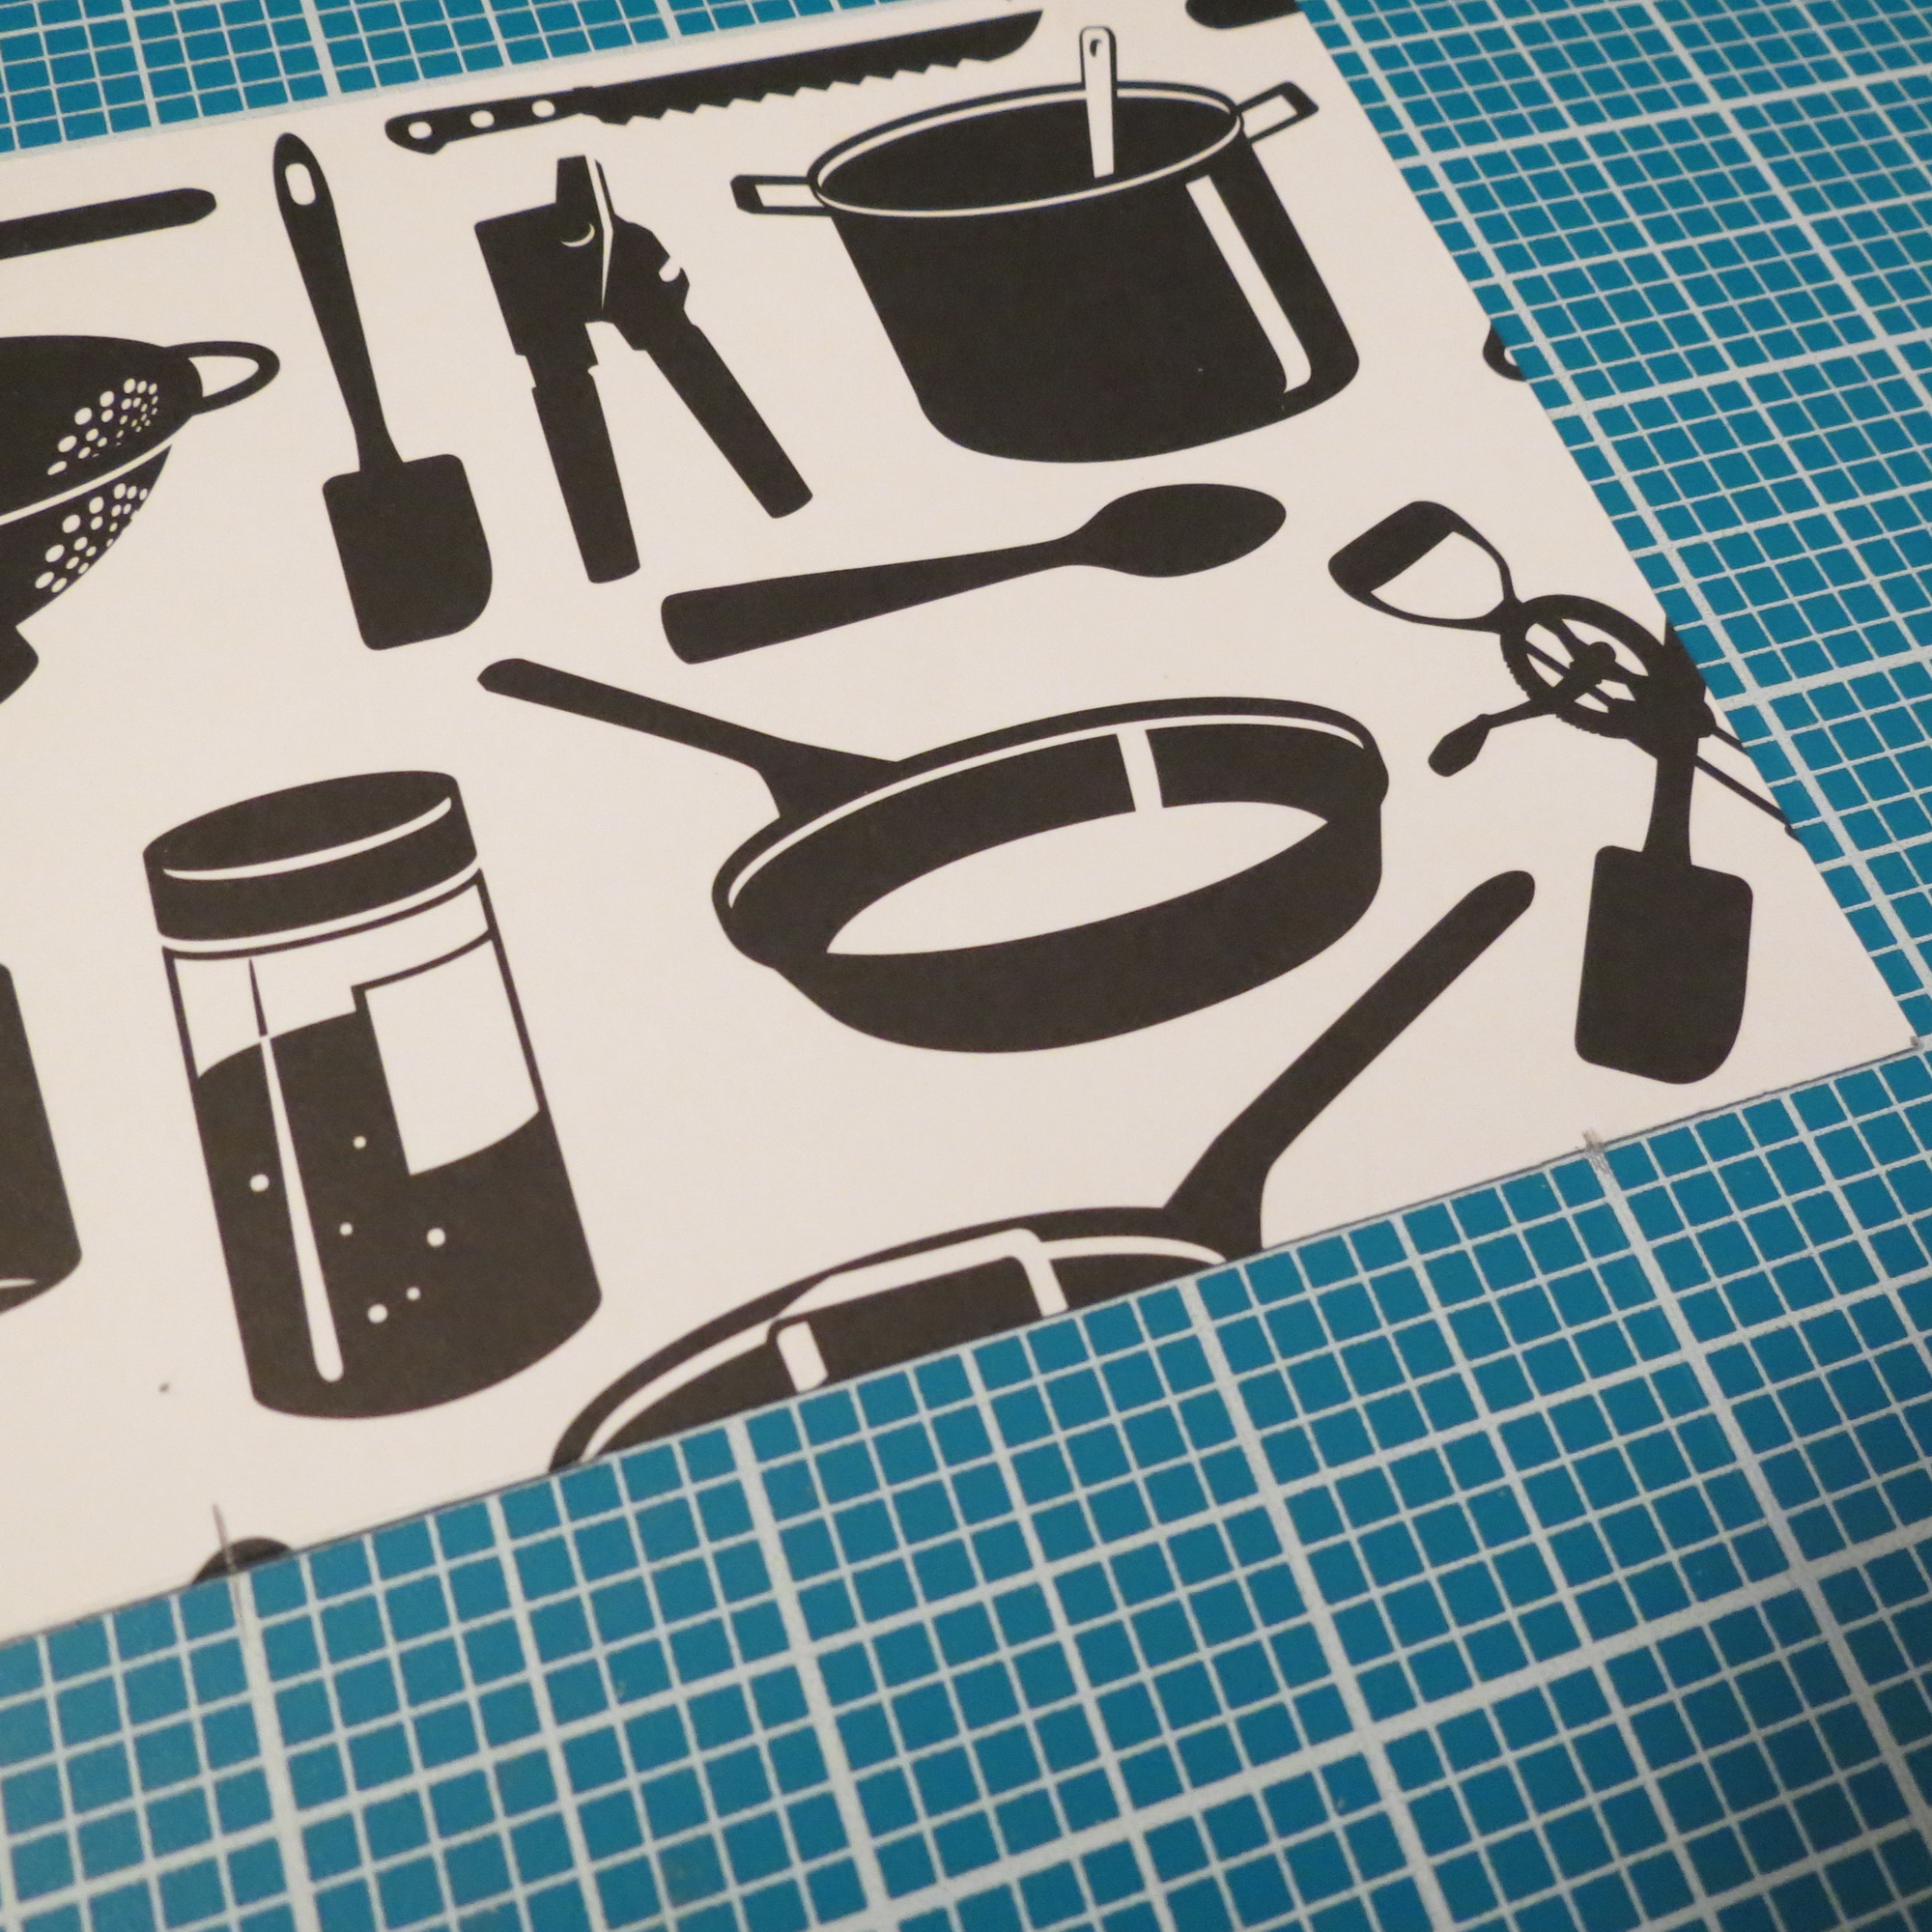
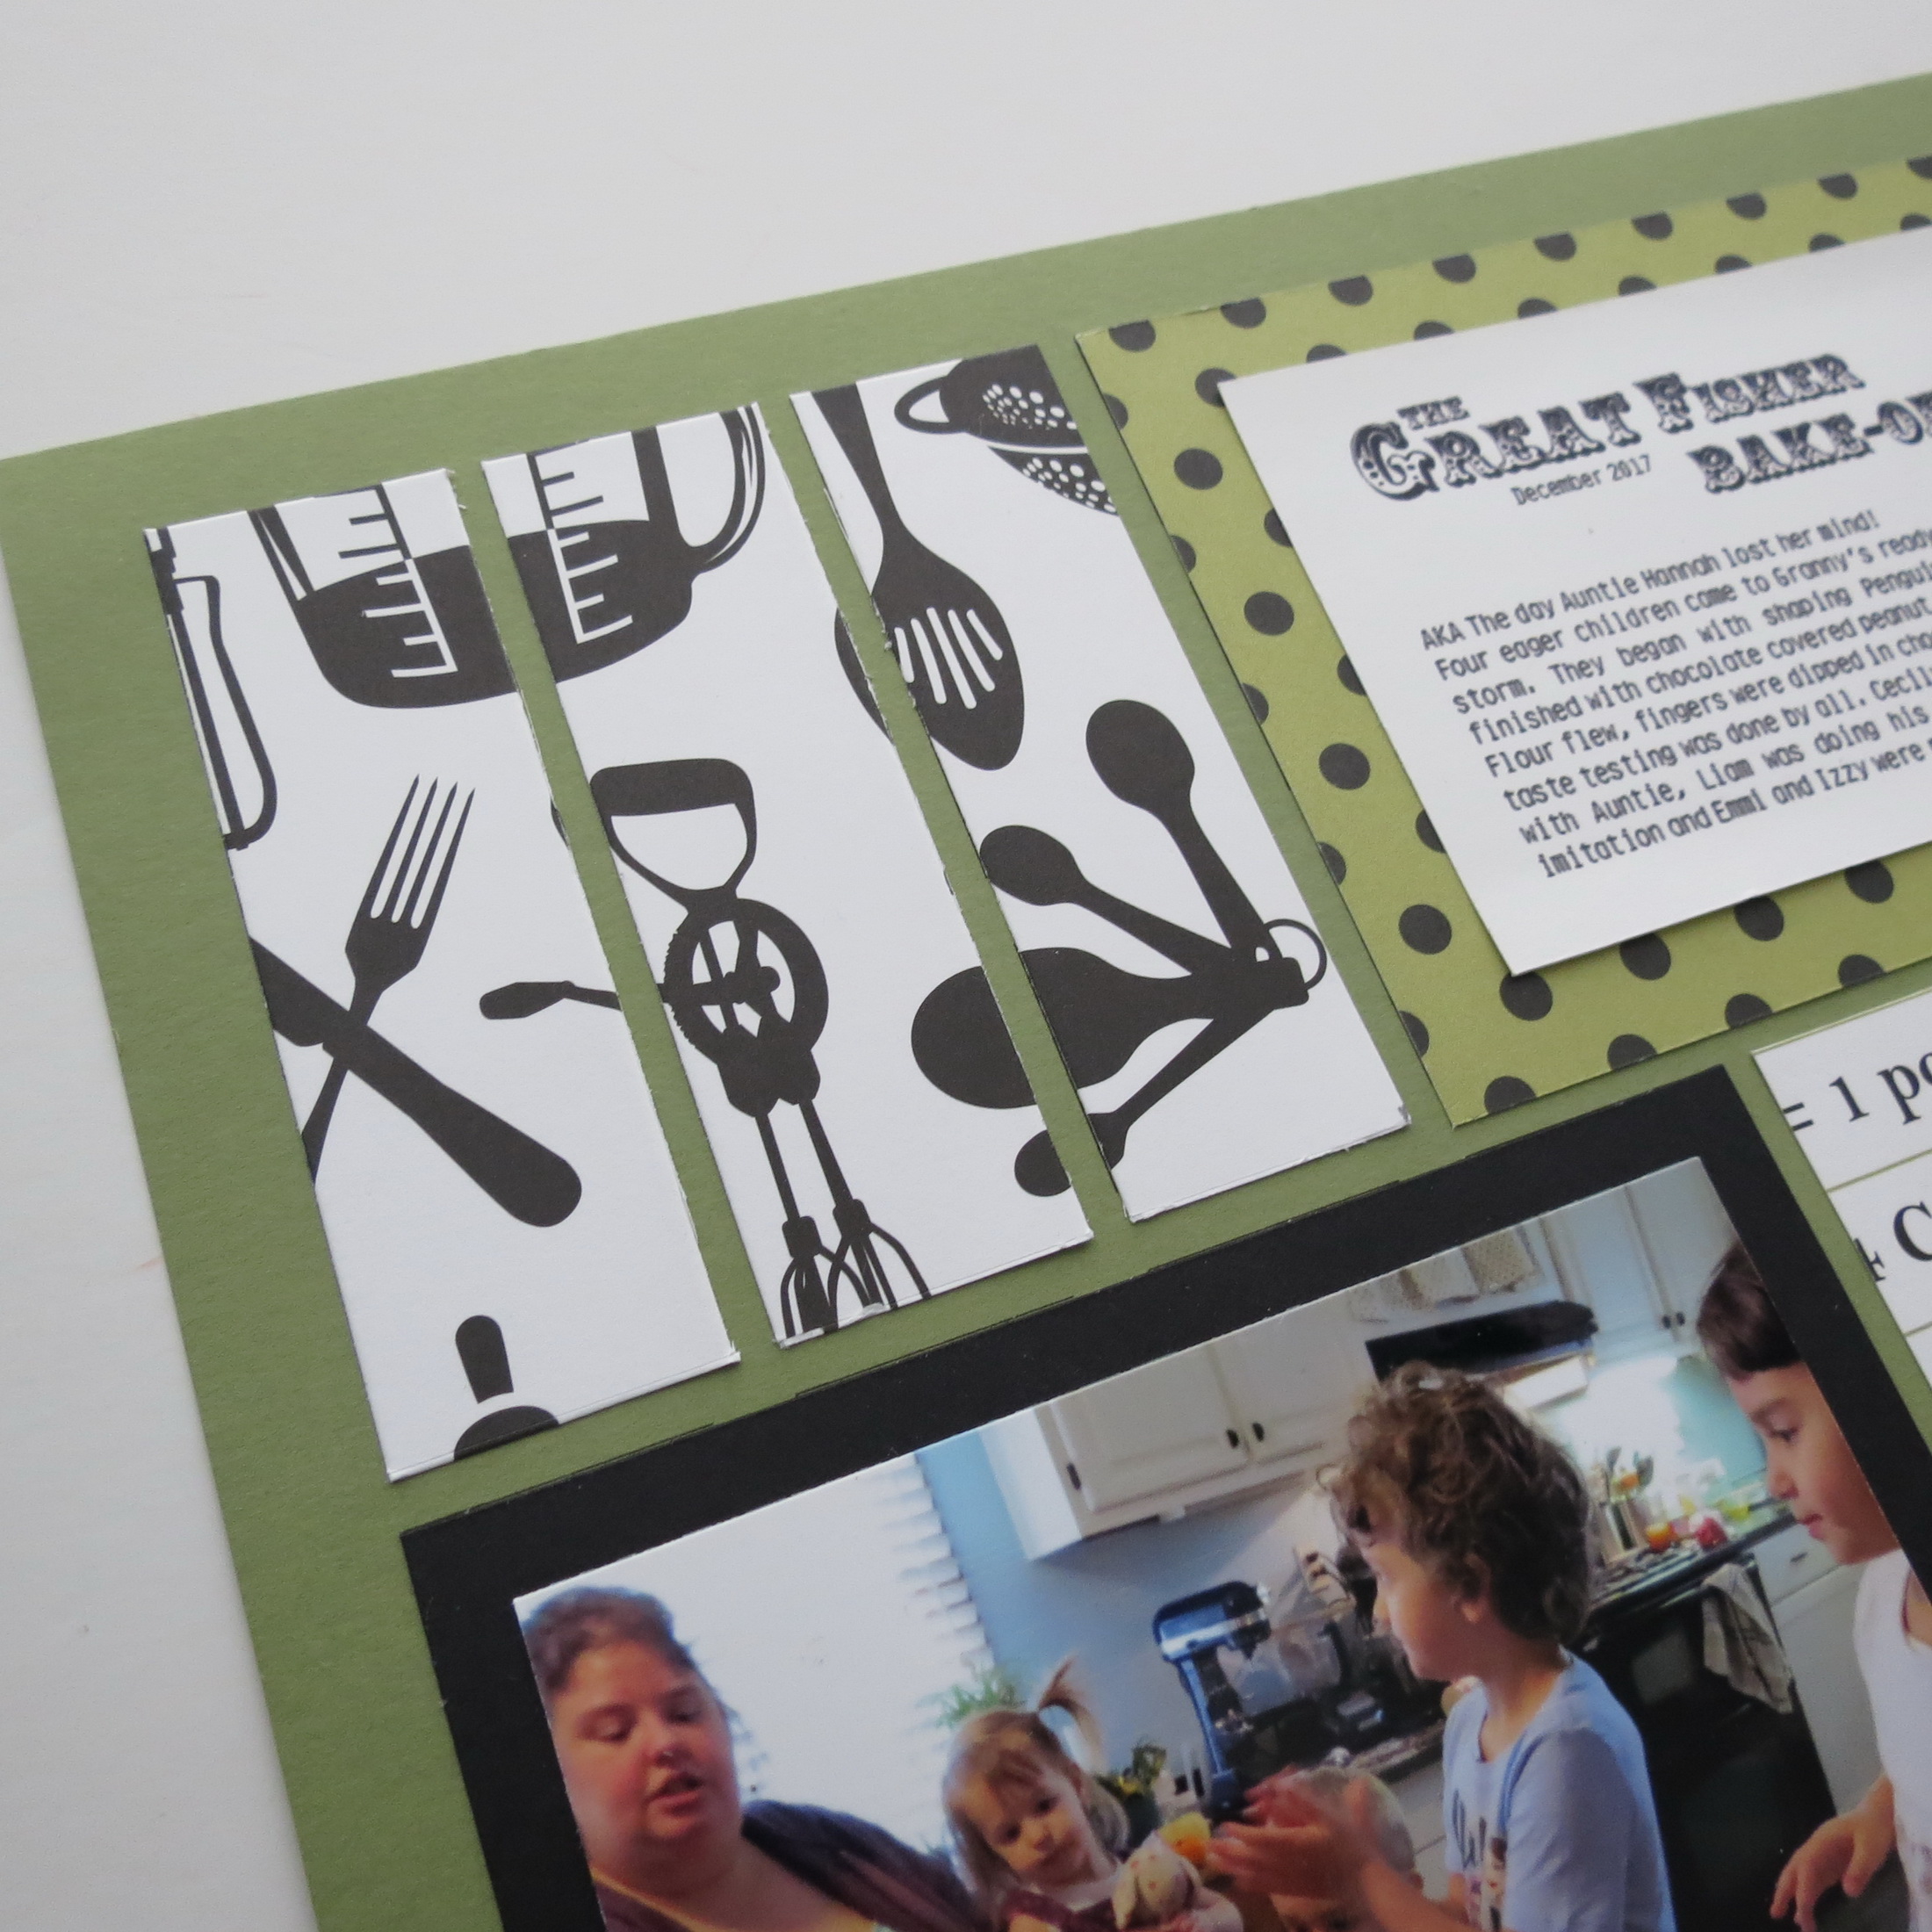
Using the Strip Dies are not just for photos! With a group of photos that feature a lot of faces, I don’t like cutting them into strips. I did however have several coordinating patterned papers with a baking/cooking theme that I thought would be perfect for the kids baking day. (Patterned Paper by Theresa Collins Bon Appetite)
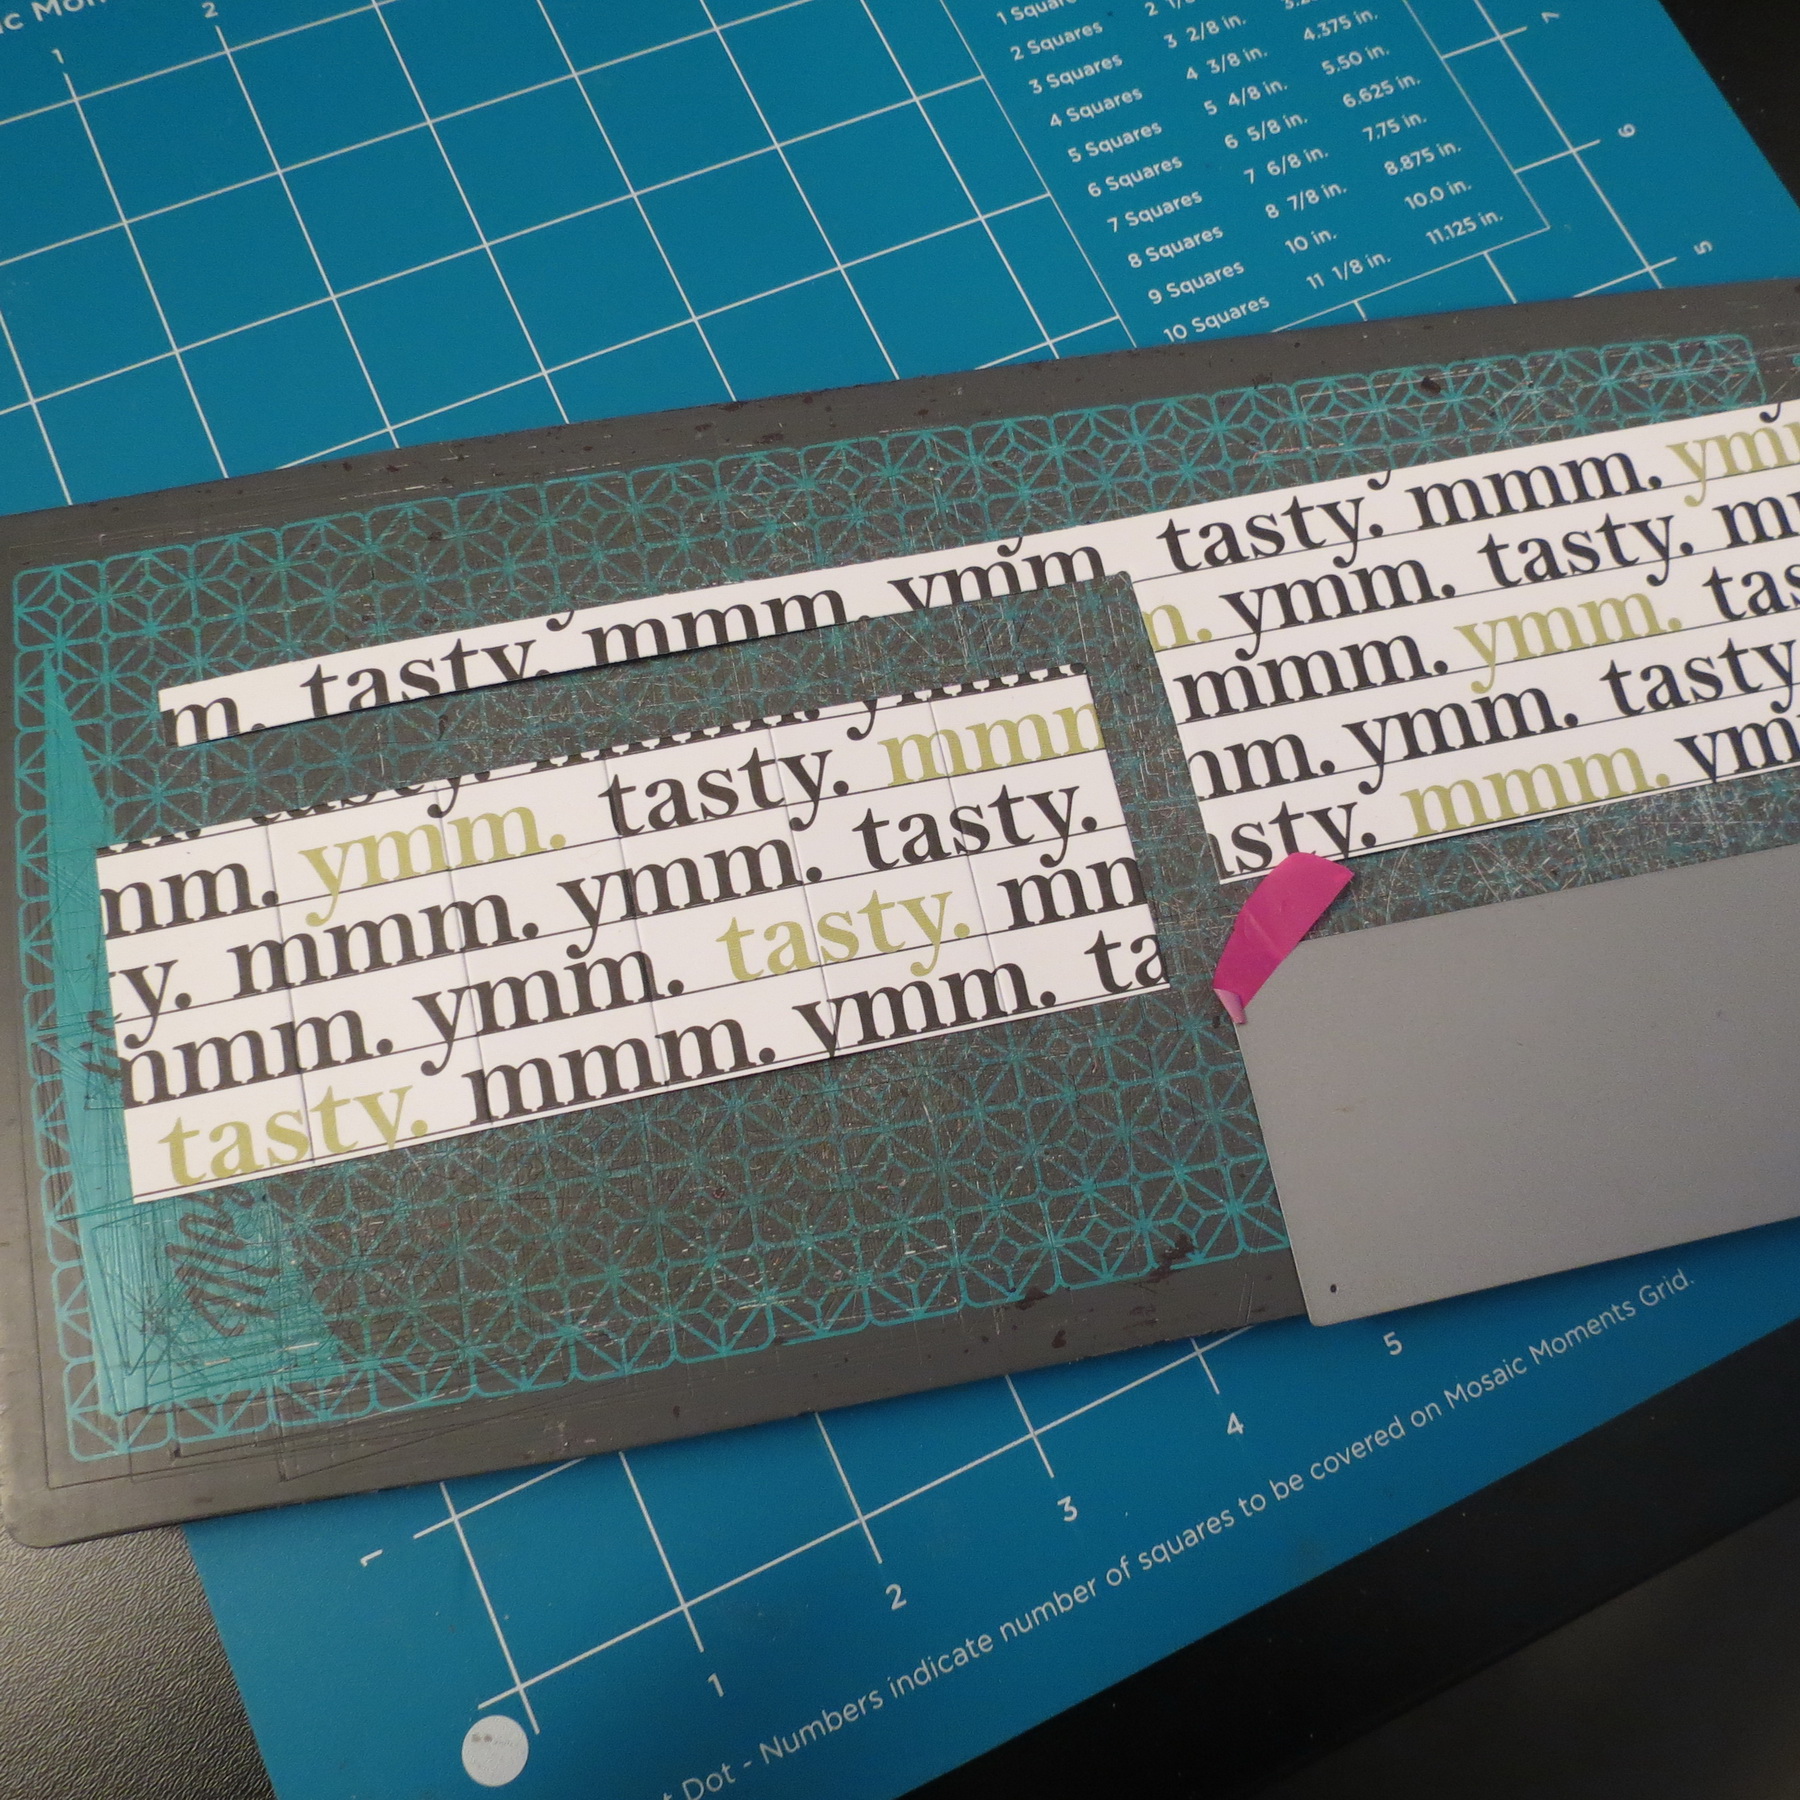
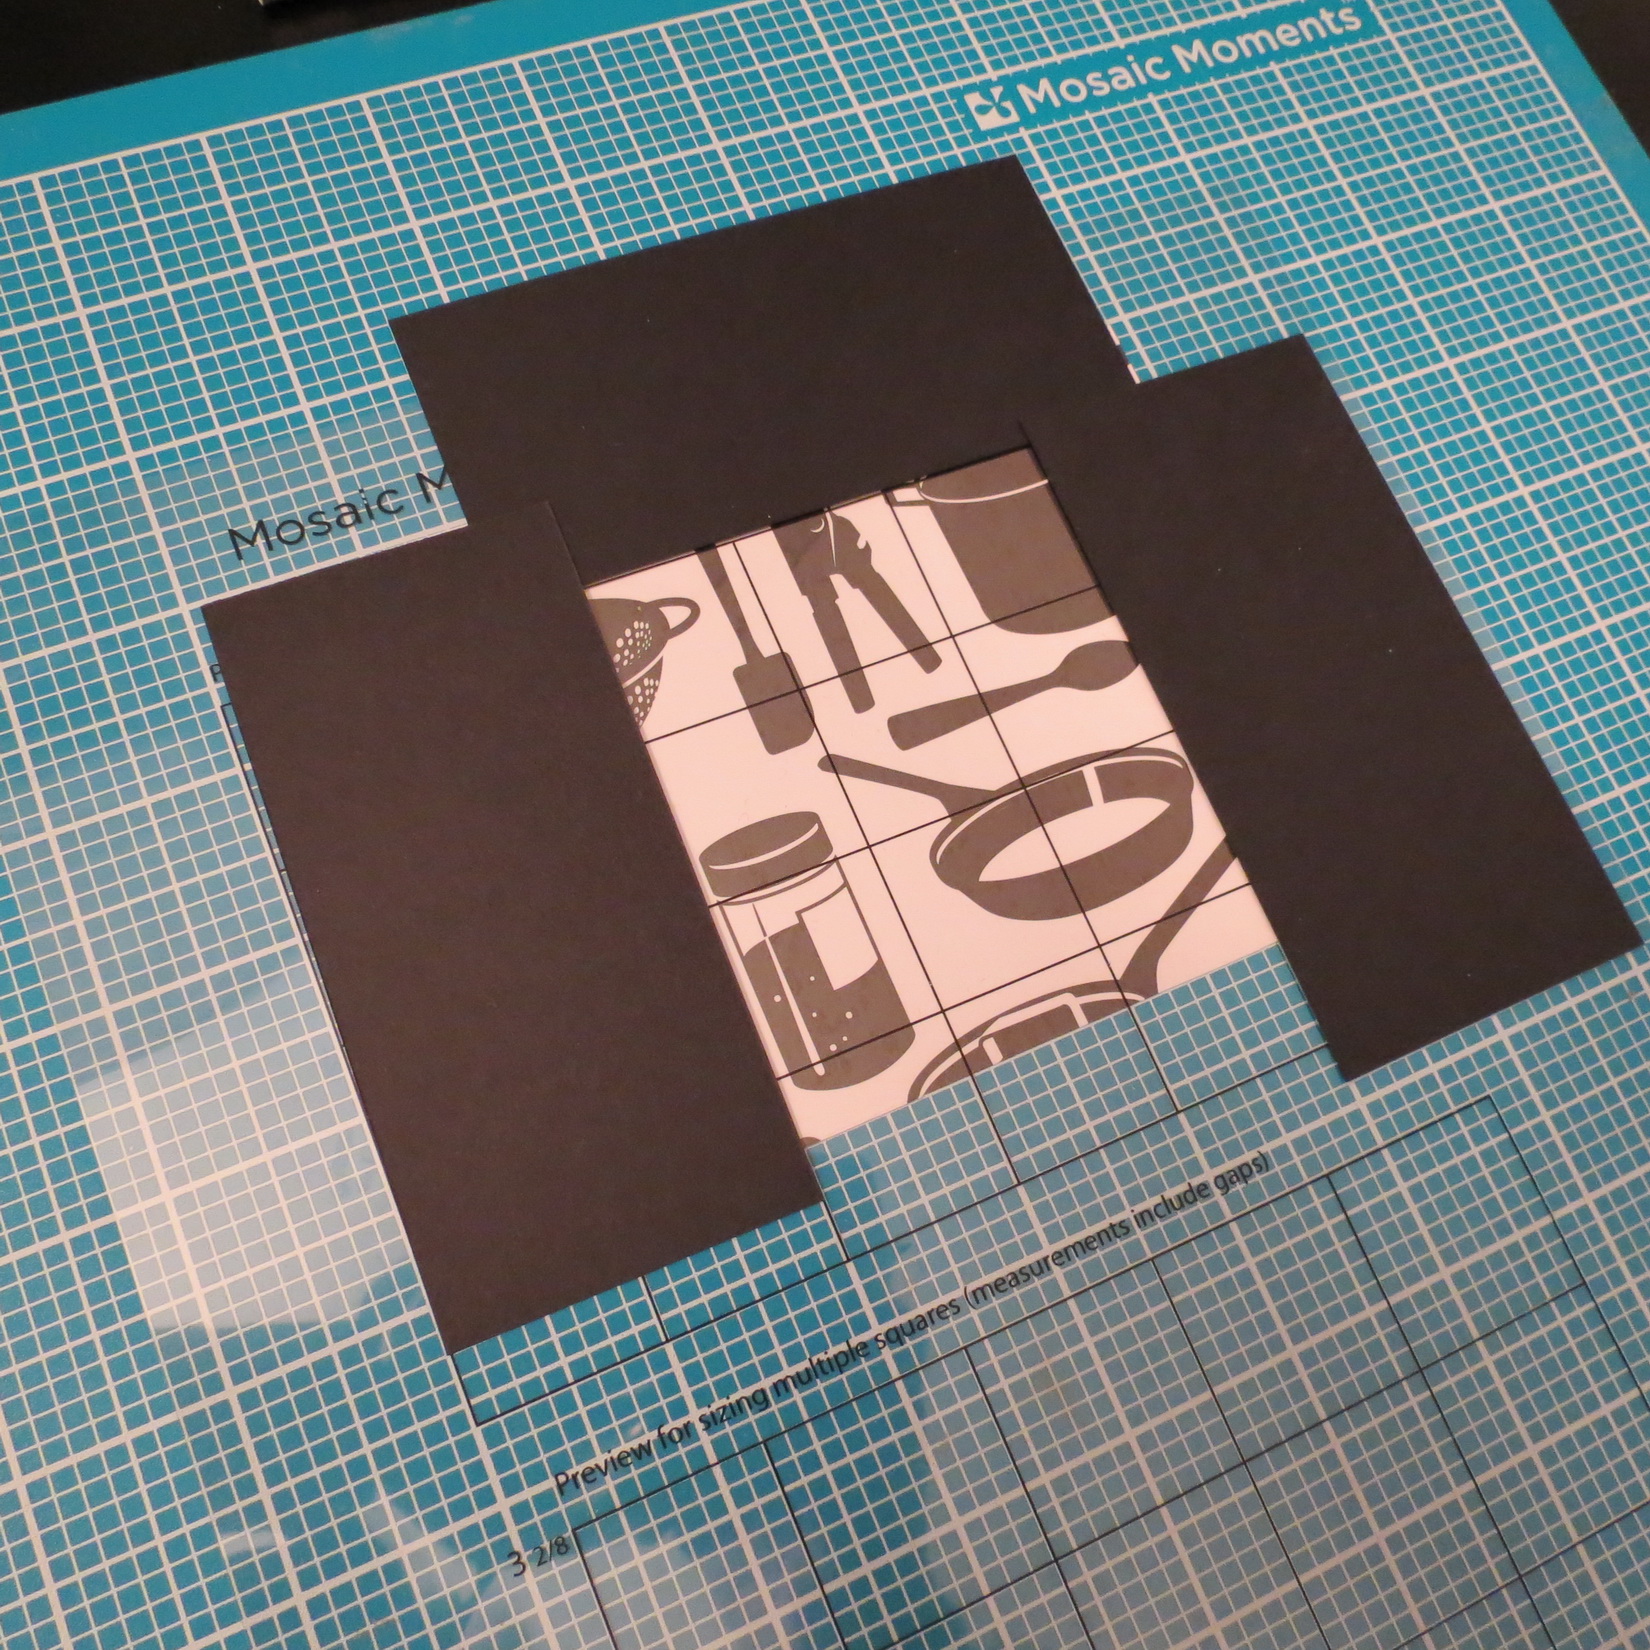
Both patterns have strip sections that are filled with patterned paper using our strip dies 1”x 3.25” and 1”x 2.125”. I cut strips from the 12”x 12” pattern paper slightly larger than what I needed and then lined up the edges and secured with washi tape to make certain it does not shift in the process and repeated to get the remaining pieces to complete the lower border on page two.

Mosaic Moments Simple Steps: Matting Basics The Strip Die with Patterned Paper
Mosaic Moments Simple Steps: Matting Basics The Strip Die
Mosaic Moments Simple Steps: Matting Basics Fitting the edge of the patterned paper to the die, taping to secure and cut
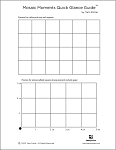
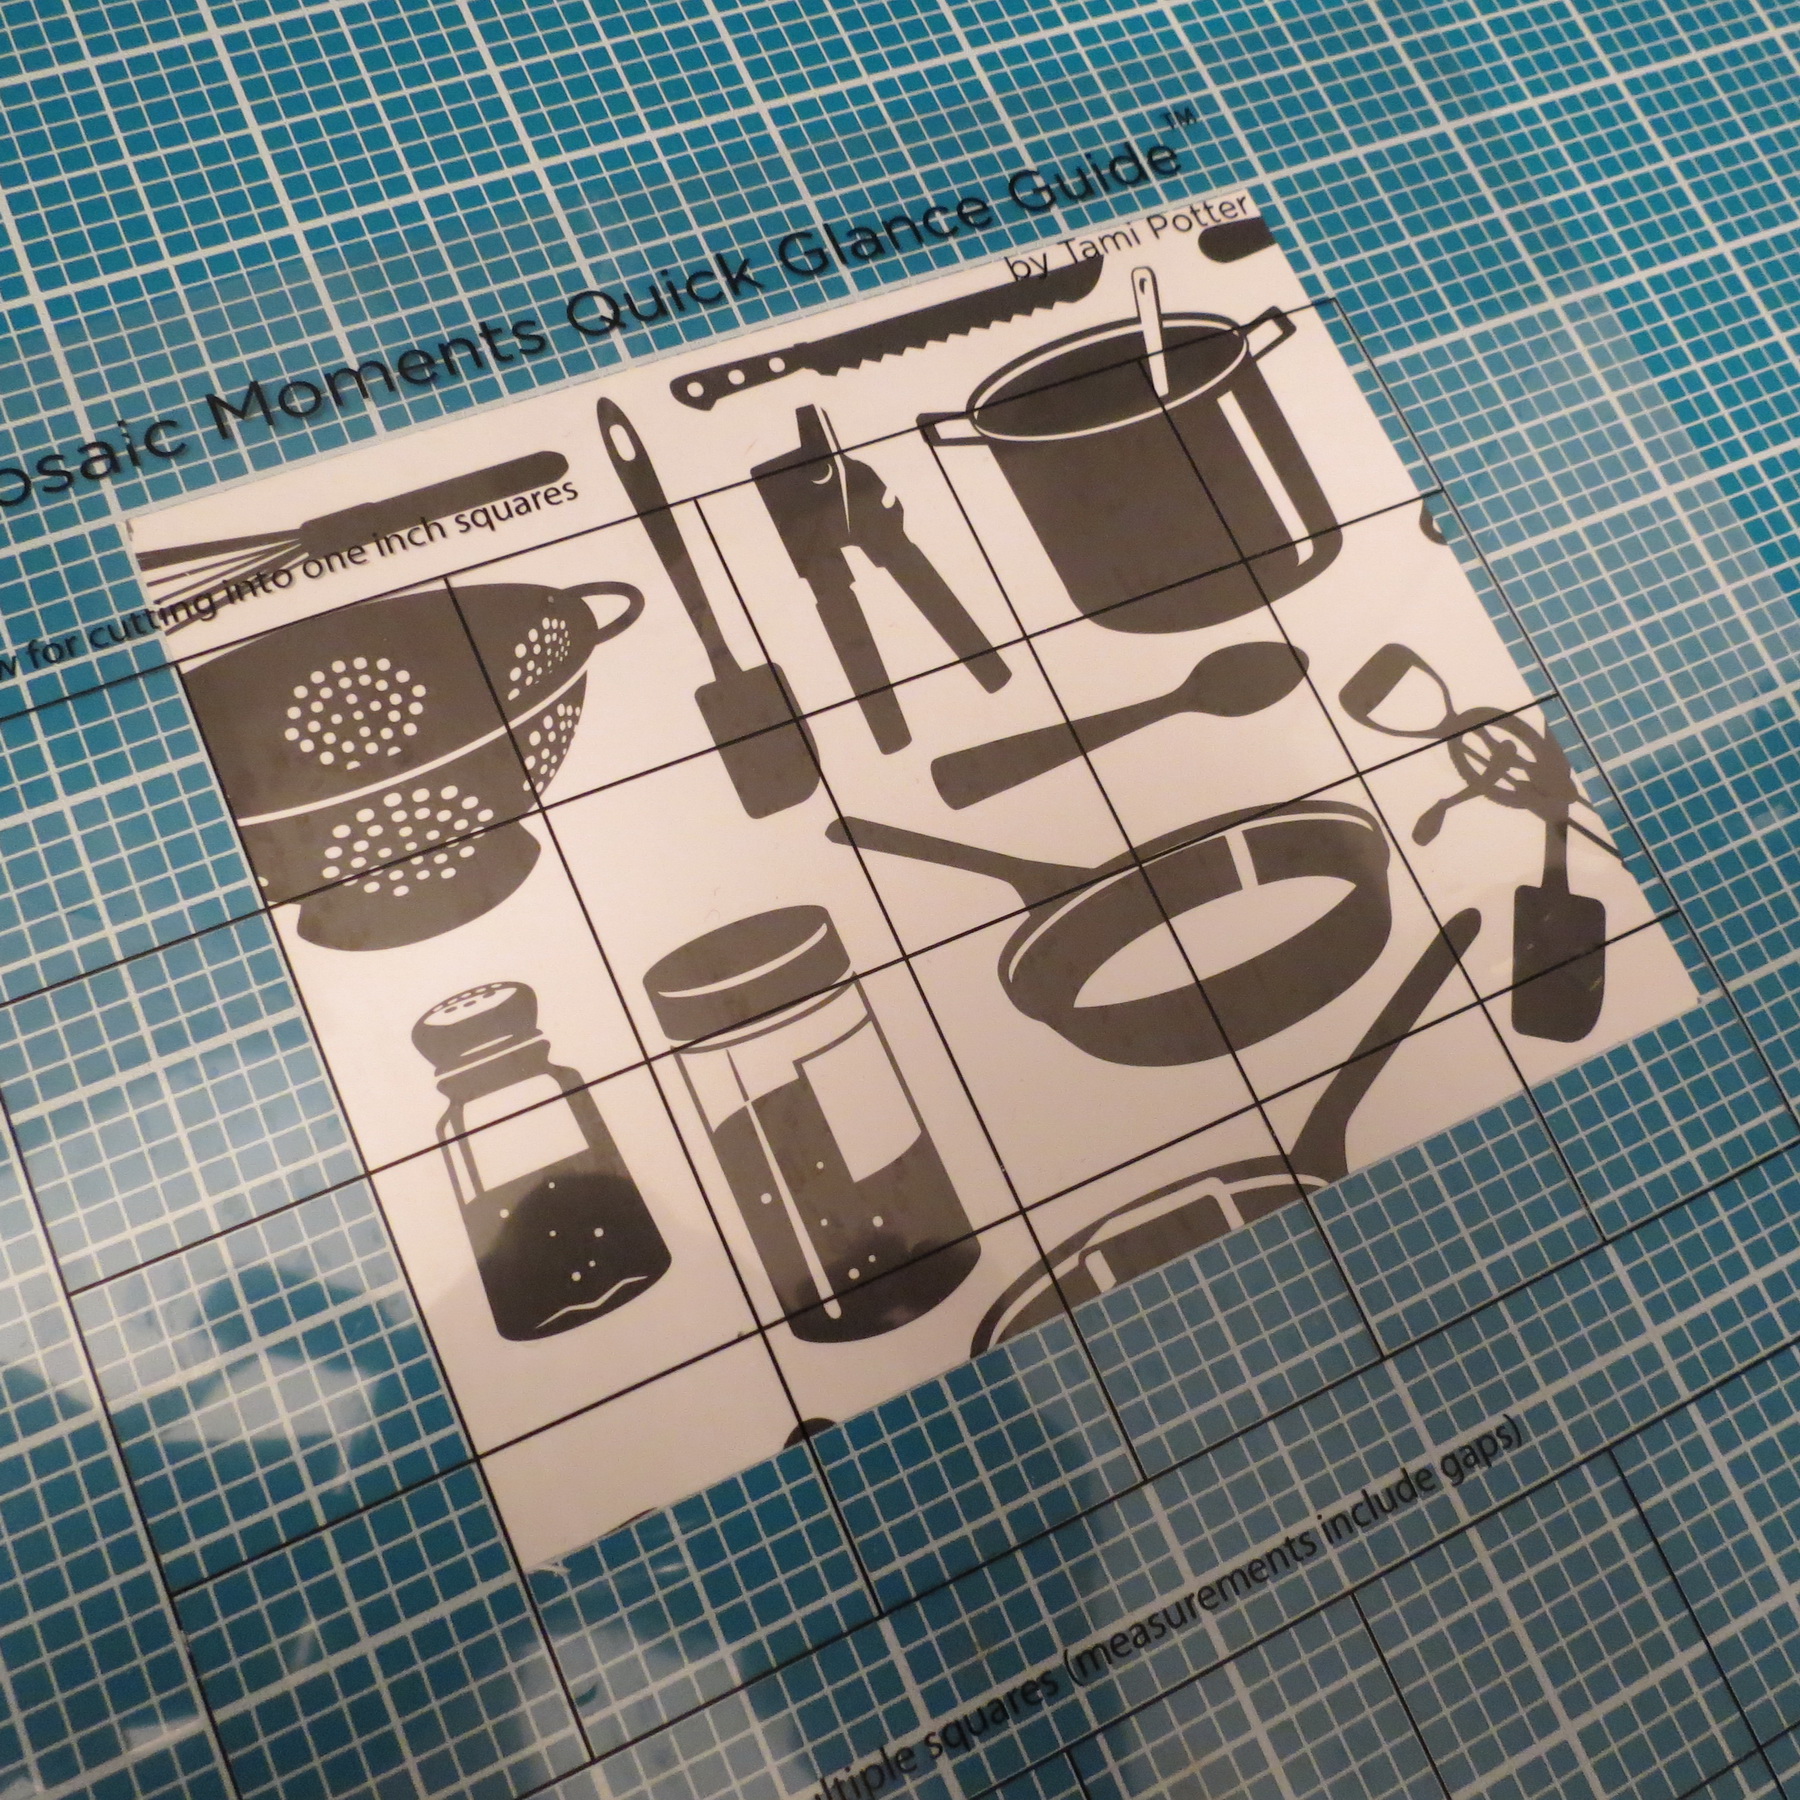
Mosaic Moments Quick Glance Guide
Mosaic Moments Simple Steps: Matting Basics Page 1
For page one, I used the Quick Glance Guide on the bold pattern to isolate the sections I wanted to include on my page. By overlaying an area and “seeing” where I wanted to cut I marked in pencil the spots to line up with the edge of the die.
Mosaic Moments Simple Steps: Matting Basics using the Quick Glance Guide to isolate the section to be used with the Strip Die
Mosaic Moments Simple Steps: Matting Basics framing the area to be used to finalize the cut
Mosaic Moments Simple Steps: Matting Basics Pencil marks for cutting line
In the photo you can see I’ve used the top half of the Quick Glance Guide with its 1” squares to isolate the three 1” columns I want to cut and marked the bottom edge in pencil where to cut.
You could just as easily cut by hand while it’s on the mat, but I did use the die after cutting by hand the one side so I could fit it into the die, line it up, tape it to secure it from shifting and then get the exact size needed using the die.
I only needed three sections so I only used a portion of the die. So when lining the marks up I did so at the mid-point of the die and got exactly what I needed.
Mosaic Moments Simple Steps: Matting Basics
The Strip Dies speed your scrapping whether it’s photos or paper. Give it a try!
Be sure to try mats to help enhance the photos in your layout whether you need to fill in the gap between the size of your photo and the pattern space or to draw attention to it and add some flair!
Andrea Fisher