1. Add Emotion
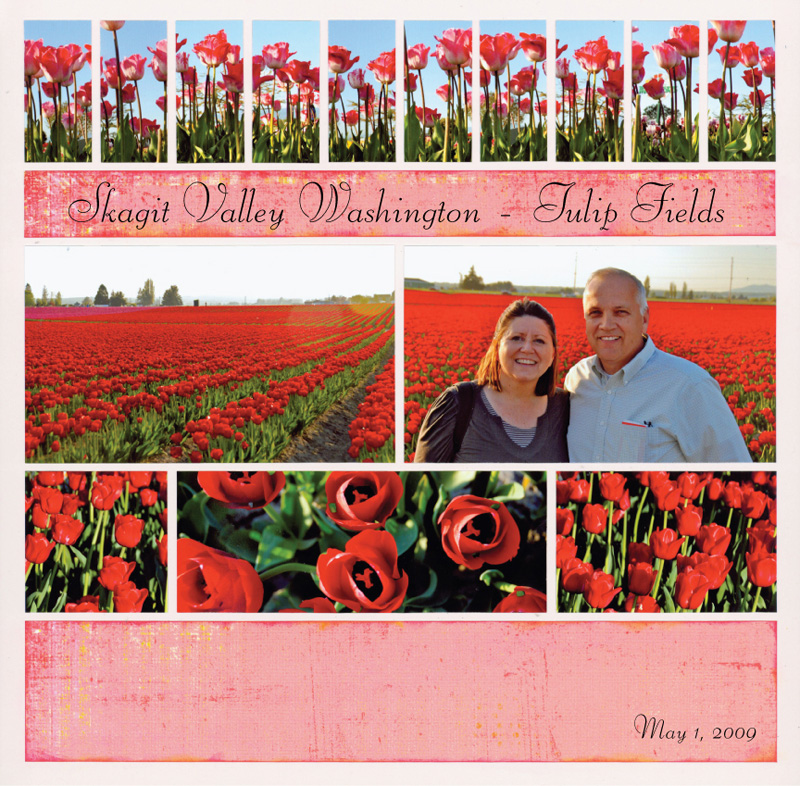
"Skagit Valley" by Tami Potter - Pattern #207
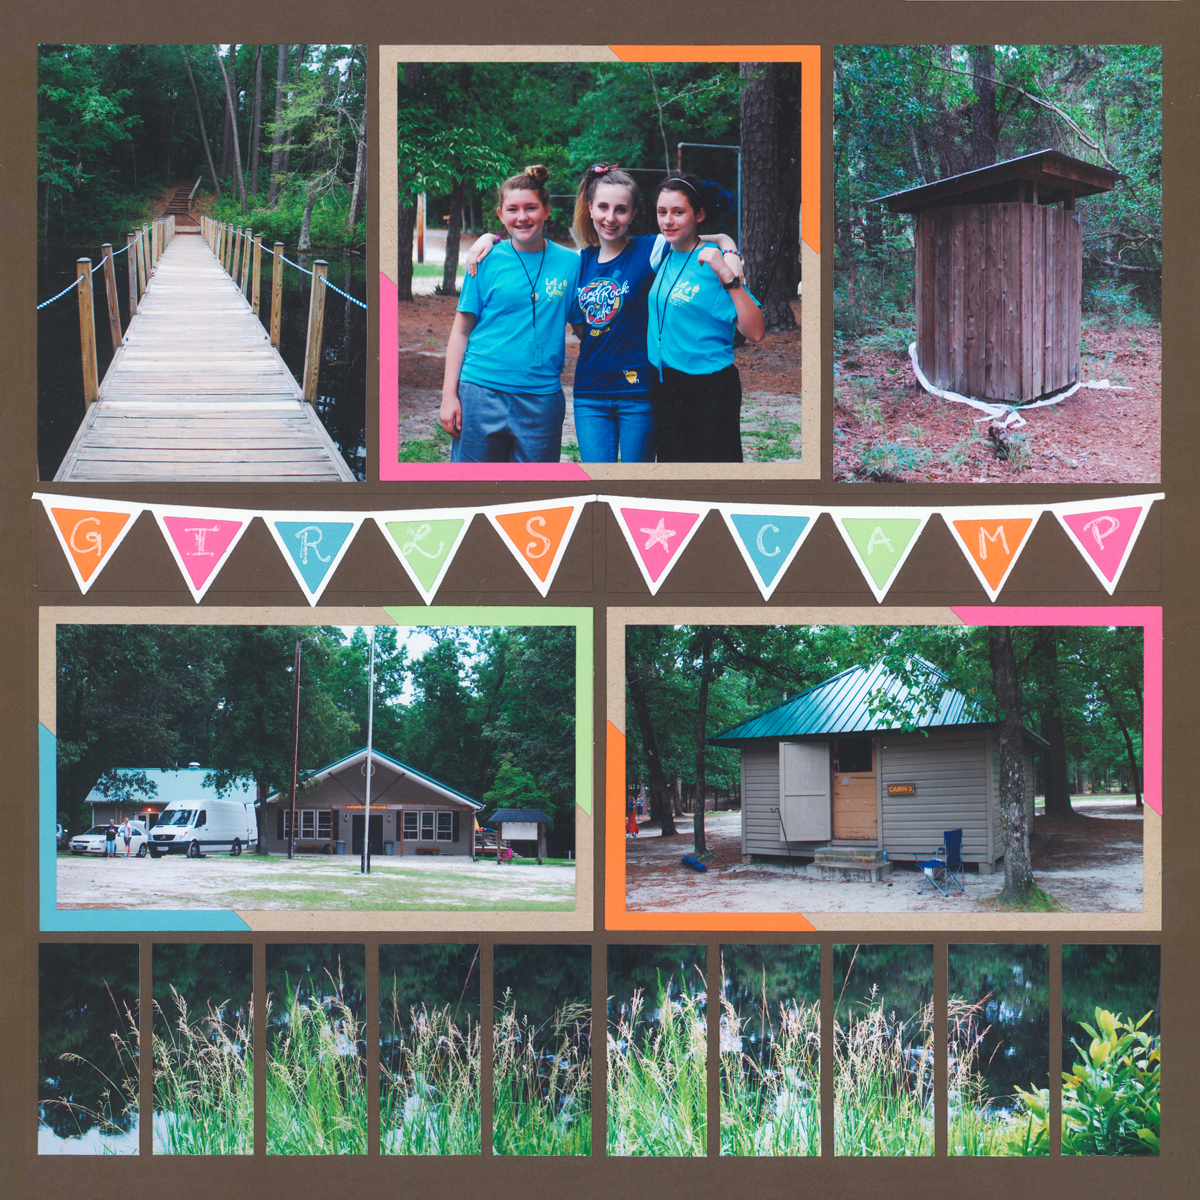
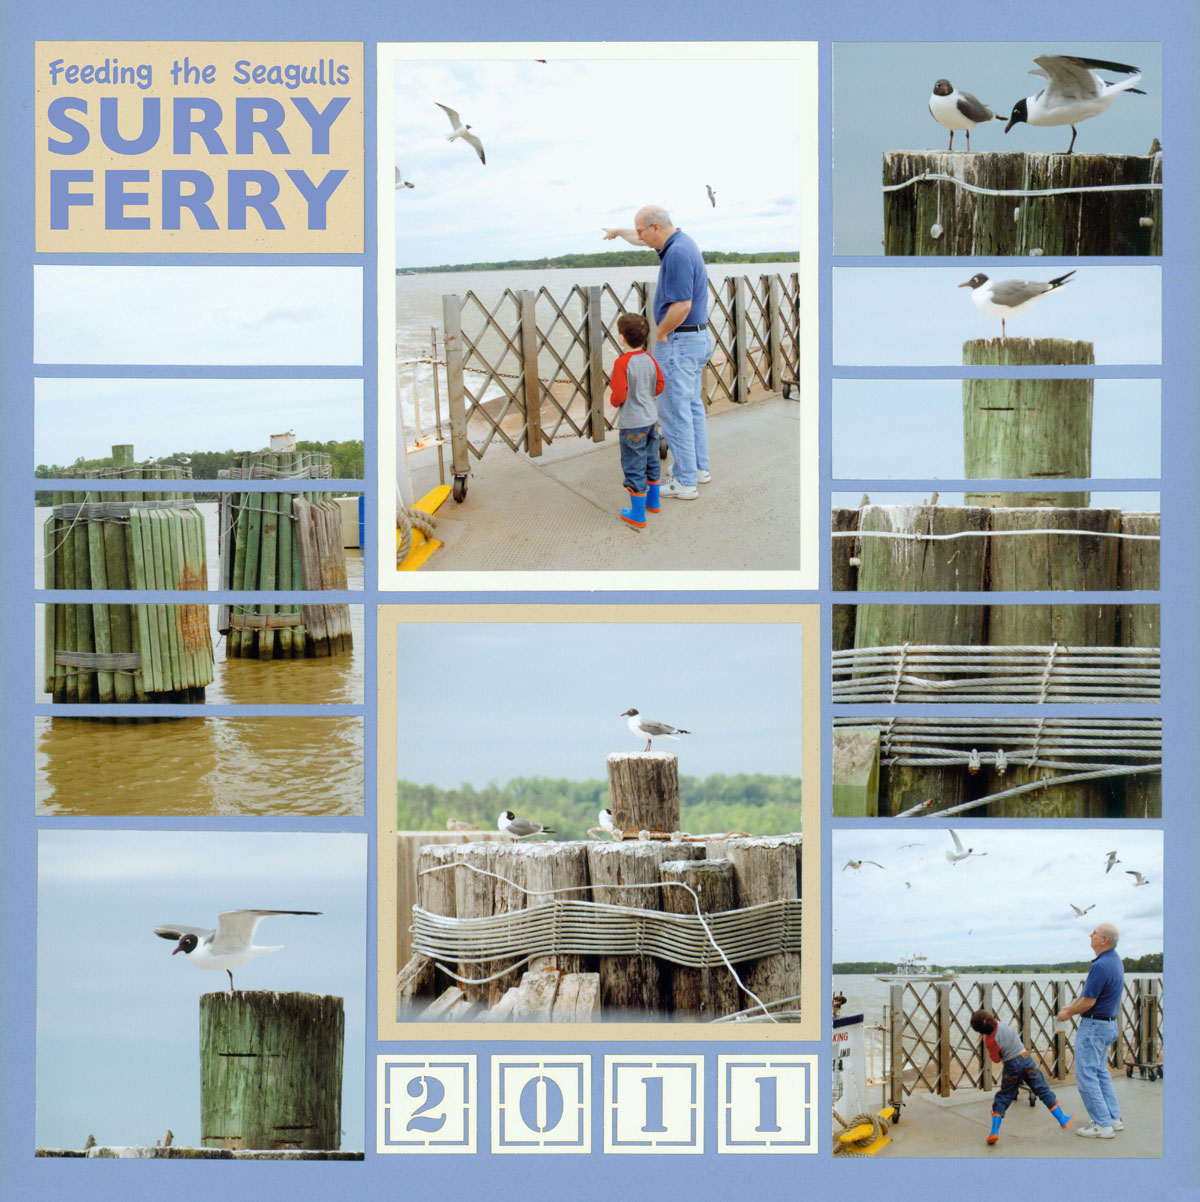
"Girls Camp" by Paije - Pattern #307
2. Create a Panoramic
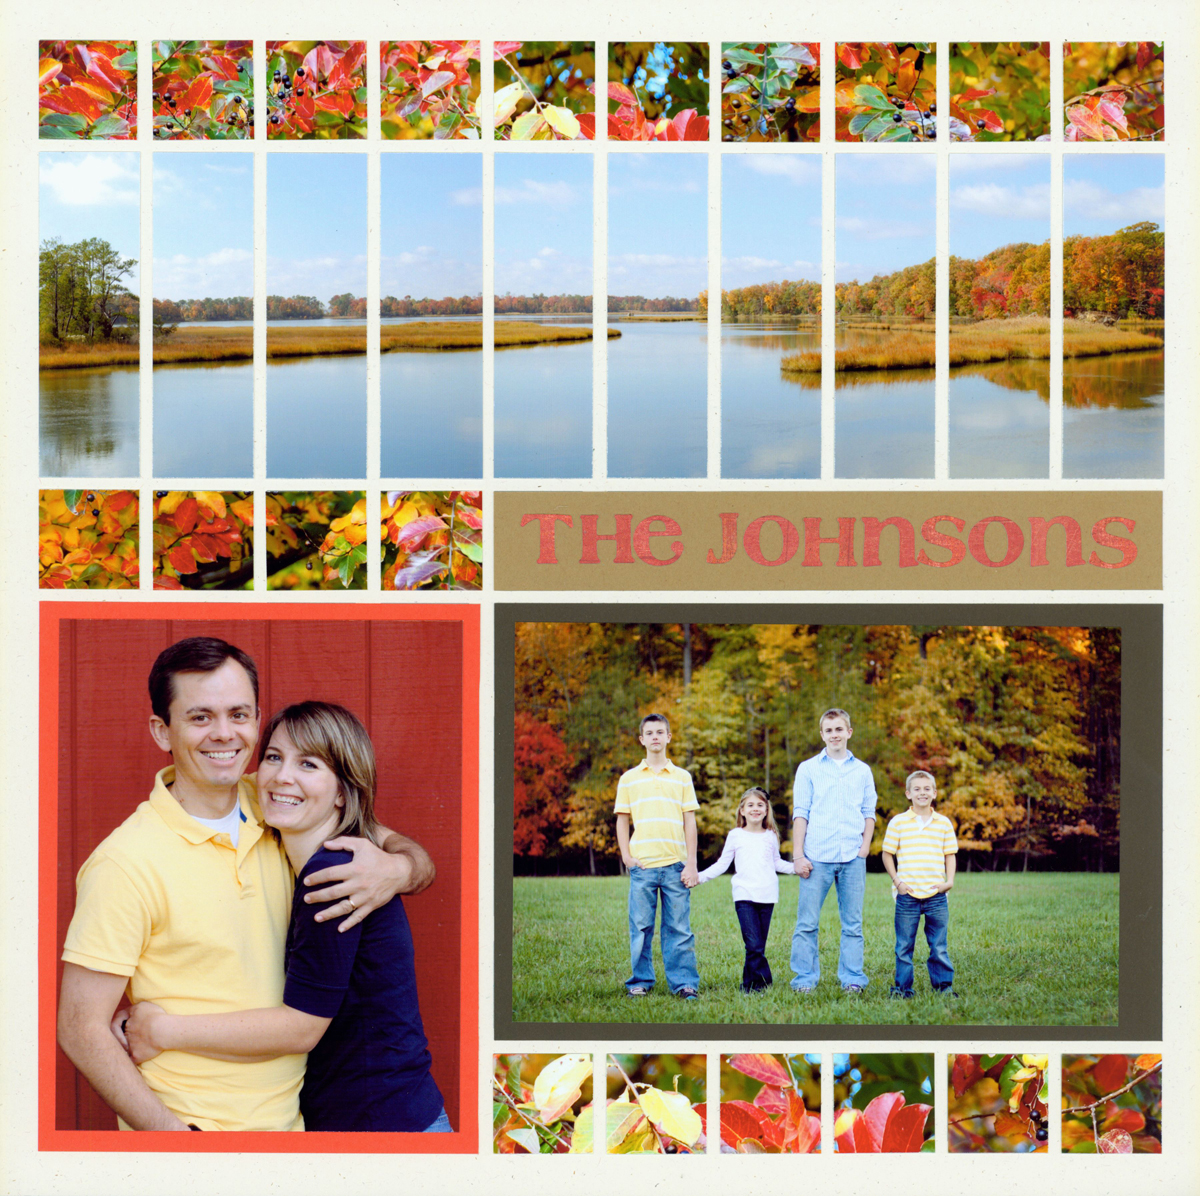
"The Johnsons" by Tami Potter - Pattern #261

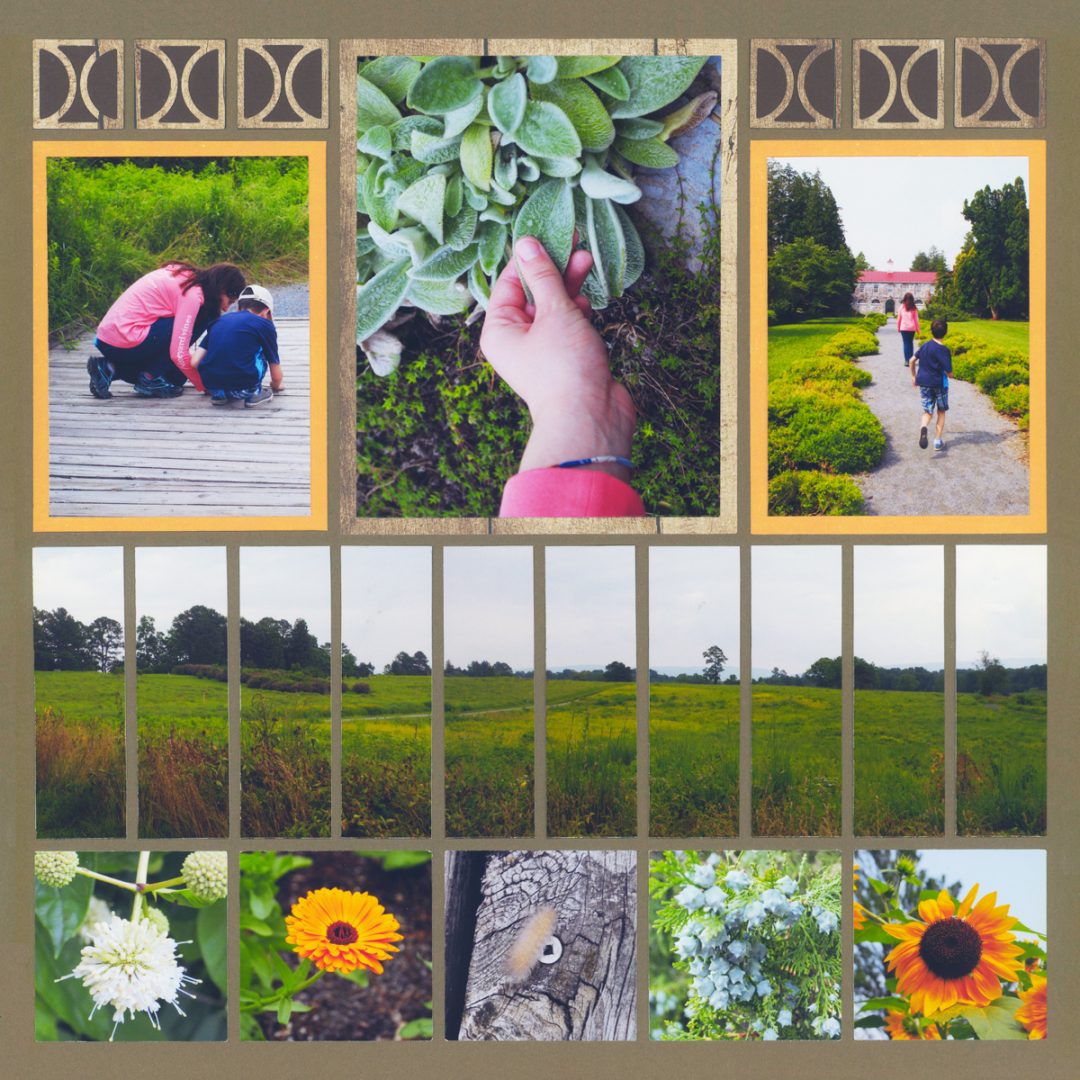
"Garden" by Paije - Pattern #315
Photo strips can be used to magically transform multiple photos into a breathtaking panoramic.
The process is simple ... you line up the horizons on your photos and then use either the mat or the Photo Strip dies to cut the photos into 1-inch strips. The tiny space betweeen the strips conceals where one photo ends and another begins. It's Mosaic Magic.
3. Strip a Section
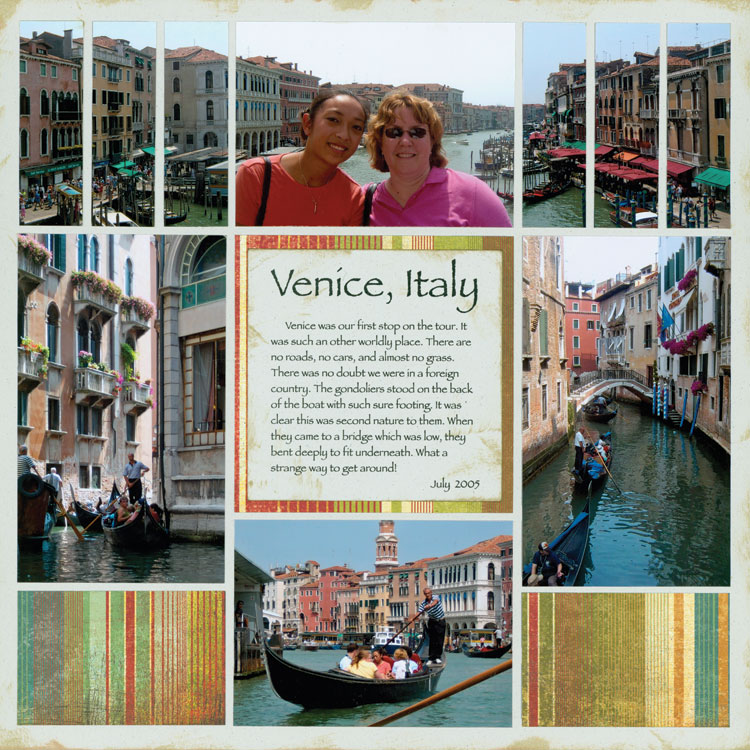
"Venice" by Tami Potter - Pattern #213
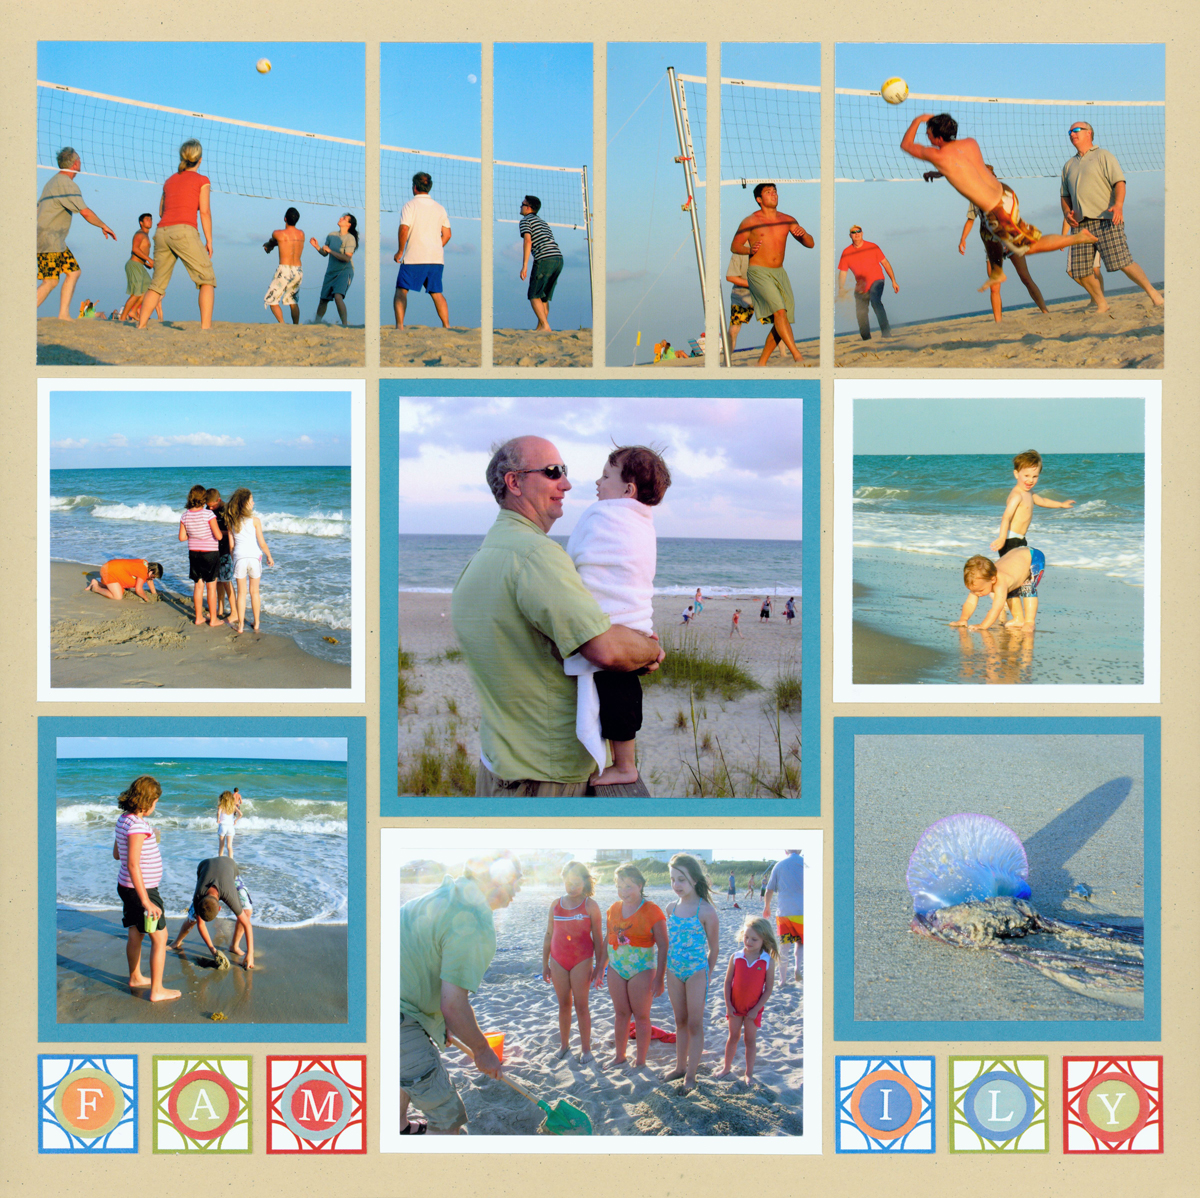
"Family Reunion" by Tami Potter - Pattern #246
When you want to create a panoramic view, but do not want to slice the people, or main focus of the photo, consider keeping part of the photo whole and adding strips to the other sections of the photo.
In the "Venice" layout above, Tami placed the photo of the people in the center. She then used strips on either side to join additional photos, creating a large scene that puts the close-up photo in perspective -- without taking a traditional panoramic.
In "Family Reunion," Tami used a few strips in the center to join the two separate photos together. At first glance, it appears to show one big game of volleyball, when really it is two photos of different points in the game.
This is a great technique to use with pictures taken at a distance ... like those at the beach, in a boat or sledding down the hill. You can merge multiple pictures of your family into one giant photo. Mosaic Magic strikes again.
4. Reach up with Tall Strips
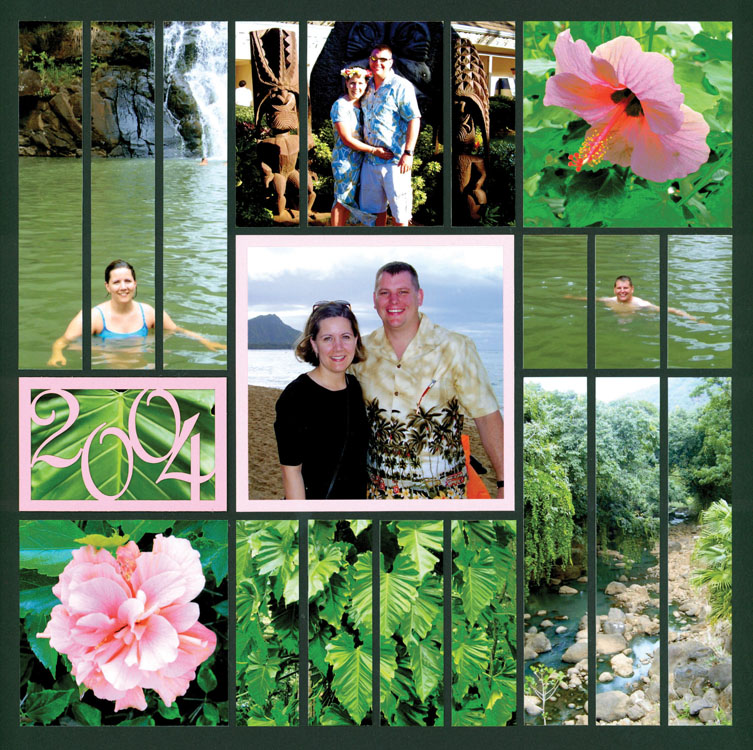
"Hawaii" by Tami Potter - Pattern #293

"Palm Springs" by Paije - Pattern #297
Strips can be used on taller photos with the 1"x5.5" Strip Die. This is a perfect way to accent a single photo, like on the "Palm Springs" layout.
By combining multiple size dies, or by using the mat to cut the strips you need, you can easily create a beautiful scene that wraps around the focal photo, like in the "Hawaii" layout above.
5. Highlight a Great One
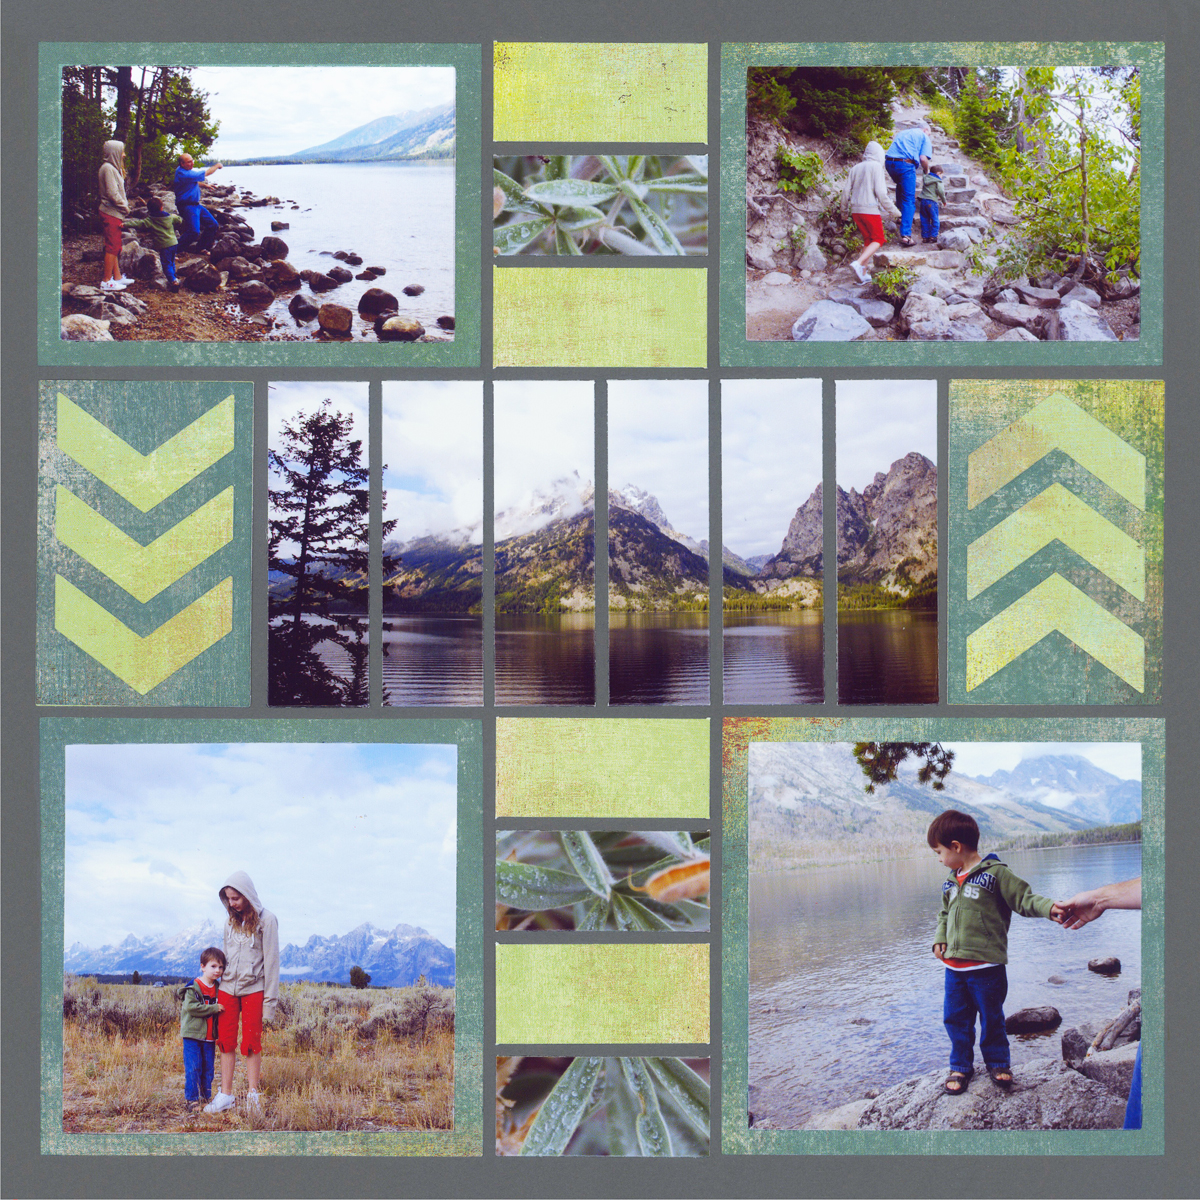
"Teton" by Paije - Pattern #193
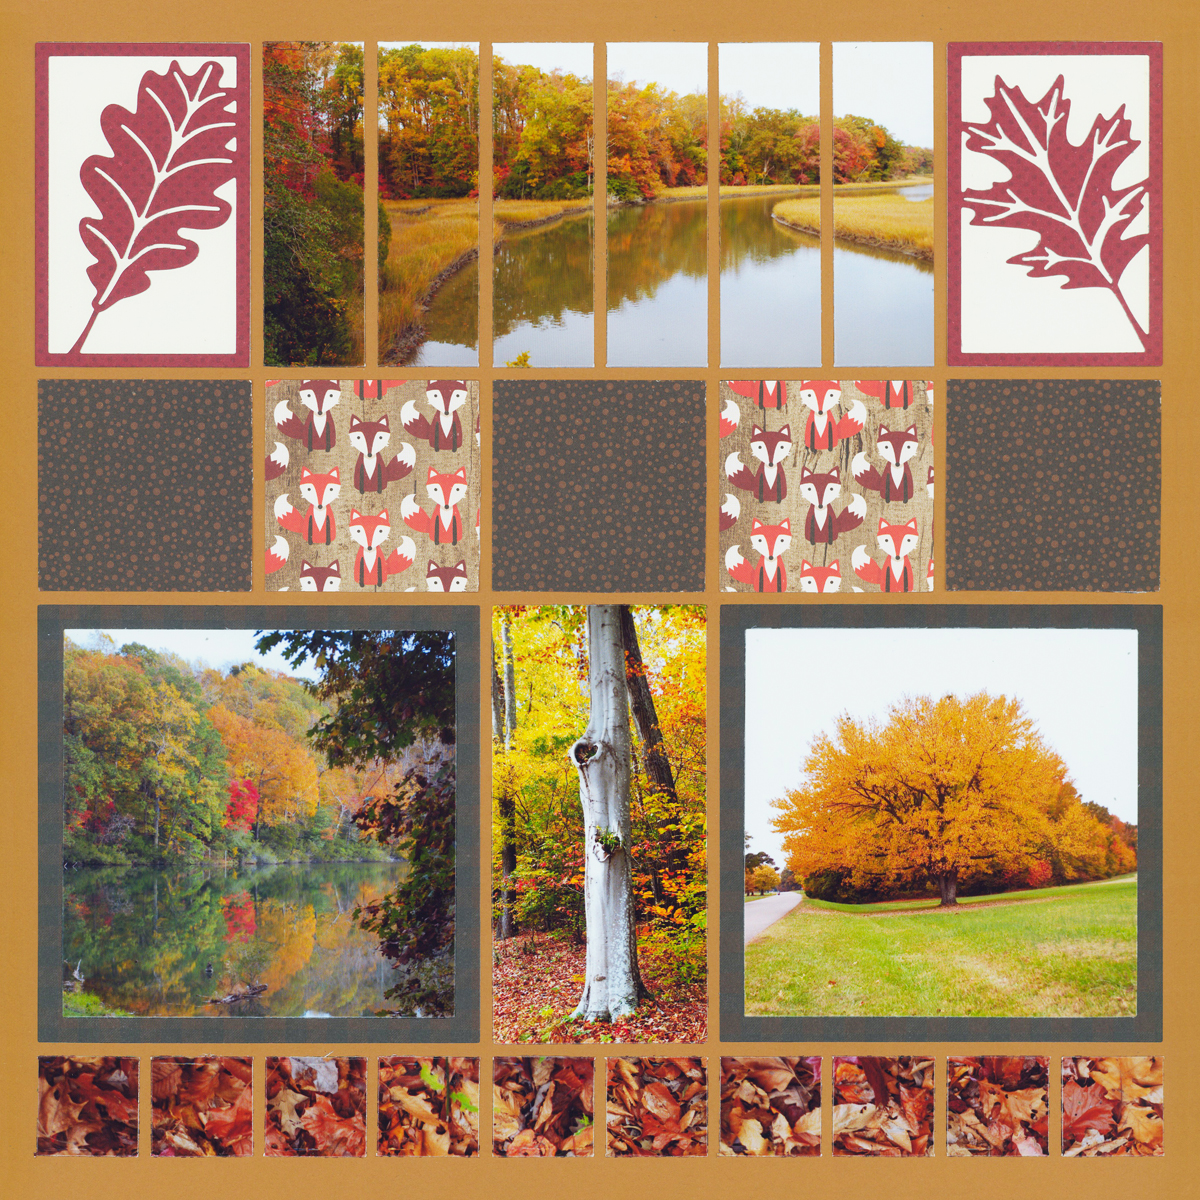
"Fall Parkway" by Paije - Pattern #195
When creating the perfect layout, sometimes you only need one spectacular photo to showcase. Why not add strips to it to make it really different from the rest of the photos on the page.
With only one photo done in strips, two things happen to the layout. At the same time the stripped photo becomes the focal point, it also blends in with the other embellishments and patterns on the page, somehow making the remaing photos stand out. It's Mosaic Magic, again.
6. Split the Strips
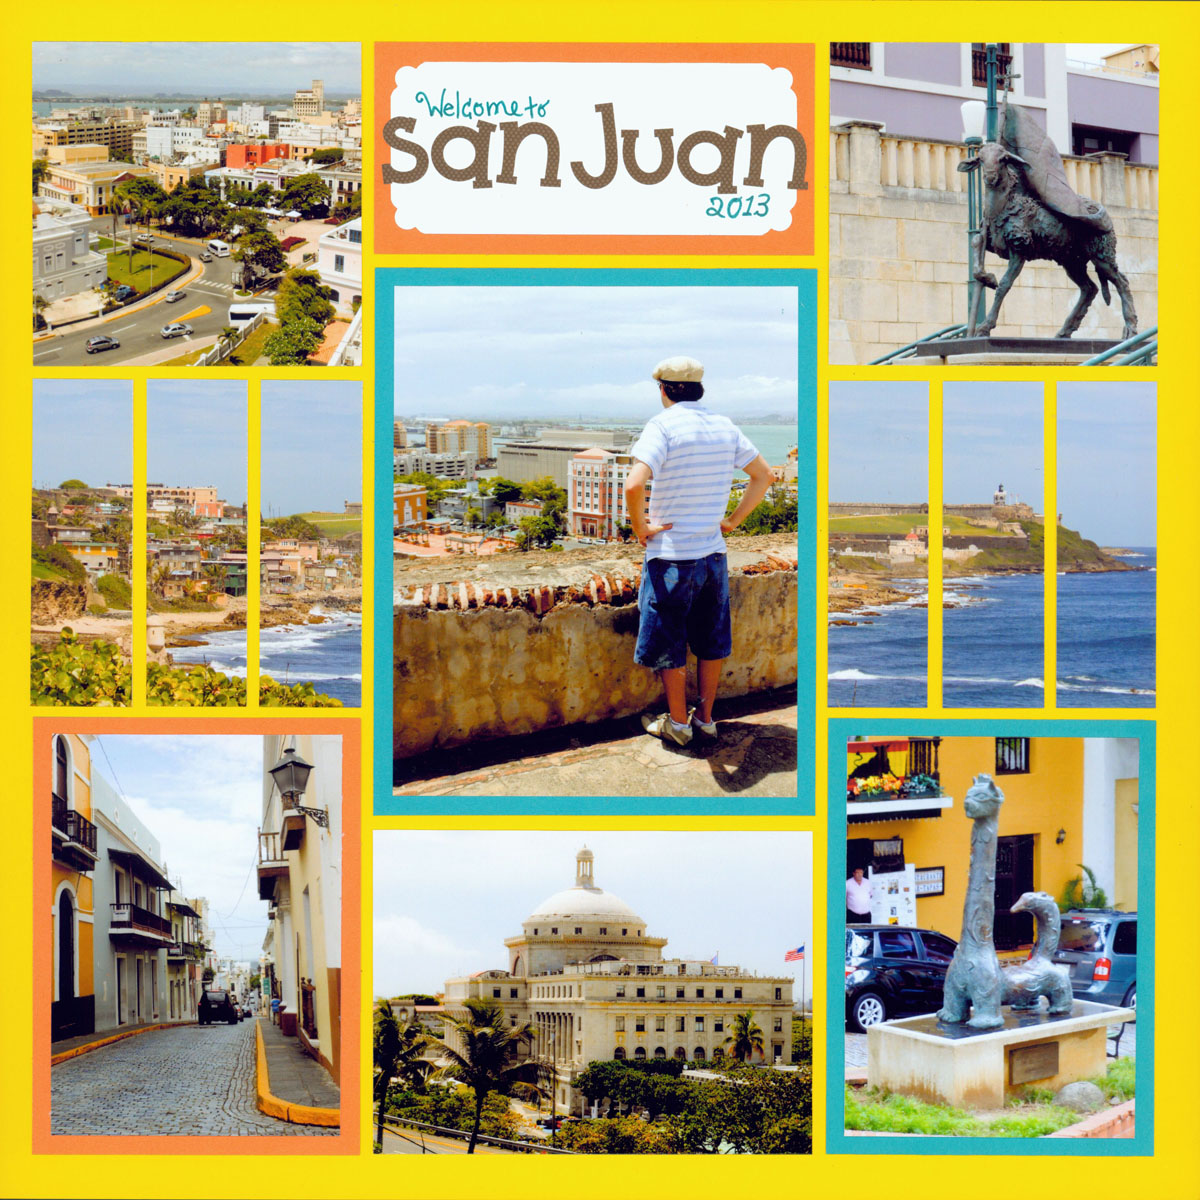
"San Juan" by Paije - Pattern #196
You may only have one photo to cut into strips, but that doesn't mean you can't spread it out.
Look how Paije took a single photo on the "San Juan" layout and spread it on both the left and right of her focal photo. It helps the eye travel across the page and makes it look like the focal photo is jumping right off at you. What an awesome example of Mosaic Magic.
7. Go Horizontal
Strips can go horizontal as well as vertical. Simply turn the die or photo on its side and cut away. This gives a unique look that adds to your album.