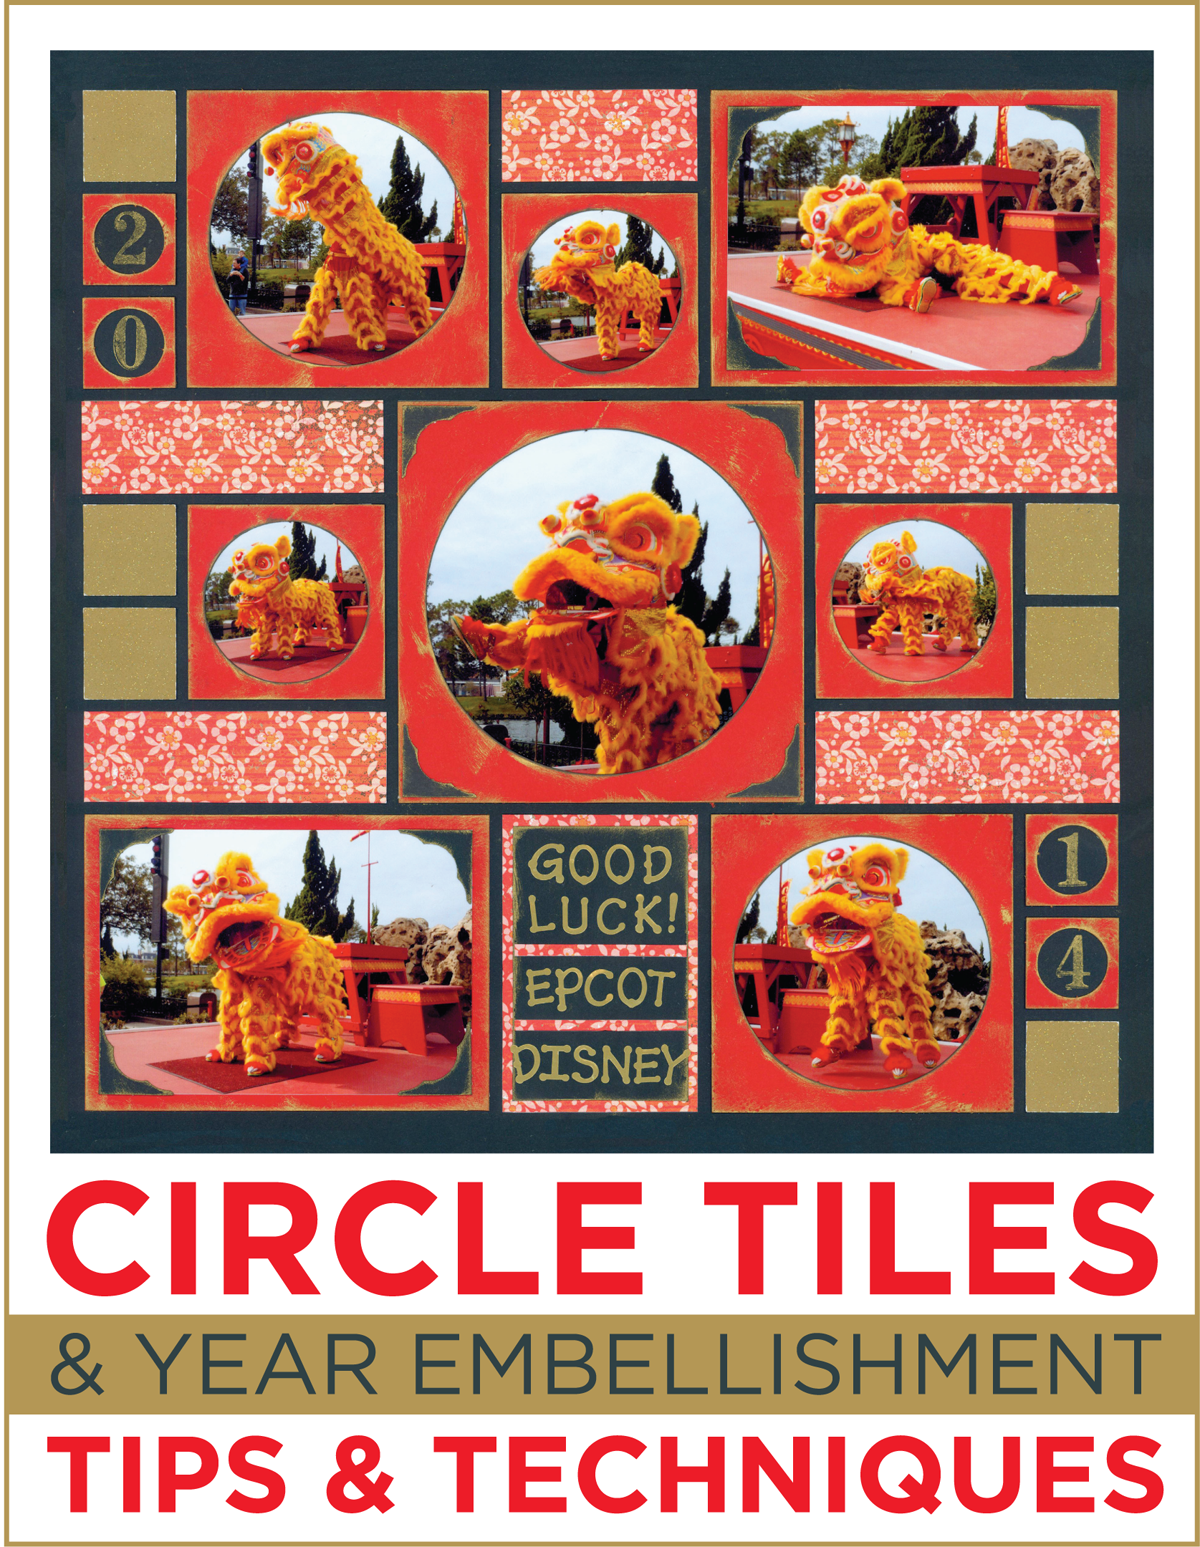
Nǐ Hǎo! No we did not visit China (although that would have been awesome!), but we went to the second best thing – Disney World! For those of you who are wondering – these photographs were taken at the China Pavilion in Disney’s Epcot during the holiday season. I thought these photographs were fabulous for today’s scrapbook embellishment ideas. In this post, we focus on Circle Tiles (These are special circle frames that fit onto the Mosaic Moments™ grid). Plus, I am showing a few ways to display the Year so you can get fresh ideas for the 2015 year!
[/vc_column][/vc_row][vc_row no_margin=”true” padding_top=”0px” padding_bottom=”0px” border=”none”][vc_column width=”1/1″]Circle Tiles
[/vc_column][/vc_row][vc_row padding_top=”0px” padding_bottom=”0px” border=”none”][vc_column width=”1/1″]If you have not tried the Circle Tiles yet – here is an introduction: Circle Tiles are special circle frames that fit onto the Mosaic Moments™ grid. I love the Circle Tiles since they are great for framing your photos, pattern paper, or other embellishments you may want to add. Plus, they give your pages a fresh look. So if you would like to try a new look – check out our Circle Tiles.
Below are two pages I created with our special Tiles (the right page shows Heart Tiles… great for Valentines 🙂 )
[/vc_column][/vc_row][vc_row padding_top=”0px” padding_bottom=”0px” border=”none”][vc_column width=”1/2″]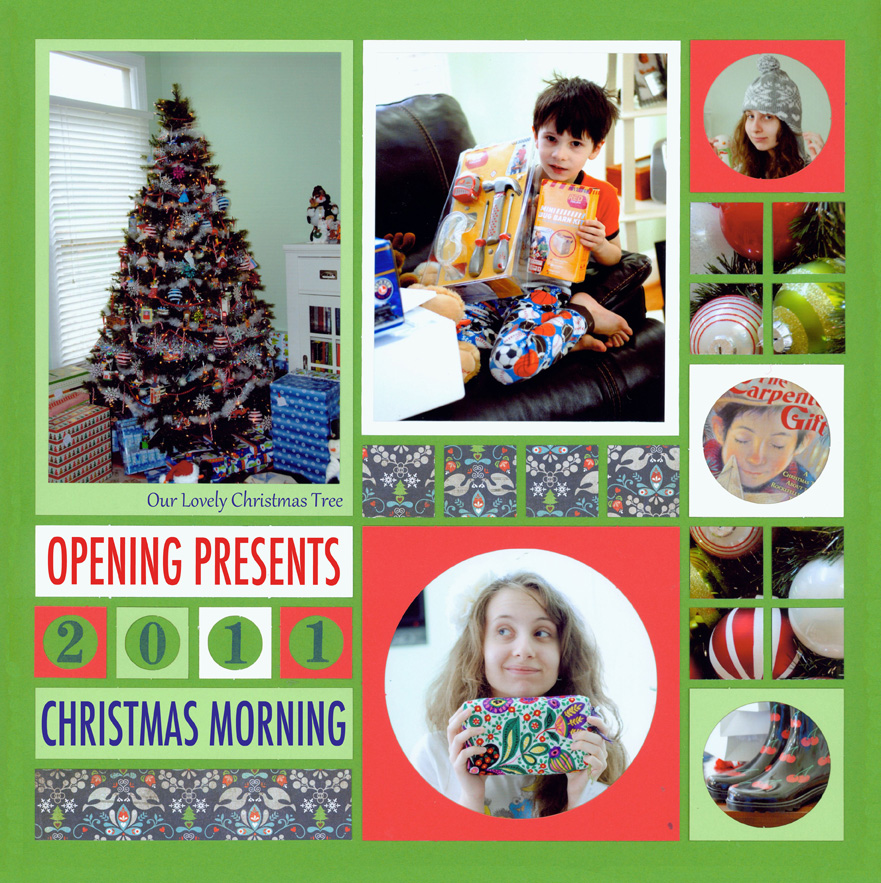
This is a fun Christmas Page with three different Circle Tile sizes. Use the Largest Circle Tile to highlight a specific photograph. This could be used as your focal point. I love the 2×2 in. size for creating borders like on the side of this page. Plus, the 1 in. size tiles are great for framing years.
[/vc_column][vc_column width=”1/2″]
I know these are actually Heart Tiles, but I displayed this page to show you that Circle Tiles are not just for photographs. Here I framed pattern paper for a unique look. Plus I framed the title of the page to make it stand out more. Use Circle Tiles (or heart tiles) to add interest to single photograph pages.
[/vc_column][/vc_row][vc_row no_margin=”true” padding_top=”0px” padding_bottom=”0px” border=”none”][vc_column width=”1/1″]Year Embellishments
[/vc_column][/vc_row][vc_row padding_top=”0px” padding_bottom=”0px” border=”none”][vc_column width=”1/1″]It’s the beginning of a new year, which may mean freshening up your new year pages! Below I have a few layout ideas to encourage you to change up how to display the year on your future layouts.
[/vc_column][/vc_row][vc_row][vc_column width=”1/2″]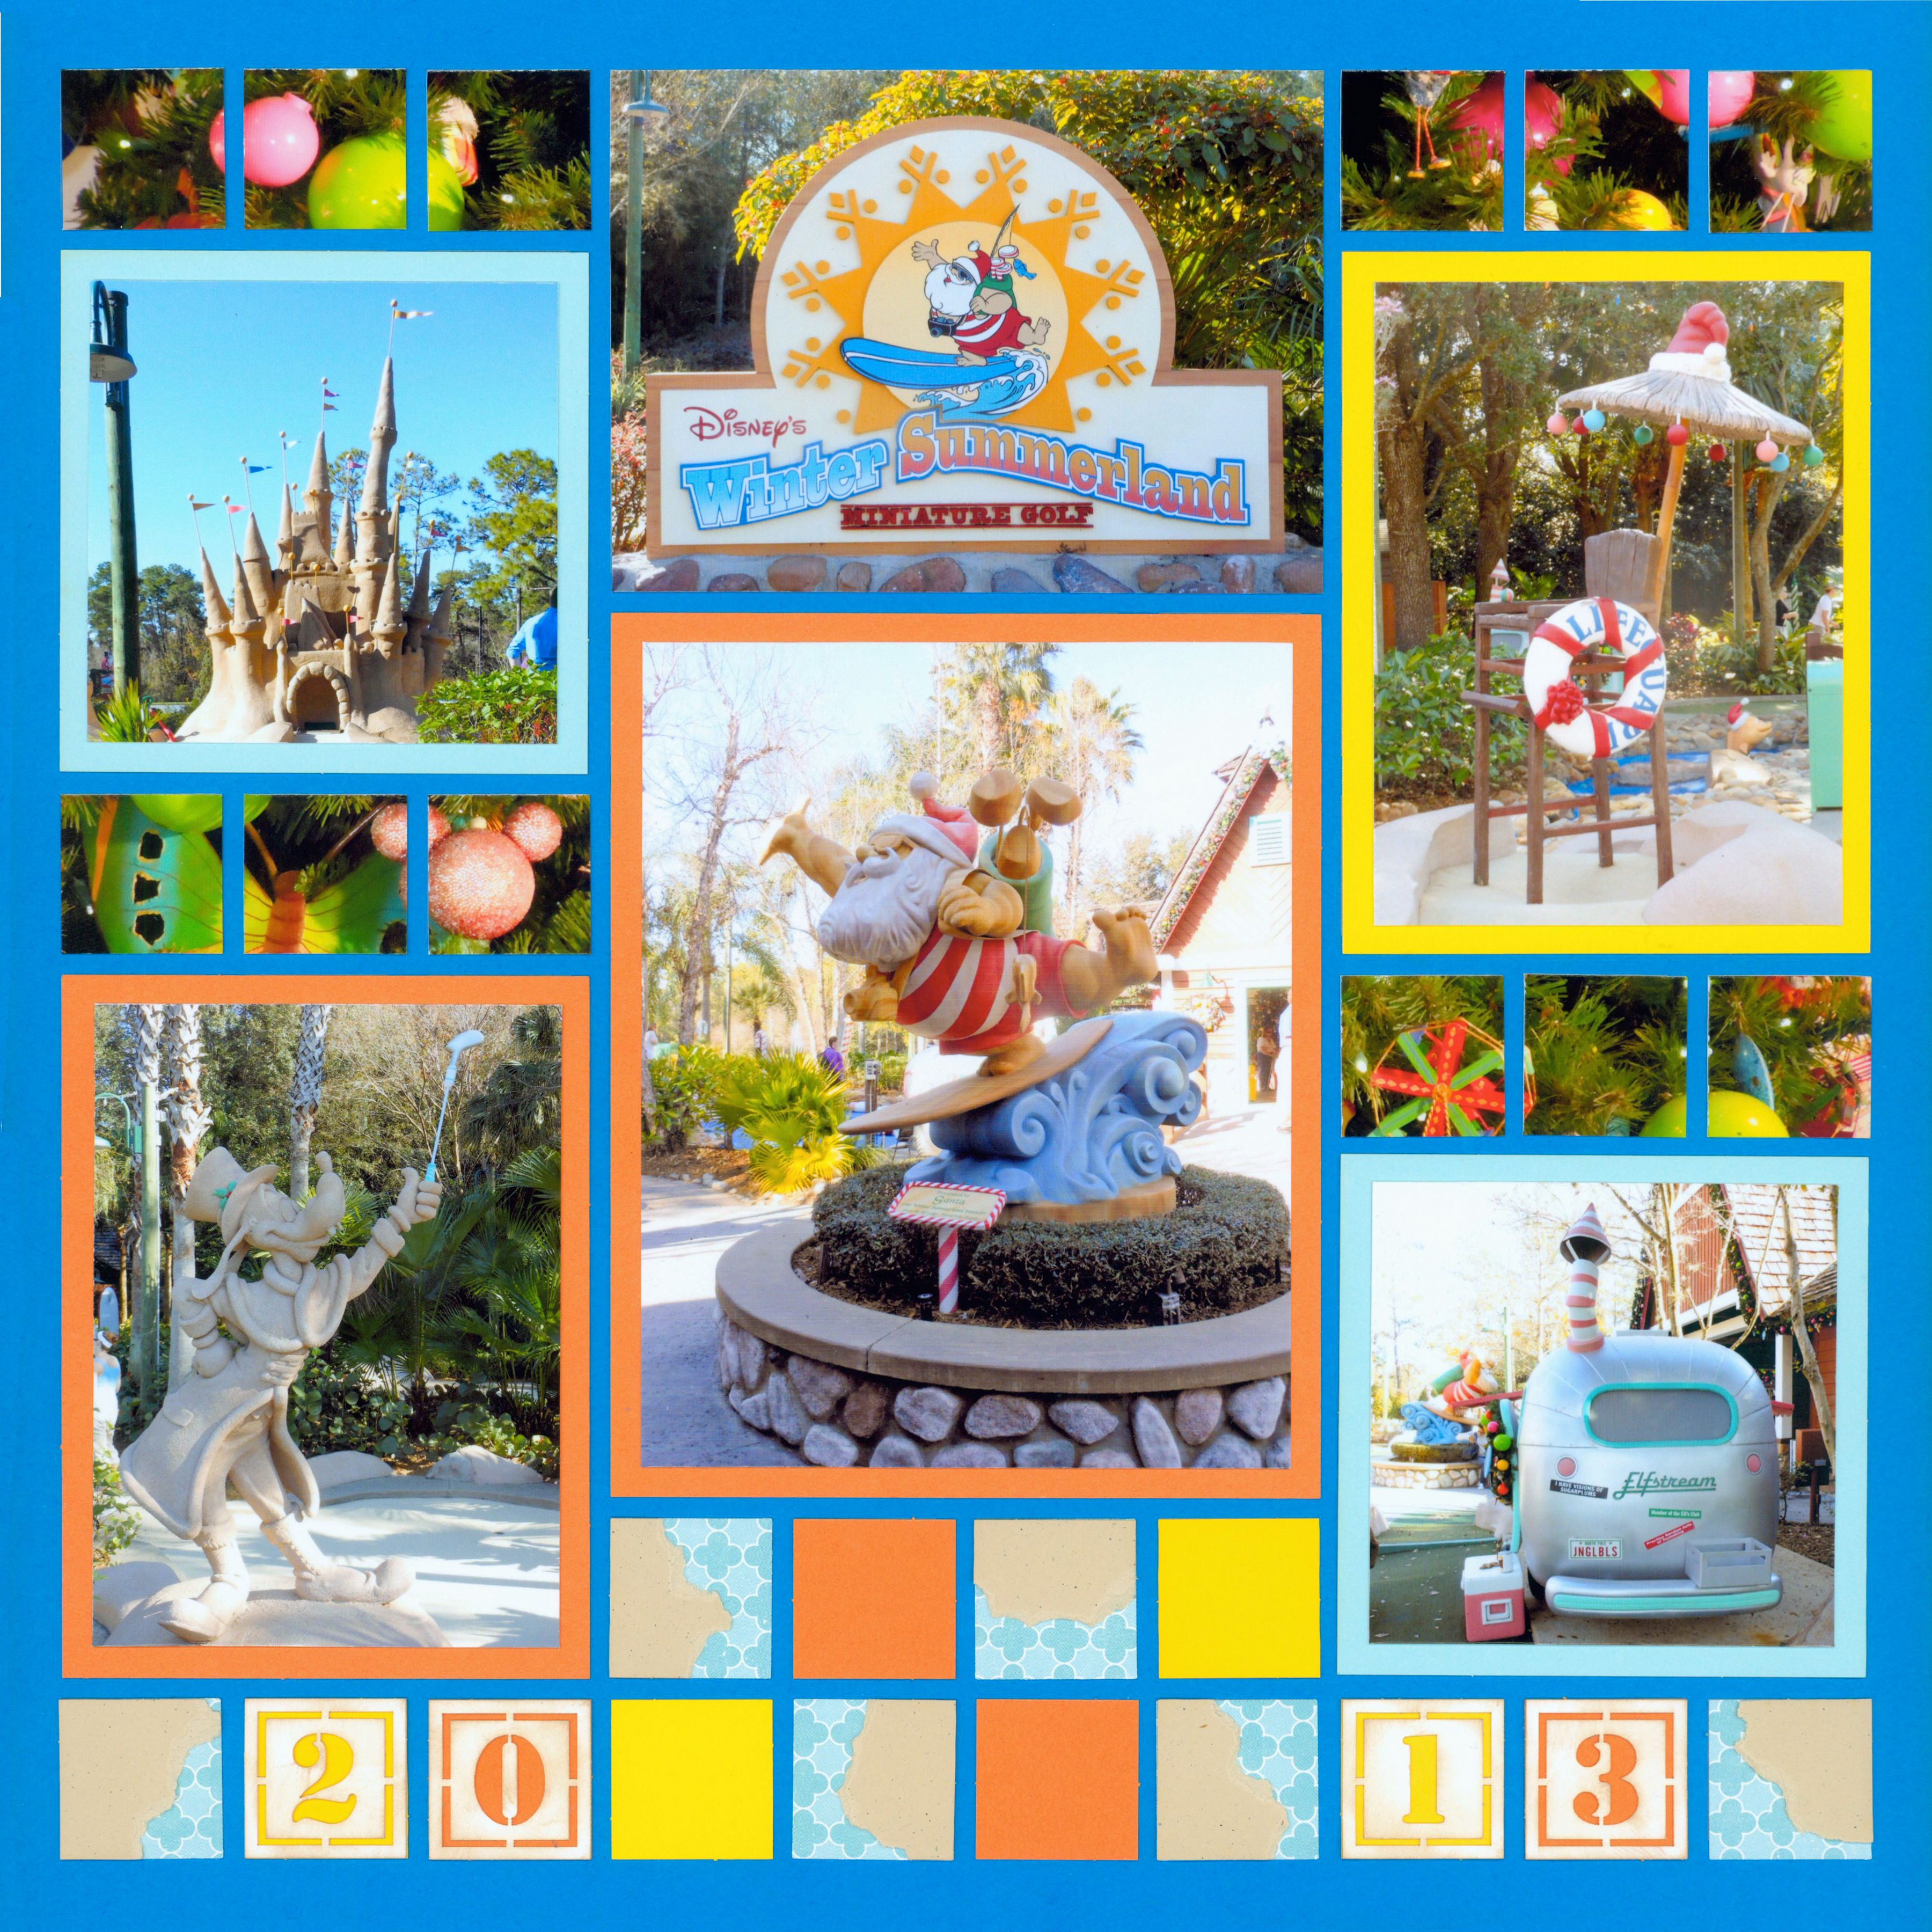
Four Year Letter Cornerstones are a must! I love them! You can display them however you want. Keep them in a square formation, or put them in a vertical or horizontal line. Place them diagonally or separate them. The page above shows the year separated. These Cornerstones give a lot of flexibility and give a unique way to show the year.
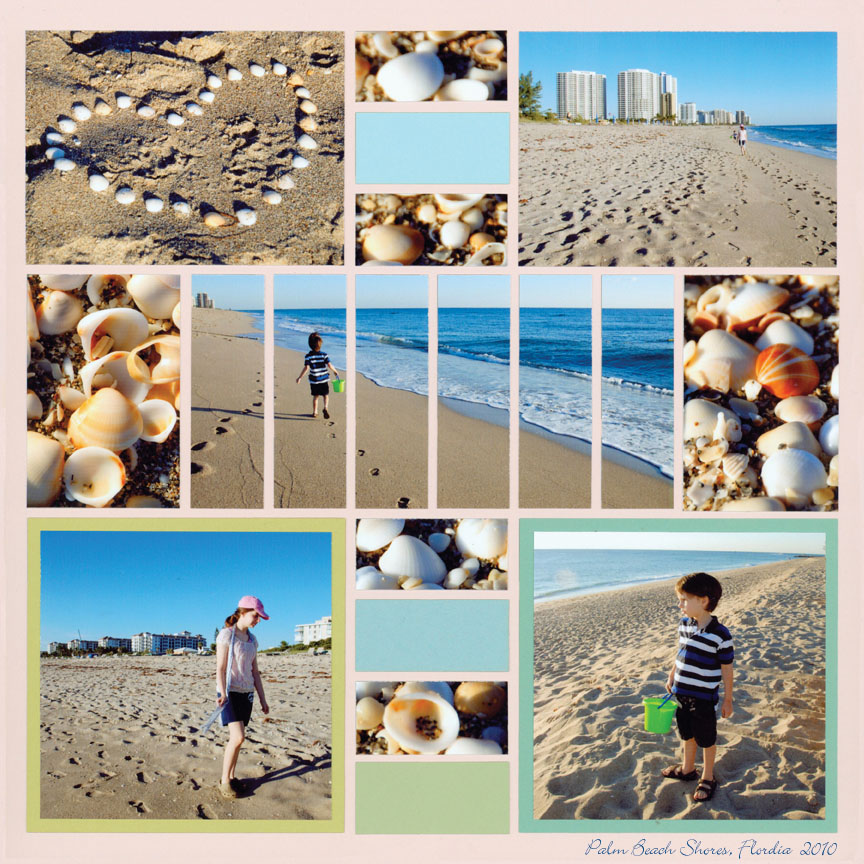
Sometimes we don’t have much room to display the year. A simple solution is to write it on the bottom of the page. I love the scenery on this page and showing a big year might have been a little distracting. This is an elegant look, perfect for beautiful pages.
[/vc_column][vc_column width=”1/2″]
This page shows a Year Style B Cornerstone. This is a very simple way to show the year. If you use a pattern where three blocks need to be filled – use this kind of Cornerstone. Look through our Page Pattern Gallery to see many layouts that fit this.
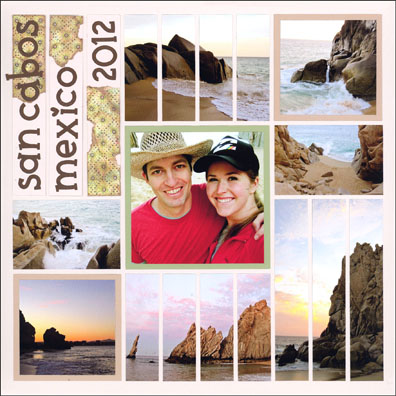
Sometimes I like placing the year right on a border. Pick out a pattern paper you like and add matching alphabet stickers with it. I did this recently with my Year in Review page.
[/vc_column][/vc_row][vc_row no_margin=”true” padding_top=”0px” padding_bottom=”0px” border=”none”][vc_column width=”1/1″]Creating the Lion Dance Layout
[/vc_column][/vc_row][vc_row padding_top=”0px” padding_bottom=”0px” border=”none”][vc_column width=”1/1″]As you can see – I created a new page featuring Circle Tiles, and I also added the year using stamps. When I first created this page, it looked kind of bland (see below). At first, I used Scarlet grid paper with Black Circle Tiles. Then I experimented and found my Gold chalk ink! I brushed it on some Scarlet Circle Tiles and found the pizazz I was looking for!
[/vc_column][/vc_row][vc_row padding_top=”0px” padding_bottom=”0px” border=”none”][vc_column width=”1/2″]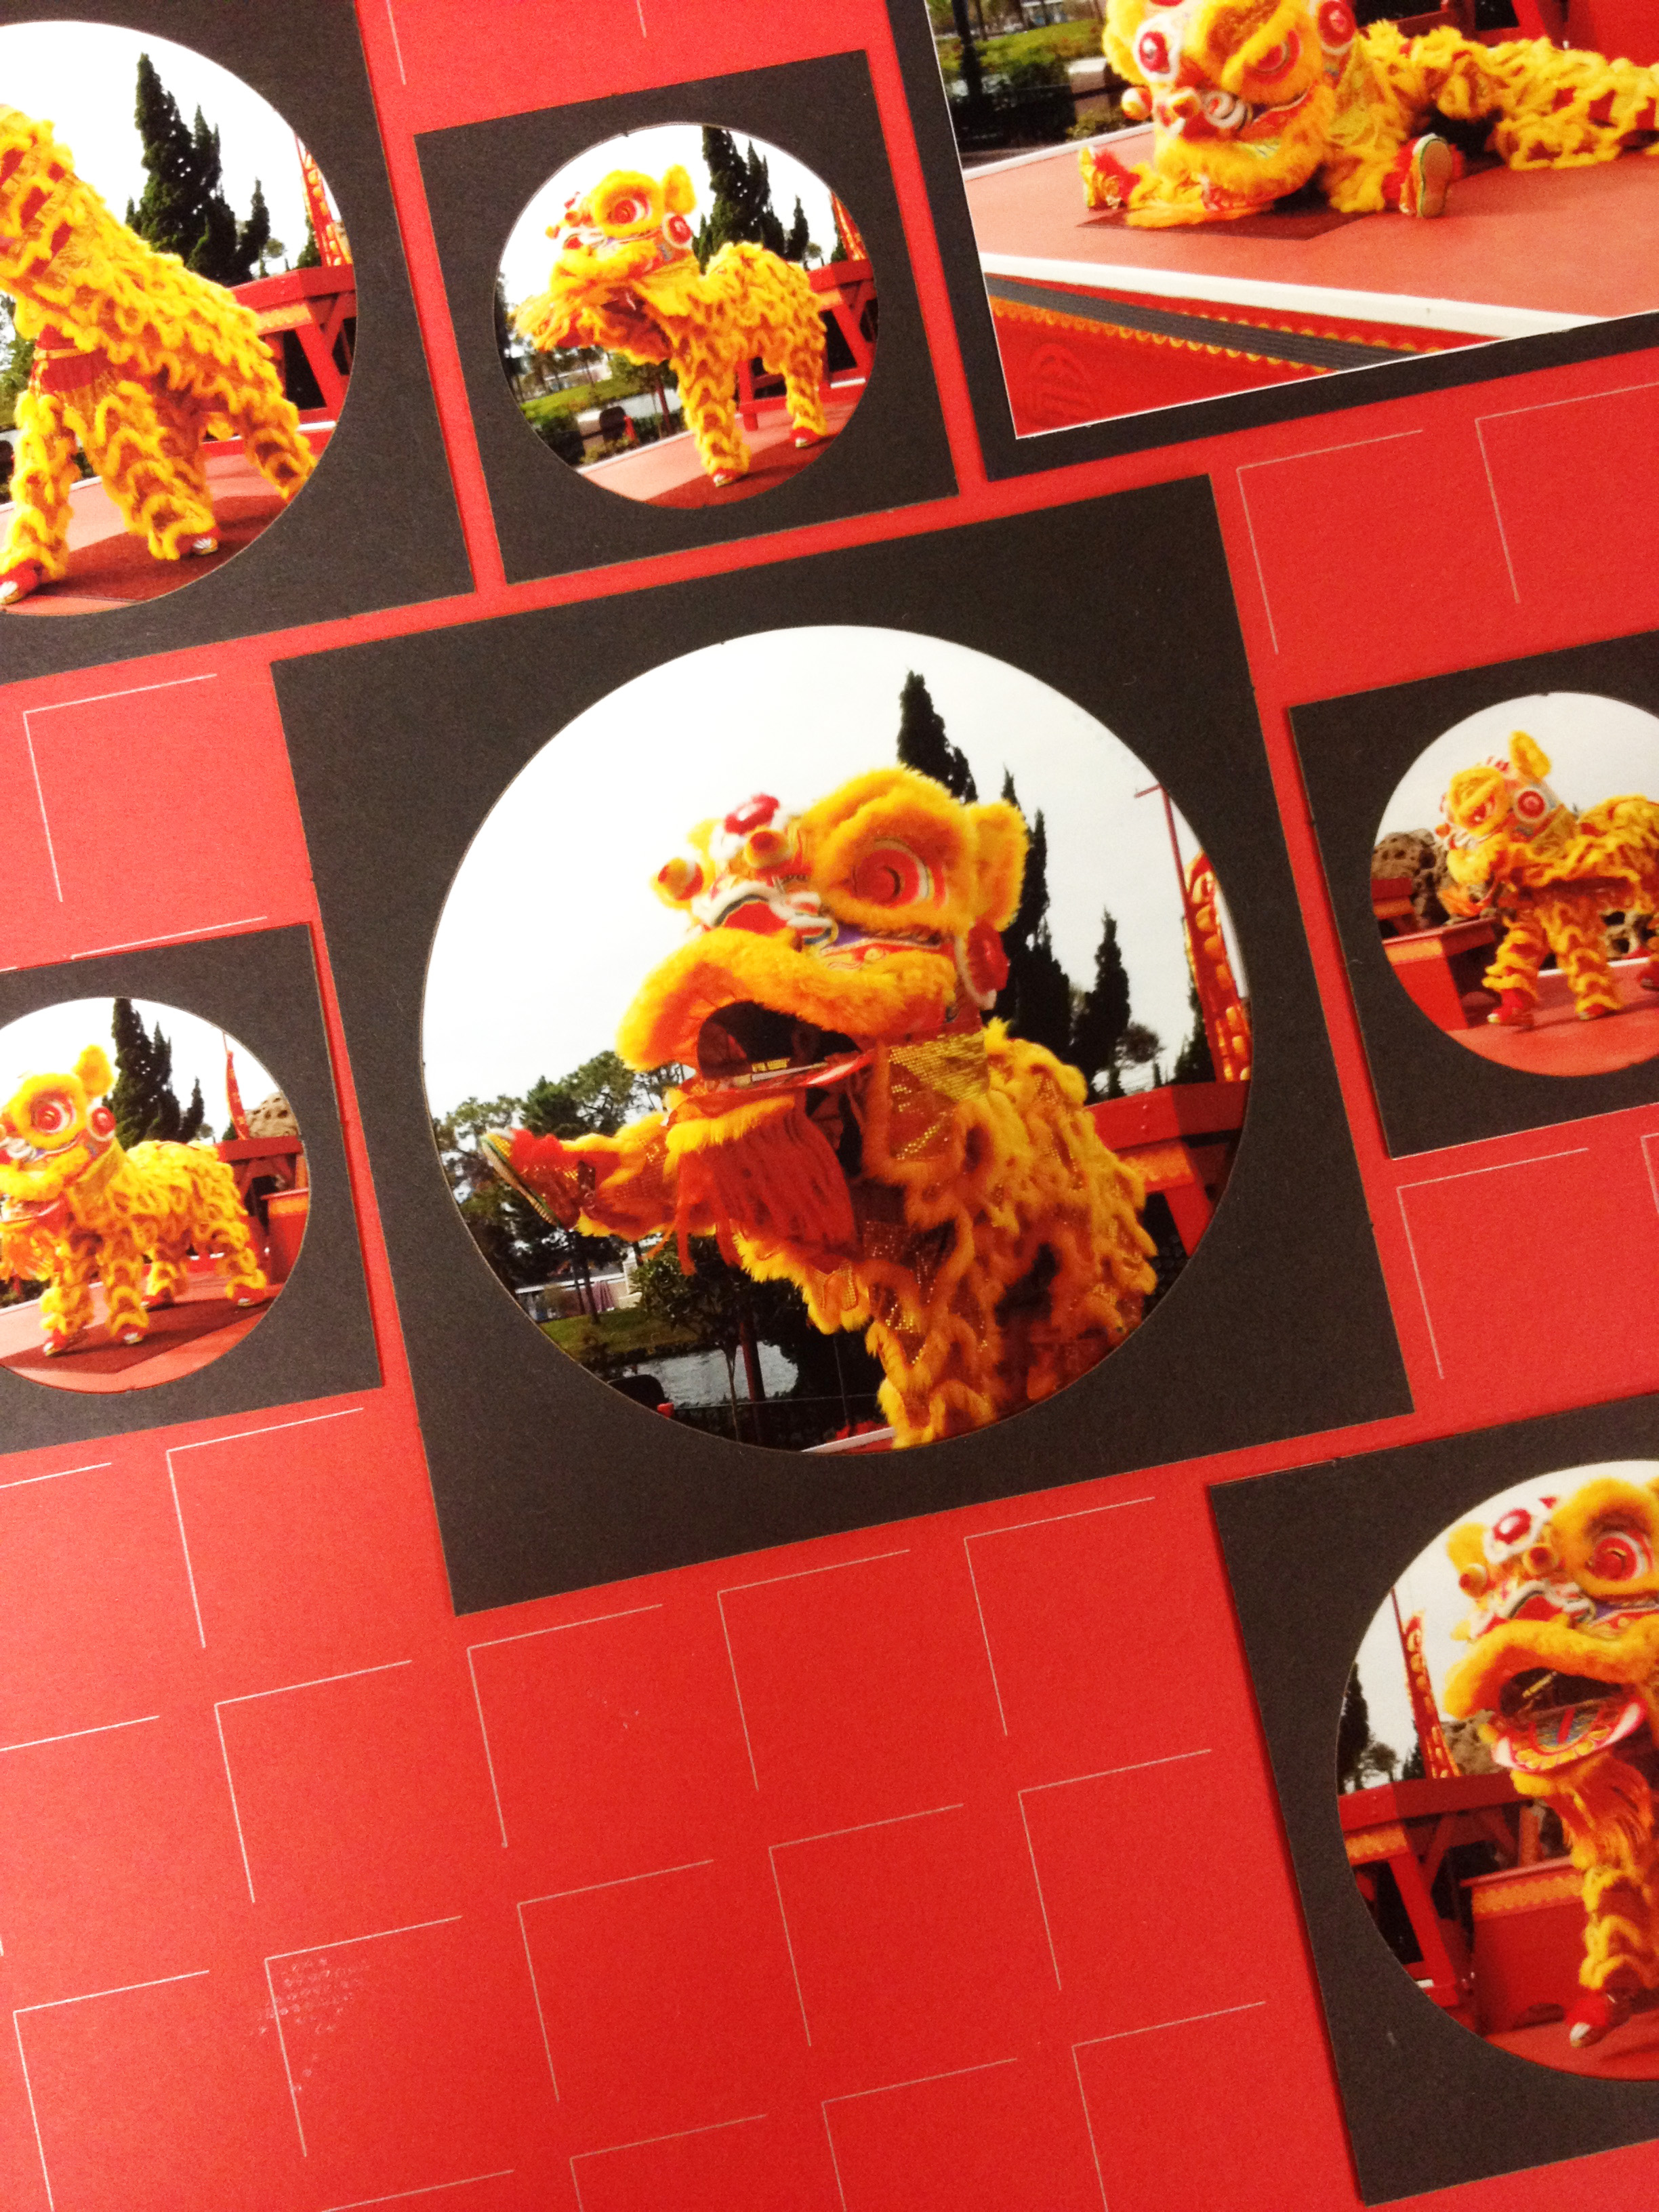 [/vc_column][vc_column width=”1/2″]
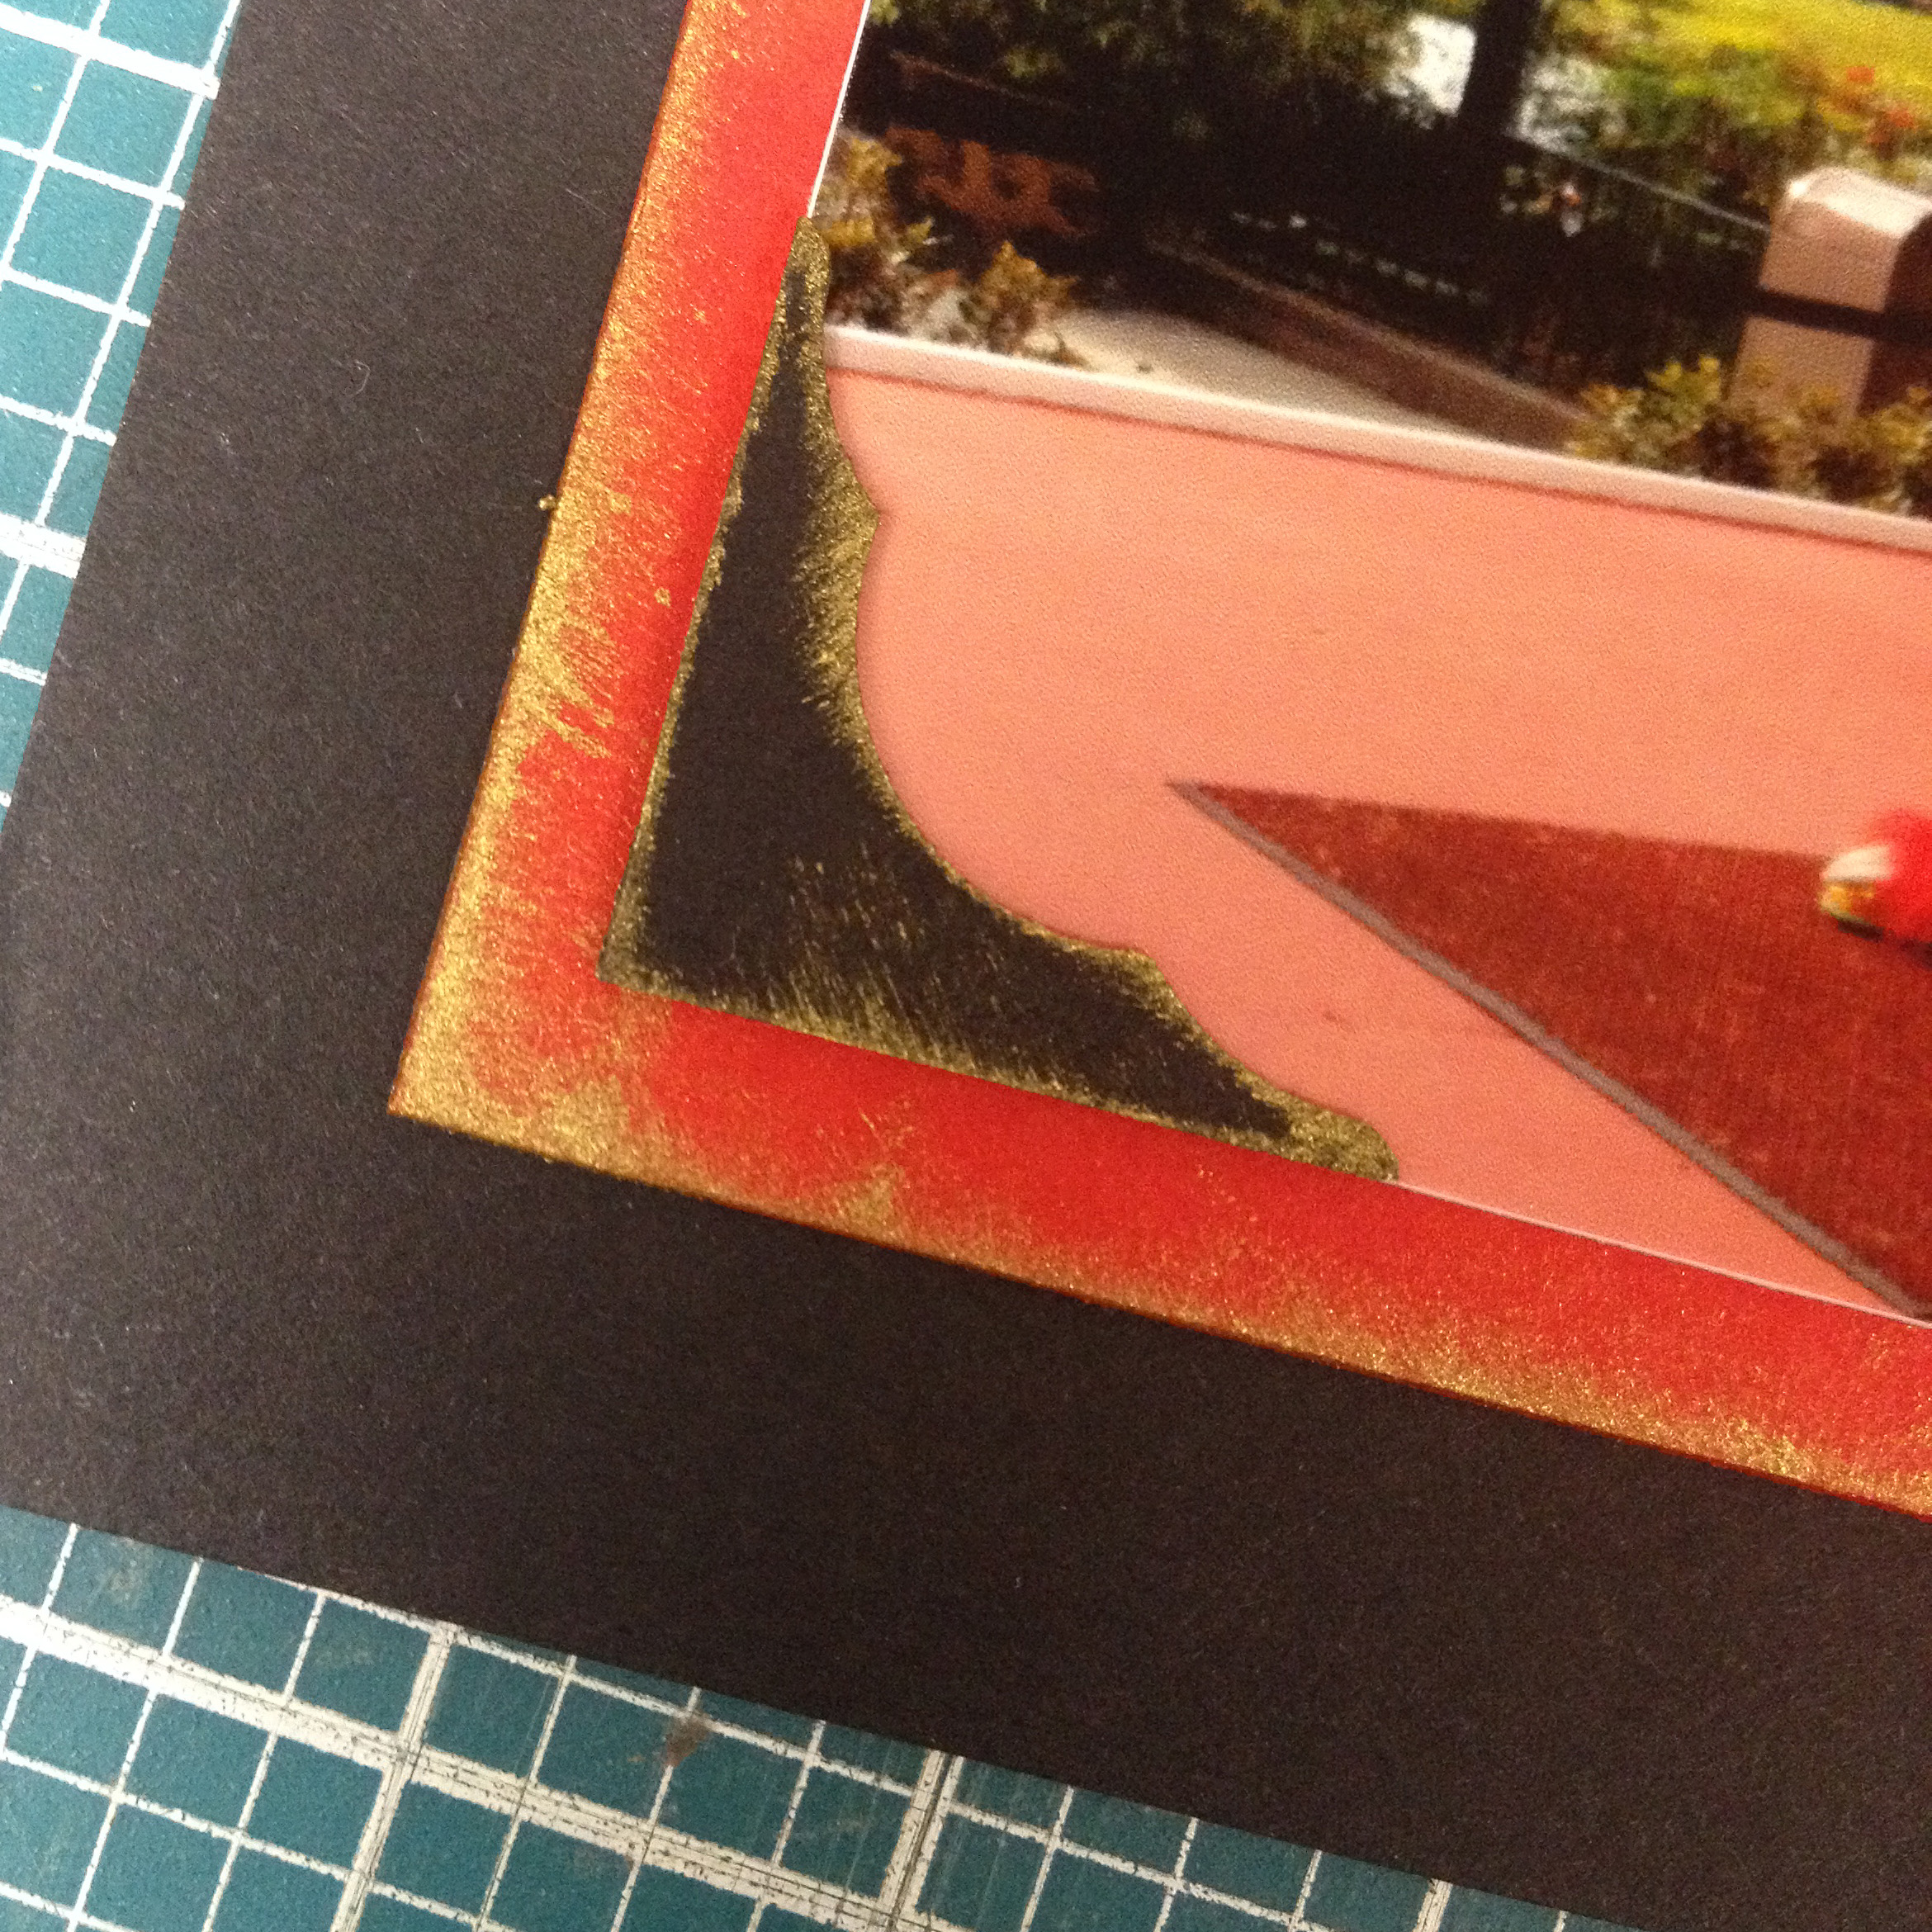
Here is a close up look of the gold ink – I love that the aged, distress look!
[/vc_column][/vc_row][vc_row no_margin=”true” padding_top=”0px” padding_bottom=”0px” border=”none”][vc_column width=”1/1″]If you find that your Circle Tiles are looking bland – try out chalk ink if it is appropriate for you page. I used gold chalk since it reminds me of old brass items. Plus gold is color used a lot in the Chinese culture. So it worked! I wanted my photos to really pop, so I also put a thin layer of black chalk ink around the circles. If you look closely at my page, you will see a thin black ring around the circular part of the tiles.
I also want to point out the Black Corners on my layout. These were made with a Martha Stewart punch (I highly recommend her punches… love them!). I placed a few of them on the corners of the Circle Tile located right in the center of my page. If you need to spice up your page – this is also a great technique to consider, especially for the focal point.
I also used 1 in. Circle Tiles to Highlight the year (created with Stamps and Gold chalk ink). I placed the year on opposites ends of the page. Usually the numbers would be put right next to each other, but now this typical embellishment gets a unique look. This year, try to give your years a unique placement and use new techniques to help them stand out!
[/vc_column][/vc_row][vc_row no_margin=”true” padding_top=”0px” padding_bottom=”0px” border=”none”][vc_column width=”1/1″]Supplies Used for This Layout:
[/vc_column][/vc_row][vc_row no_margin=”true” padding_top=”0px” padding_bottom=”0px” border=”none”][vc_column width=”1/1″]- 12×12 Black Mosaic Moments™ Grid Paper
- Scarlet Circle Tiles
- Black and Scarlet Paper Tiles
- BasicGrey™ Pattern Paper – Konnichiwa Collection
- Gold Glitter Paper
- Gold Alphabet Stickers
- Gold and Black Chalk Ink from Color Mates™

