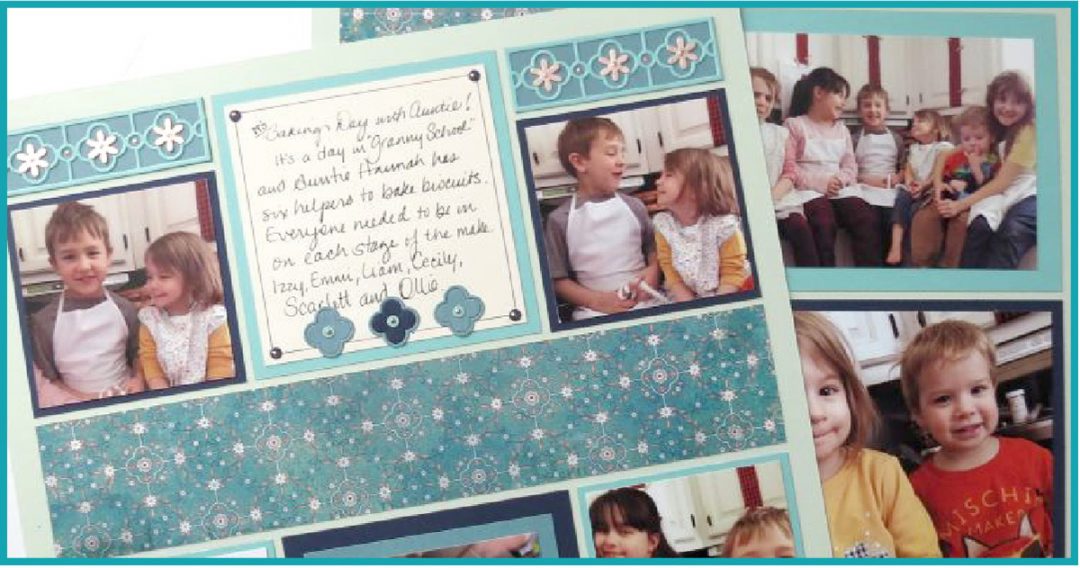
Page kits are quick and easy to assemble and make putting together a layout so much fun. Once you have mastered that you can also kick those pages up a notch by adding a few touches with Mosaic Moments dies.
Let me show a few ideas you might like to implement or inspire you to see what dies you can use!
Page Kits:
The First Layout: Flourish
Dies:
- Quatrefoil Die
- Layering Ribbon Border Die (retired)
Embellishments:
- Ranger Ink’s Liquid Pearls in Rose Gold
- Rose Gold Satin Cardstock from Tonic Studios
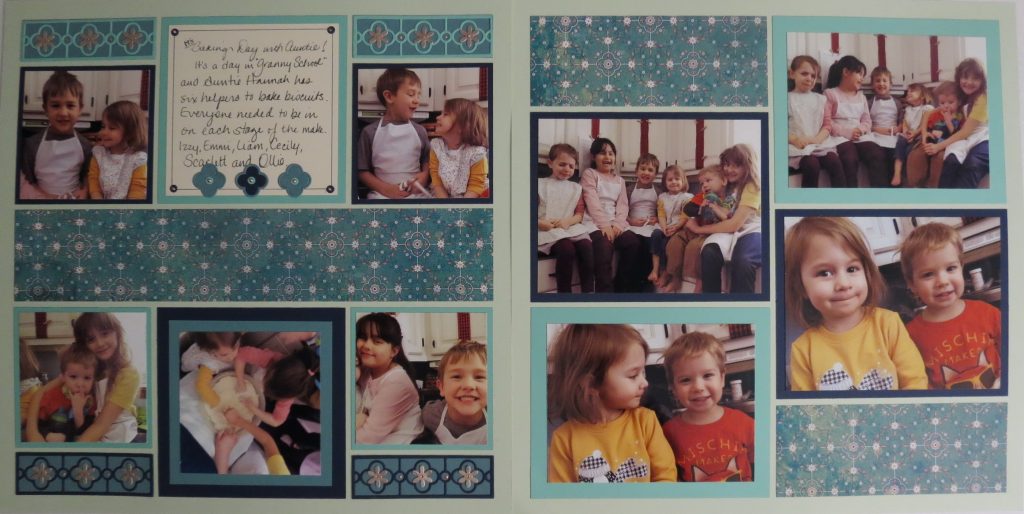
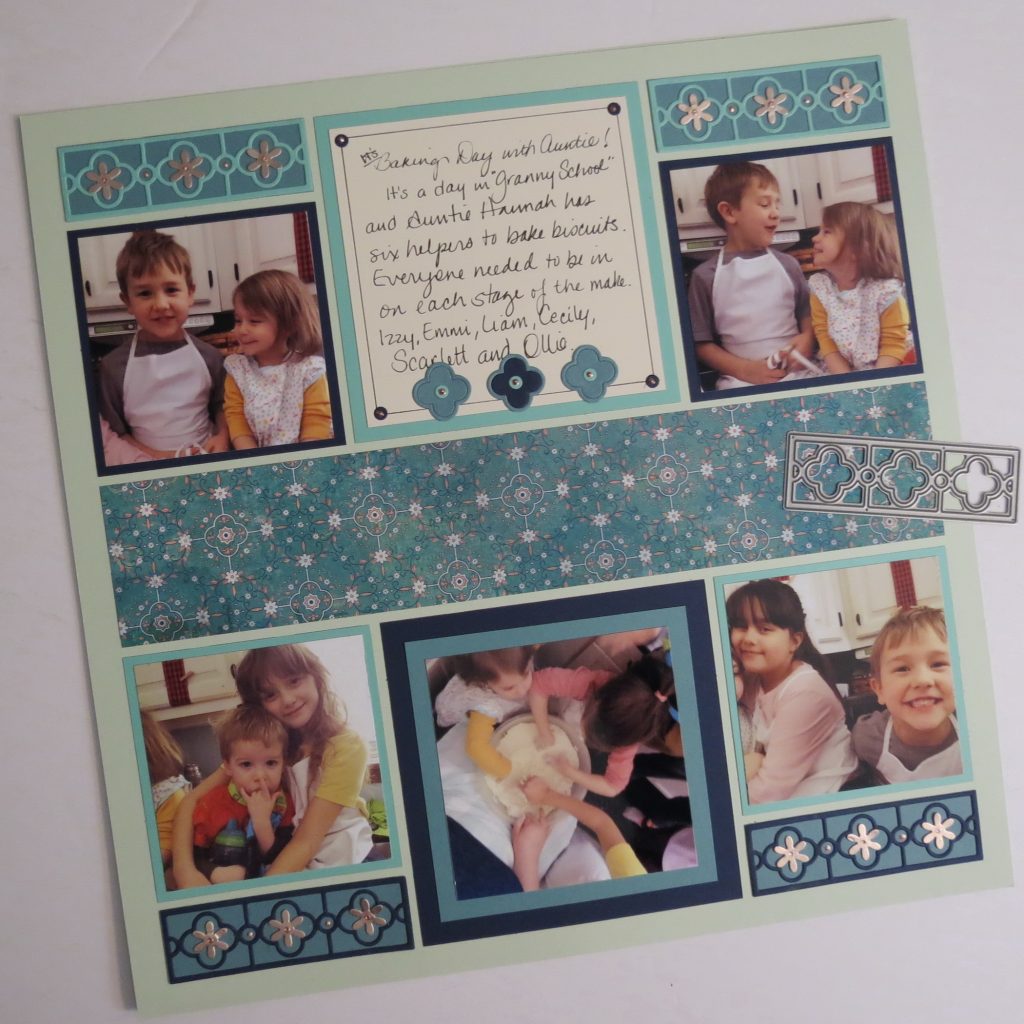
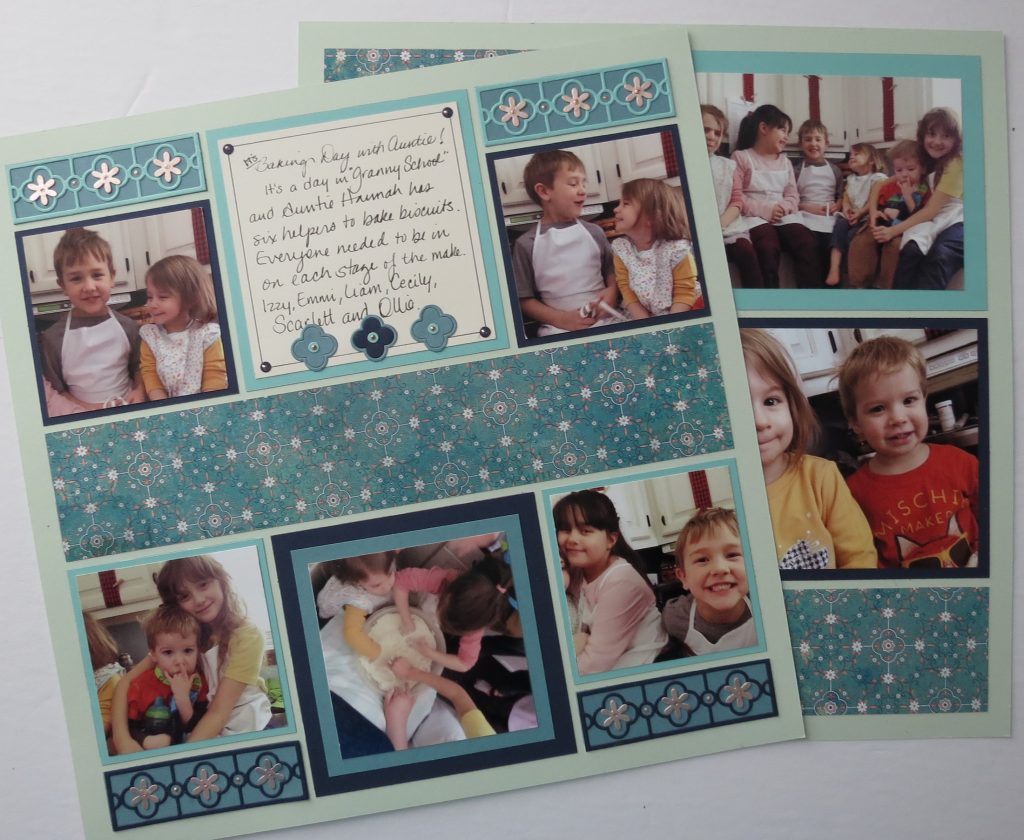
When I first got this page kit and saw the patterned paper, I knew I had to use the Quatrefoil Die. Now, it meant I would have to adjust the pattern a bit, and to add another color of cardstock.
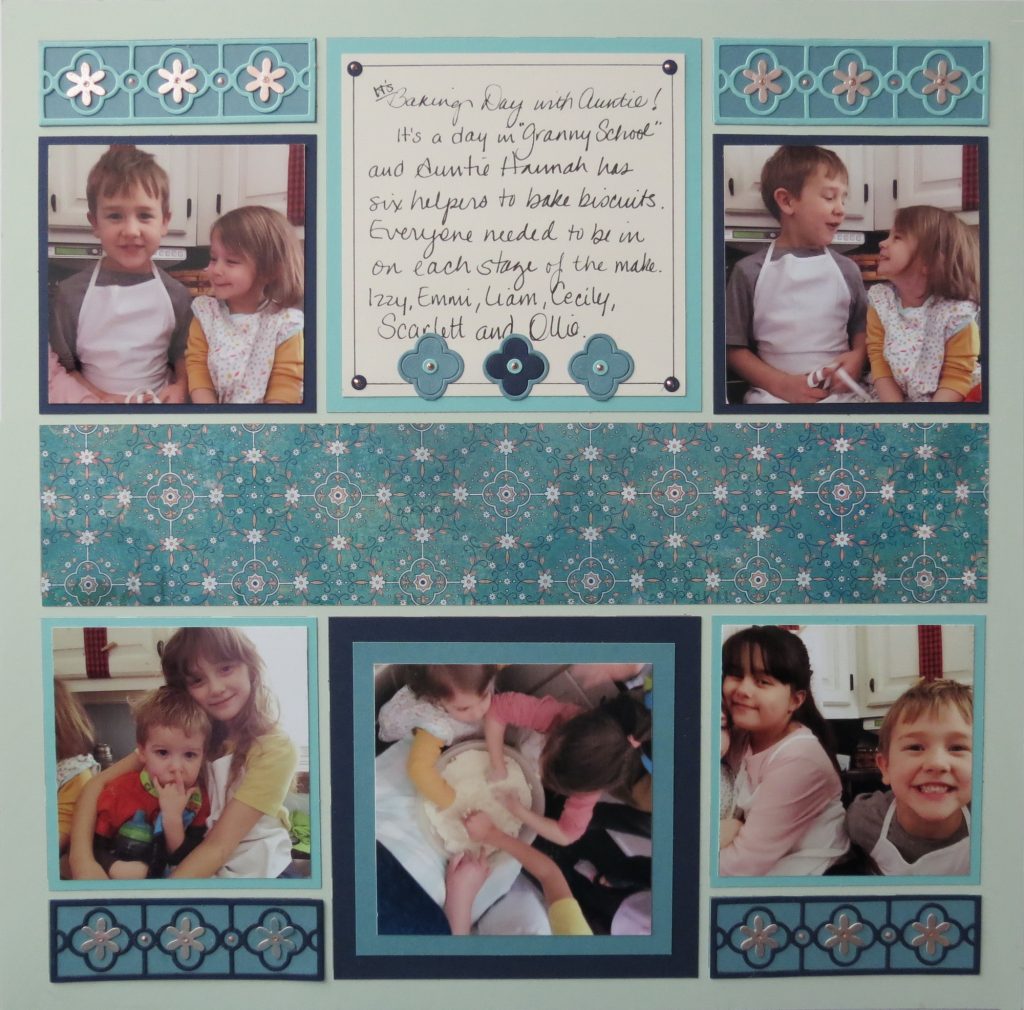
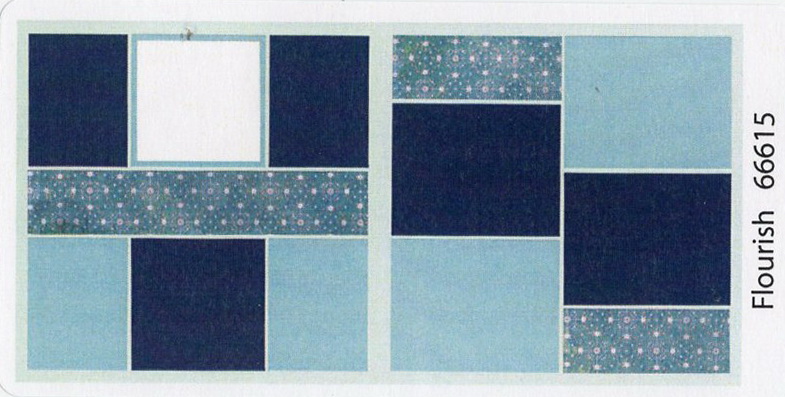
On the first page of the layout, I turned the 3×4 tiles into 3x3s and 1x3s. The 1x3s were cut with the Quatrefoil die and backed with a bit of the teal paper I used in last week’s layout. I switched out the positioning of the colors.
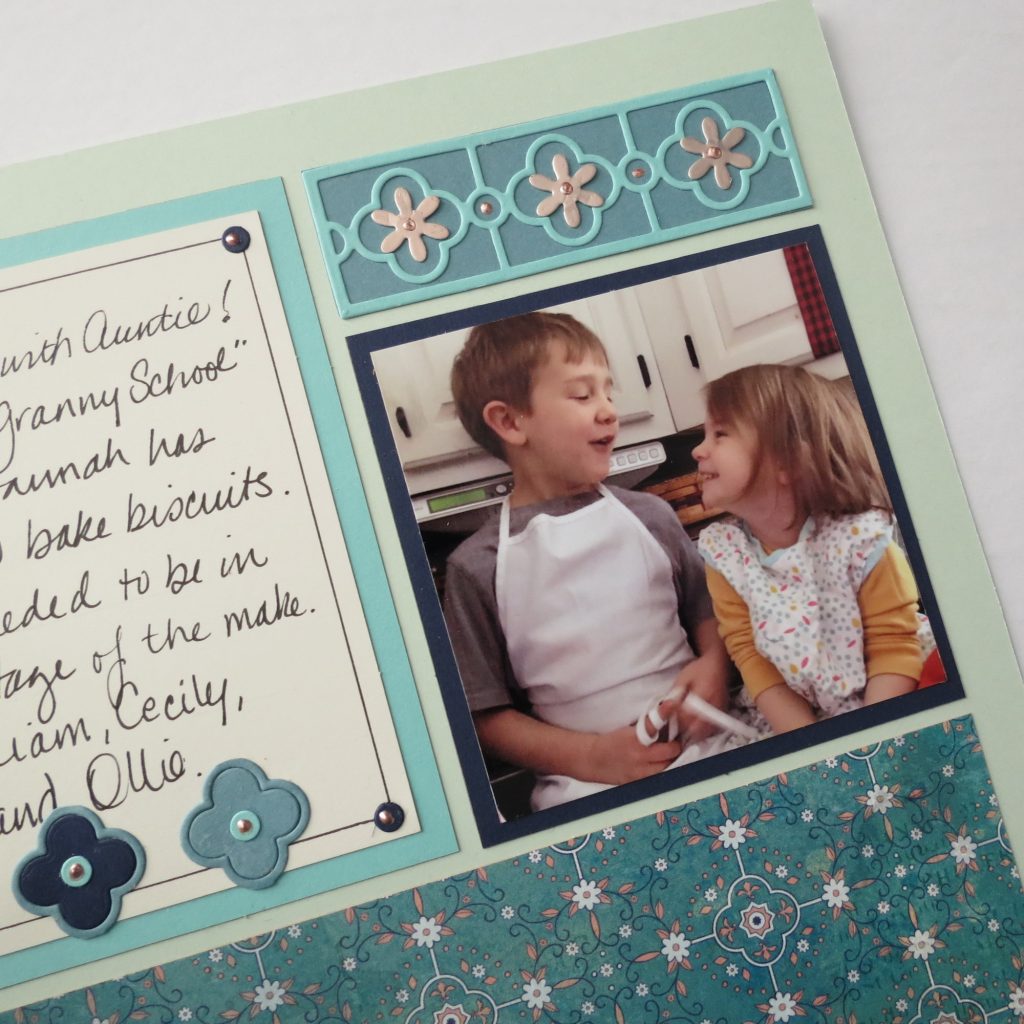
As I looked at it, I thought it needed a little something more. The patterned paper was so full of flowers, color and design that I looked for more I could add. I had been using the tiny flowers from one of my favorite dies, the Layering Ribbon Border Die that unfortunately is discontinued, in another project so I thought I’d try a few in the center of the quatrefoil pattern. I used Tonic Studios Satin Cardstock in Rose Gold and added dots of Liquid Pearls also in Rose Gold to finish things off. They added the color and interest that I needed.
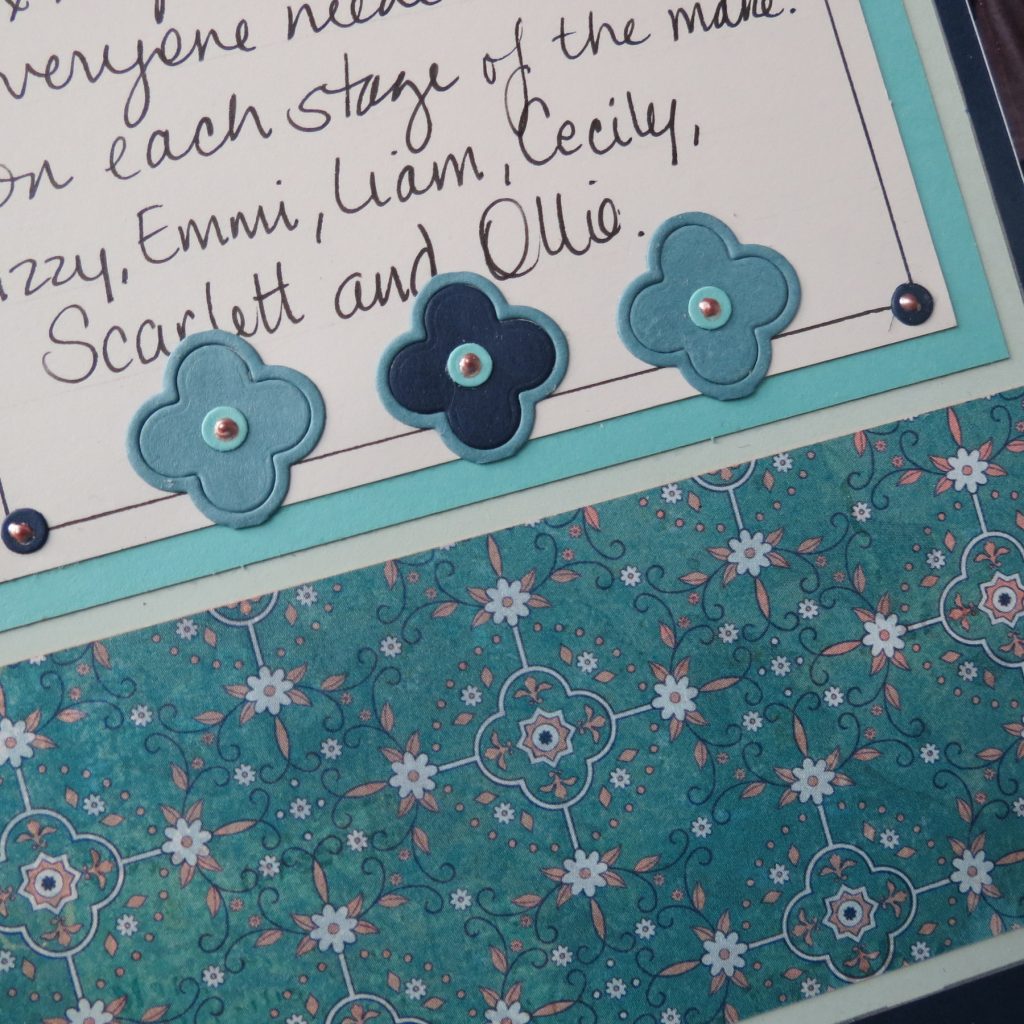
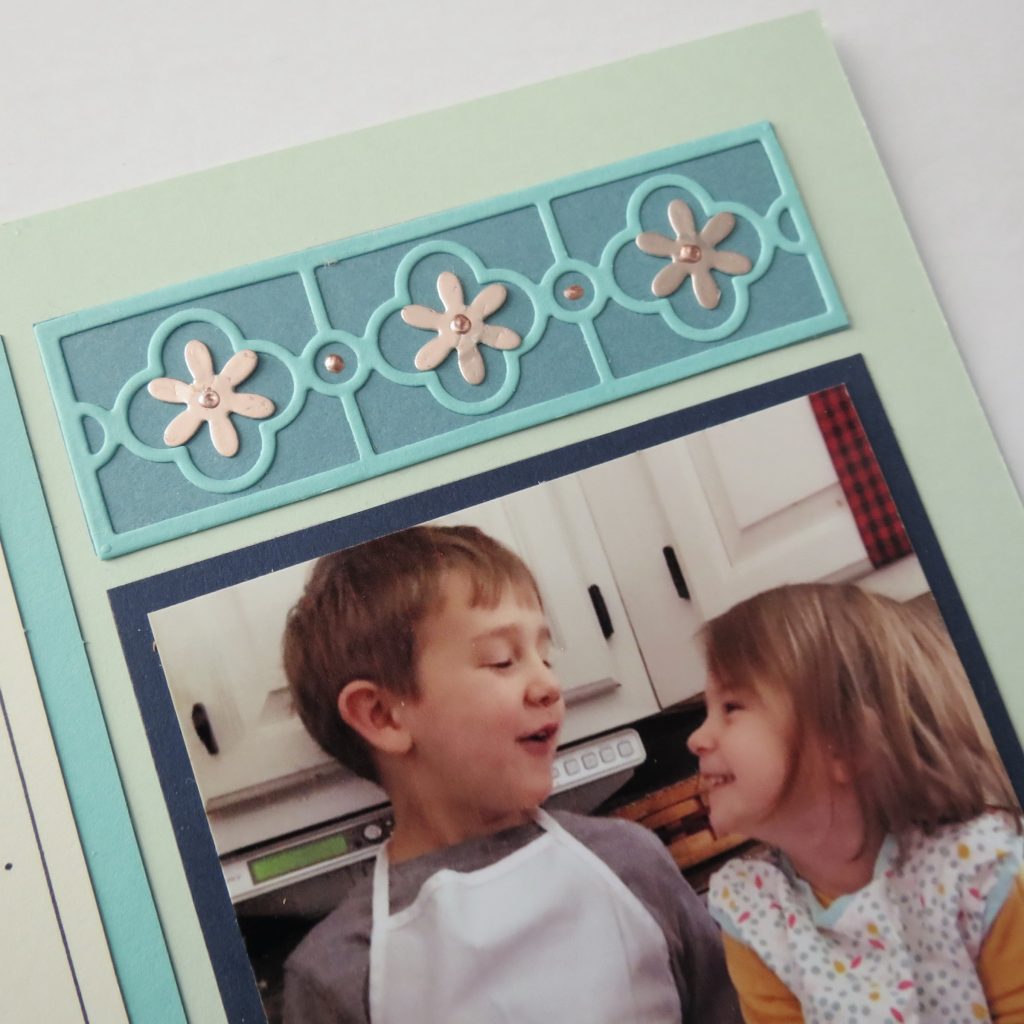
It isn’t a lot, but enough. You might find using a simple die and a few simple additions to add so much to your layout.
The Second Layout: Wishes
Dies:
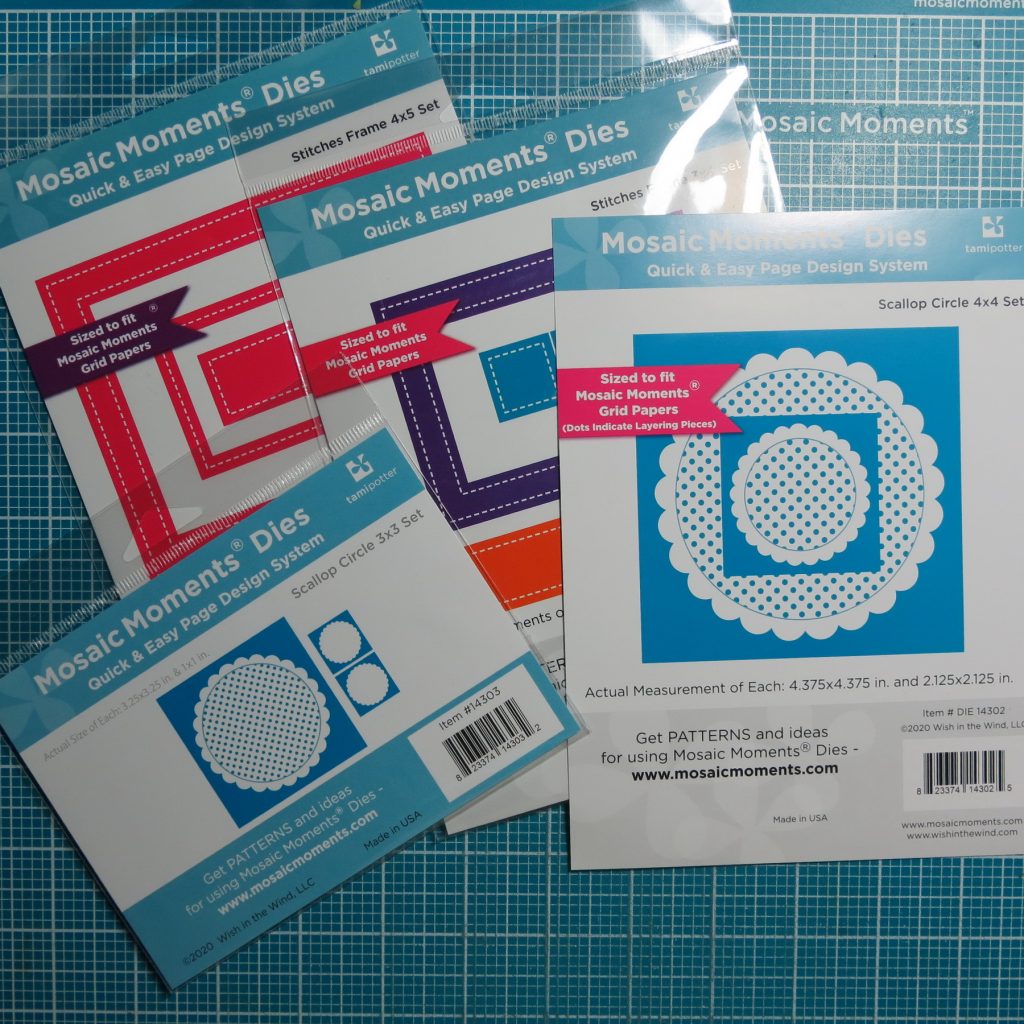
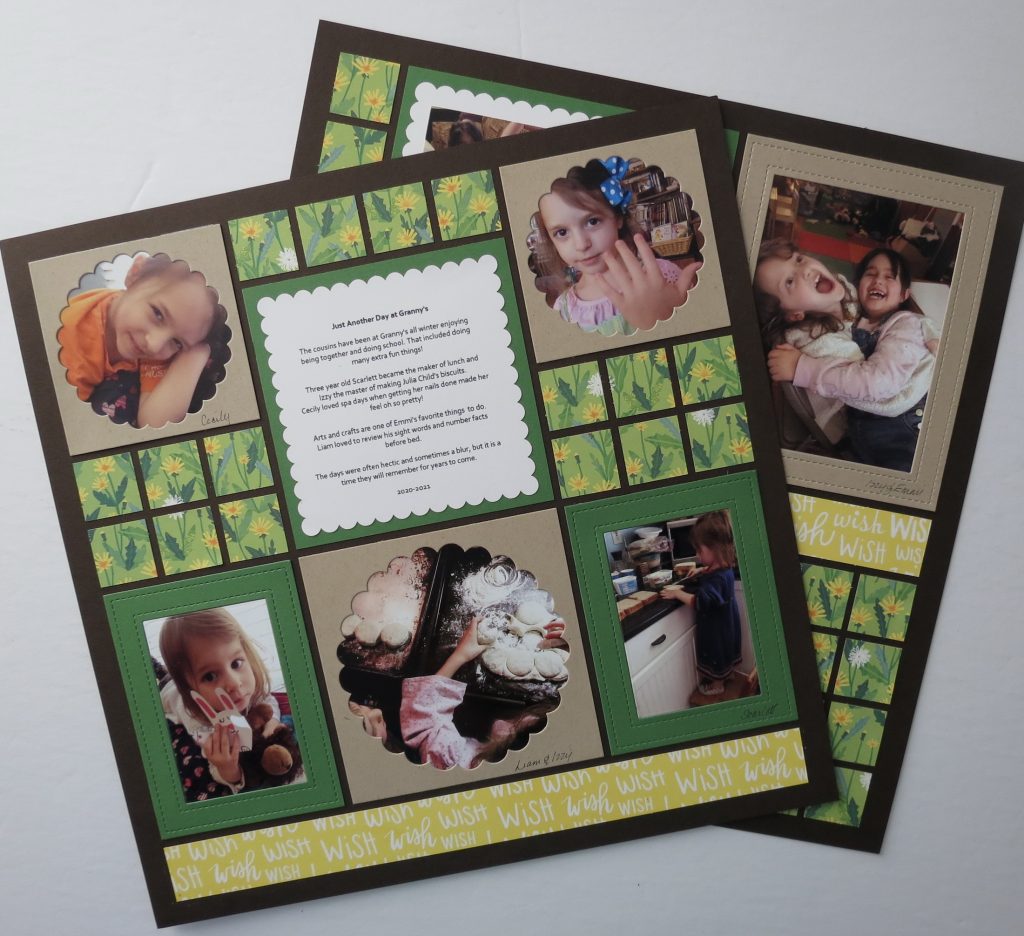
For this page kit I decided to add a few more scallops to the page. There are three scallop mats included in the kit, two squares and one 4×5. I have added two additional 3×3 scallops this time in frame form in tan and one 4×4 square in tan. Then, two green Stitches Frame 3×4 and two tan Stitches Frame 4×5.
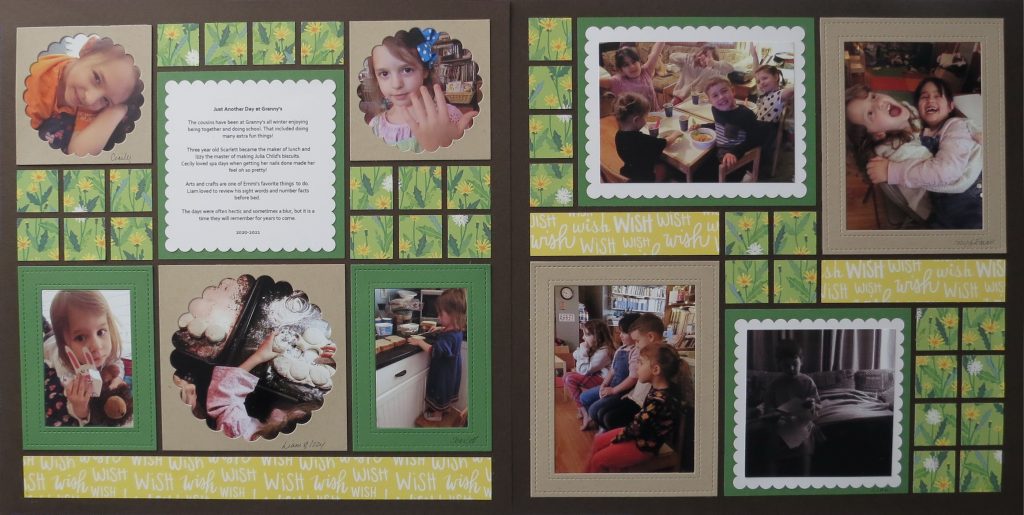
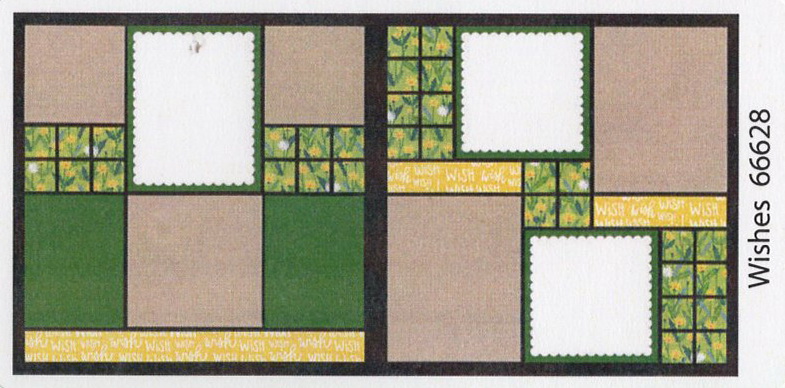
Now, because I had a horizontal photo that I wanted to include I needed to rearrange a few of the pieces. I took the 4×5 from page one and replaced it with the top square on page two. The one-inch squares that surround the pieces moved along with the mats to the opposite page.
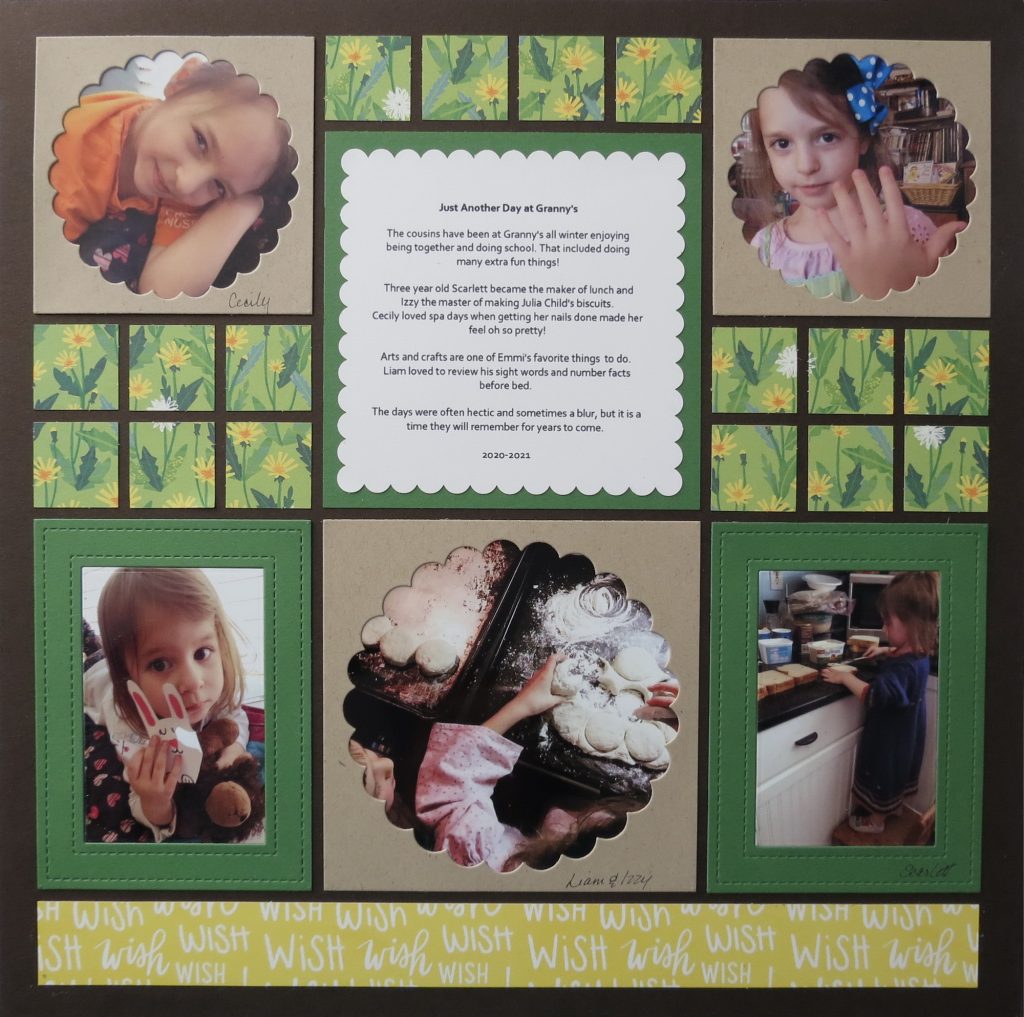
The first page scallop square mat became a great place to add my journaling.
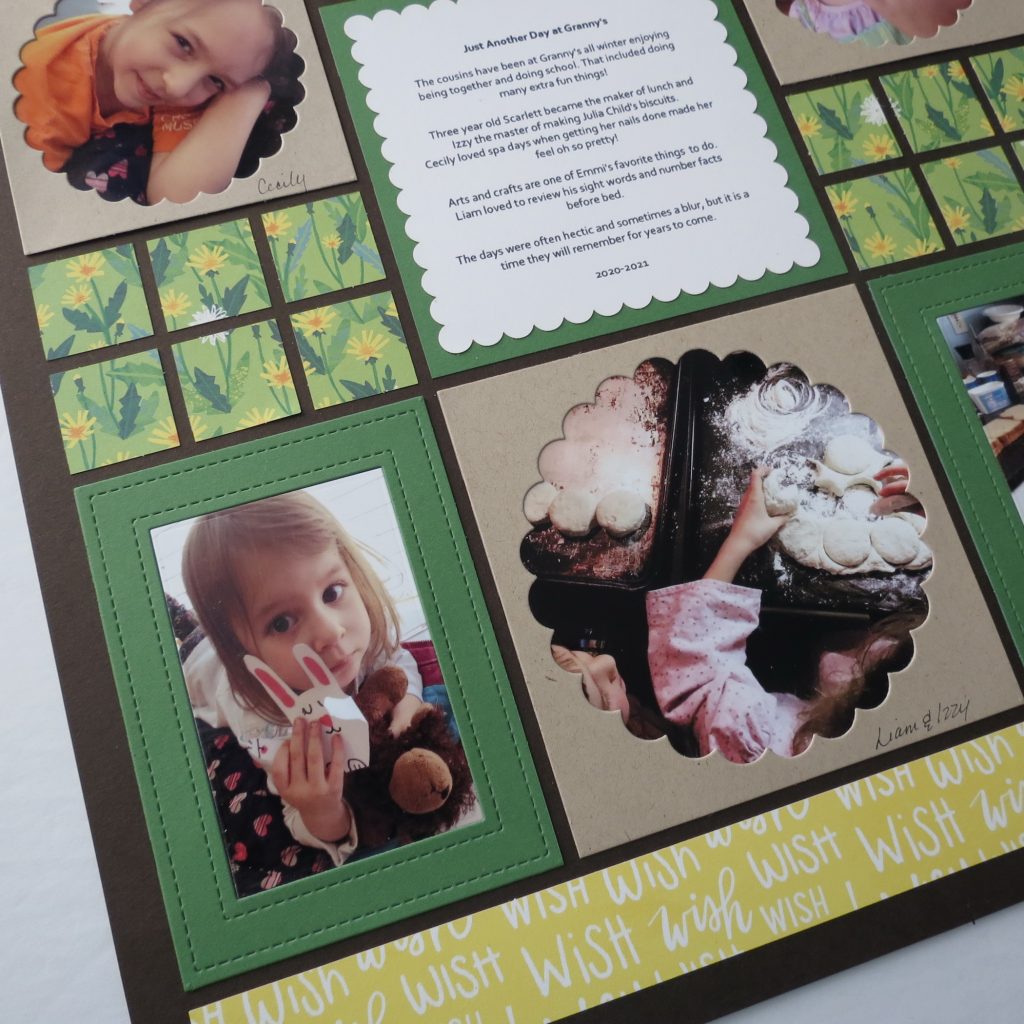
Easy adjustments and a few additional dies to dress the page kit up and you have an all-new look.
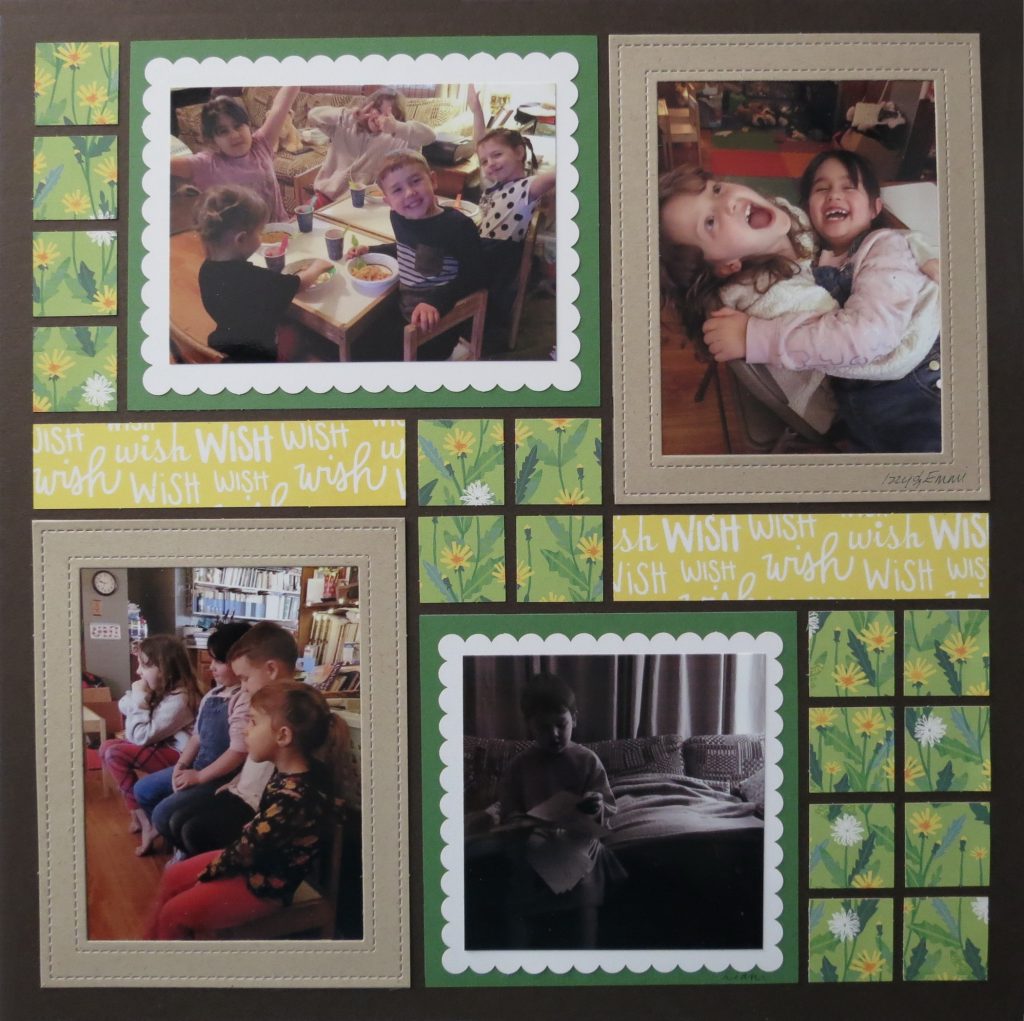
As you can see making a few changes on any page kit can allow you to get a customized look with only a little extra time and attention to the details.
I hope you’ll give it a try on your next kit!
Andrea Fisher

