
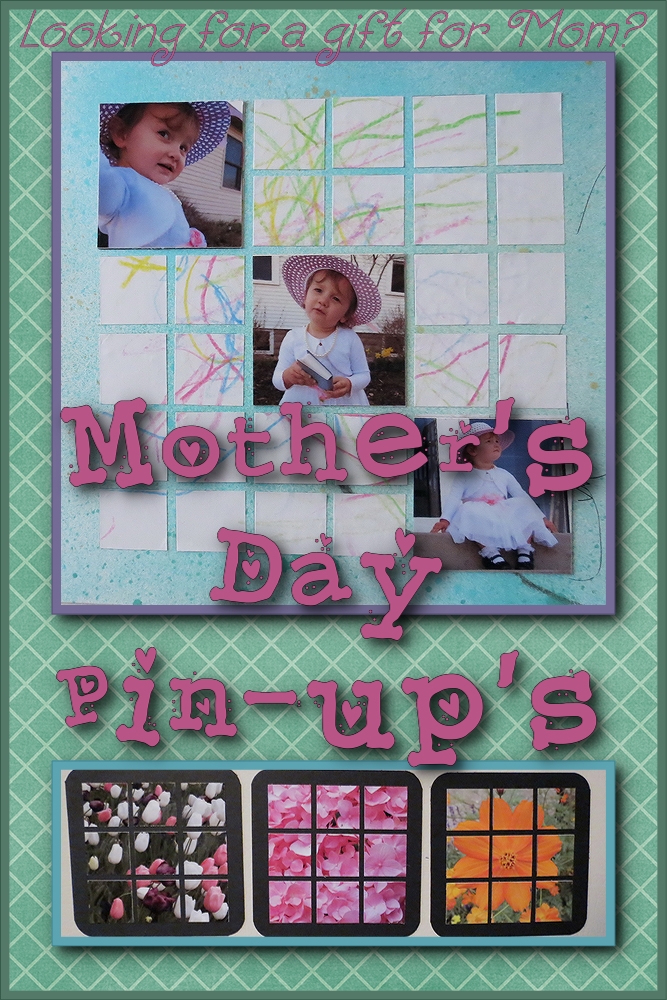
Looking for a gift for Mom? Why not try these two gift ideas?
Mother’s Day Pin-ups
As April draws to a close, and the weather continues to warm up, I’m sure you are eager to get outdoors and enjoy spring. Mother’s Day, May 11, 2014, will soon be here and you’ll be looking for quick ideas for gifts for mom or grandma. Here are two for a head start that you can prepare and still have time to enjoy the great outdoors!
The first idea is designed for the kids to give to their Mom or Grandmother. It’s so easy even a two-year old can help!! The second is one way to help Mom enjoy her garden inside all year long. Both ideas are magnetic and will bring a bit of color to your refrigerator.
For the first option I began with an 8”x 8” Mosaic Moments Grid Page in White. This is not the original version I was going with, but what happened when something went awry. My granddaughter got loose in my ‘studio’ with a black crayon and made an attempt to add to my project, which actually is actually what changed the direction. I had prepped the 8×8 by running it through the Xyron. I purchased an 8.5″ x 11″ magnetic sheet that I cut and trimmed to the 8”x 8”size, and applied the grid paper to the magnetic page. My magnet page has a white paper side that can actually be printed on and only cost a dollar at my local paper store. After her daddy scolded her for getting into granny’s things and he and I were talking she lifted my pen and resumed her art work. I really am too cheap to just toss something, so I decided on a new direction.
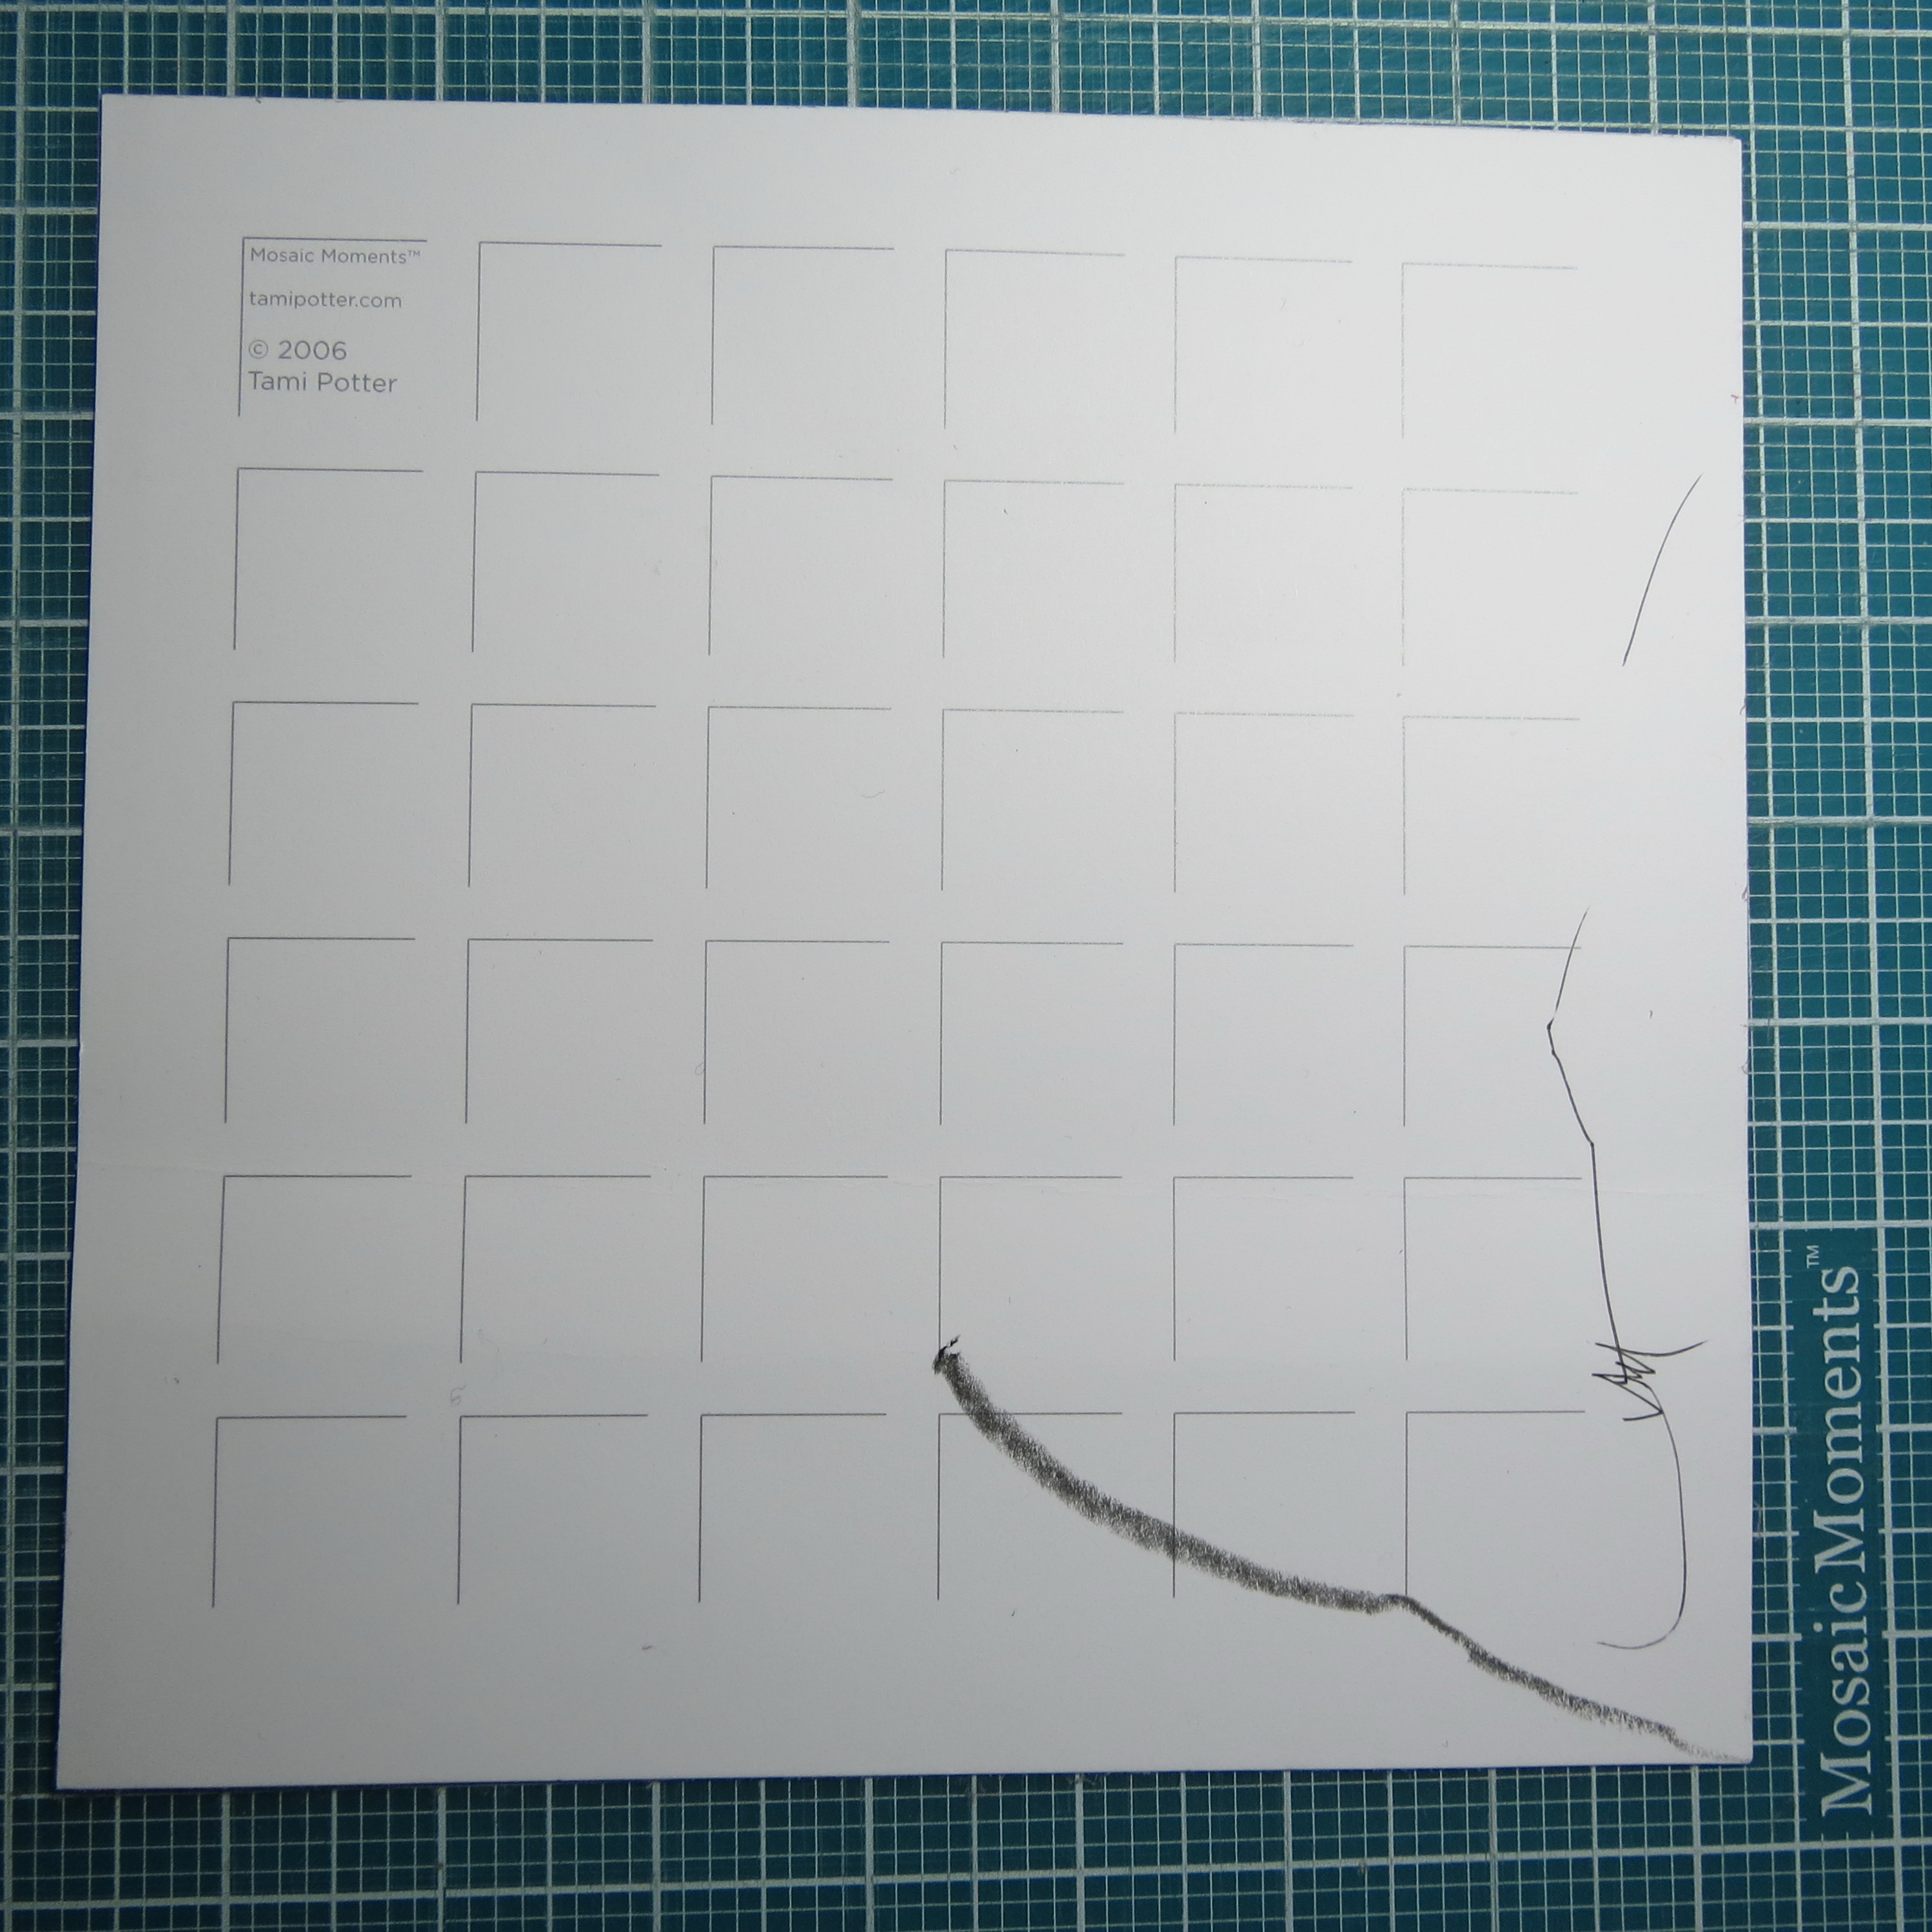
The glaring marks!
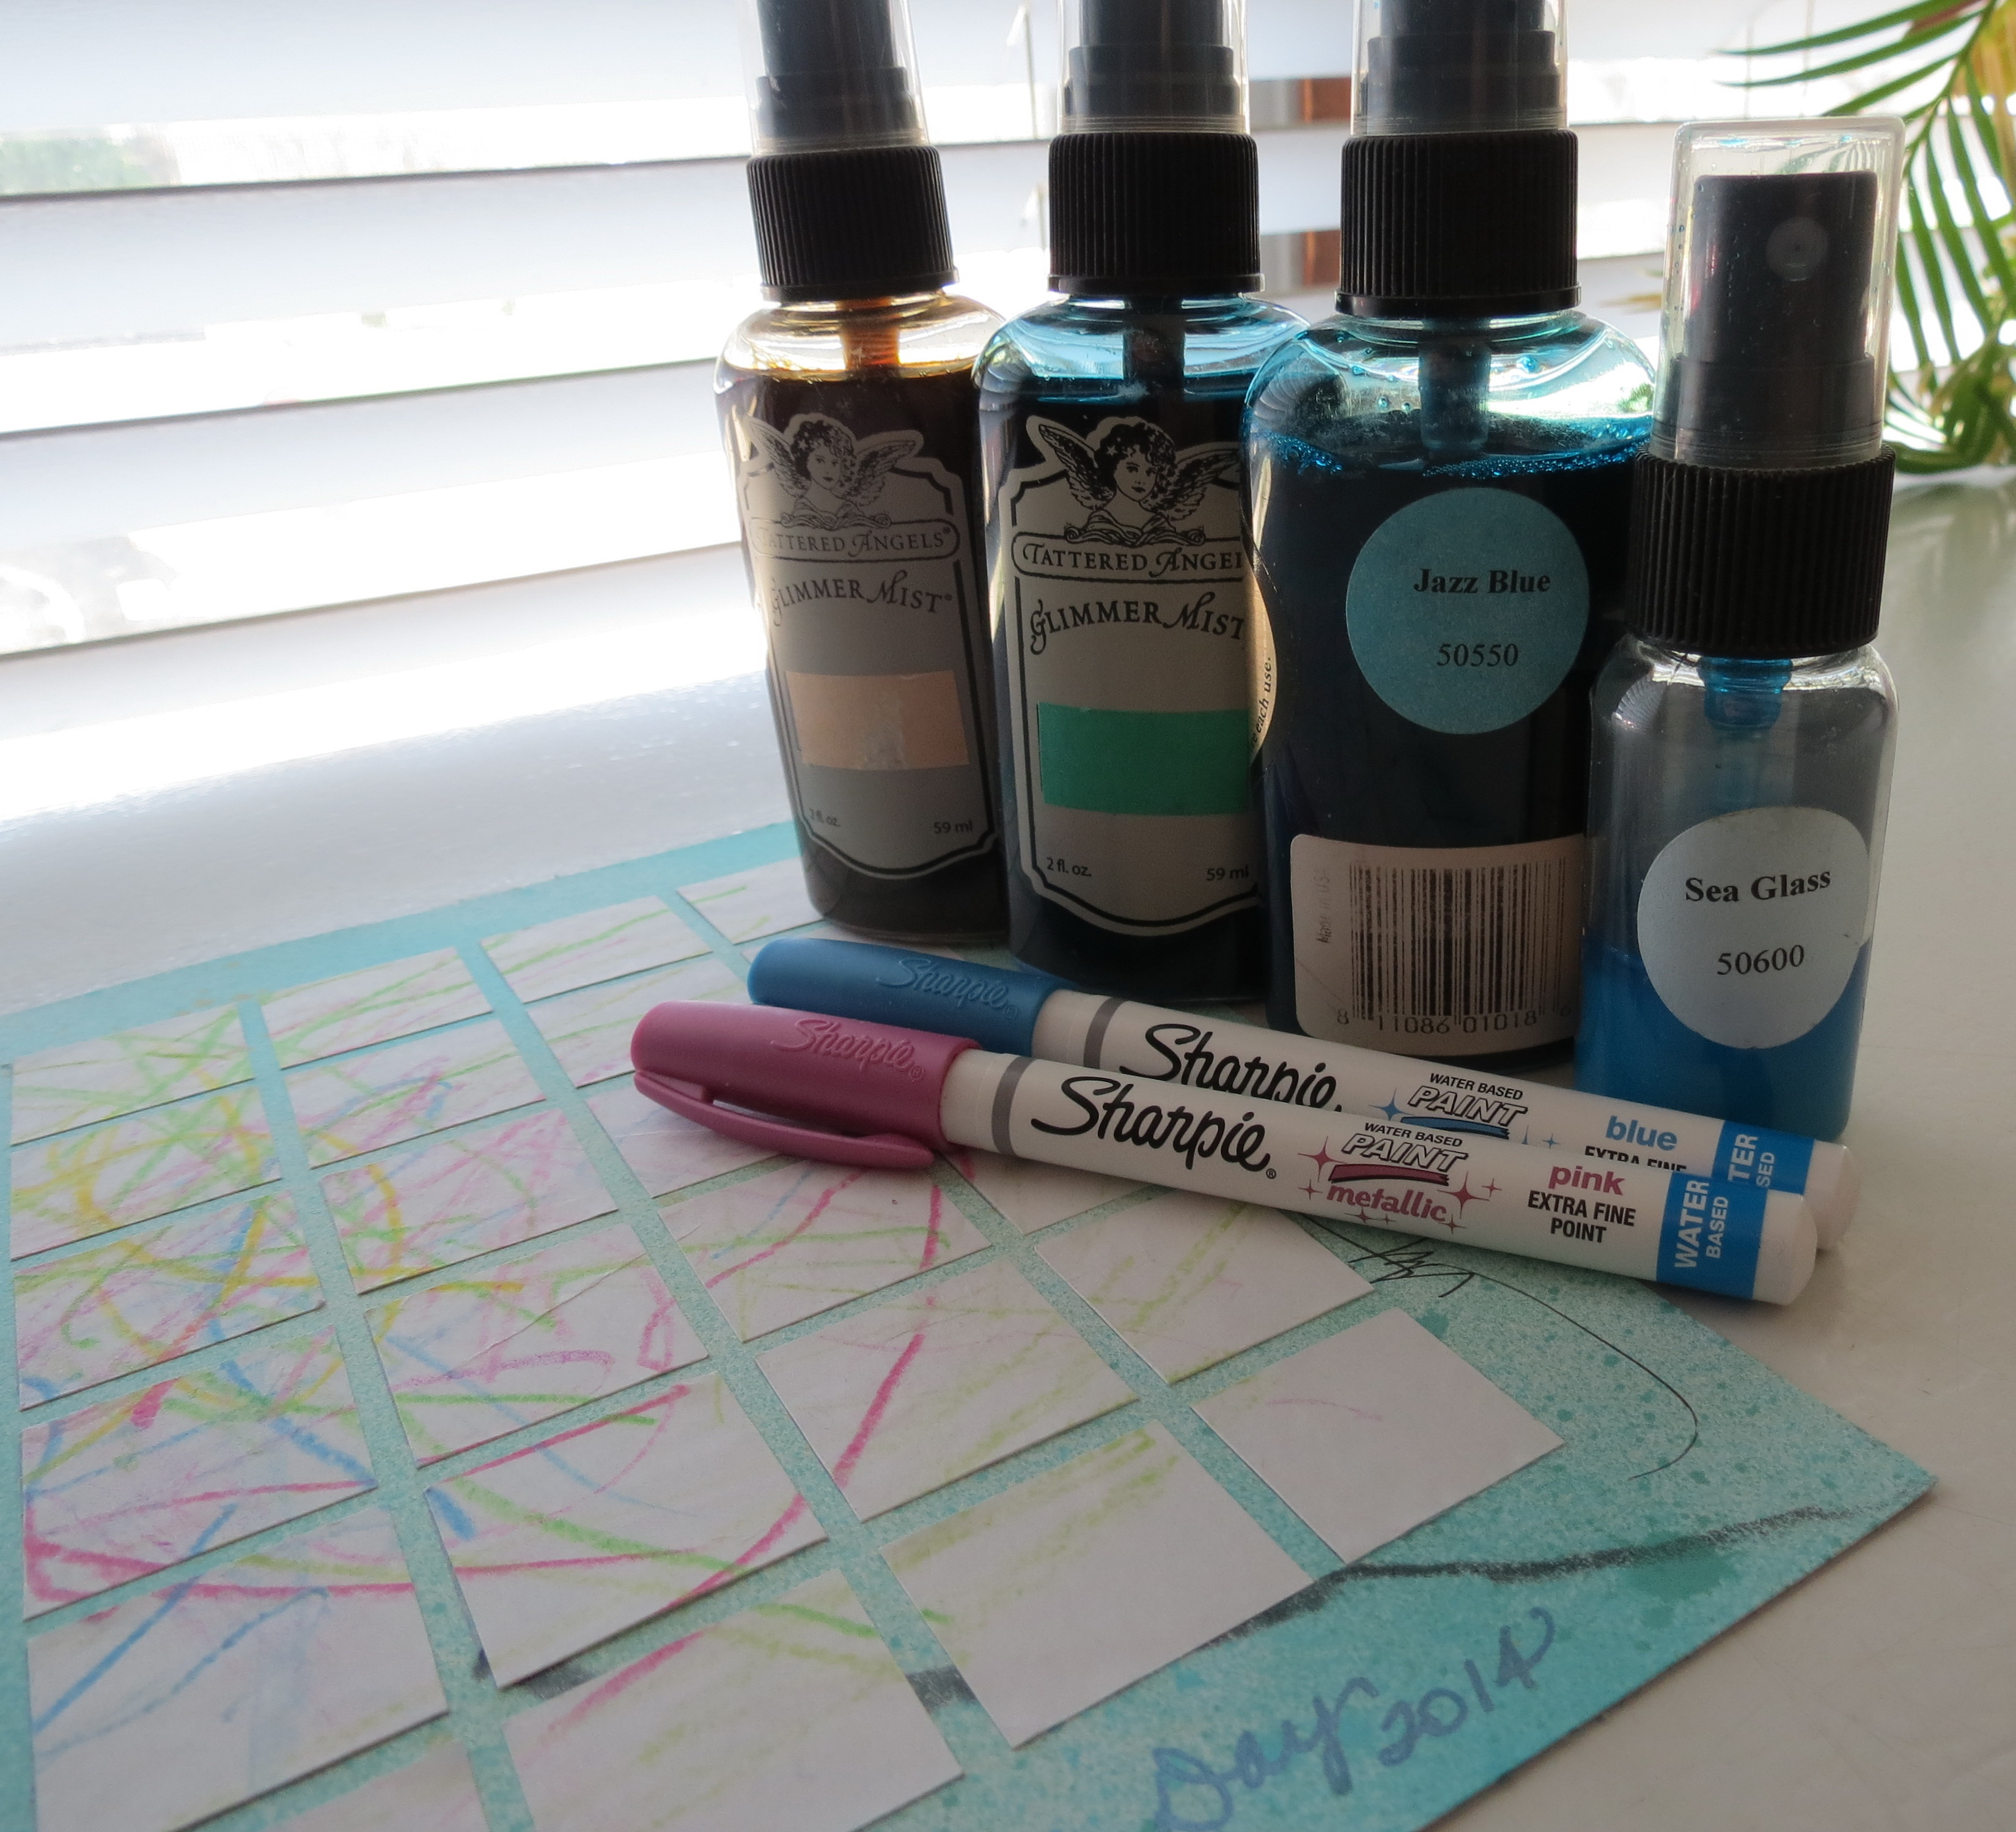
- Material used: Tattered Angels Glimmer Mists in Shell, Sea Glass, Jazz Blue and Bermuda Blue, Sharpie Metallic Paint Pens in pink and blue extra fine points.
Step two involved artwork by Izzy. I gave her a 6” x 6” square of drawing paper, her glitter crayons, Twistel crayons and a sheet of brown paper to work on and hopefully keep the mess contained. She had an interesting drawing style that I can assure you she didn’t get from me…one leg was uplifted and extended as she drew…she was quite entertaining!
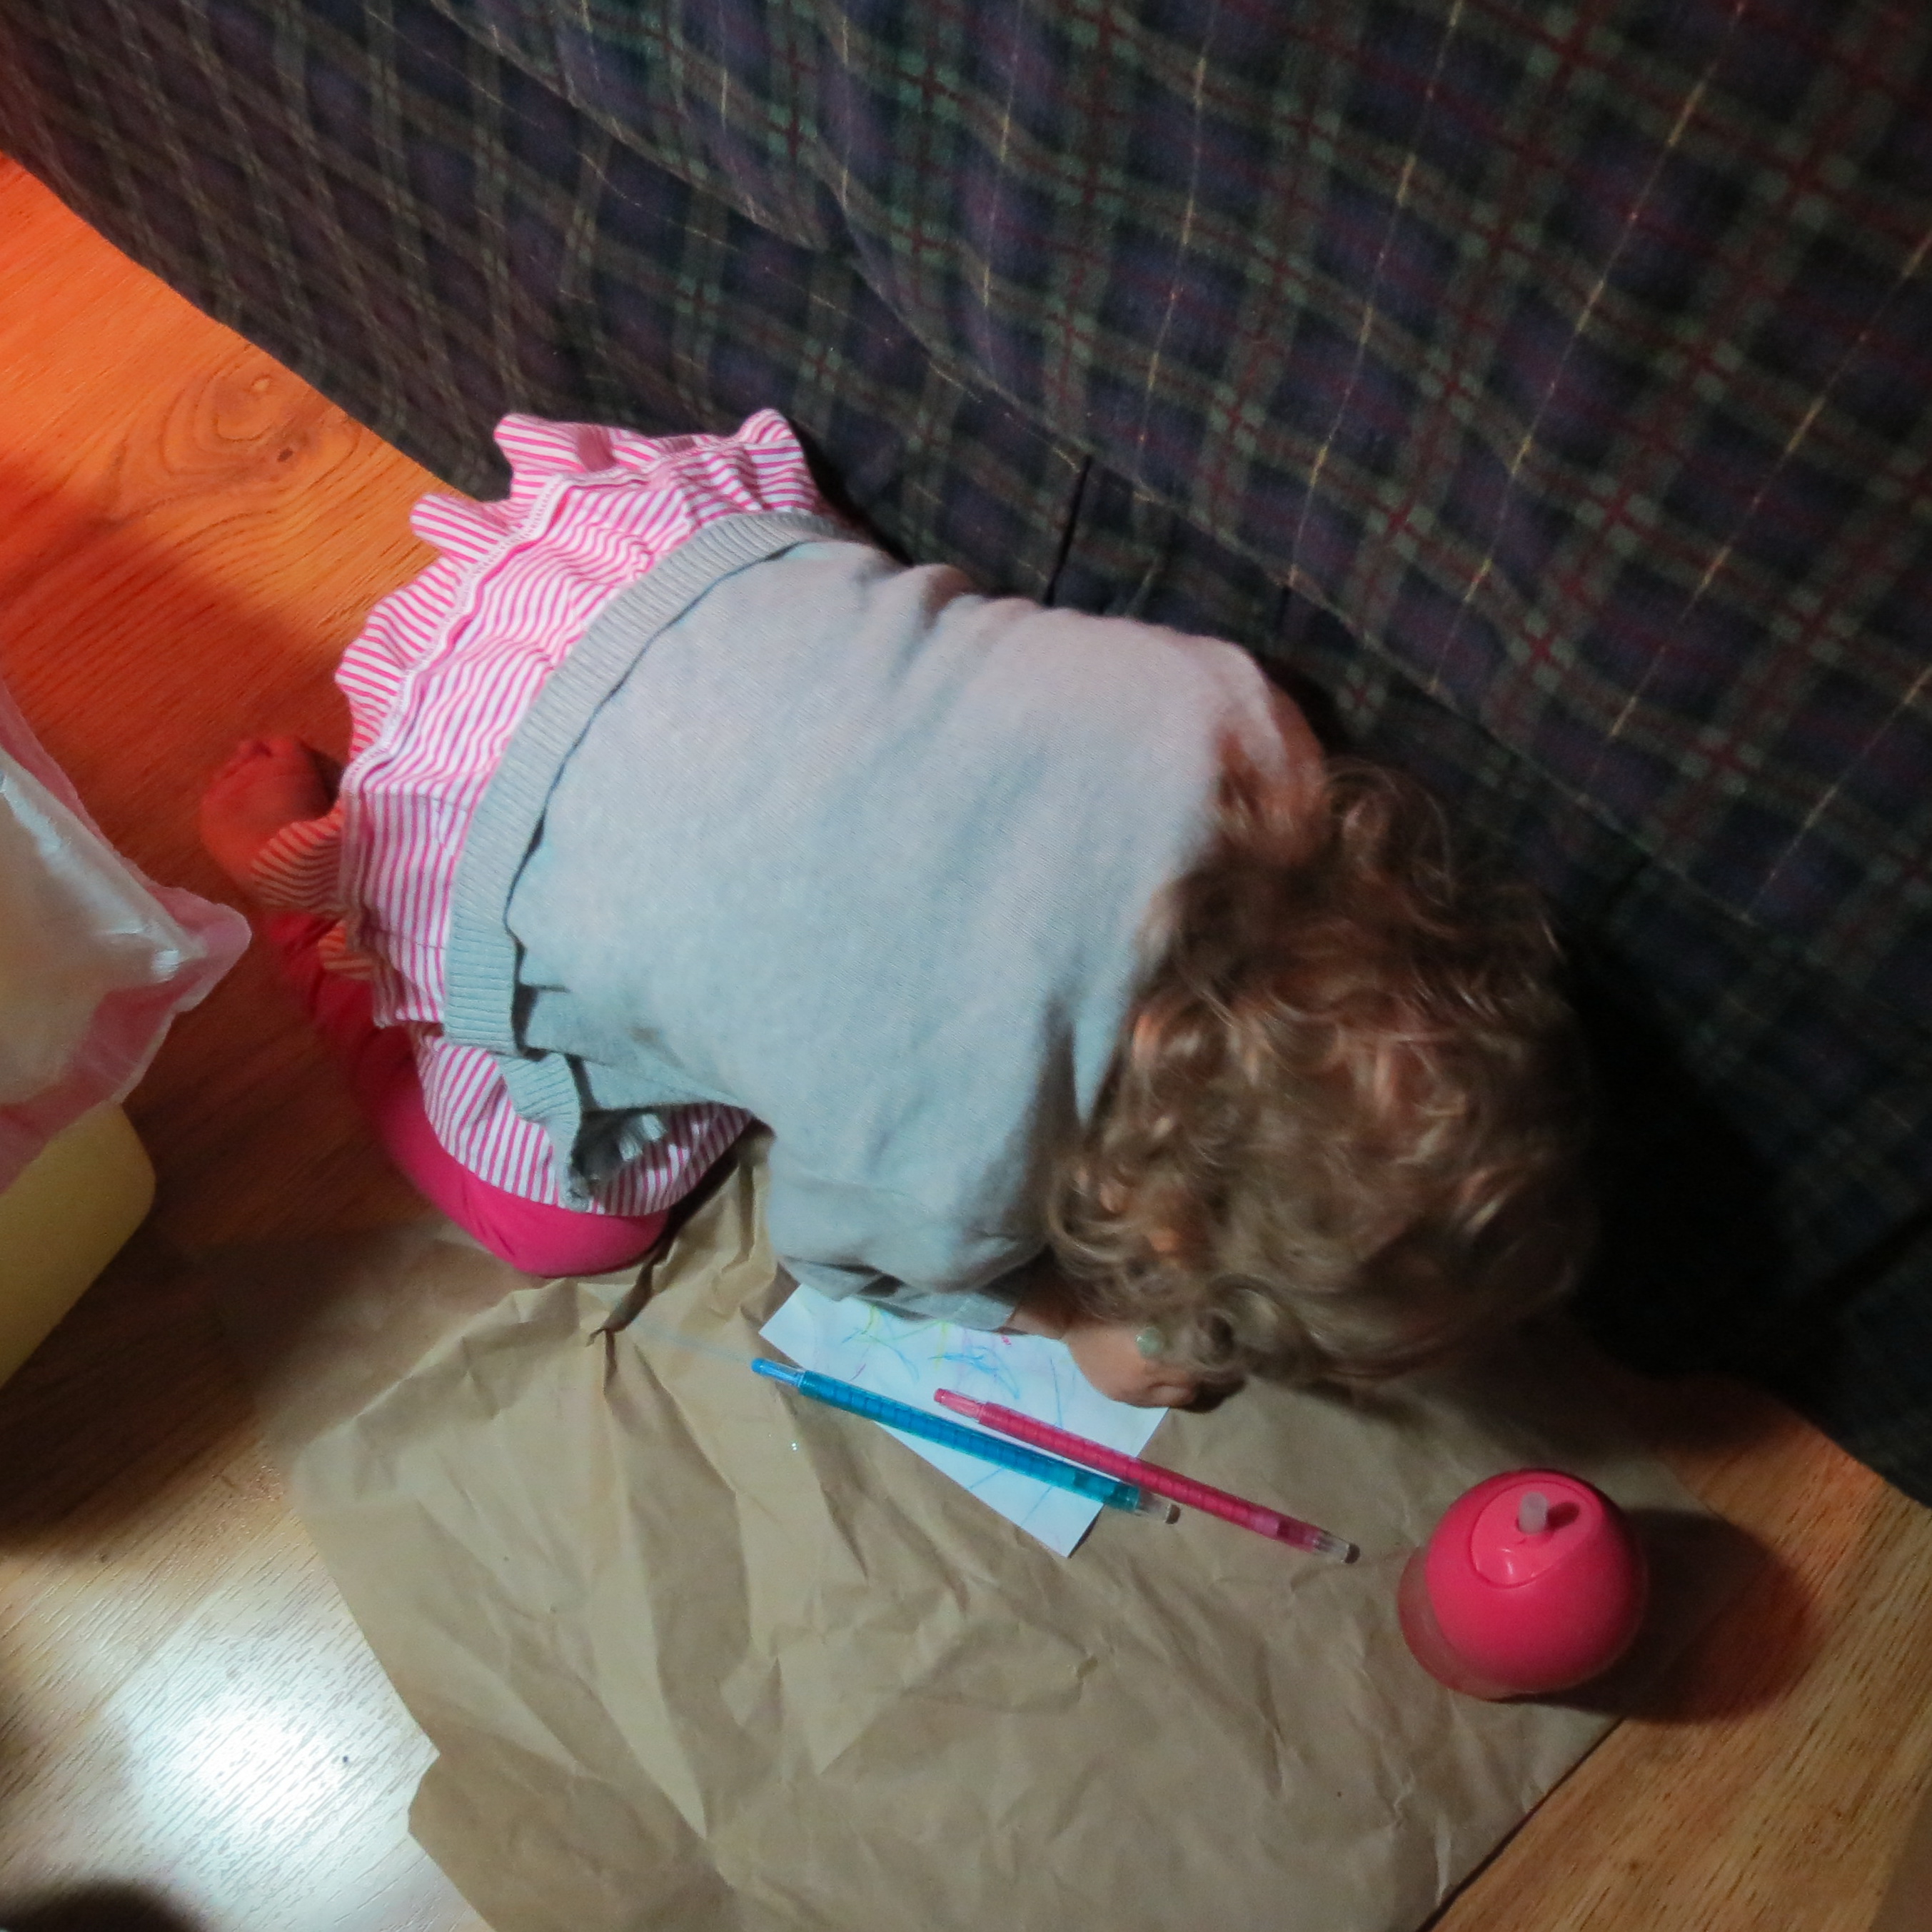
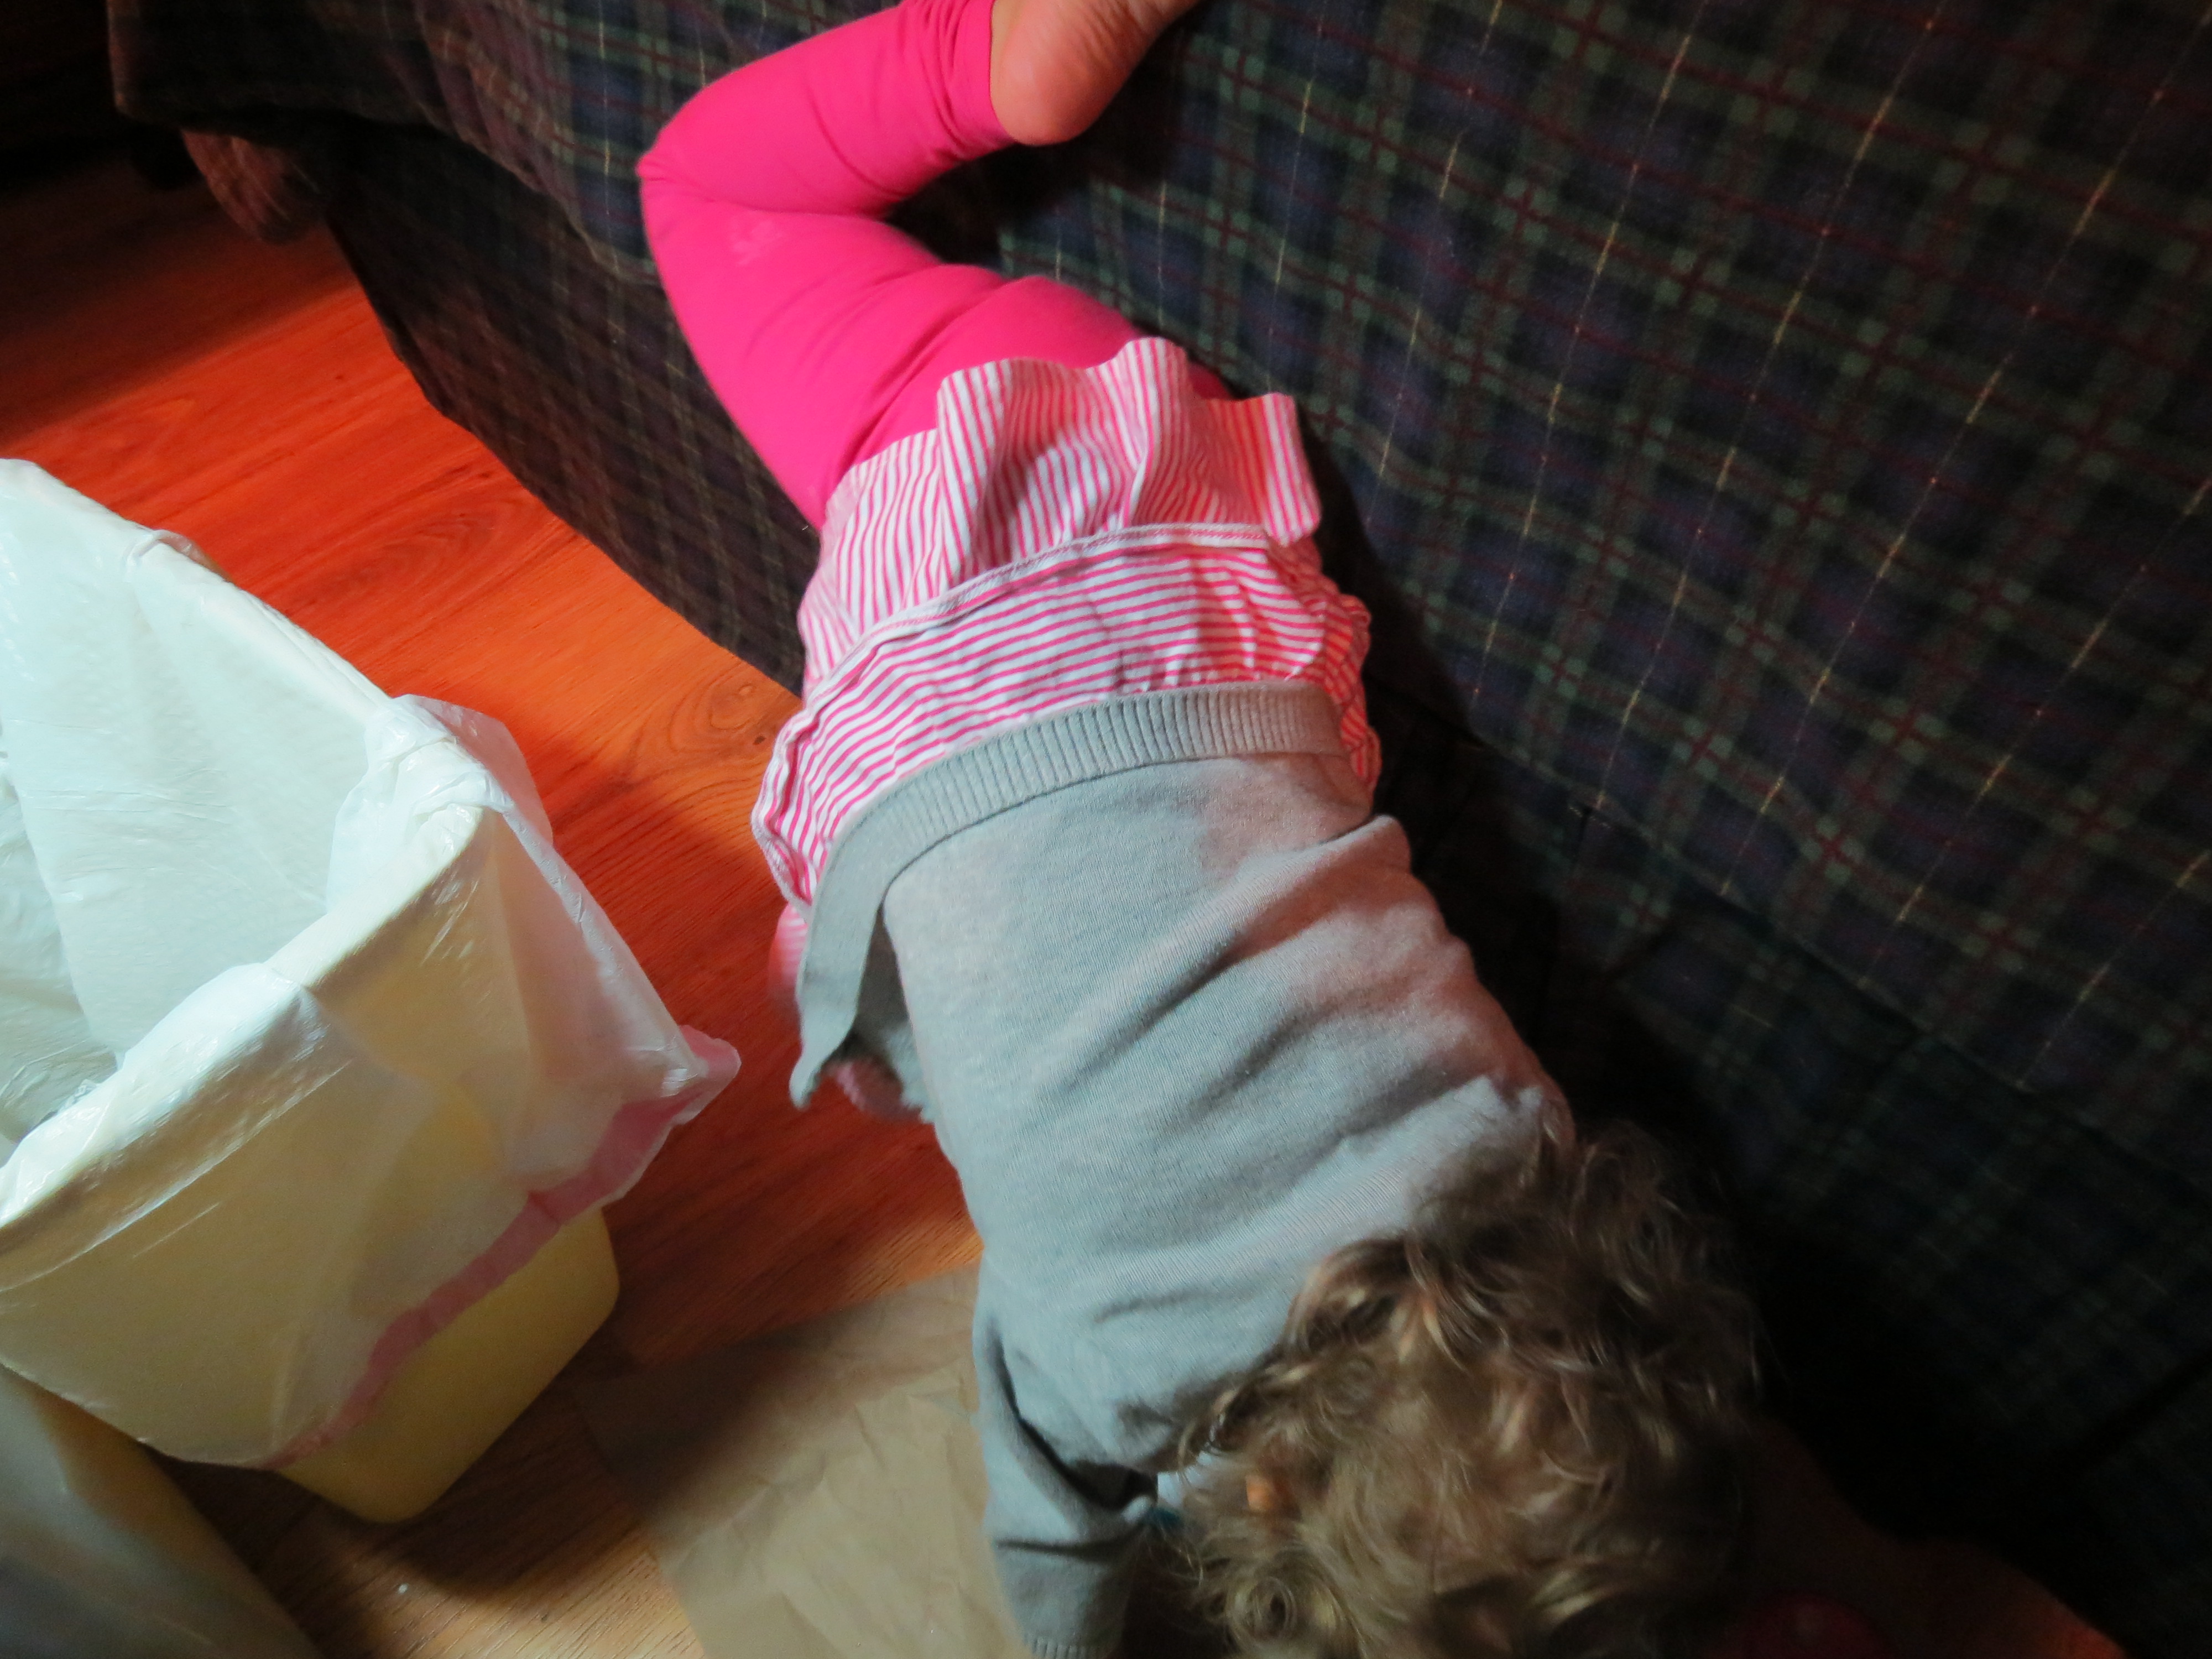
Izzy’s unconventional drawing postition!
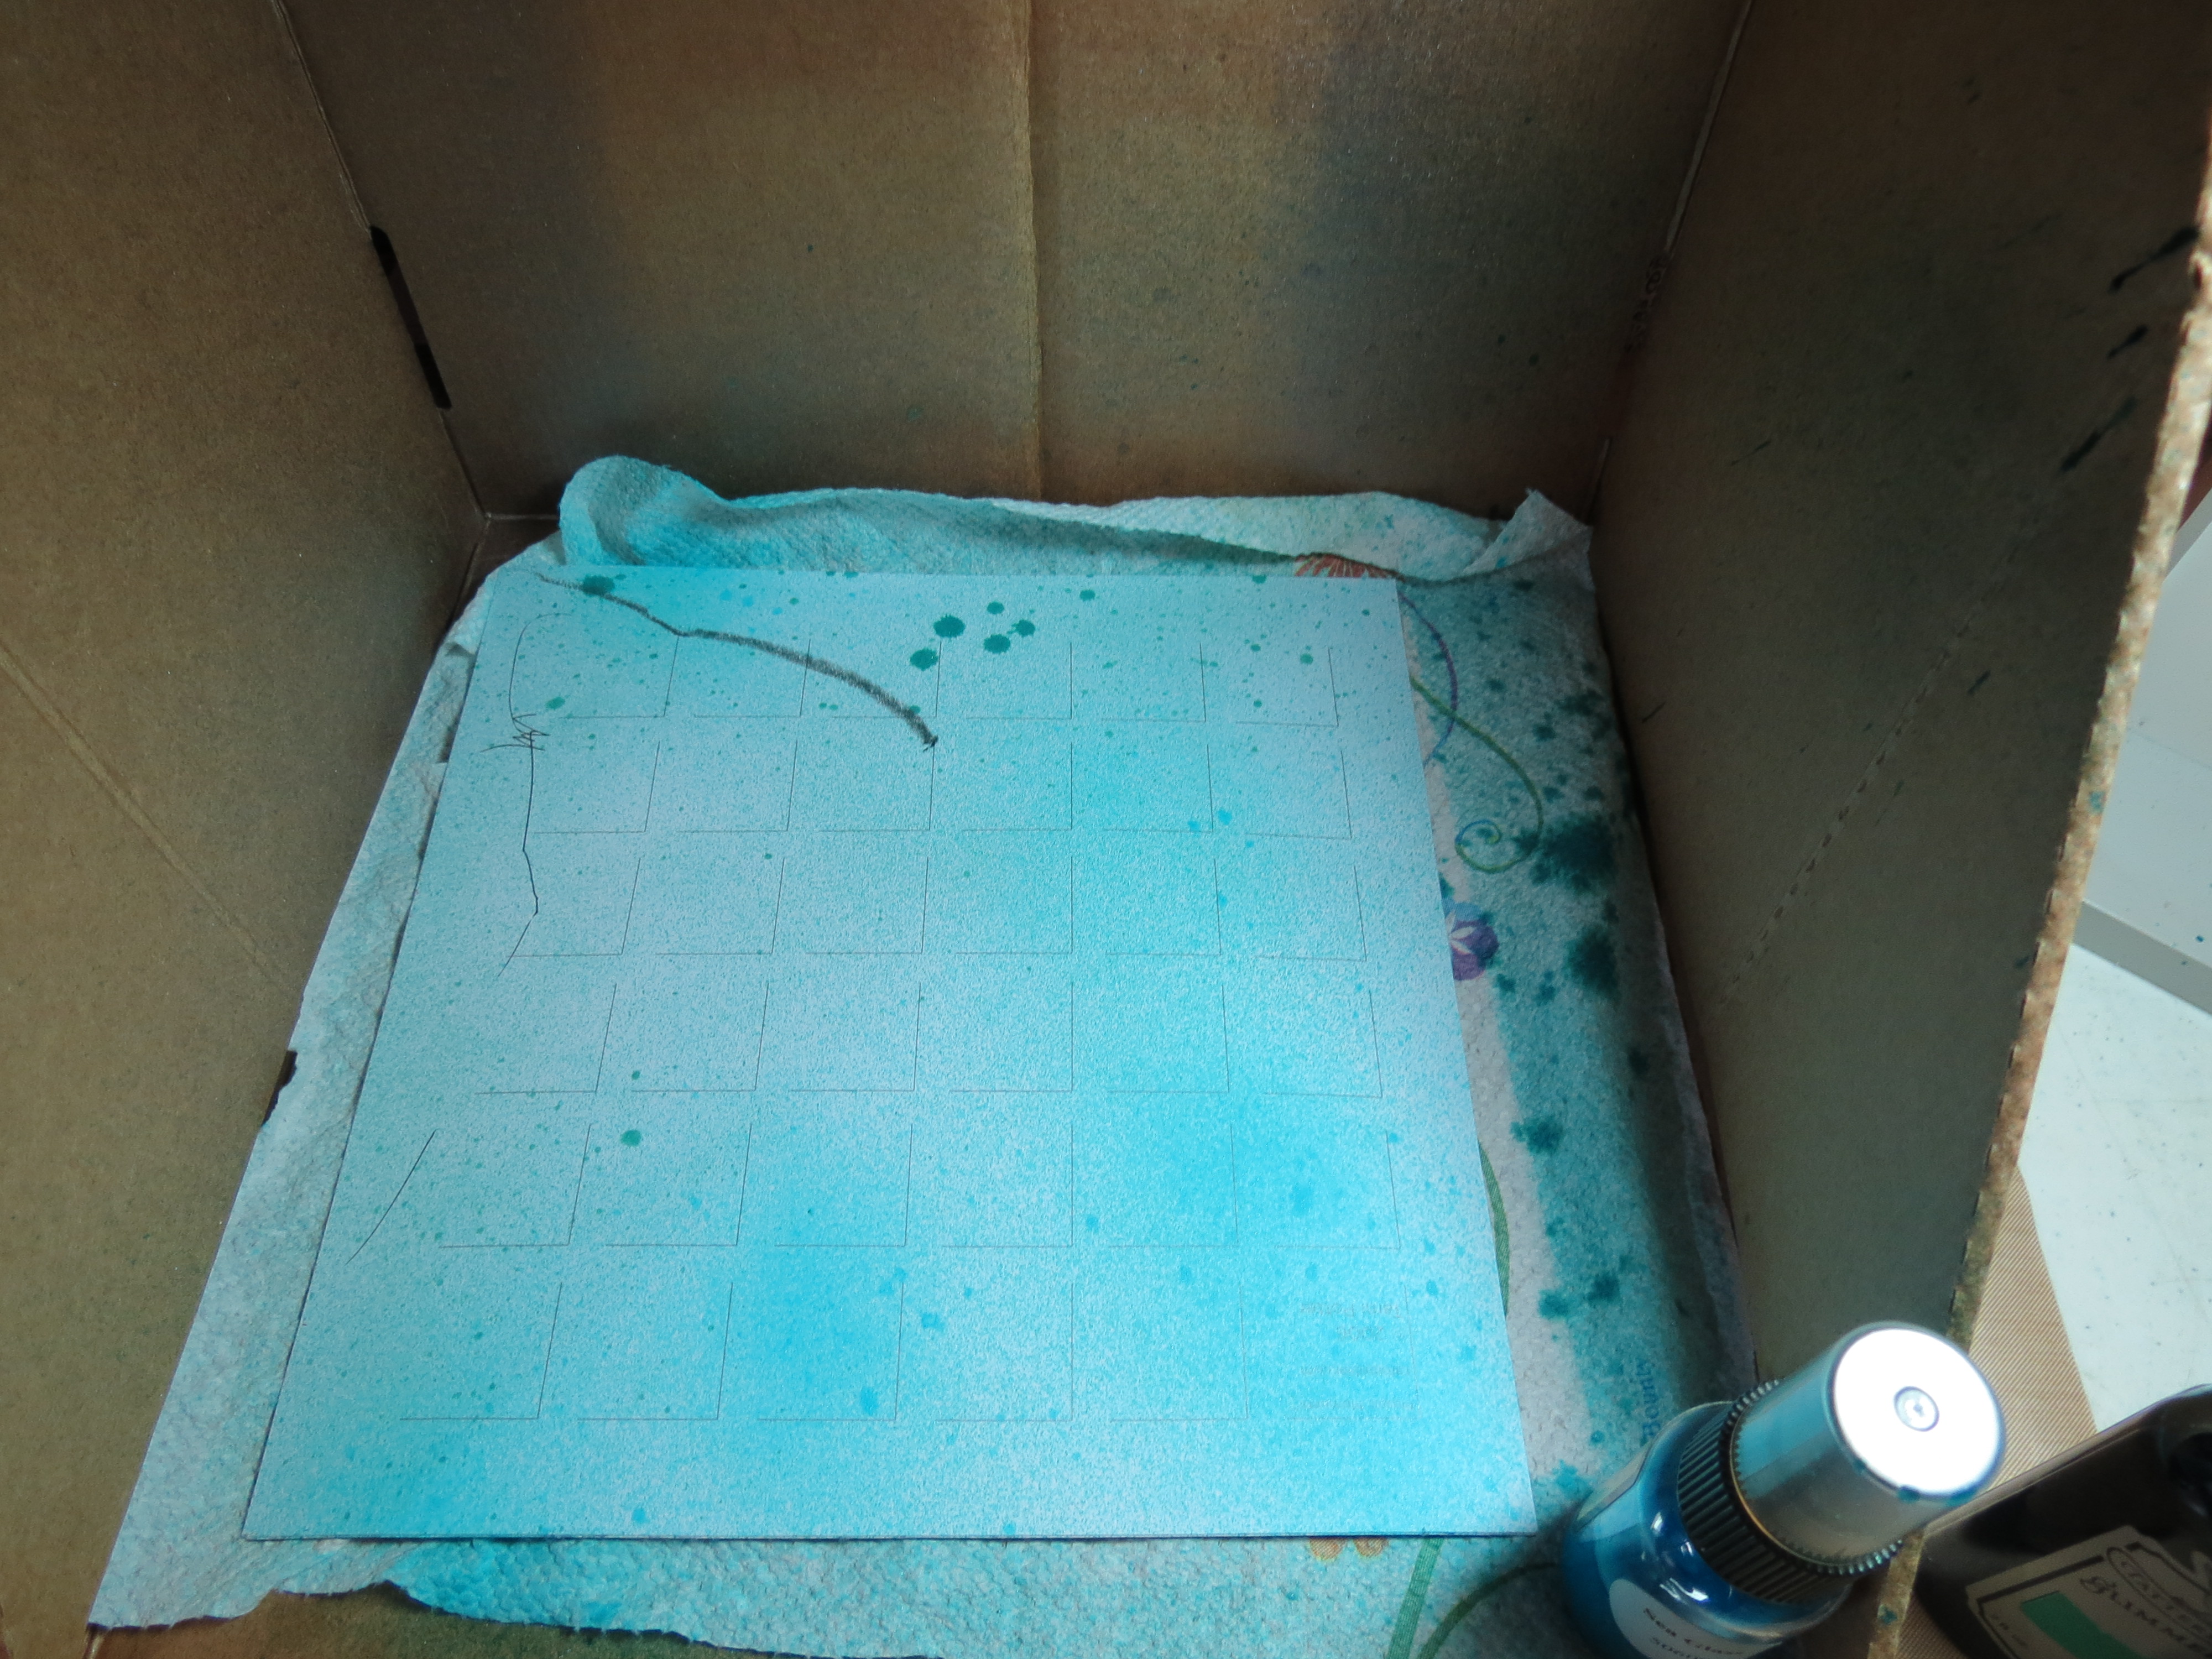
The marred white grid paper was going to get ‘prettified’ with several shades of blues and greens of glimmering mists by Tattered Angels to add some color to camouflage the marks and give a sparkly backdrop for the artwork.
Giving sufficient time for the page to dry is essential for the artwork to adhere properly; it’s a good idea to weigh it down for a short time, too. I took the artwork and placed it between brown paper to keep the crayon off of my iron as I ran over the drawing to try to remove some of the wrinkles.
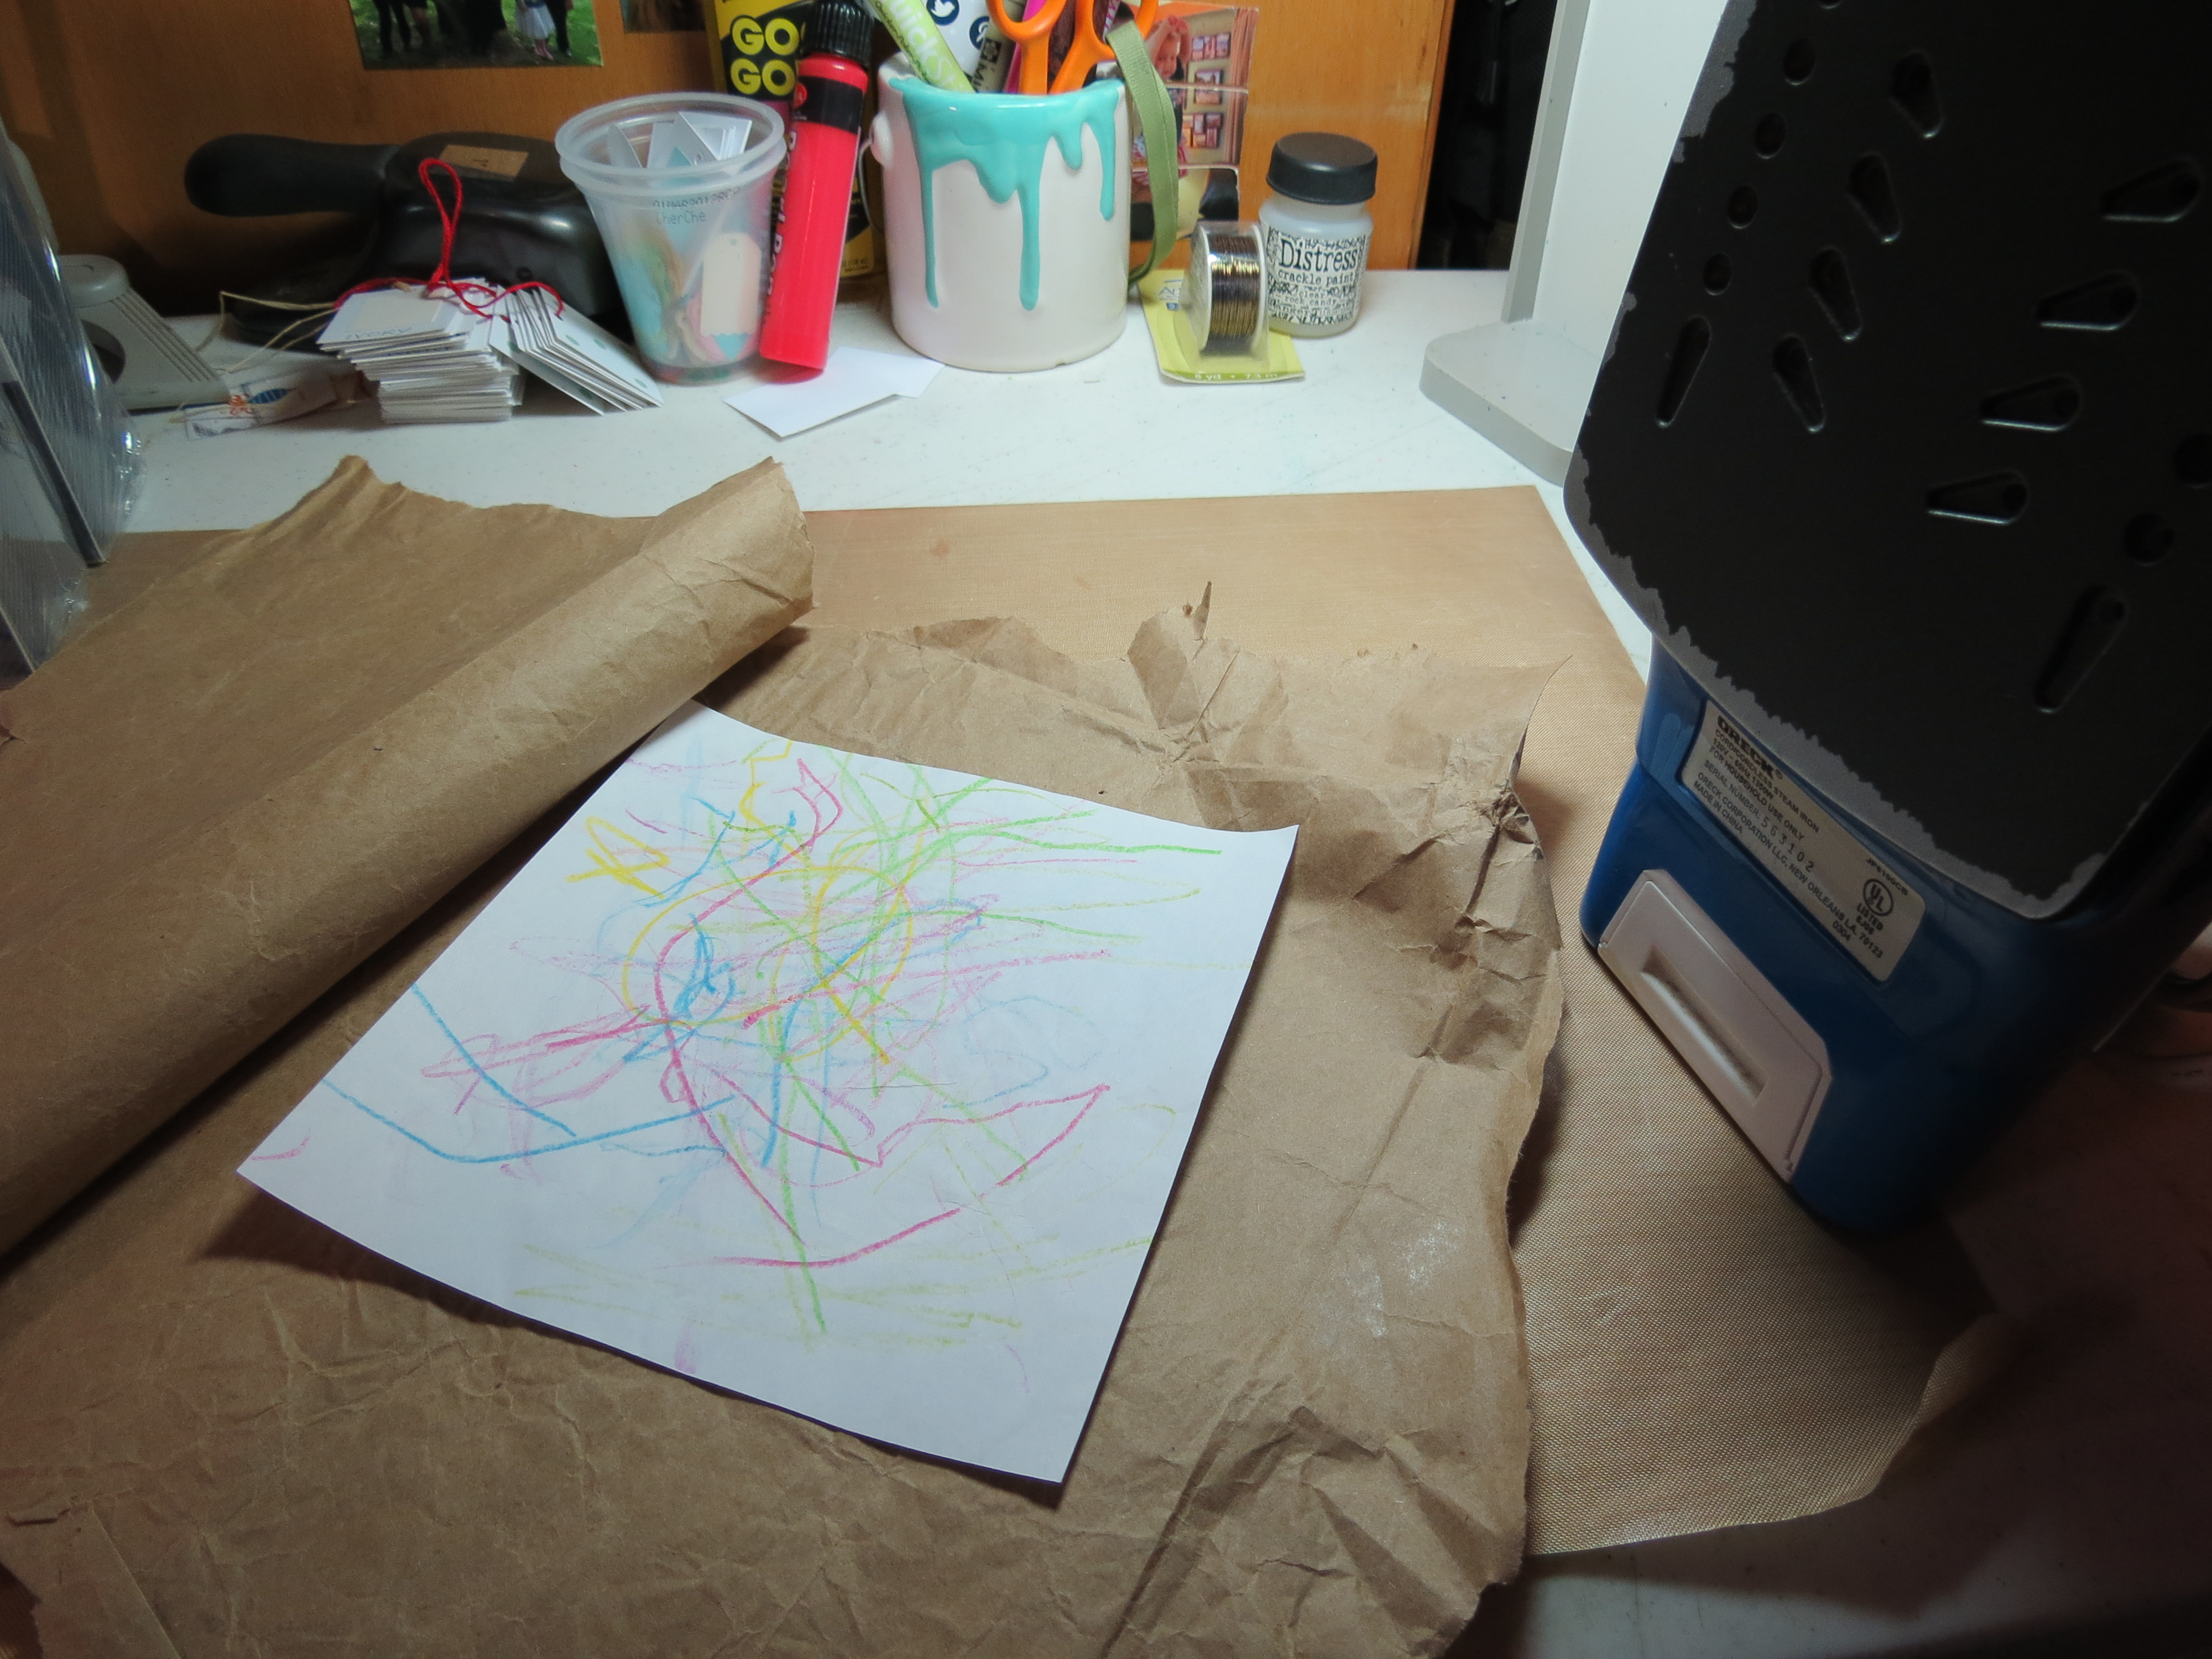
Very warm iron and brown paper to smooth out the artwork.
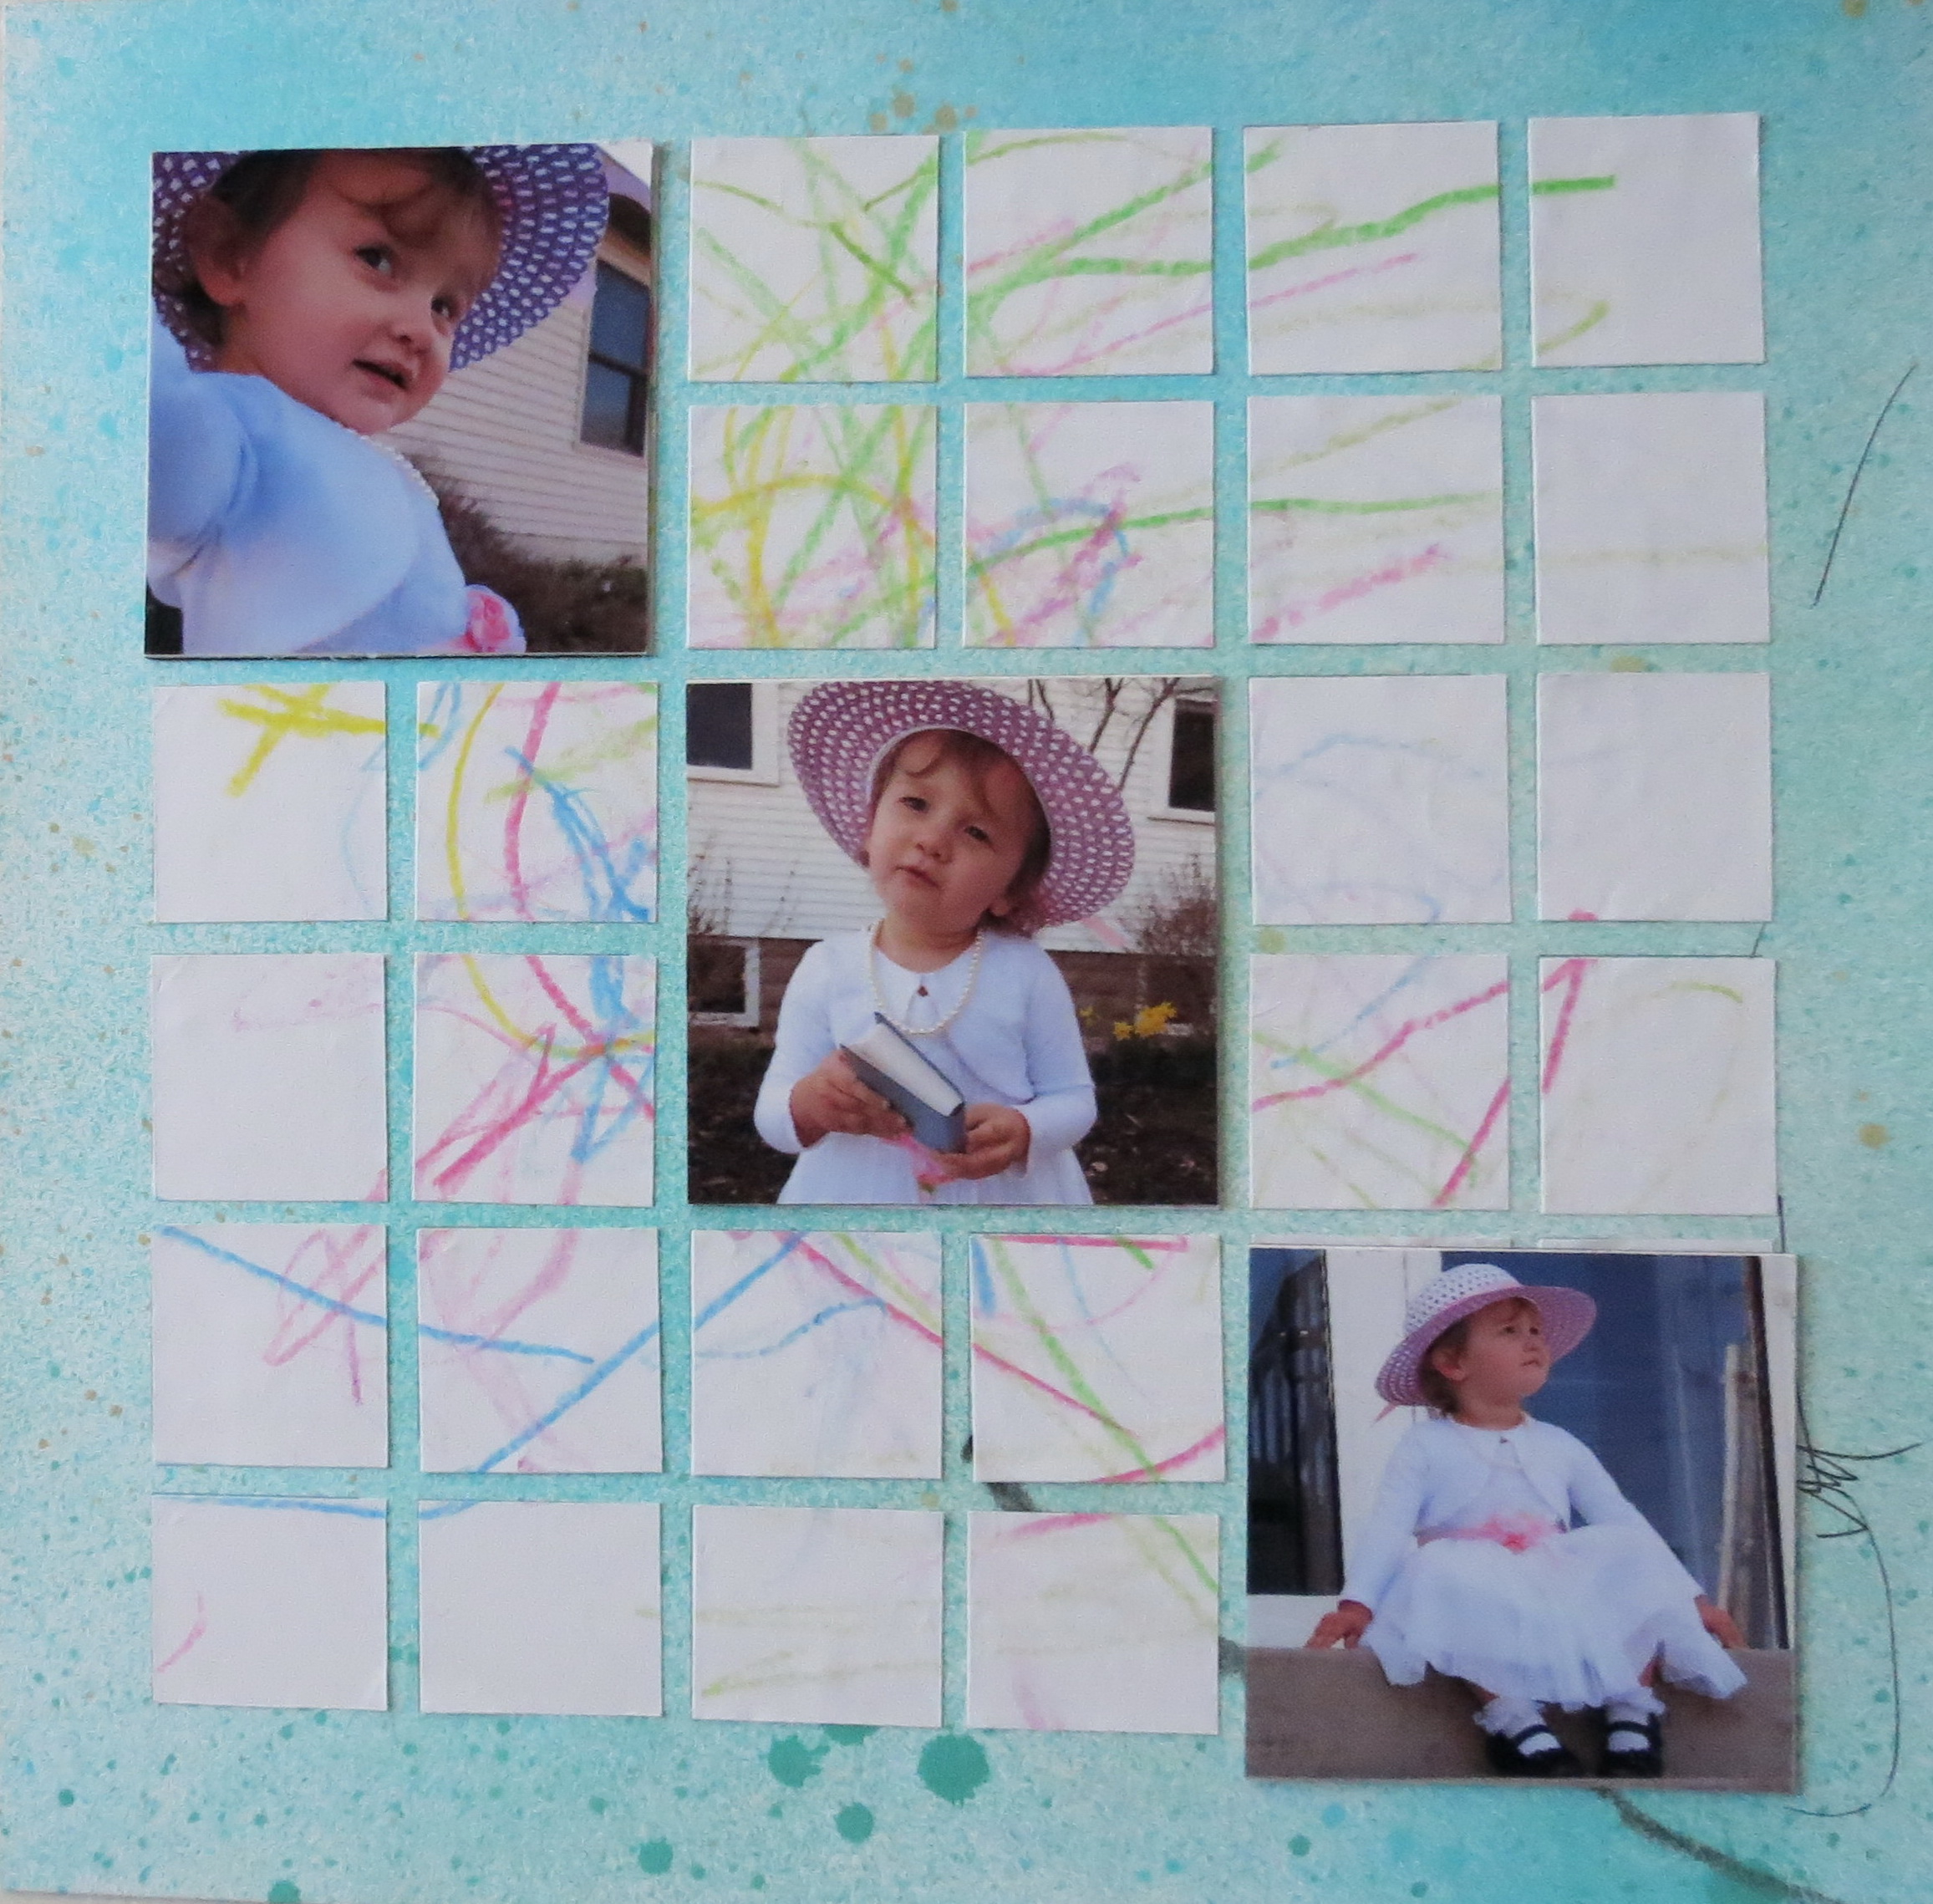
The completed art work was run through the Xyron and divided into 36- 1” squares and adhered to the 8″ x 8″ Grid.
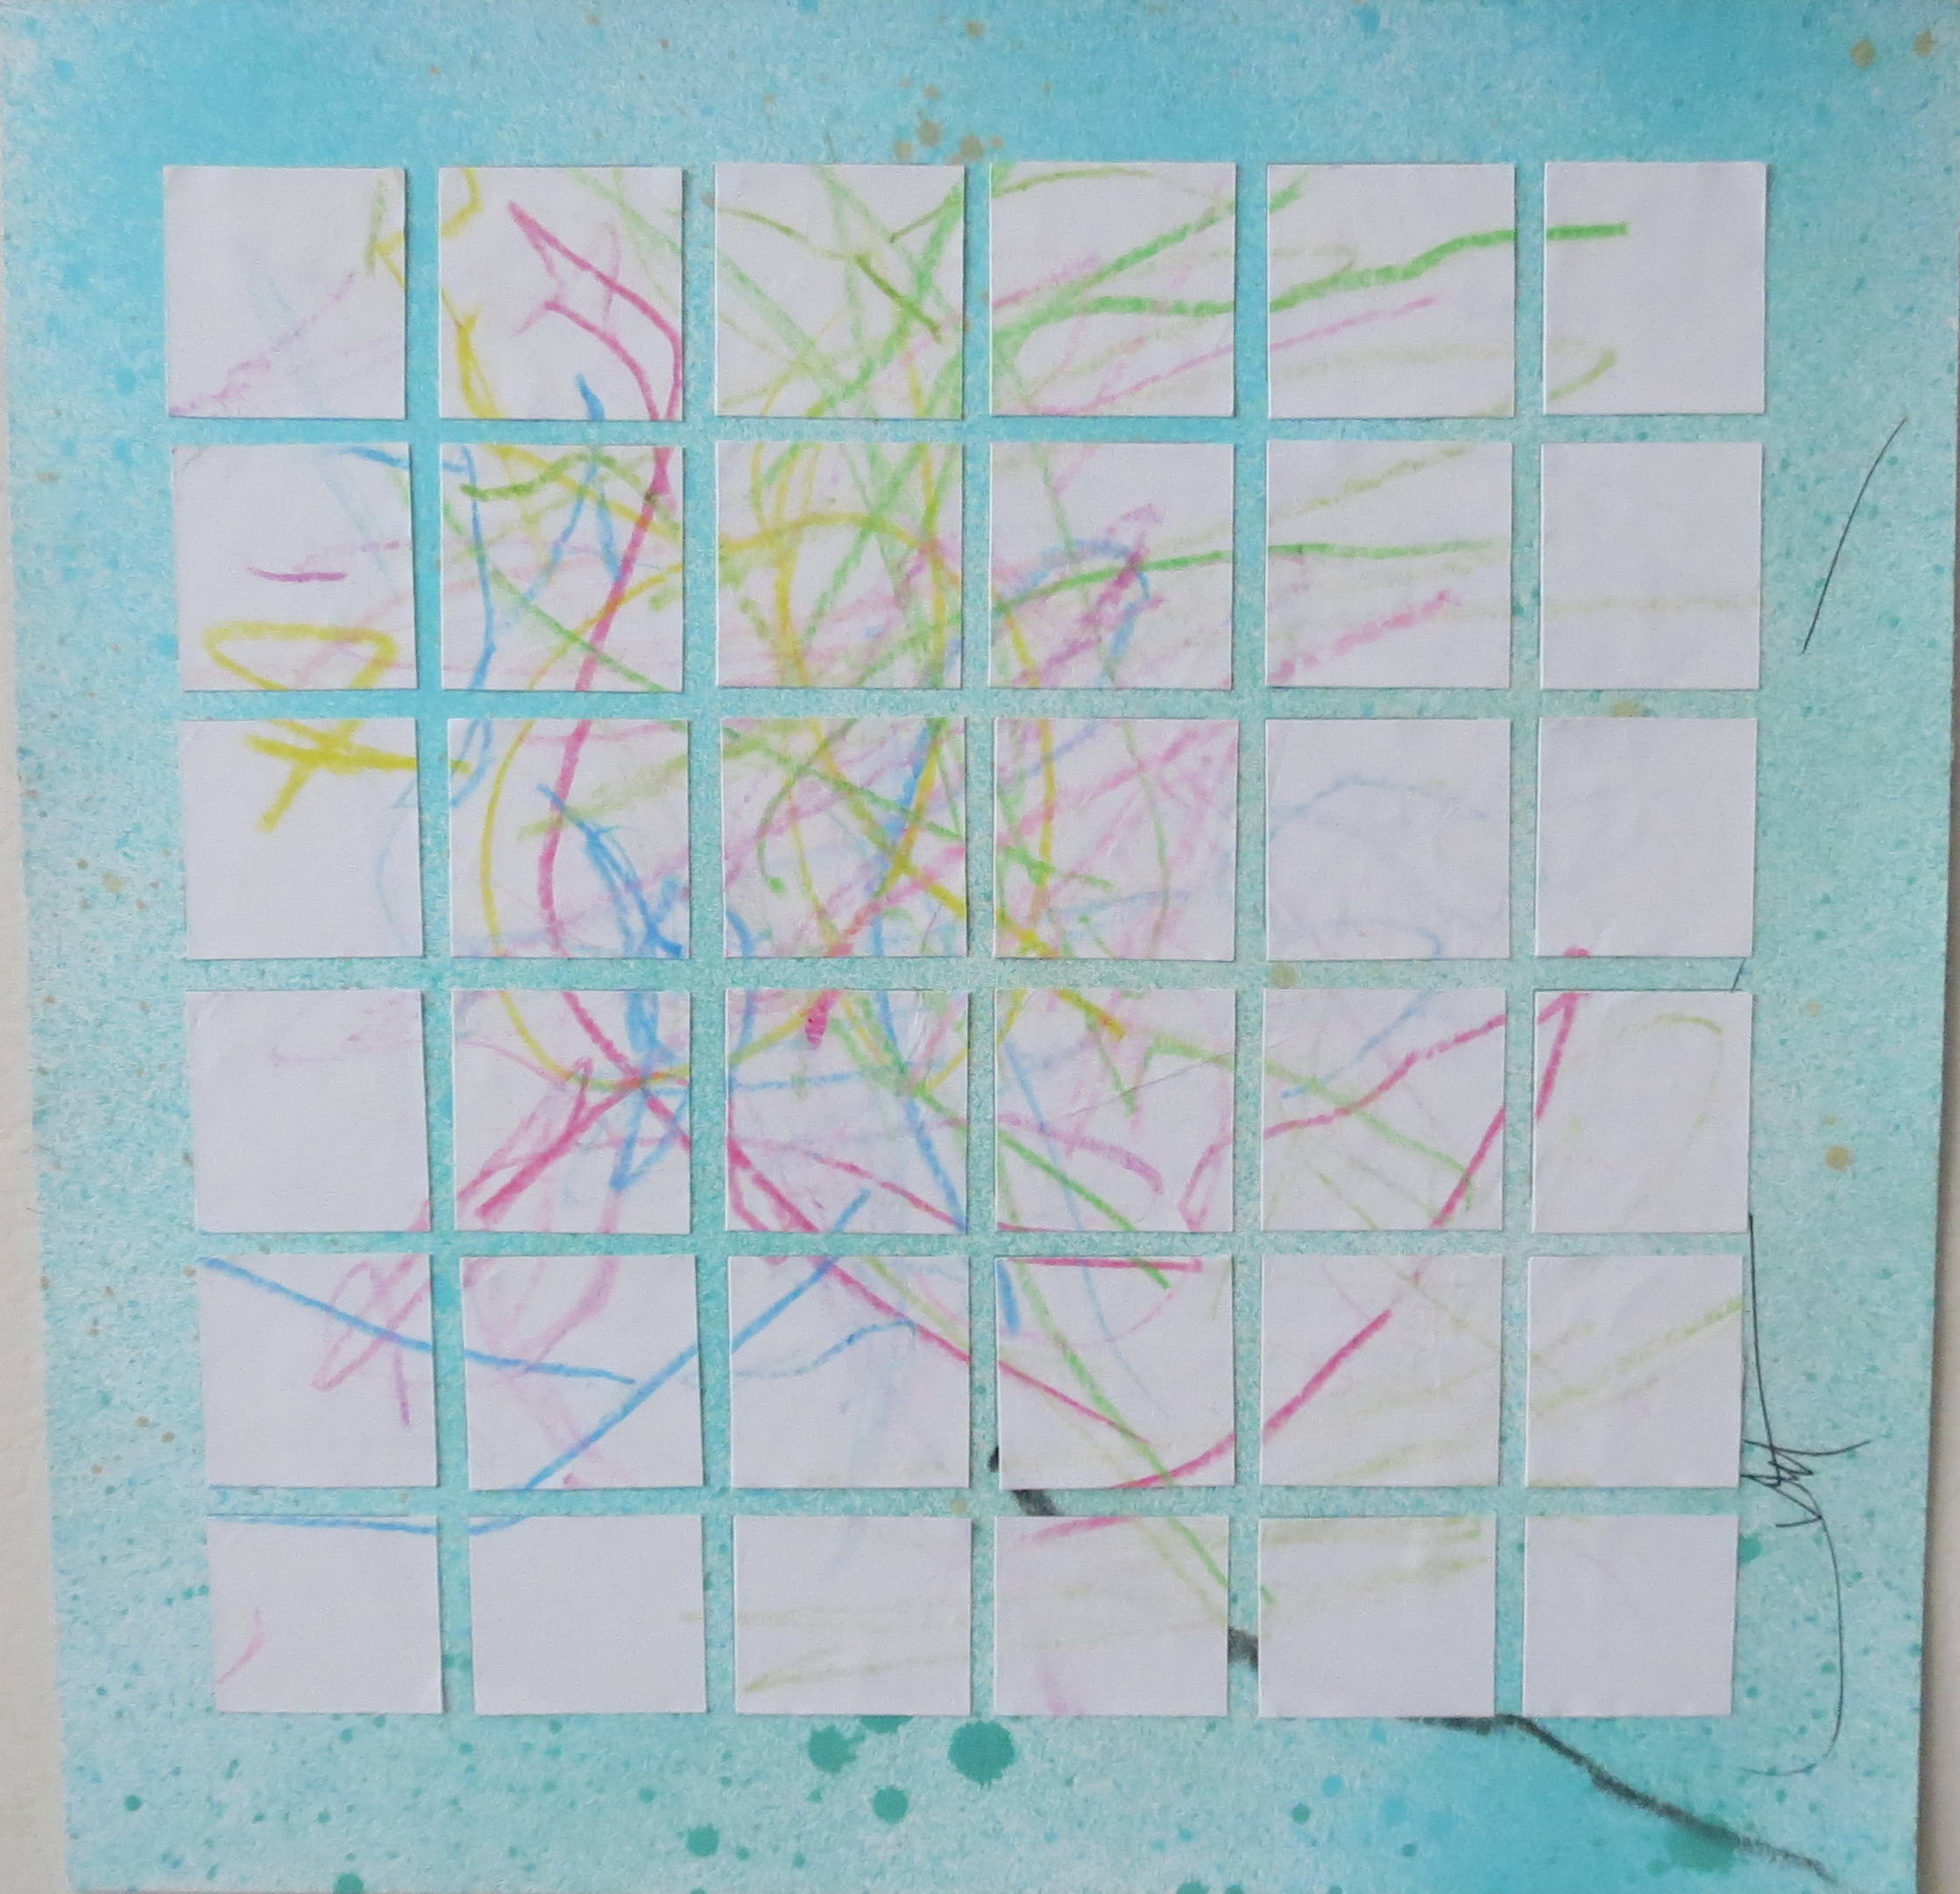
Even the unintended splotches from the misting add to the background and distract from the original doodling.
Once you get all the pieces reassembled you can finish it off and write a greeting or your artists name and age in the borders.
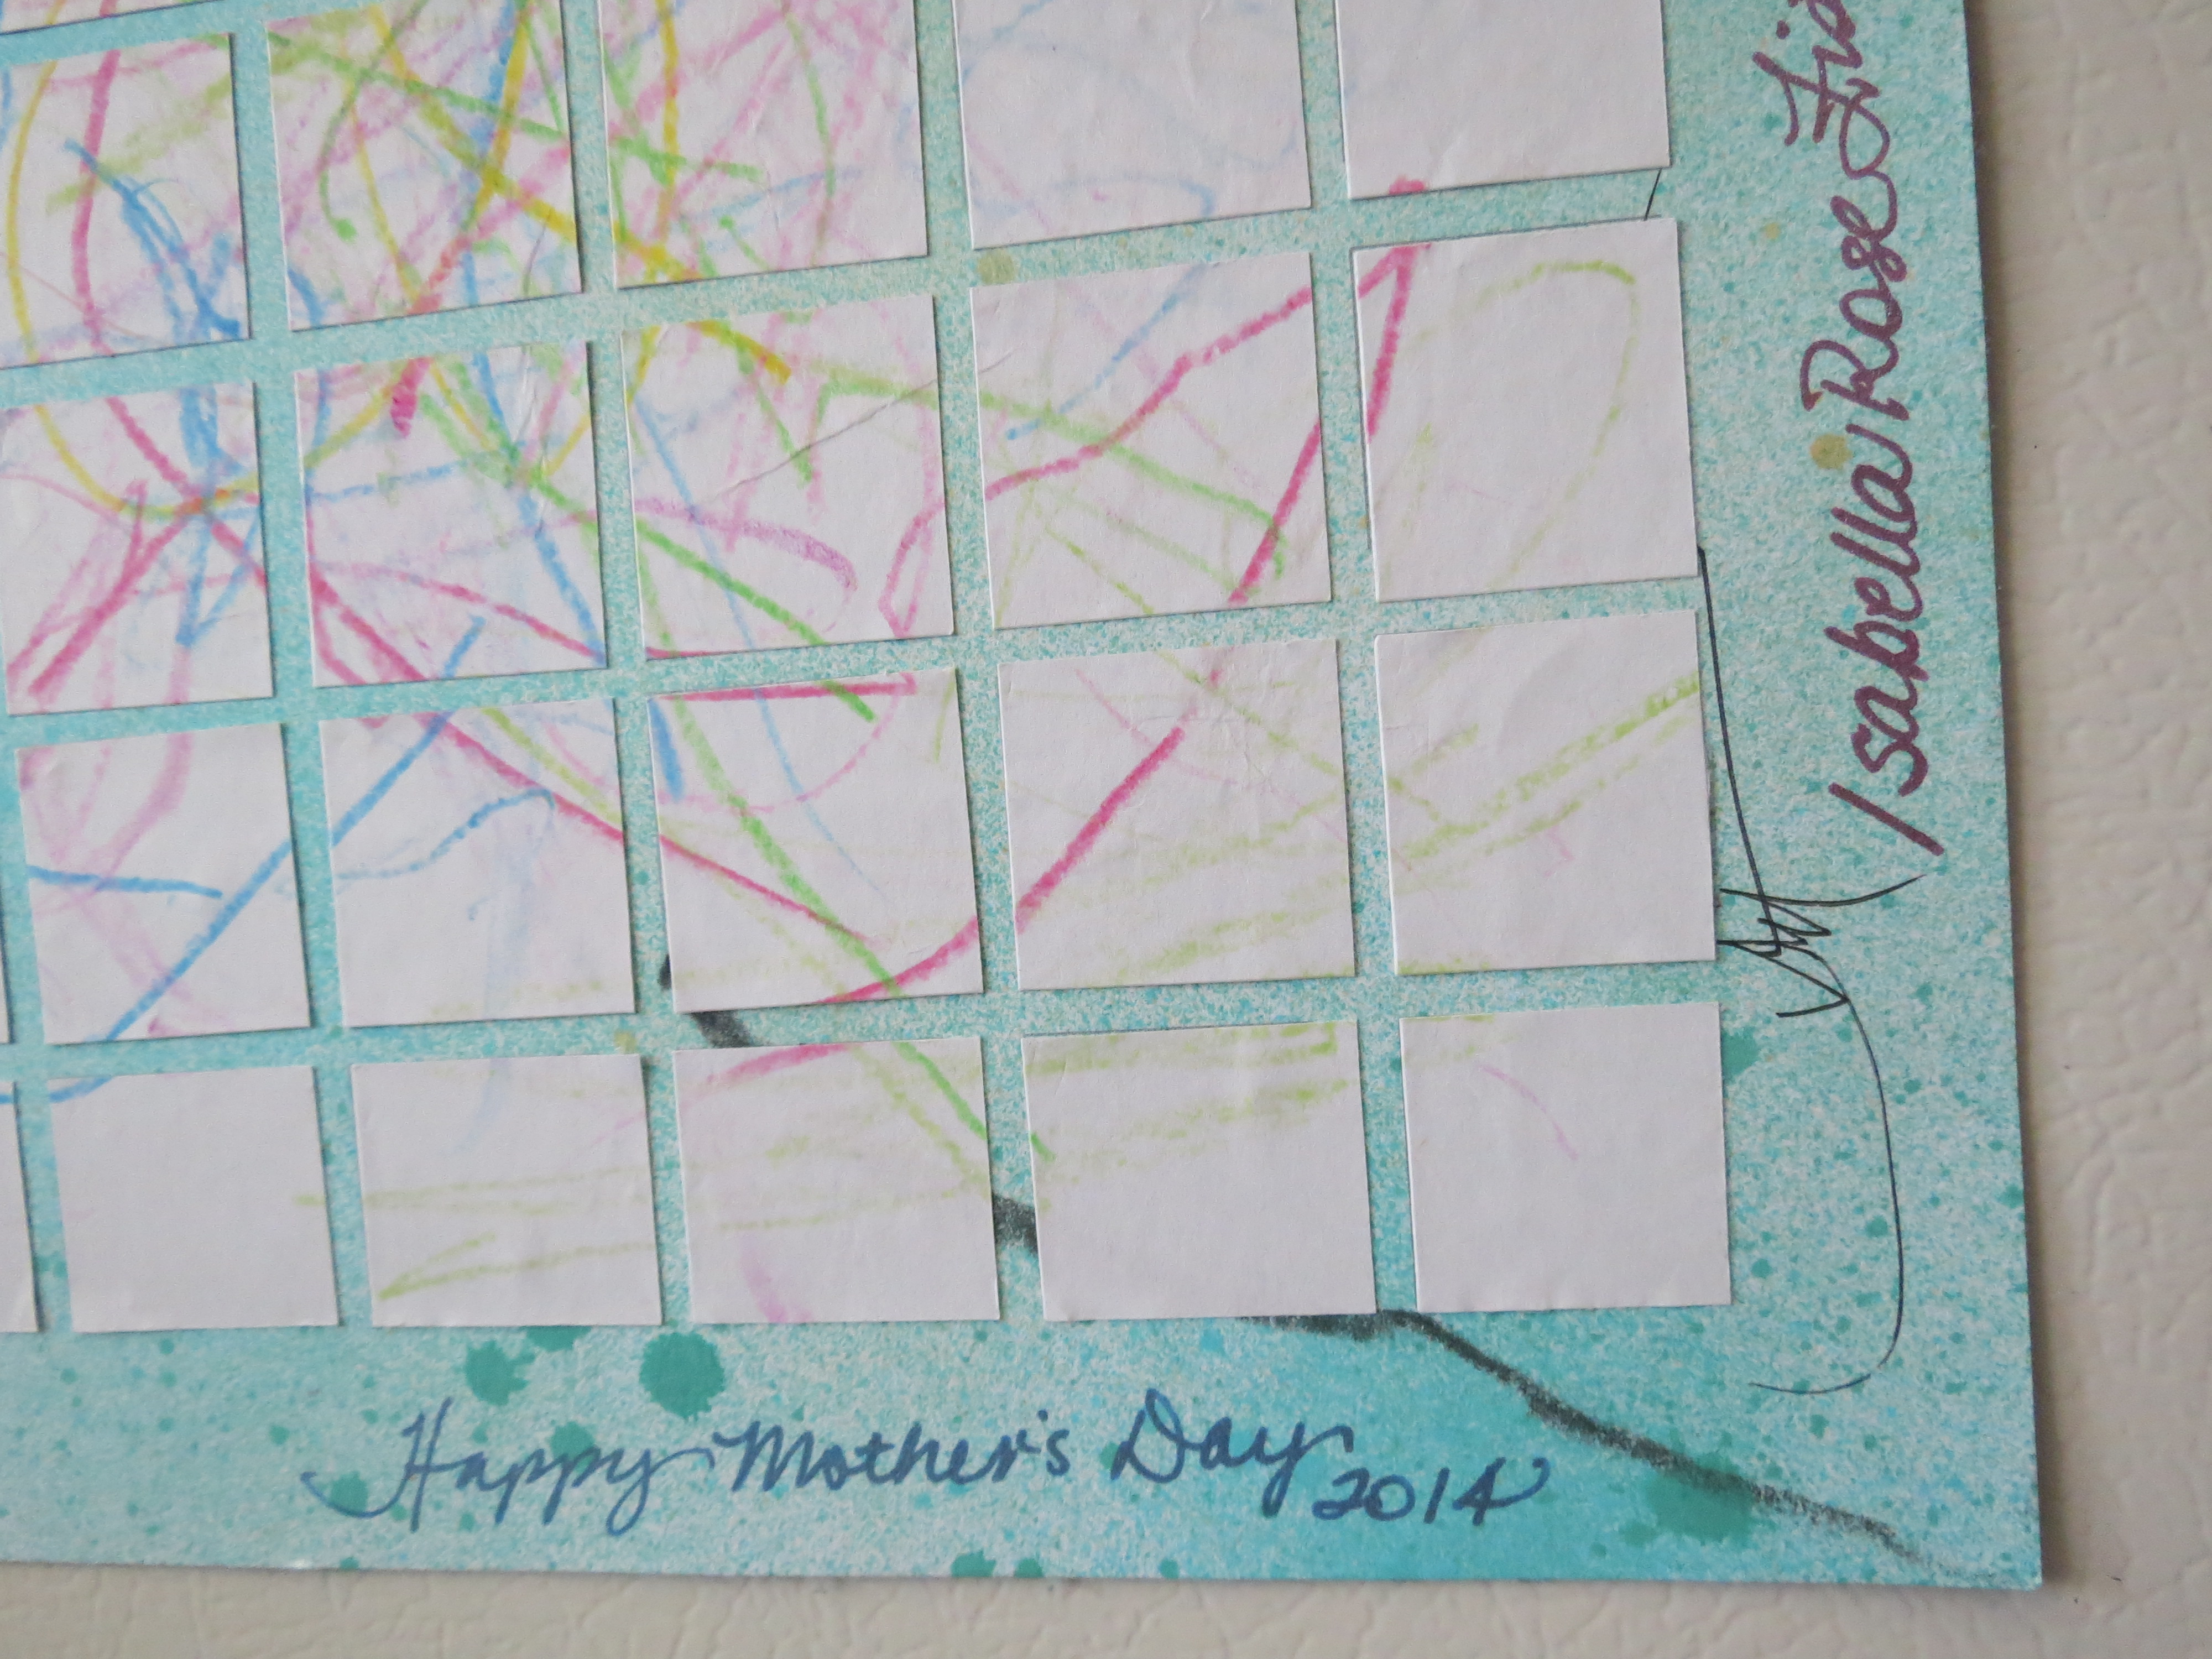
Marks are still there, but disguised. They almost look like a part of the plan!!
I thought this would be a nice gift for Izzy to give to her mother, my daughter-in-law, for Mother’s Day as a keepsake of her artwork. However, I wanted to add a second layer to this project. So, I took photos I’d taken of Izzy on Palm Sunday and Easter Sunday and made 9 magnetic 2-1/8” squares to sit on top of the drawing or to be used to hold up additional pieces of art.
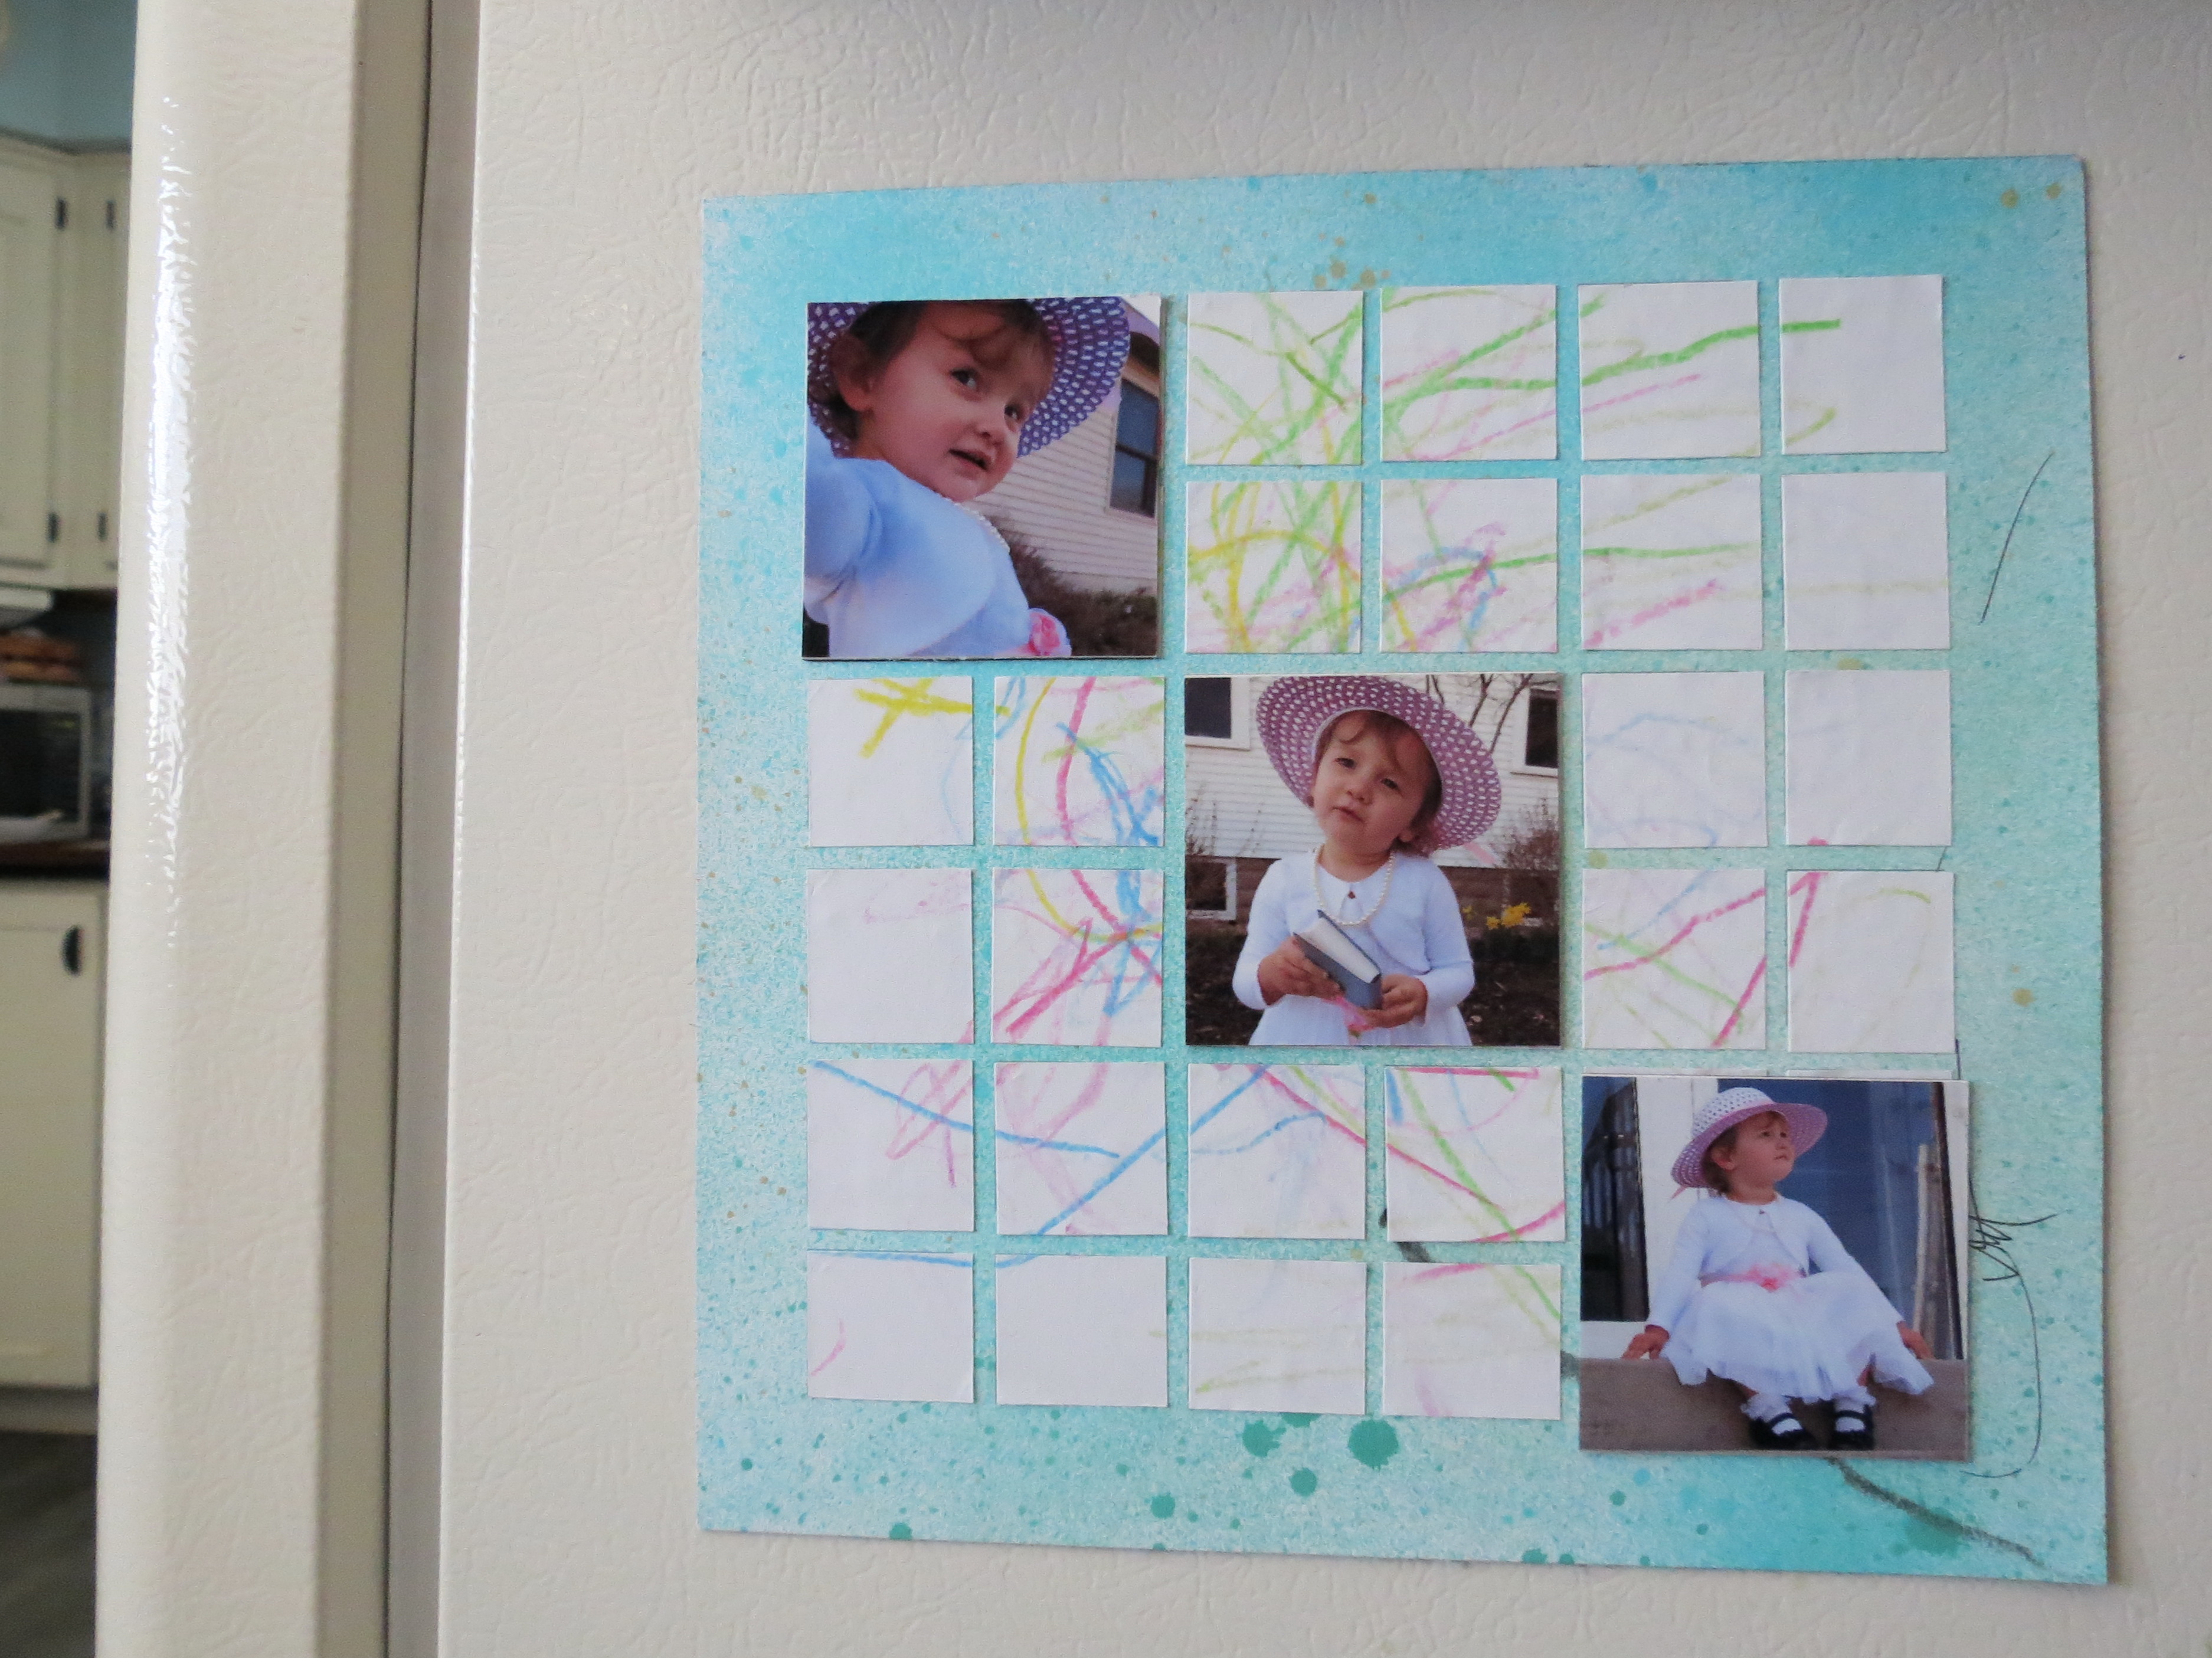
displayed with a few photos covering the drawing.
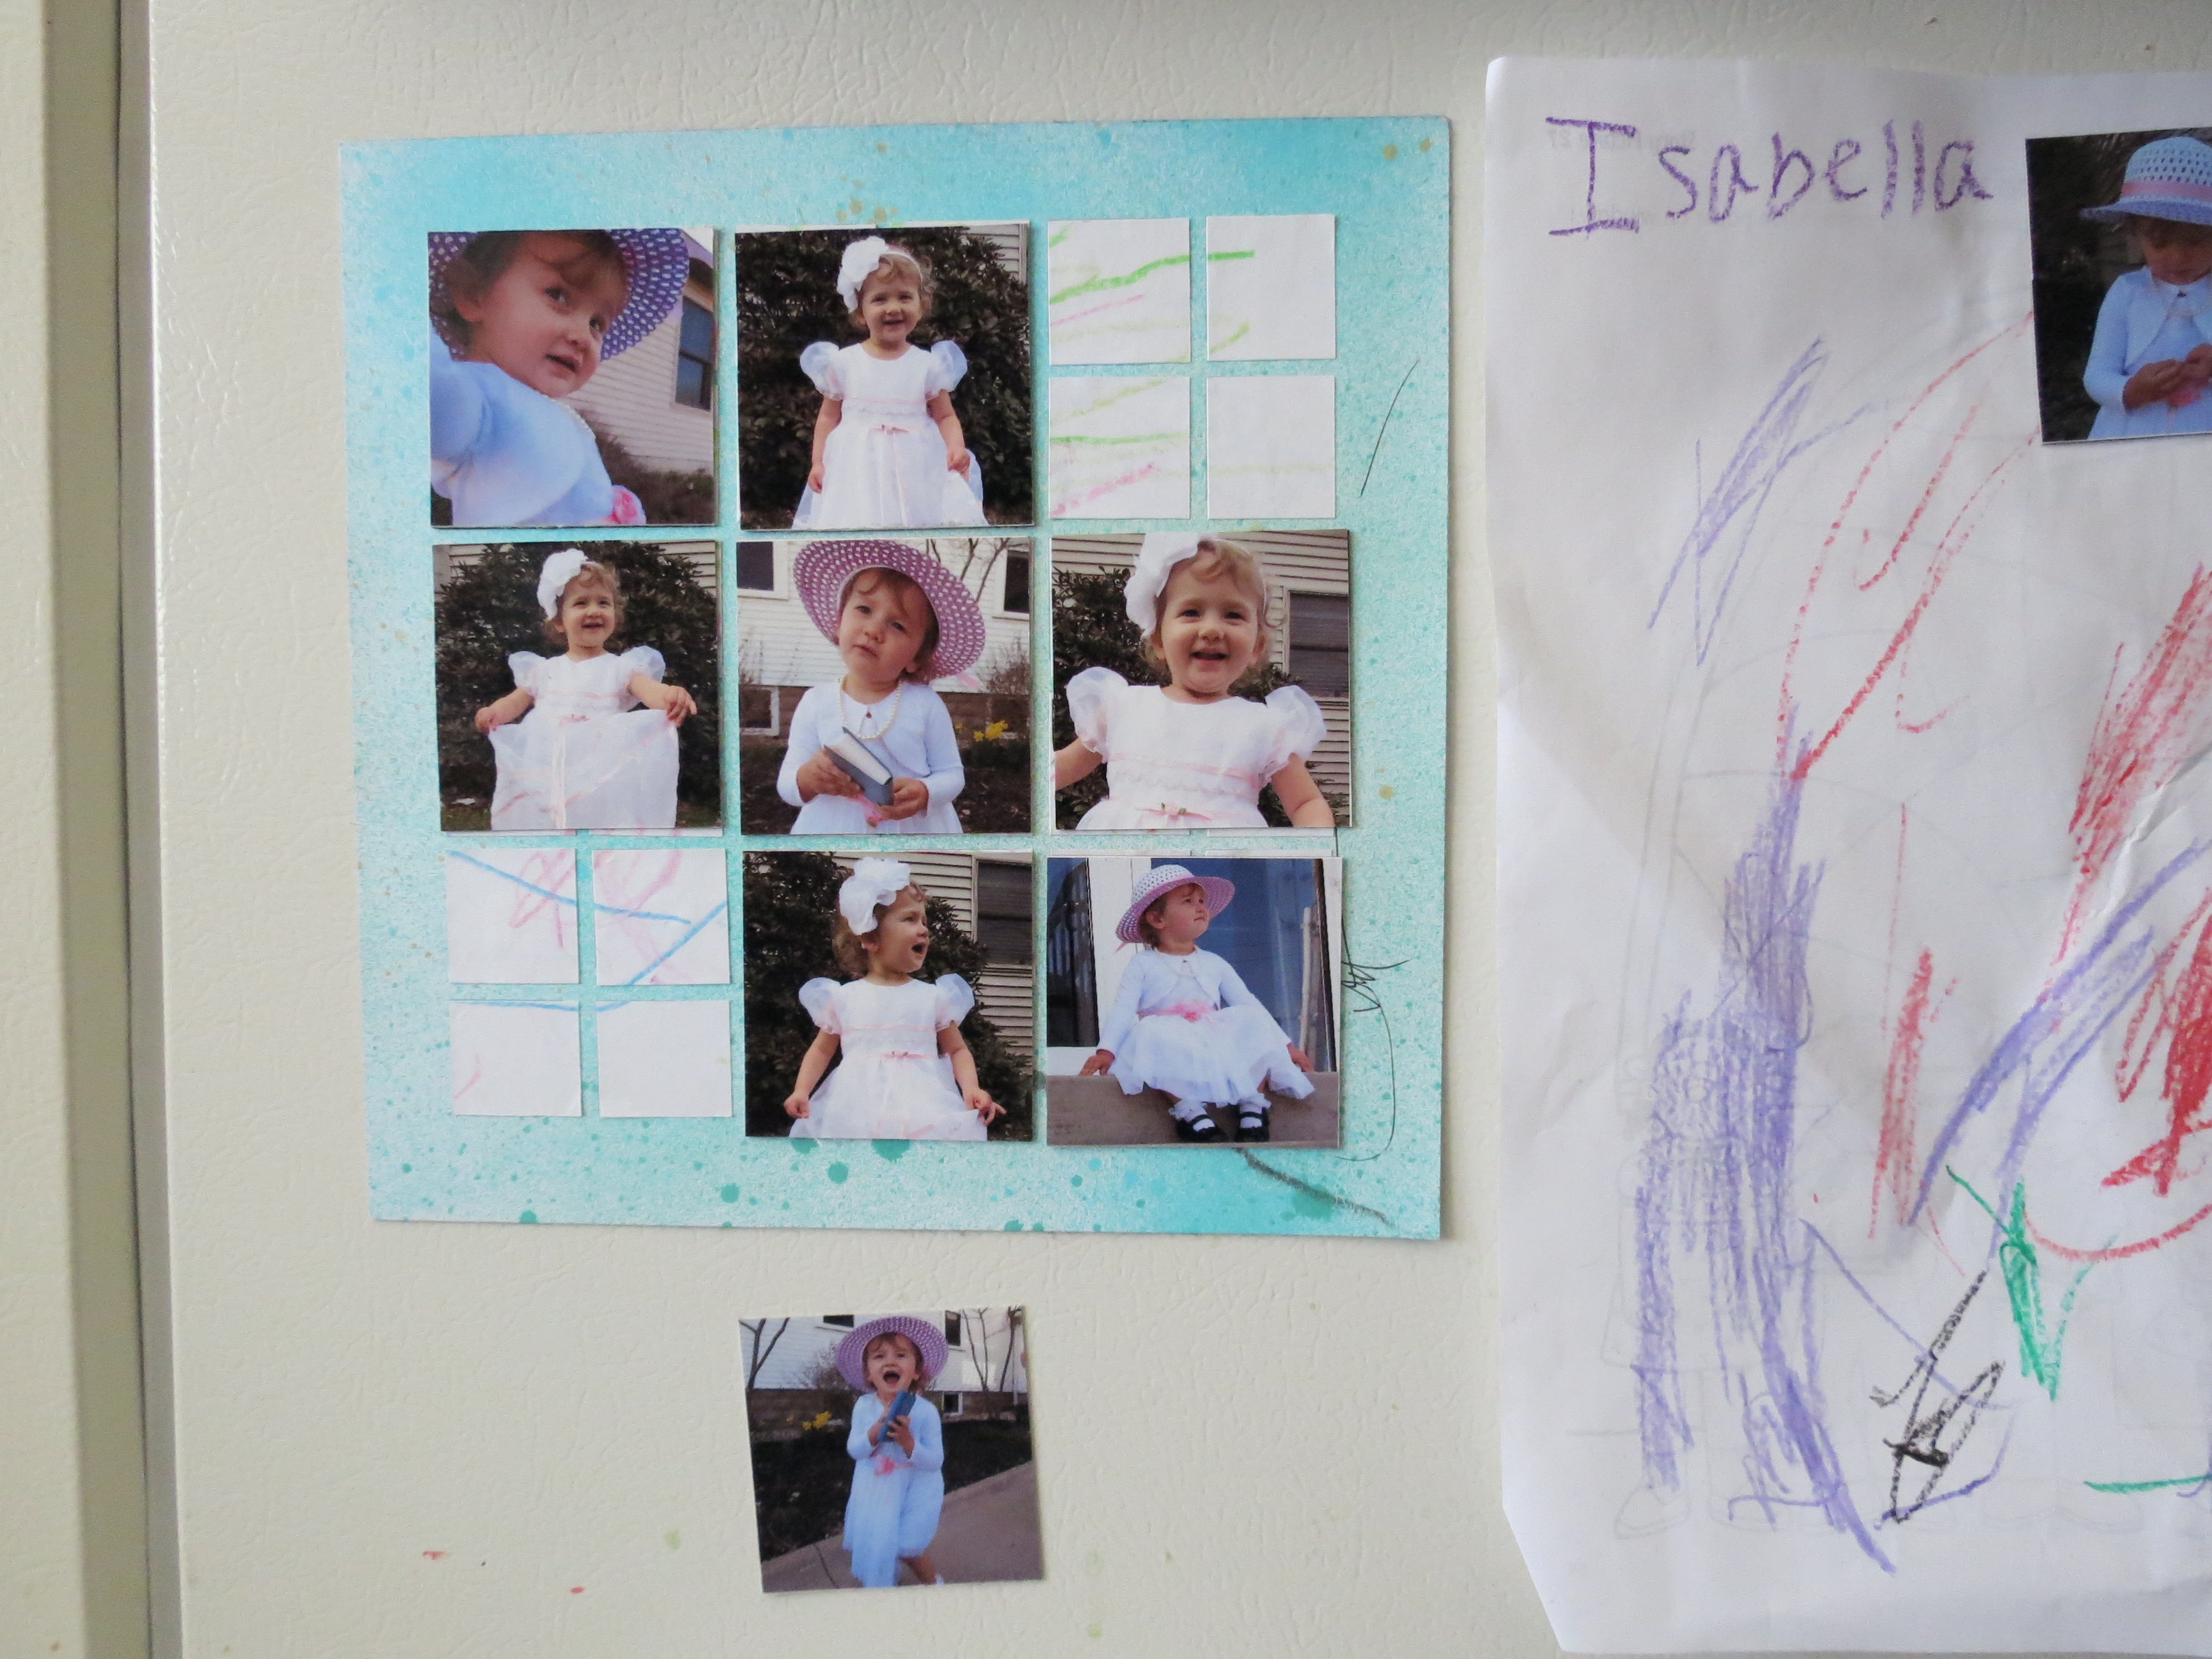
More Photos added and shown using photo magnets.
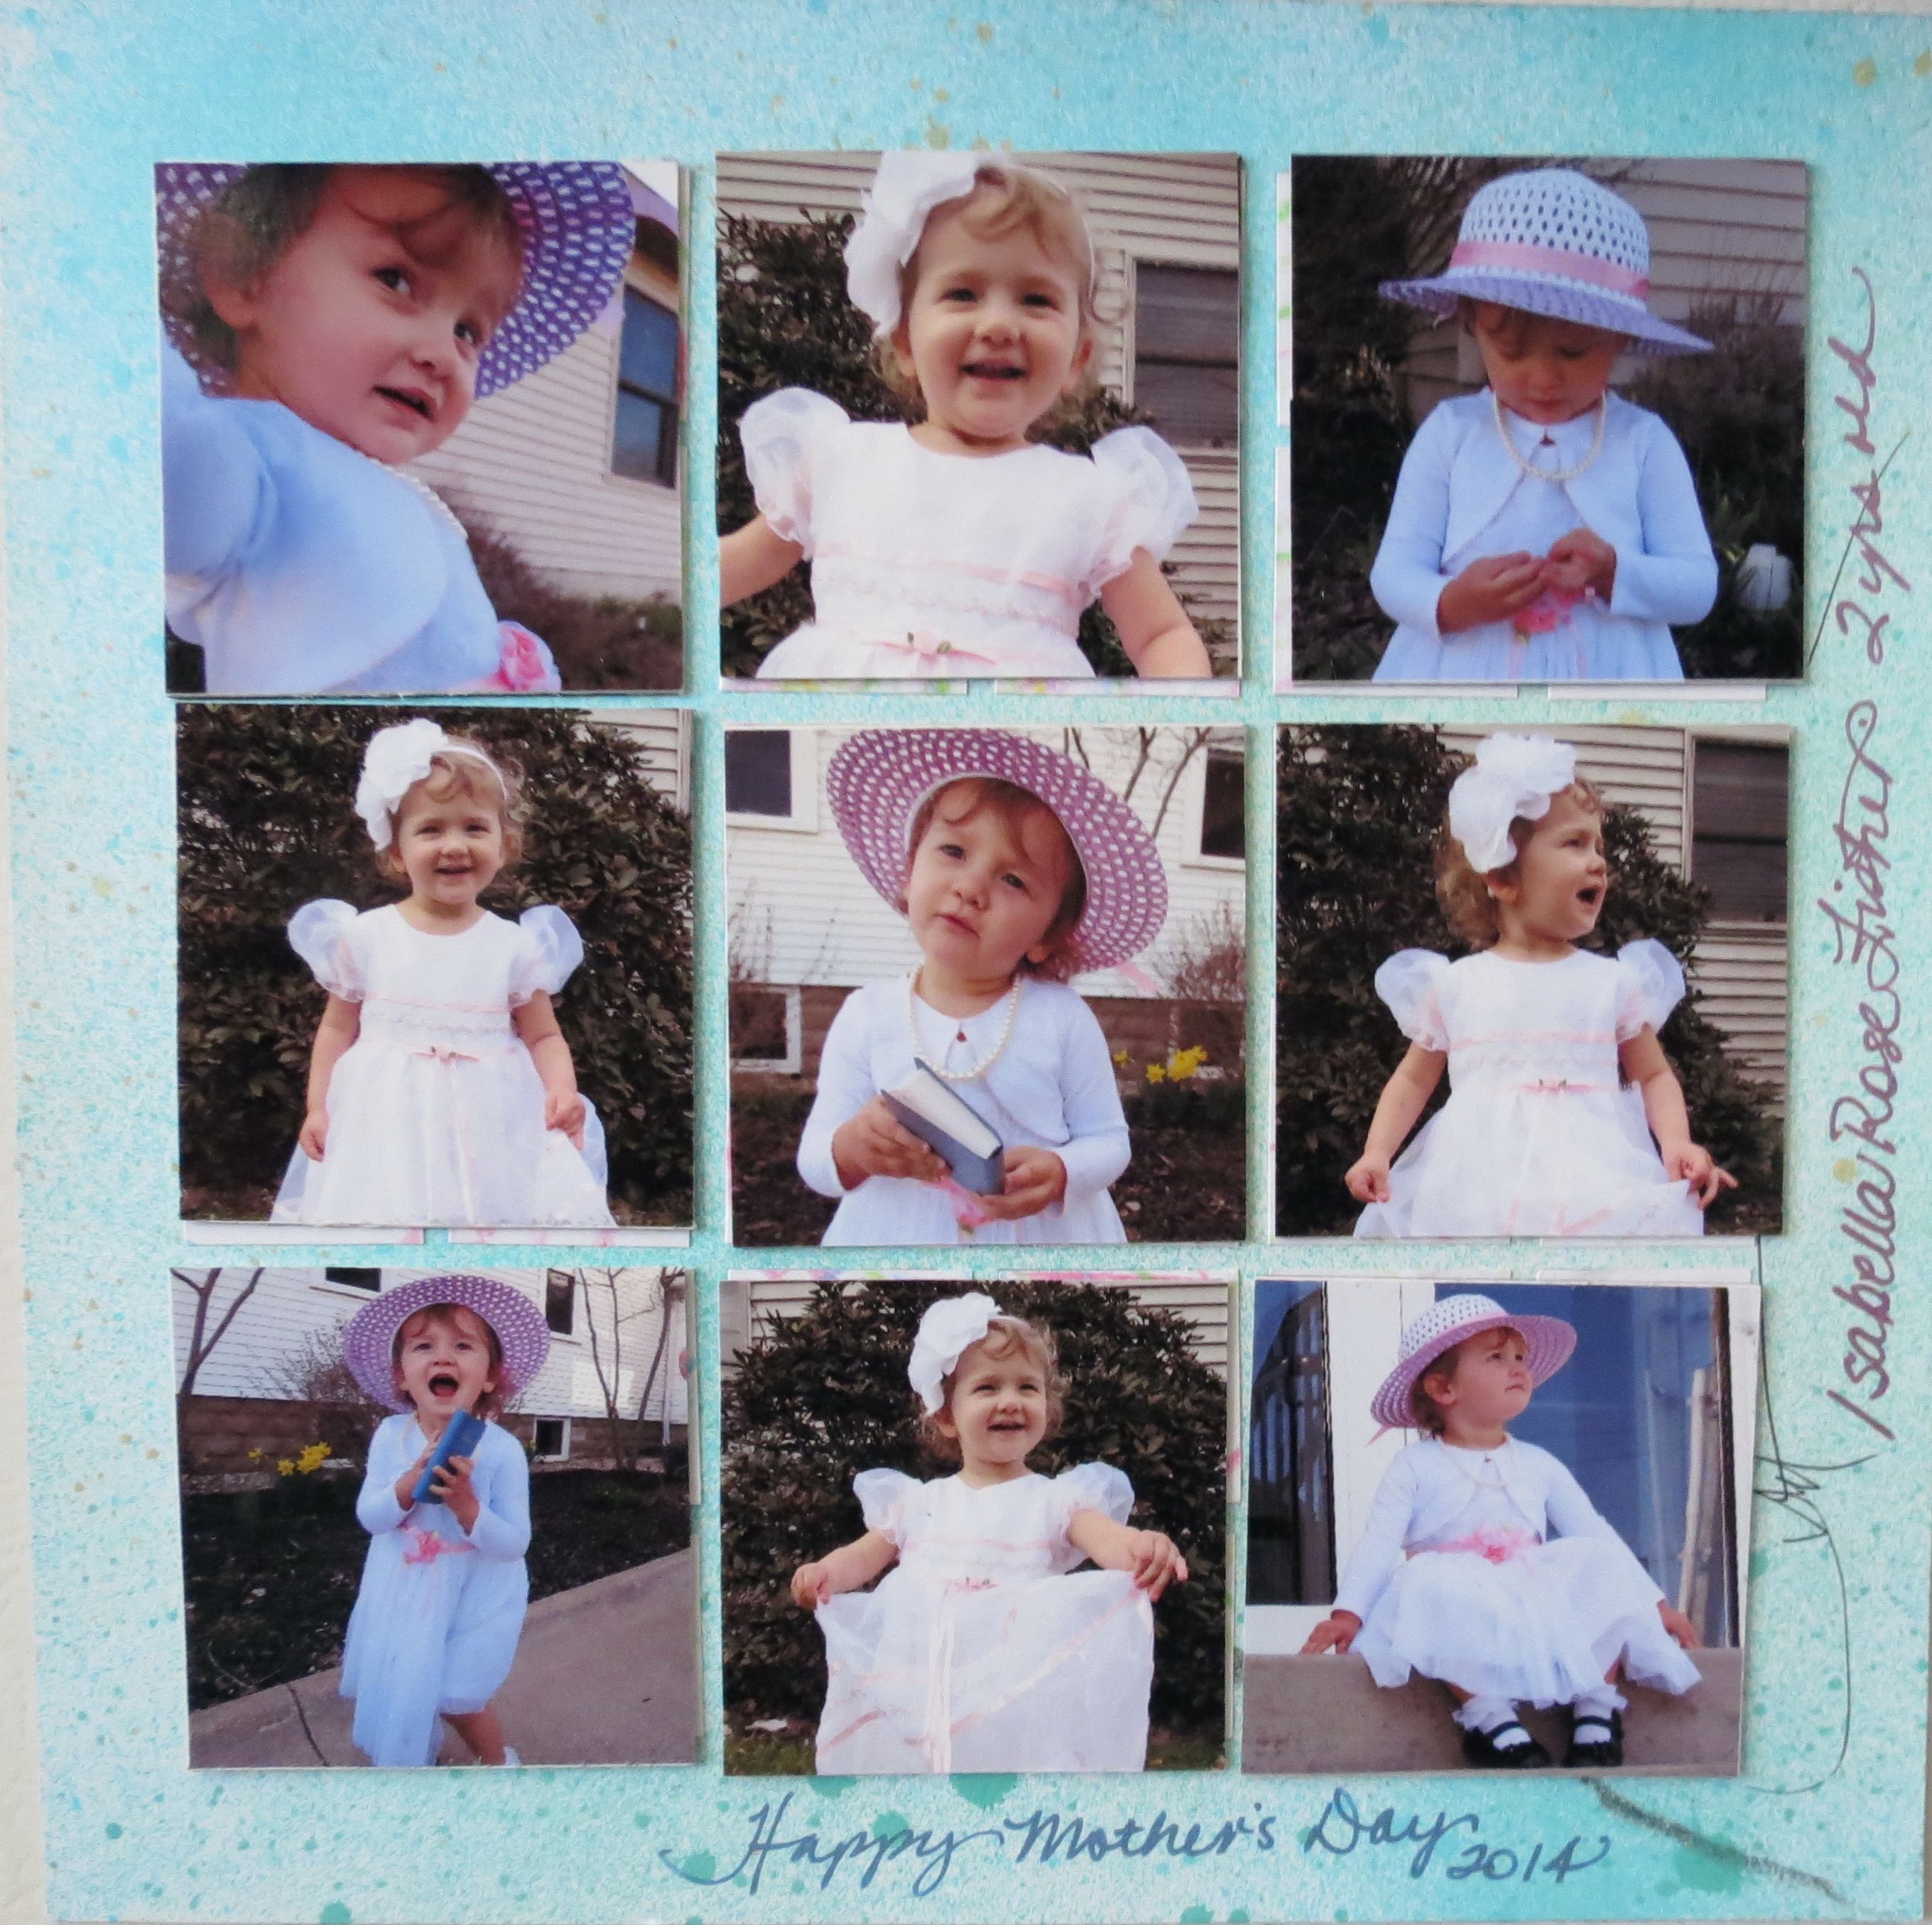
All photos in place on top of the drawing.
If you don’t have children’s artwork to display, use your photos and do a nice mini layout to keep displayed in your kitchen.
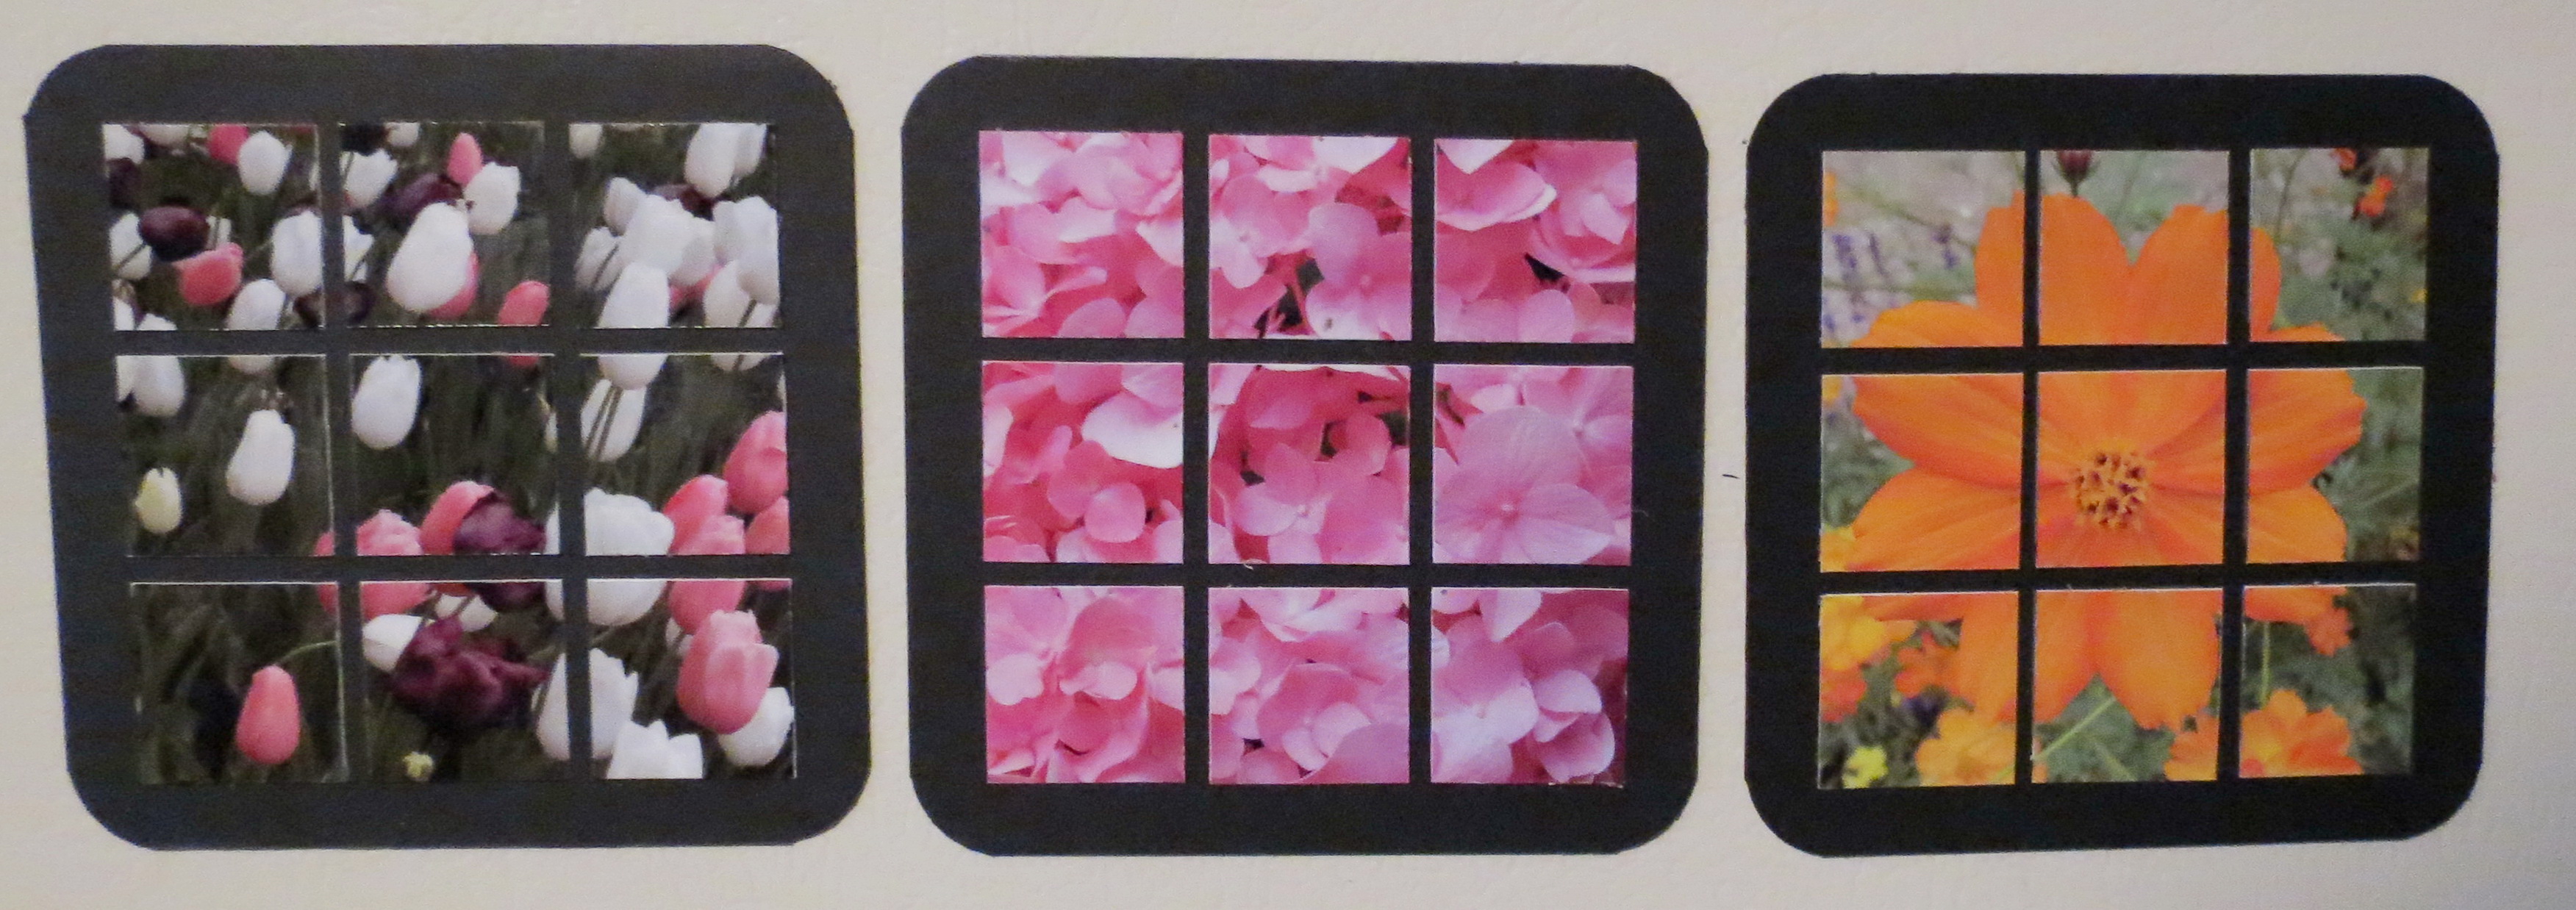
This is what led me to the second idea, this time using our RTC paper, this time in black. I cut a 4” x 12” strip of the RTC 4×4 Grid in black, and then into three 4” sections. I ran these through the Xyron for full coverage and attach to 4” squares of the magnet sheet.
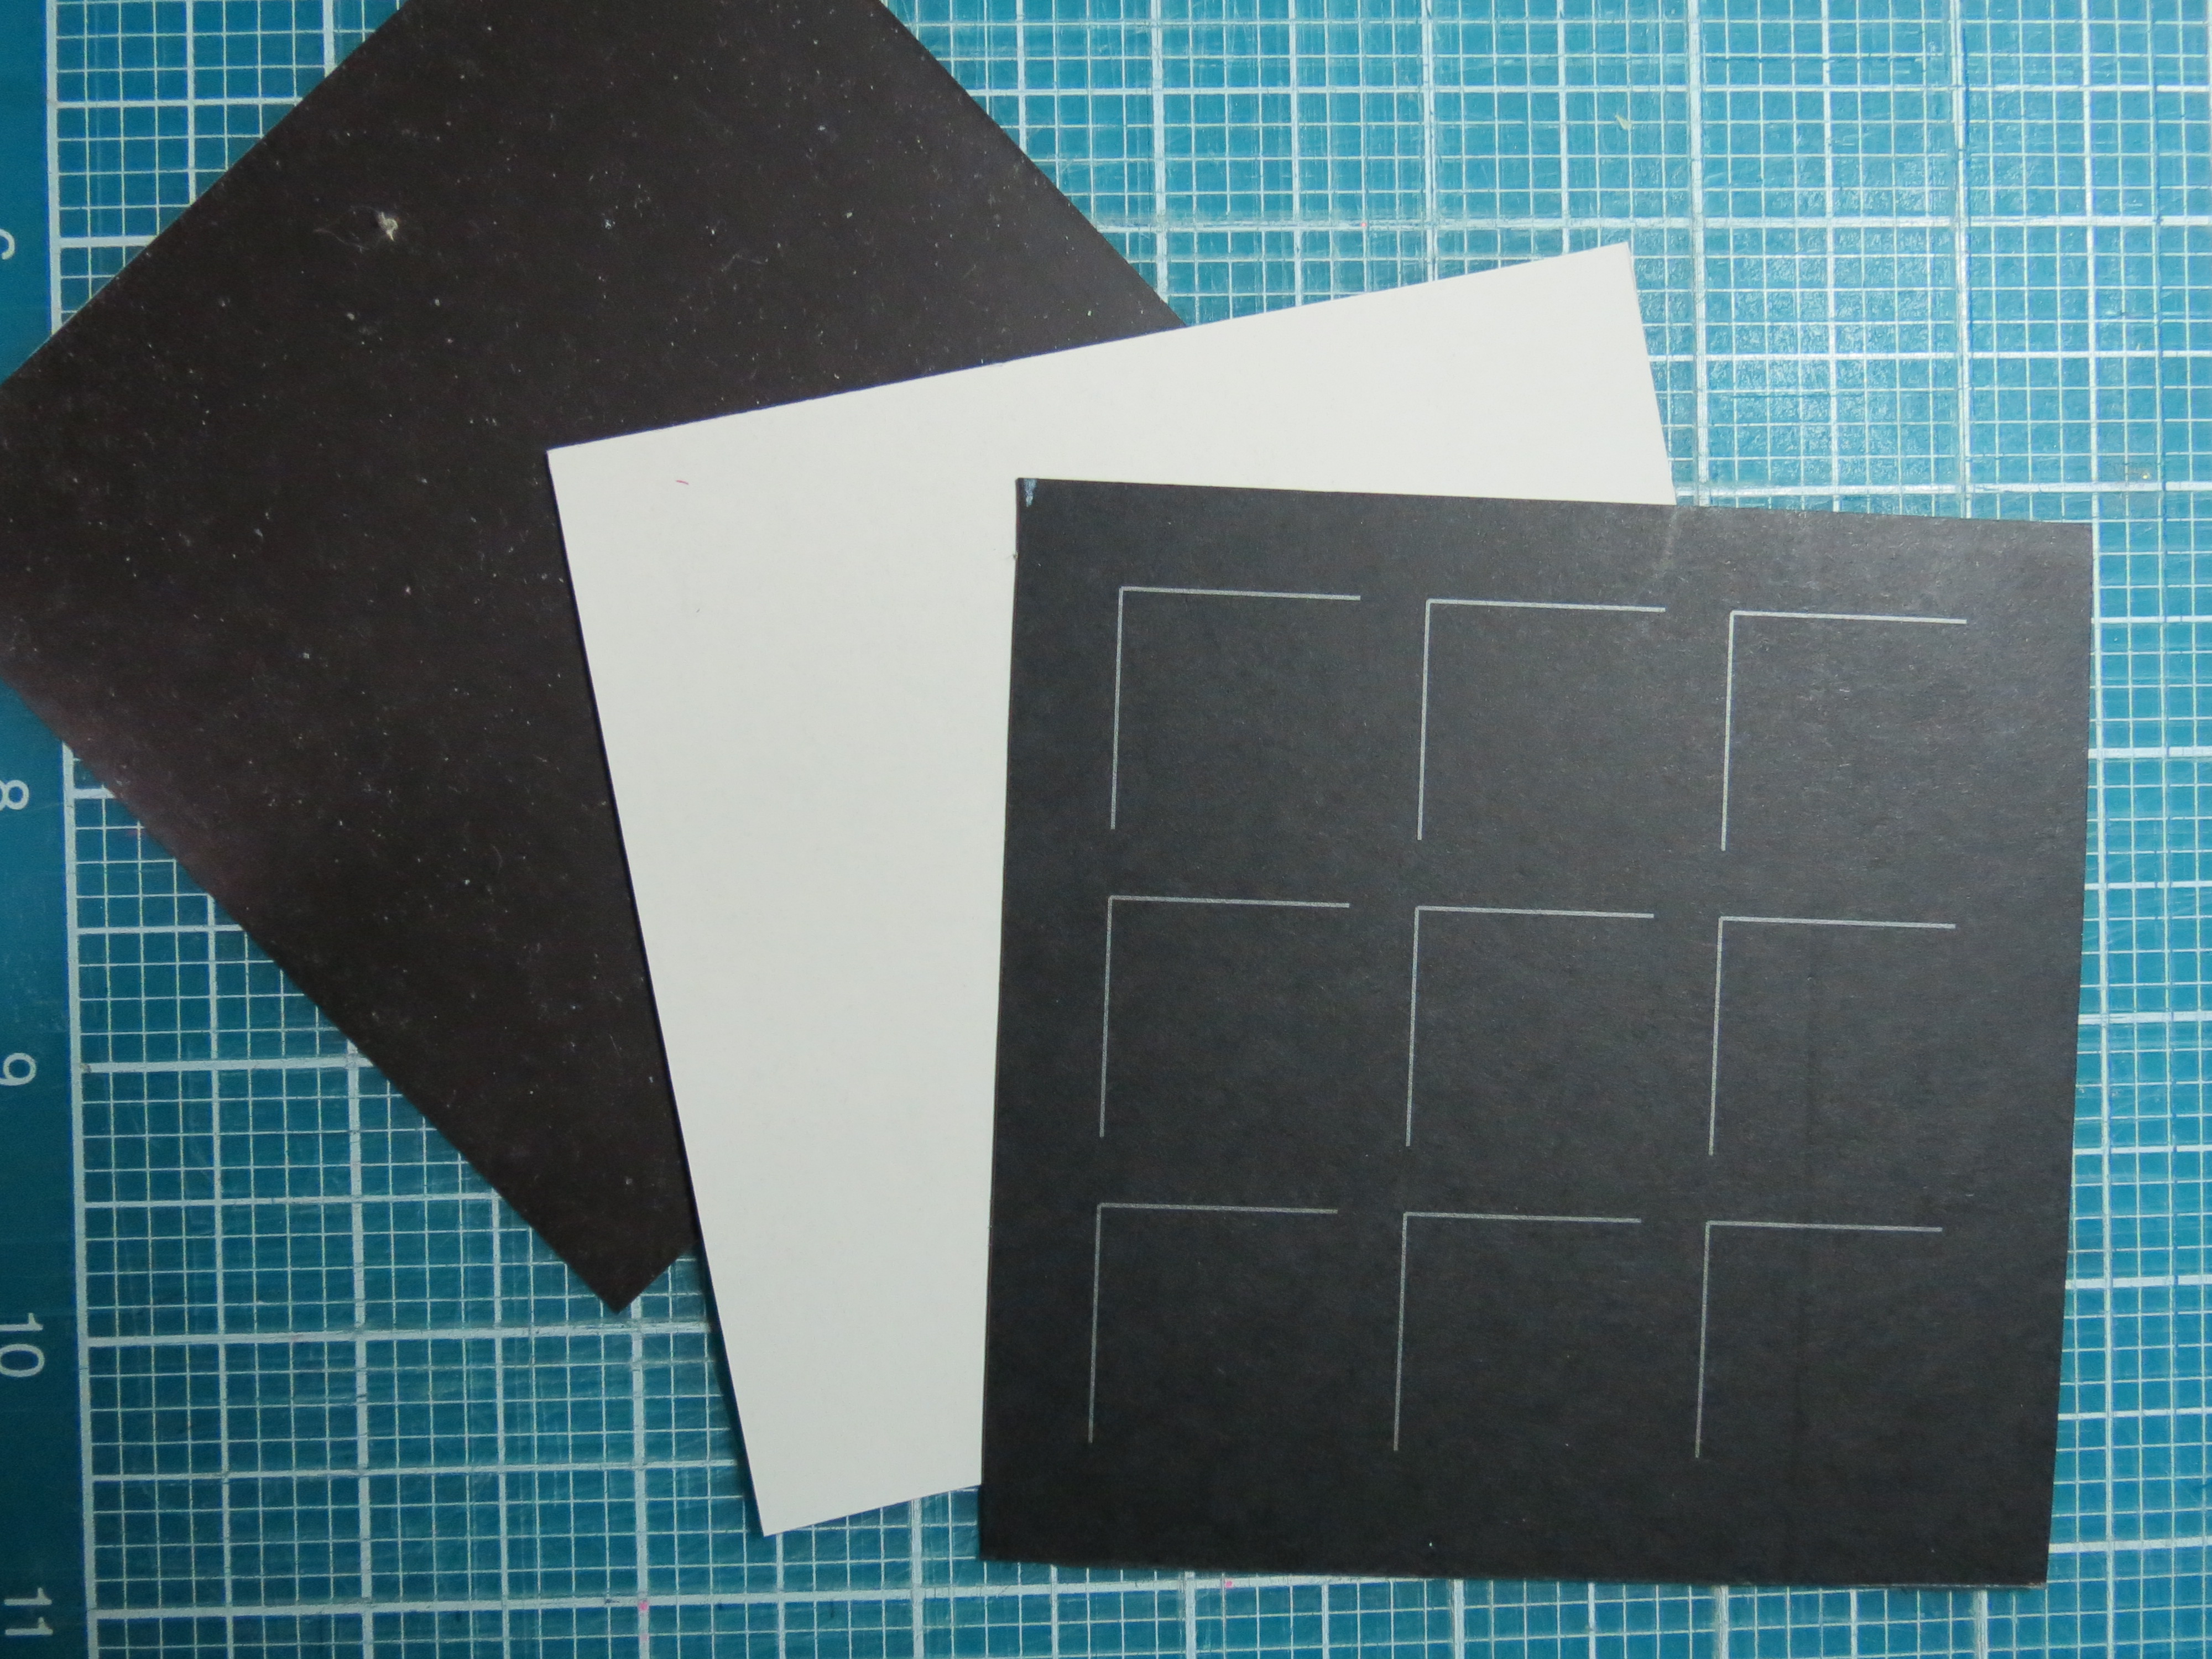
RTC 4×4 Grid, and magnetic sheet squares cut to size.
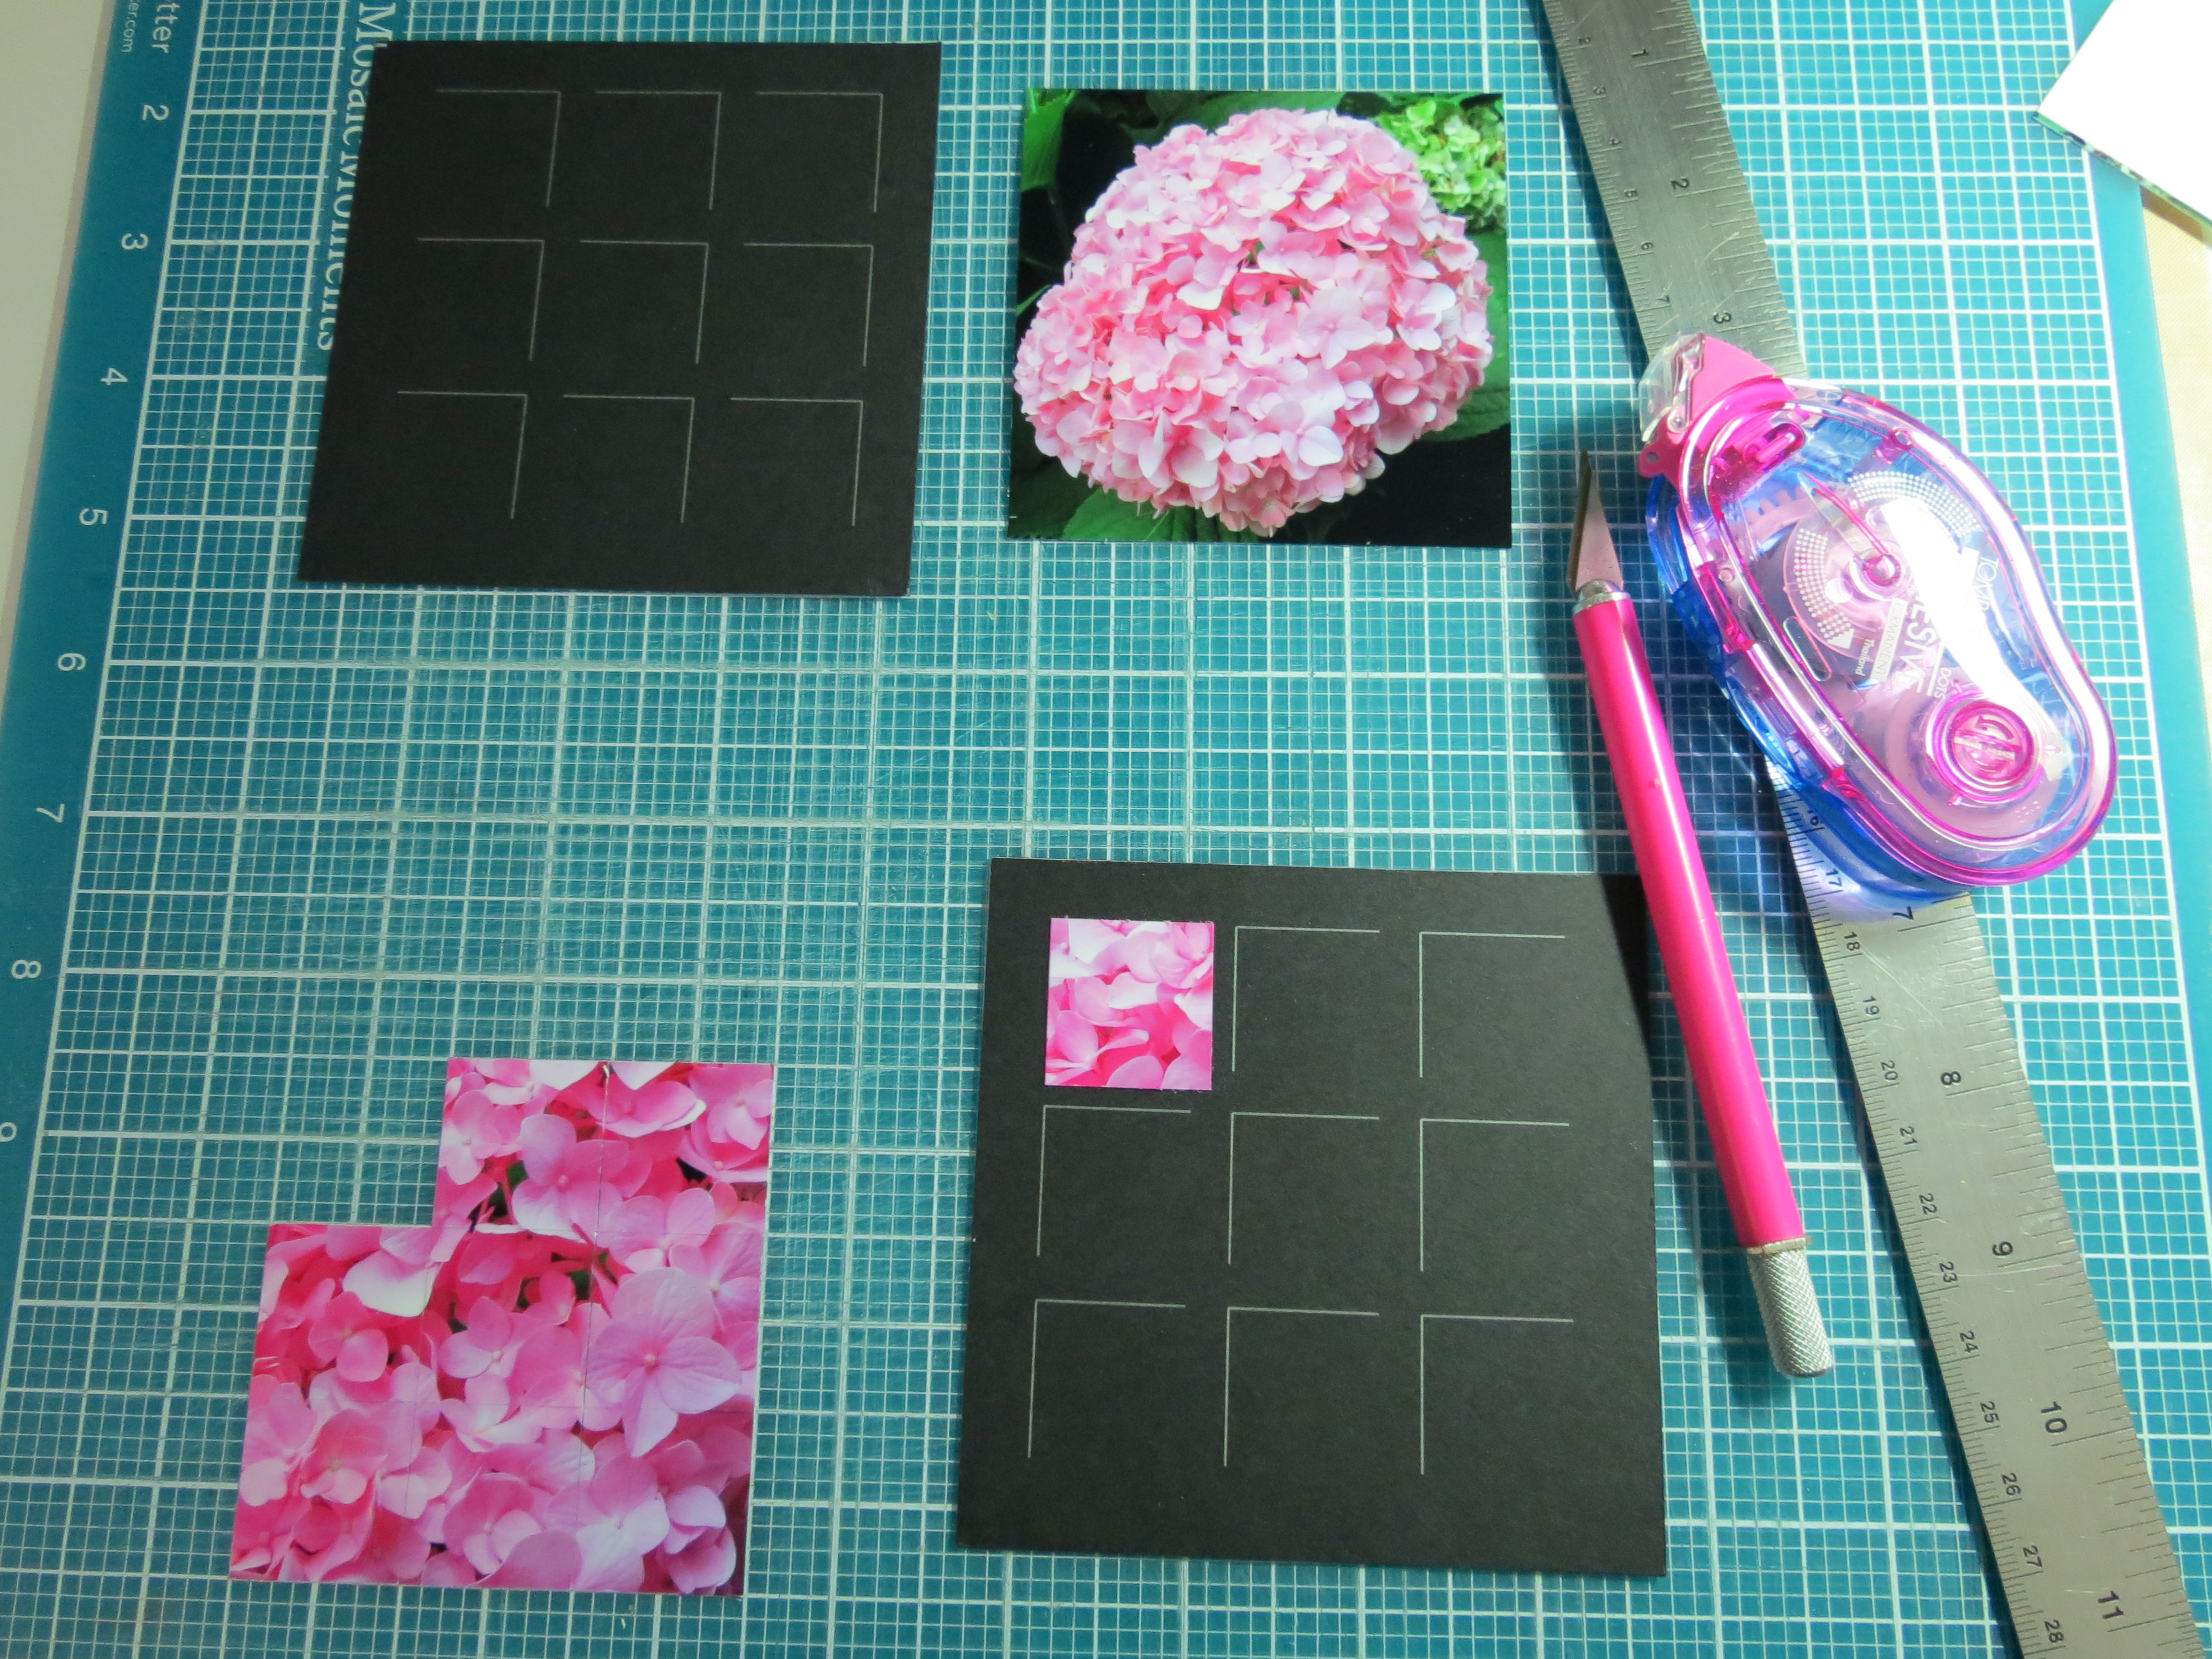
Dividing 3″x3″ square into nine 1″ squares.
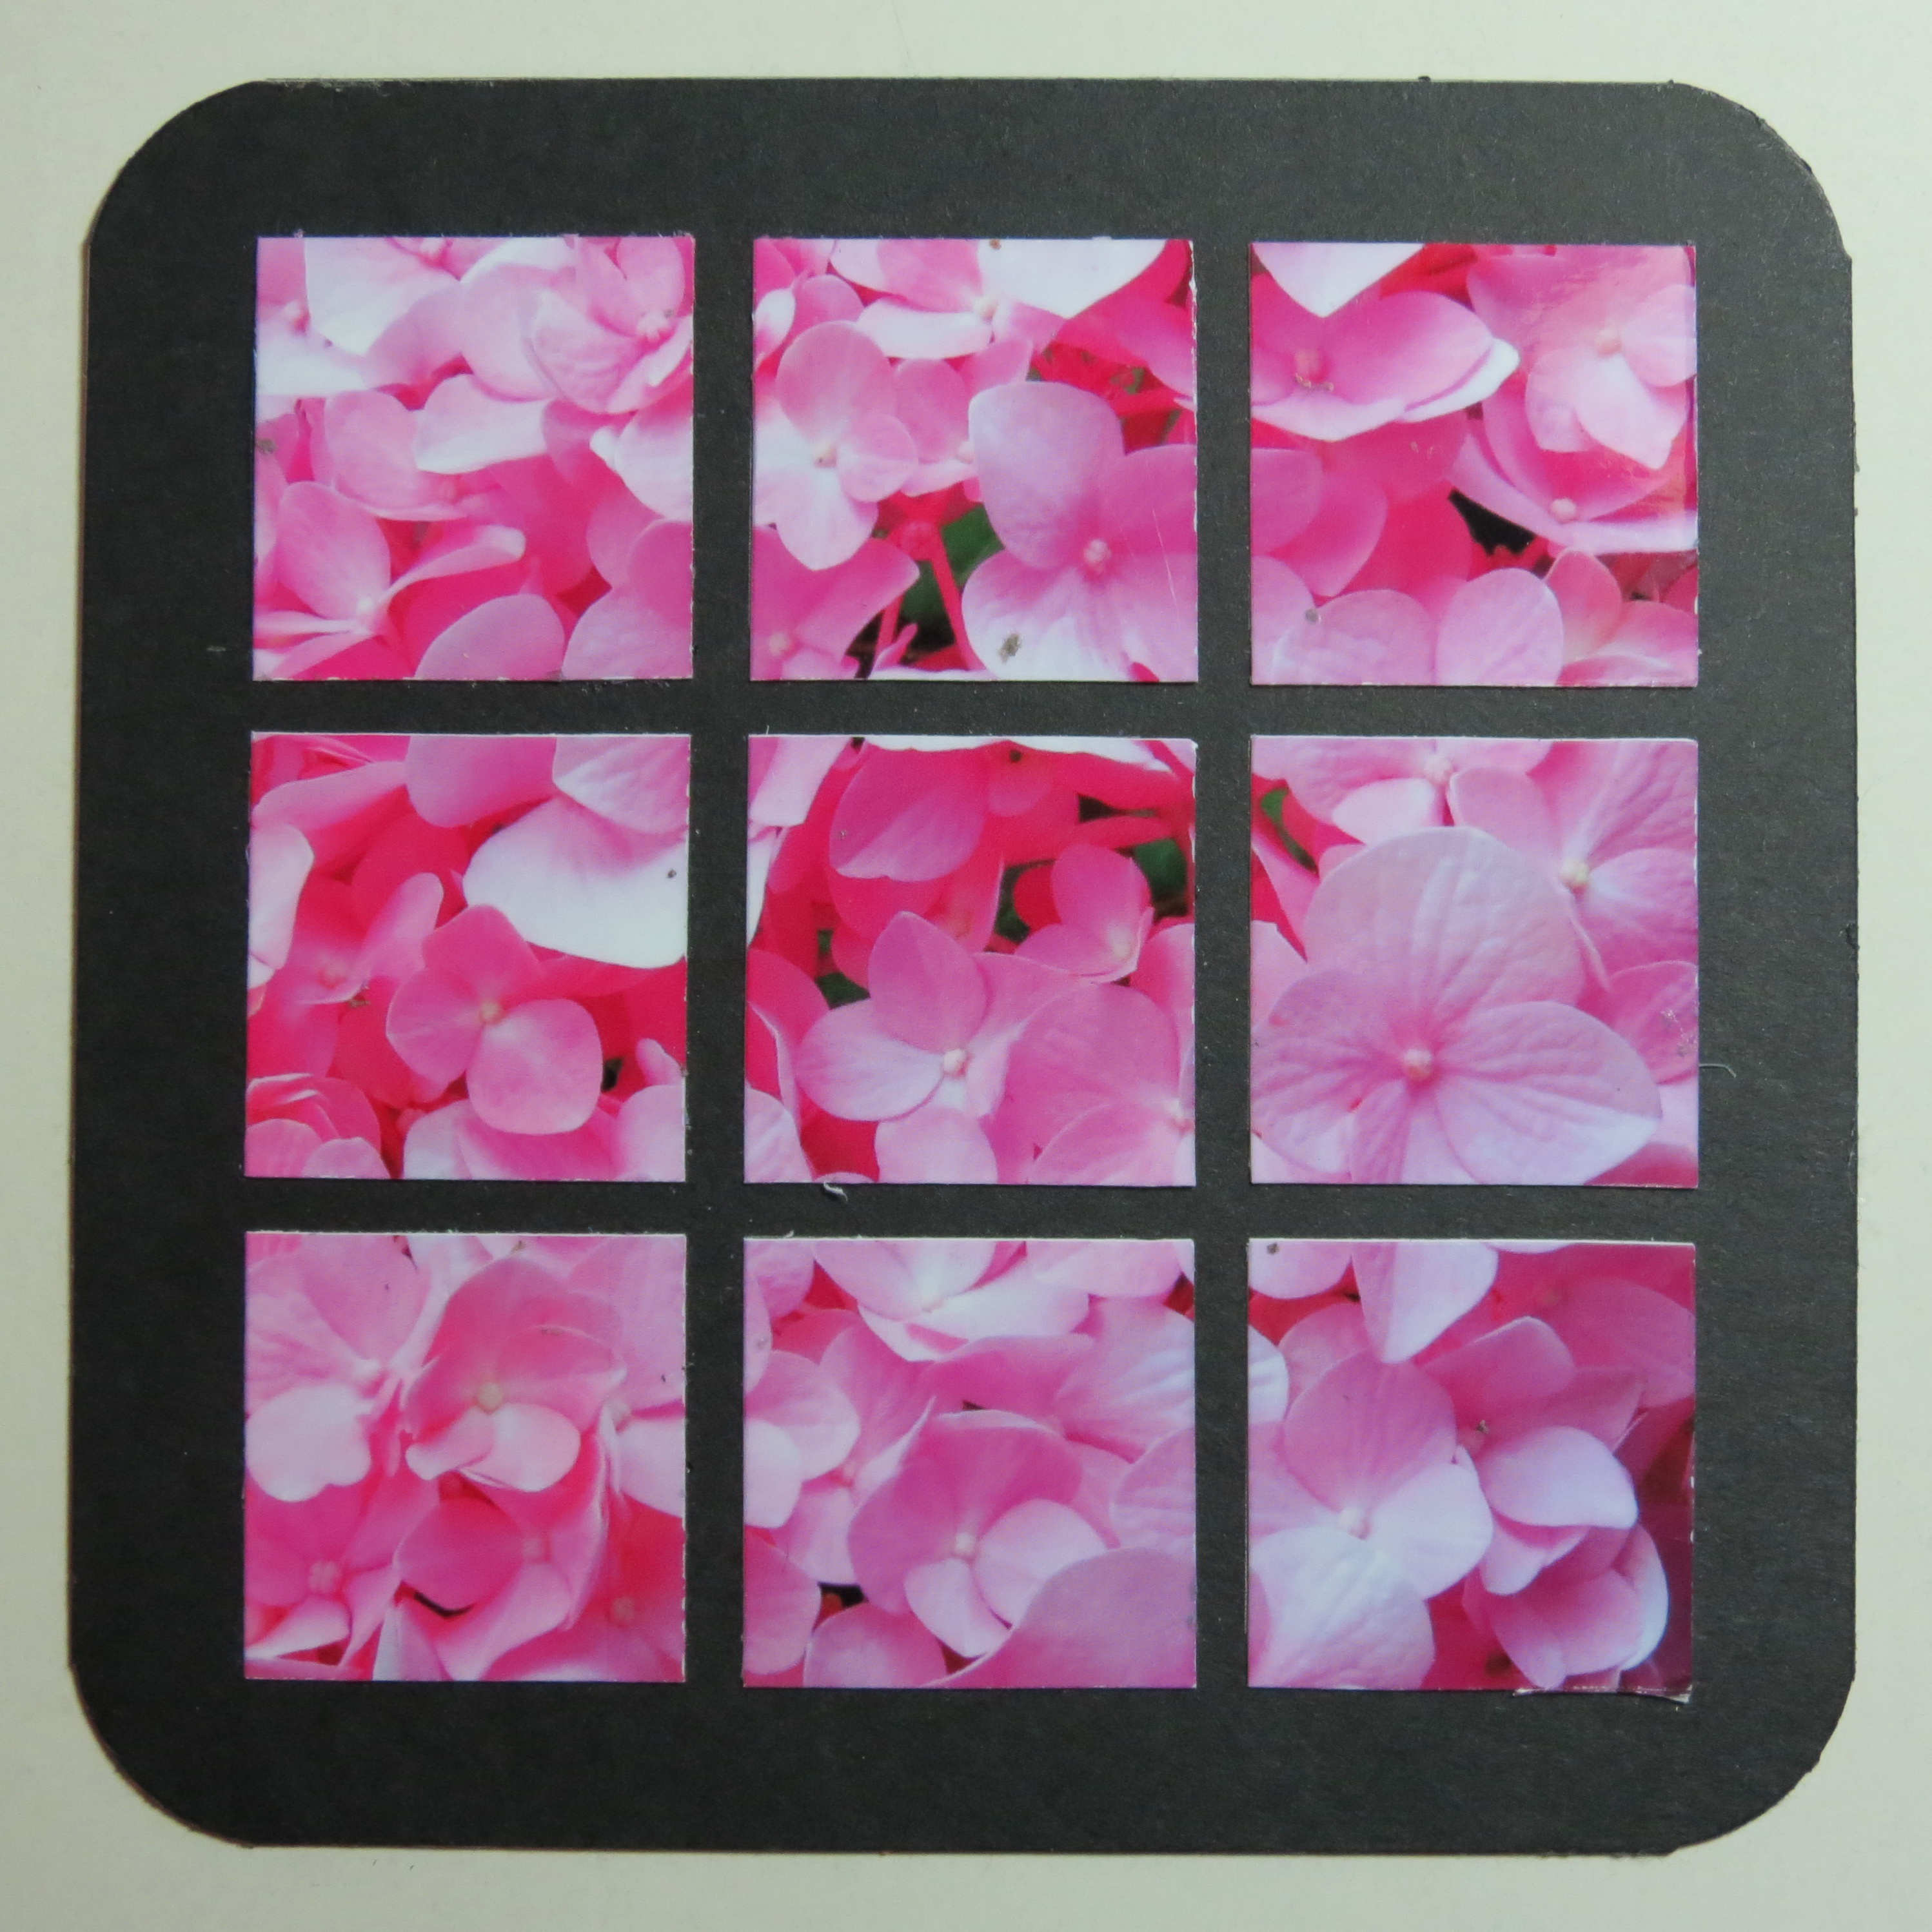
Next I selected a few of my favorite photos of flowers and cropped them to a 3” square and then divided into nine 1” squares and applied to the grid. I finished the grid by using a corner rounding punch. Now my Mum can have flowers on her fridge all year long!

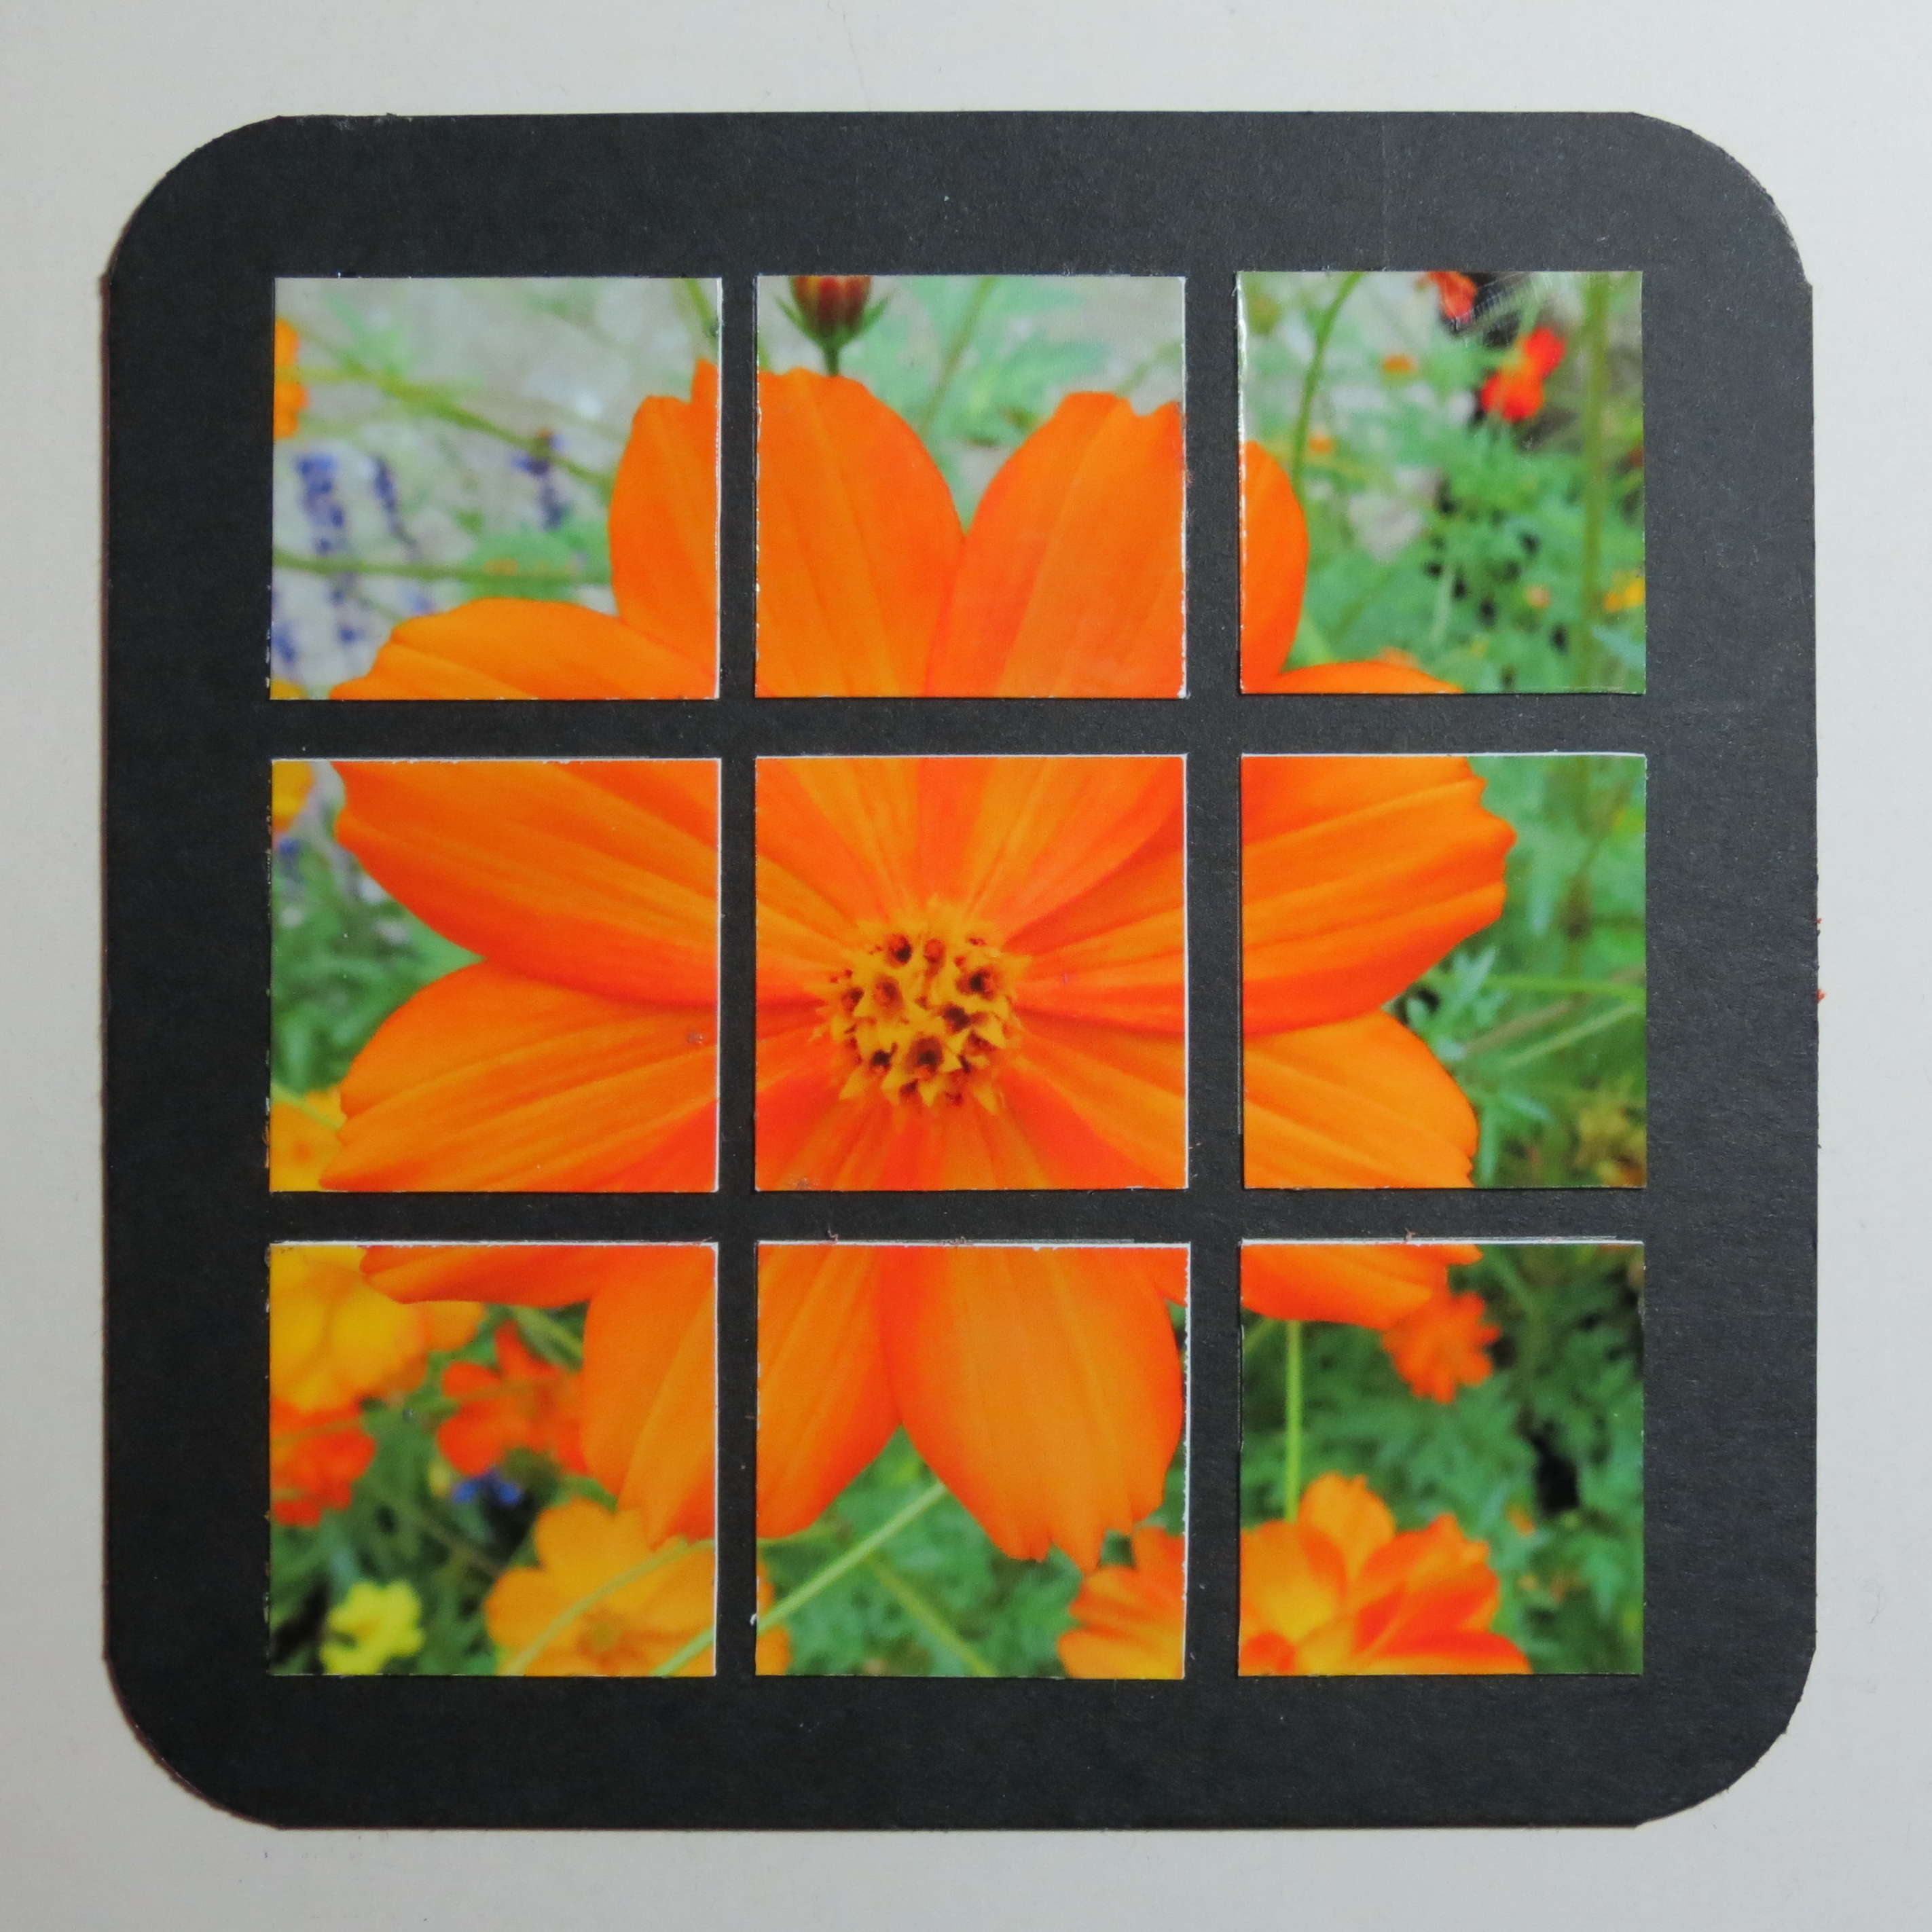
I hope this has sparked your imagination!
We have a variety of sizes to choose from in addition to the ones I’ve used here like the 6×6 or 8.5 x 11. It really is a quick project and the possibilities are numerous! Have fun!
Andrea Fisher