
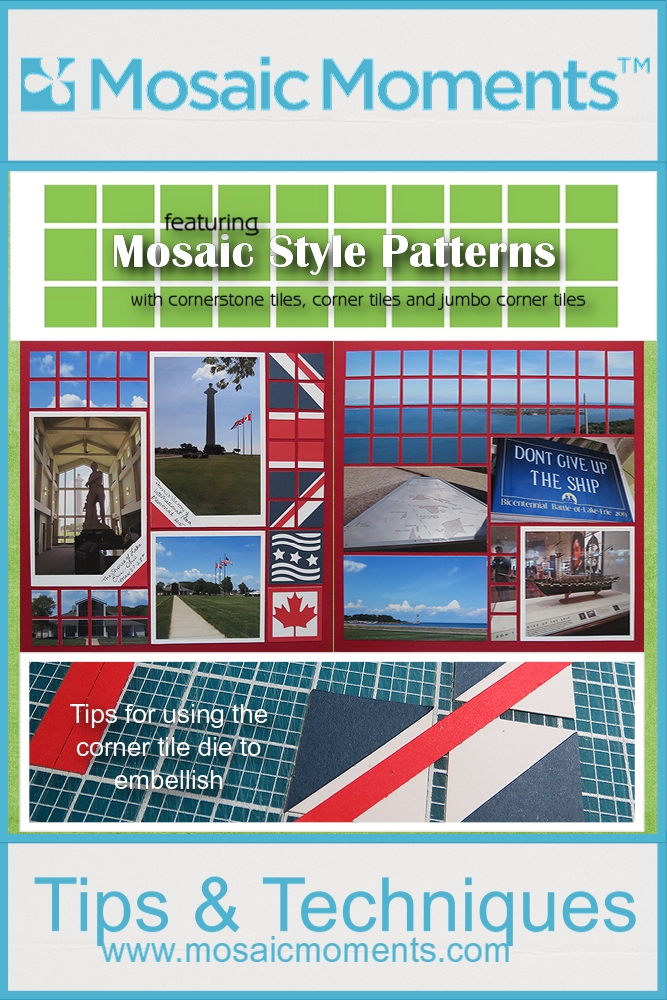
Featuring the Corner Tile Die
Also featuring: jumbo corner tiles, cornerstone tiles and the 4×6-1” die
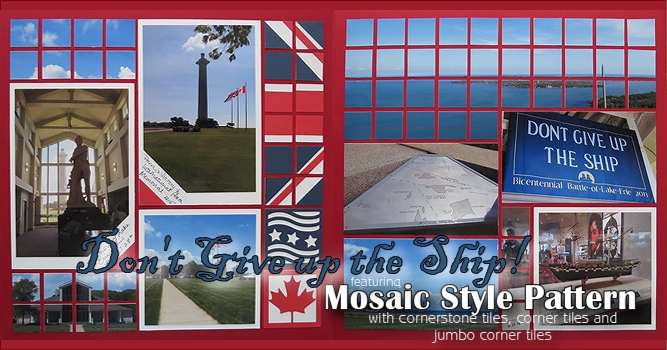
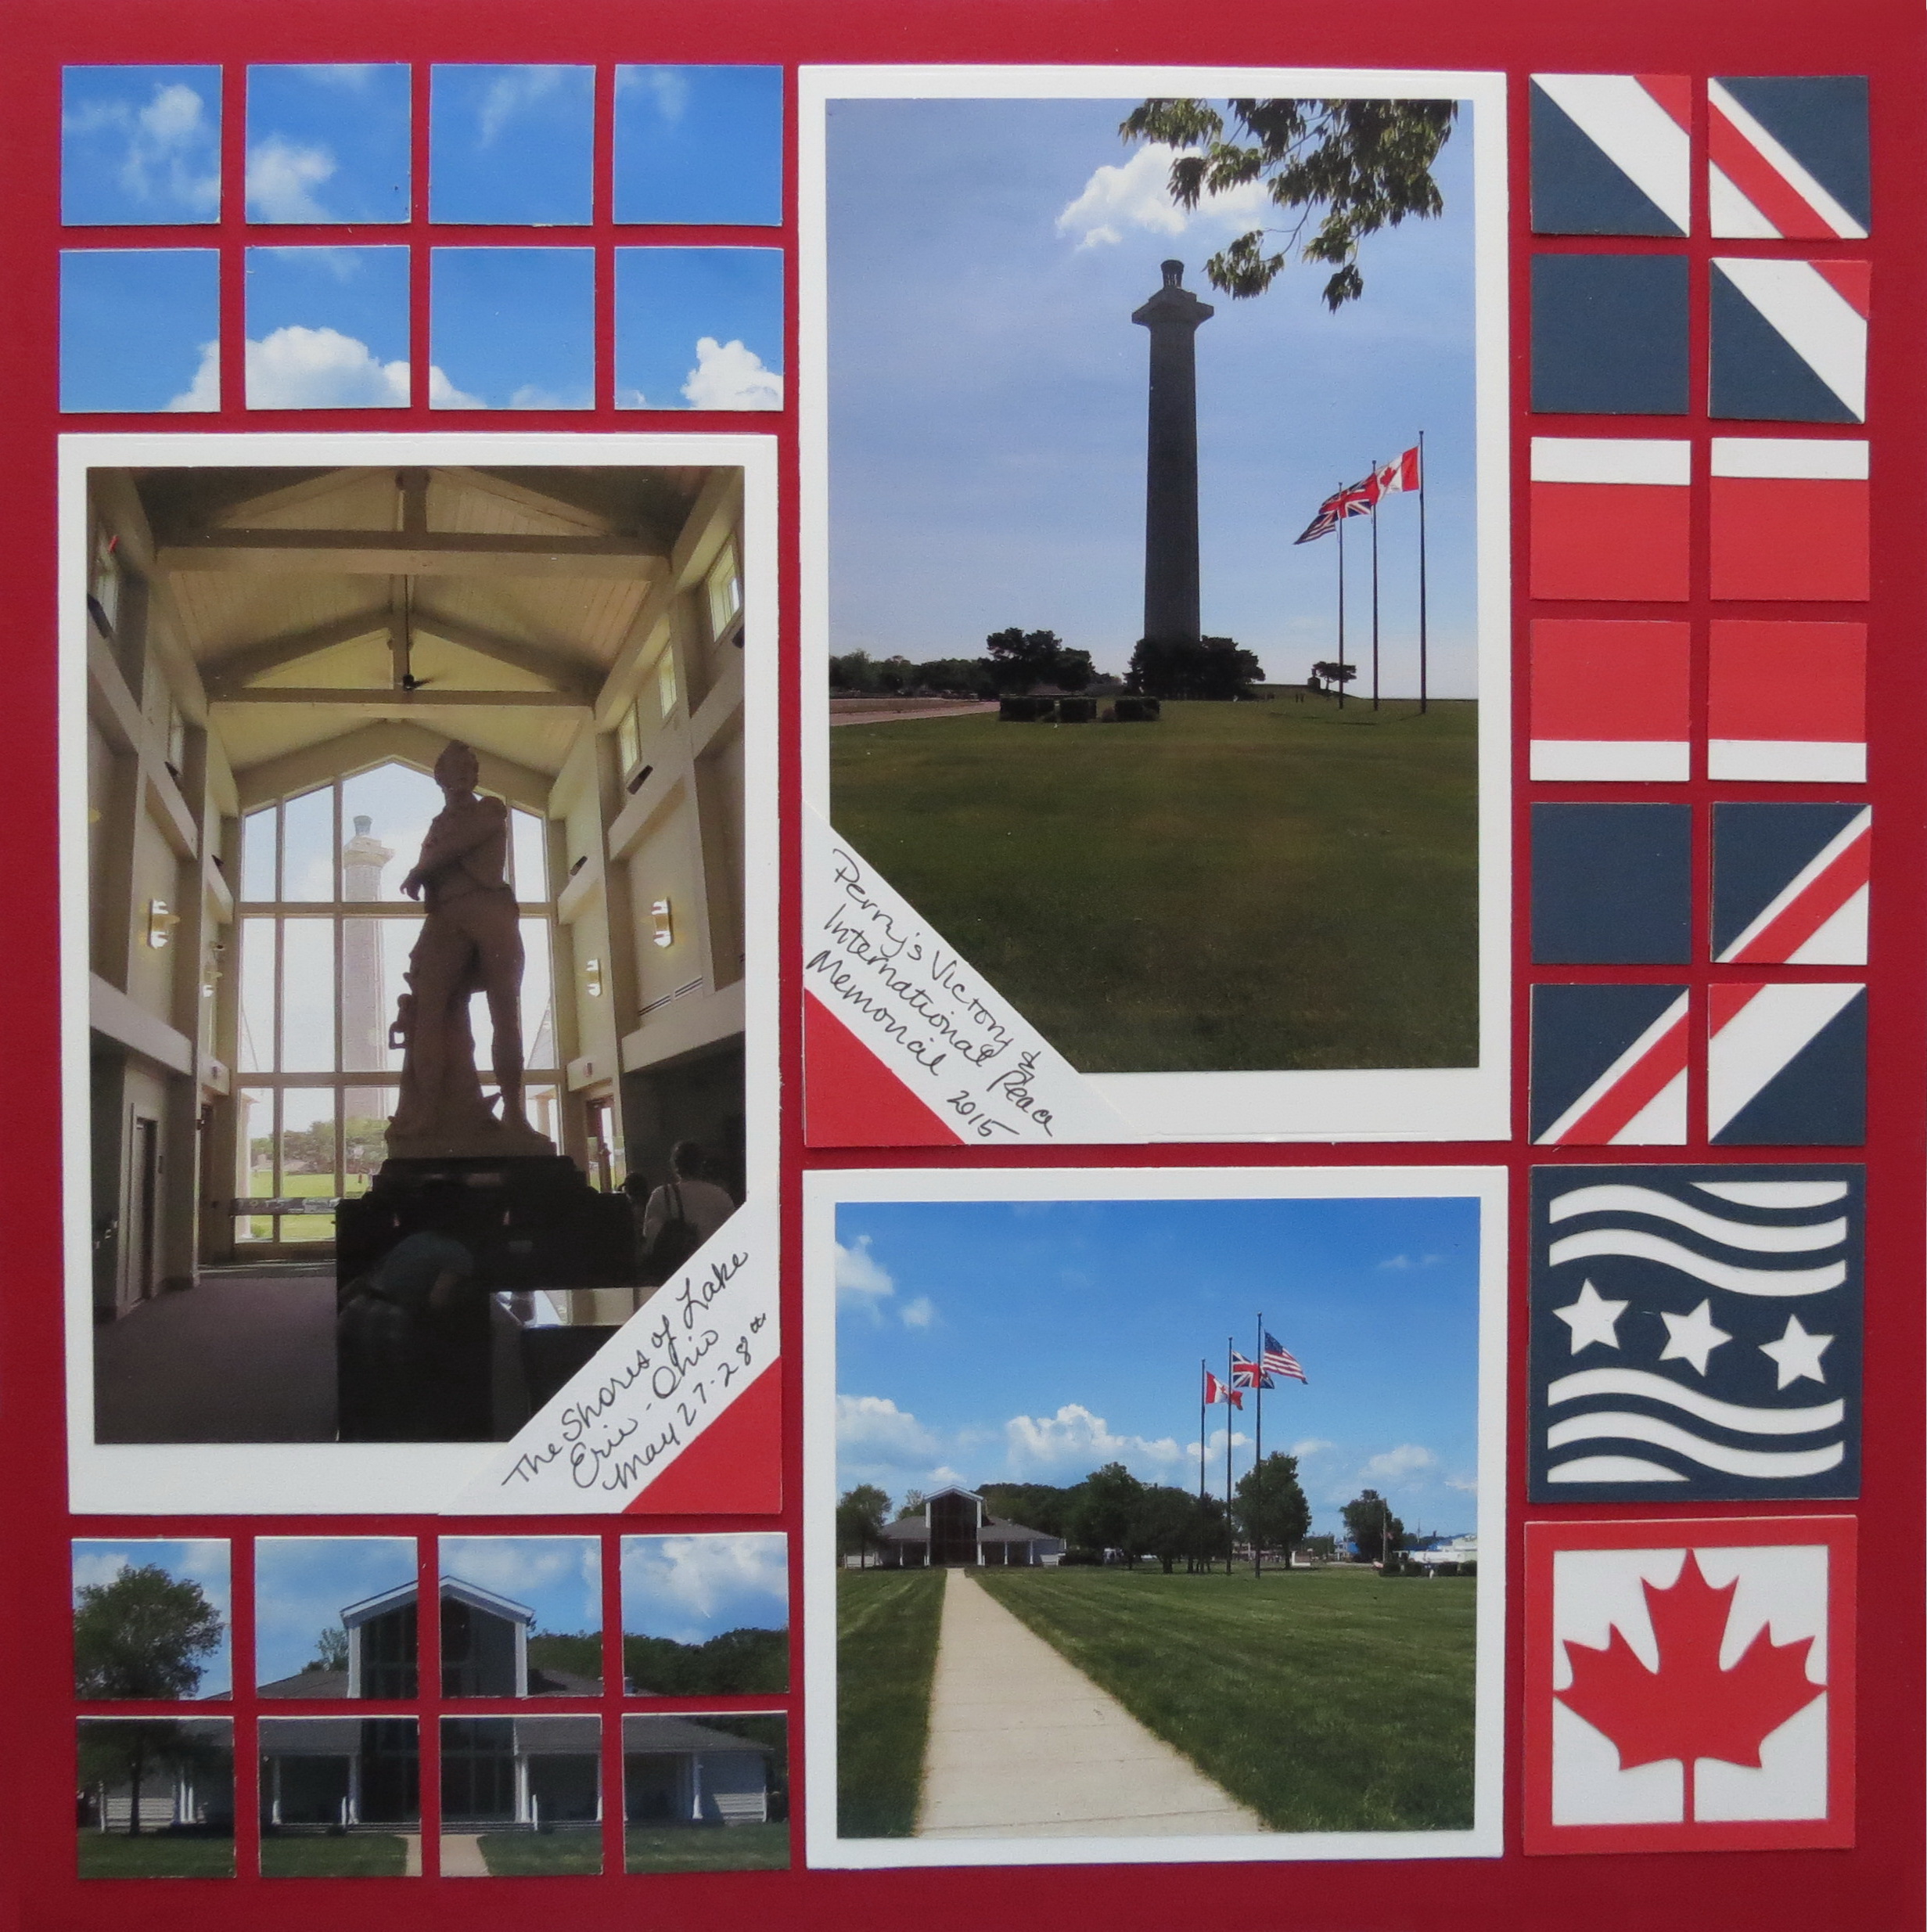
Don’t Give up the Ship in Red, White and Blue… mosaic style.
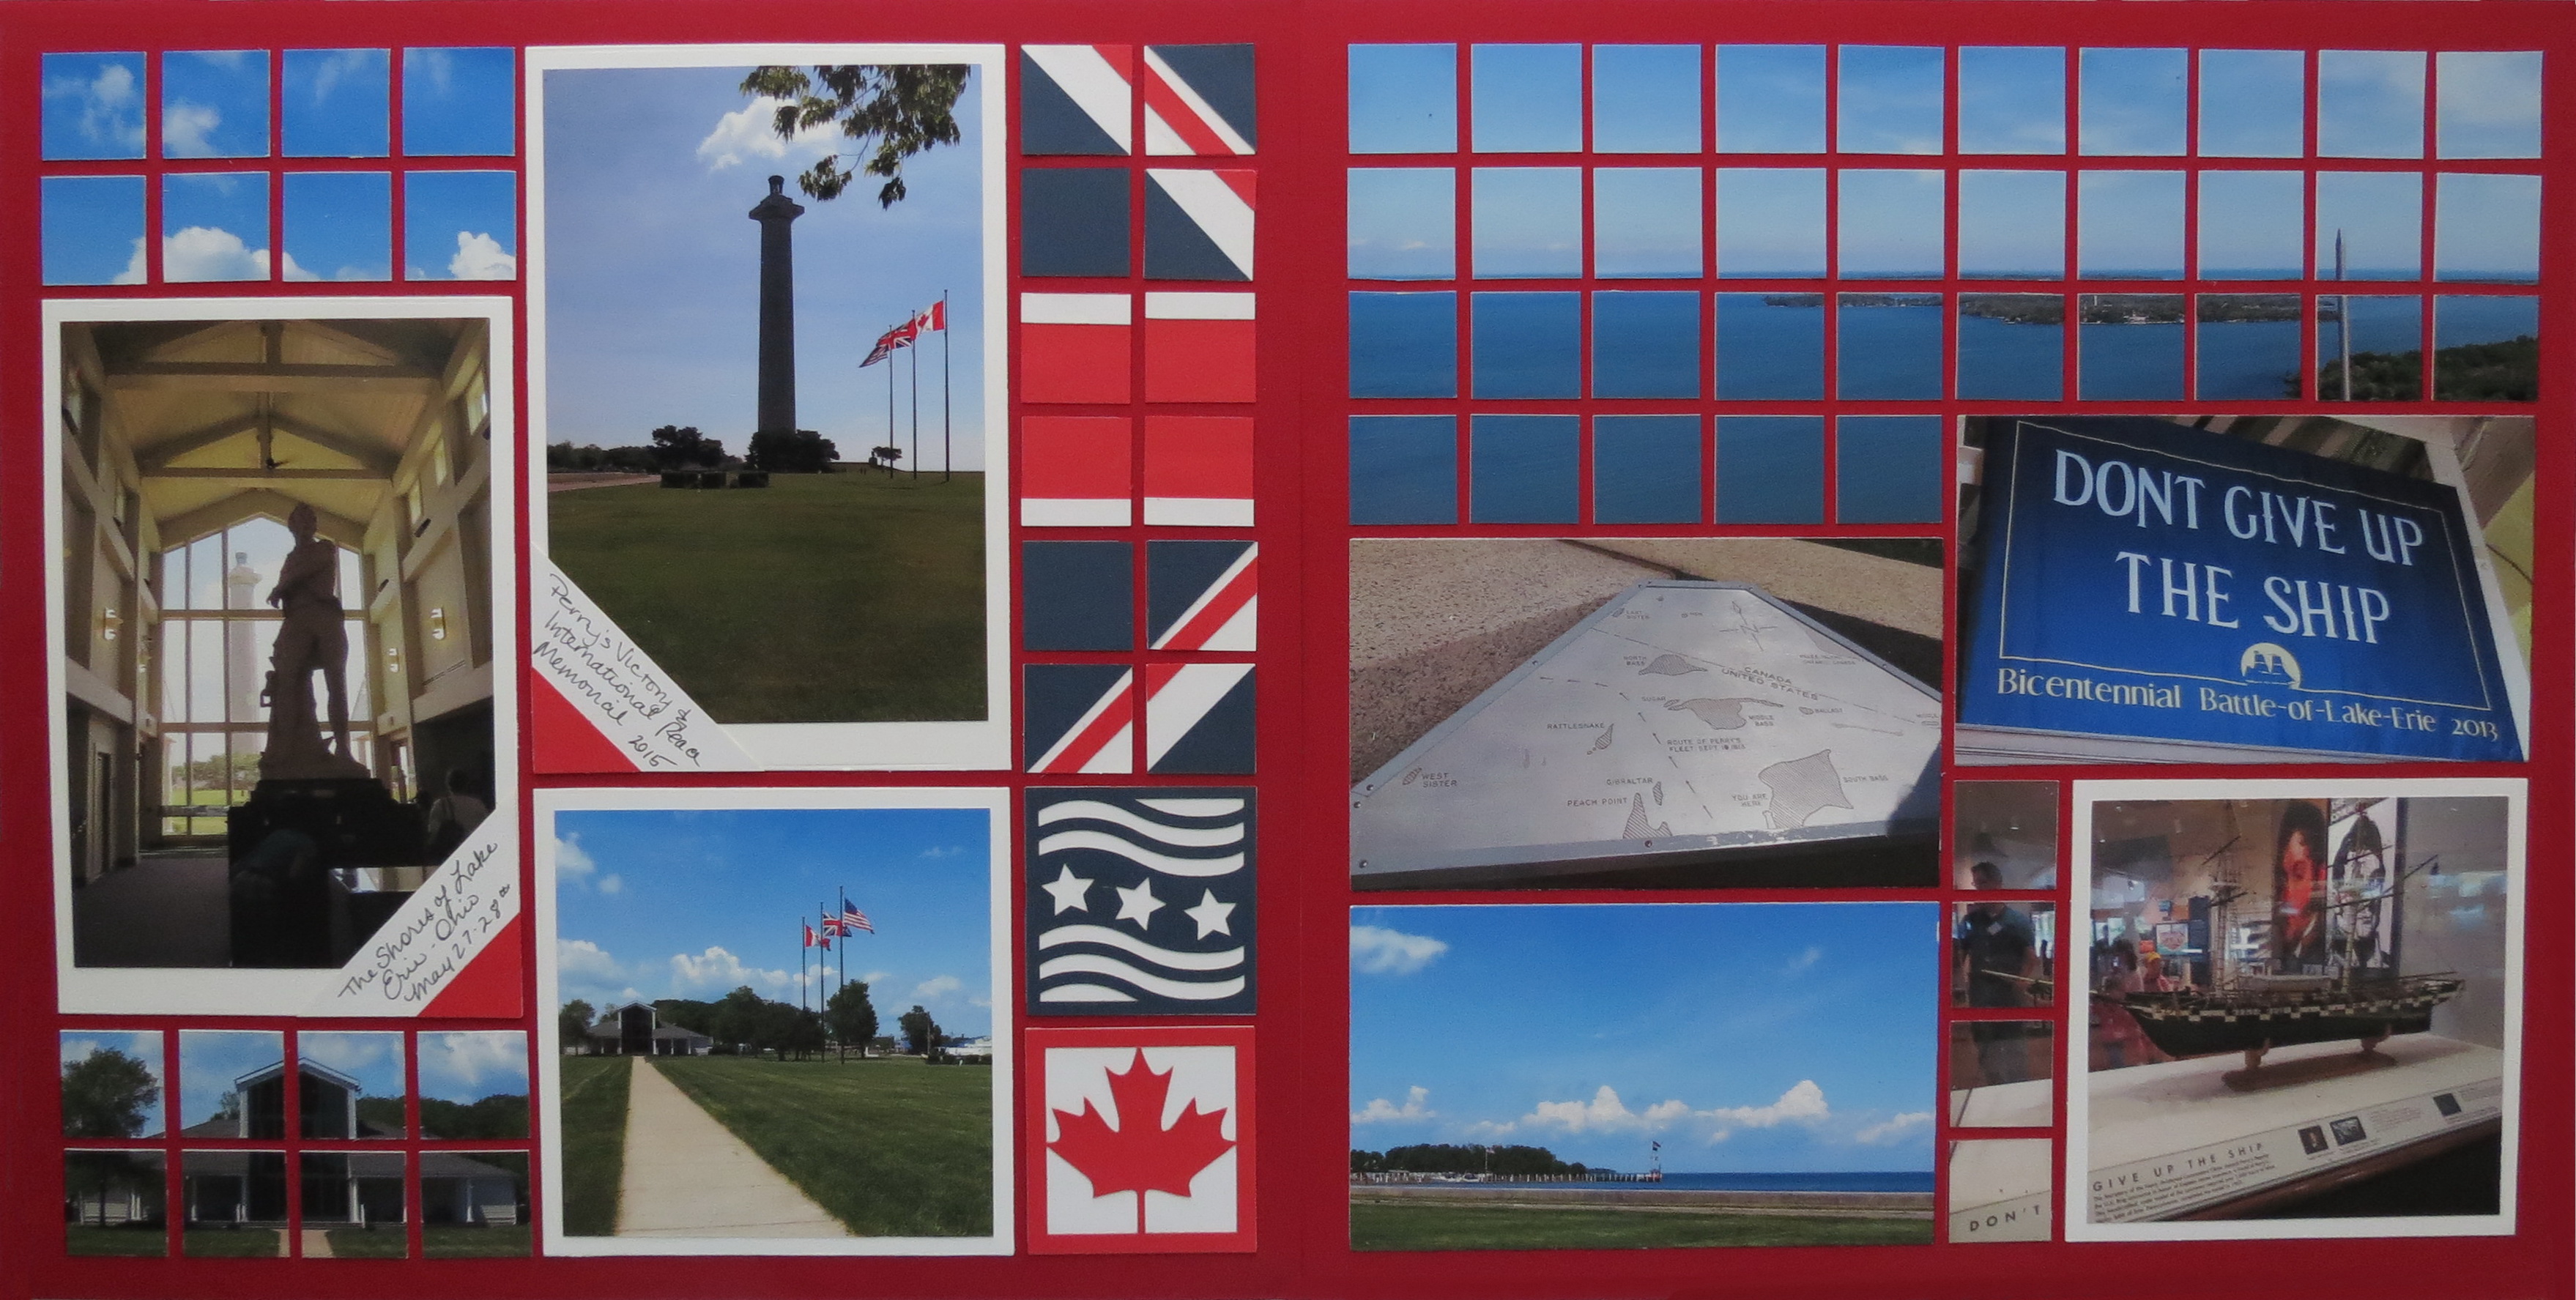
The featured pattern style this week is the Mosaic Style presented in patterns #105 and #119, and because it’s still July, I’ll be making this another red, white and blue layout. While not necessarily a patriotic theme, it is about an historic naval battle that I think deserves to have a bit of color, and being nautical in nature, the color scheme suits it well. History is colorful after all! This is a part of a mini-vacation I managed to squeeze into my schedule recently.
Mosaic Moments Pattern # 105
Mosaic Moments Pattern #119
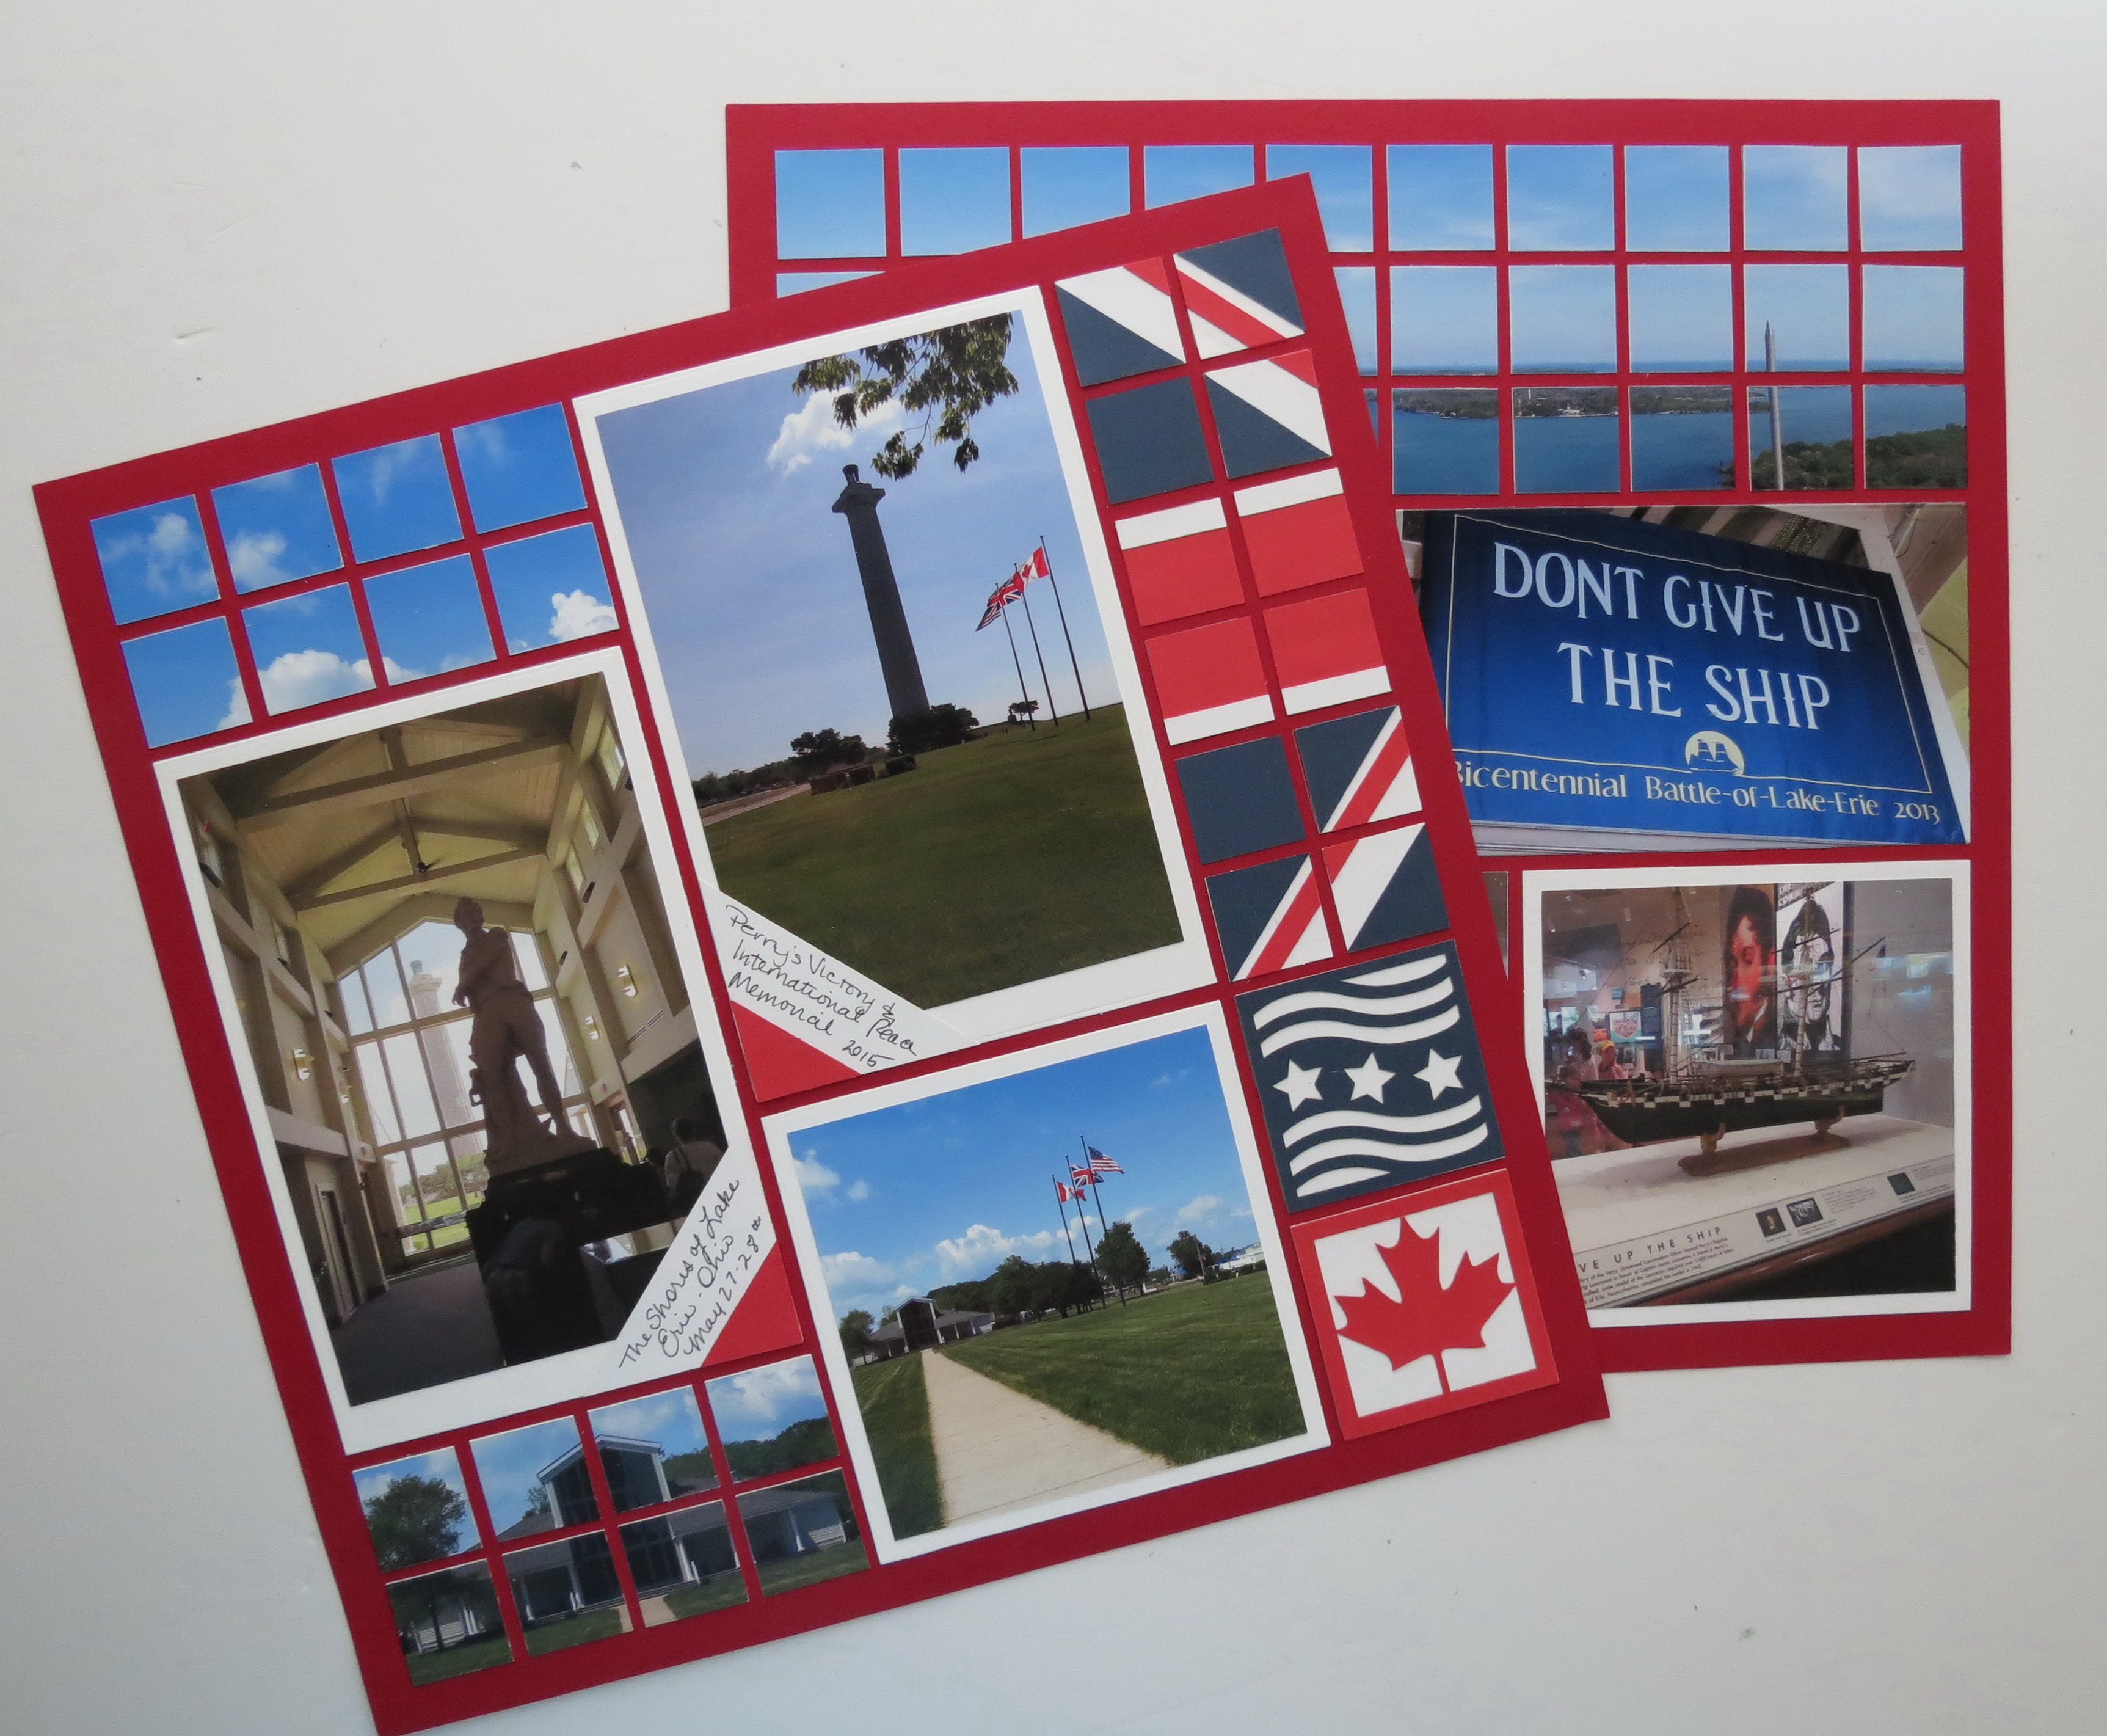
Mosaic Style Patterns “Don’t Give up the Ship”
You will find that the Mosaic Style patterns are very versatile and can accommodate many photos blended together, or they can be a place to play with paper design. This layout’s mosaics will include a spectacular panoramic aerial view of the Lake Erie and Islands involved in the battle taken from the top of the monument. There is also some paper piecing in another mosaic section to create a flag and finally a mosaic section with photos.

Mosaic Style Patterns supplies: grid paper, MM dies, cornerstones, jumbo tiles,
Mosaic Moments Supplies Used:
• Mosaic Moments 12×12 Grid in Brick
• Die Sets A, B and 4×6-1” square die, corner tile die
• Jumbo Corner Tiles: white
• Cornerstone Tiles: maple Leaf, stars-n-stripes
• Cardstock in red, white and blue for mats, tiles and corners or paper tiles
Mosaic Style Patterns page one creating an embellishment in the mosaic section
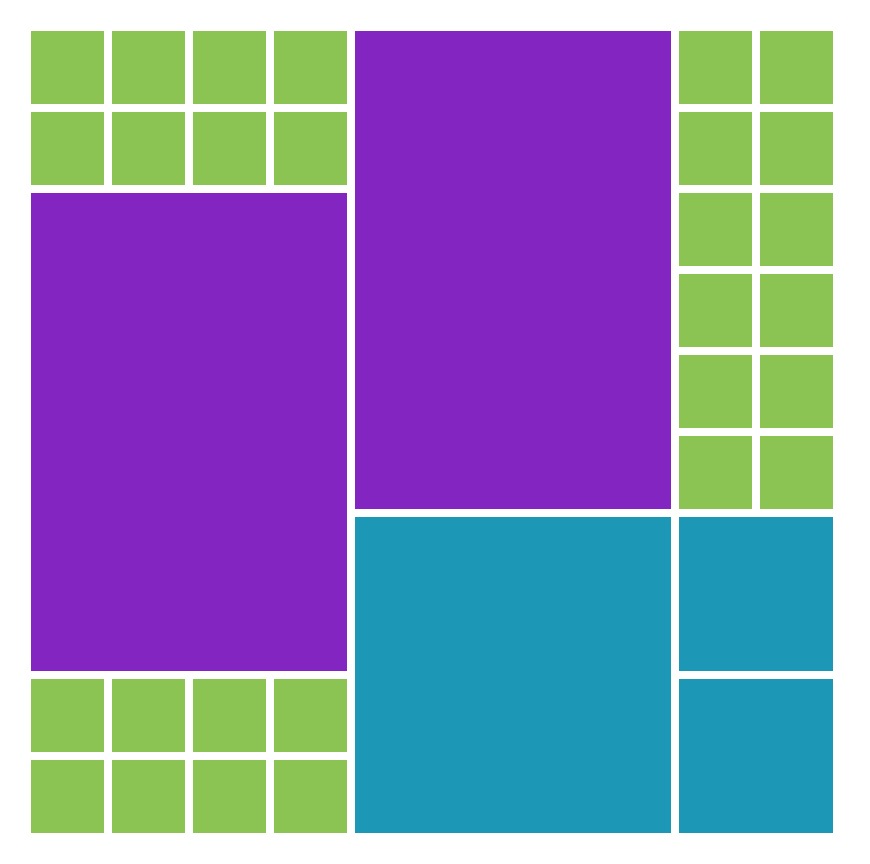
Let’s begin with the first page with Pattern #105. There are two spots for 4×6 matted photos, one 4×4 square, two 2×2 squares and 3 mosaic sections. The original plan was to use each of the mosaic sections to create flags of each of the countries involved. However, it occurred to me that we have two cornerstone tiles that would be perfect for the 2×2 squares, the red maple leaf of the current Canadian flag and the stars and stripes to represent the USA. The Union Jack of Britain would be fun to do with 1” squares and corner tiles with a few paper tiles cut into strips to help create the design.
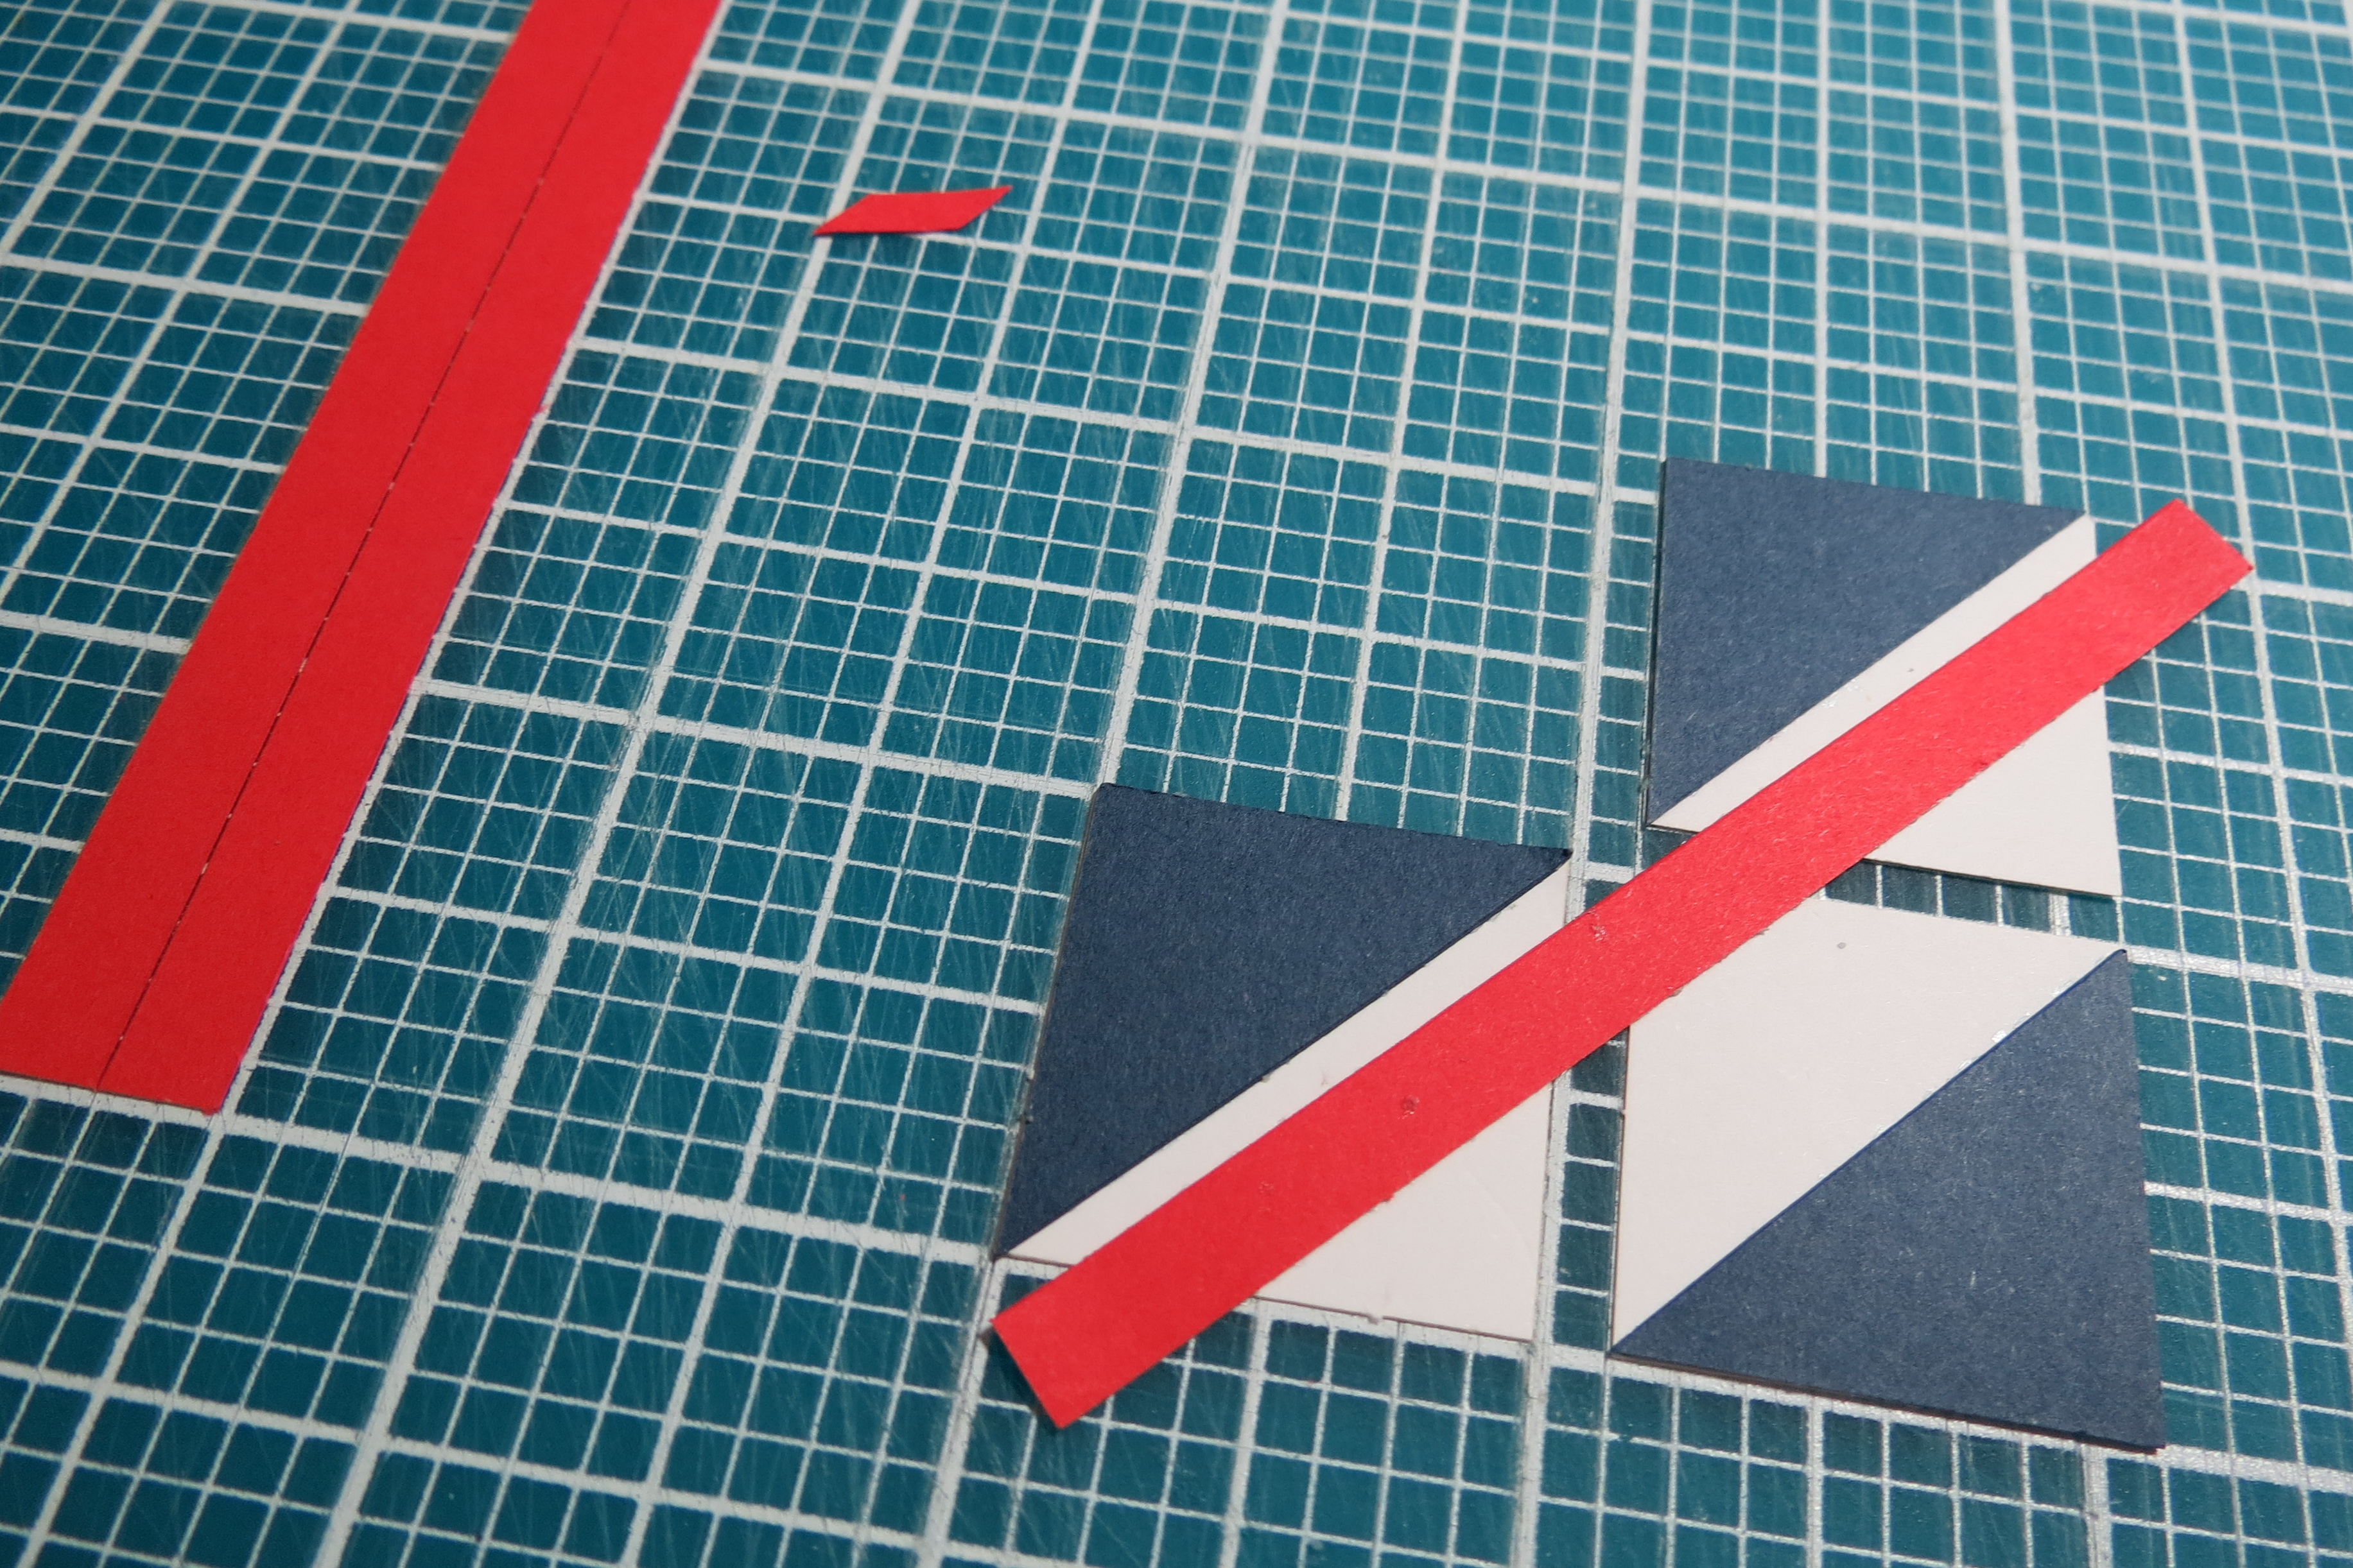
Technique Creating the Union Jack:
• 6-Navy corner tiles
• 2-Navy 1” tiles
• 6-White 1” tiles
• 4-Red 1” tiles
• Red 1×4 paper tile cut into ¼” strips
• White 1” paper tile cut into ¼” strips
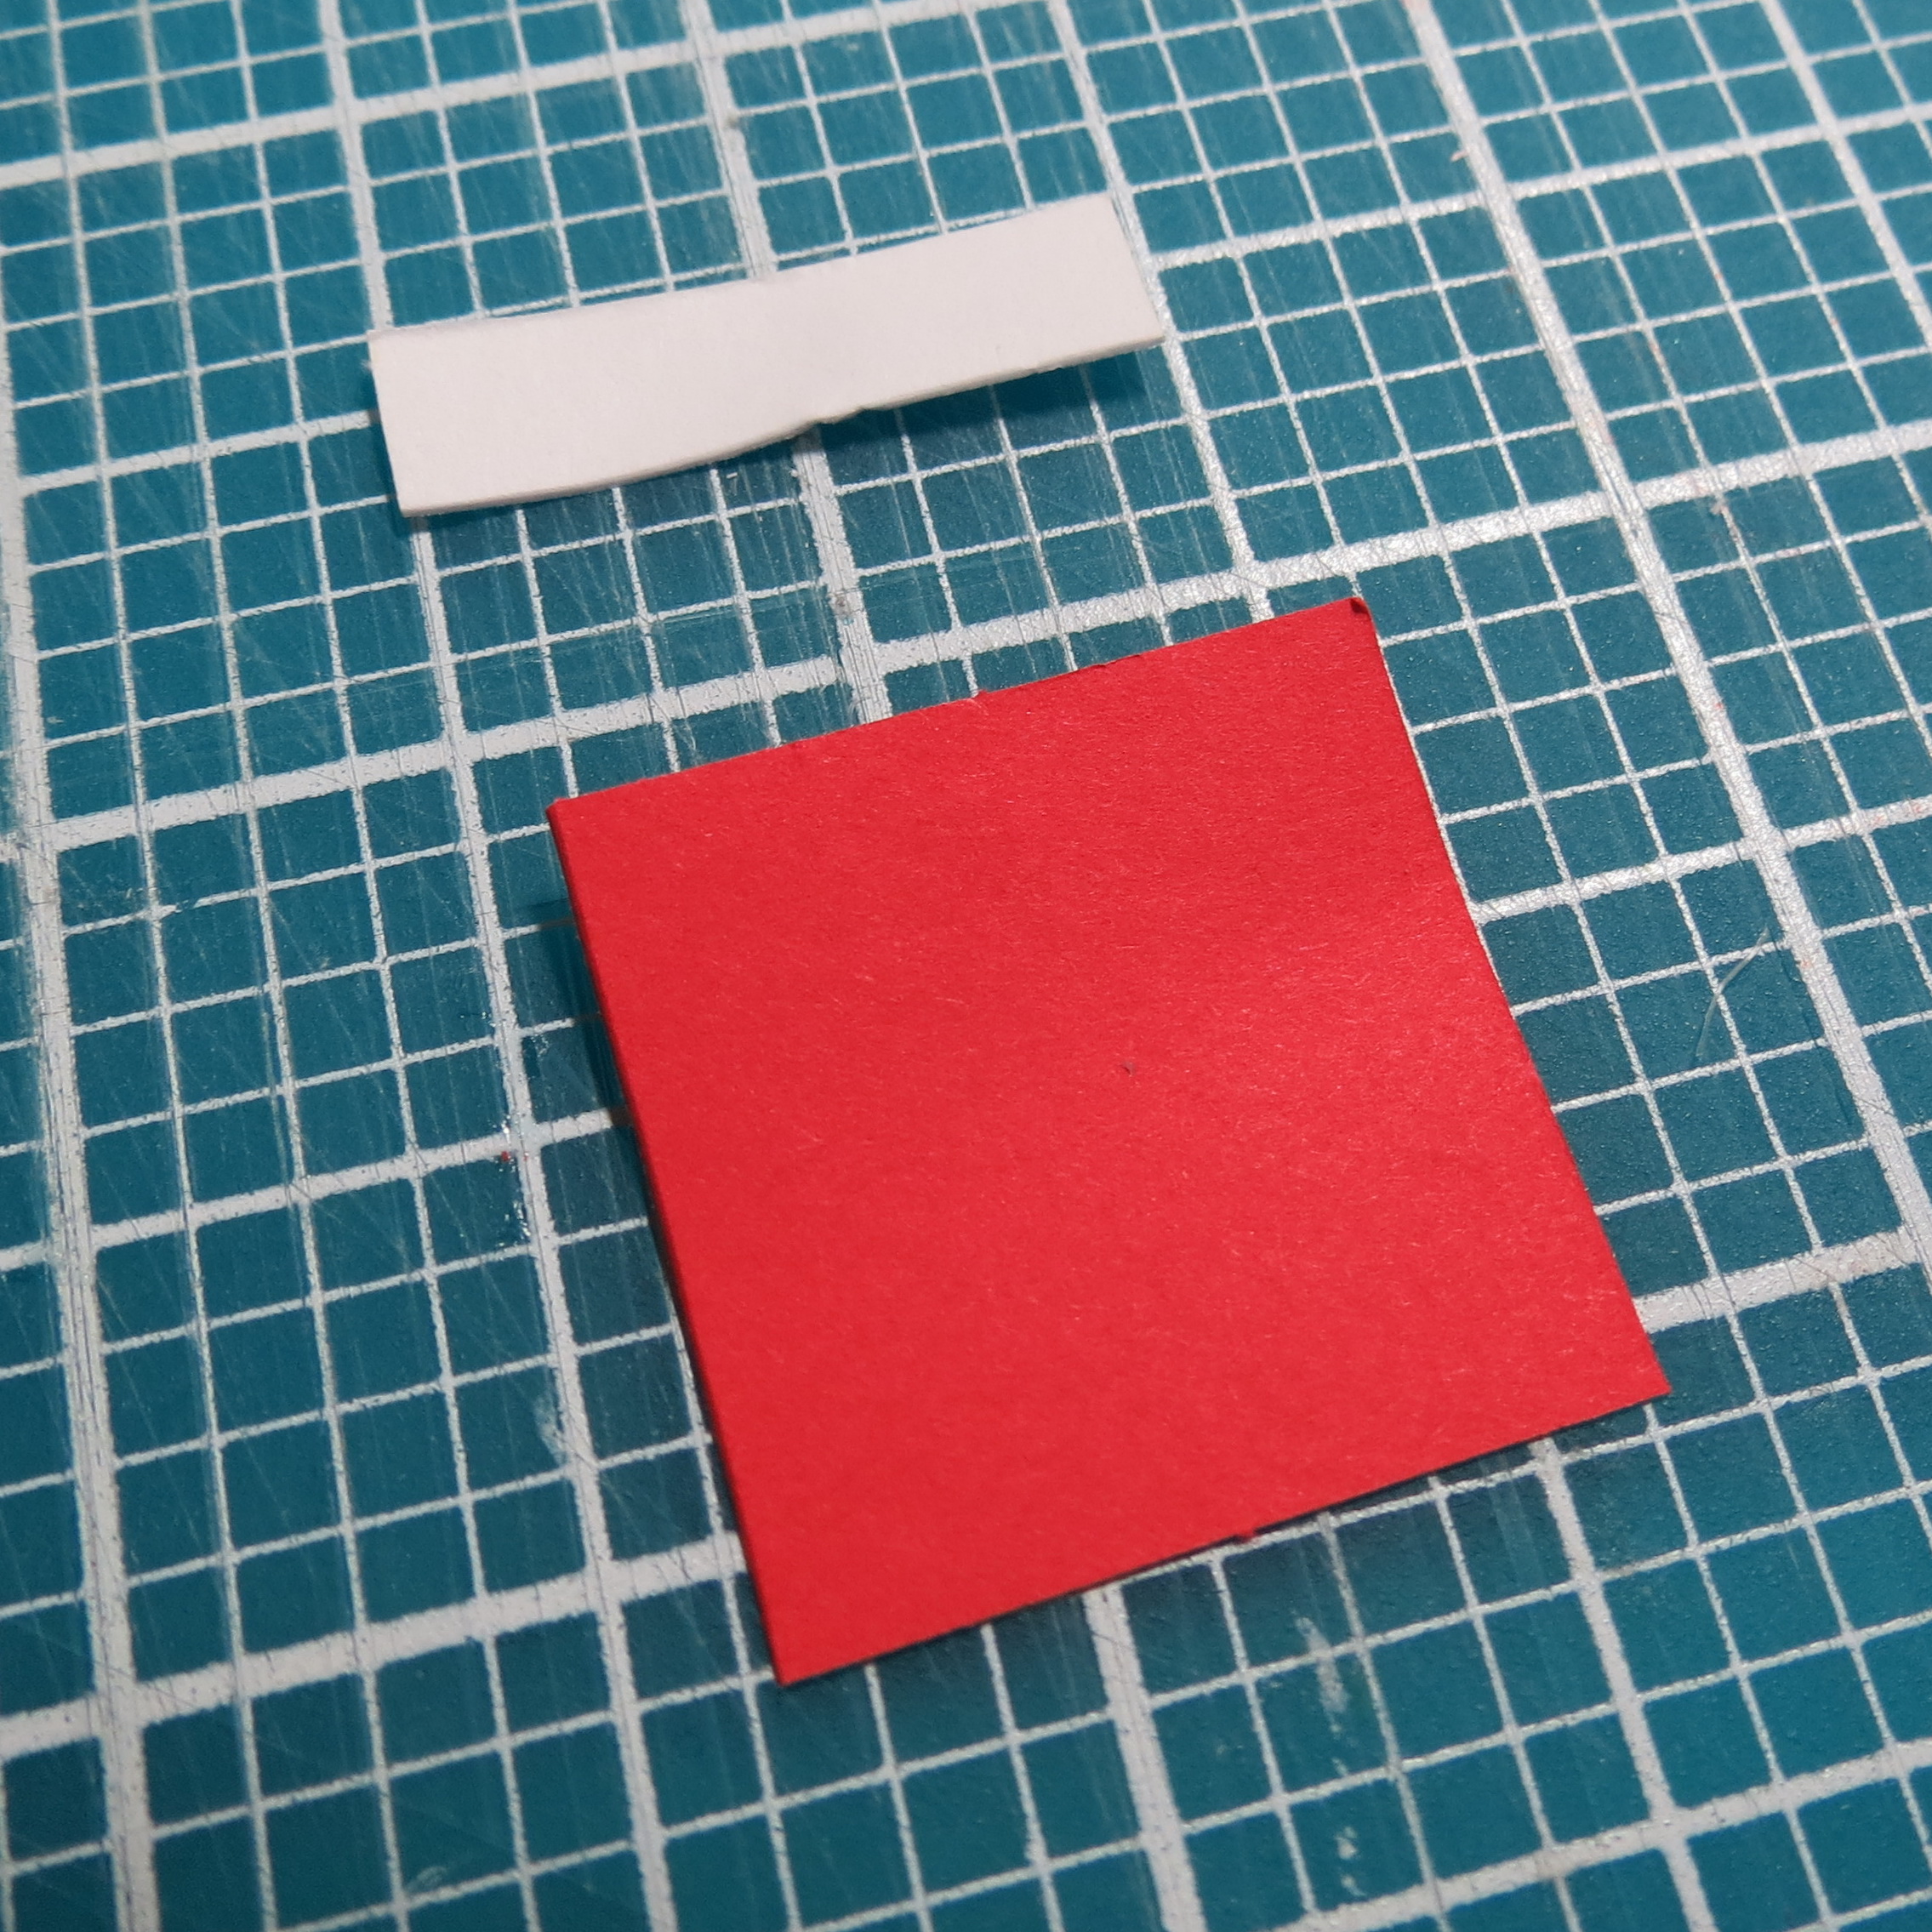
The center 4 grid sections are where the red 1” tiles are placed, adding the ¼” strips to the outside edge top and bottom. Add the two 1” navy tiles. Then add the navy corner tiles and work with the remaining white tiles on the cutting mat, spacing with 1/8” between the tiles. Take one of the ¼” red strips and line it up along the point on the center square and with a narrow space away from the blue corner tile. This will be for the bottom secton, for the top you need to have the red strip on the top side lining up with the outside squares points.

Pattern #105 detail
Mosaic Style Pattern #105 detail of Union Jack
Mosaic Style Pattern: center four red squares of the flag with 1/4″ strip detail
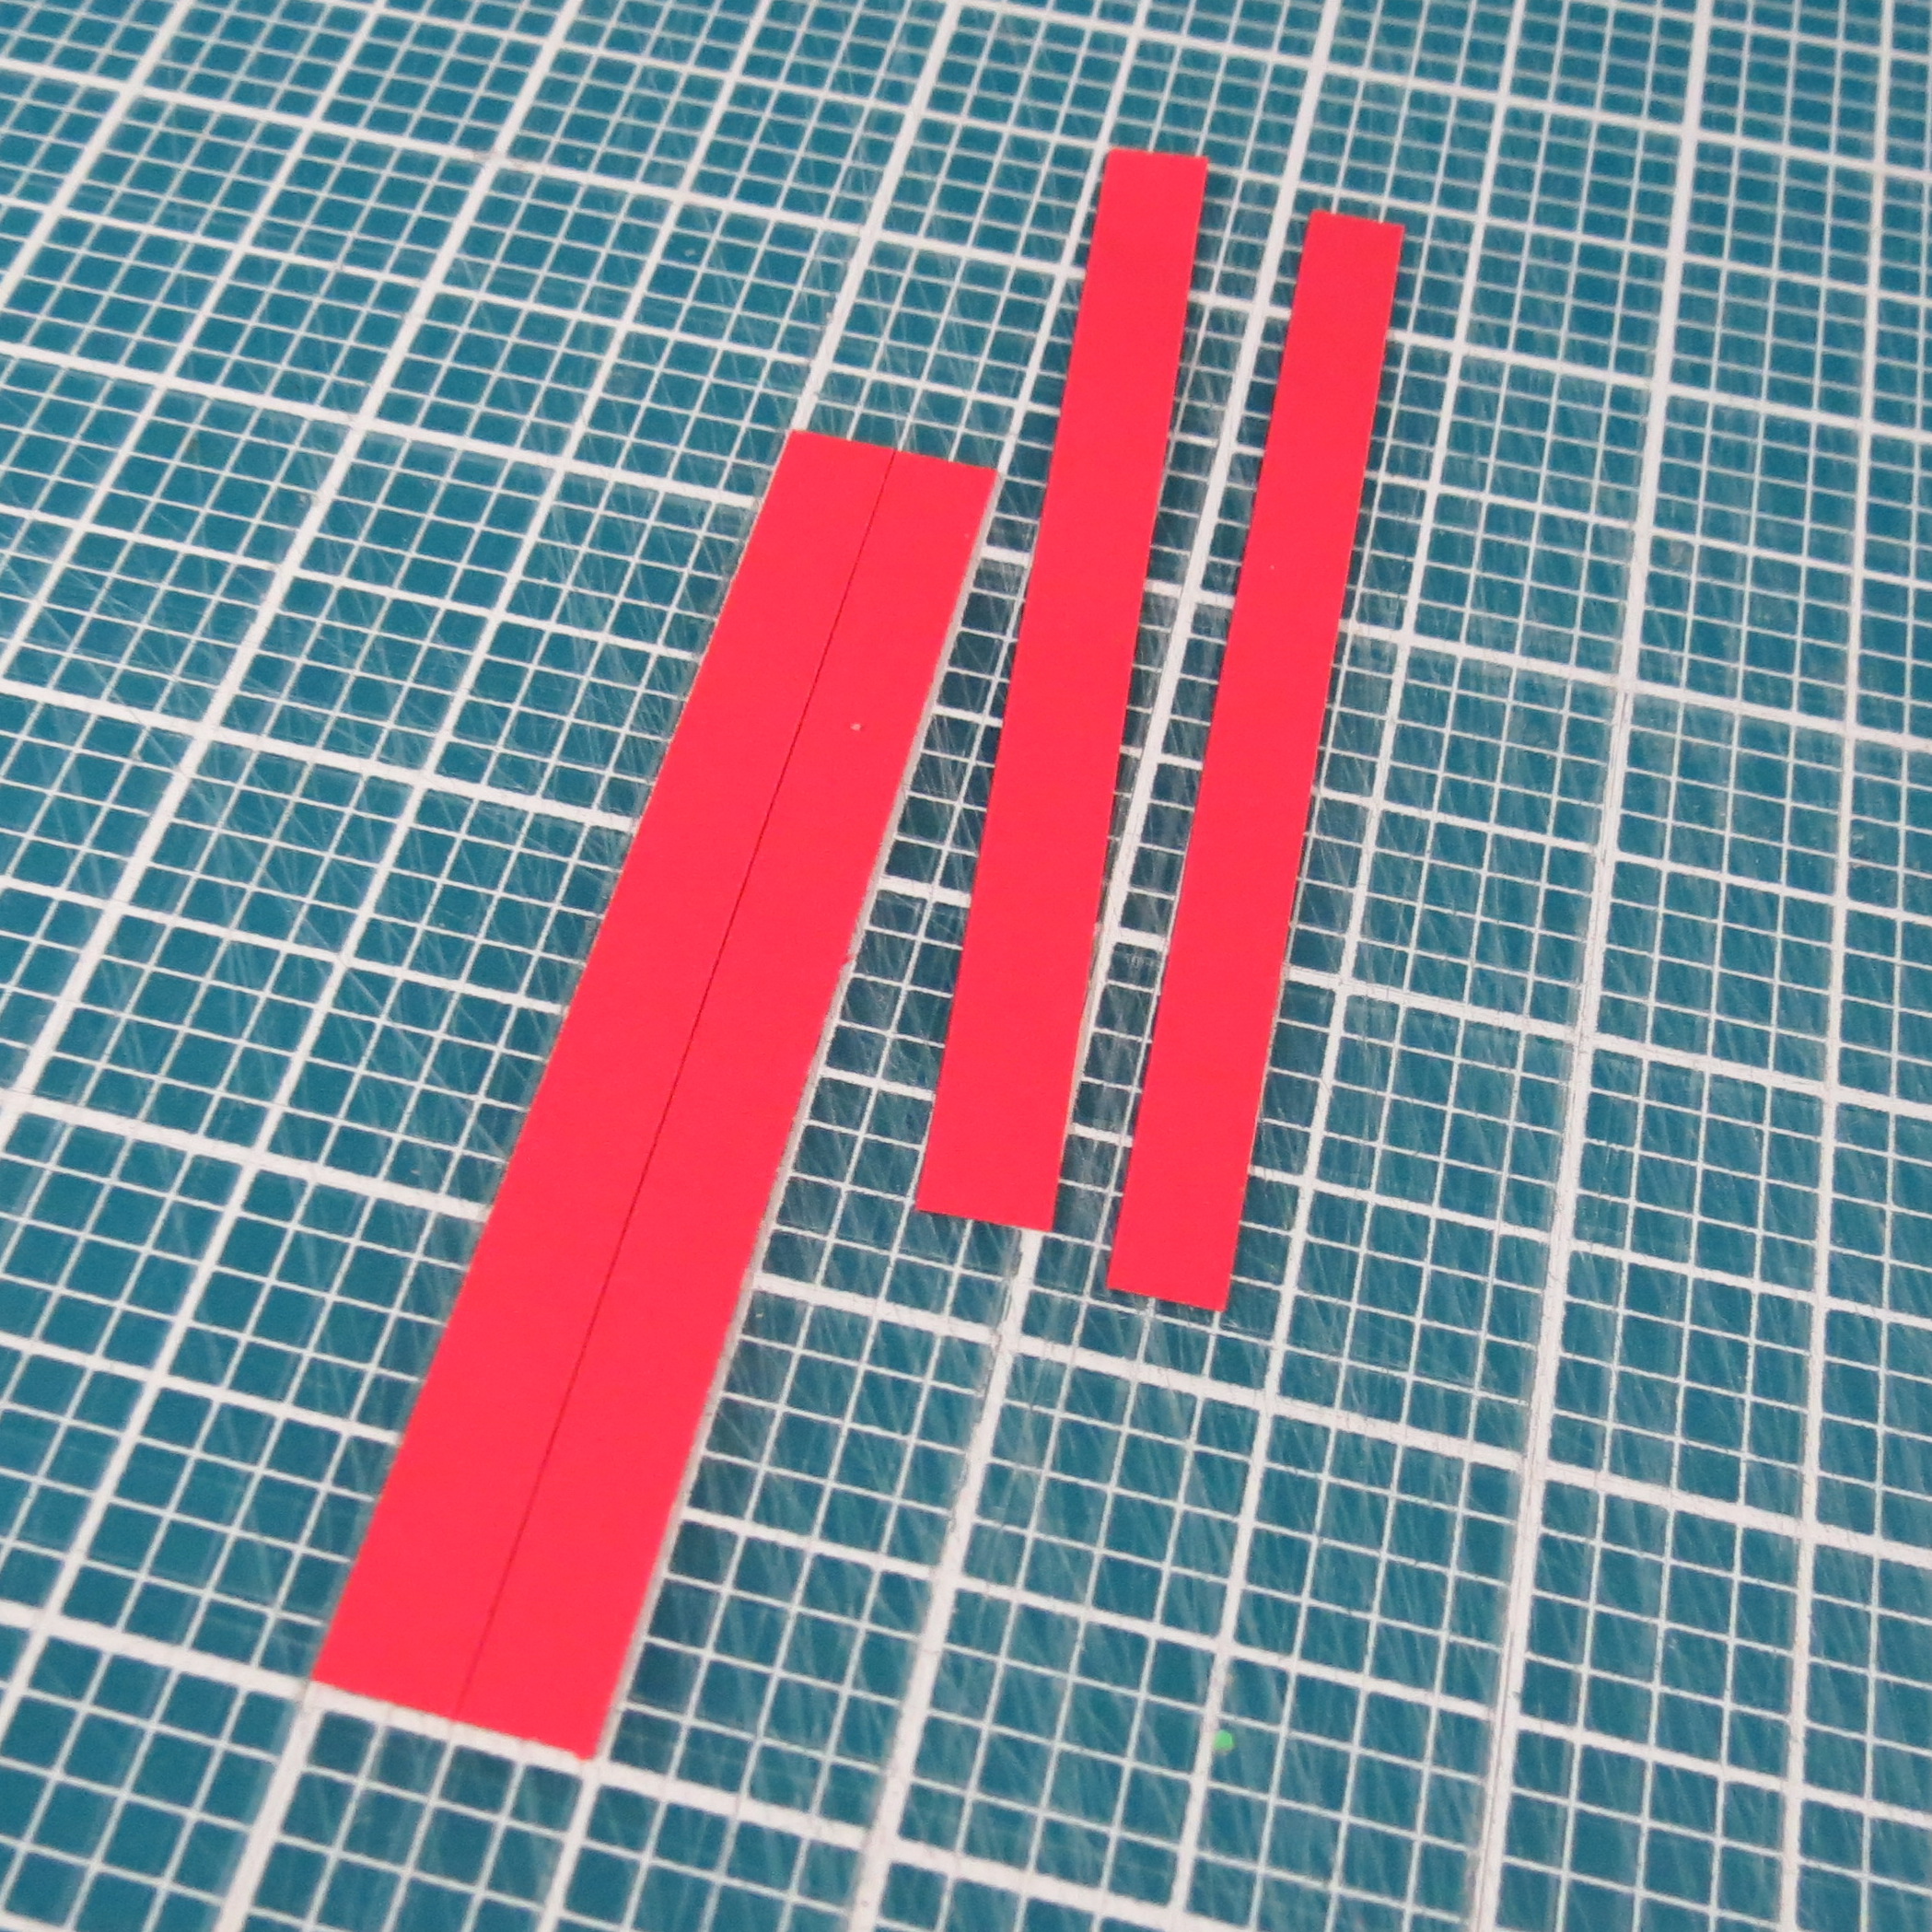
Mosaic Style Patterns: 1×4 red paper tile cut into 1/4″ strips
Mosaic Style Patterns: 3-1″ tiles spaced and place red strip at point of center square trim away excess
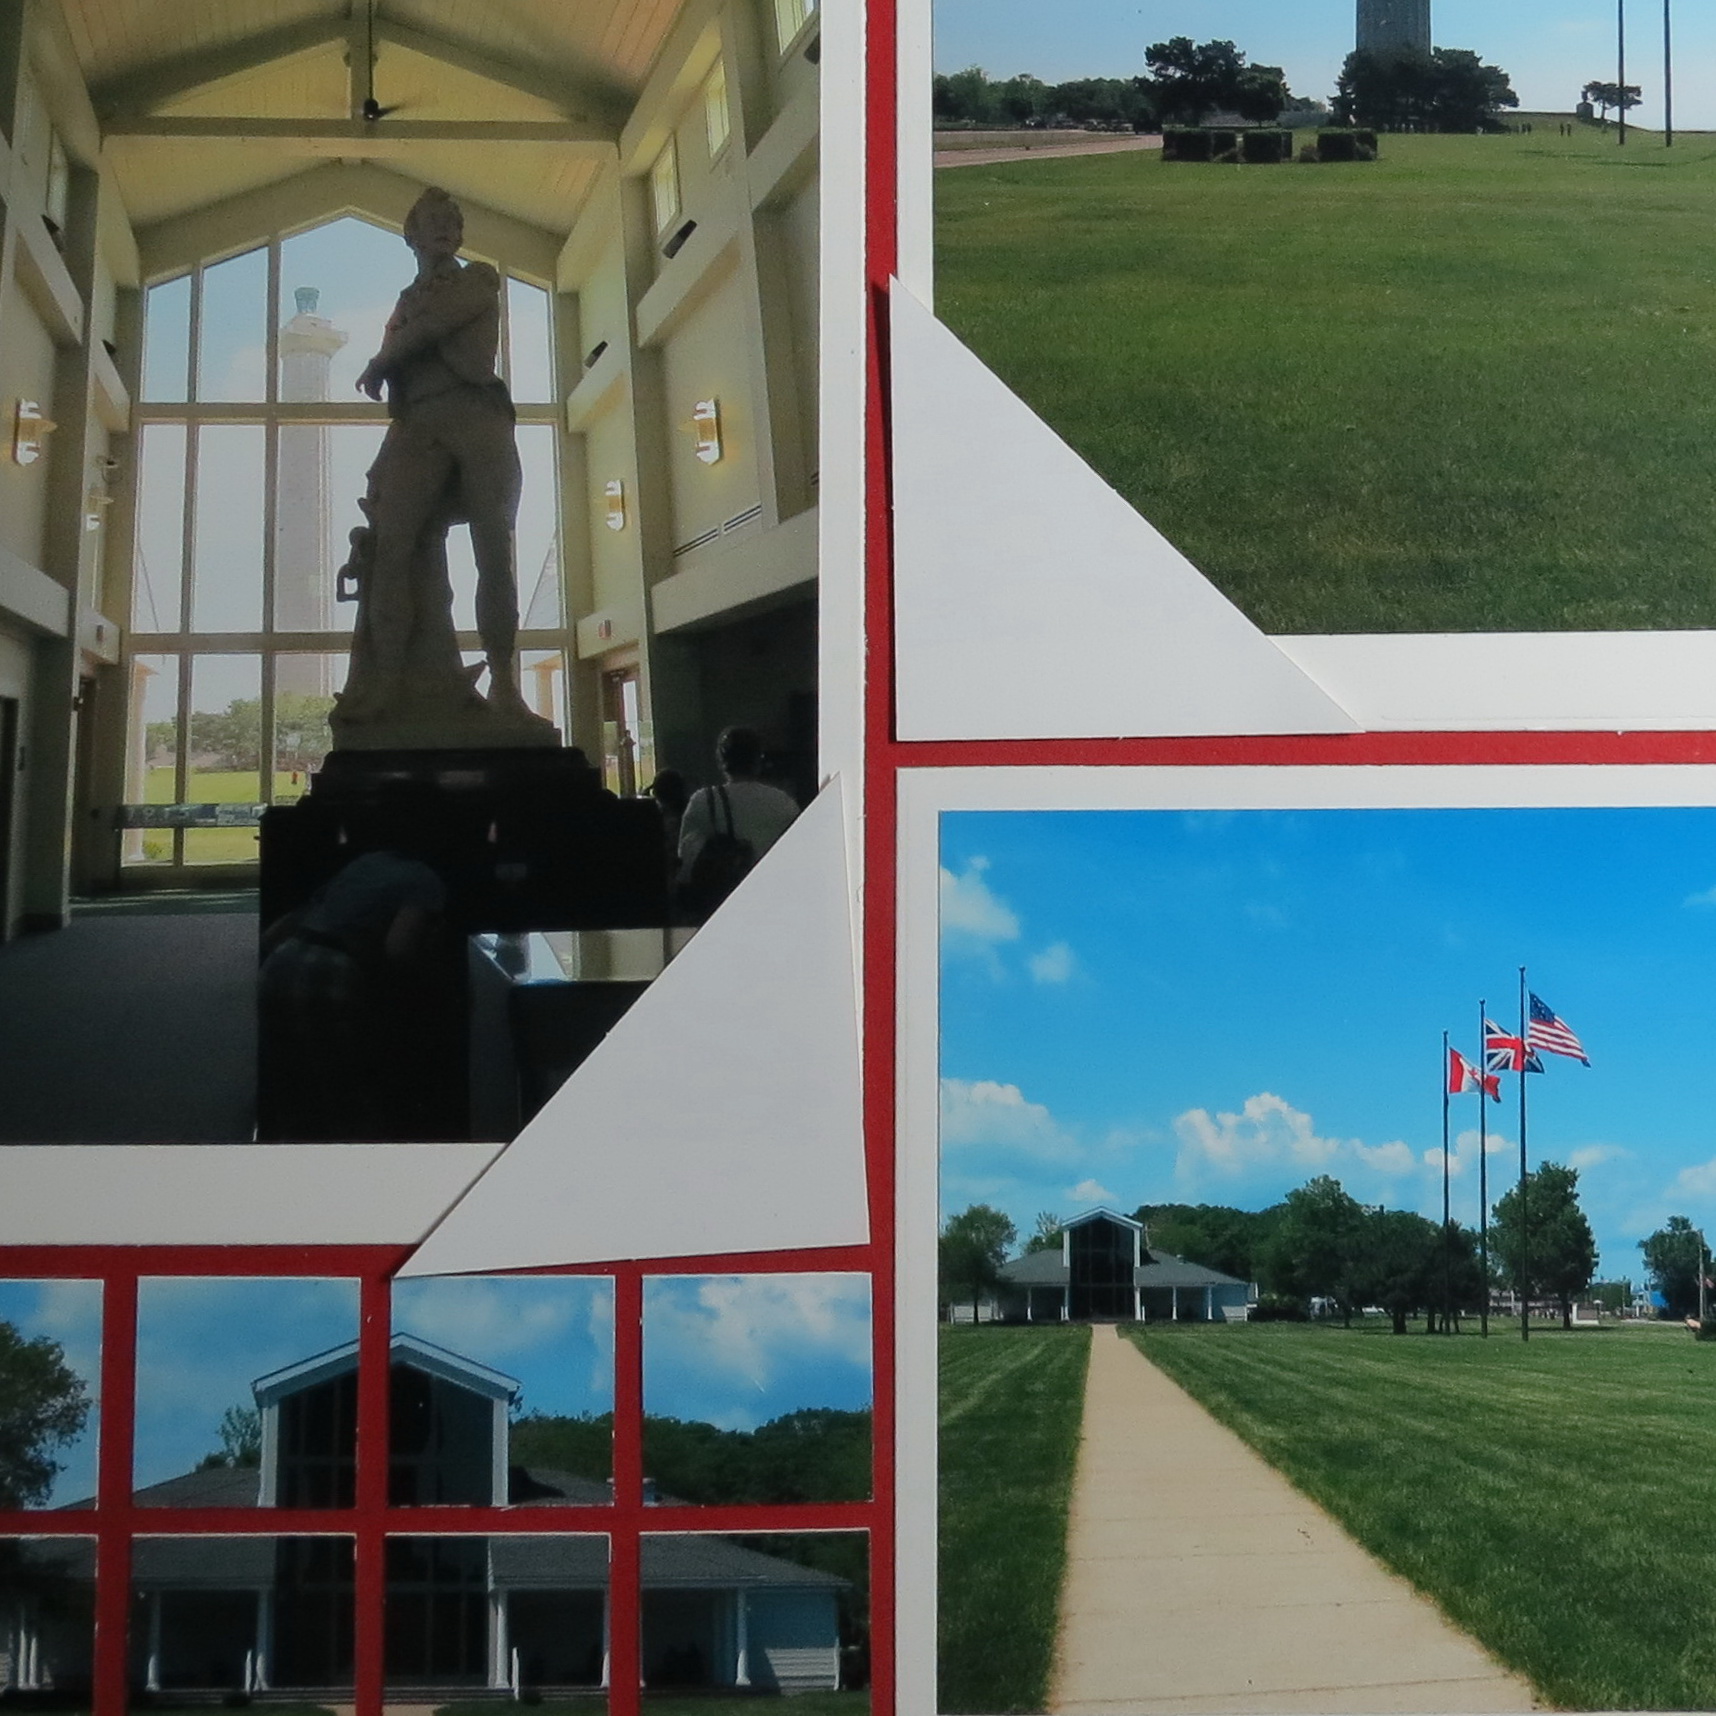
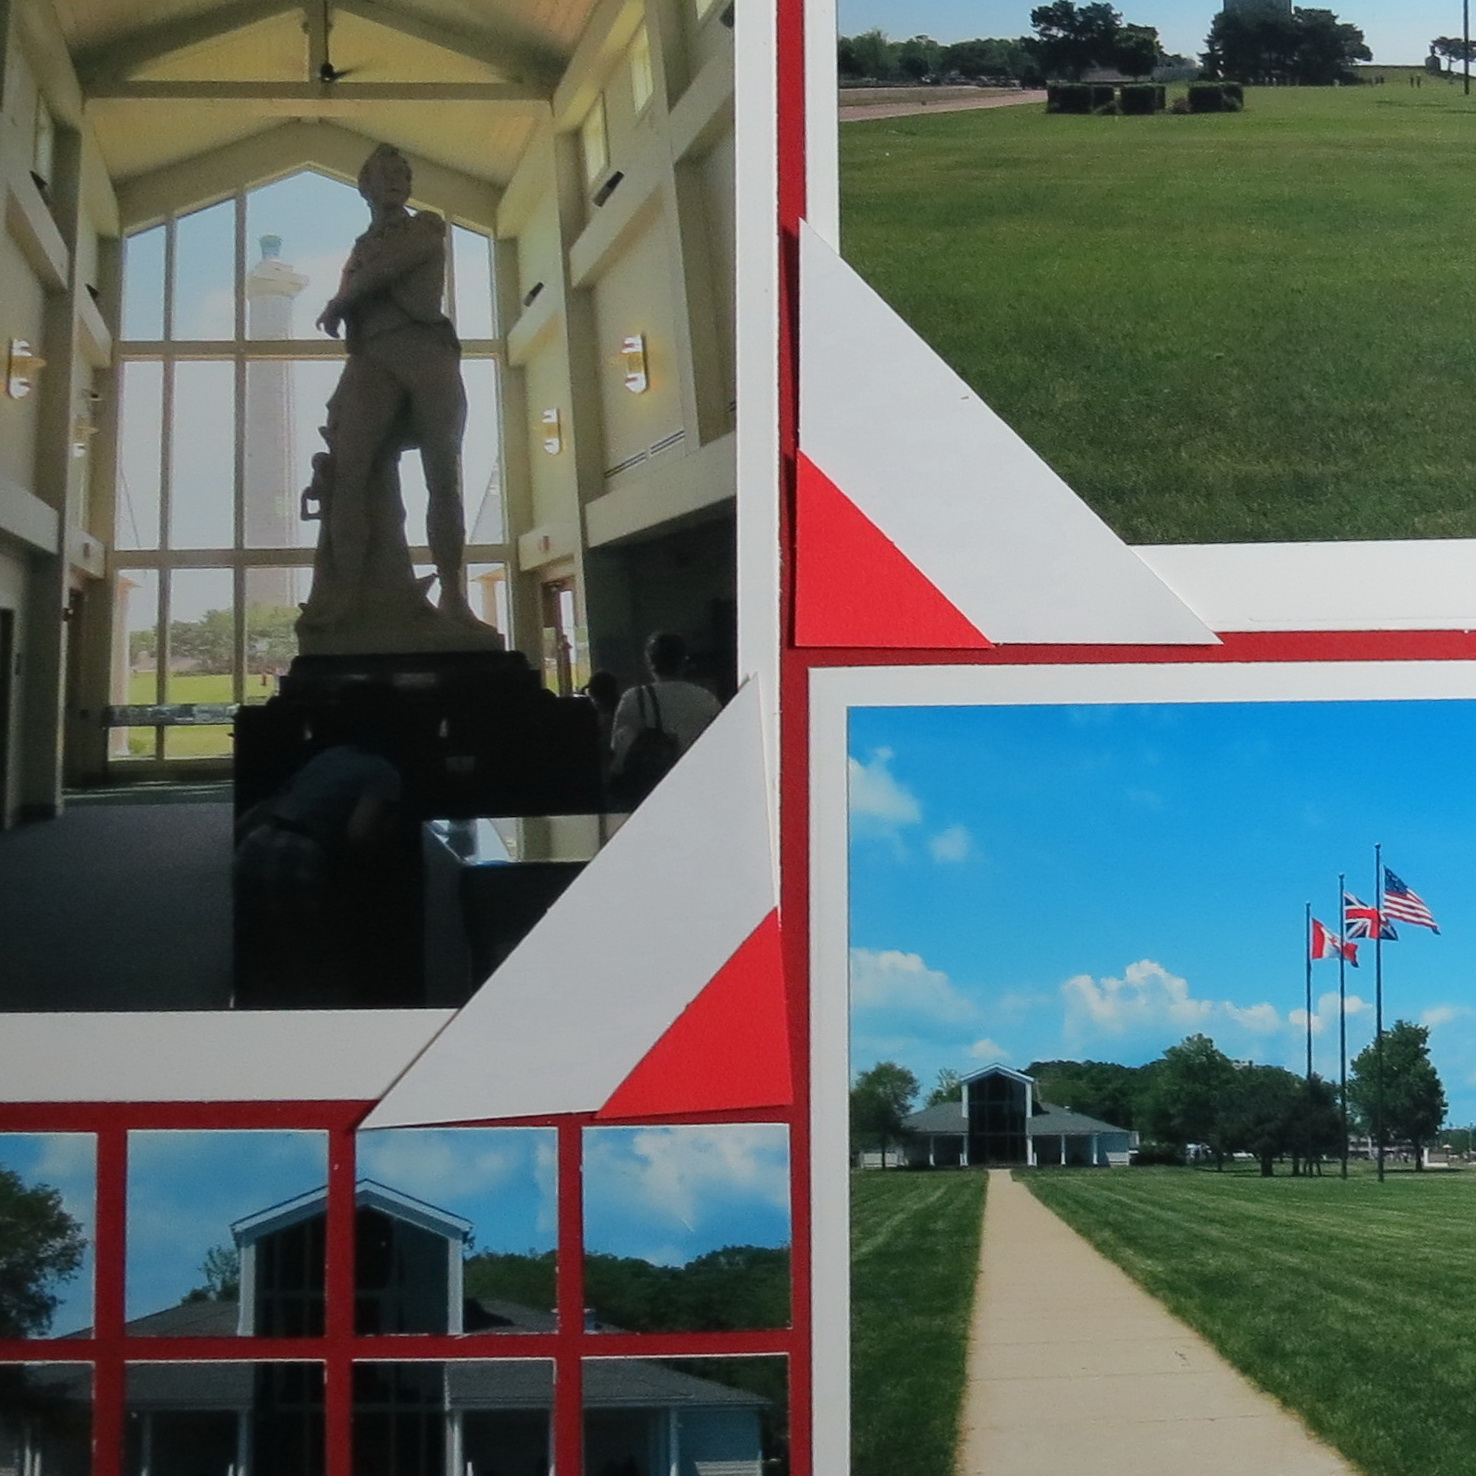
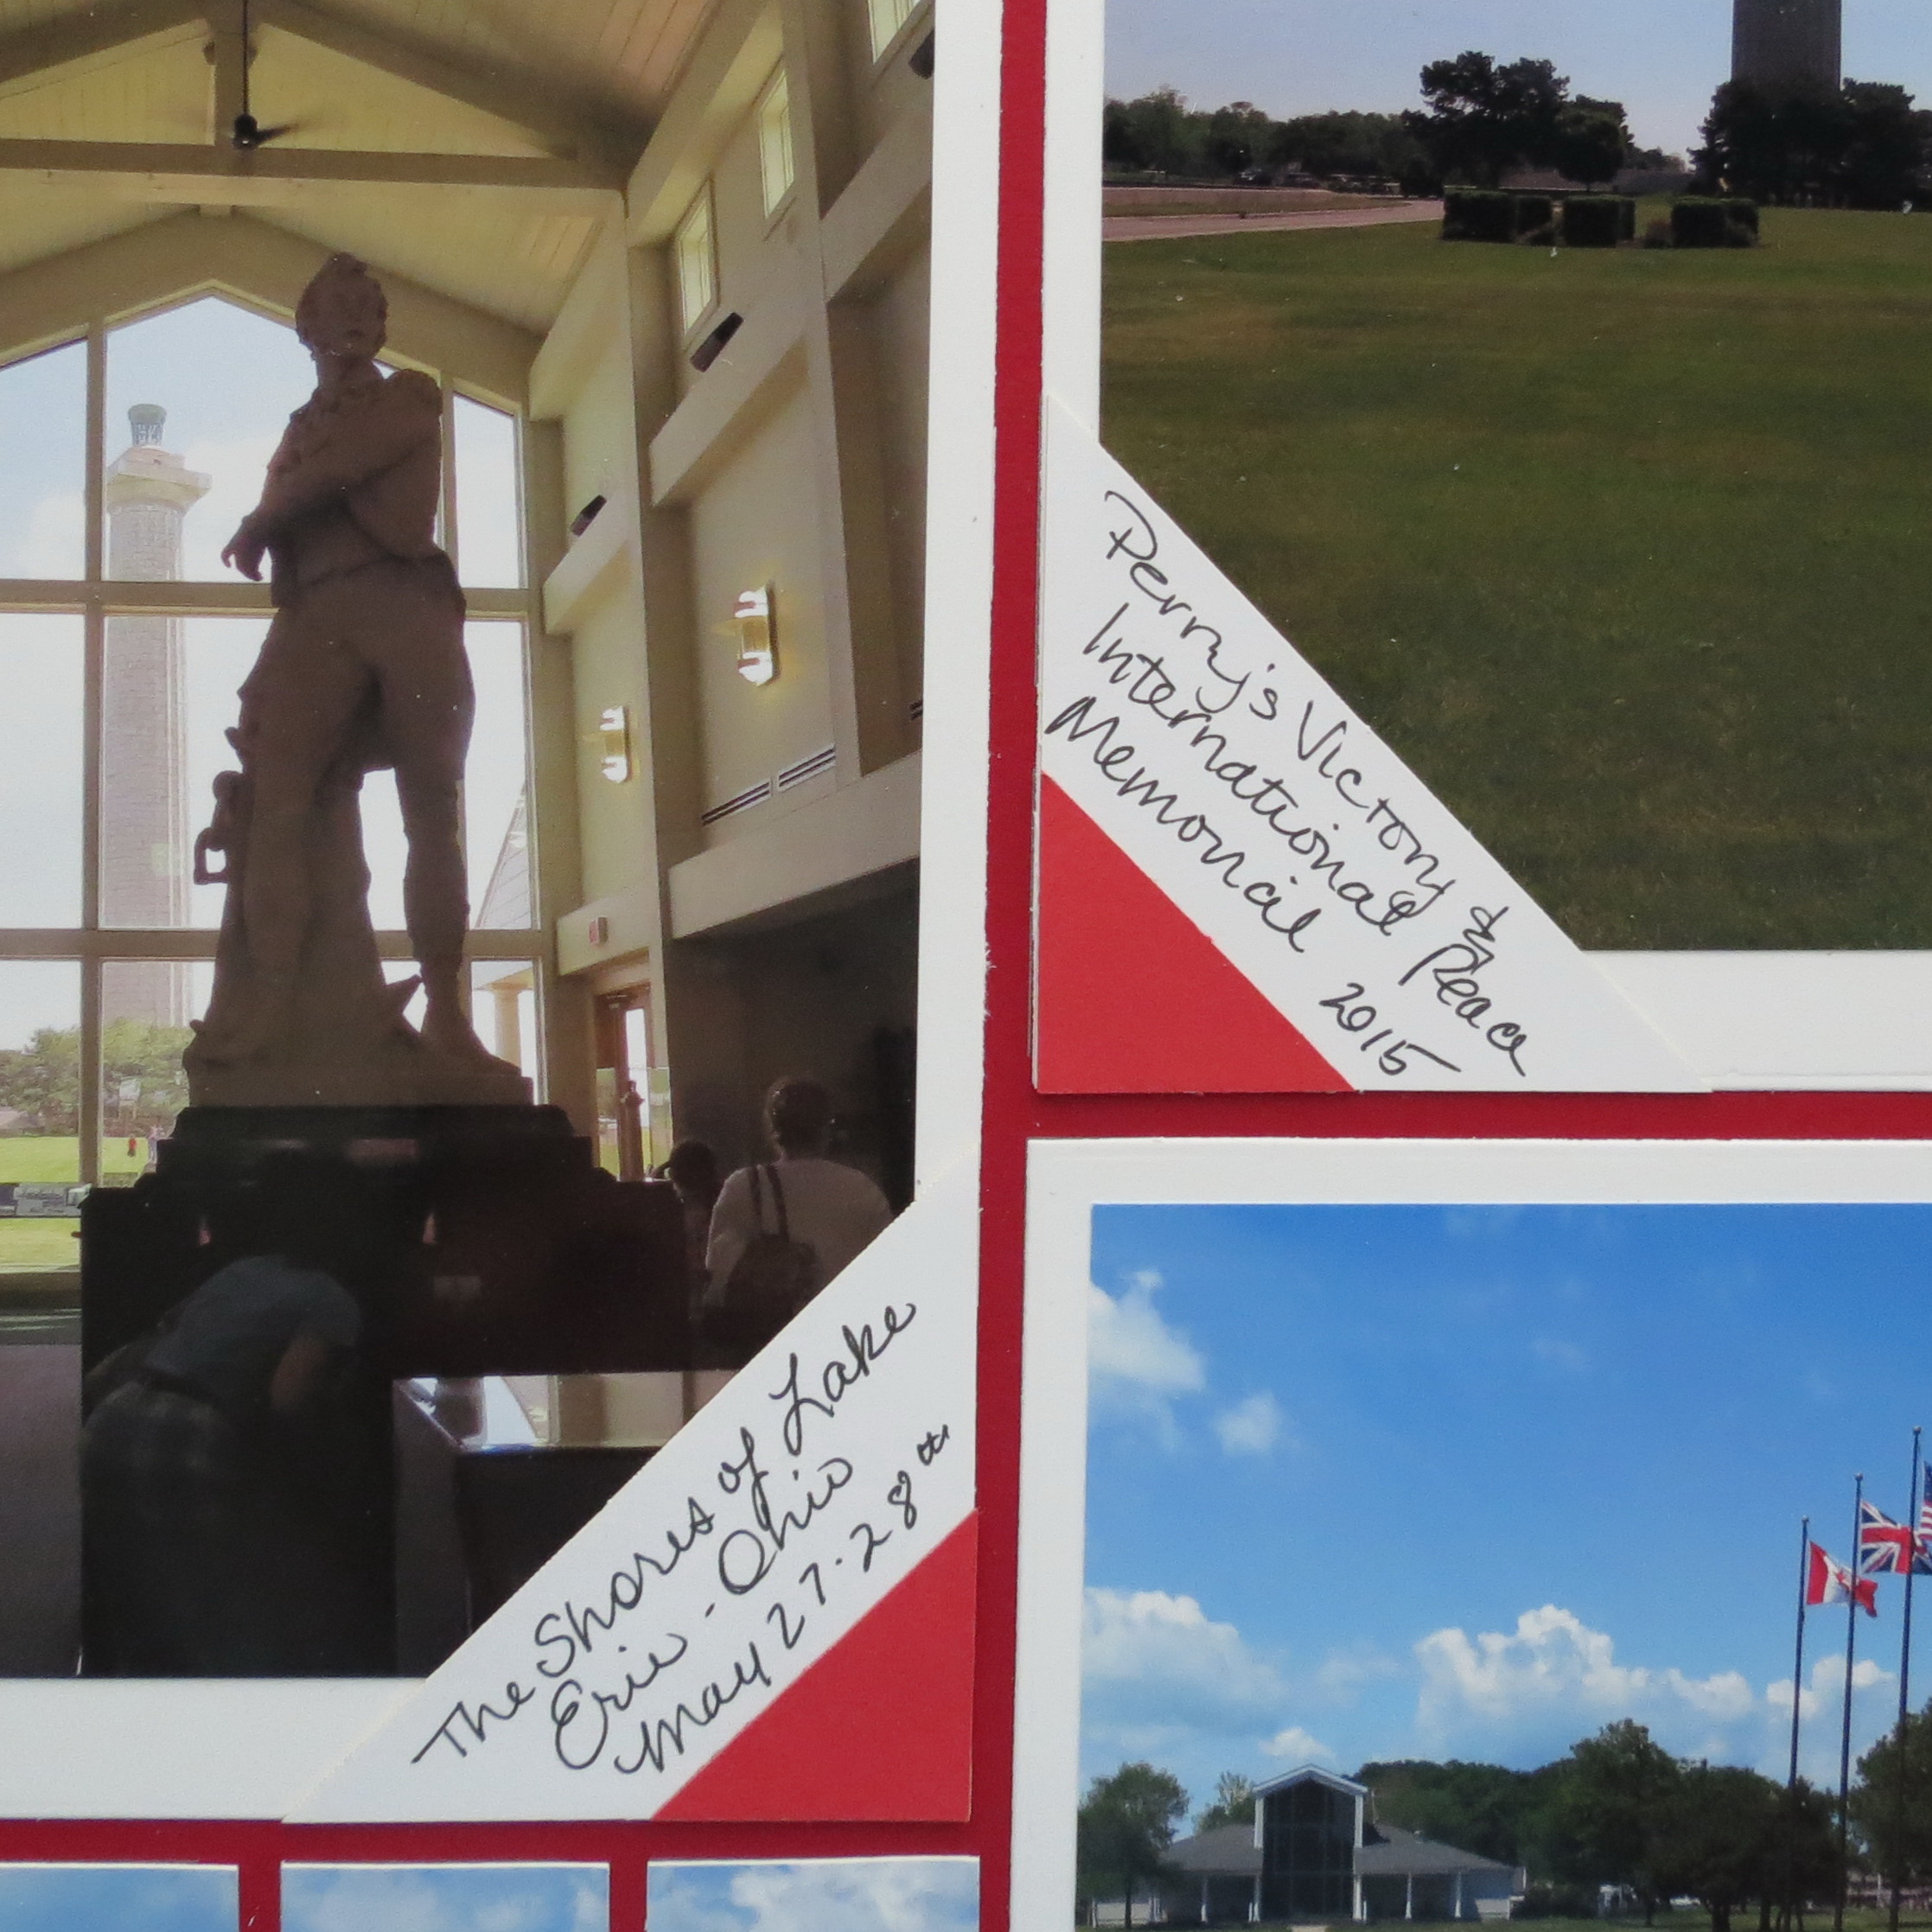
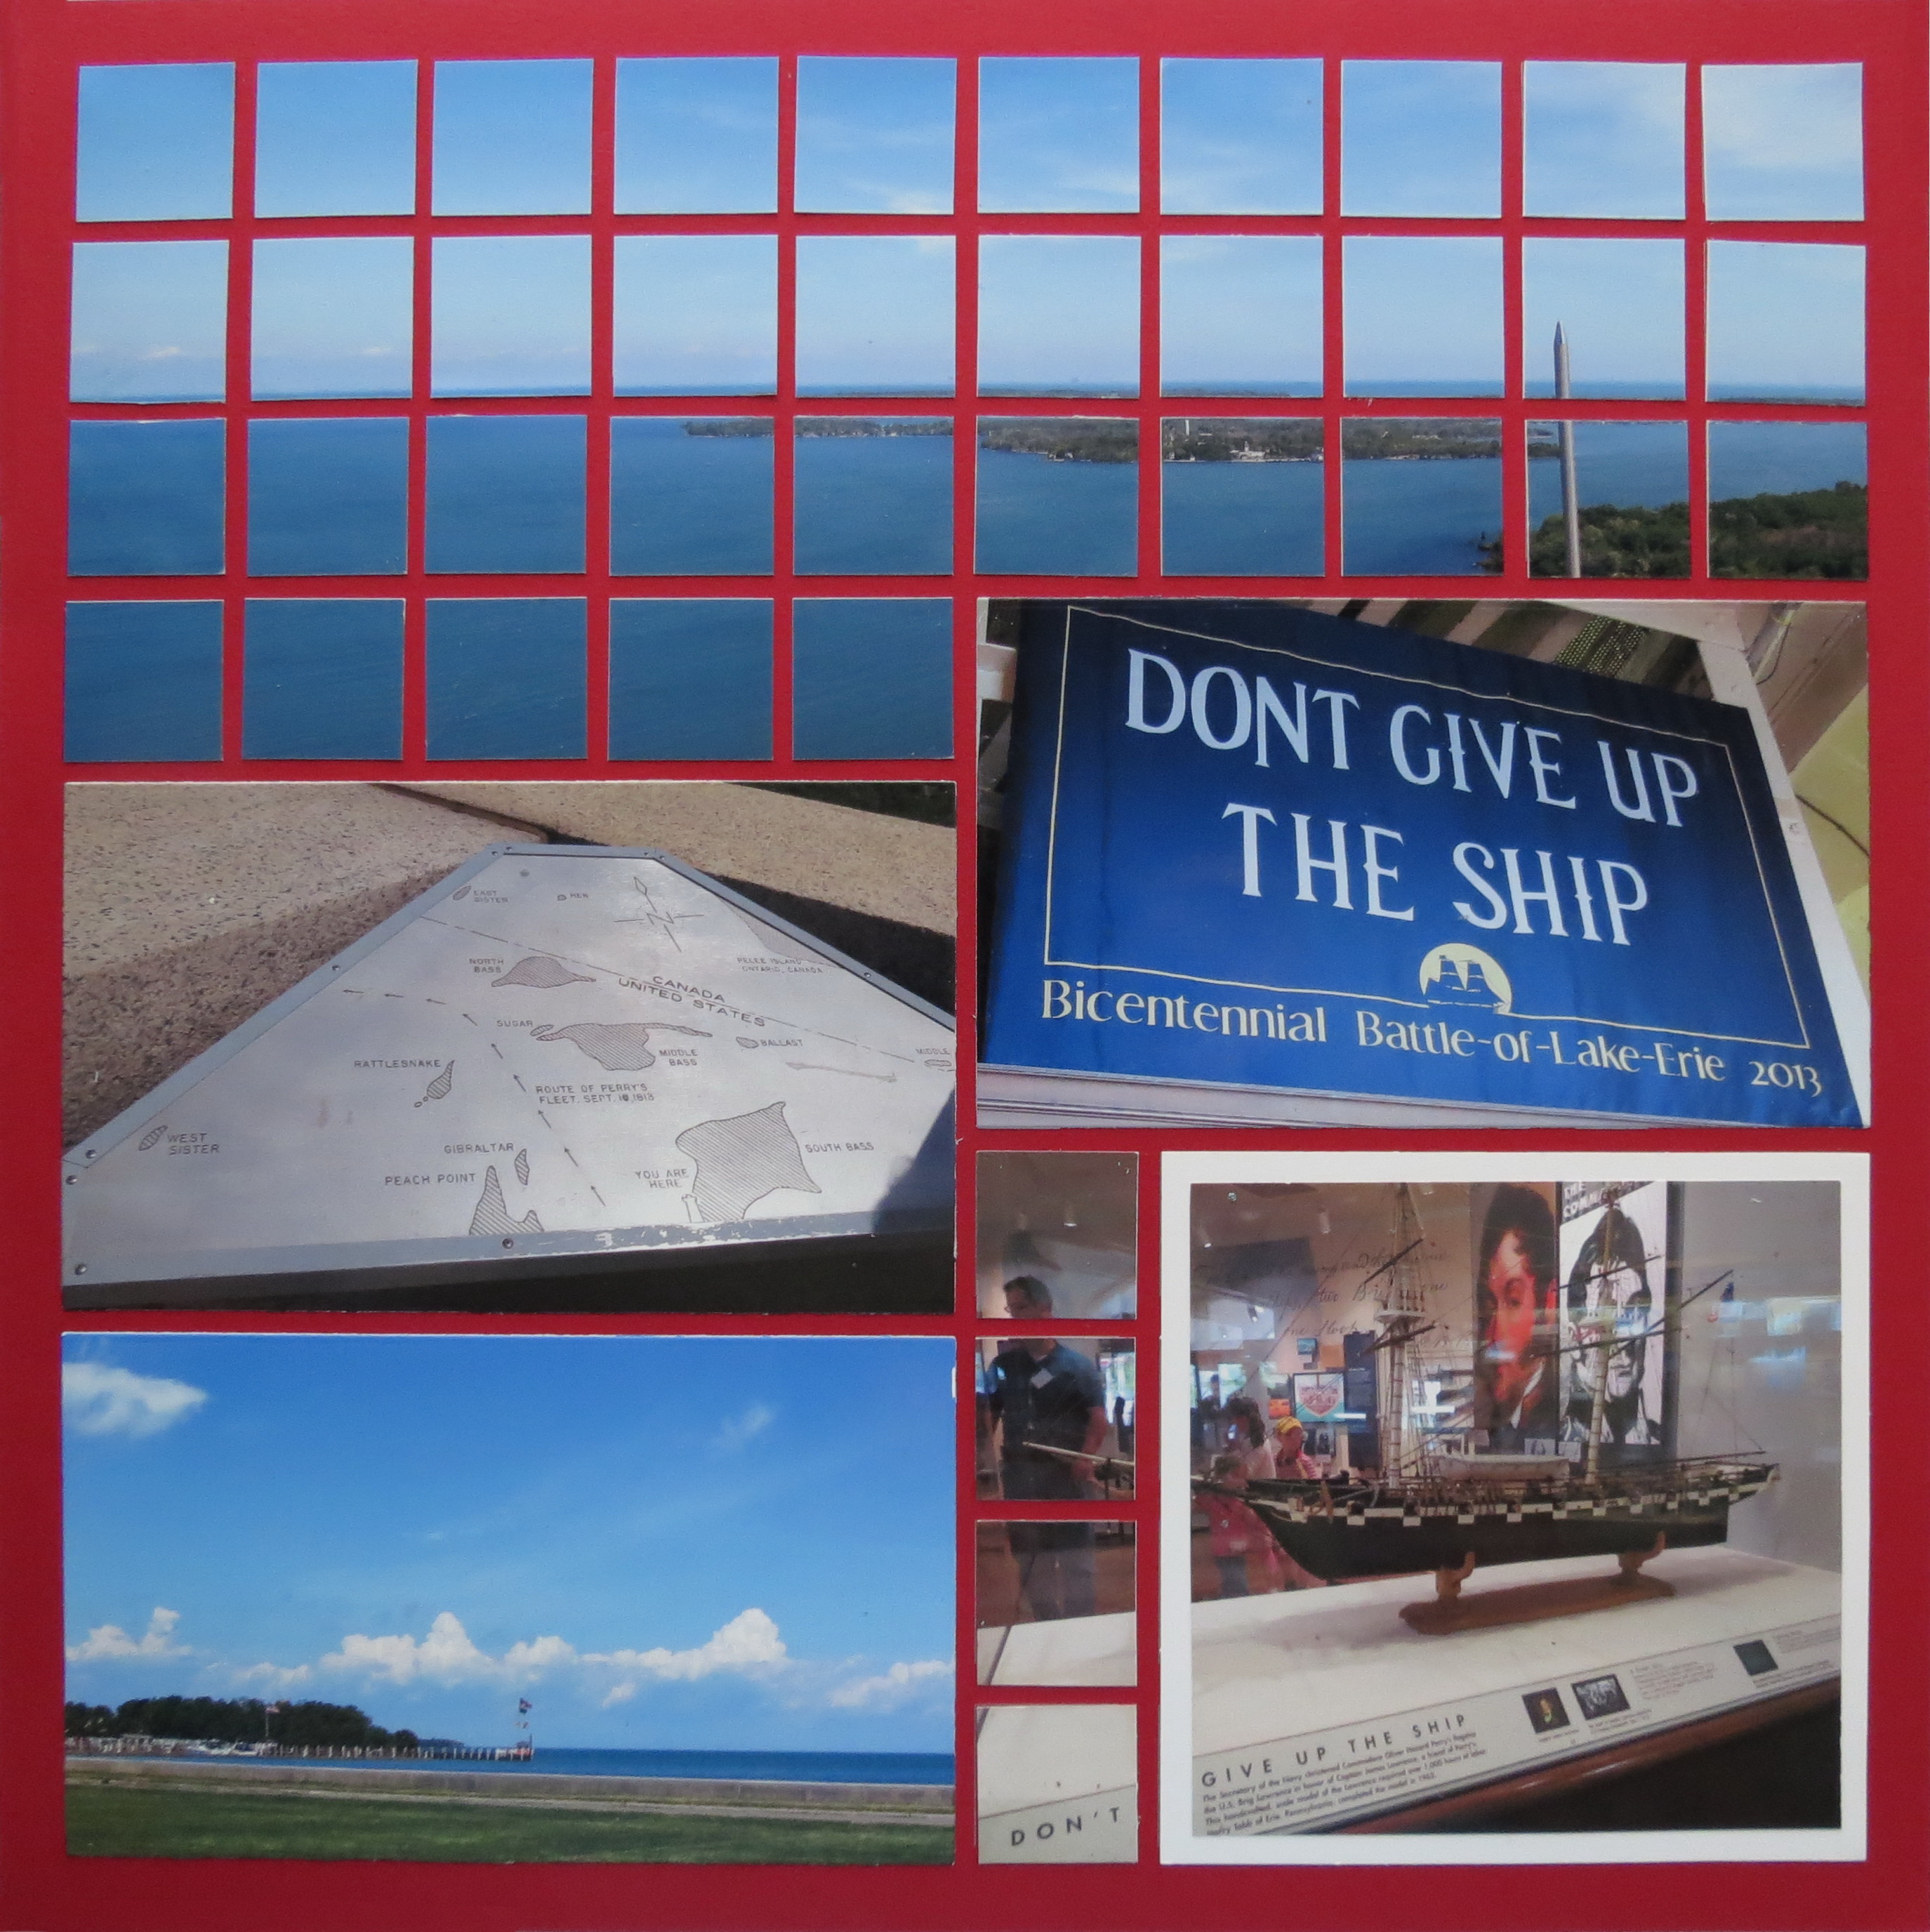
For the remaining mosaic section of this page one photo was divided in half using the sky and clouds to go above and the museum to go below the photo the inside of the museum.
Because I chose to use the photos as 4×6 on the larger mats without making adjustments it left a slightly wider bottom section where I had planned to add my journaling. Then I wondered if I could add one of our jumbo corner tiles and use it for journaling. After playing around with that a bit I decided to add a red corner tile to match the reds in the embellishments and still have a nice spot to put a date and details about the event.
Mosaic Style Patterns: jumbo tiles for journaling…the audition, #1
Mosaic Style Patterns: jumbo tiles and red corner tiles for journaling, audition #2
Mosaic Style Patterns: jumbo tiles and corner tiles for journaling final choice!
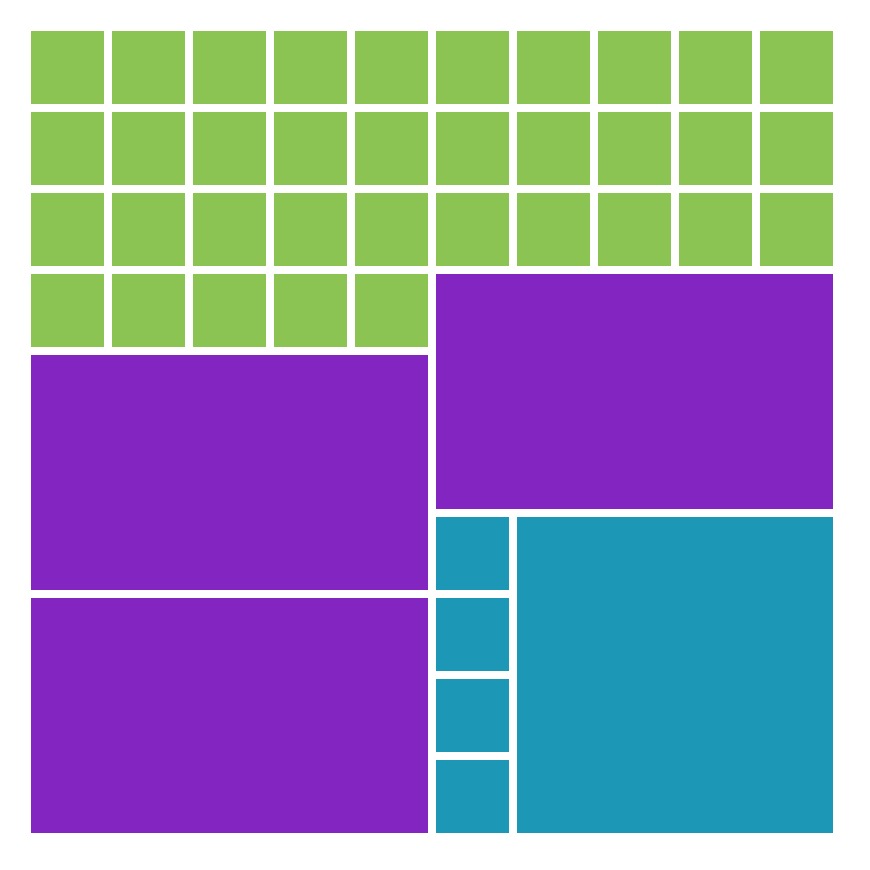
Mosaic Style Patterns: page two. Panoramic mosaic
On page two and Pattern #119 the photos include the sign that shows the map of the islands and the battle route.
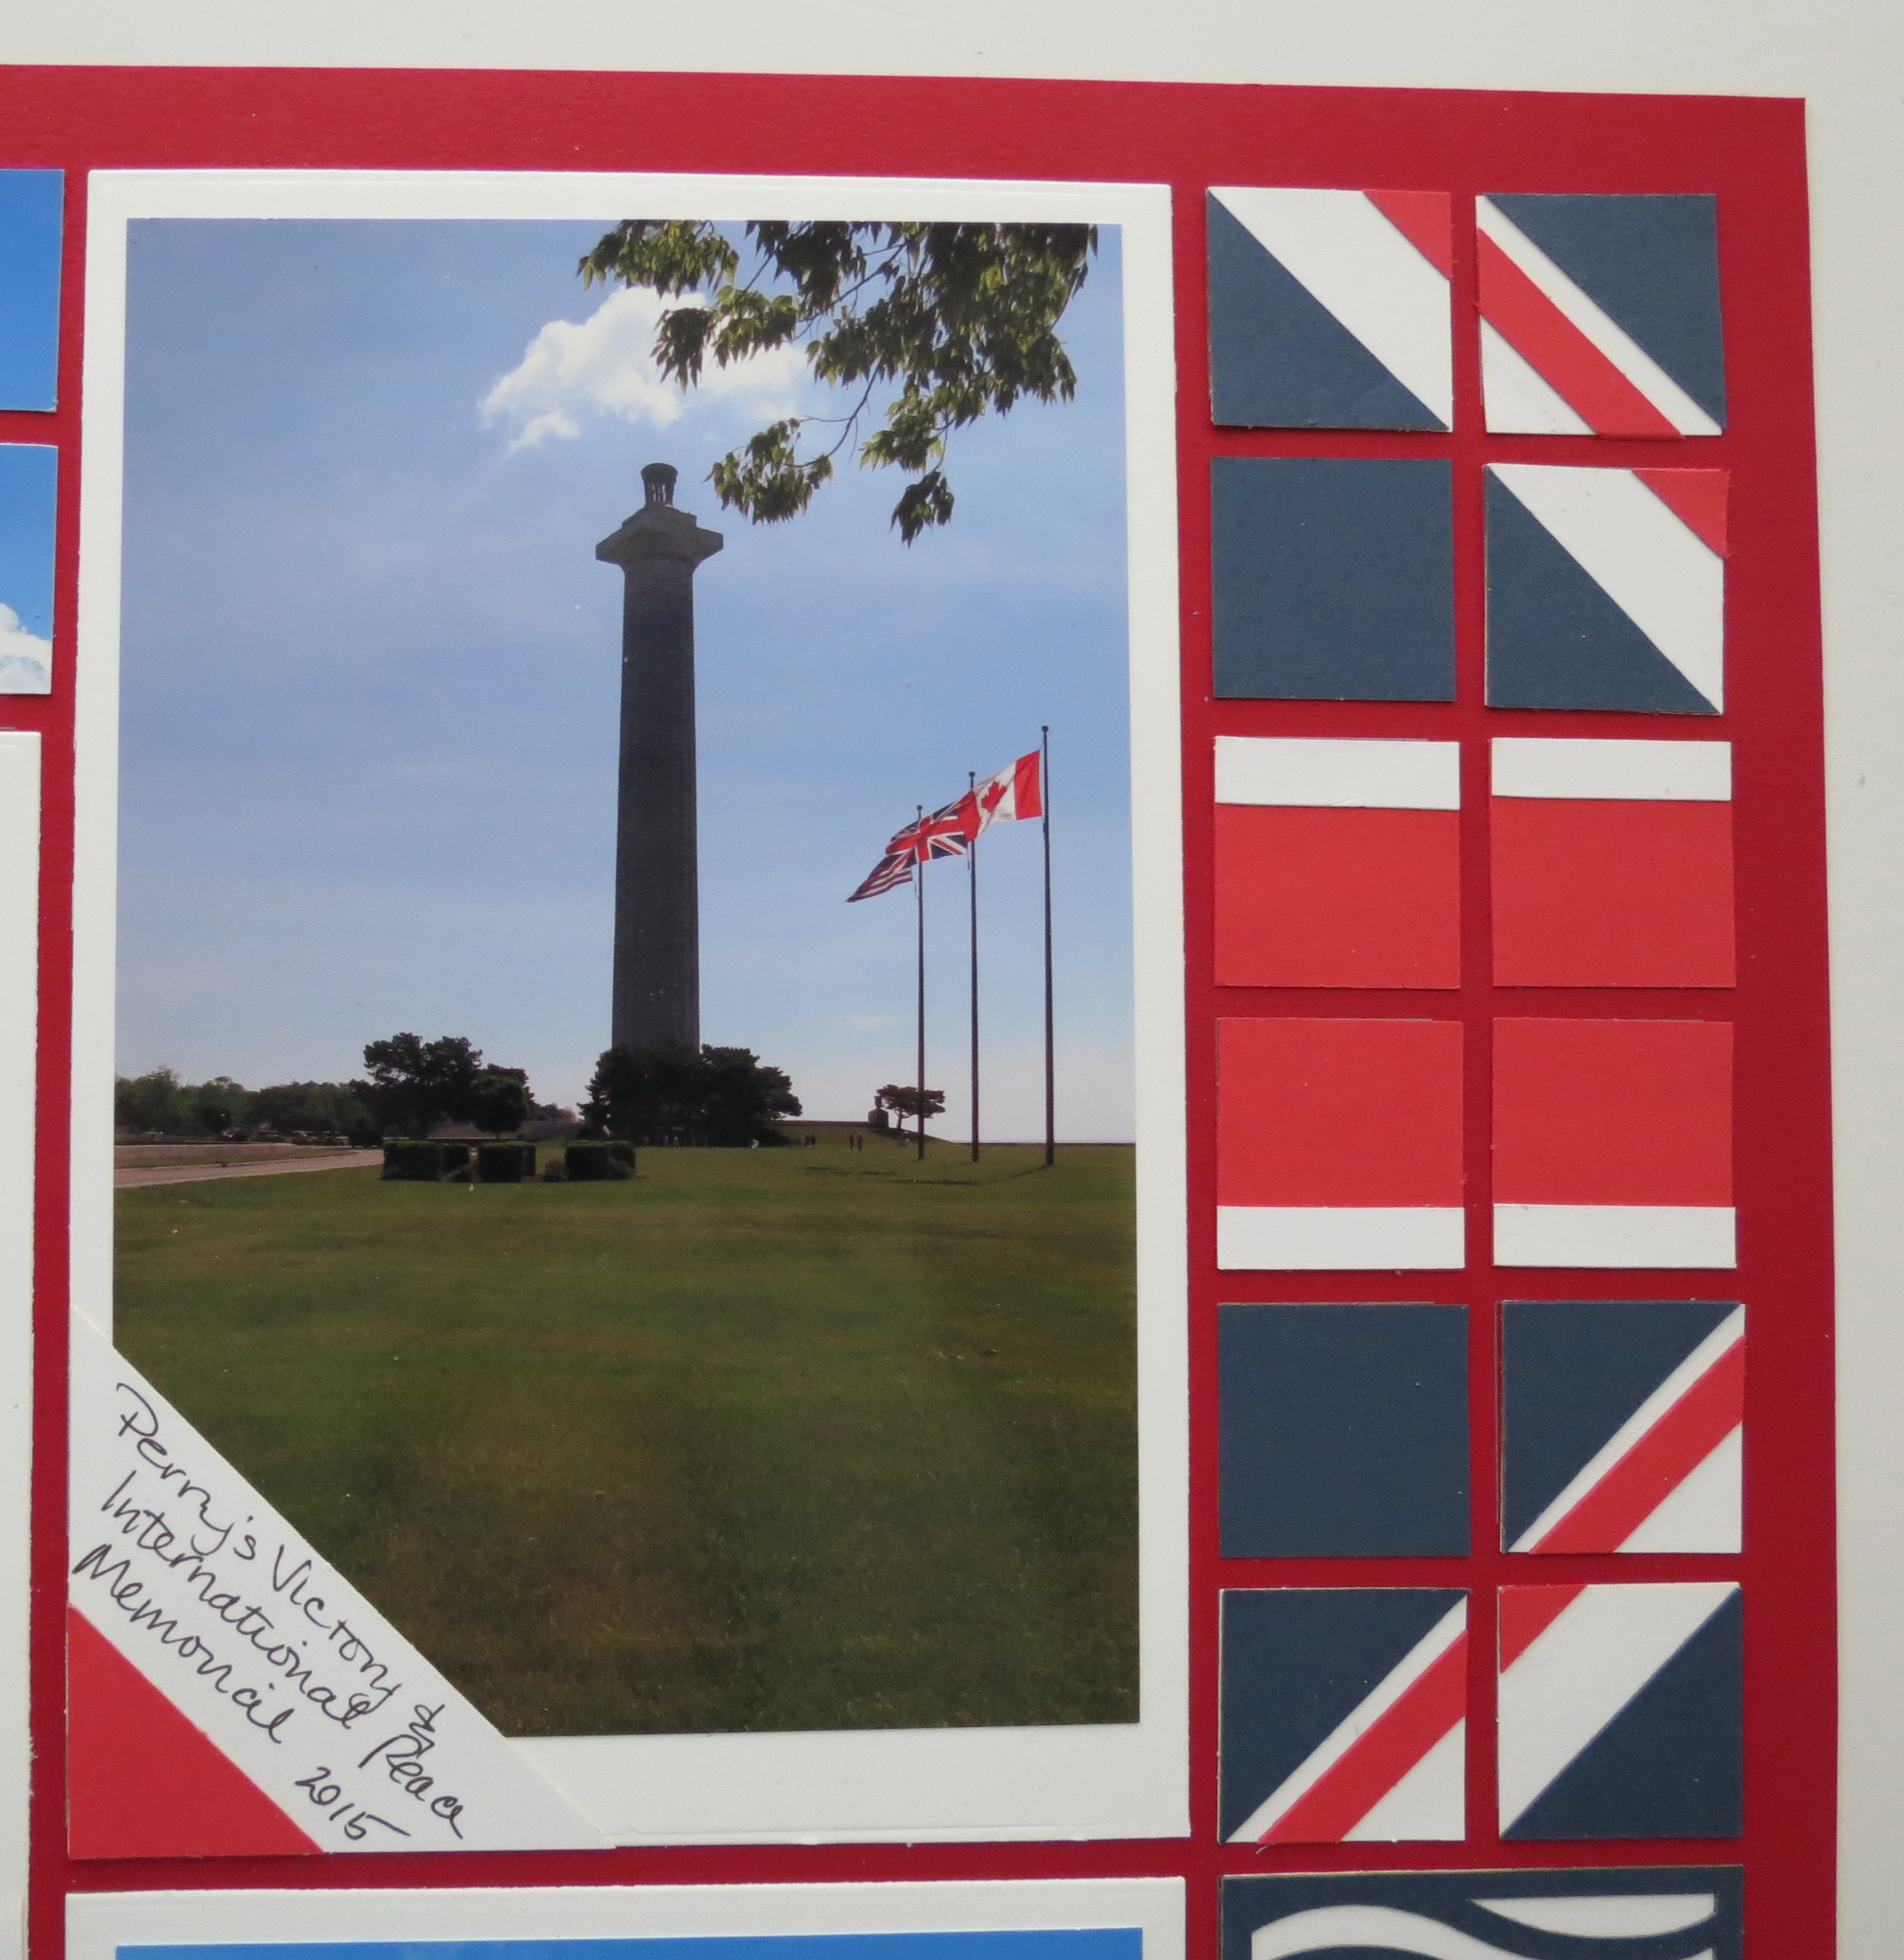
There’s the panoramic view of the lake where the battle took place. To prepare the photo I cropped the photo before printing to print on half of an 8.5 x11 photo paper, about 4.5 x 11”, then cut it into 1” squares.
Photo Tip: Add signsThe well-known battle cry “Don’t give up the ship” originates here with Capt. Oliver Hazard Perry…and the flag acts as my title. Also included is a photo of the model of Capt. Perry’s ship.
Mosaic Style Patterns #105 & #119
All in all this was a layout that came together fairly quickly and even the flag did not require a great deal of time and a minimum amount of papers. Using the Die Sets certainly aided in making it speedy. You’ll have your vacation pages coming together in no time flat! Try one of the Mosaic Style patterns in the Pattern Gallery and get scrapping!!
Andrea Fisher
Remember to stop in and see us on Pinterest where there are lots of ideas for scrapping with Mosaics! You’ll find this pin HERE
Mosaic Style Patterns, Nautical theme, Red White and Blue, vacation pages