Featuring Column Style Pattern
Three tips to show Scrapping is Easy
Do you wish scrapbooking was easier? Do you wish that you could have a page done in no time flat? Do you wish you had more ideas for quick layouts? You’ve come to the right place! It’s summertime and so much is going on it seems like there’s no time to scrap the photos you are busy taking. Before you know it you have a ton of photos that are waiting to be scrapped. This summer the scrapping is easy with these three tips:
TIP ONE: Scrapping is easy when you begin with a simple pattern. Tami is adding patterns to the Pattern Gallery all the time; it is ever changing, so visit regularly for ready-made ideas. You can search by pattern type where there are currently eight styles. To keep your scrapping easy, find a simple pattern to use. For instance, a pinwheel pattern is a great place to start as it’s going to use the same shape in both a horizontal and vertical position around a center point. Mostly squares will be just that…mostly squares. Find a style with the pattern pieces repeated and it will help to make your scrapping easy.
TIP TWO: Scrapping is easy when you use the Mosaic Moments Dies. Nothing speeds up cropping like using the die sets to perfectly center your image and cut. They are simple tools with extreme speed and accuracy. The guess work is gone. You will love them!
TIP THREE: Scrapping is easy when you keep your embellishments simple. Sometimes you need a break from all the flourishes and just keep it simple…let the photos talk!
Let’s put these ideas to work and see if the scrapping is easy after all!
Tip One: Simple Pattern
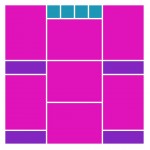
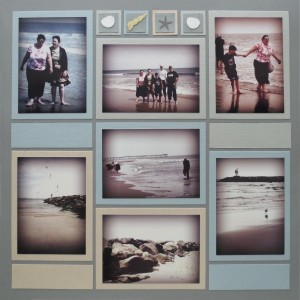
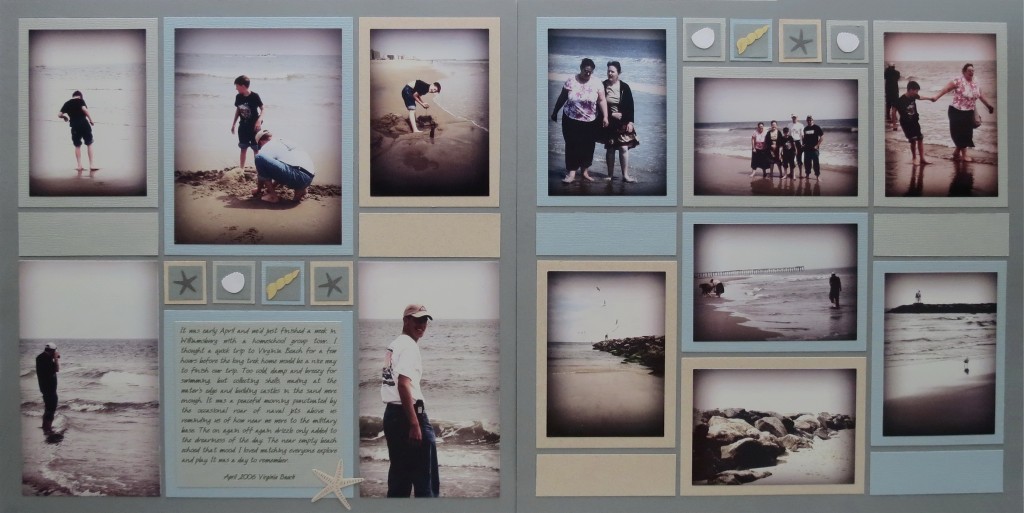
I’ve chosen two Column Patterns, # 108 and #115.
Both patterns are similar to each other. Here are the pattern sizes the two page spread will use:
• 9-3×4 photo spots
• 2-3×5 spots
• 6-1×3 spots
• 1-4×4 spot
• 8-1×1 spots
The same shape, a 3×4 rectangle, is repeated on both patterns for a total of 9 times! There are 3 horizontal photos and 6 vertical photos, which allows you to play around a bit with where you want to place your photo, after you’ve cut them. Mats and photos are quick and easy to cut in multiples, especially if you…
Tip Two: Simple Tools
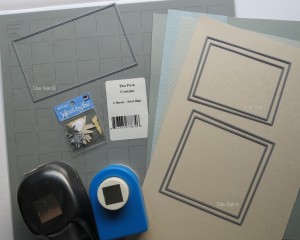
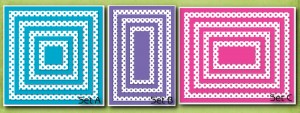
Use the Mosaic Moments Die Sets! Yes, nothing speeds up cropping like using the die sets to perfectly center your image and cut. On this layout, Sets A, B and C were used to cut each photo and the cardstock mats.
I print my own photos quite often and with this project for the 3×4 size I found that printing the photos two to a 4″x 6″ photo paper made trimming them to size with the layering die so easy. More of the original photo was used and there was very little waste. To try this you will need to have a setting for “contact sheet” or something similar. Set in a vertical or horizontal setting according to the photo direction, then two columns/one row or two rows/one column and print. Use the 3×4 layer die to cut the photos apart.
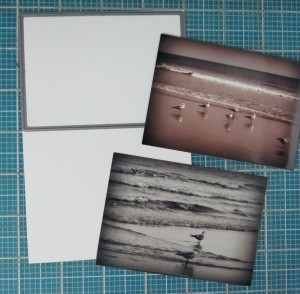
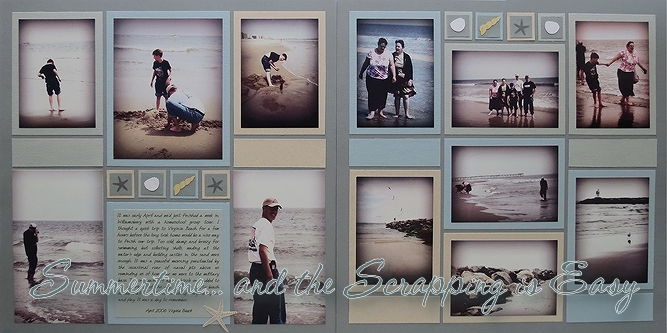
Summertime… and the Scrapping is Easy using the 3×4 layering die to cut two photos printed on one 4×6
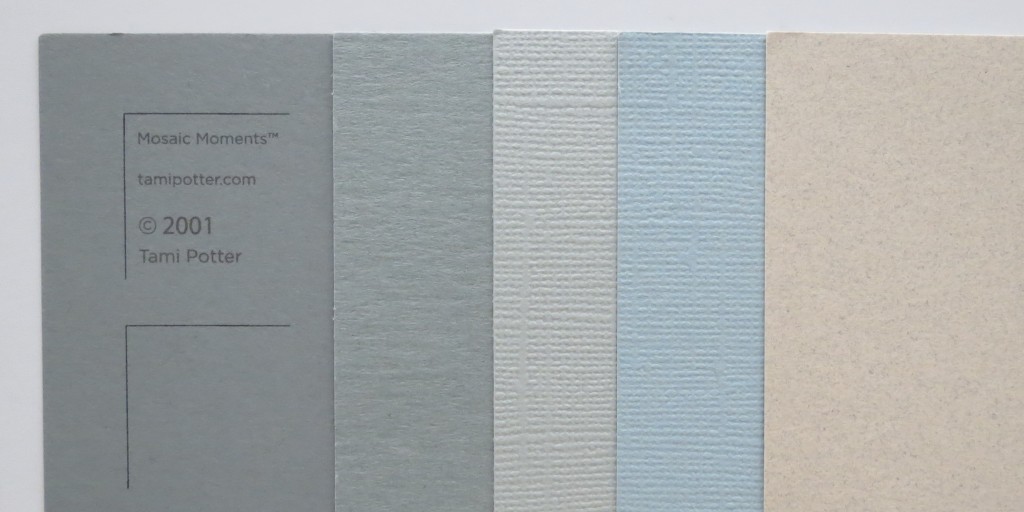
This is my color palette for the layout.
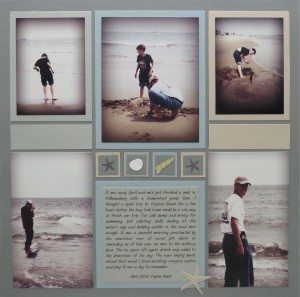
Four cardstock colors were chosen for mats that complimented the Steel Blue 12×12 Mosaic Moments Grid base. Trimming the cardstock for mats was easily completed. A 4.5” x 12” strip was cut to get three 4×3 block size mats and just enough left over to get two 1×3 to fill the spots on the pattern. Eight 1” squares and eight ¾” squares were punched from cardstock scraps. Photos are matted, arranged in a color block style on the diagonal and then adhered to the grid. All 1×3 blocks are color alone, nothing added, but they do make spots for journal notes if you’d like.
Tip Three: Simple Embellishments
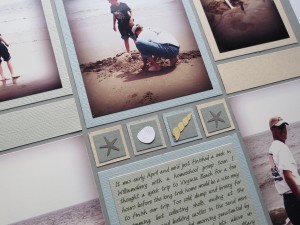
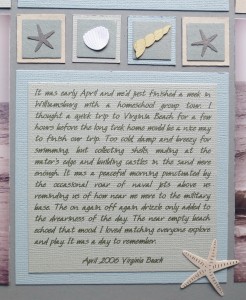
For this layout Jolee’s sea shells were just the right touch. One shell was placed on top of each dark ¾” square then mounted them on a 1” square of cardstock that matches the mats.
So there you are three tips for making sure your summertime scrapping is easy. Clean, crisp and simple layouts are the result. Don’t over think, don’t over work. This is scrapping at its best. Soon you will be up to date with all the photos of all your summer fun without taking away from all the activities going on. Enjoy it all!!
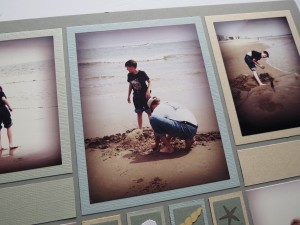
TechniqueNow if you have a little extra time you could try adding a special effect like I did. My photos were a bit washed out because that was the type of day it was. It was a moody day, not bright and sunny for a fun colorful page, but somber and overcast at times raining and cold. The photos reflected that unevenness. I tried a B&W effect and didn’t care for it, a bit flat, lifeless. Then I tried a filter in my ACDSee program and used the somber setting. Immediately I knew this was the look I wanted, moody, a bit like old postcards, almost a bit dream like…gave me a feeling of looking back in time.
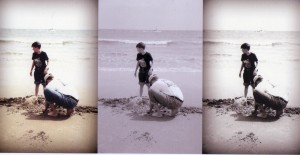
Summertime… and the Scrapping is Easy Three effects: “somber” applied to color, B&W, and “somber” applied to B&W photos
If you don’t have a program where you can alter your photos before printing you can always try to get a similar effect on the edging by sponging a charcoal gray ink from the edges lightly inward on the photo surface.
Journal Block: WORD was used to create the journal block then printed out and mounted on the mat, adding a large starfish from the Jolee’s sea shells to the corner to finish it off.
I hope you’ll be able put these tips to use to enjoy your summer and keep up with your scrapping without letting it take up all your time. Don’t forget to share the results with us on Facebook!
Andrea Fisher
Remember our Pinterest boards and ideas!
Title inspired by Ella Fitzgerald’s Summertime.

