
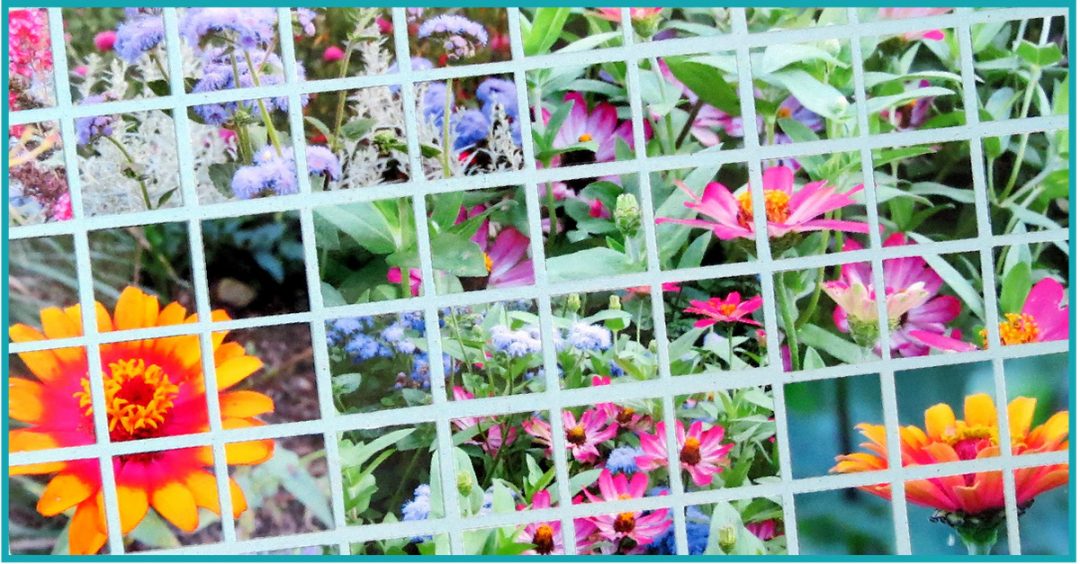
Making a page with a full mosaic style takes a bit of planning and lots of photos from which to choose. I had several pictures taken in a local butterfly garden of the park down the street. Some were close-ups others were wide shots of the garden beds showing off the many varieties of flowers.
In this page I will blend by colors and use both fields of color and close ups. In other mosaic layouts I have also used waterfalls and streams as well if they are present in the gardens.
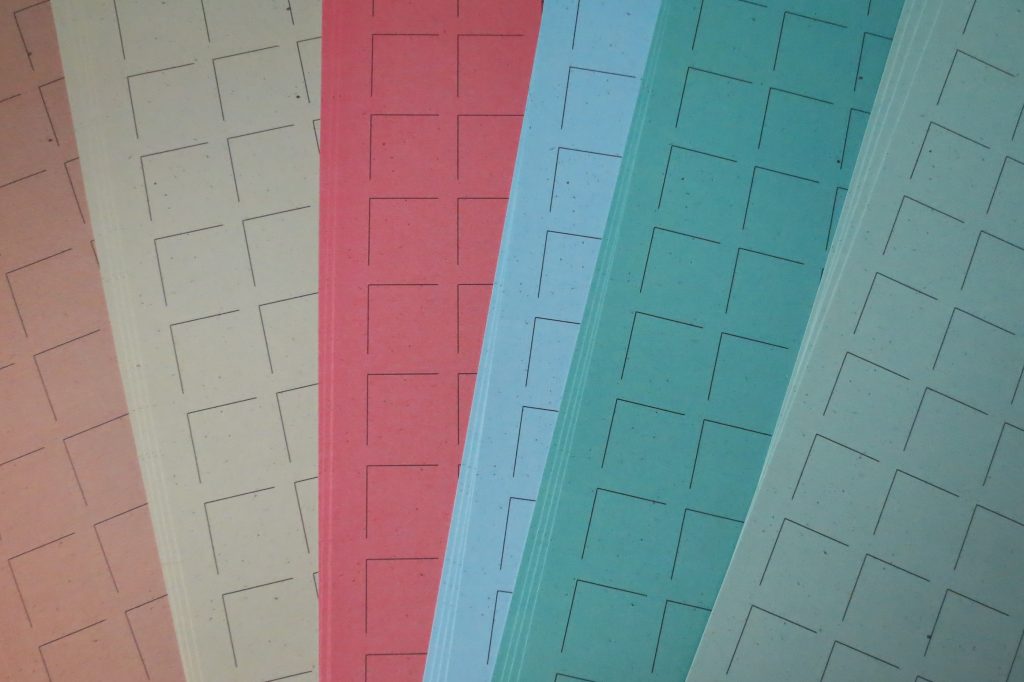
I have printed my photos in a variety of sizes from 2×2, 3×3, 3×4, 4×4 and 4×6. This allows for a lot more variation in sizes to use as I arrange things. I place things on my Double-sided Craft Mat to see where I might place the photos on the grid.
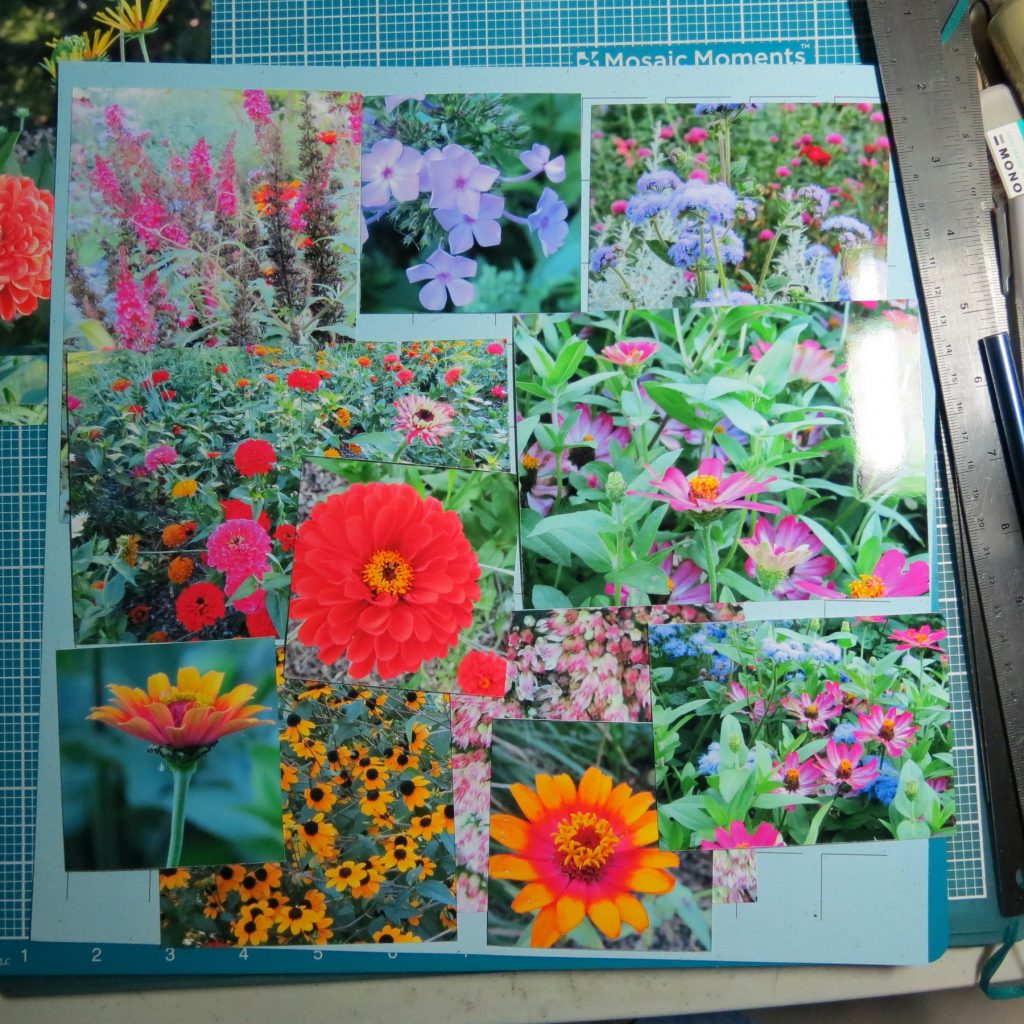

I have a few photos I want to be sure get included and it’s important to begin with getting them set to build around them.
The grid that I have selected is the new Reflection in the Nantucket Collection. The blue-greens in the foliage work well with this grid of blue. For a more dramatic look I normally use Black Grid paper so this will be a change up from the ordinary.
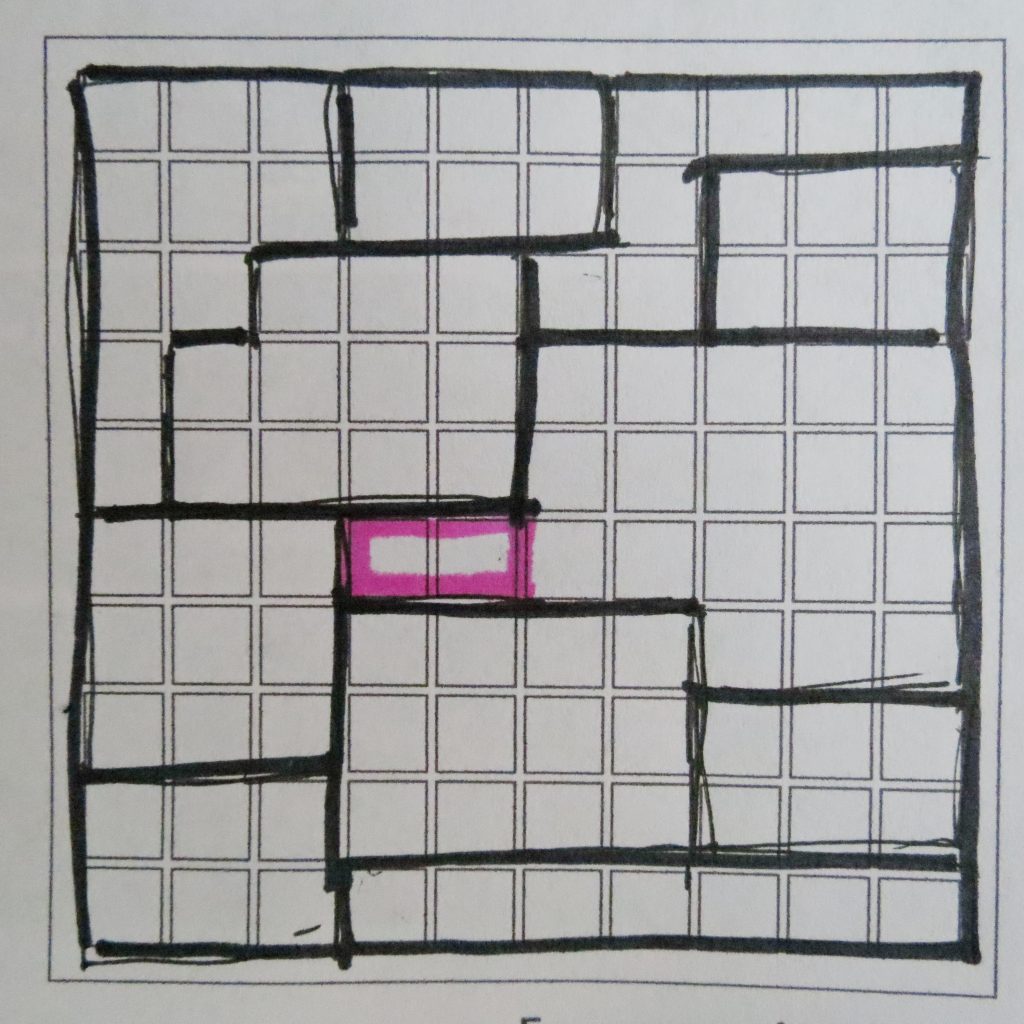
The Pattern is #160 a mosaic style pattern. There are 100 – 1” squares to fill!
I’ve used 11 photos for this page. I had many more printed out that I would have liked to use to begin with but there are times not every photo can or should be used. You aren’t limited to only one layout so don’t try to get them all in on one grid, plan another page if you like. Begin by grouping by colors and sizes and play around to see which ones have similar colors or in this case, flowers.
I hand cut and then placed the photos I wanted to use lightly in place to make moving them easy if I decided to change squares out. As I added photos to the page, where I wanted to overlap, I removed bottom layers to replace with the new photo squares. Although I began with a plan of where I wanted things to go, I constantly made moves and shifted until I got the blends I wanted.
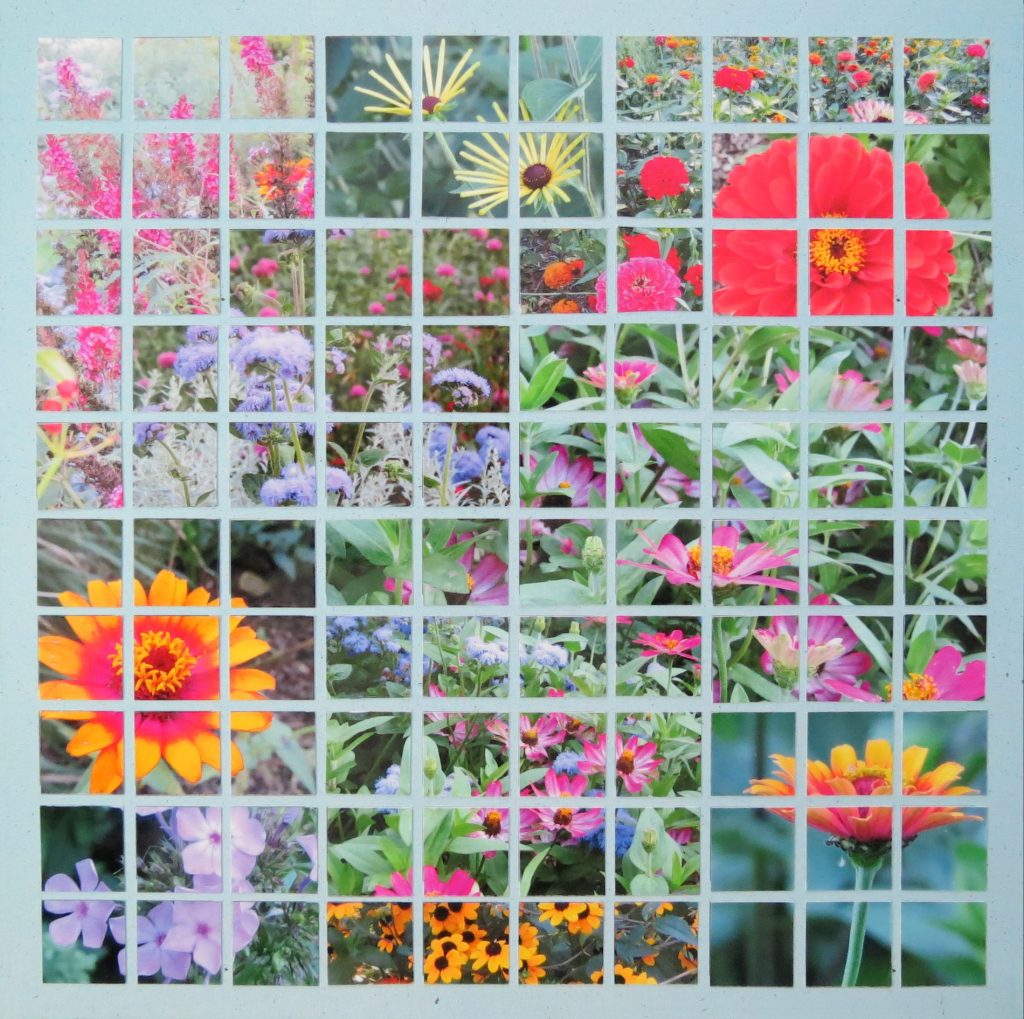
After shooting the final layout I was a little unhappy with my bottom right corner photo it wasn’t blending in the way I wanted but was standing out more than I liked. So, taking leftover squares from the yellow batch to the left I reduced the area the photo covered to 2×3 and retained the capture of the floating seed just by switching out some of the squares. The foliage worked better and pulled the yellows more prominently into the mosaic.

Working on a full mosaic just takes a little planning, a little playing around and the willingness to rearrange your design until you achieve a finished layout you can truly enjoy. Mosaic Style Blending will be fun.
Andrea Fisher