
When you need a shape that goes around the corner, the Corner Strips Die is your friend.
This die not only fills a tight spot, it also offers the opportunity for some unique creations.
Take a look at layouts from the Mosaic Moments® Design Team below.
1. Frame a Family
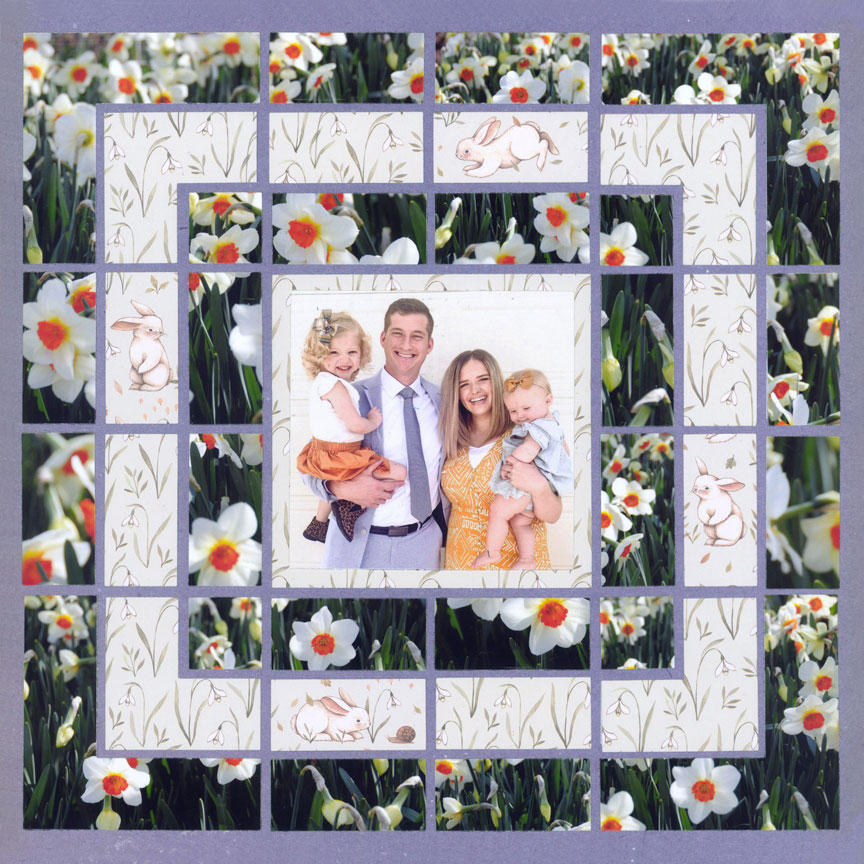
"Easter Sunday" by Jodi Benson
The Corner Strips Die, along with the Corner Connector Die, make a beautiful frame around a family portrait.
You can use photos and/or patterned paper to create this design.
And, because the Corner Strips Die and Corner Connector Die cut multiple pieces at once, it only looks time consuming.
2. Make a Rainbow
Grab a variety of colors of cardstock and you can create a rainbow around your photo with just a few quick cuts.
Candy showcased a bubble in the center of her layout, but you could use any photo of loved ones in the center.
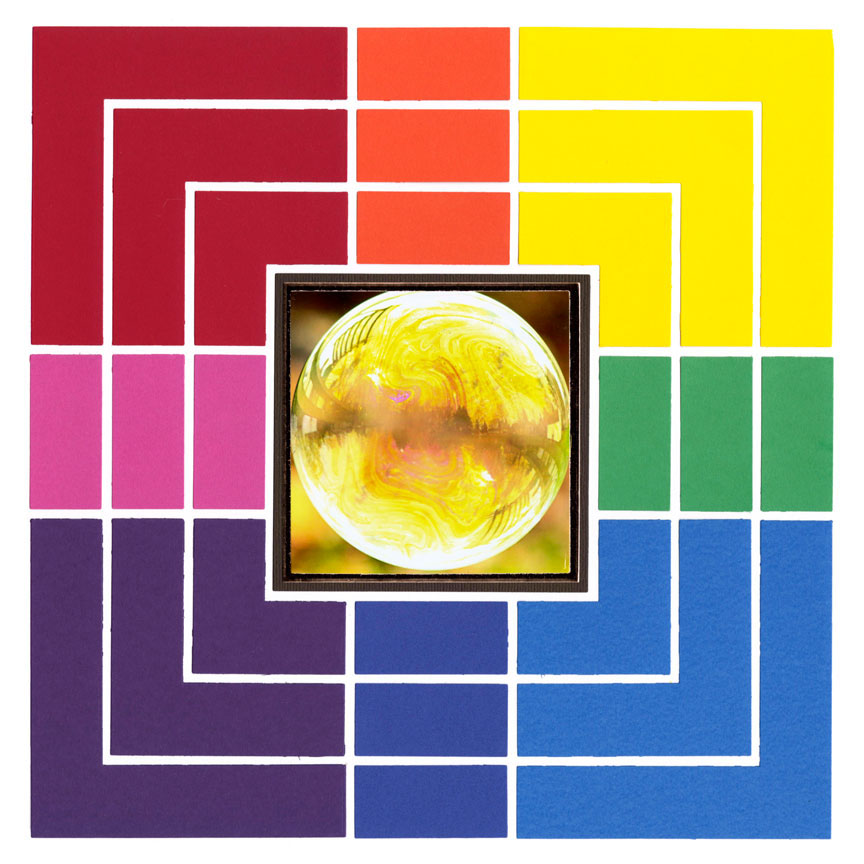
"Bubble" by Candy Spiegel
3. Create a Scene
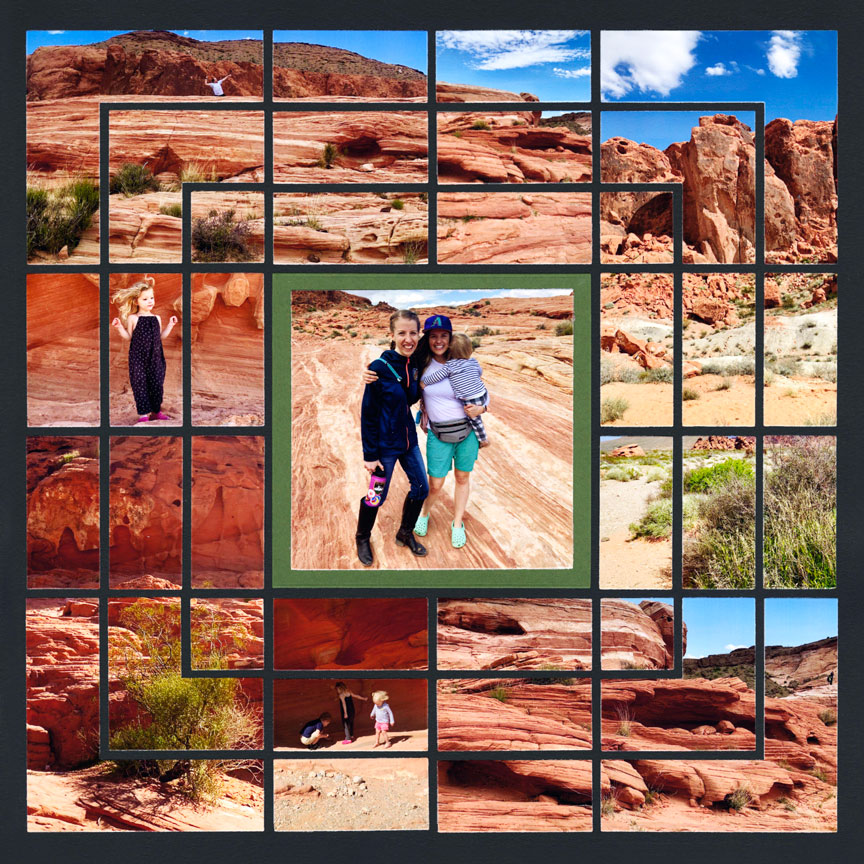
"Valley of Fire" by Jodi Benson
When you blend photos together -- keeping similar colors and textures near each other -- you can turn a stack of photos into one beautiful scene.
Notice how Jodi placed sand photos next to each other so one photo blends seamlessly into the next. It's a bit of Mosaic Magic -- corner style.
4. Incorporate Other Dies
The Corner Strips Die can also be used with other dies to create unique shapes.
Here, Candy used the Corner Strips Die and Corner Connector Die around the outside of her layout. She then used the Corner Cut Out Dies and Basic and Layering Dies to fill in the rest of the space around the Large Graphic Frame in the center.
"Summer in My Backyard" by Candy Spiegel
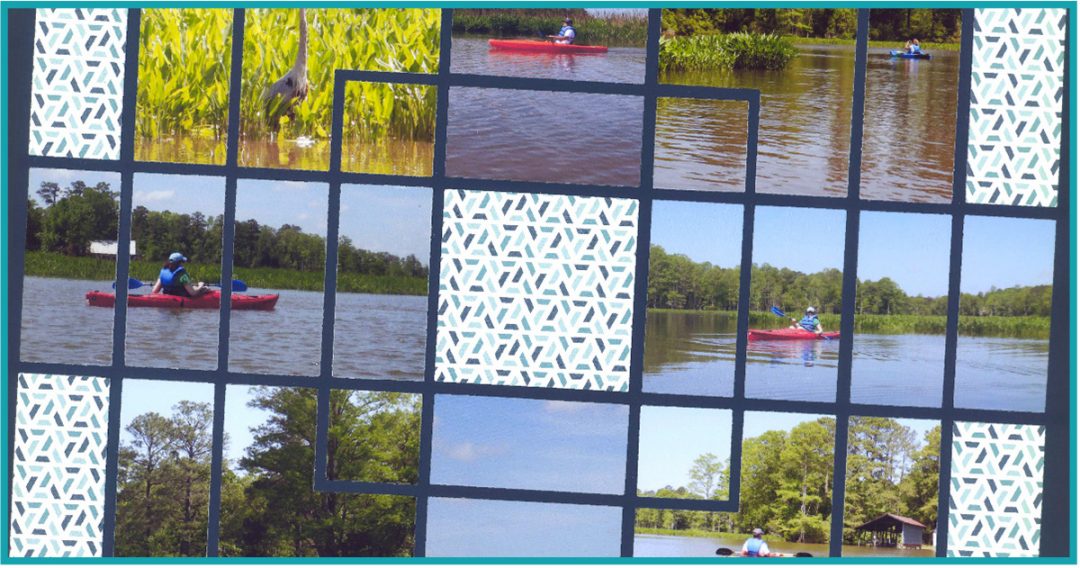
5. Try Patterned Paper

"Kayaking on the Creek" by Paije Potter
A bit of patterned paper in the corners and center of the layout turns this page into something special.
We love how Paije let the photos with the Corner Connector pieces go all the way to the edge of the layout. It provides more interest than if she had simply framed the layout.
6. Highlight the Center
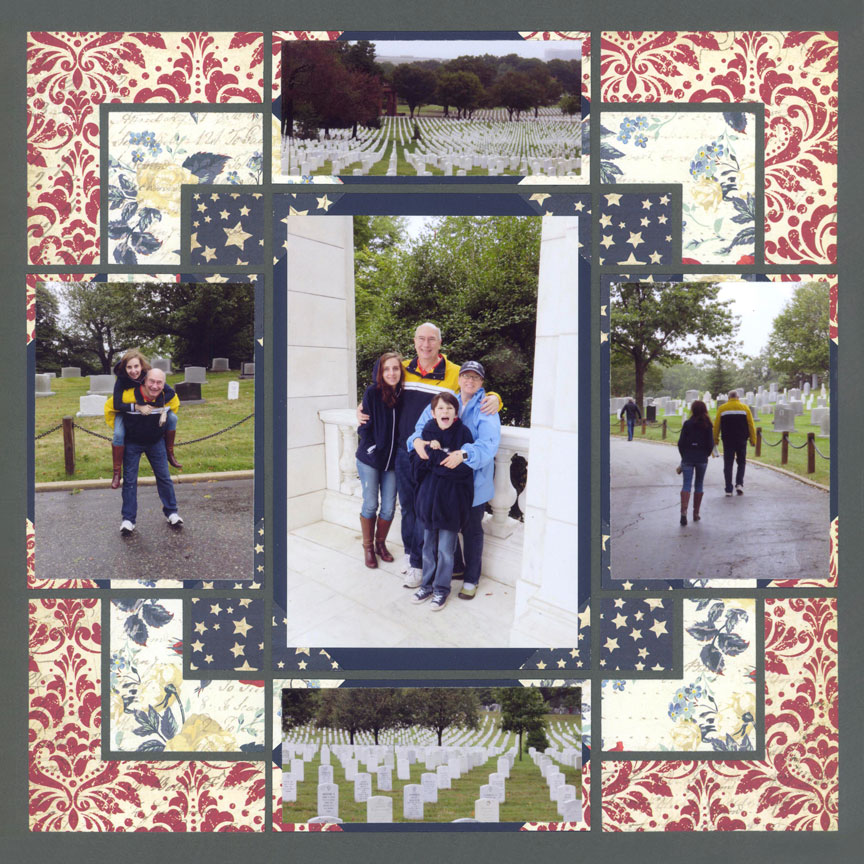
"Arlington Cemetary" by Paije Potter
7. Include Larger Photos
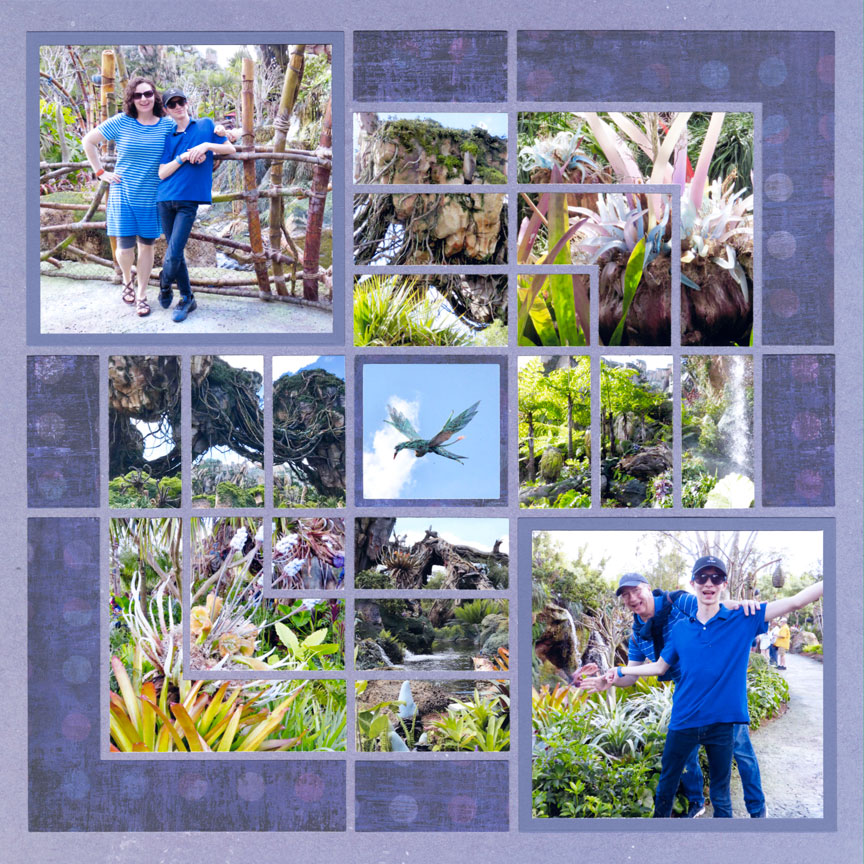
"Pandora 2018" by Paije Potter
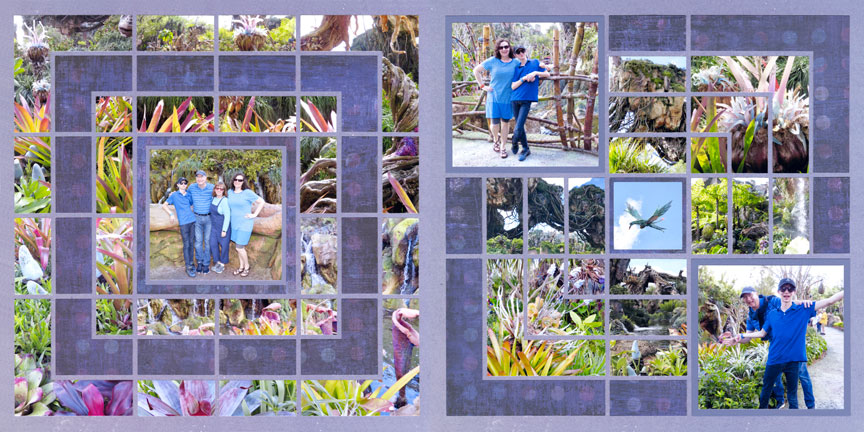
8. Stack the Photos
Paije created a border around this layout using the Basic Bundle Dies. Then, she used the Corner Strips Die in the center to cut each of her photos.
Look closely and you will see she used a different photo for each section of the Corner Strips. Very cool.
Note: In order to cut photos from the entire die, like in this layout, you will need to print them 5x7. Otherwise, you will only be able to use three of the four corner strips, like shown in the other layouts.
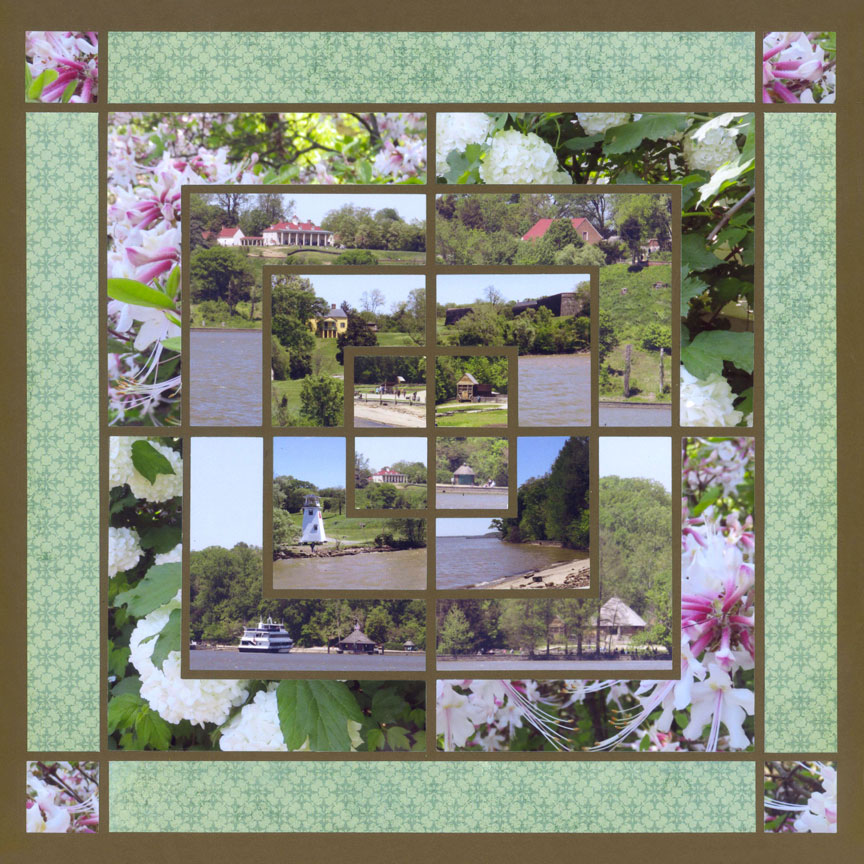
"Cruise on the Potomac" by Paije Potter
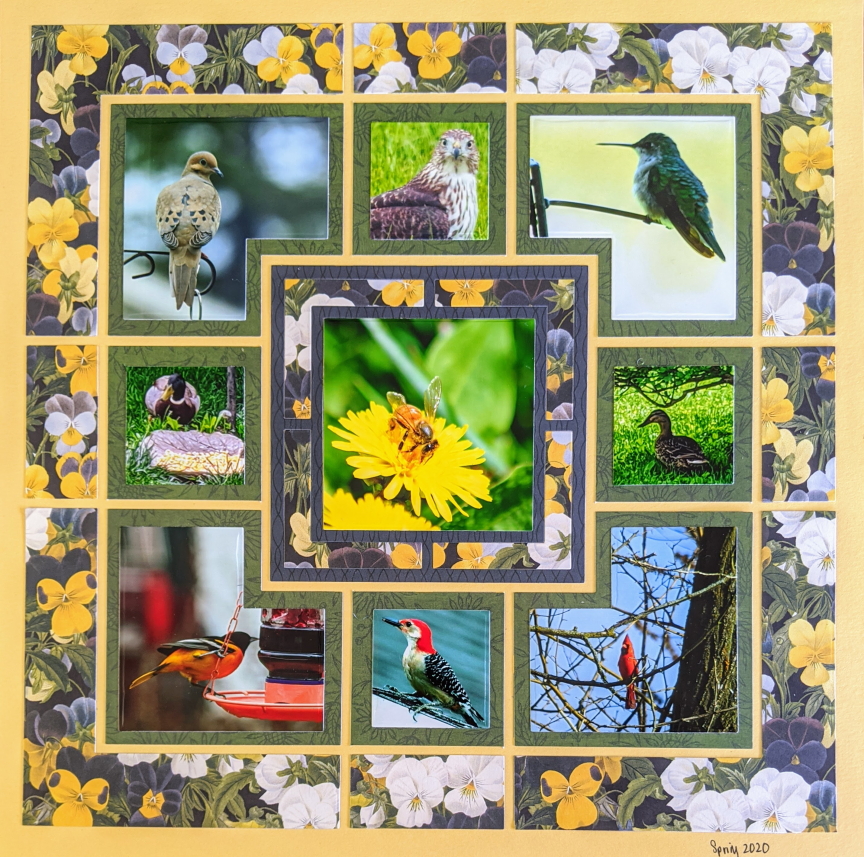
9. Include Lots of Photos
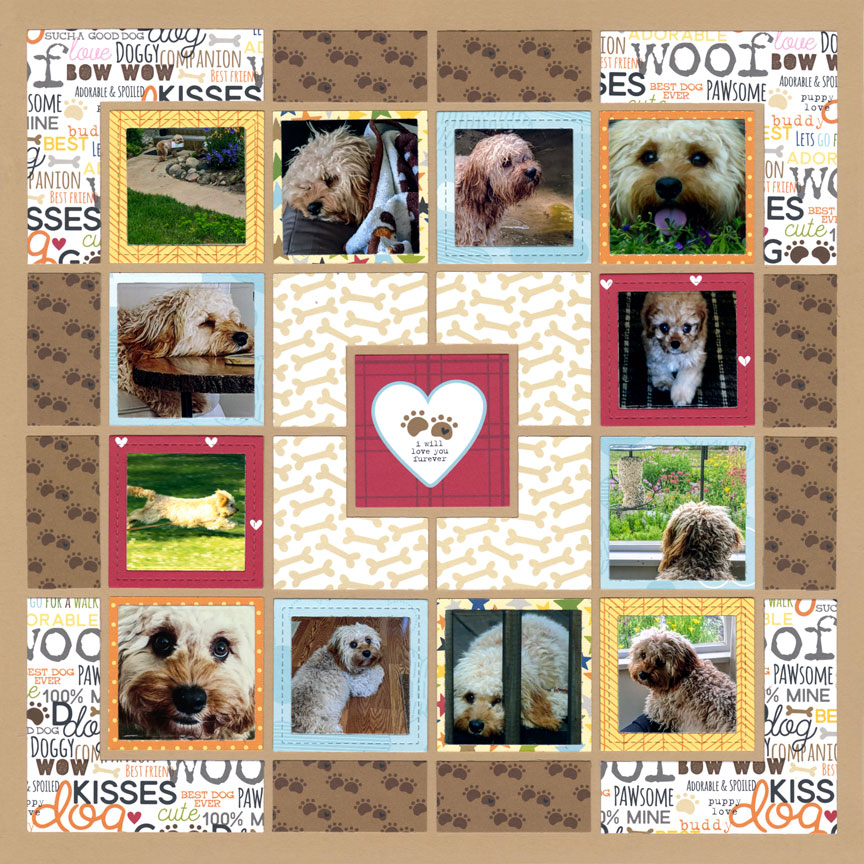
"Charlie, Charlie, Charlie" by Candy Spiegel
With the Corner Strip Die, you can make two borders and include lots of small photos in between. This one includes 12 photos, but you could make it 13 if you replaced the center square with another photo.
It is perfect for all of those photos you take of a new baby or a new pet. It could also be used as a Year in Review layout.
And, it is a great way to use up extra papers from a collection.