
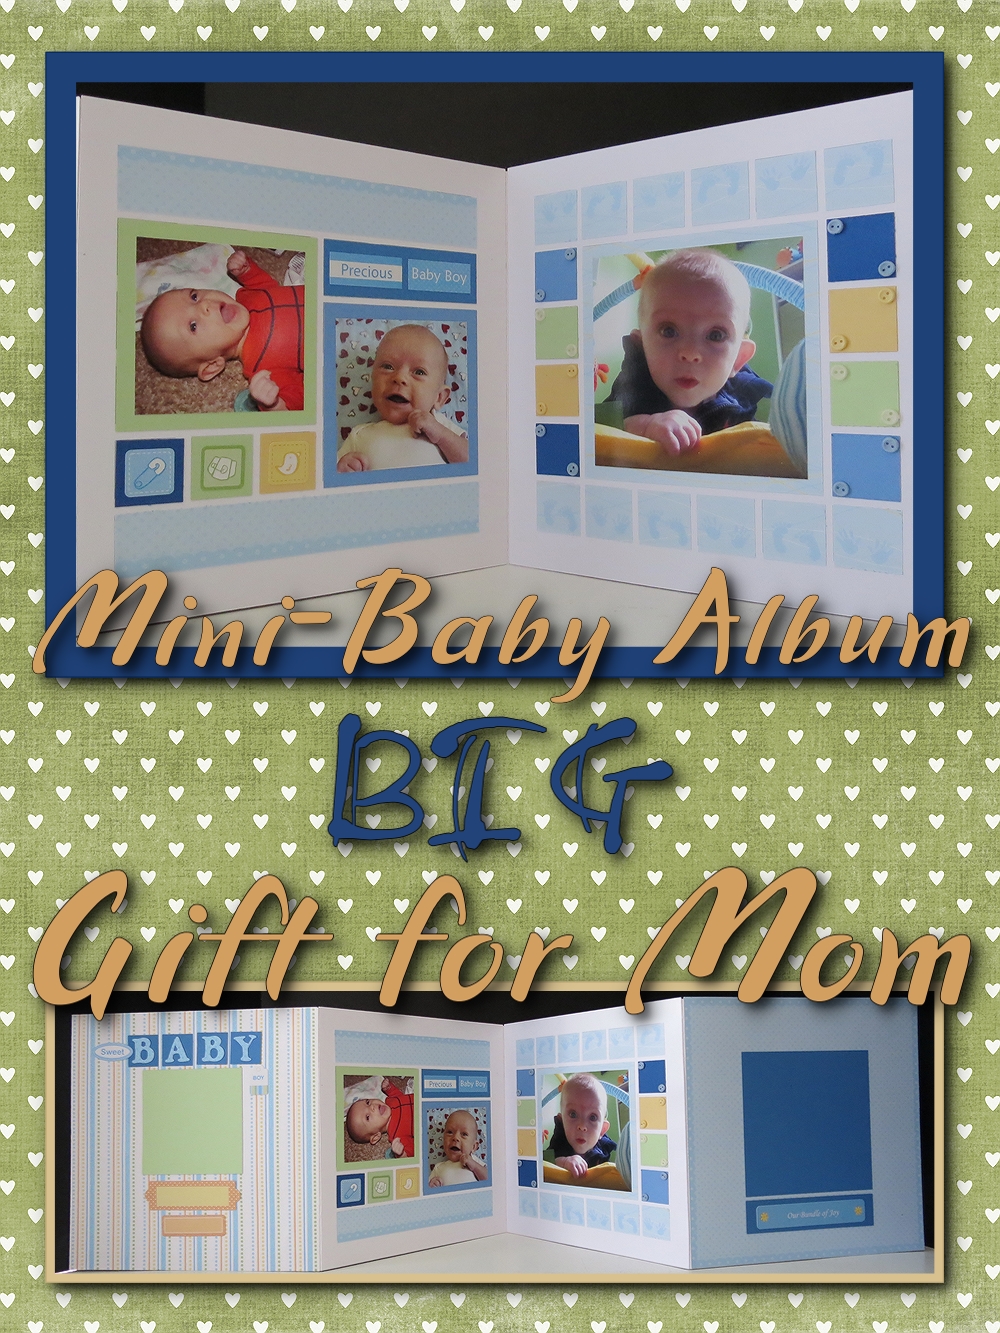
Two albums, one made without photos the other with the work already done!
Mini Baby Albums For a Special Mother’s Day Gift
Mother’s Day for first time Moms is always so special. Having a gift to match… priceless. If you have someone fitting the bill, you may like to assemble this Mini Baby Album for a Big Gift for Mom this Mother’s Day, or perhaps as a baby shower gift. This would also work for other occasions like graduations or weddings, but I’ll show you two baby versions from which to choose.
This baby mini album can be adapted to hold 8 grid pages, but I like that I can use one package (6 pages) per gift, and give myself a front cover and back cover using just the patterned papers from the set.
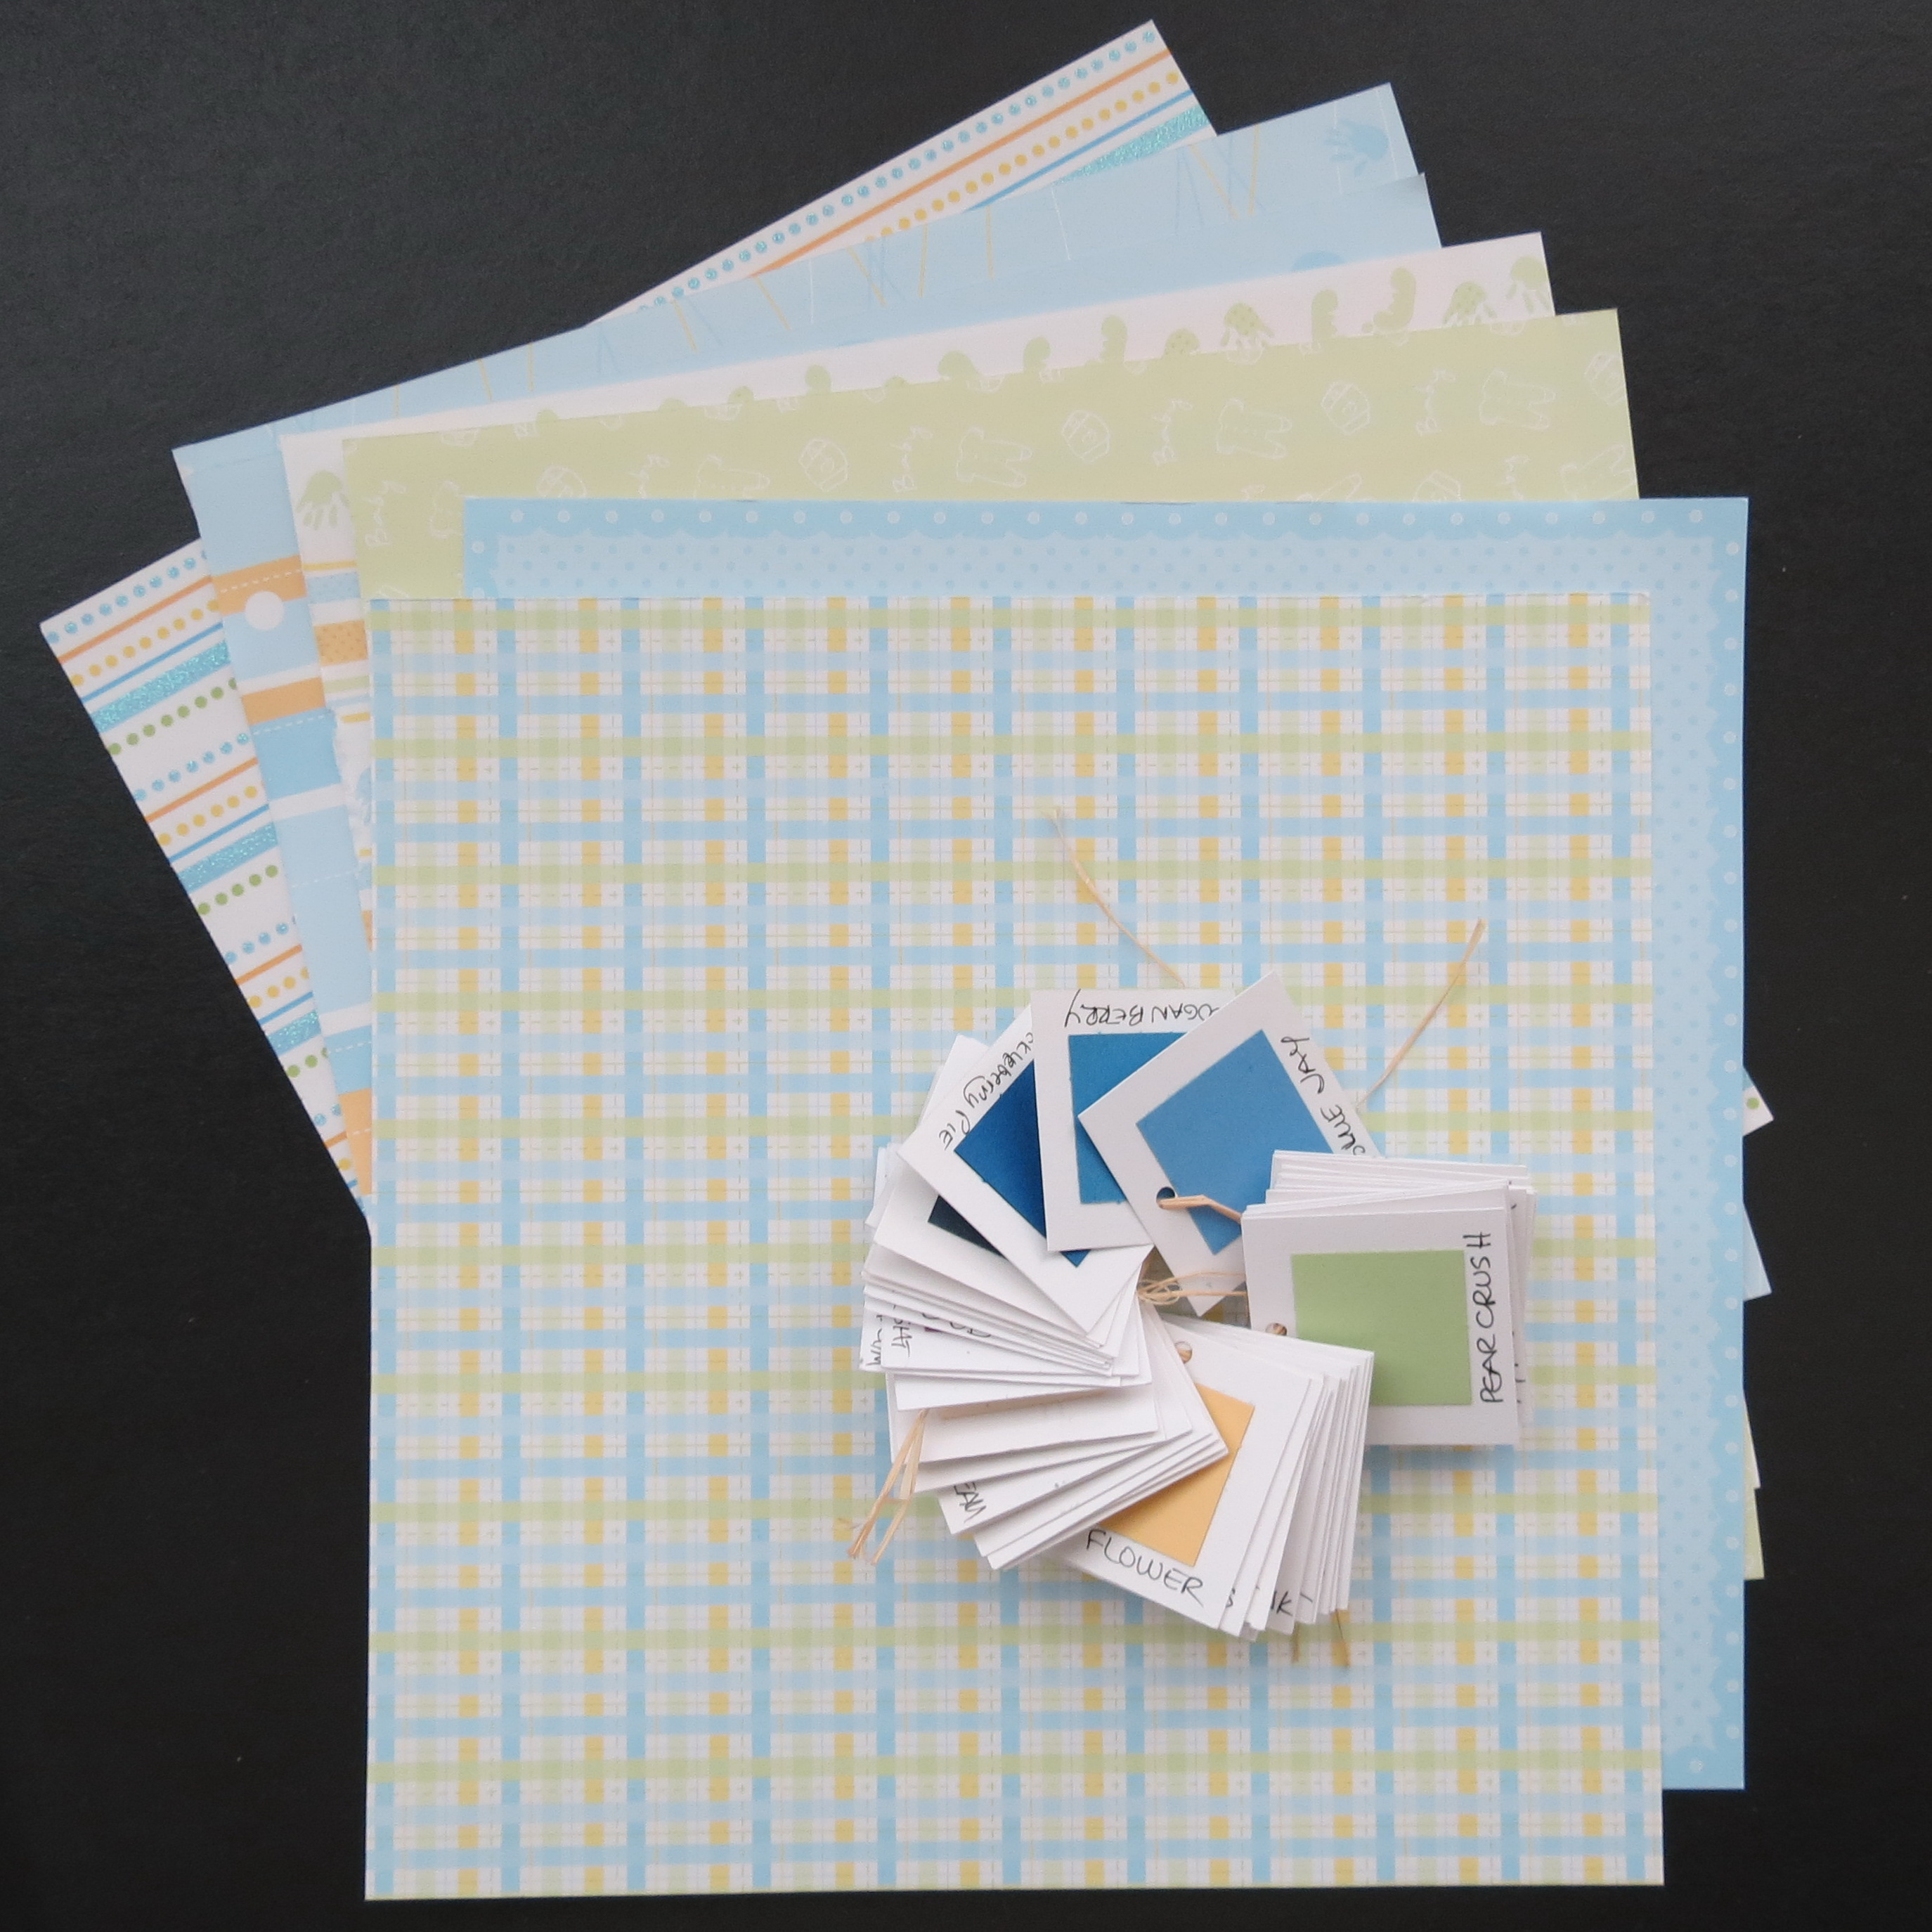
Use a pack of coordinated papers for a unified look and lots of options. Either a 12×12 or 8×8 pad will work; the 8×8 paper patterns are scaled down from the 12×12.
For this book we will be using:
- A package of six 8”x 8” Mosaic Moments Grid Papers in white (also available in black)
- Coordinated Baby patterned papers and several colors of Mosaic Moments Paper Tiles
- 3 sheets of white tag 8.5” x 11” (or lightweight chipboard)
- Various embellishments like ribbon, pearls, and tags
- Strong adhesive or Xyron for adhering grids to accordion book.
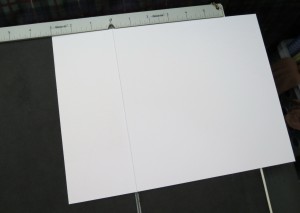
Prepare your pages:
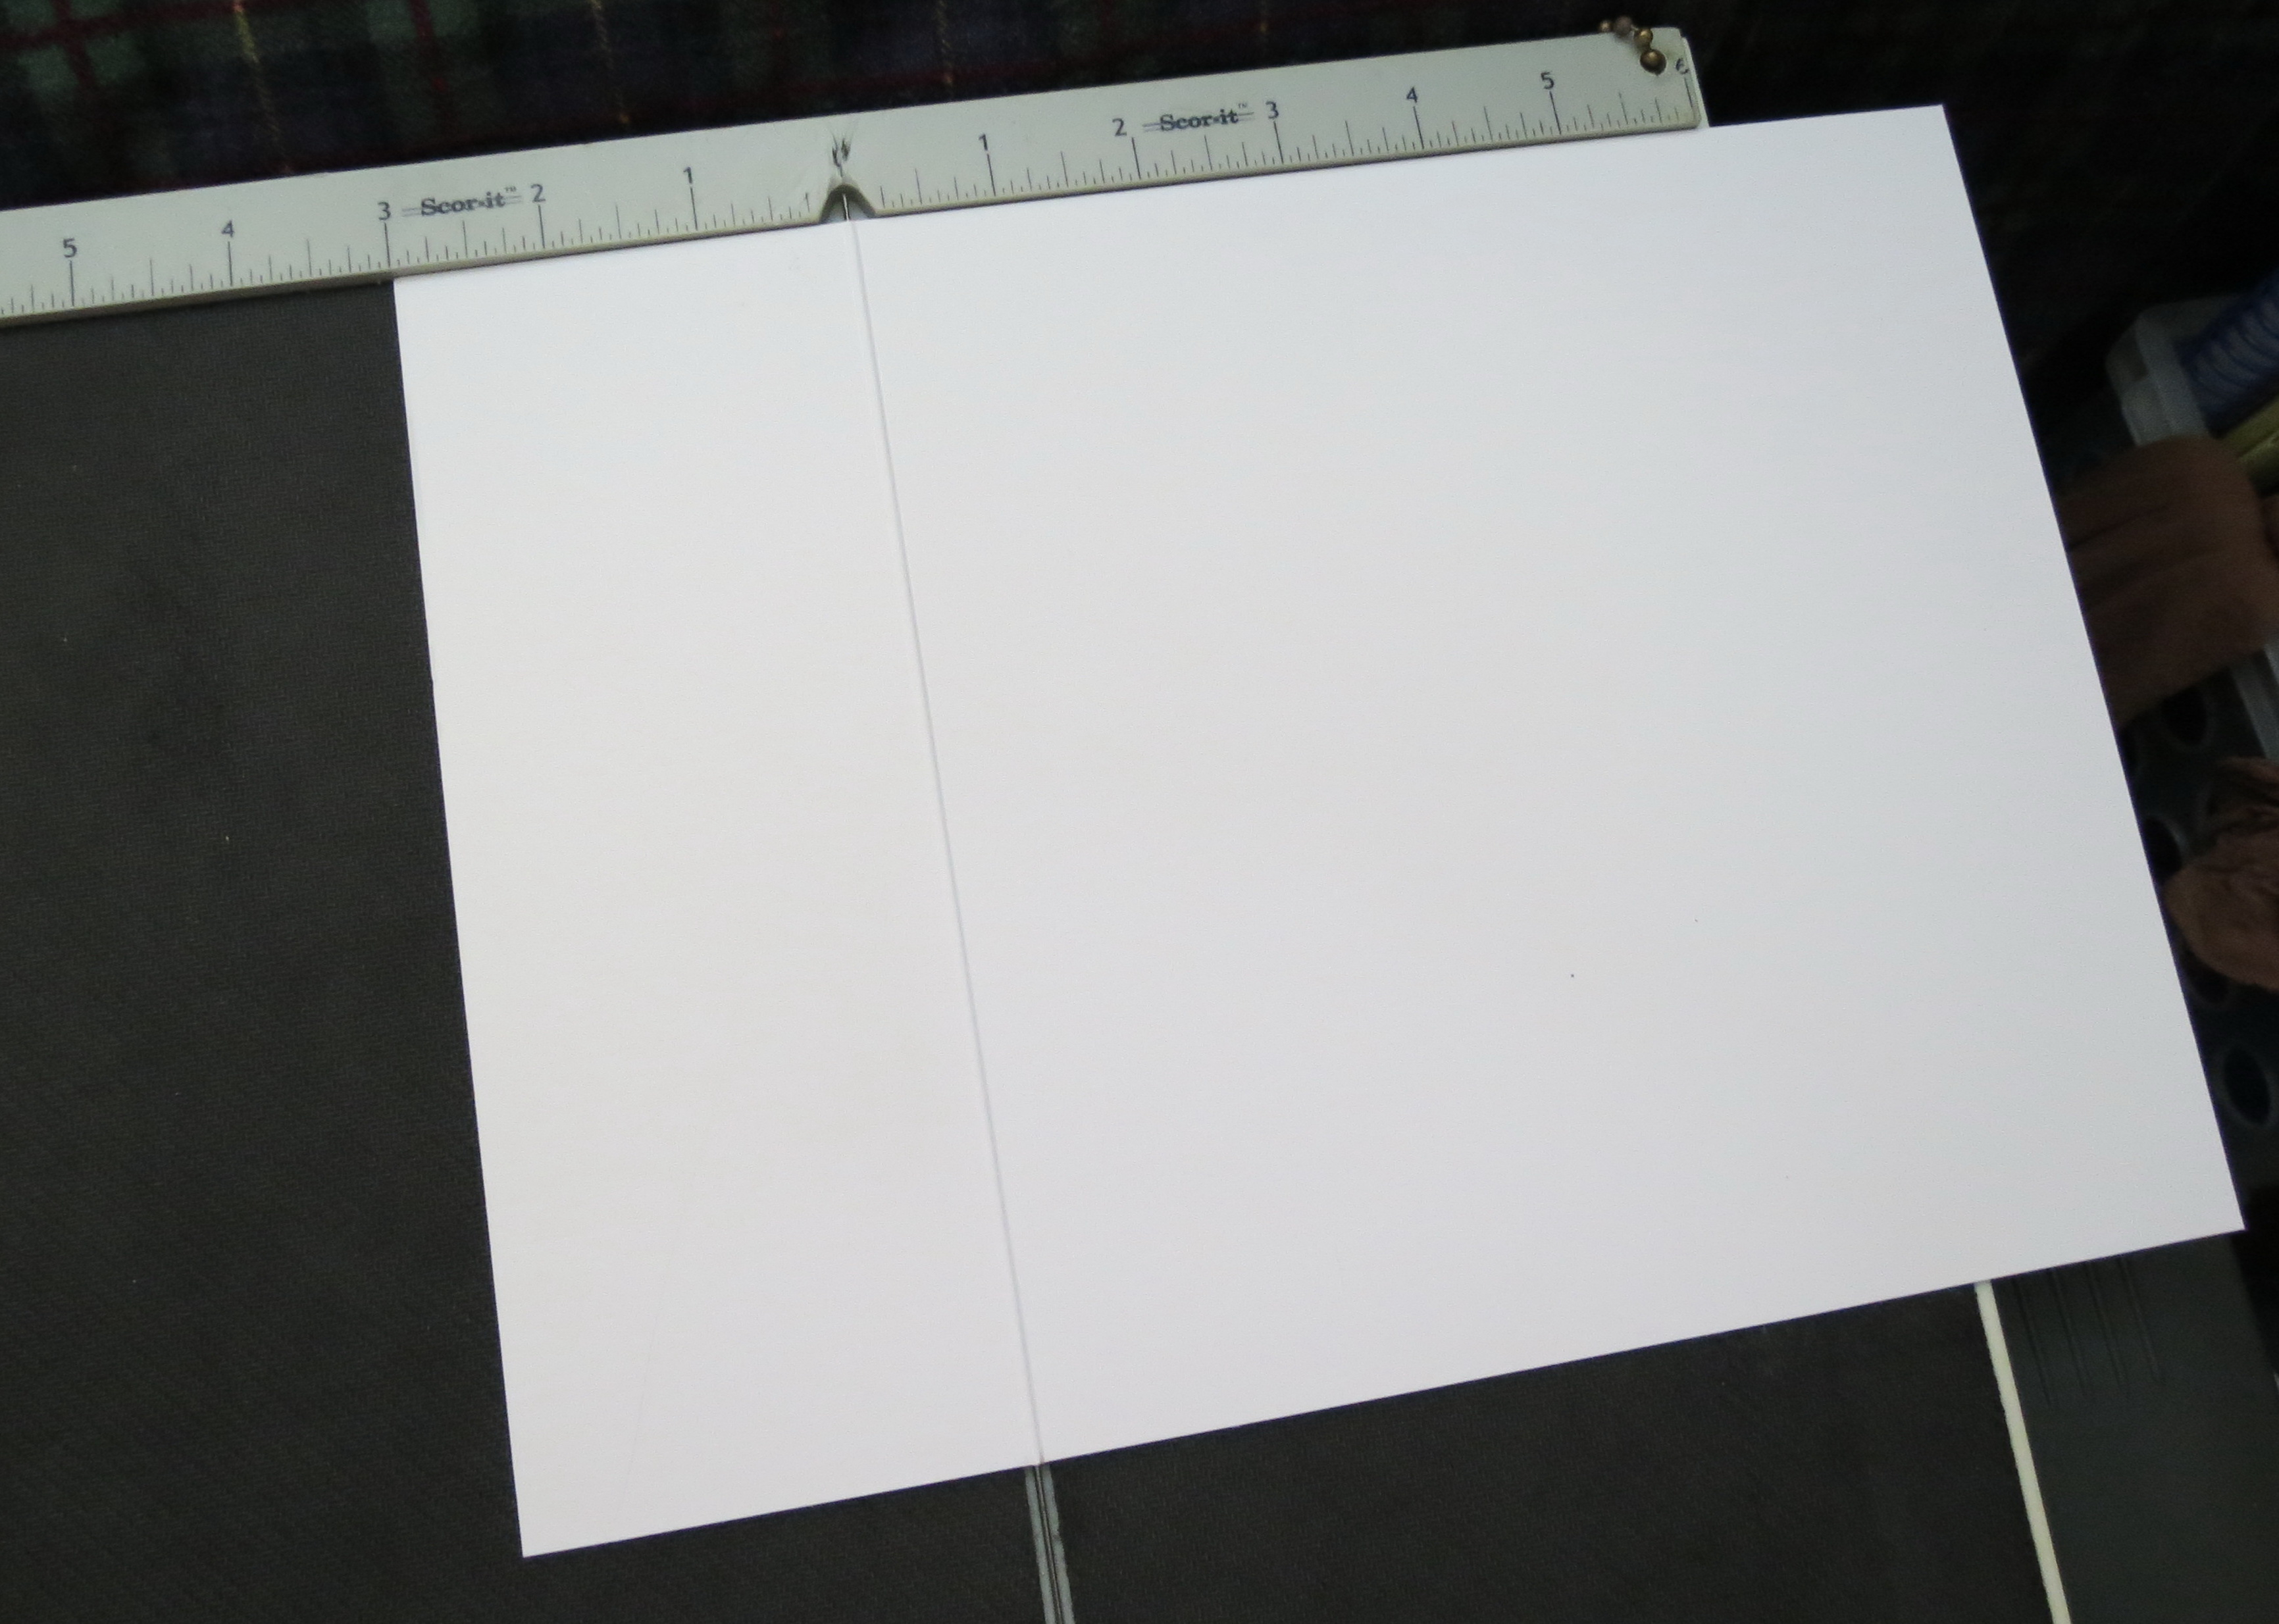
- 2 sheets of paper are cut to 8” x 11 and scored at 8”(easier at 3” depending on your score-pad)
- 1 sheet cut to 8” x 10” and scored in the middle at 5”
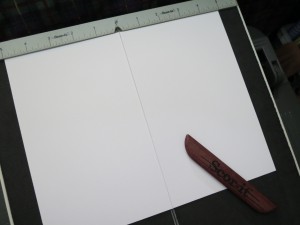
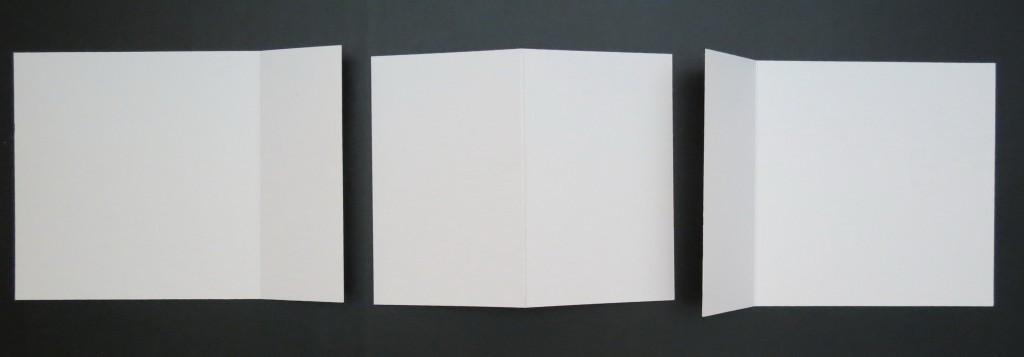
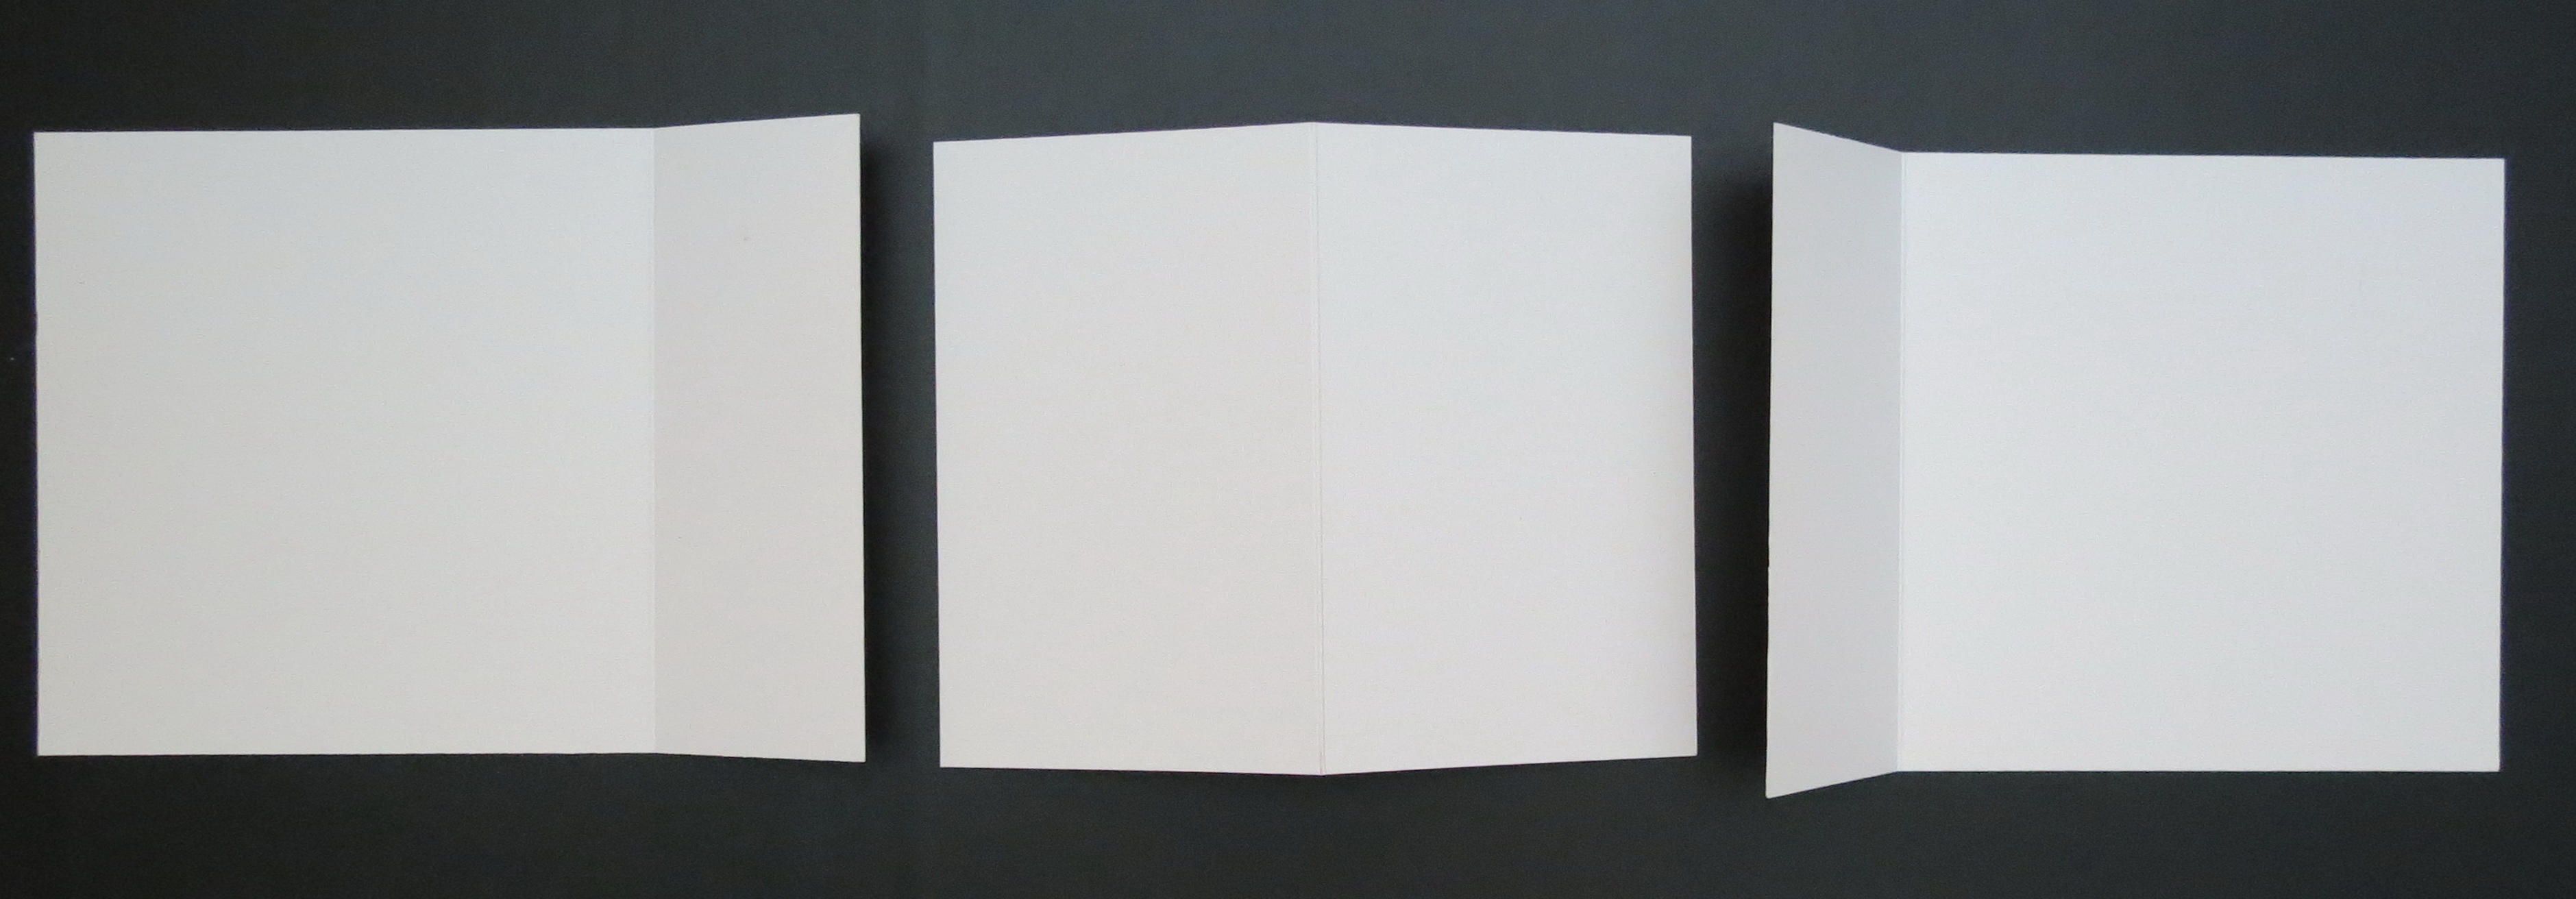
Arrange sections with the 8″ x 10″ section in the center, the two outer sections will join to the center with the 3″ section butting edges.
- Use Scotch tape to butt the edges together and join the three sections with the 8” x 10” in the center. Tape both front and backside for strength. Each of your 6 sheets of 8”x8” Mosaic Moments Grid Paper will be attached to this scored base.
- Run your grid through a Xyron, or use heavy duty double-sided adhesive tape.
- Four panels on one side and two in the center on the opposite side of this accordion fold album. To insure a good fit align the grid along the inside fold and then the bottom edge. If it extends beyond the outer edge it may be easily trimmed. You want the pages to fold easily and lay flat. The bottom edge will need to be even so that it will be able to stand up.

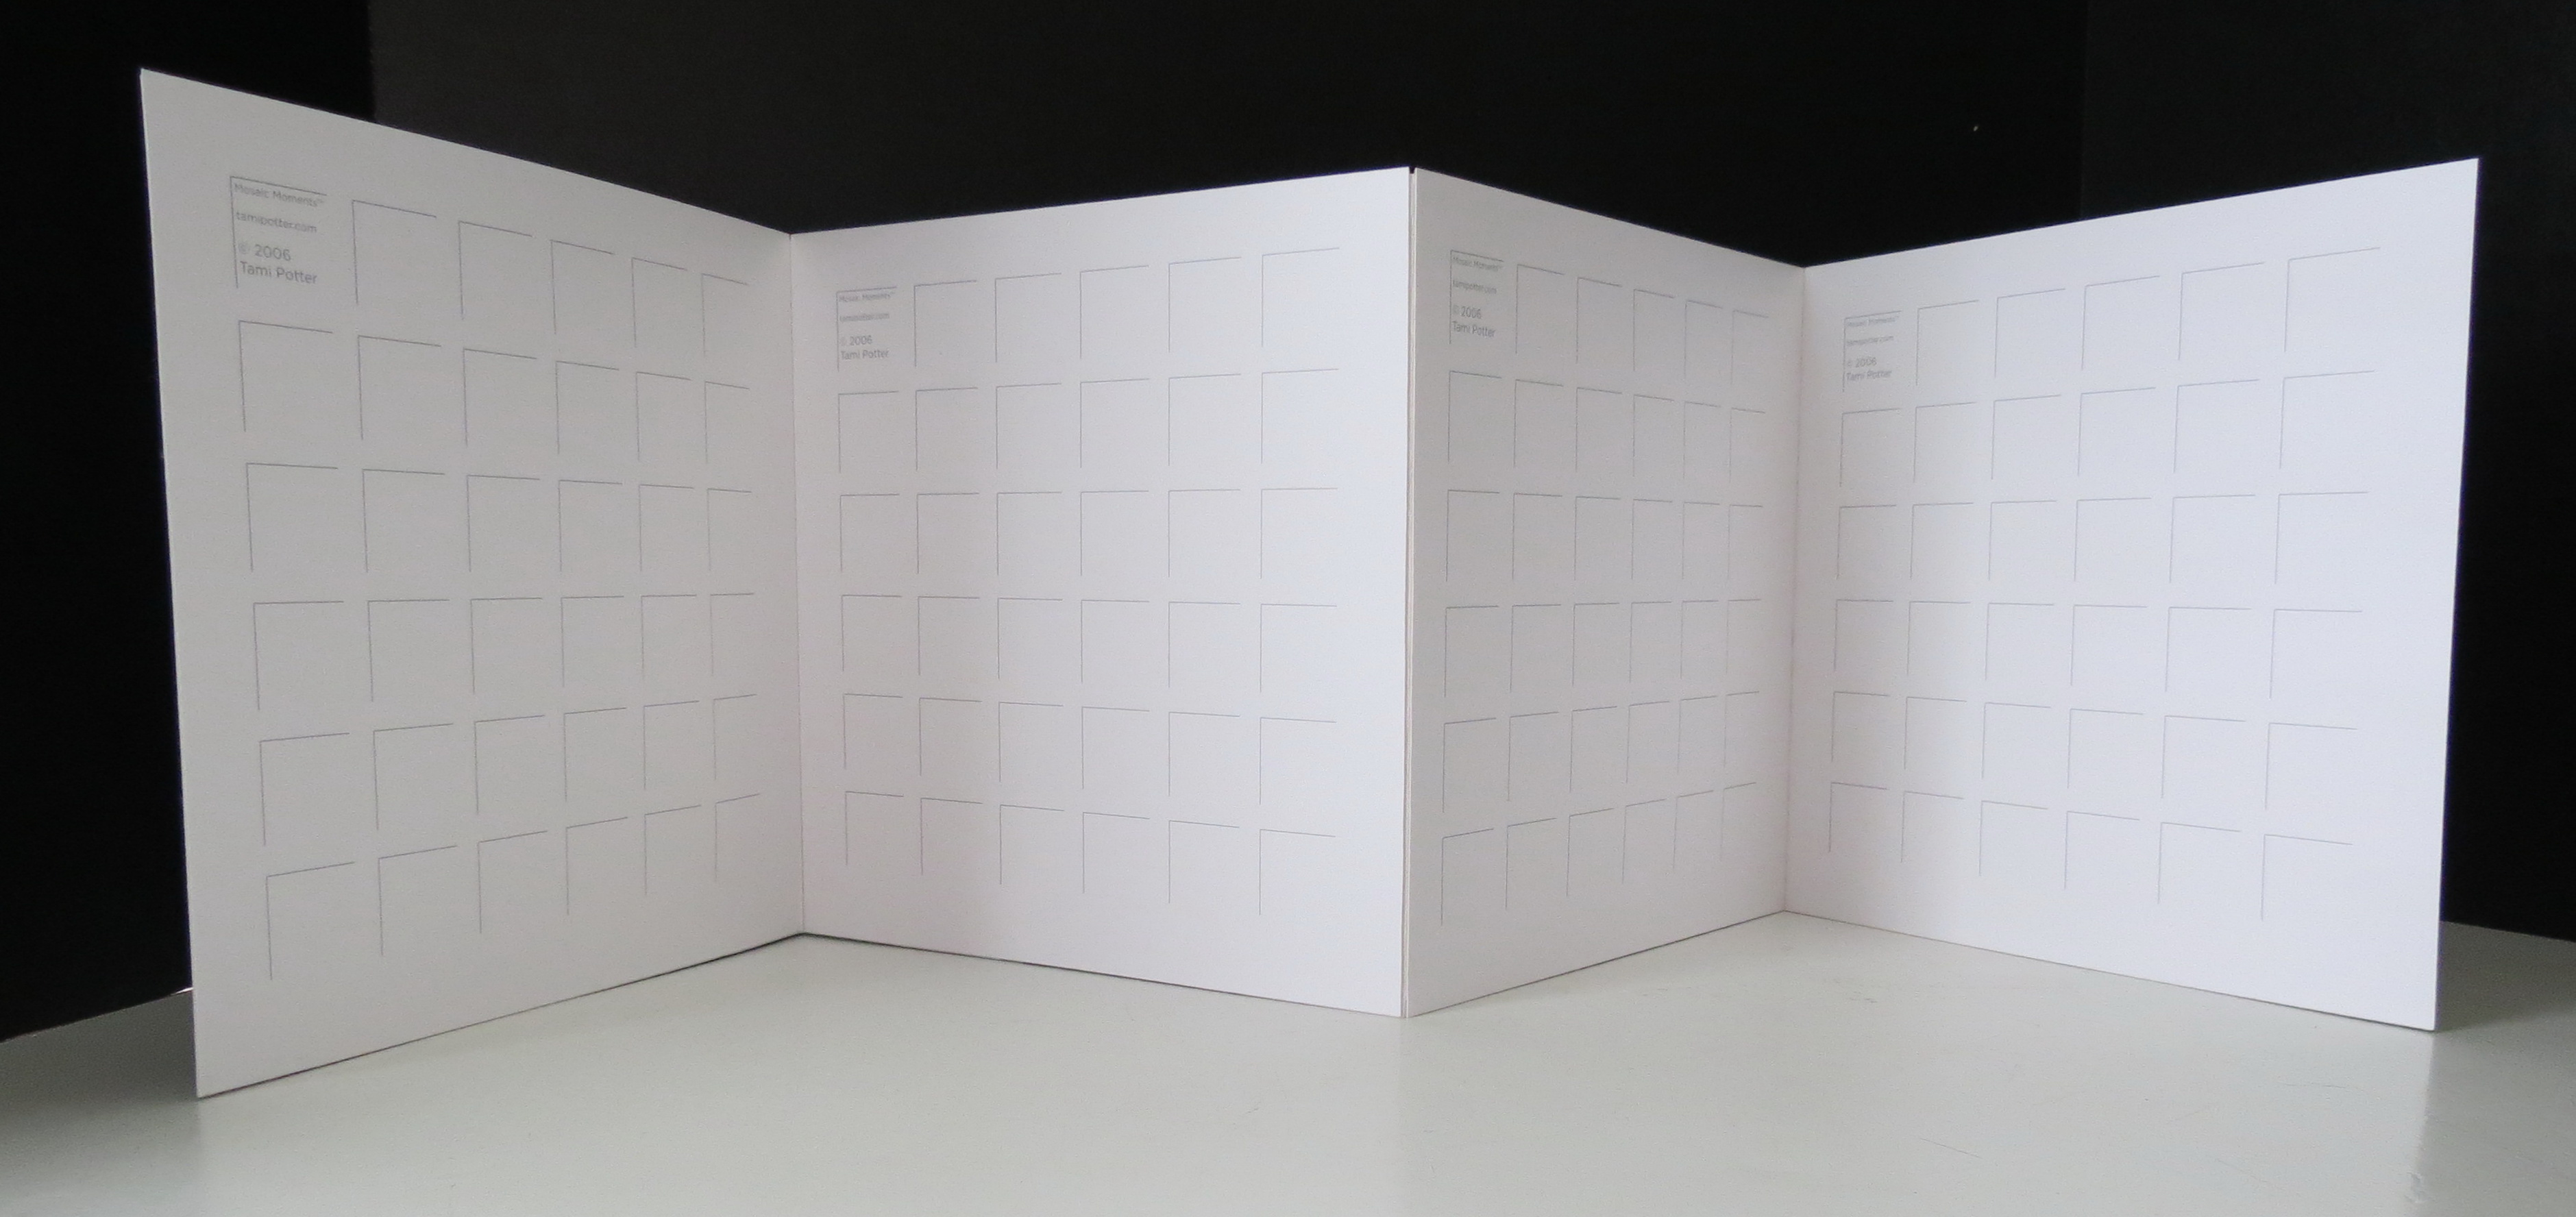
This is what it will look like when all the 8″ x 8″ grids are attached. Sturdy enough to be used as a display piece.
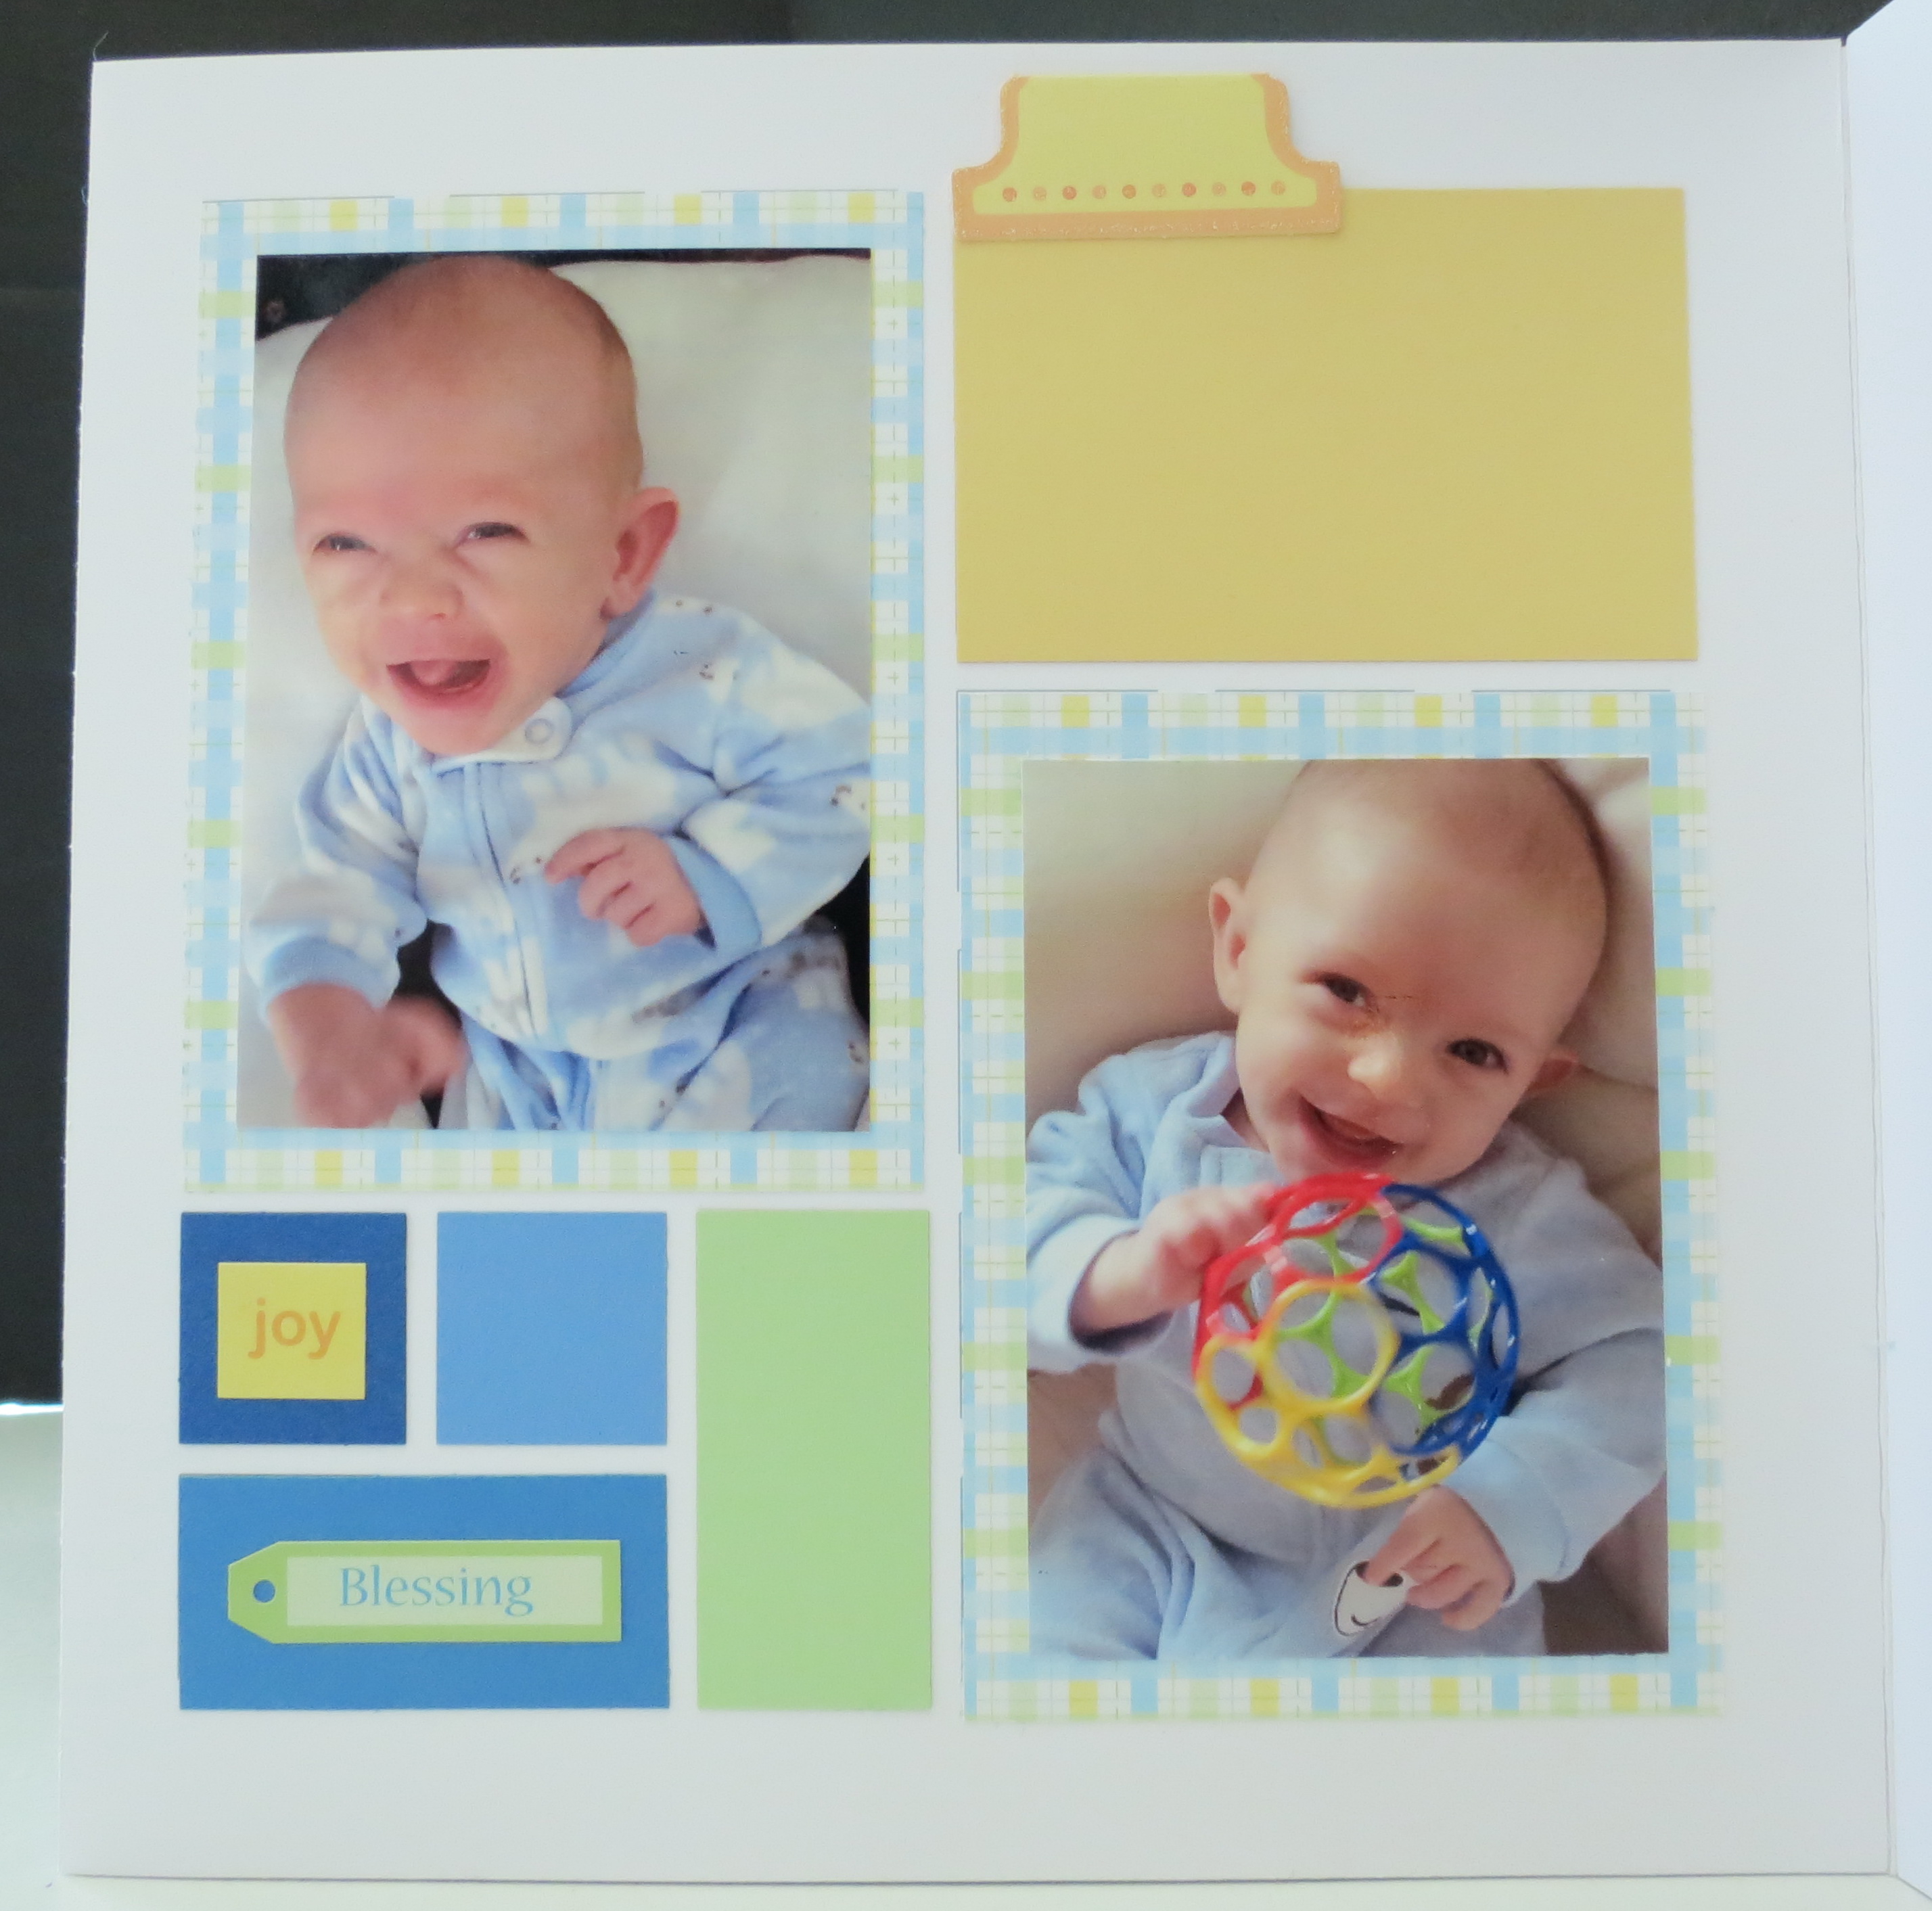
Now comes the fun part. I have a couple of basic patterns I use to arrange photos and now I just choose papers and tiles to fill each page. Some spots can be for journal spots or embellishments, not all have to be for photos. Each page should have a good sized paper block or tile to be used as a mat for the photo.

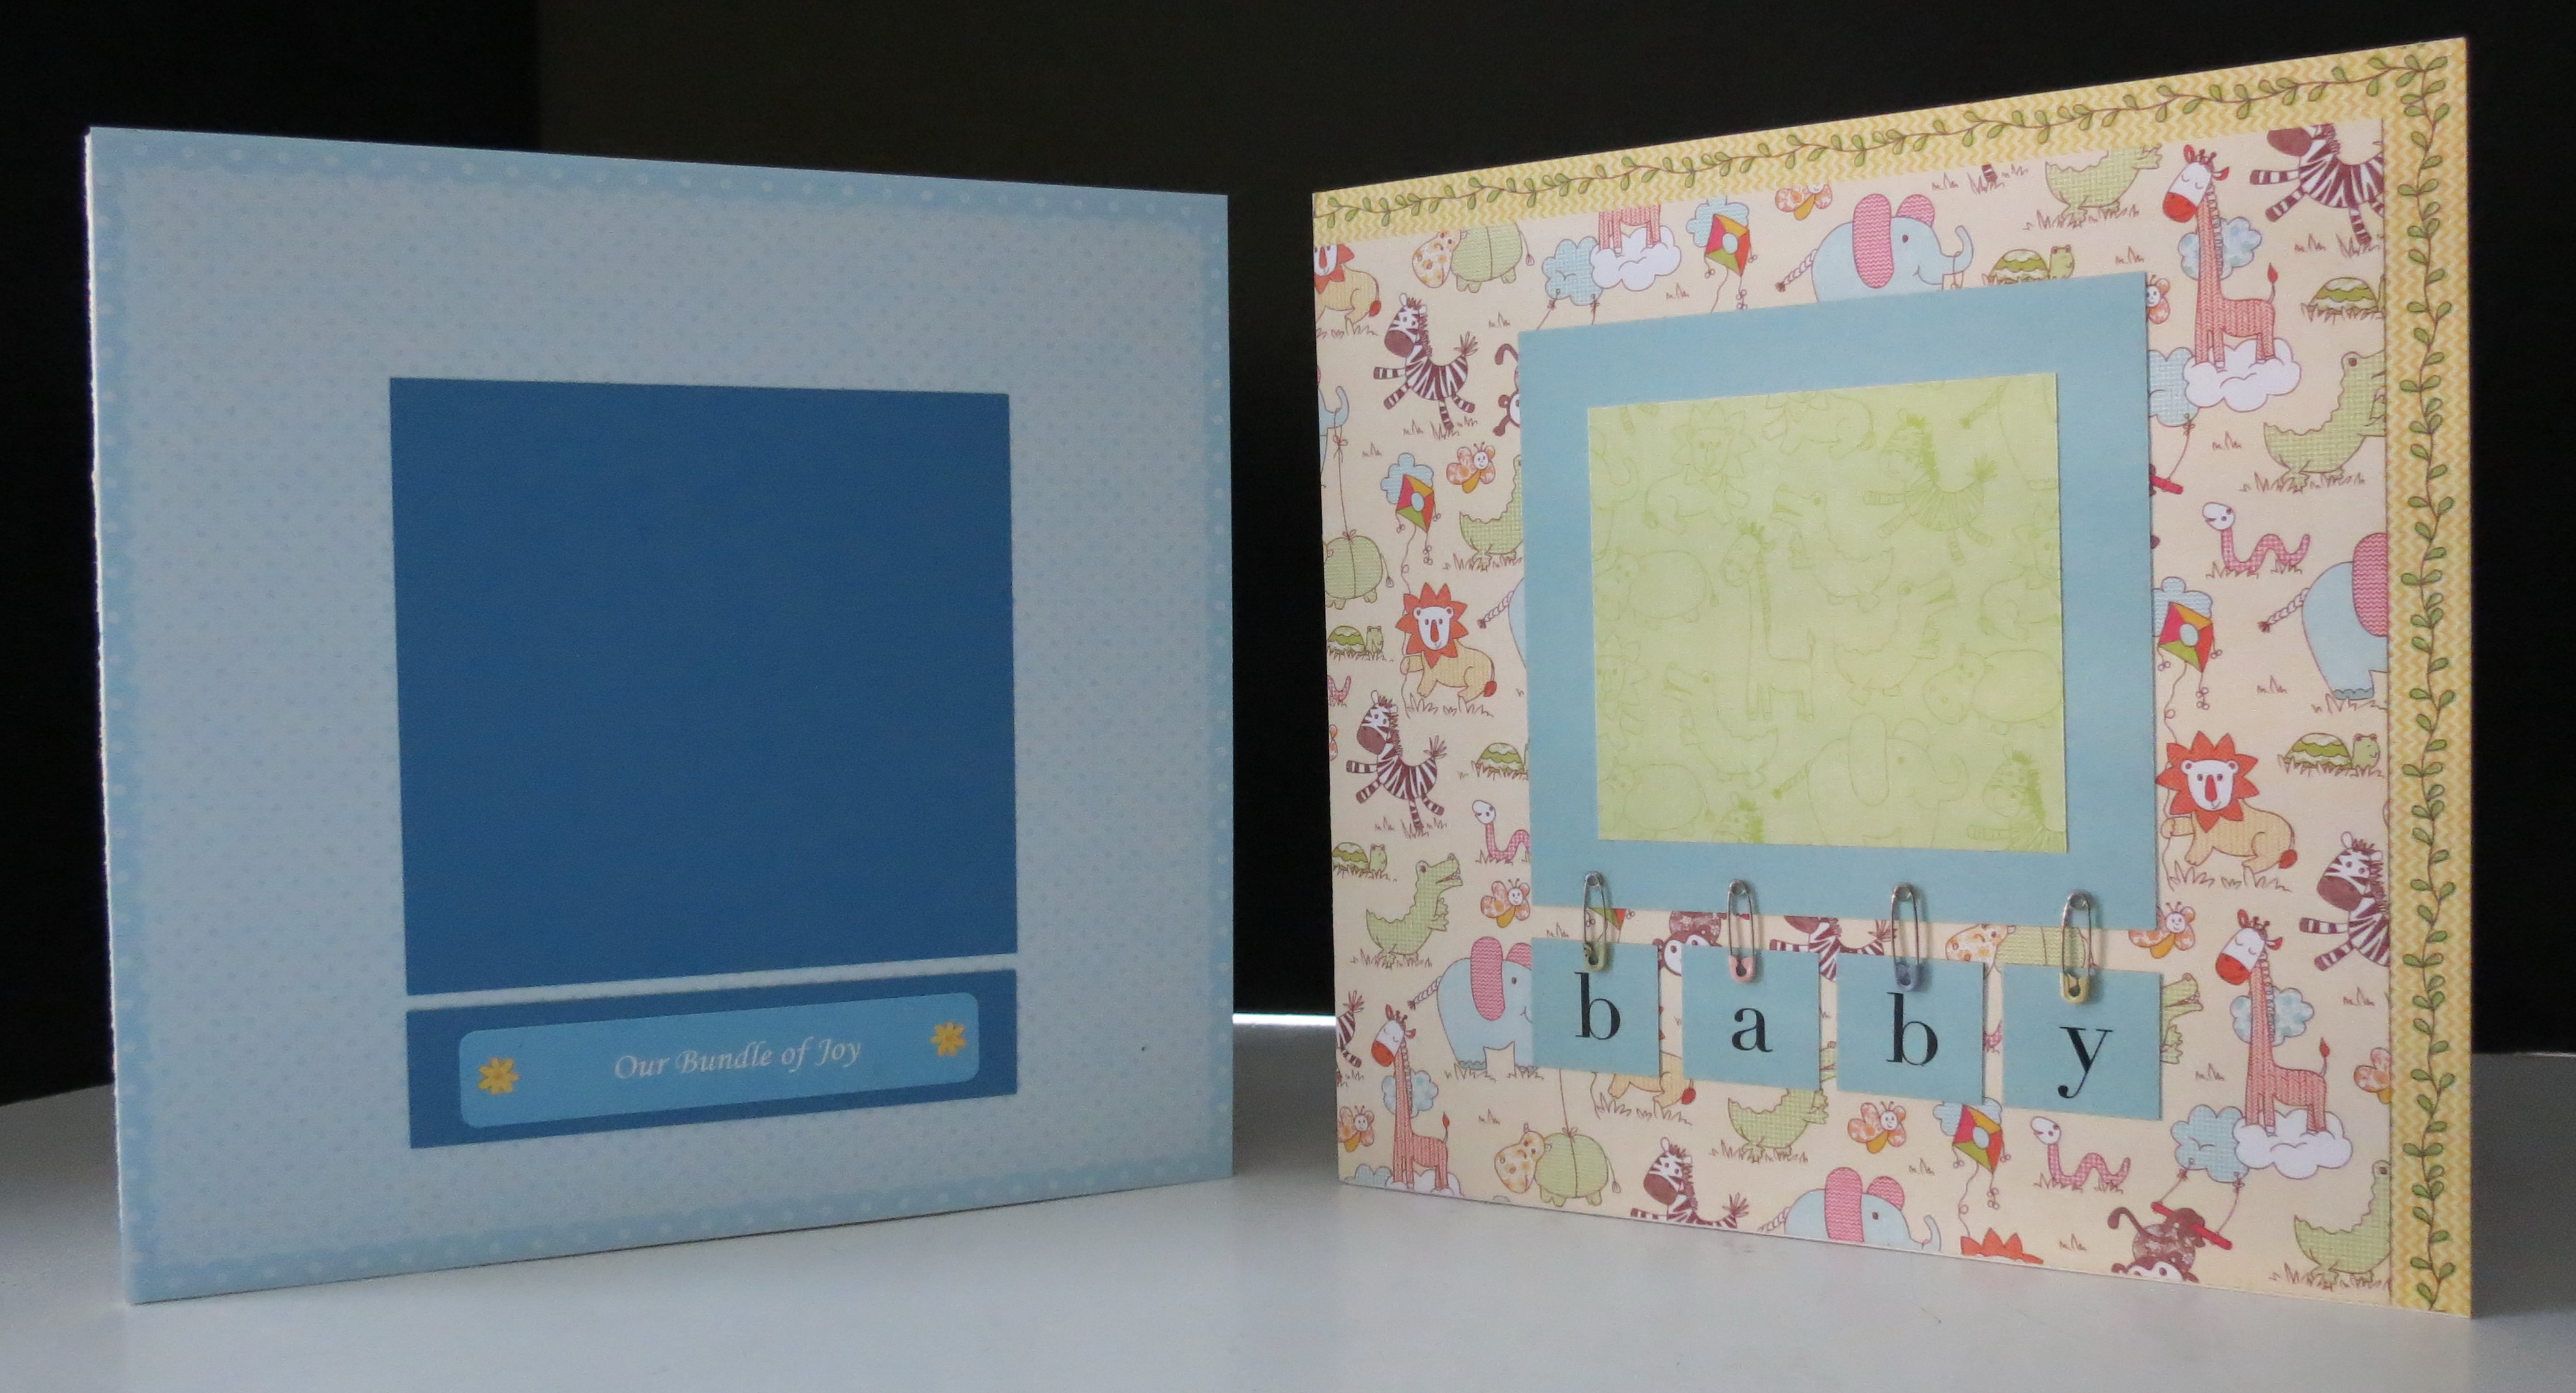
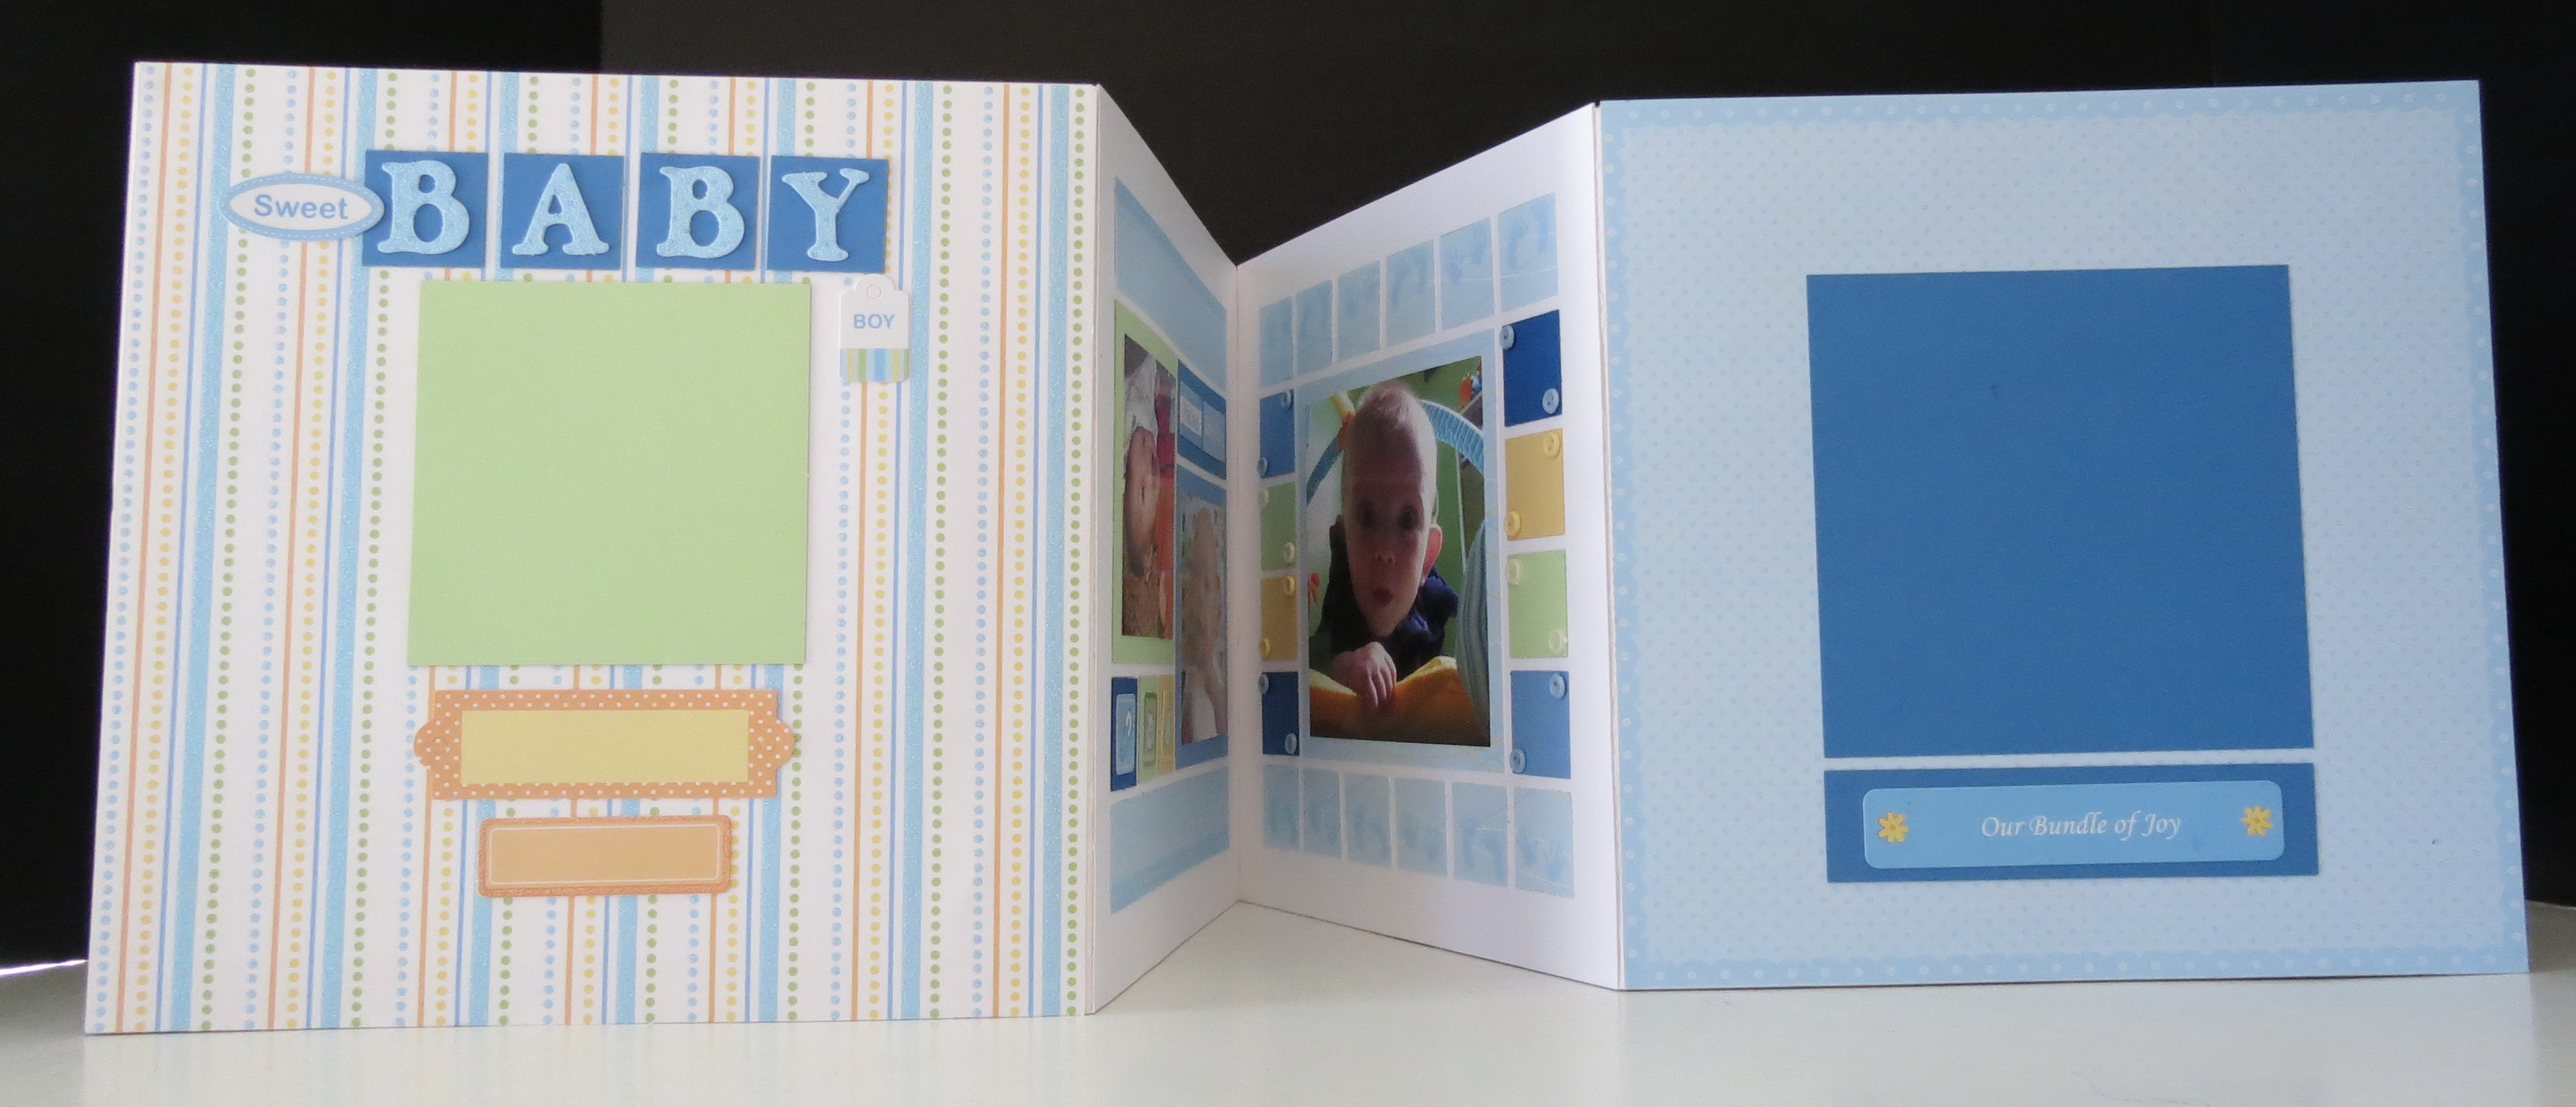
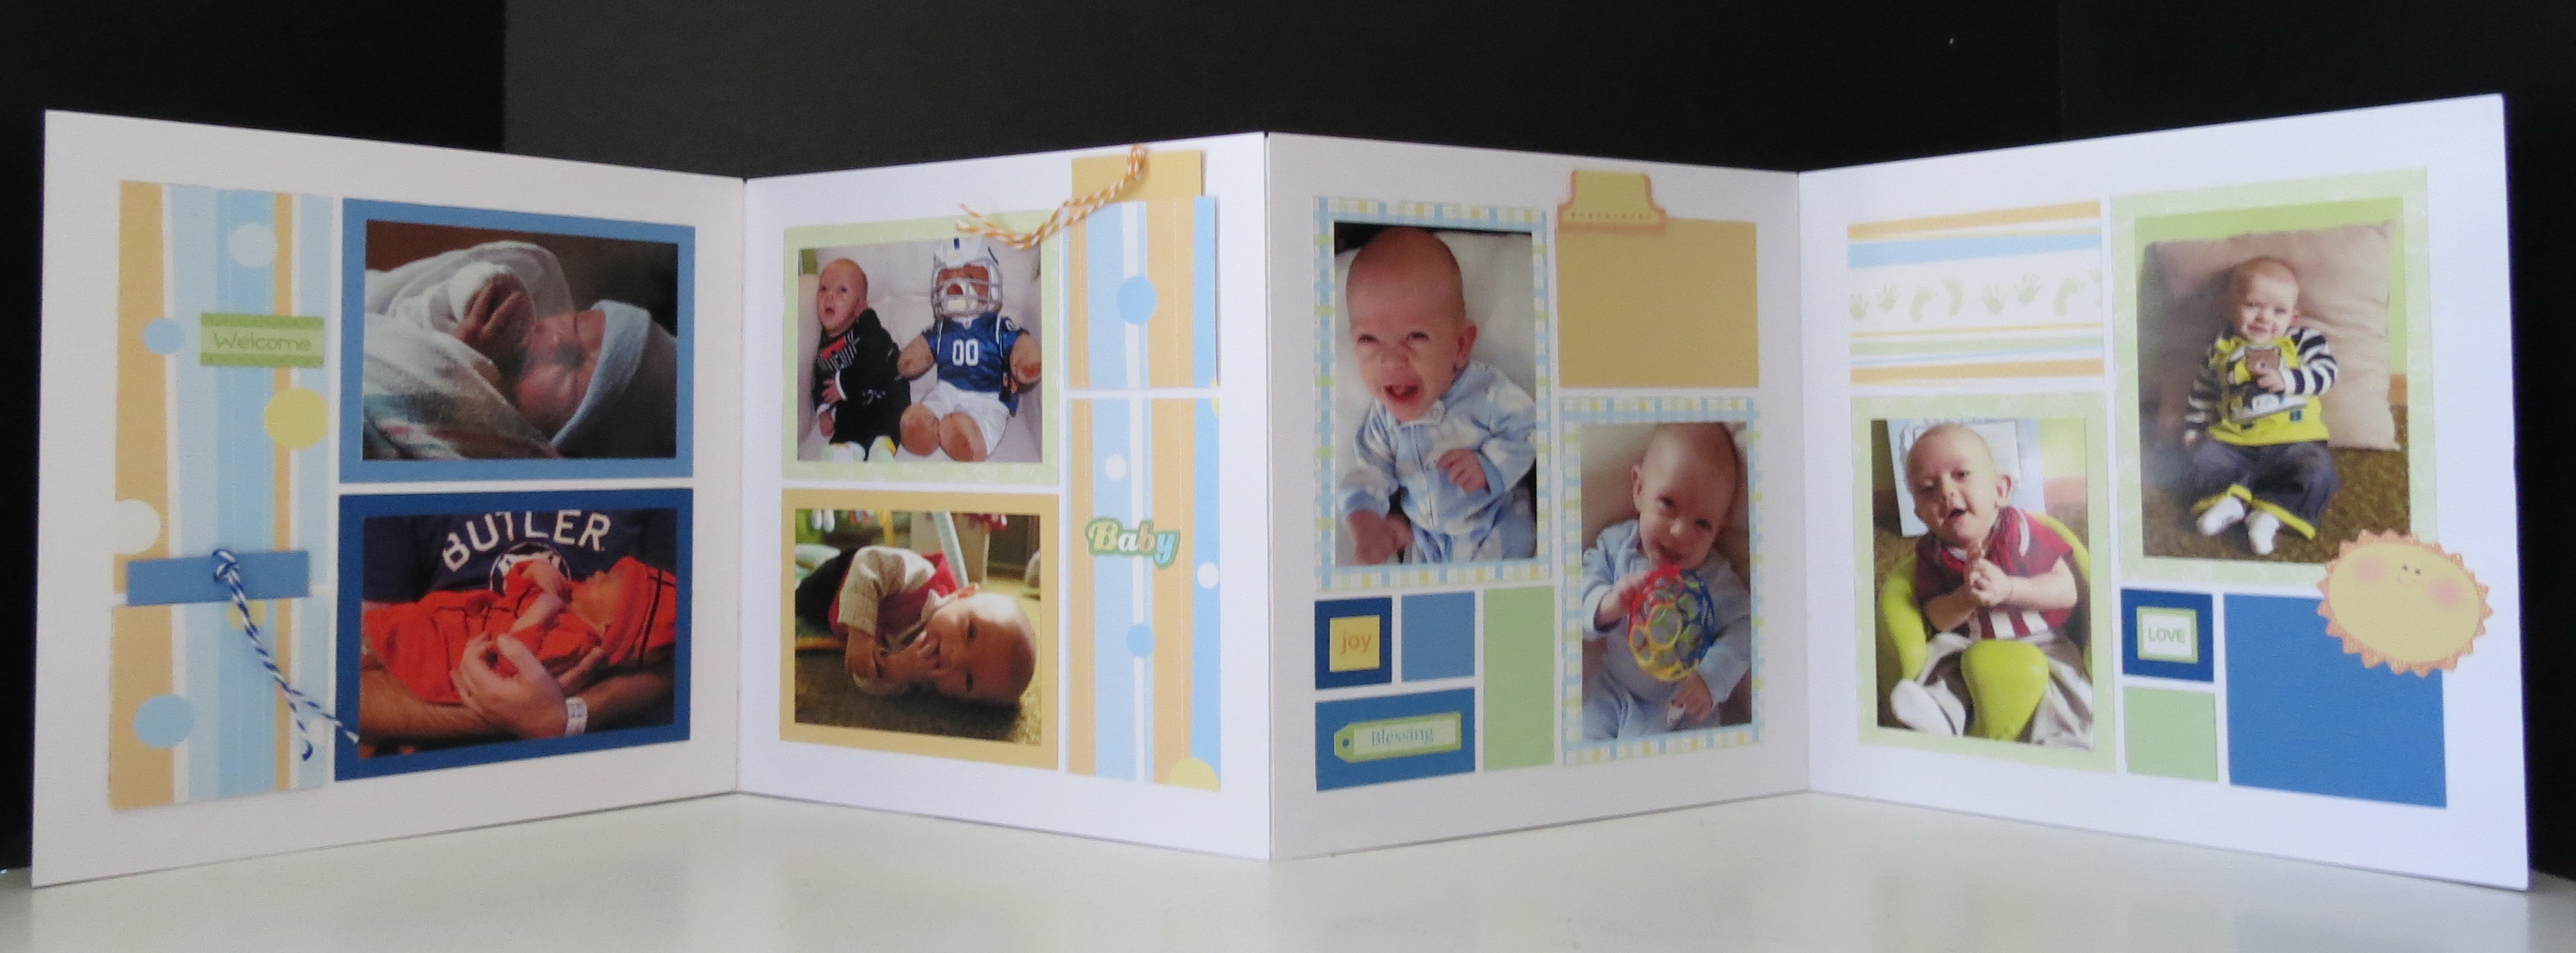
Small baby diaper pins attached with glue dots connect the top photo frame to the 1″ Robin’s Egg Paper Tiles below. Rub on letters were used for ‘baby’.
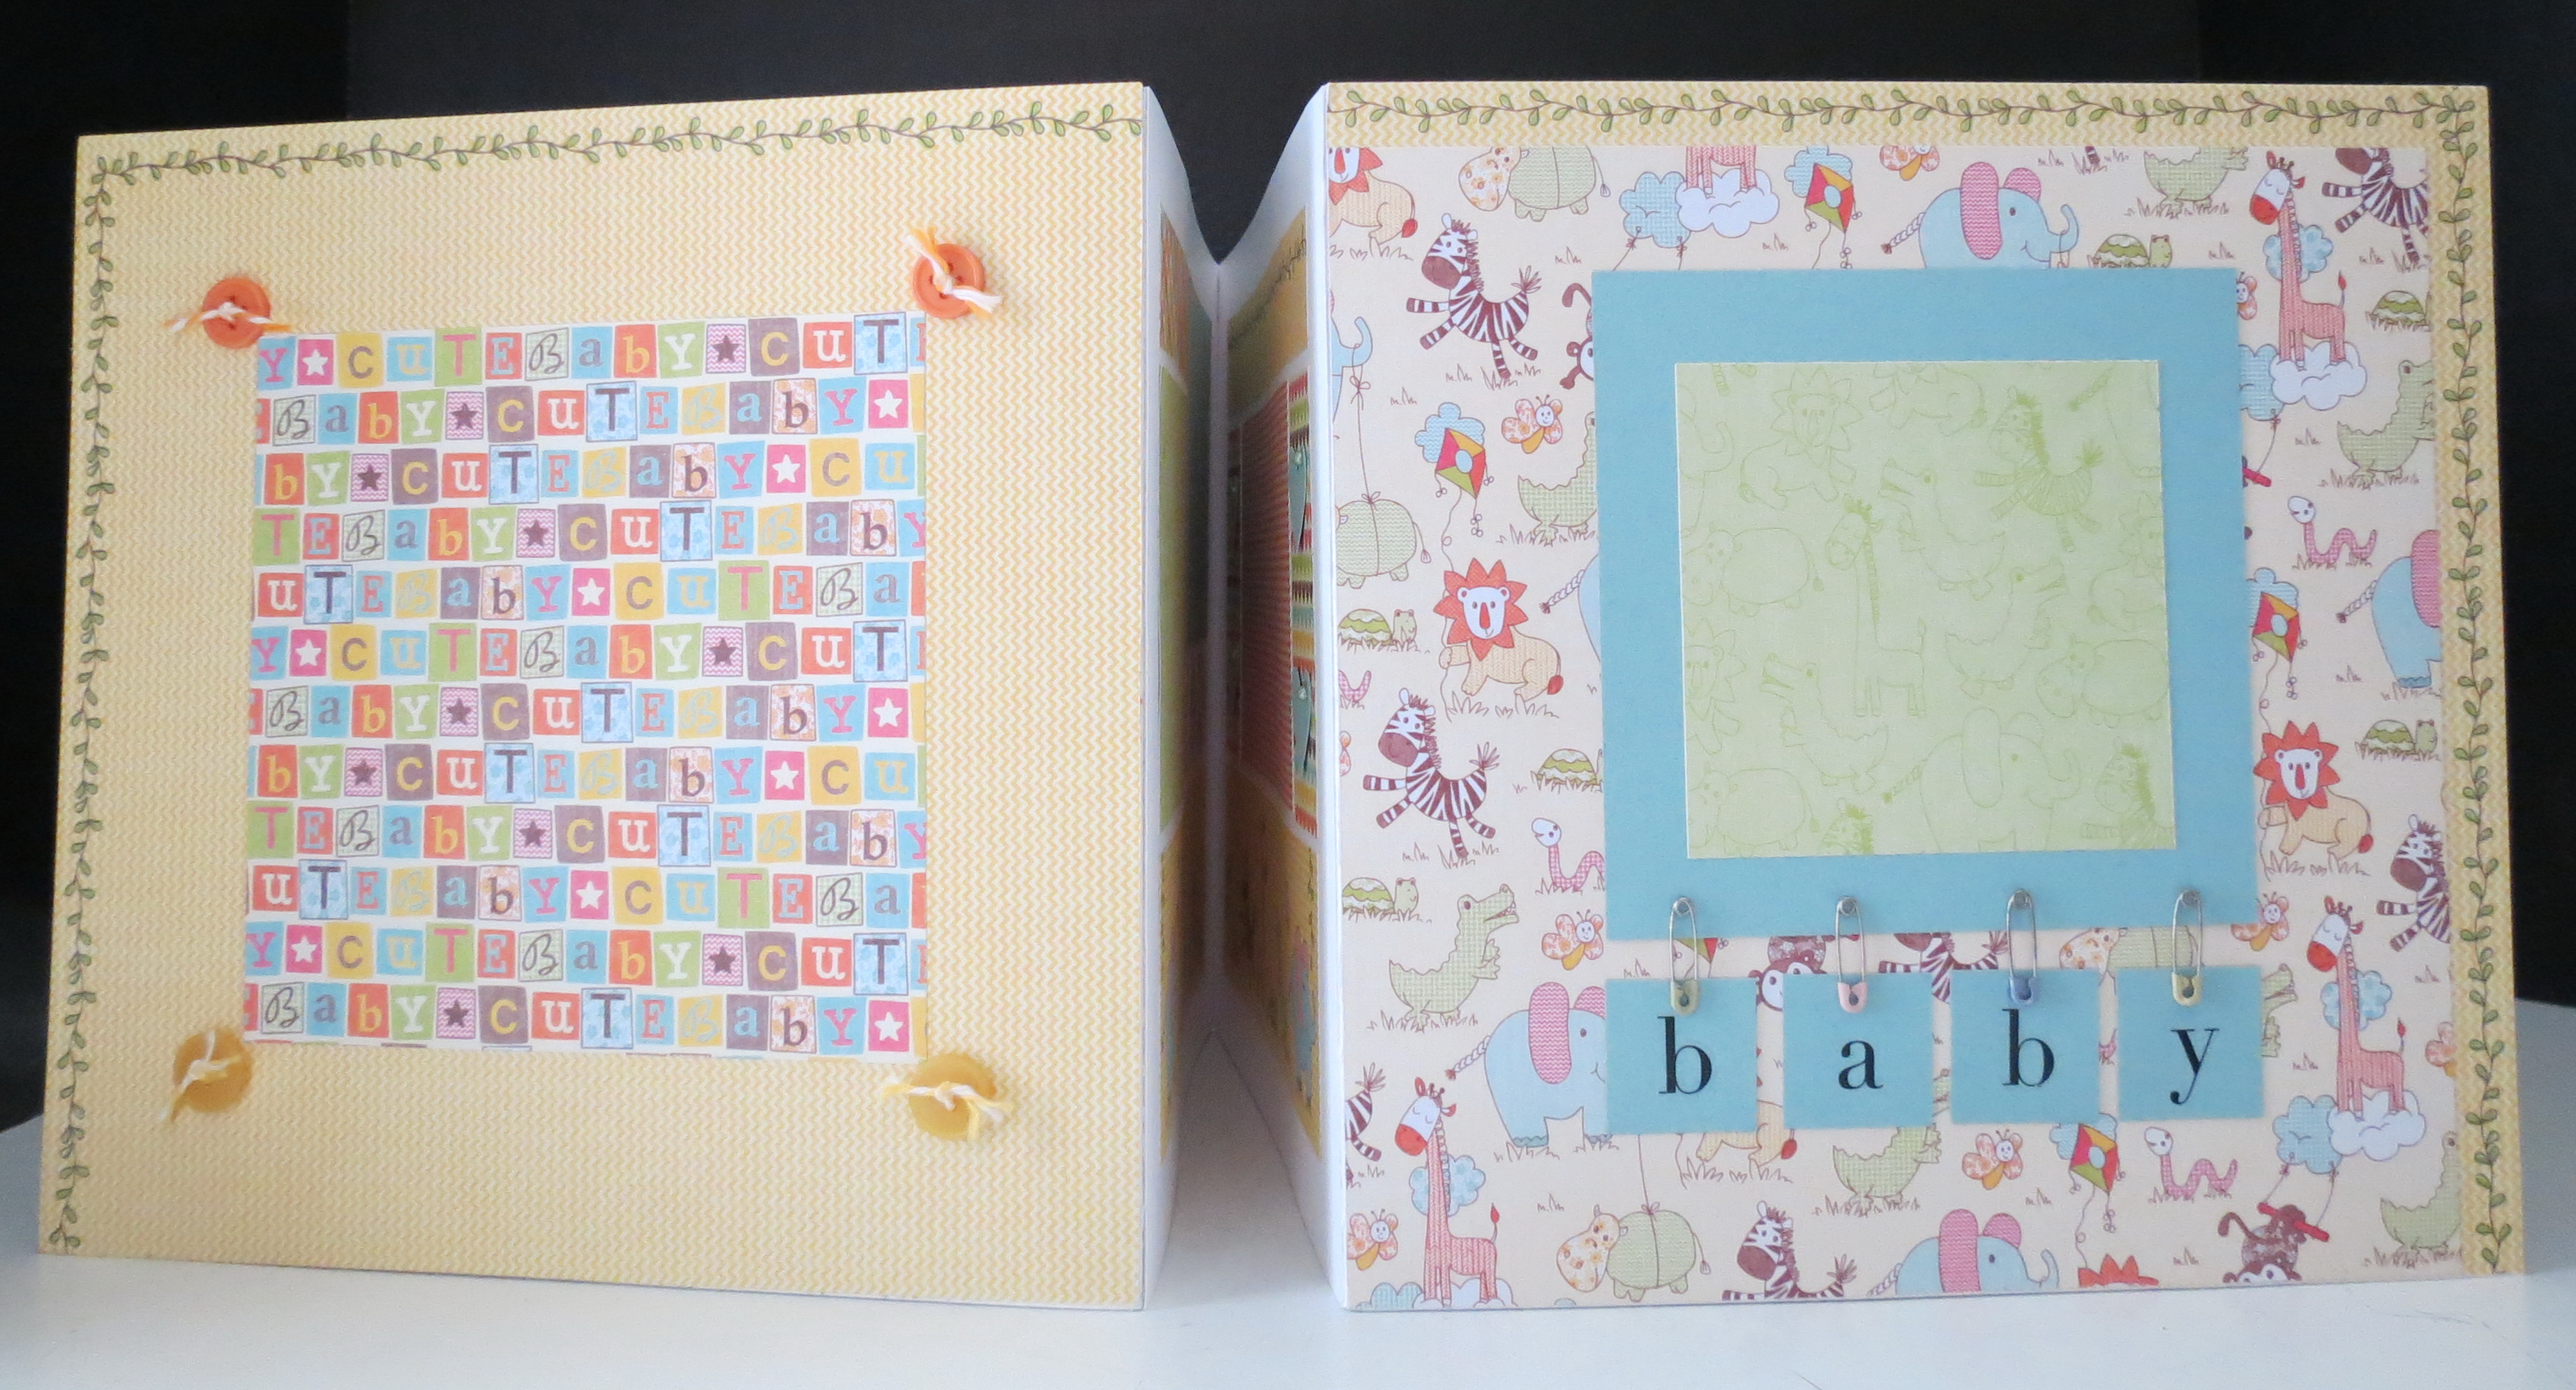
the covers of the album, the back side has a large mat for a 4″ square photo and the front cover has a mat to either photo of baby stats to be included.
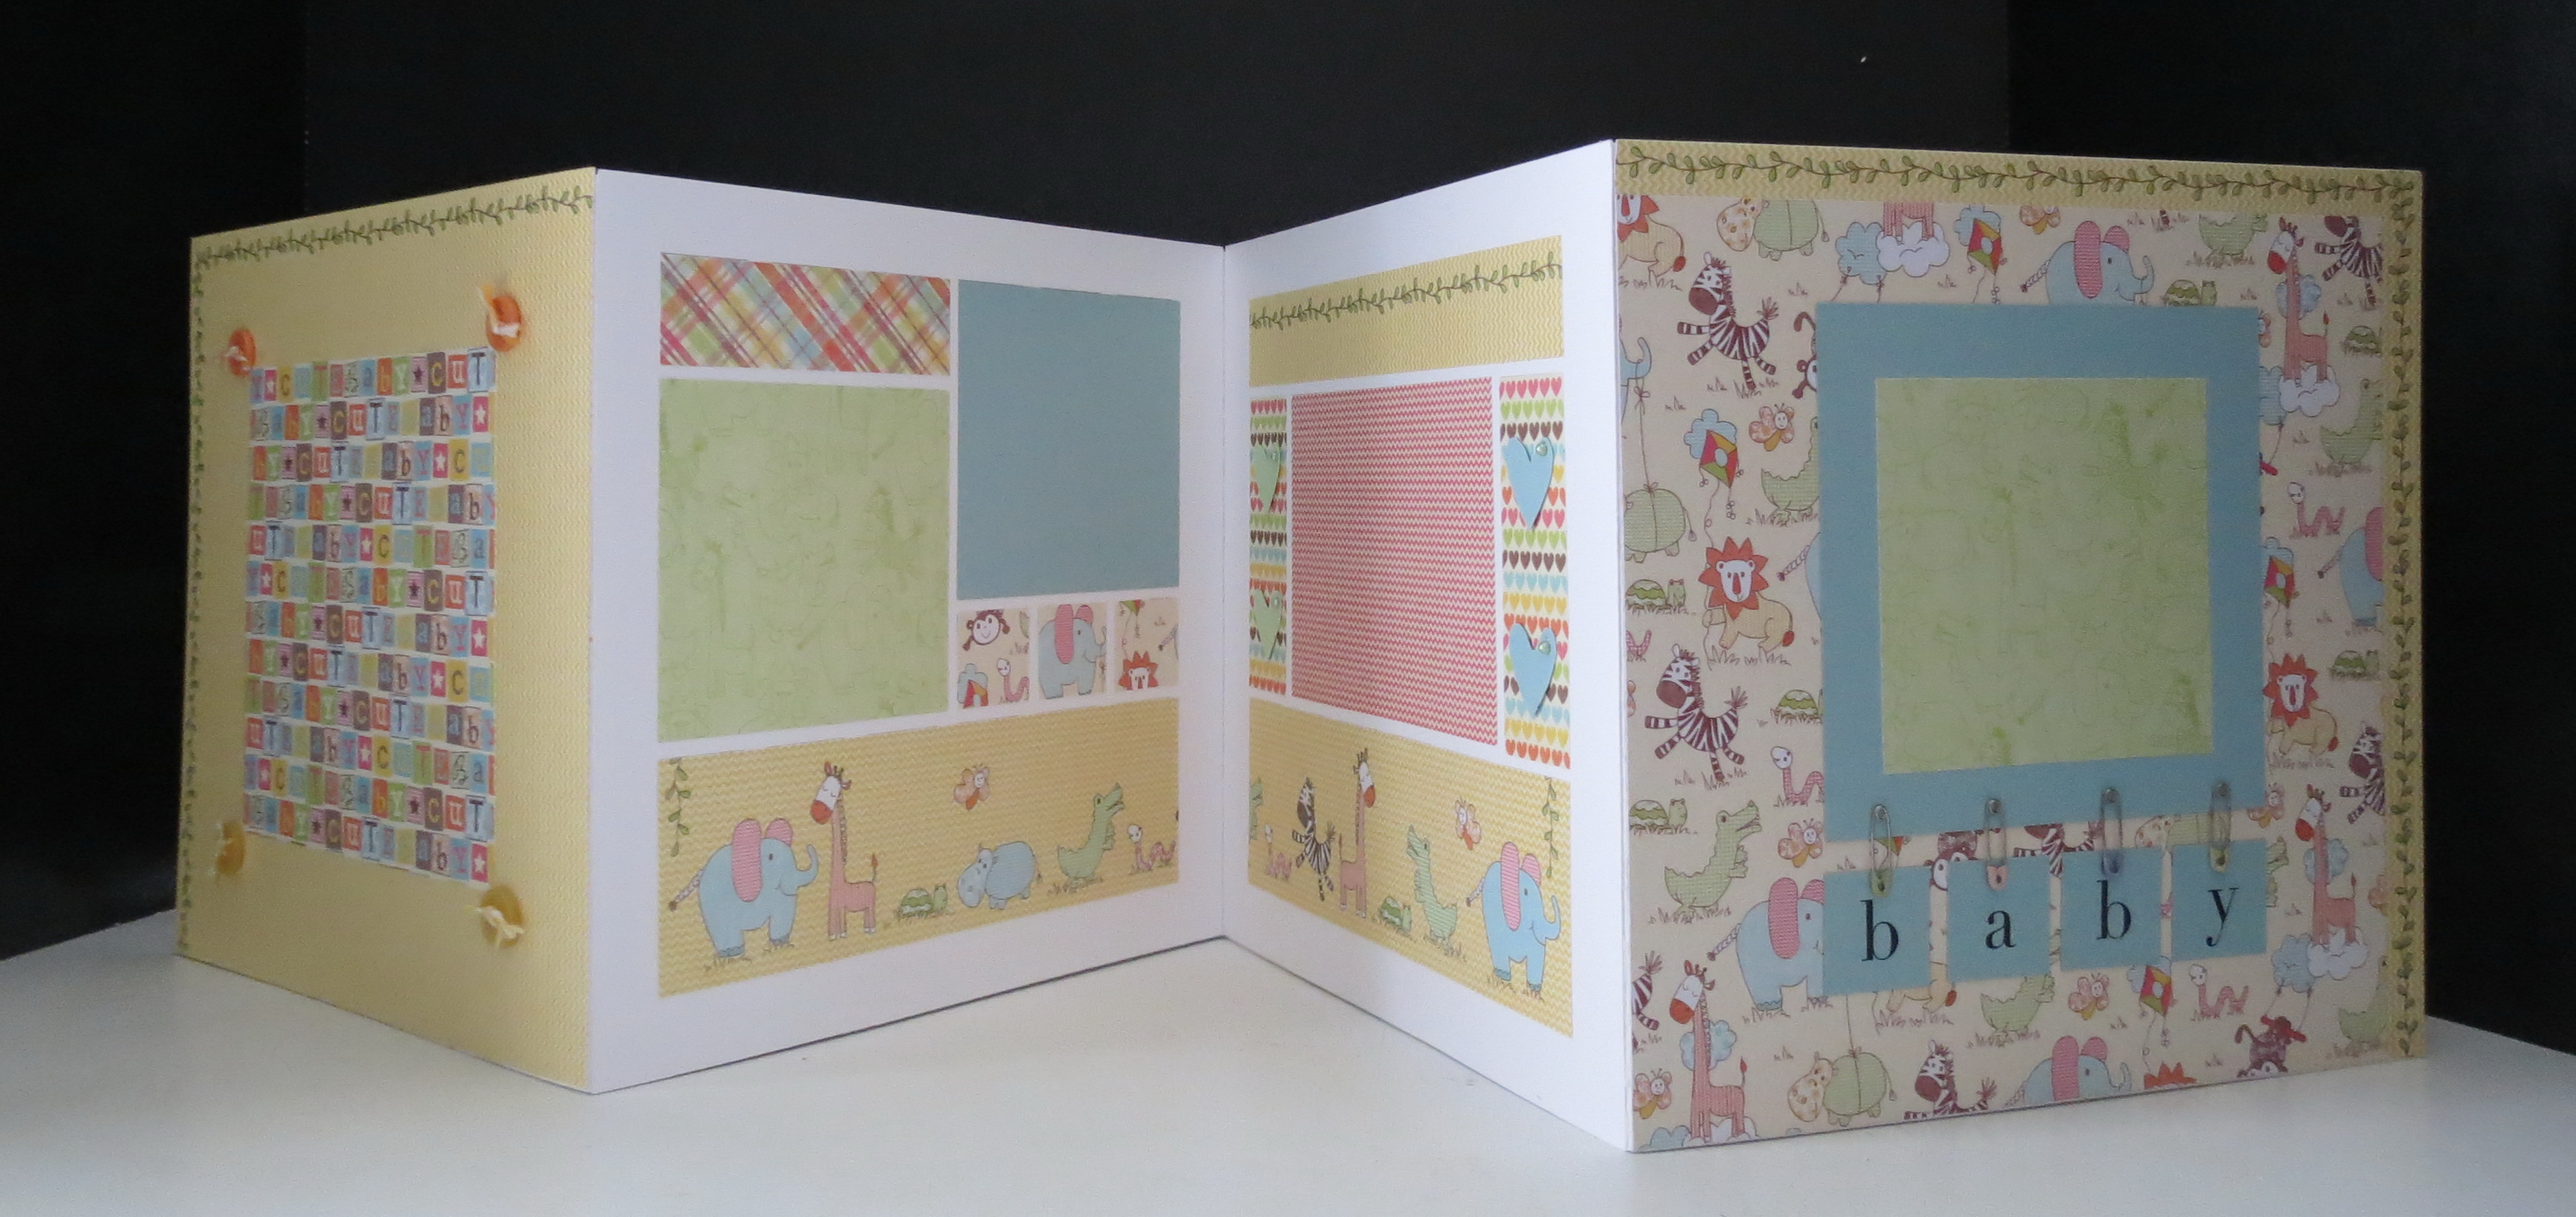
Backside of album has one double page layout.
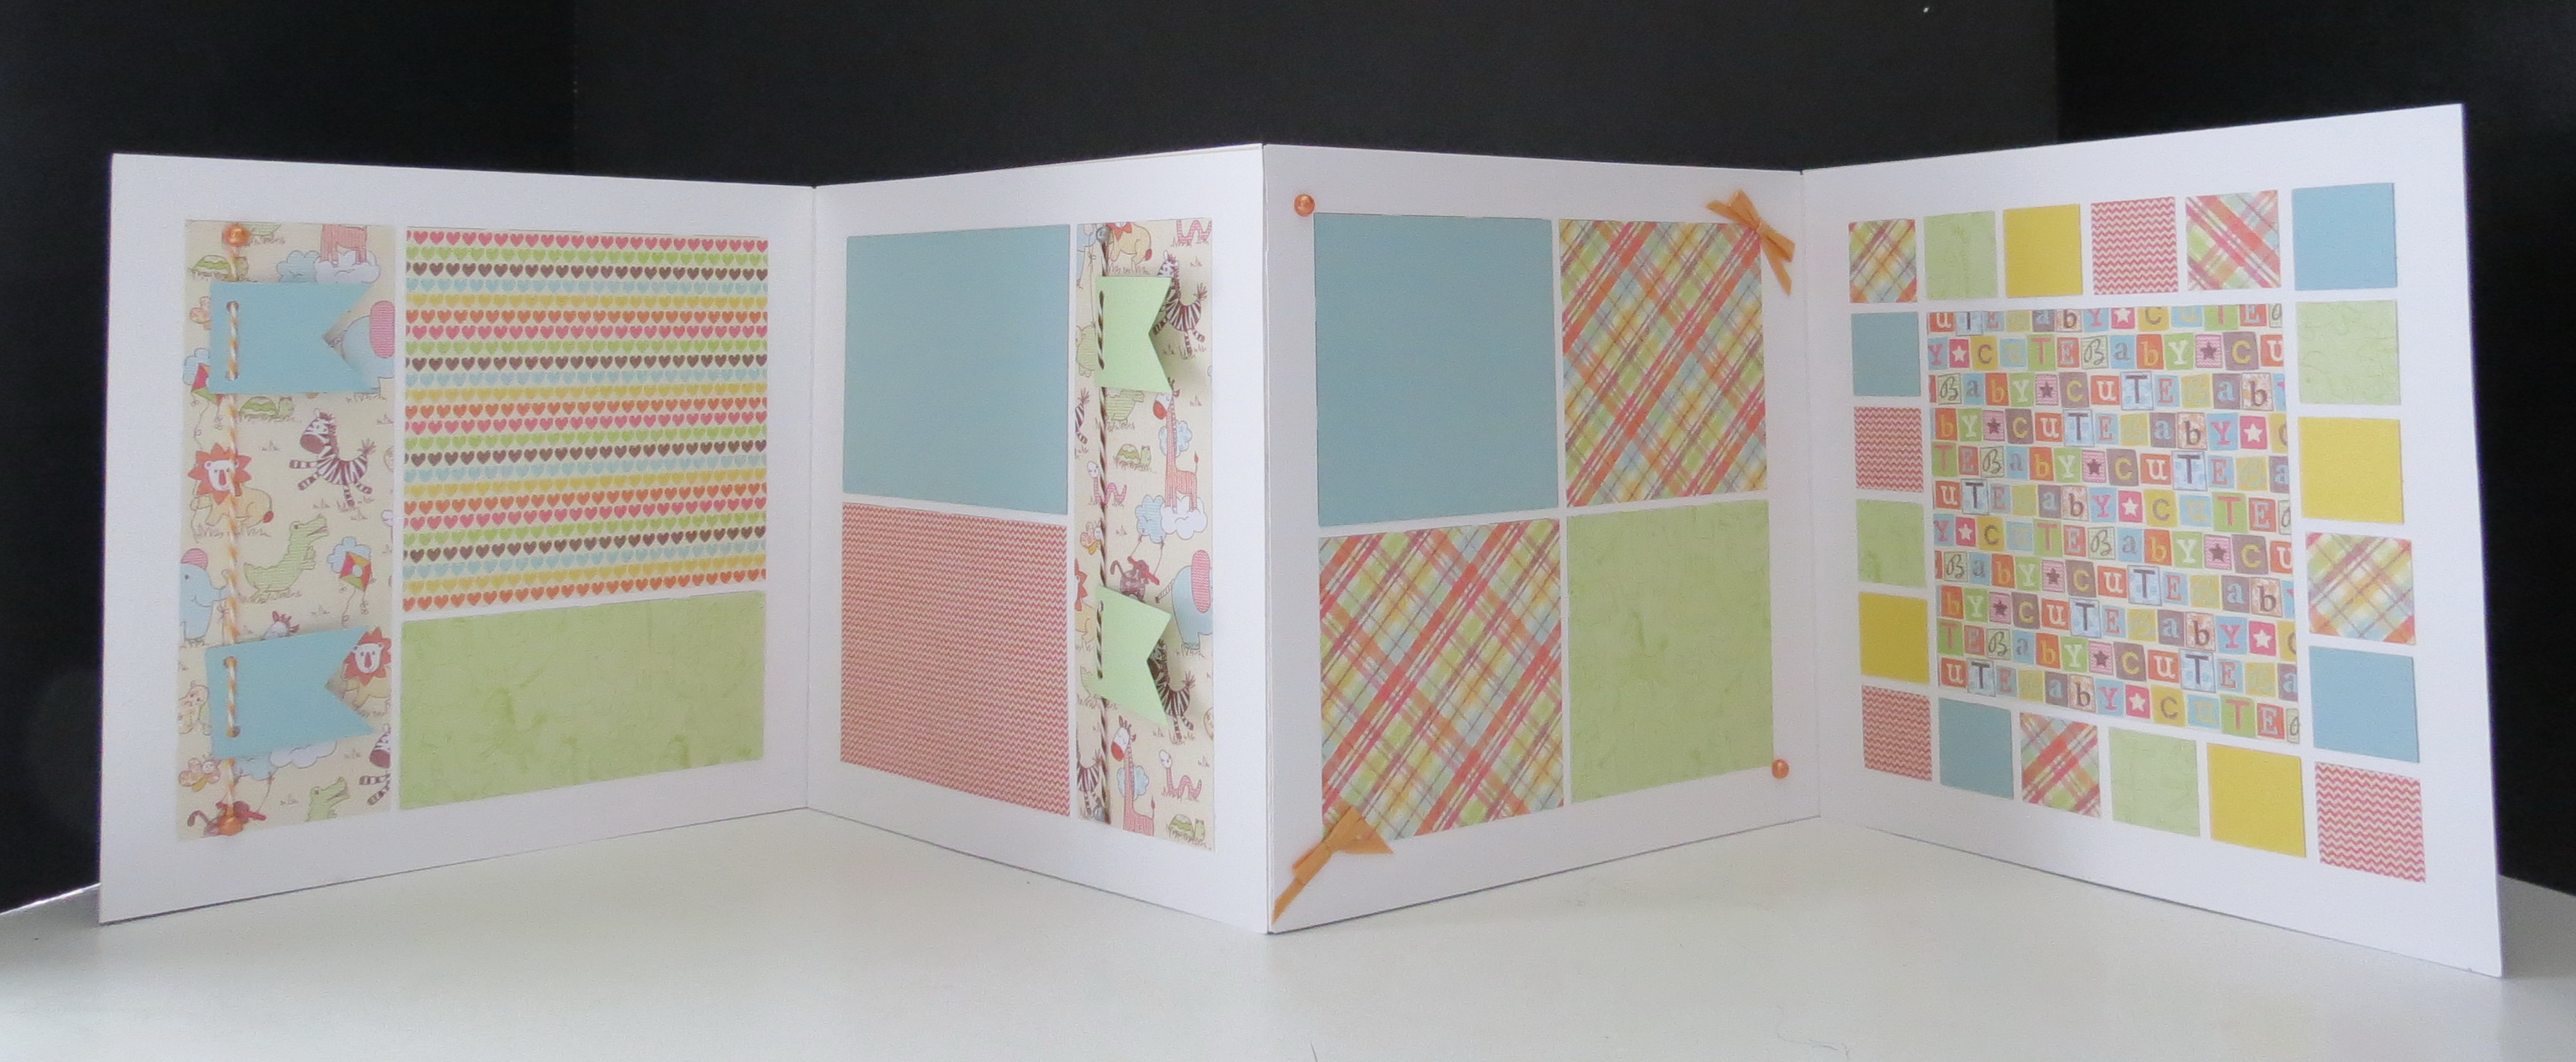
When you open the album there are two double page layout areas to fill. Additional tags can be added to include journaling.
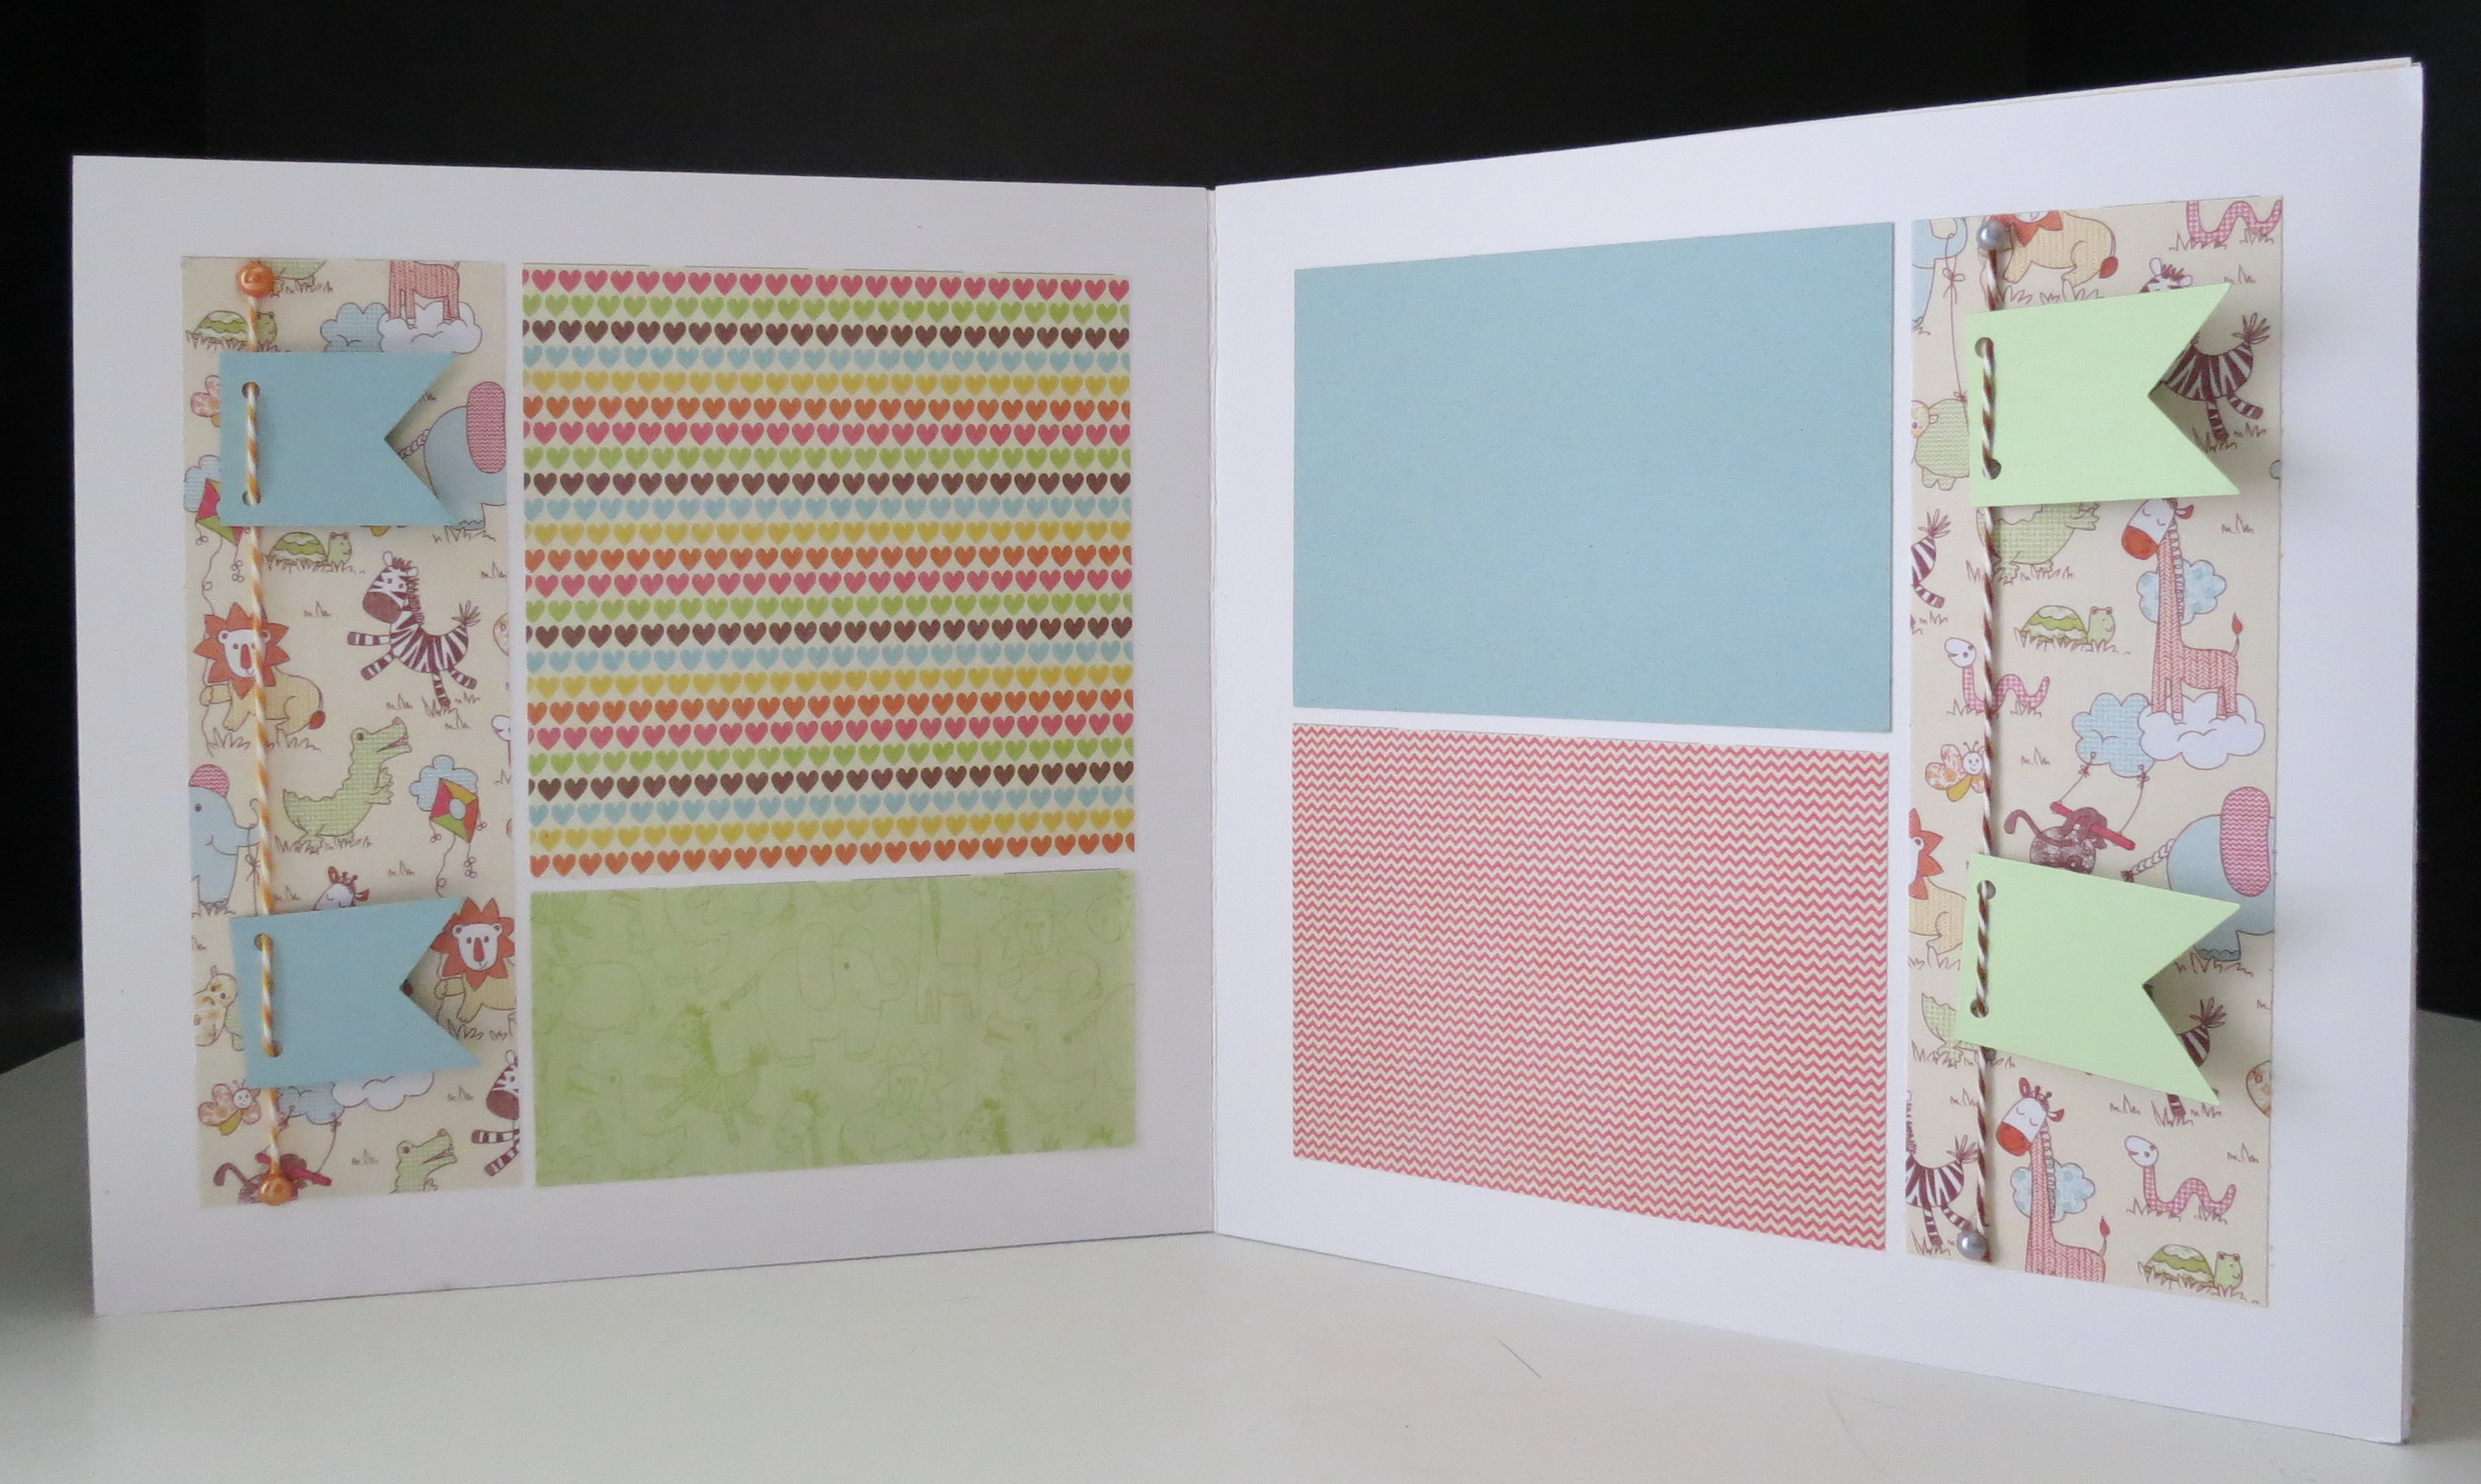
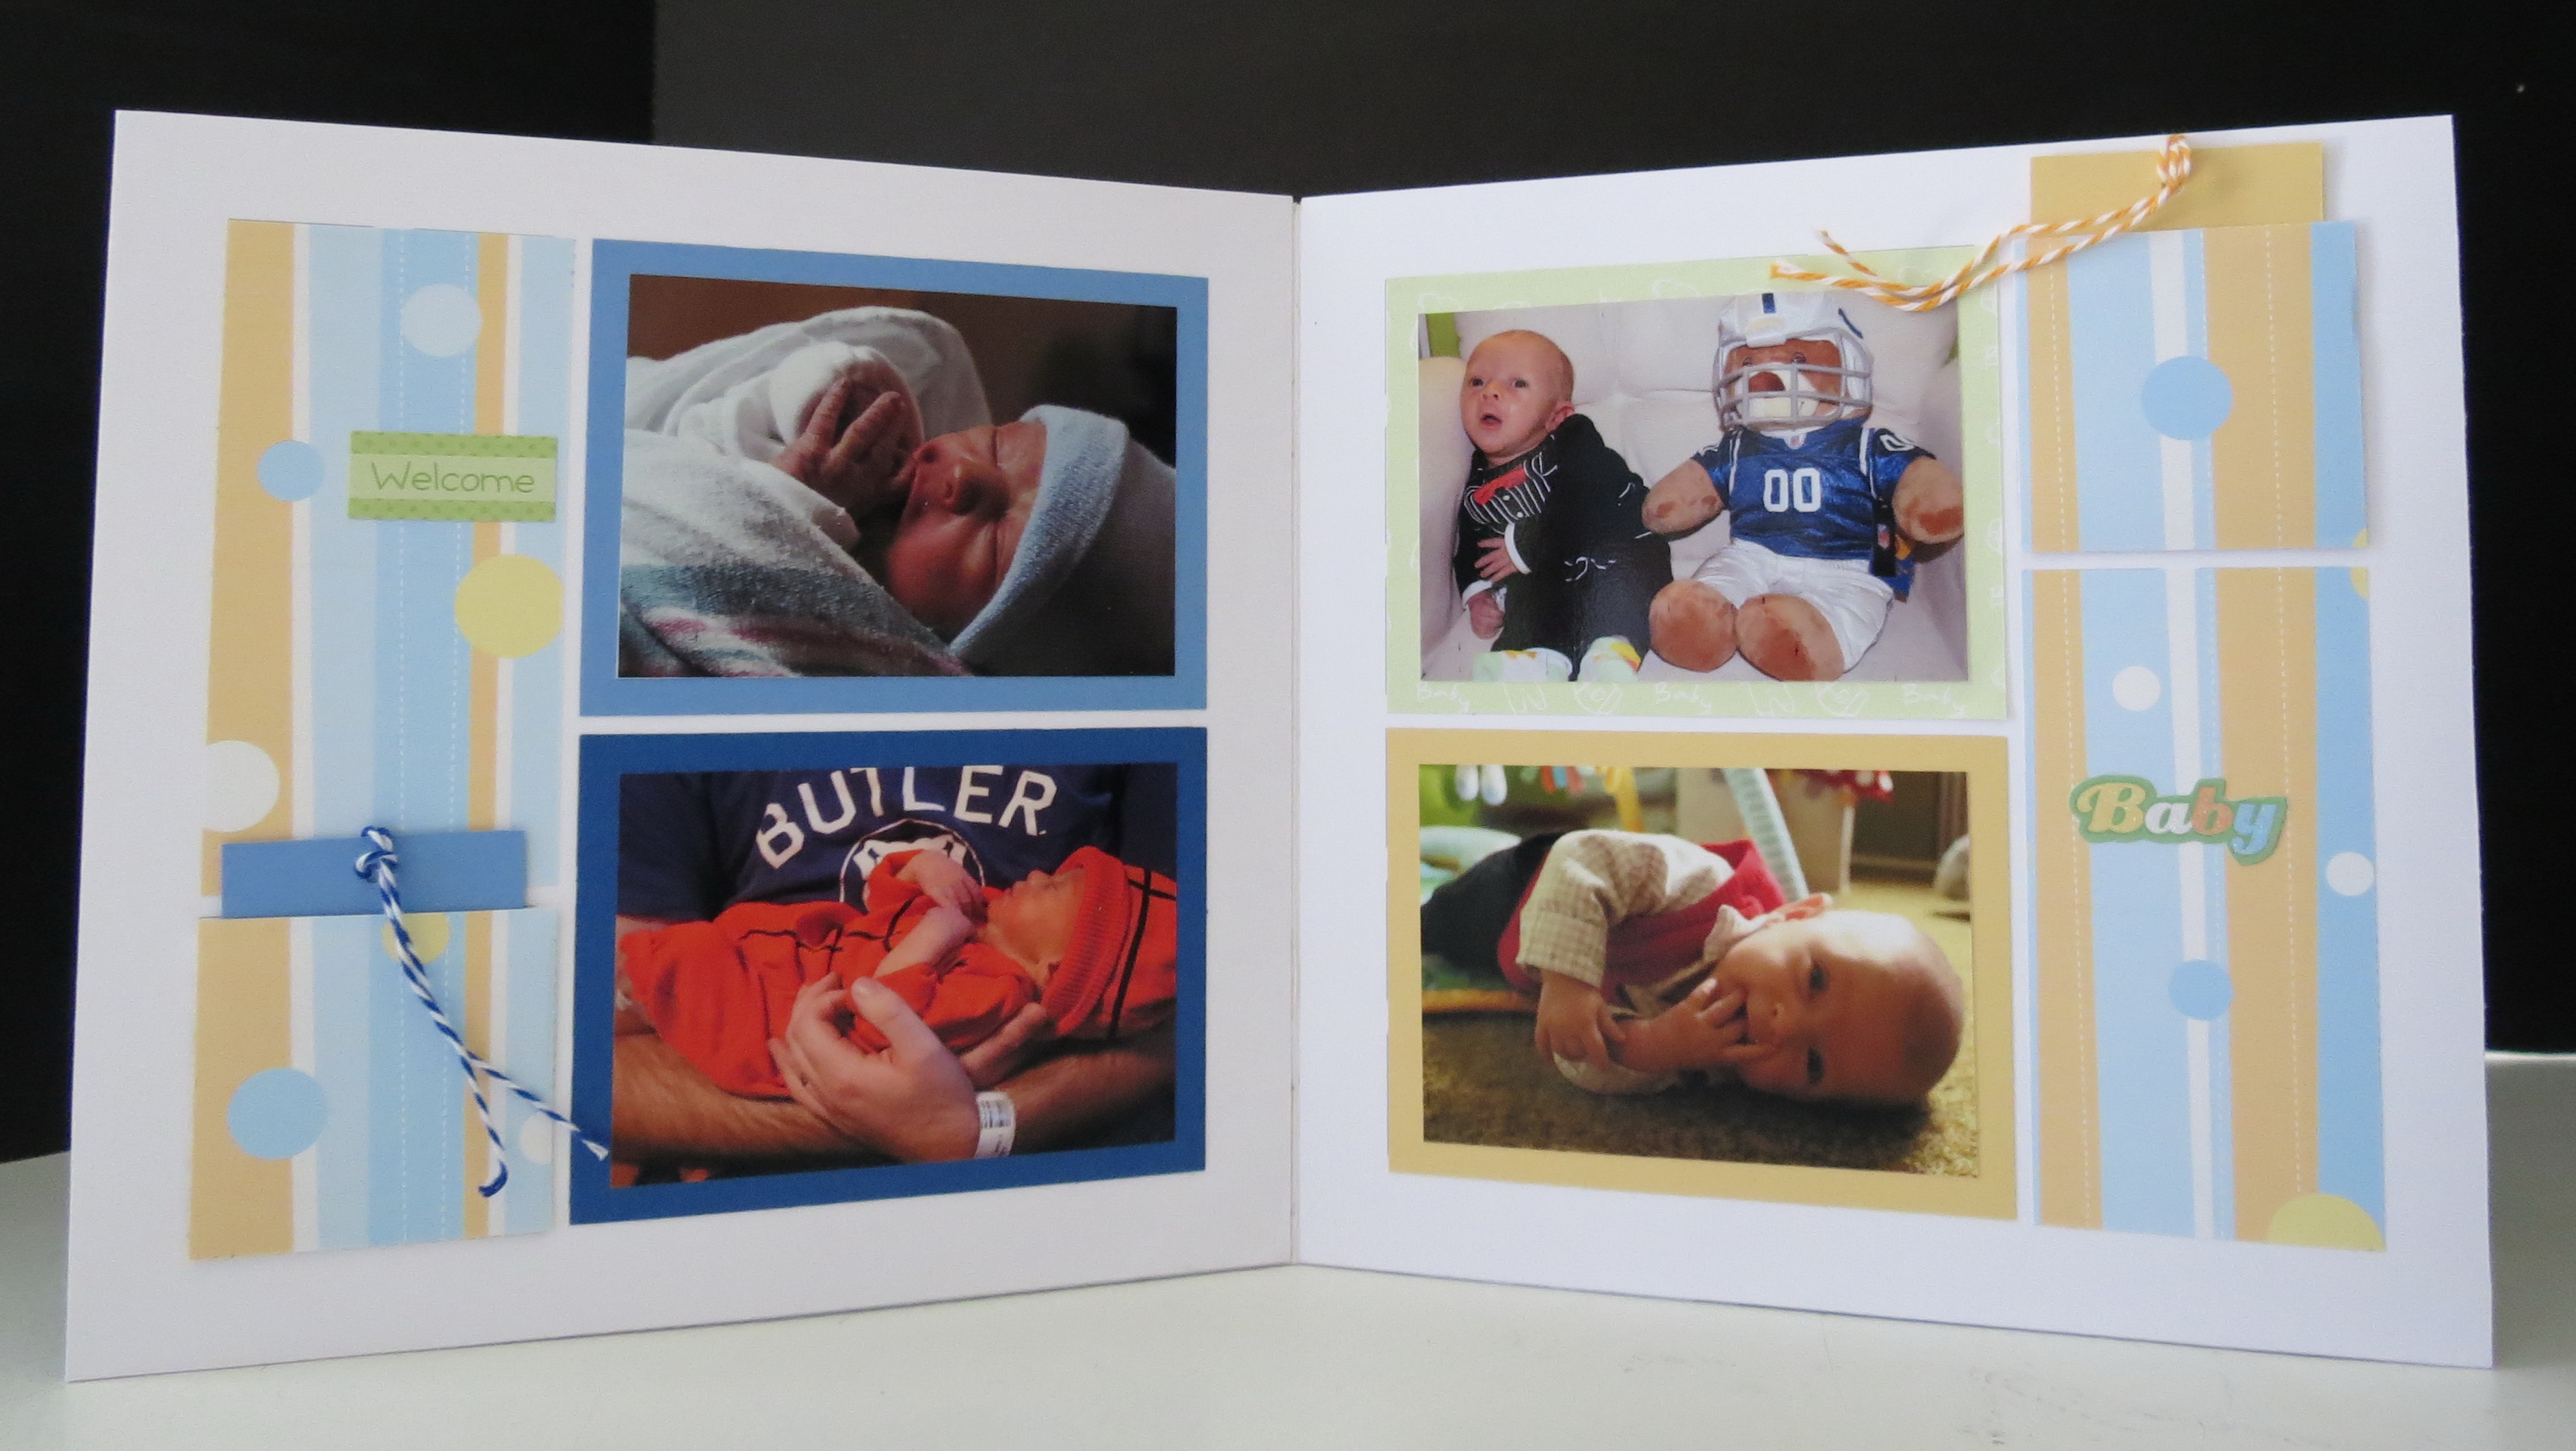
Baker’s twine is used to string flags in the side borders. They can be slid up and down to a position you want, these are not glued down, so both sides could be used to add baby stats like date of birth, weight, length, time, or date of the photos taken. Medium pearls are placed at the top and bottom of each twine run.
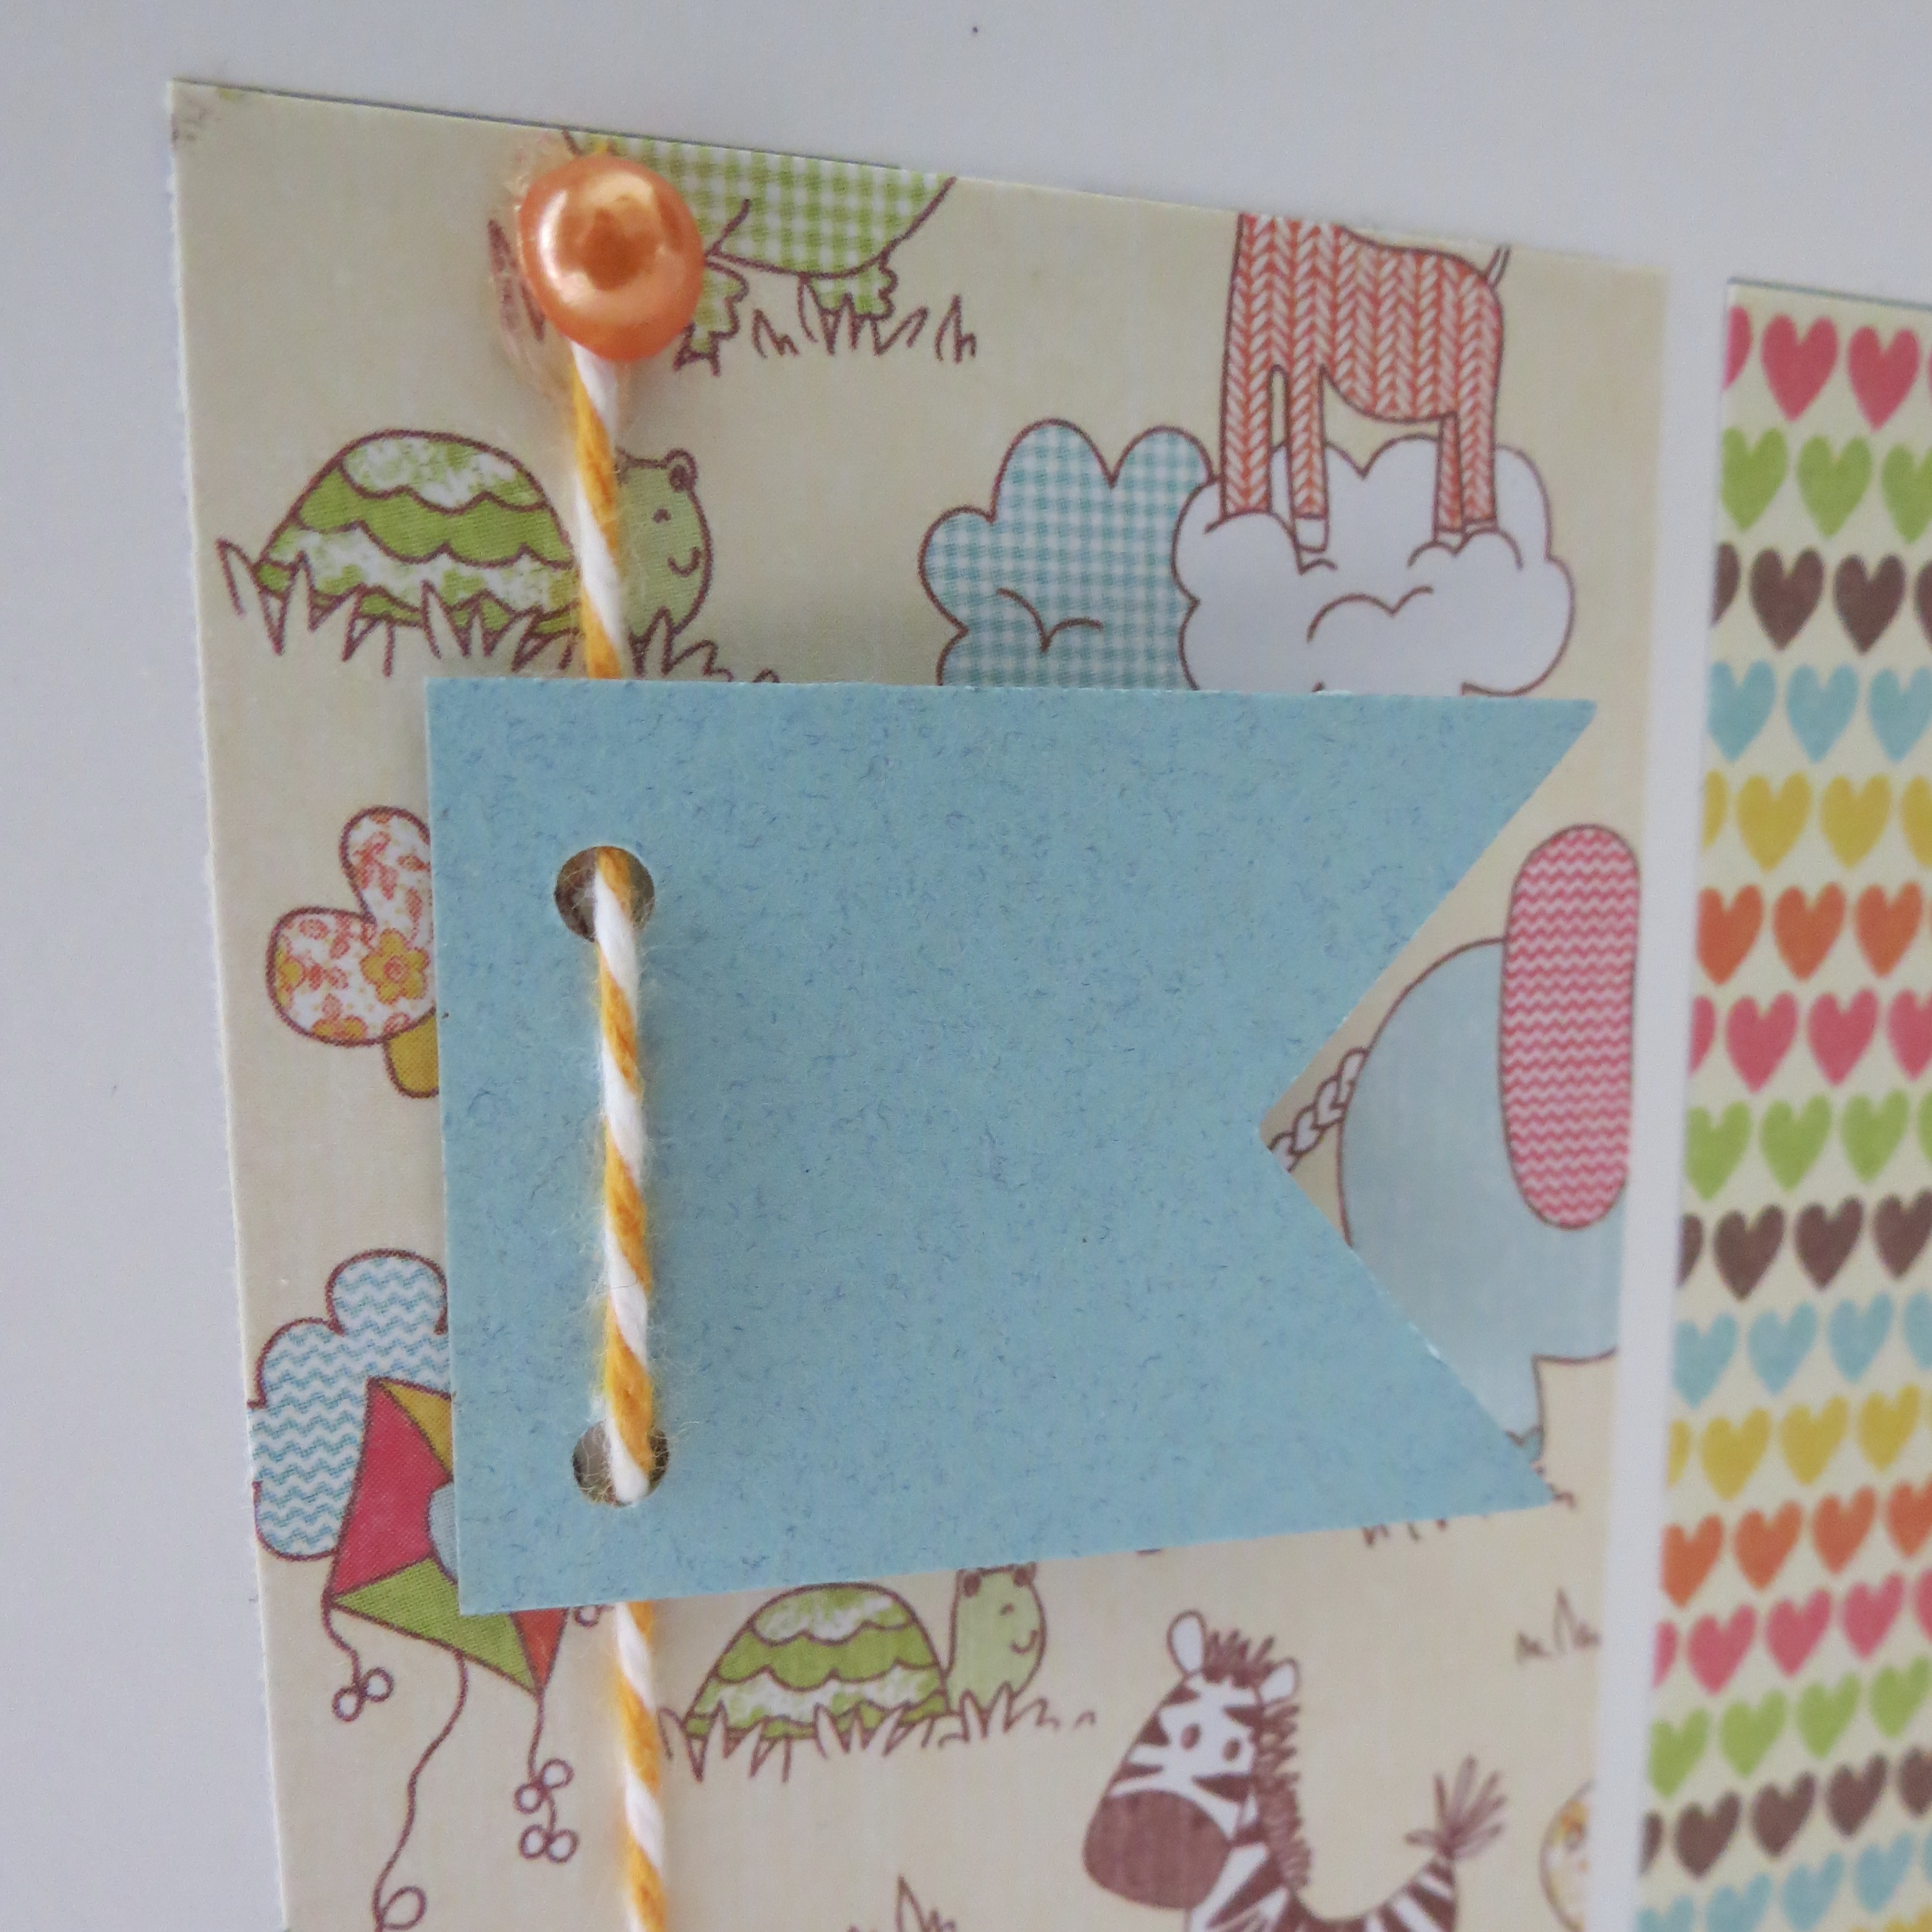
Pretty pearls to finish off the twine run.
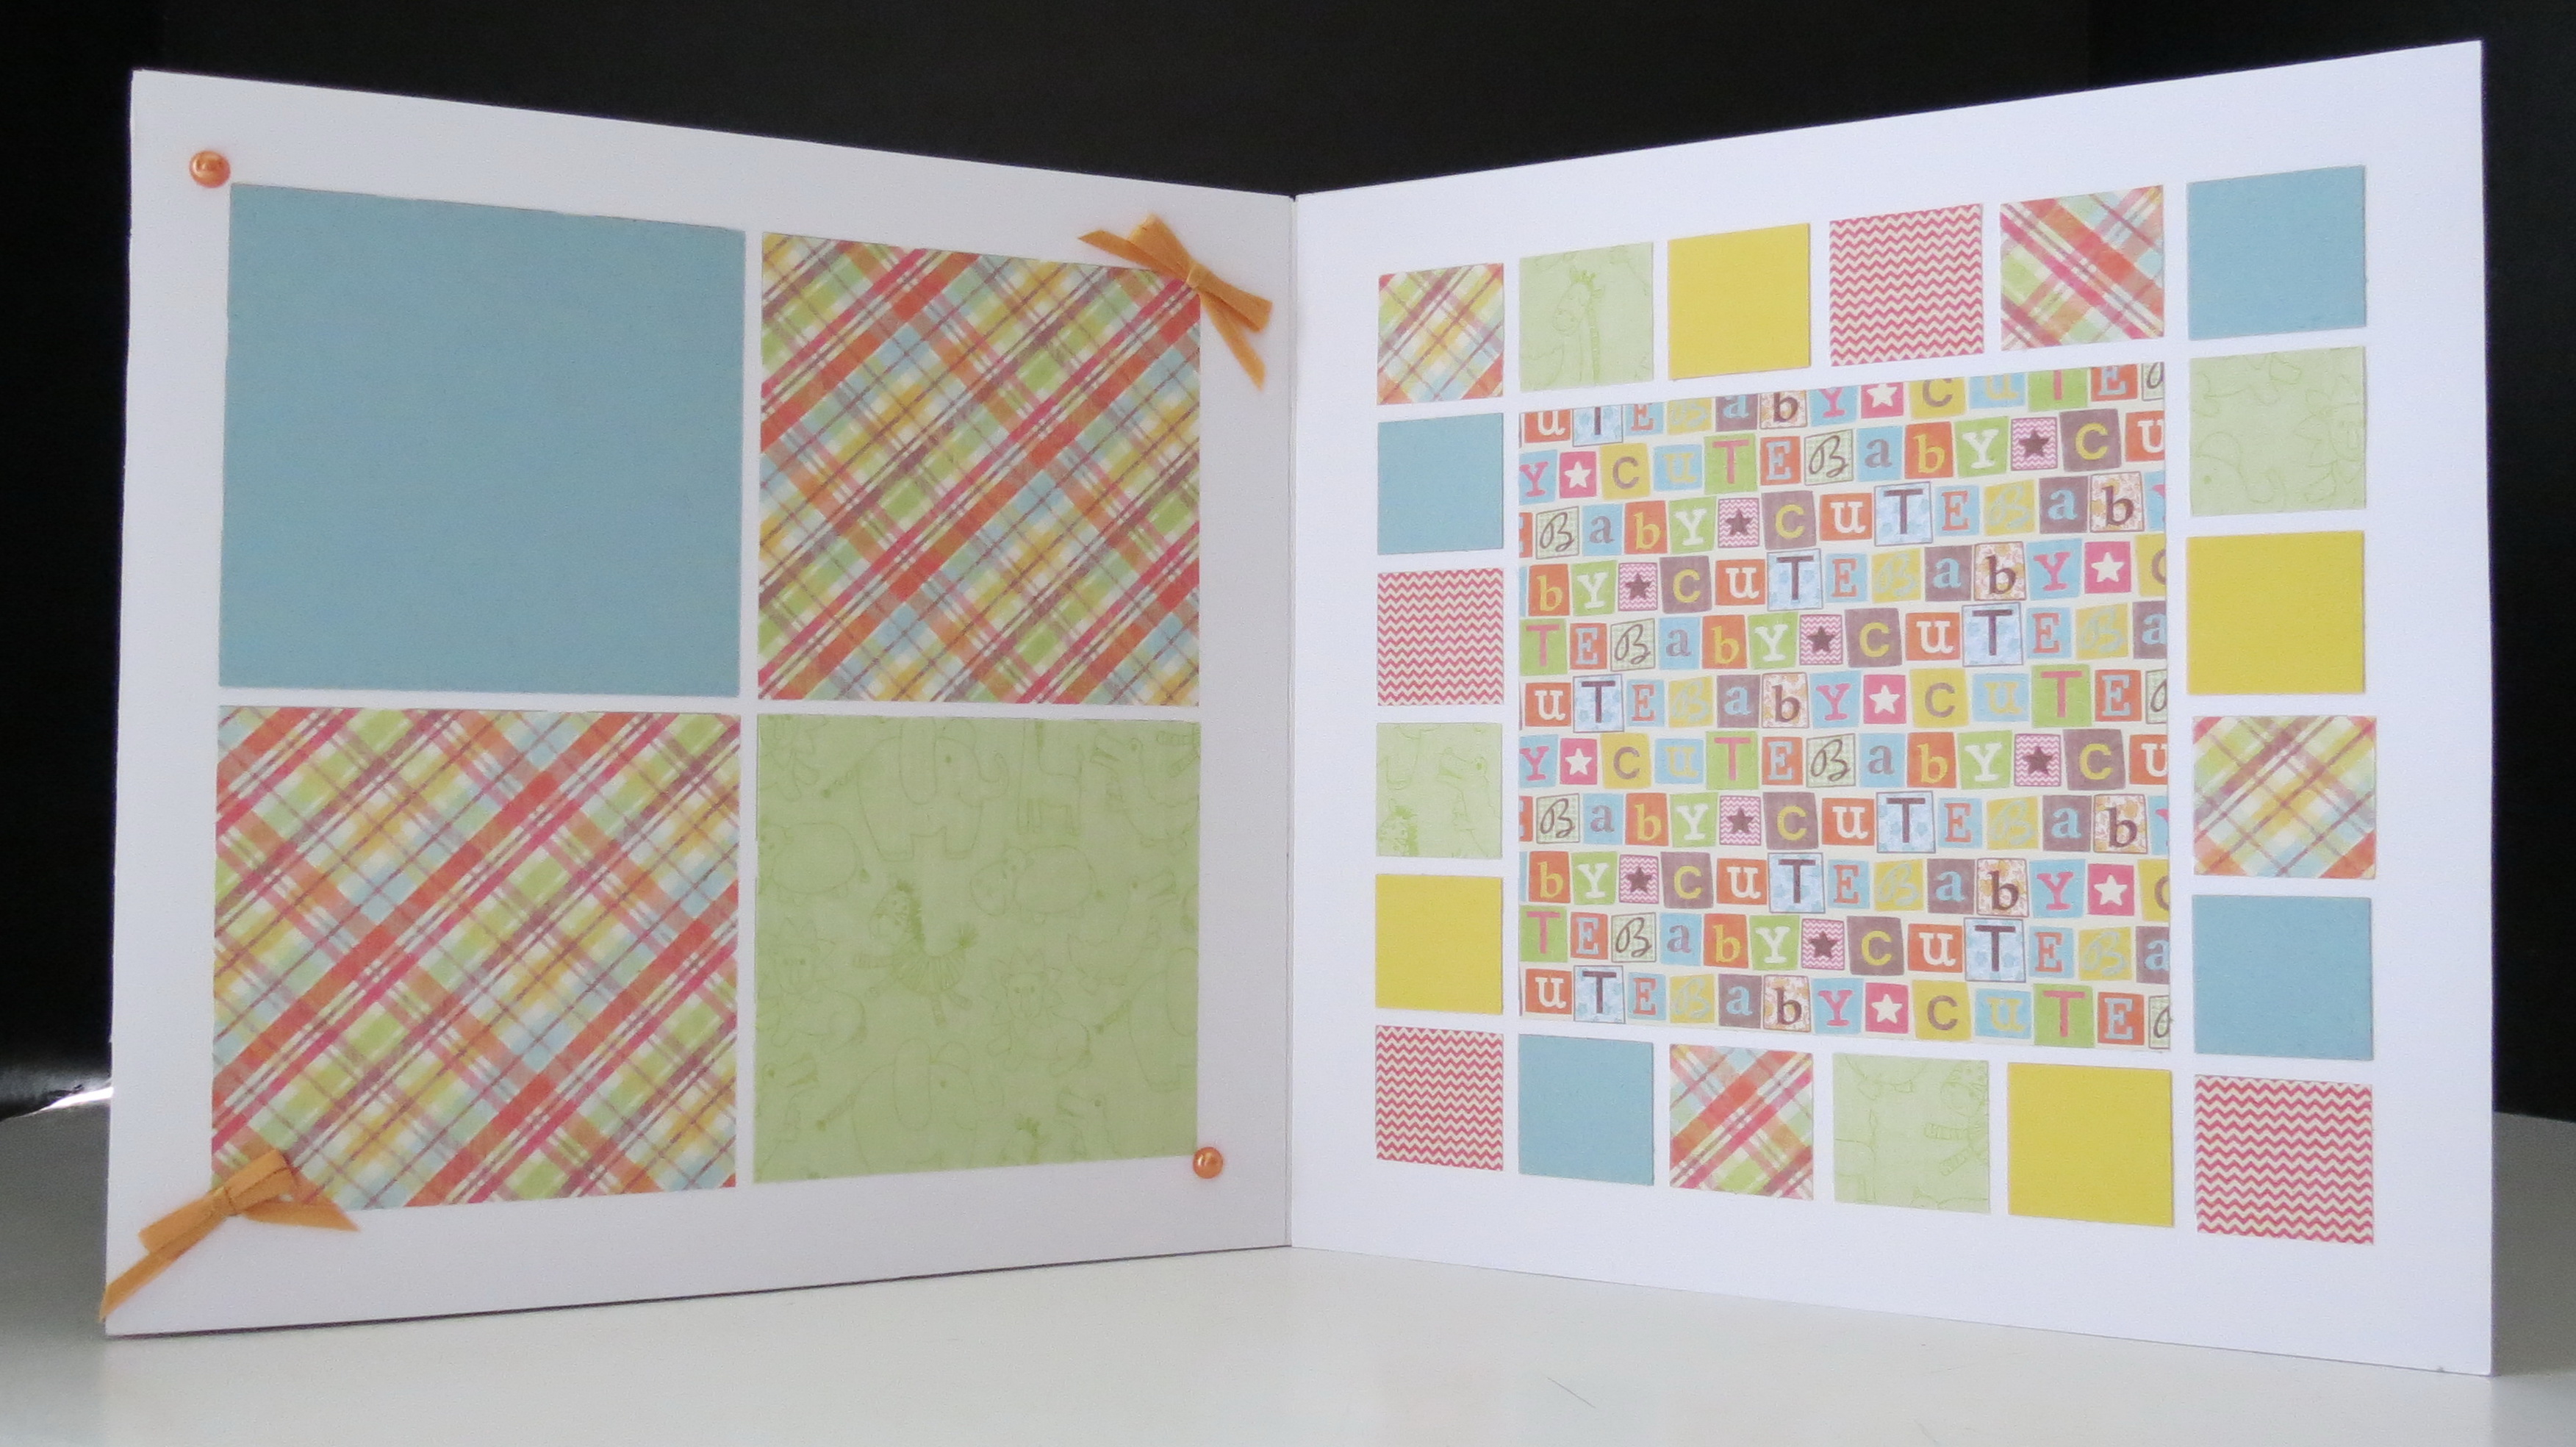
A few bows and pearls to accent the corners on this page.
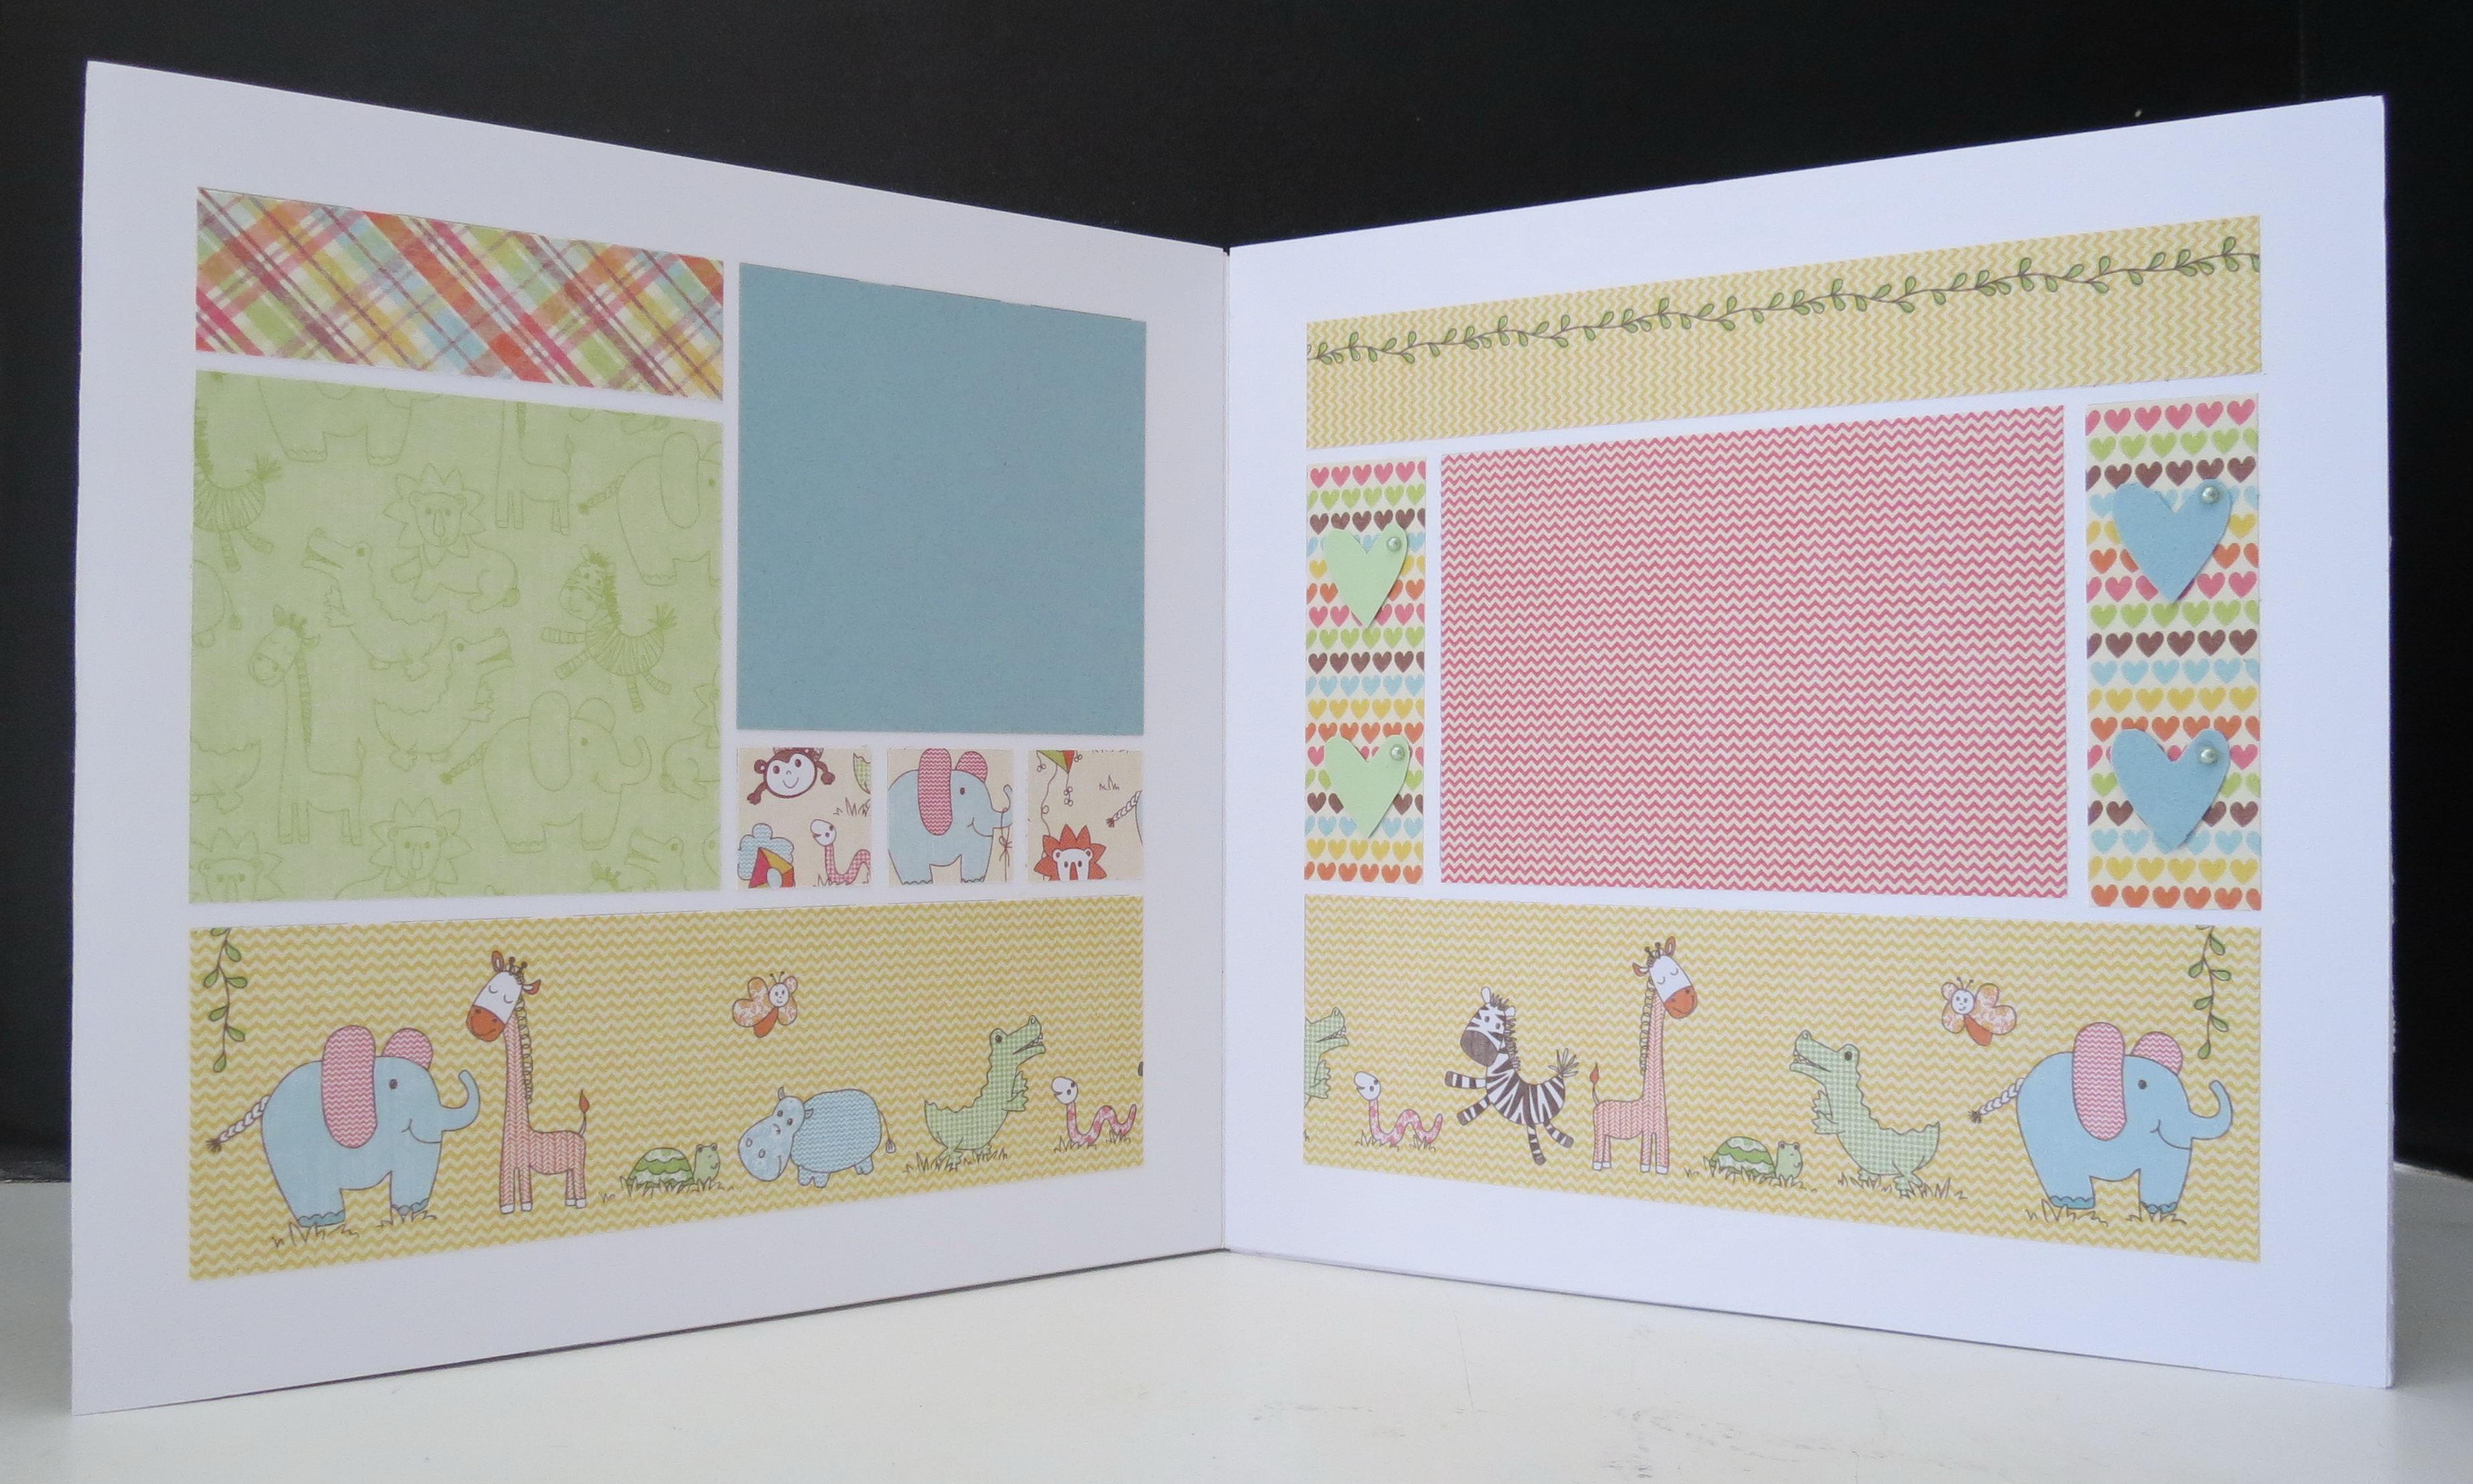
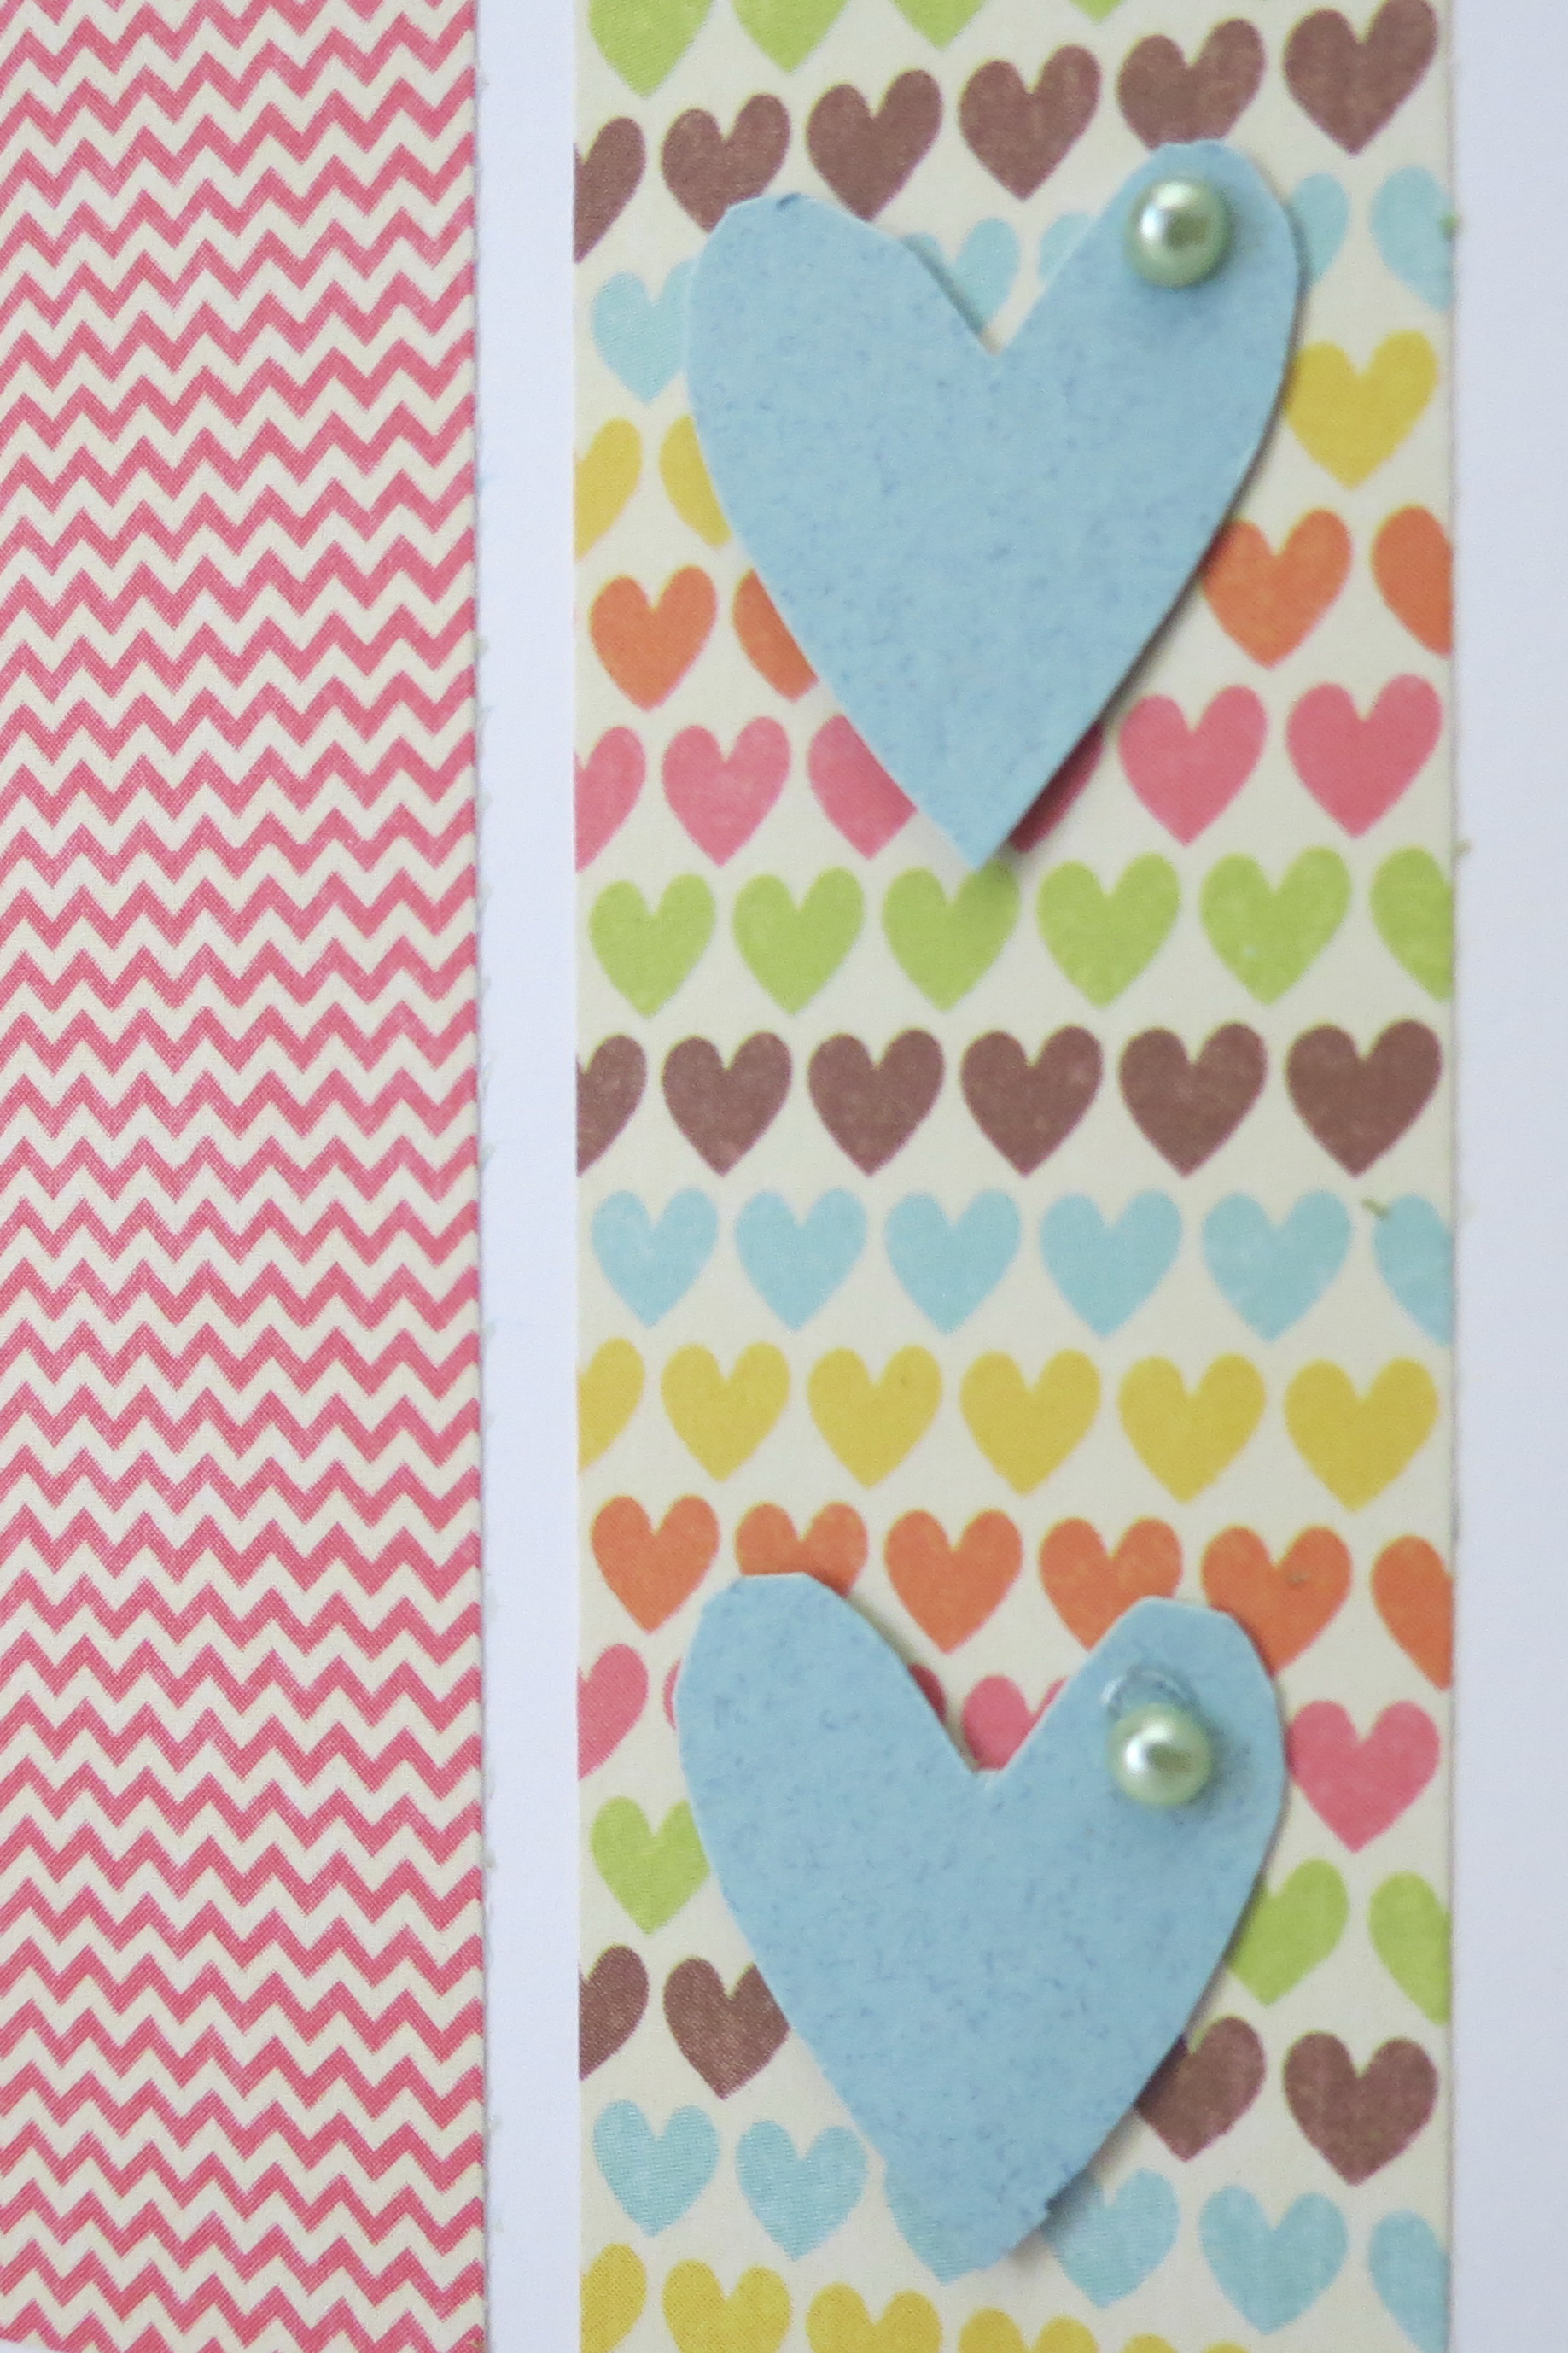
Small punched hearts with tiny pearls.
If you plan to fill it with photos, begin with the photos you want to work with and arrange them to fit the pages, and embellish accordingly.
In the second version of the book I included pockets for journaling using our FREE download available Mosaic Moments Pocket Templates. I printed the pockets on lightweight tag/cardstock and cut a 2 1/8” square to adhere to the front of the pocket. This way you have the stability of the cardstock and the pattern of the paper. For the tag inside I used a Paper Tile so it would match the colors being used throughout. A bit of baker’s twine in coordinating colors make a good pull for removing the tag.
The back and front of the album with two additional spots for photos to finalize the album.
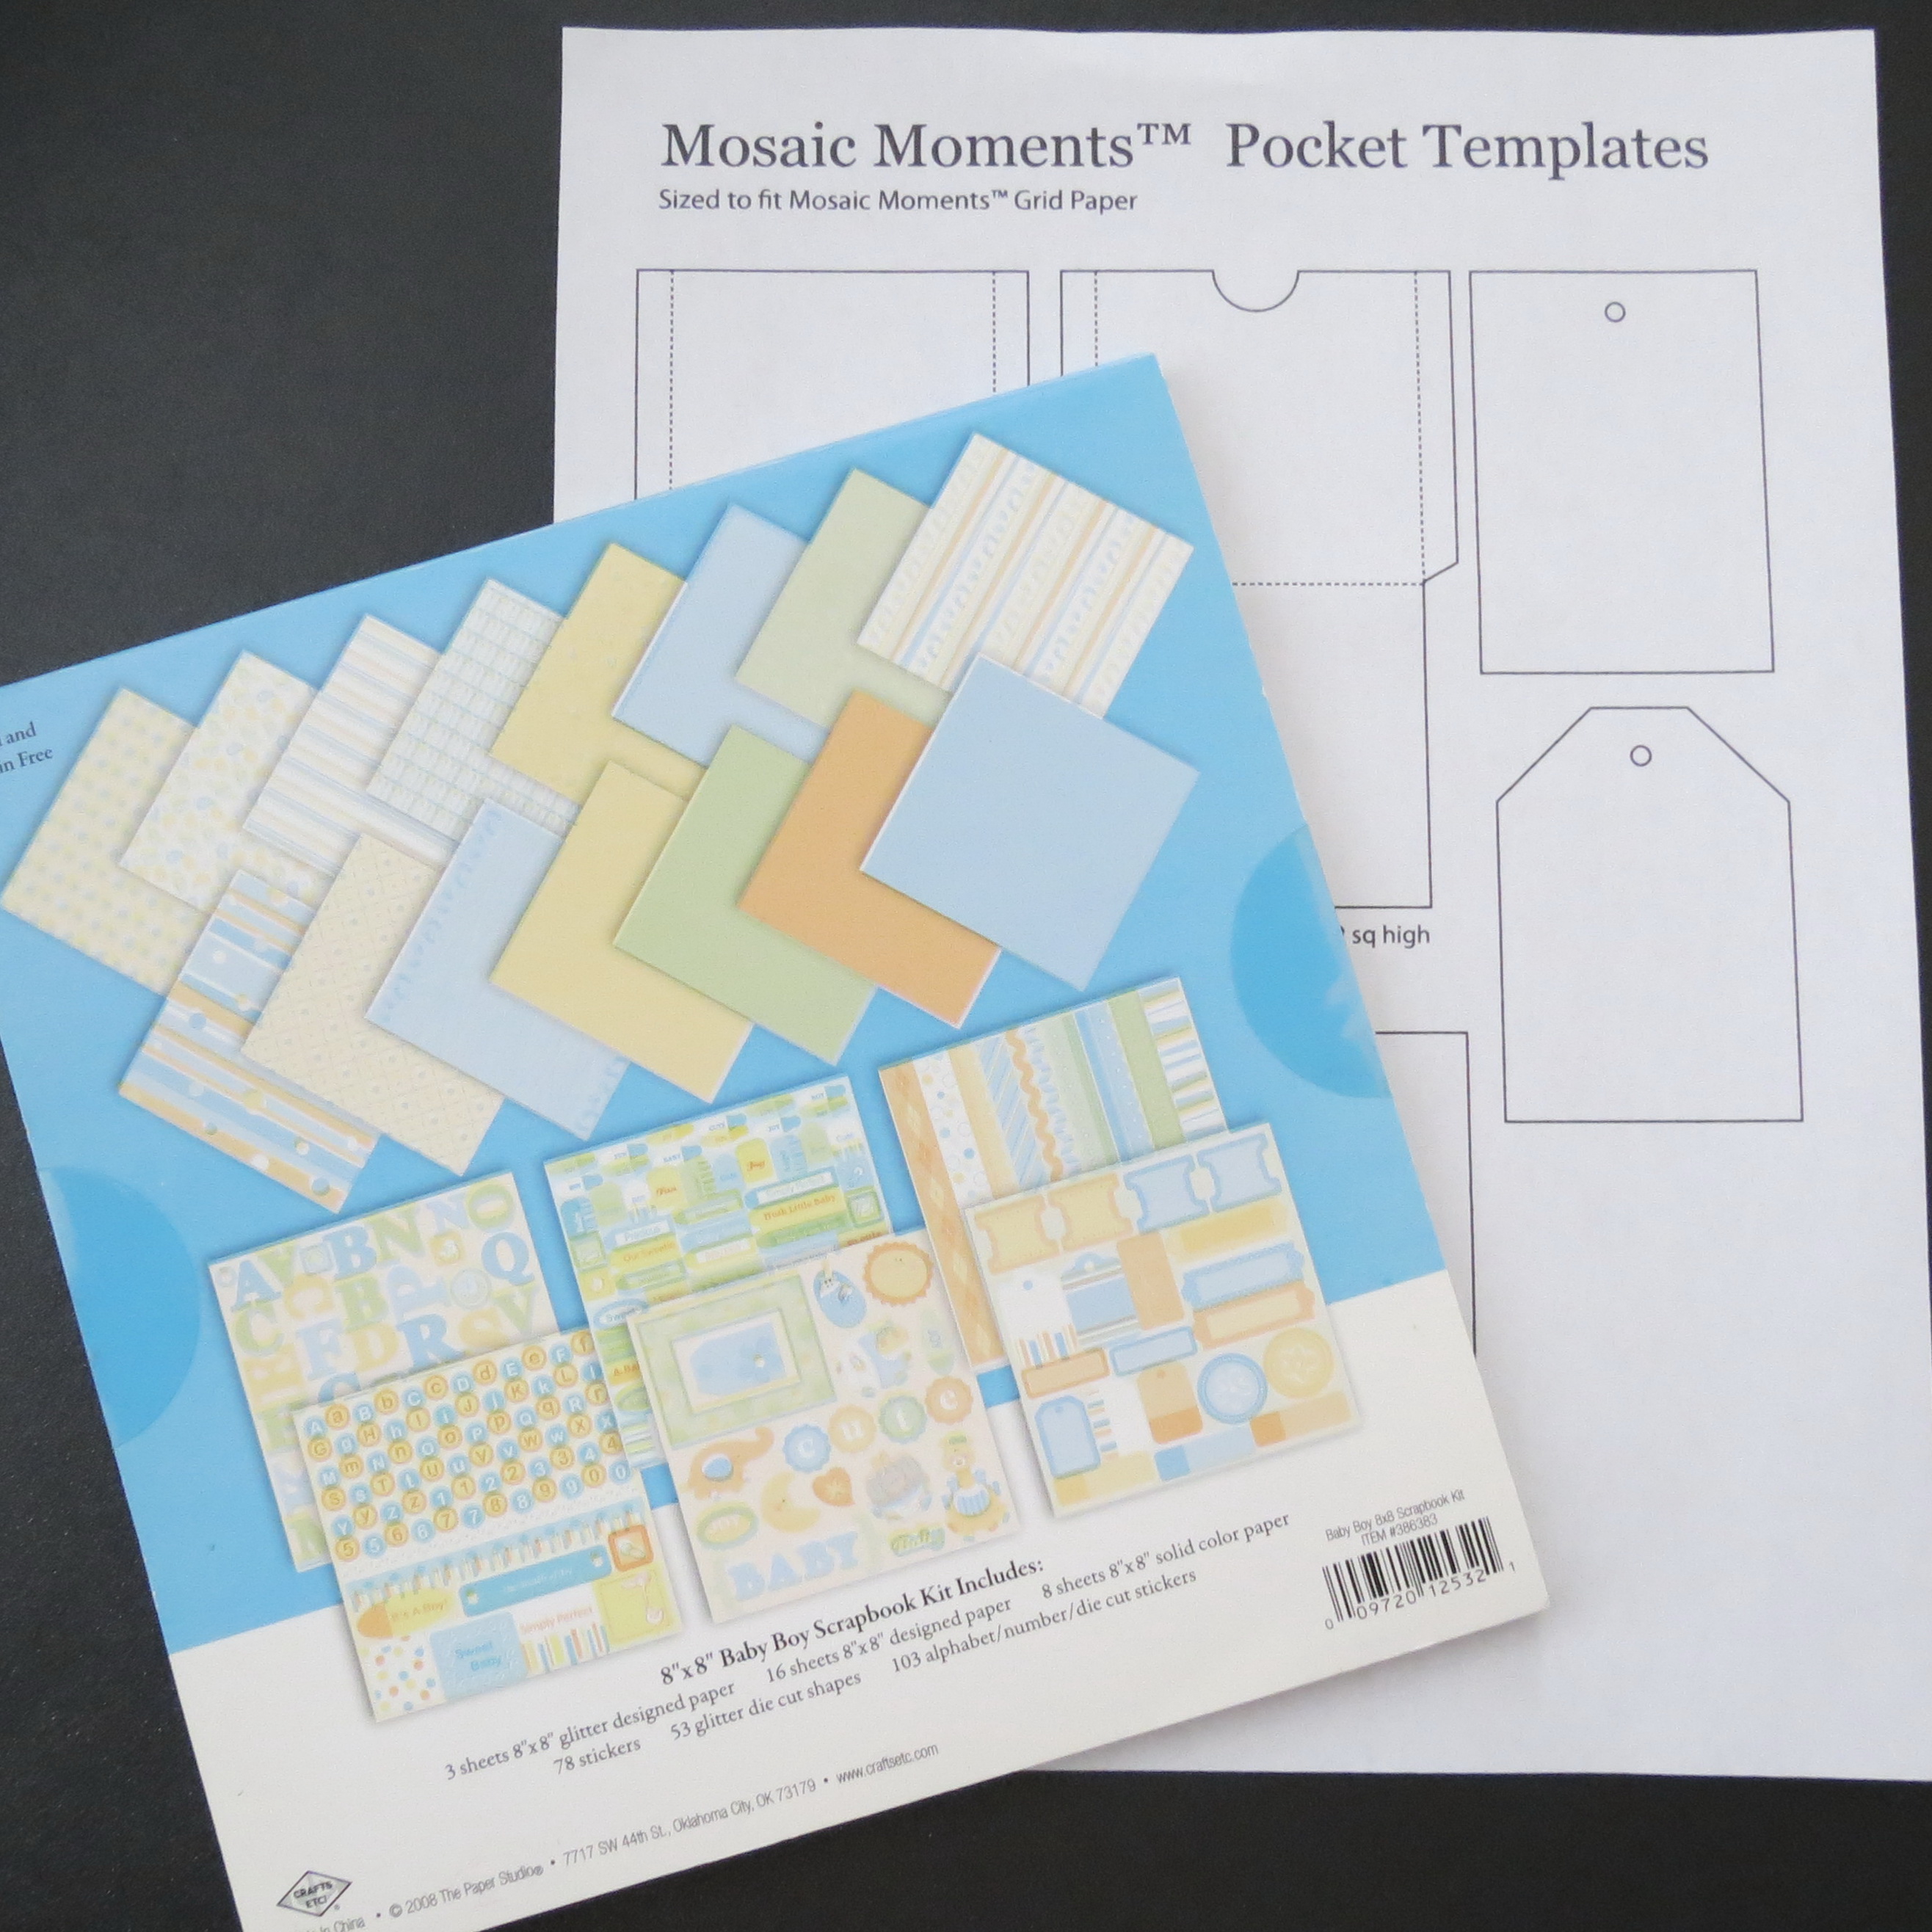
Our FREE Download for pockets to fit into the grids and an 8″ x 8″ patterned baby paper pack with all kinds of extras to use to embellish your pages.
The side borders hold hidden pockets one on the bottom and one at the top.
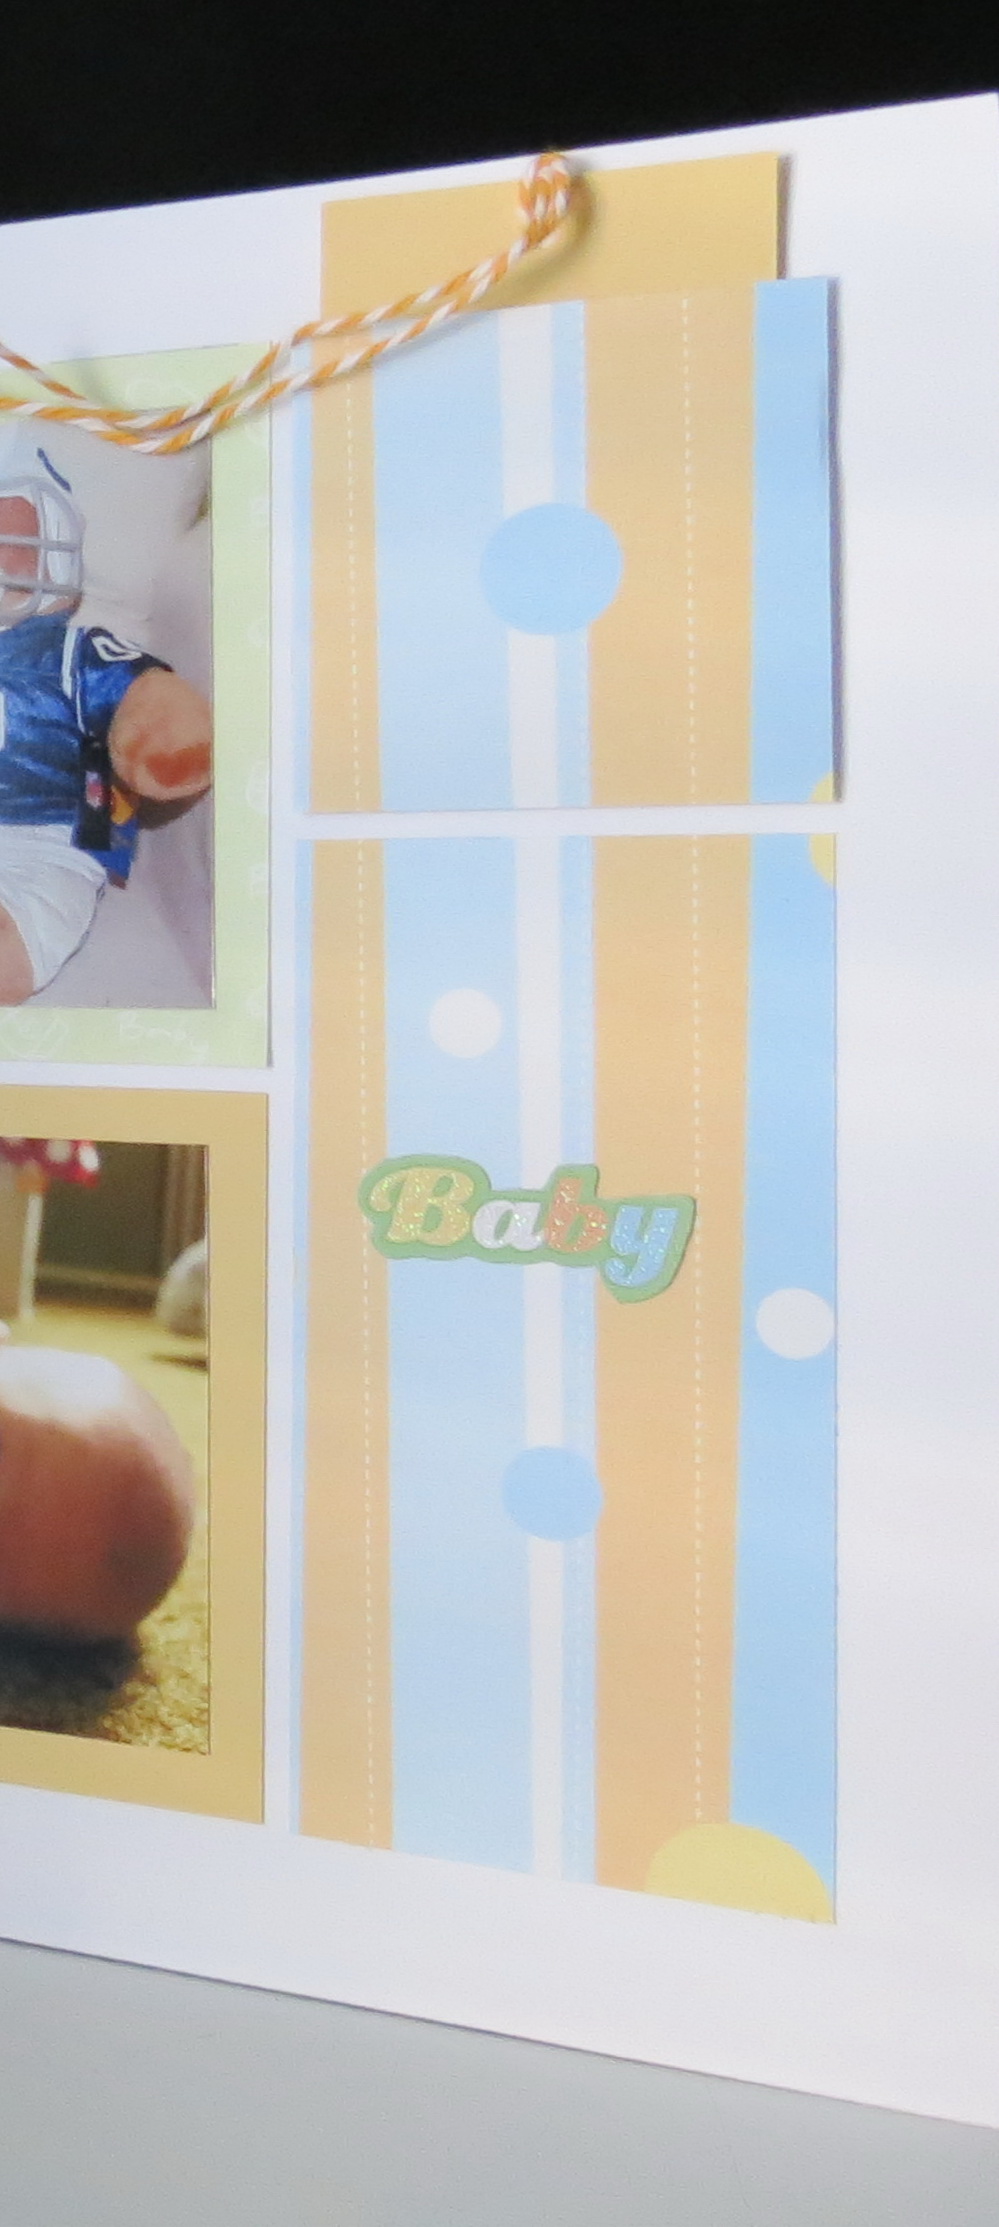
One strip of paper cut to fill side border and divided into two sections, one section is for the hidden pocket and tag pattern is uninterrupted.
I used the bits and pieces of cardstock tags and embellishments from the paper pack to finish things off. I trimmed the photos ½” smaller than the measured block so that each photo would have a color mat. I have left the front of the book with a mat for another photo or perhaps the details of name, birth date, weight, length, etc.
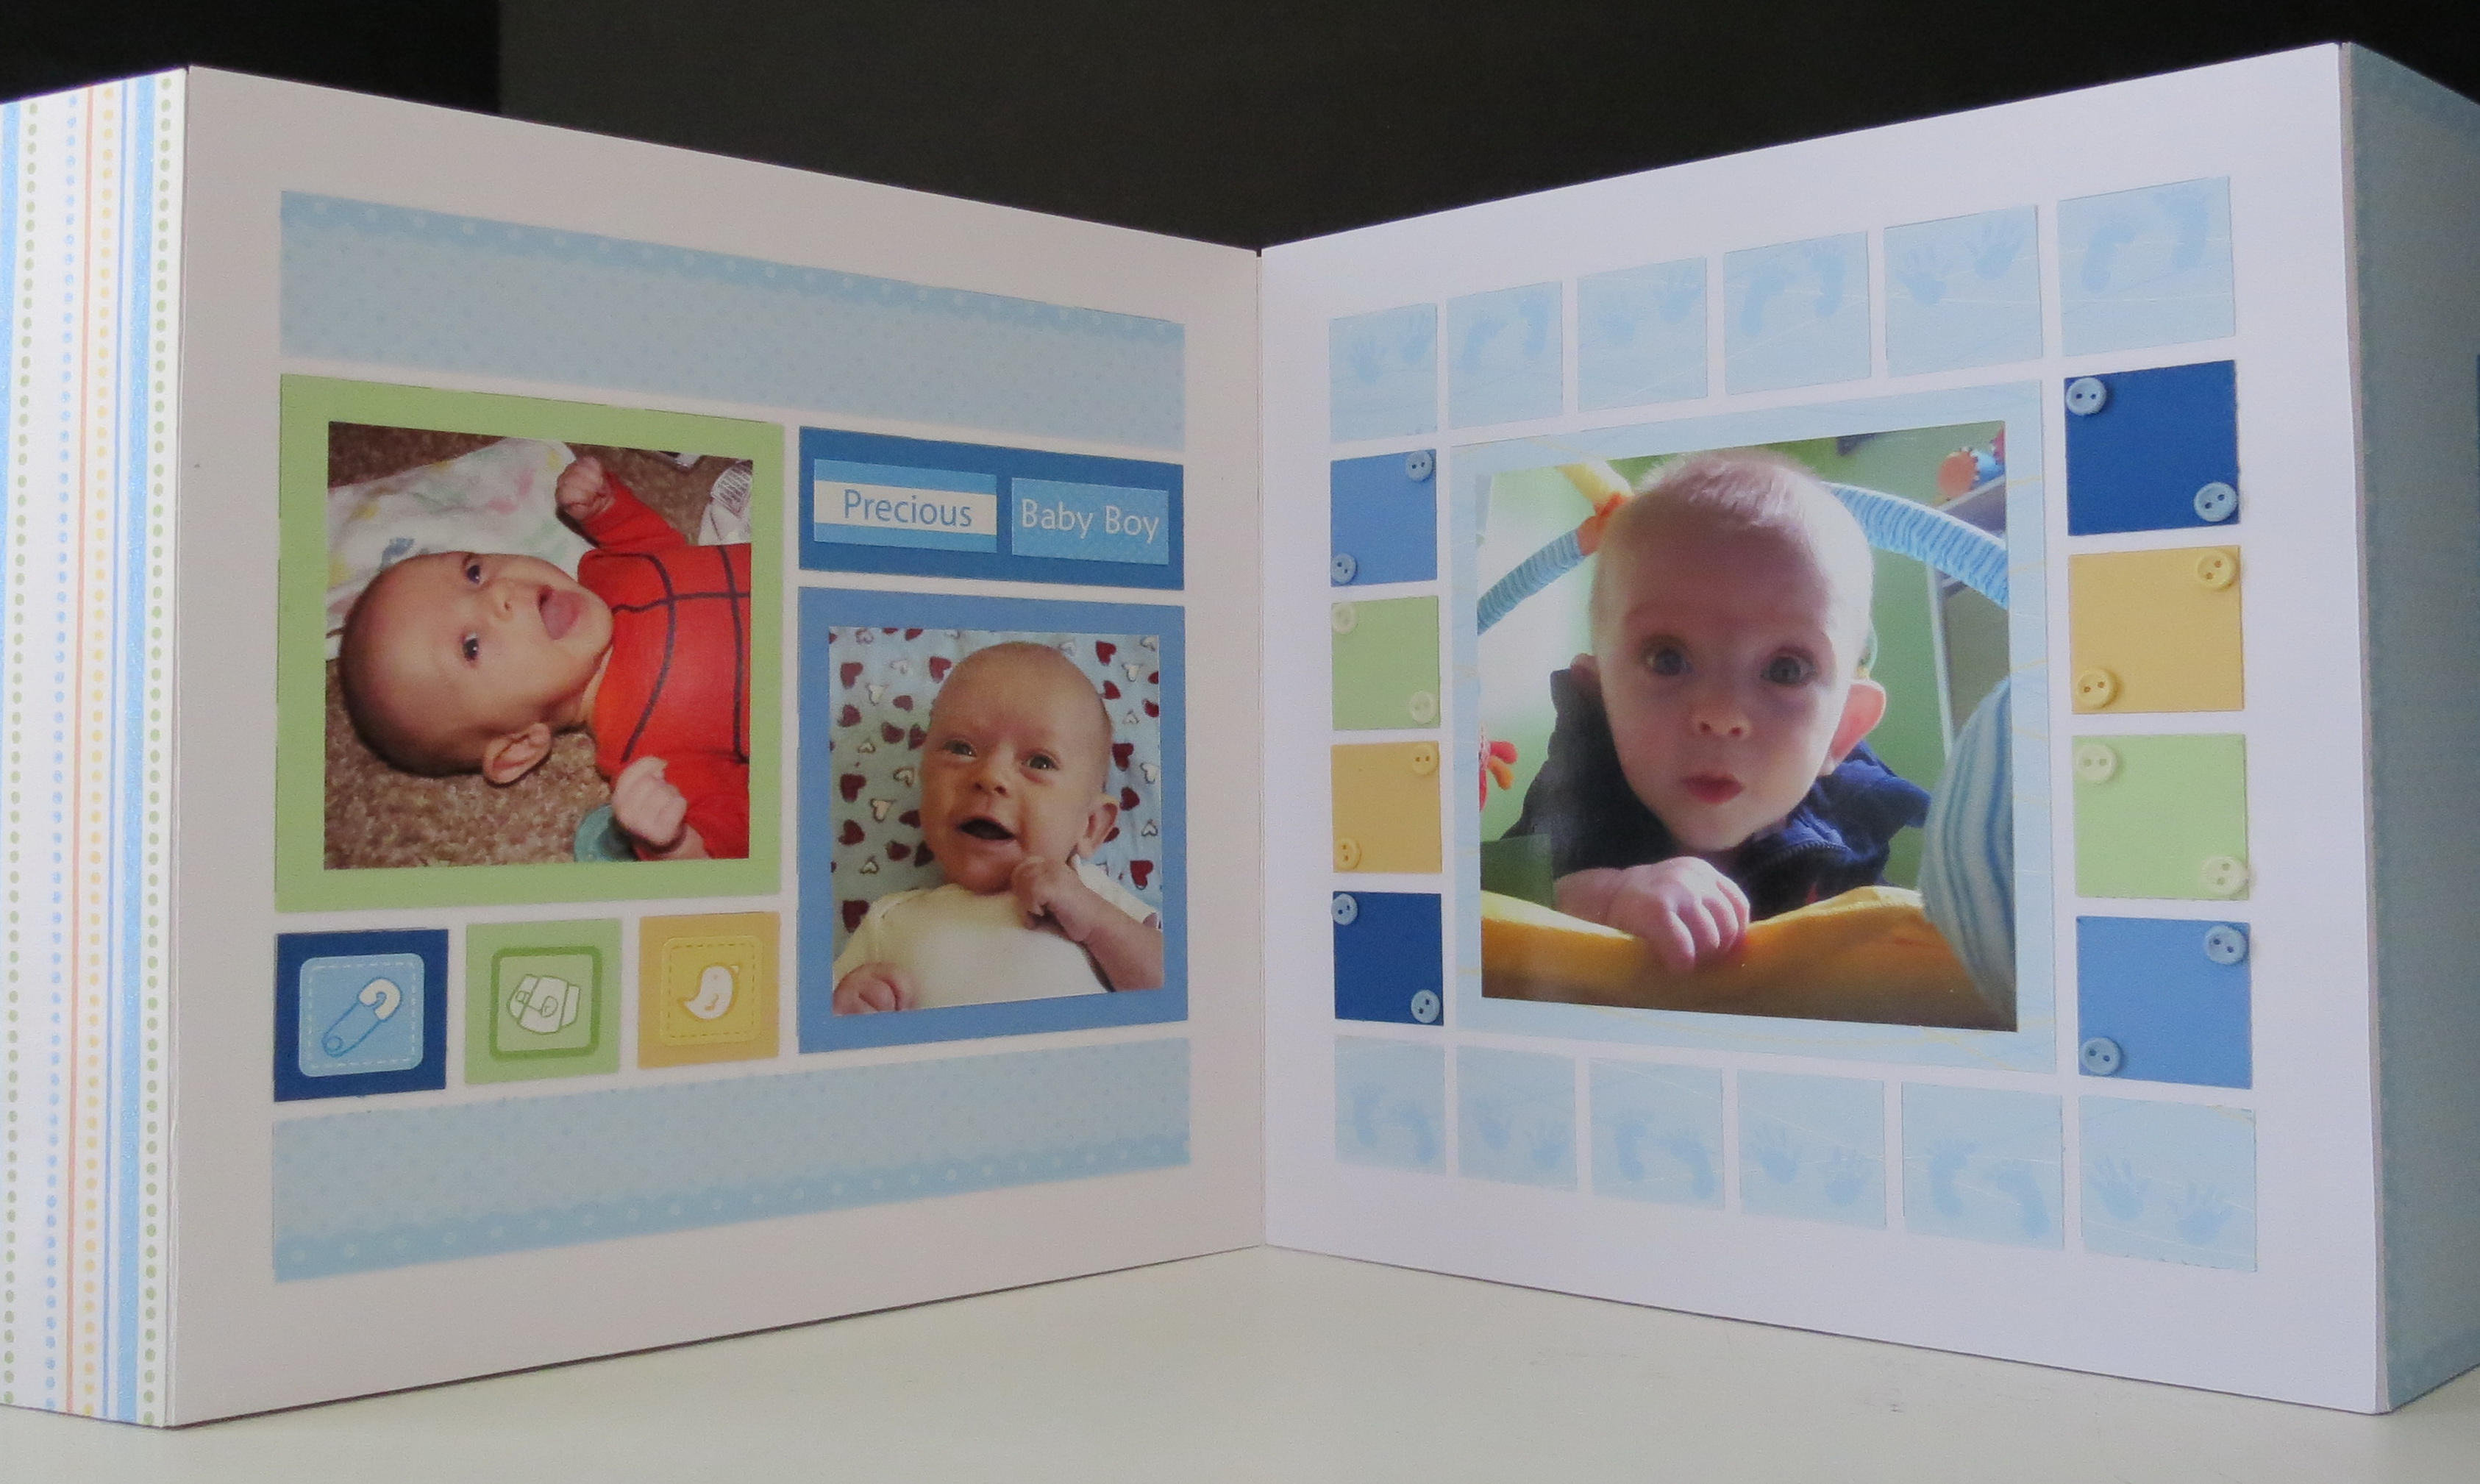
Tiny buttons and cardstock stickers added to the 1″ tiles.
The two double layouts, pockets and extra paper tiles just right for adding a bit of journaling.
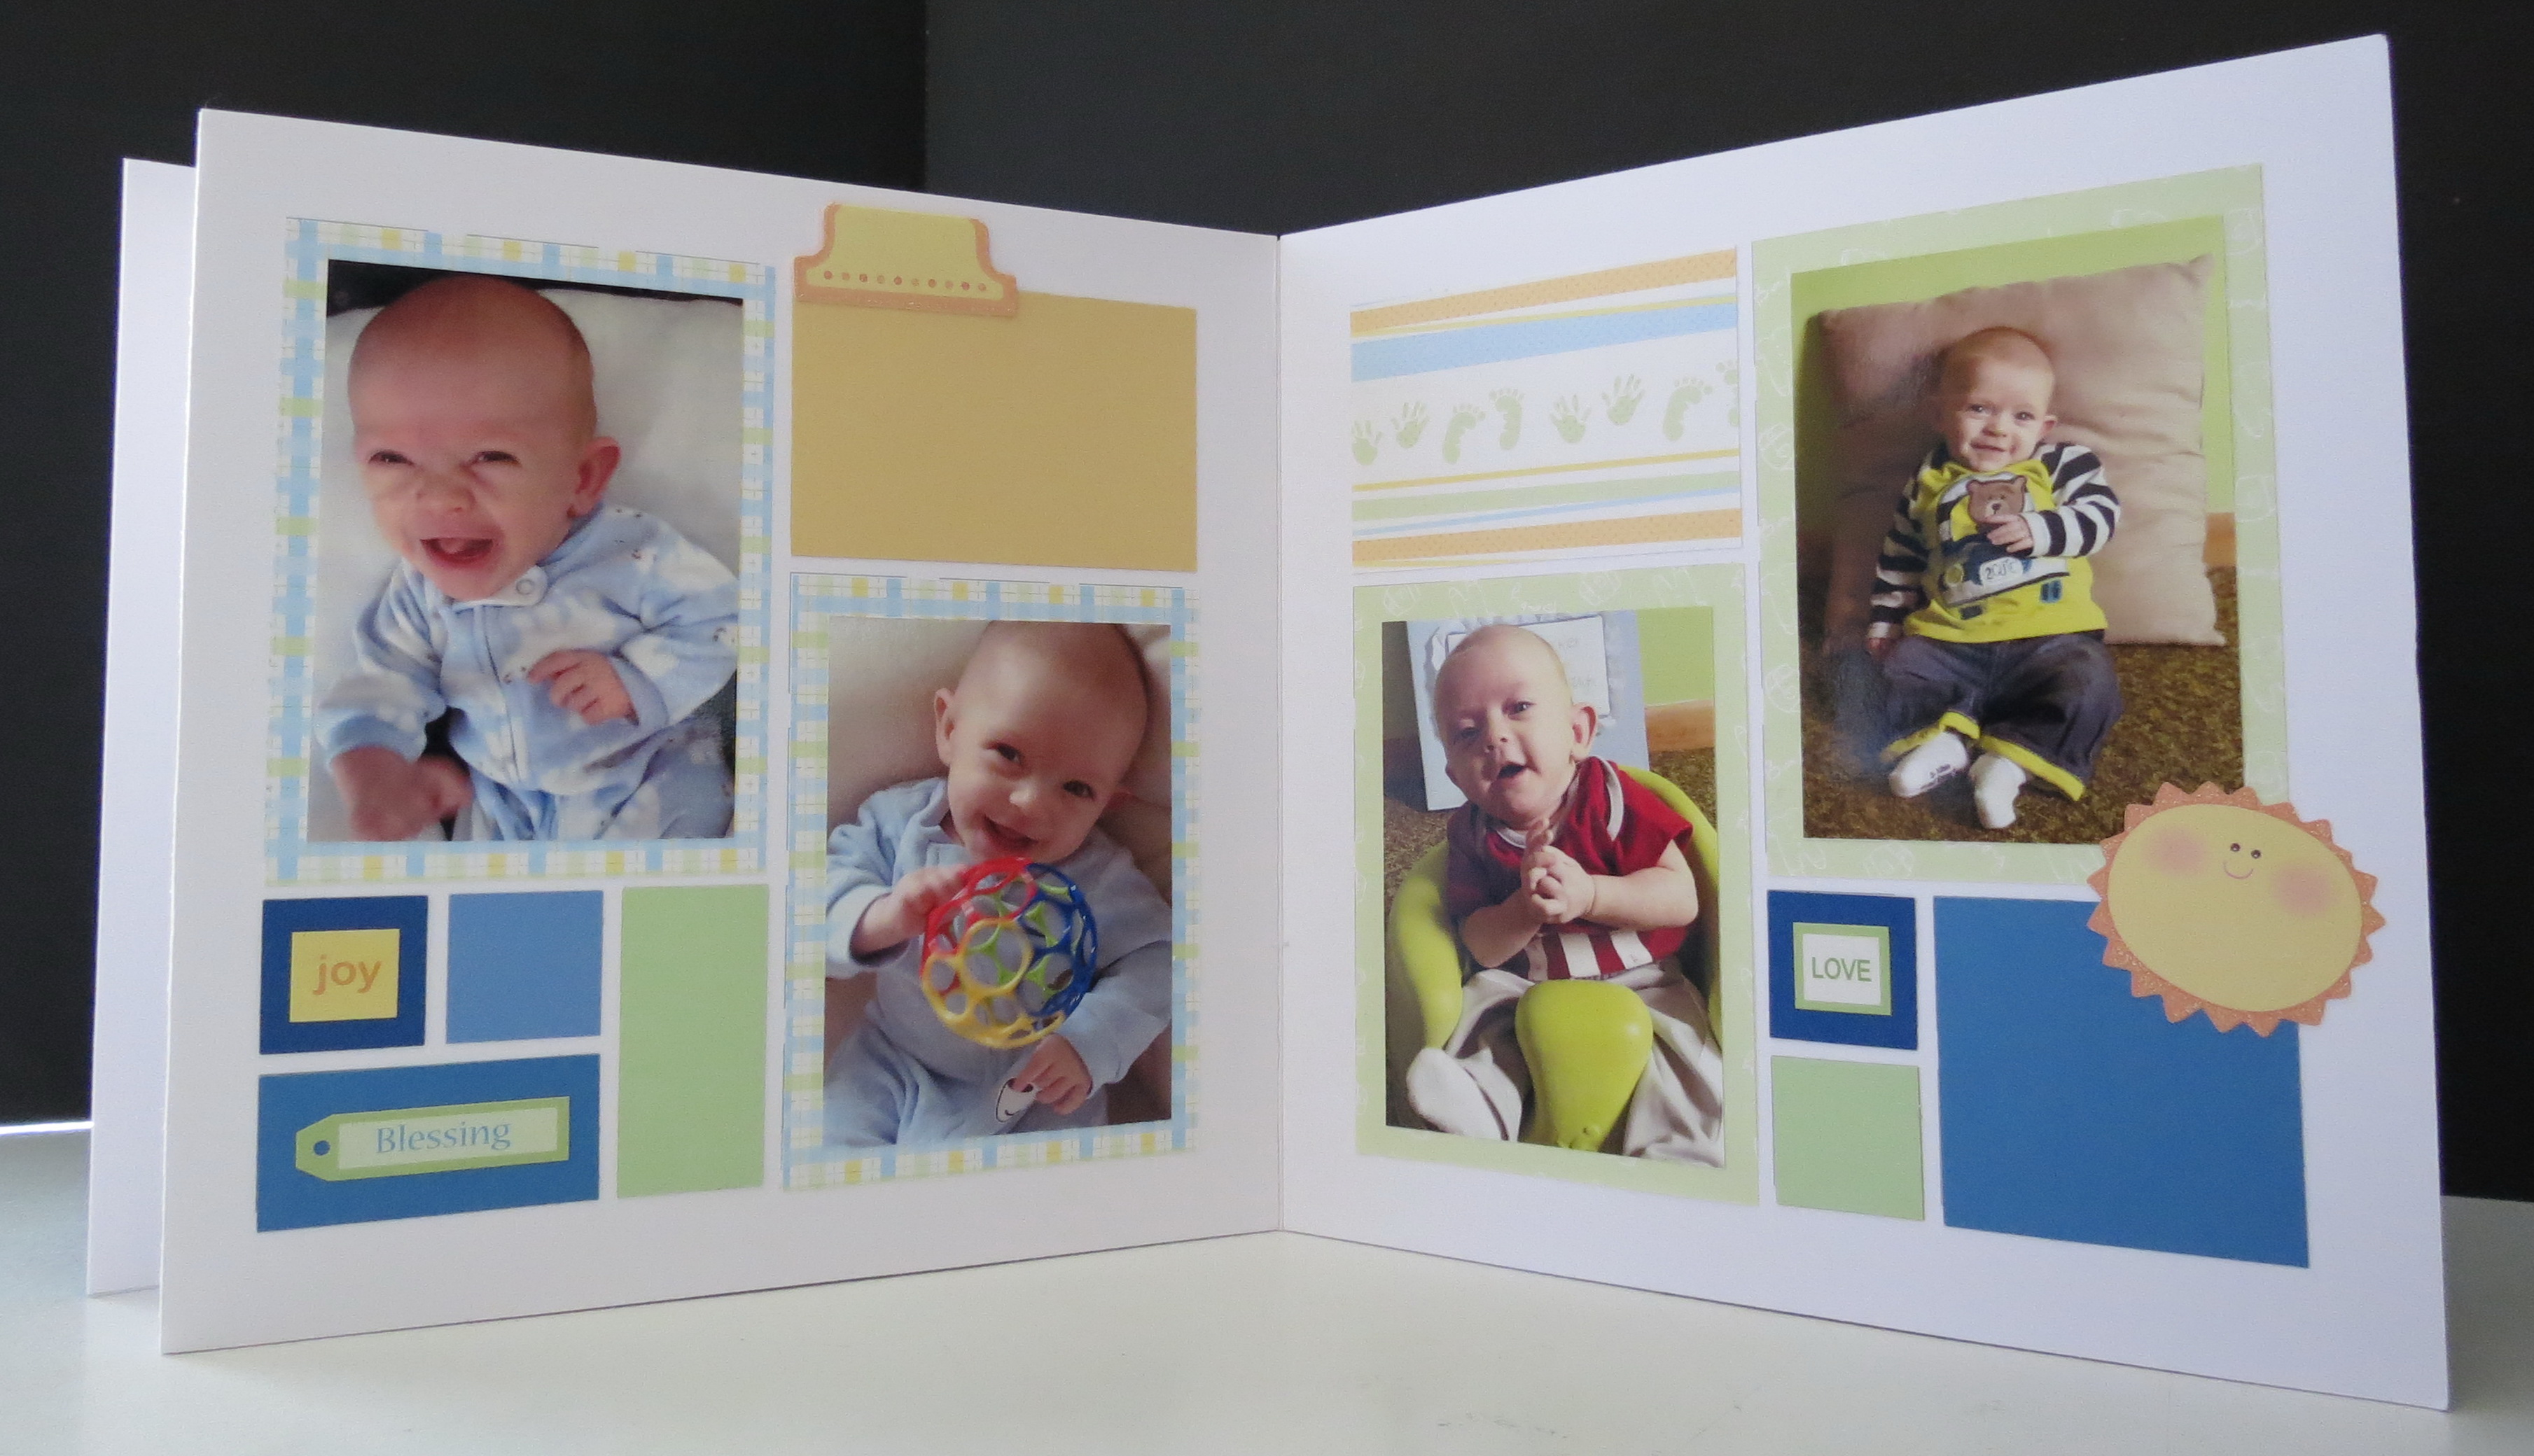
Added a file tab to a Paper Tile. This makes a good spot for journaling.
Tags, tabs and stickers are easy additions to your pages, these were part of the paper kit, so they all coordinate perfectly! Thanks to Evan and Bri for sharing their photos of their new son Zeke for this project! Isn’t that a great smile??
PHOTO TILES USED: Book one:Robin’s Egg, Pear Crush, and Sun Yellow. Book Two: Sunflower, Pear Crush, Blue Jay, Loganberry, and Huckleberry Pie
Personalized Paper Tile chip file. I’m so glad I finally organized my Paper Tiles this way!! It makes it quick and easy to match colors for each project.
TIP: When you are looking to match colors of paper and paper tiles I have a quick way to do it and inventory your paper tile stash at the same time. I have taken my scrap papers and punched a 1 ½” square and then punched a small hole at the top. Take one 1” square of each color you have and stick to the center of the tag and write the name of the color at the bottom for easy reference. I plan to put them all on a ring someday, but for now I have some raffia tying them together. This saves me from searching through all my file folders of colors guessing which colors I will need but knowing exactly the color I’m looking. My personal paint chips! Plus, this lets me keep track of the colors I have so when the next sale comes around I’m ready to quickly ID new colors I need to add to the stash!!
I hope you will try this idea for a mini baby album with our 8”x 8” Grid Papers when you want a nice gift for Mother’s Day, or as a baby/shower gift for that special new Mom or Mom-to-Be. We’d love to see how you make the idea your own, so share on our Facebook page or over on the Story Board at Journella.com
Have a wonderful week!!
Andrea Fisher