

Banners, Borders and Buntings…tips and techniques for creating a Memorable Scrapbook Layout
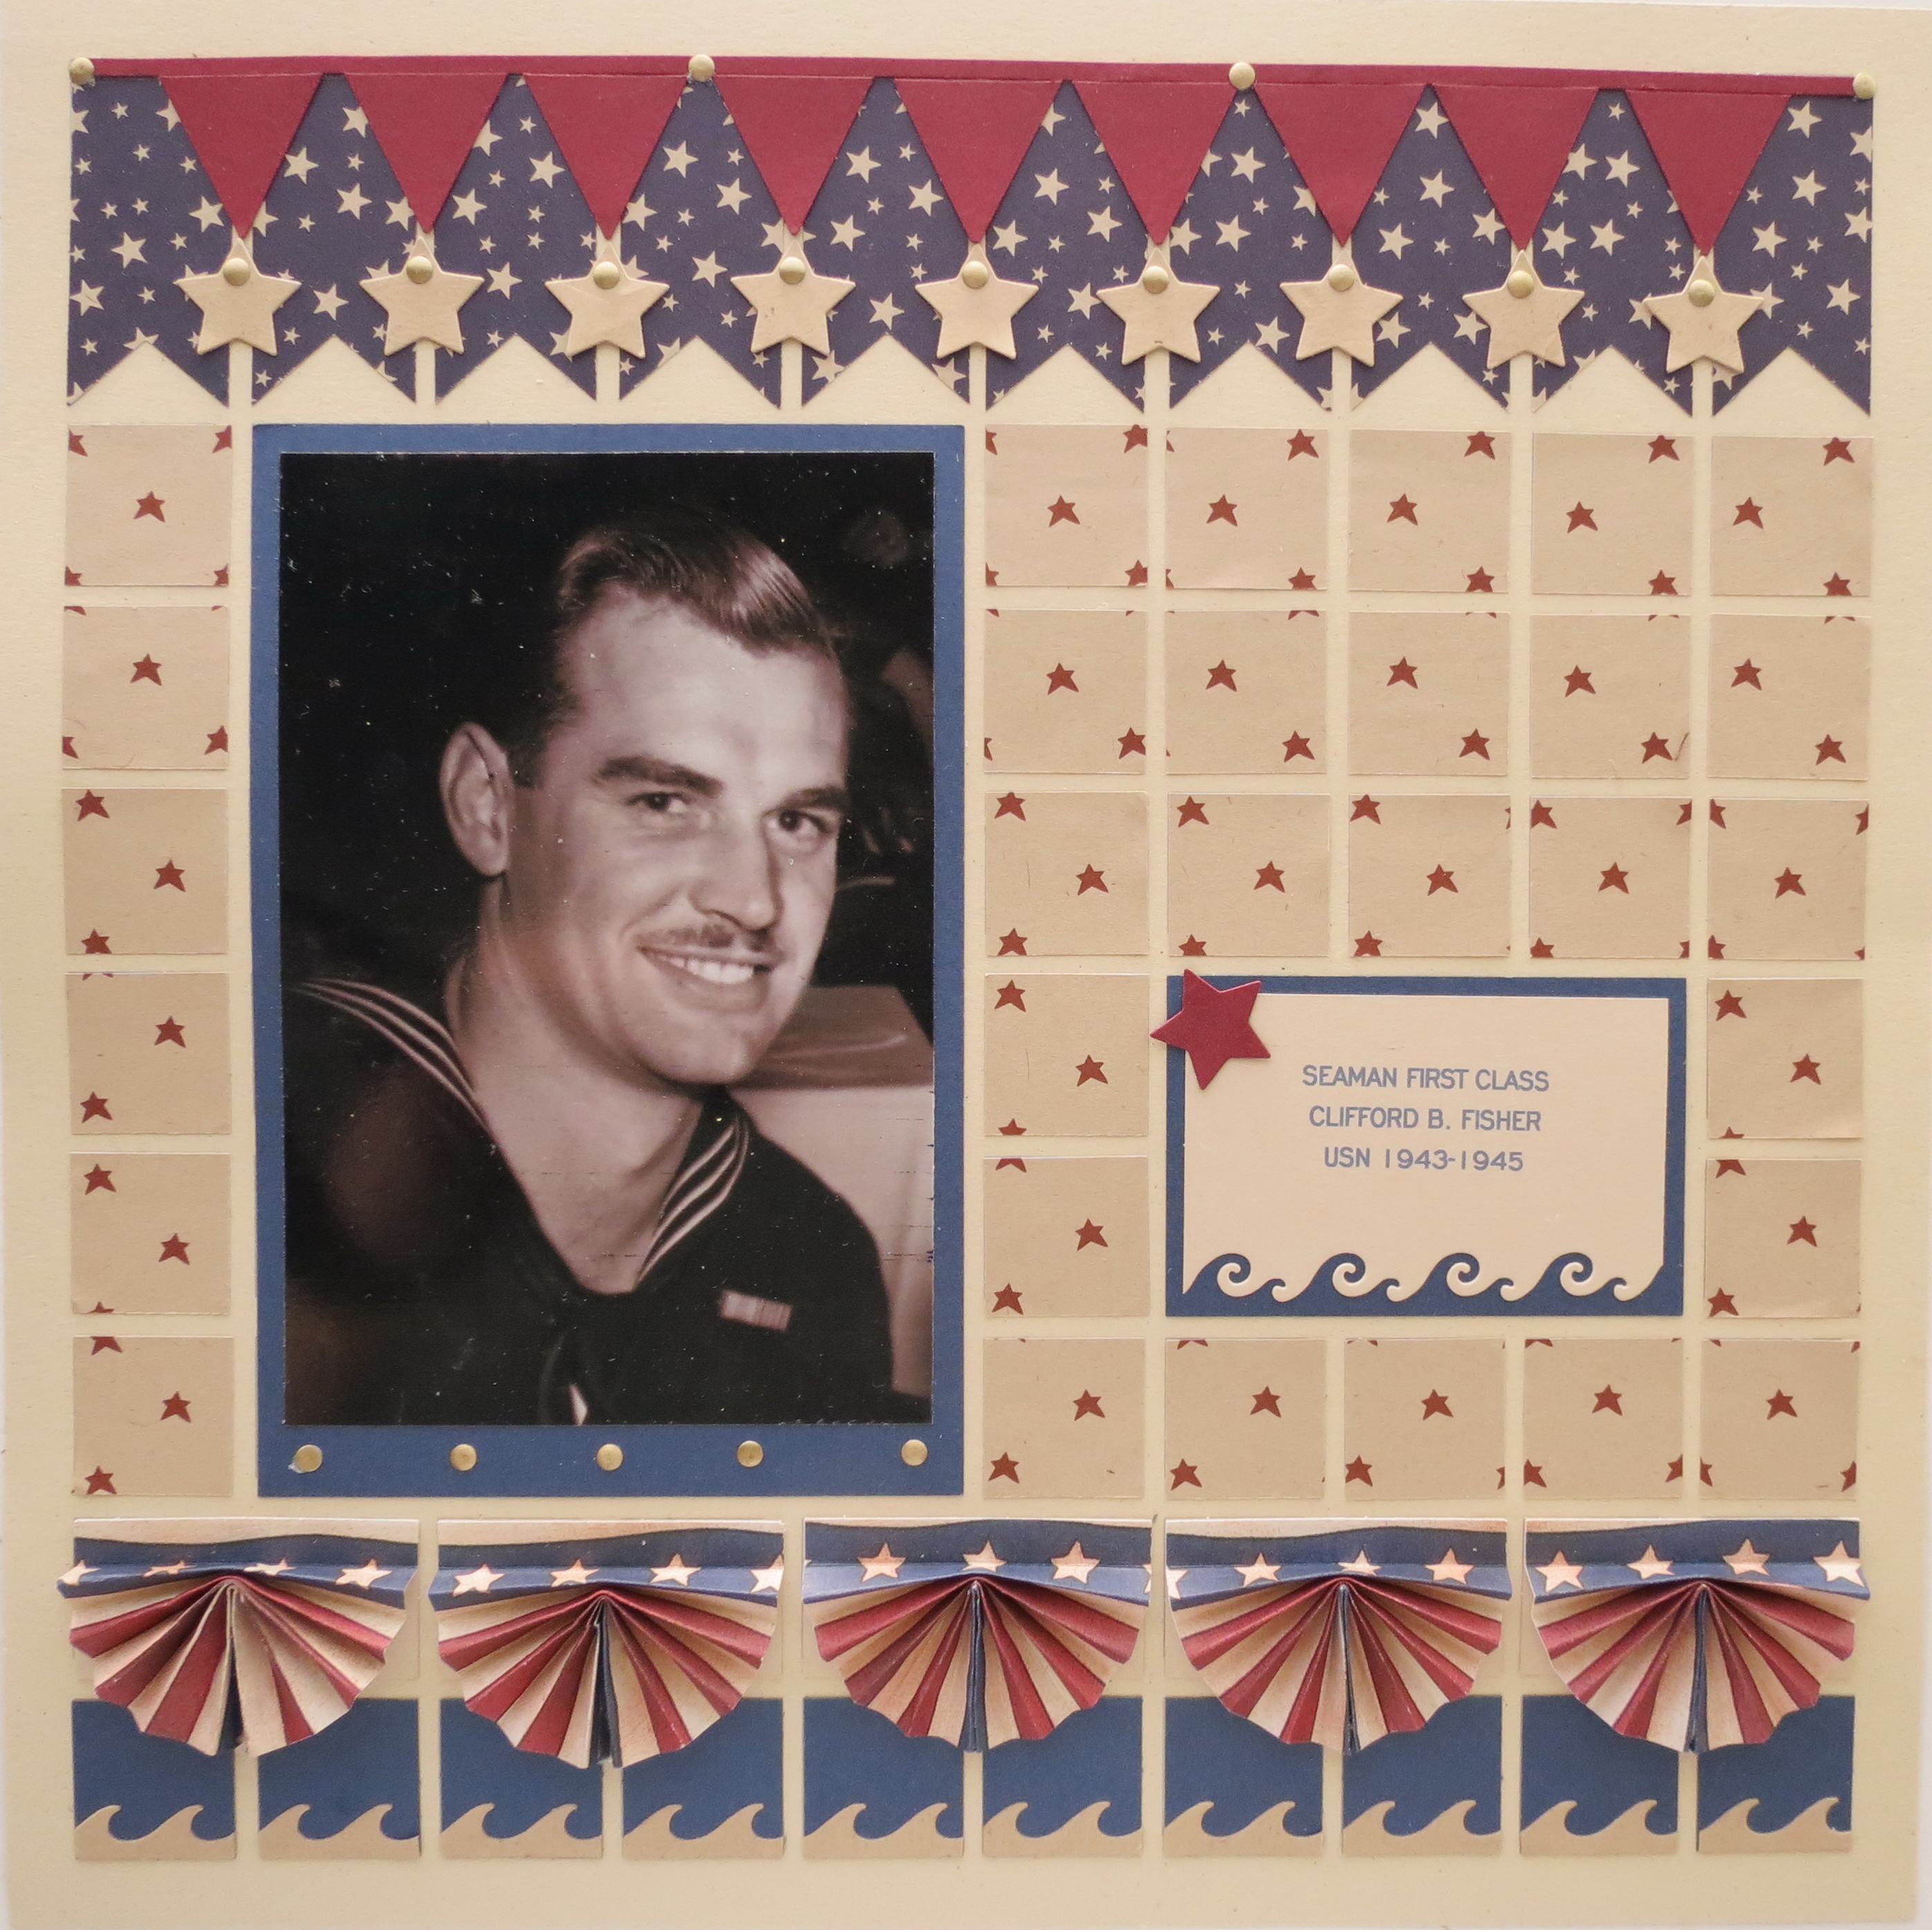
Memorial Day fast approaches and it will signal the unofficial beginning of summer and all the activities that go along with the season. For many though, it is a day to reflect on the service to our country by our men and women in the military both past and present. I’ve brought today a page to honor my late father-in-law who served in the US Navy during WWII. In June of 2010 he passed away a month shy of his 90th birthday. I’ve used a few techniques that can be applied to any page and any color combination.
TIP ONE: Because this is a vintage photo in black and white and of a time past, I have chosen to keep to a vintage/primitive color palette to be true to the times.
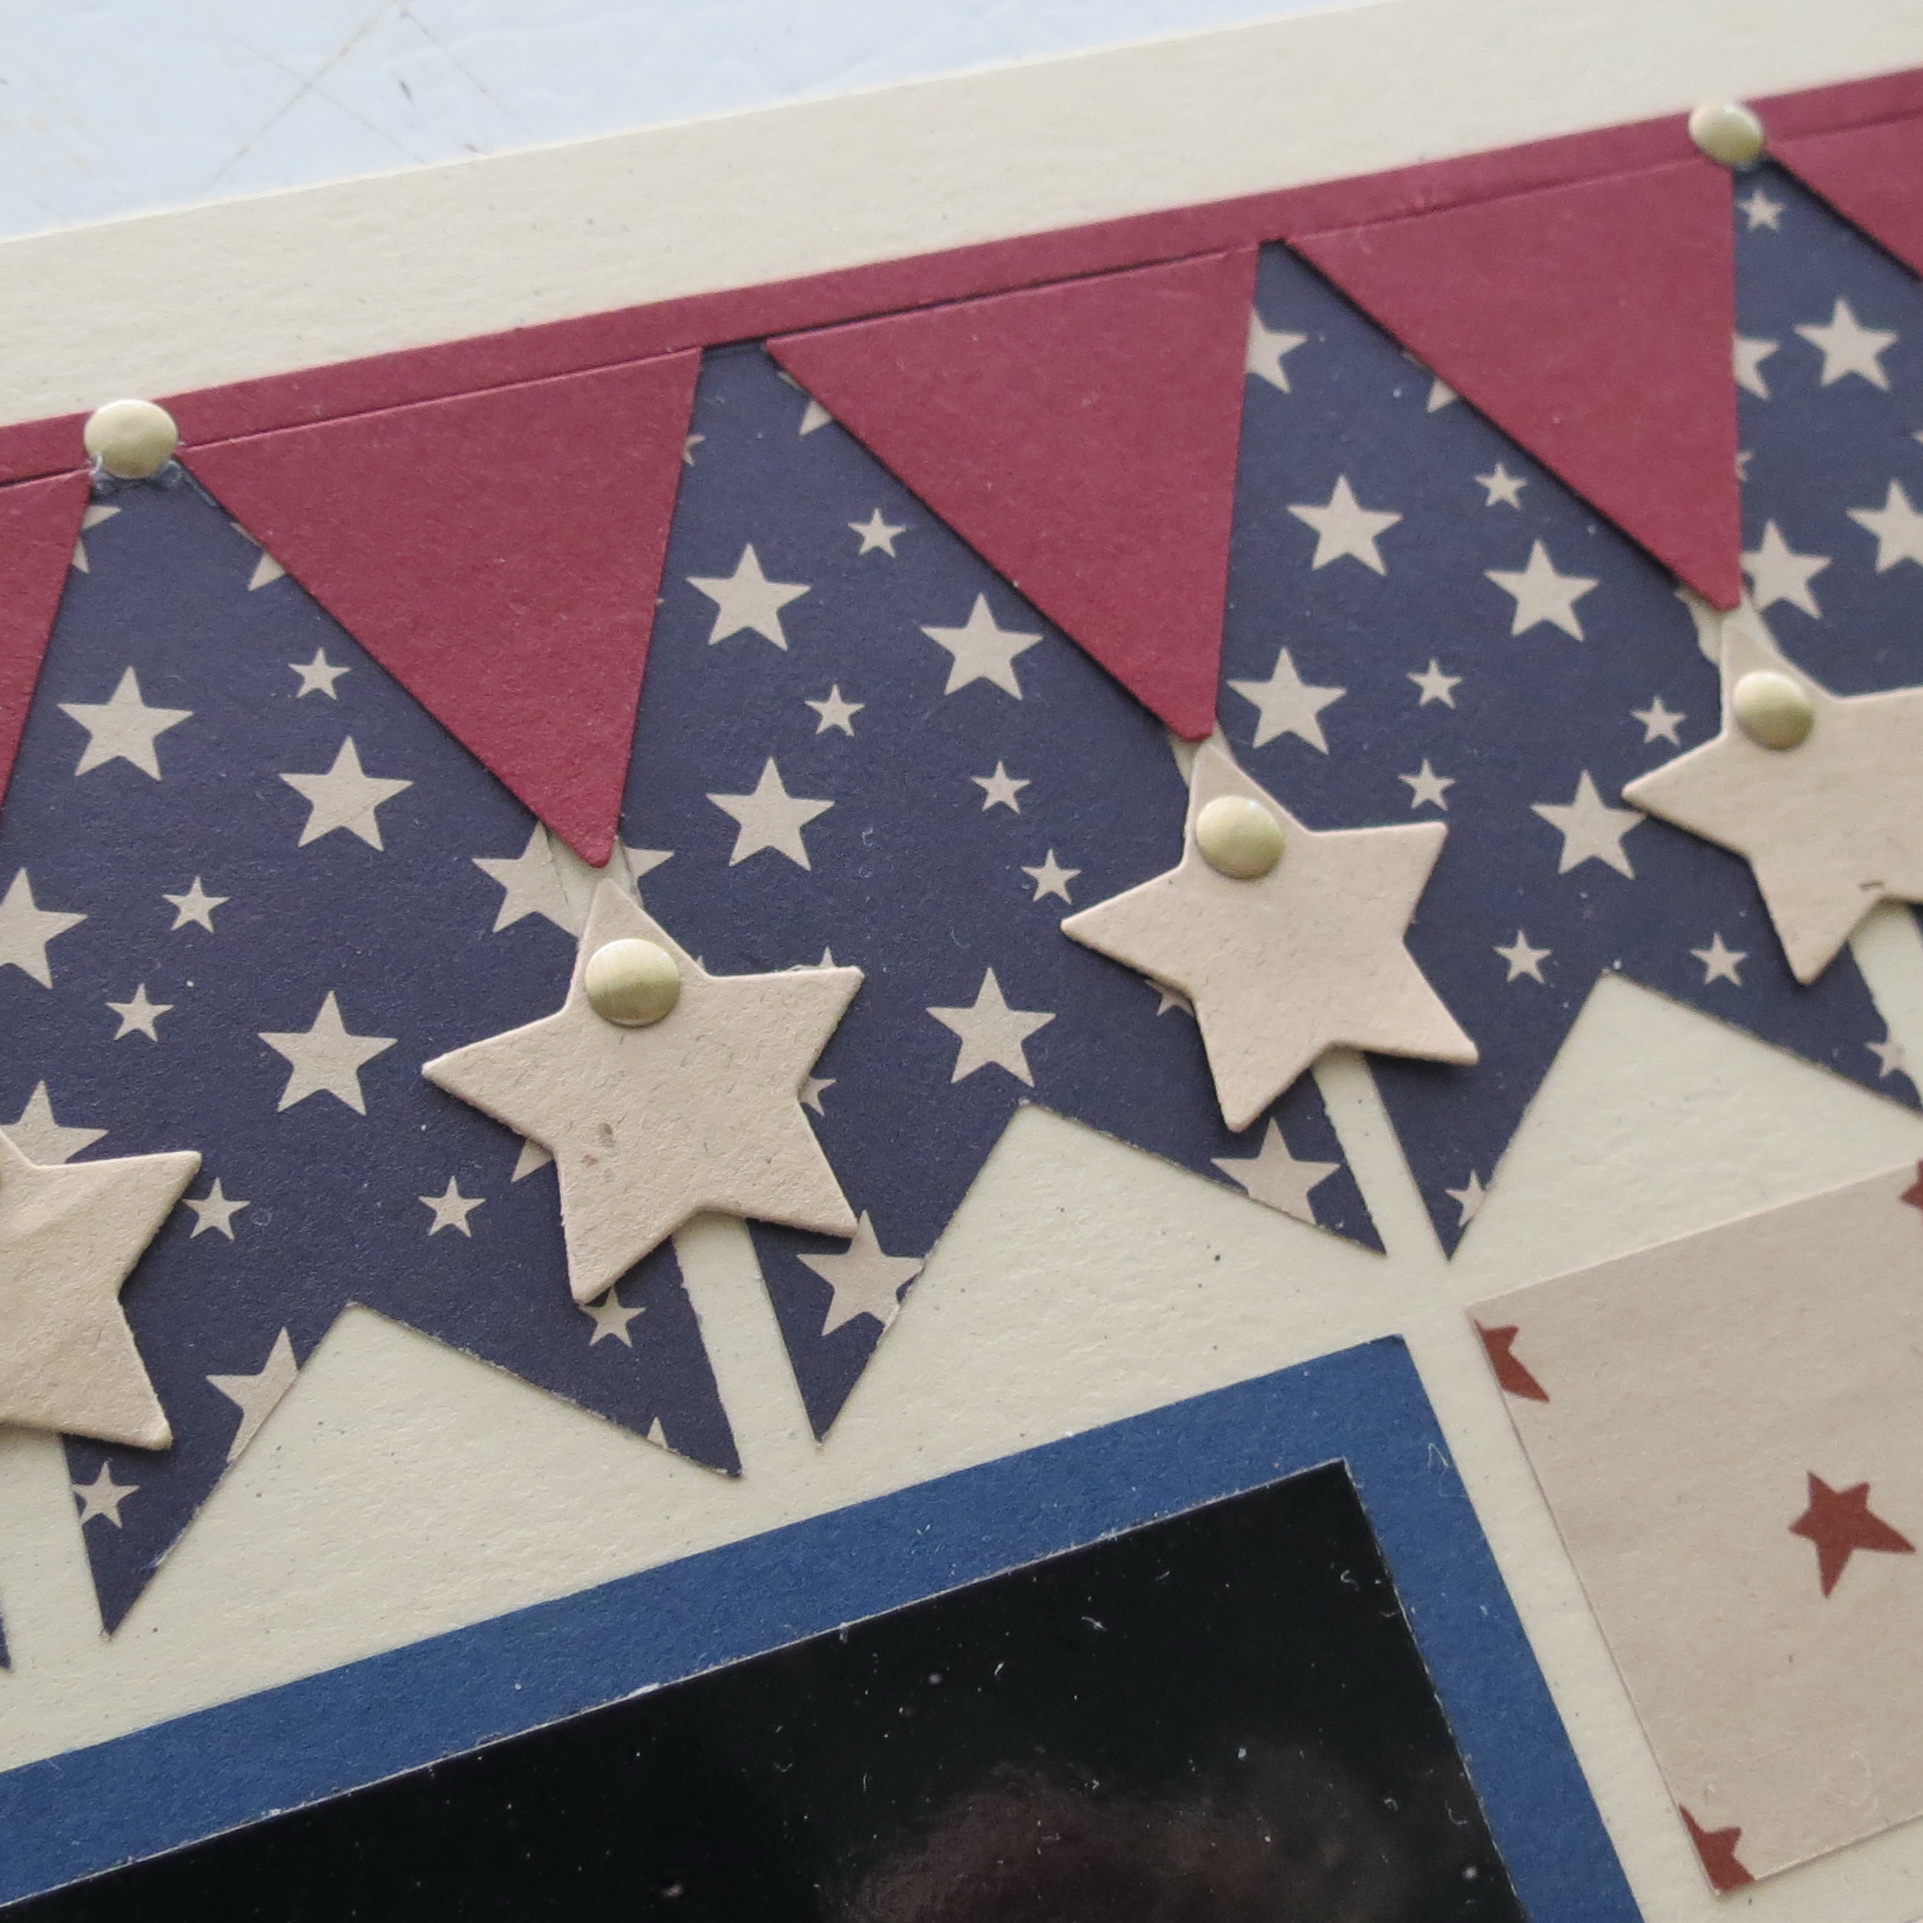
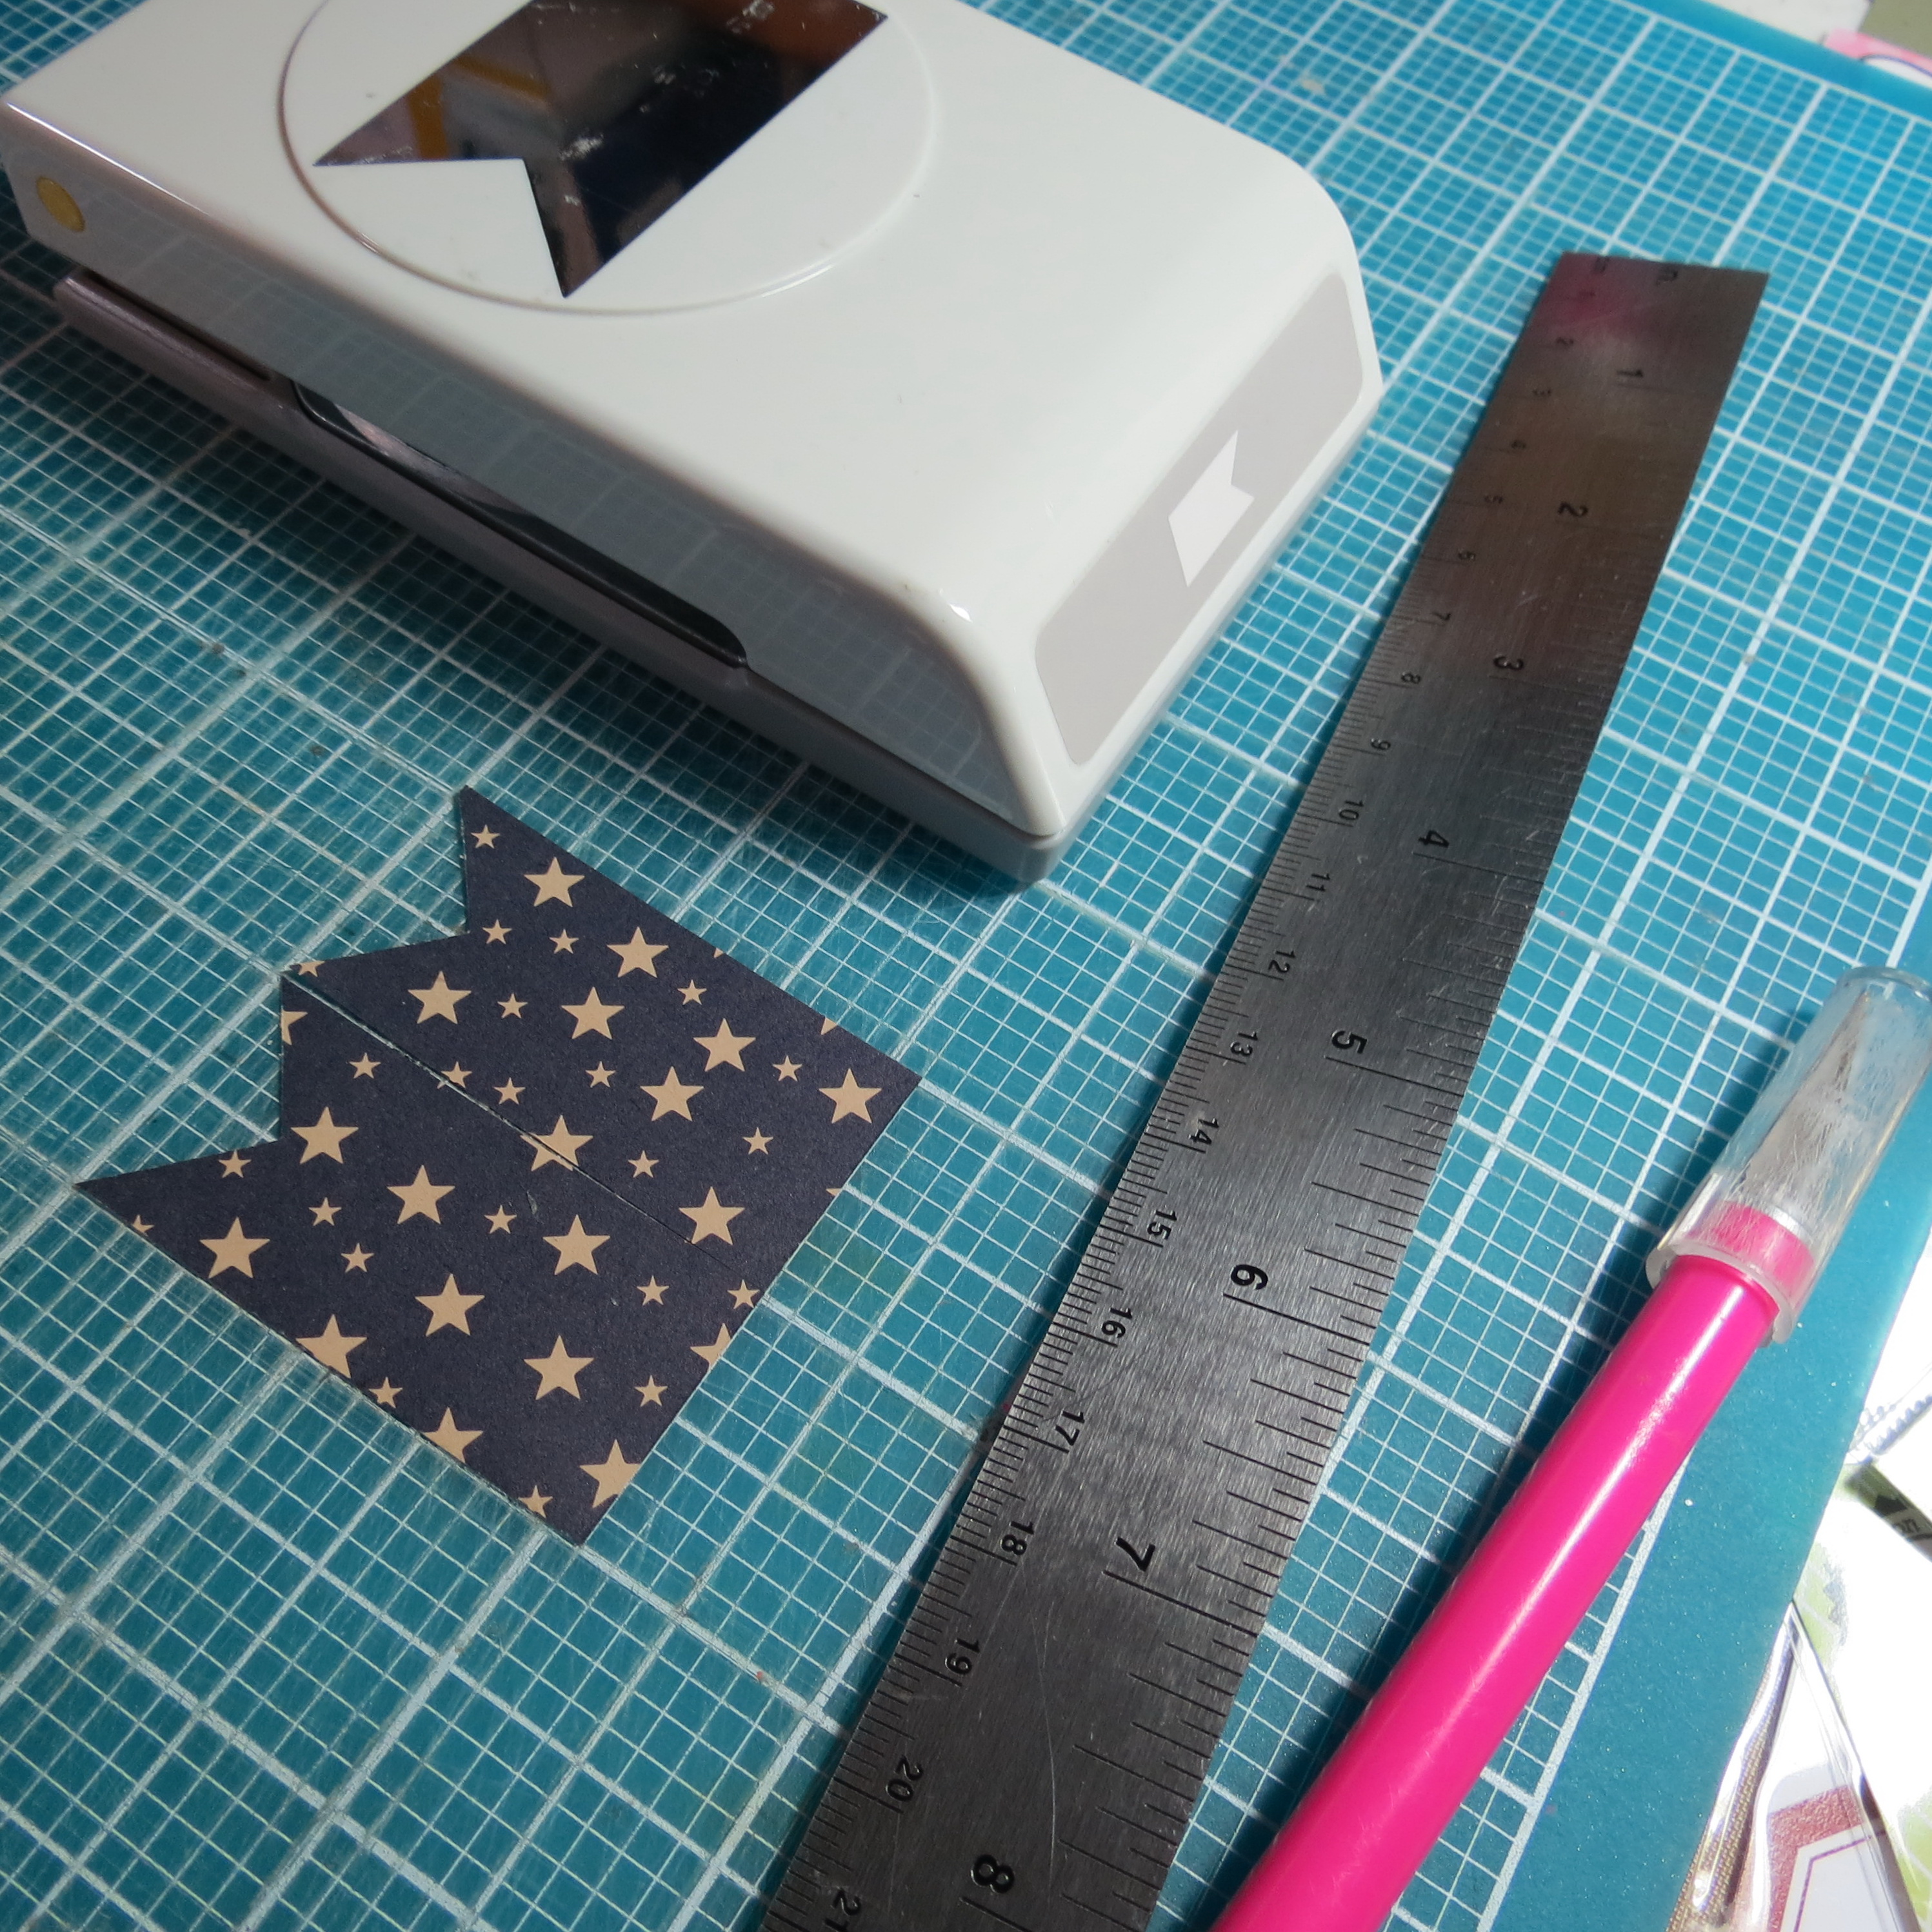
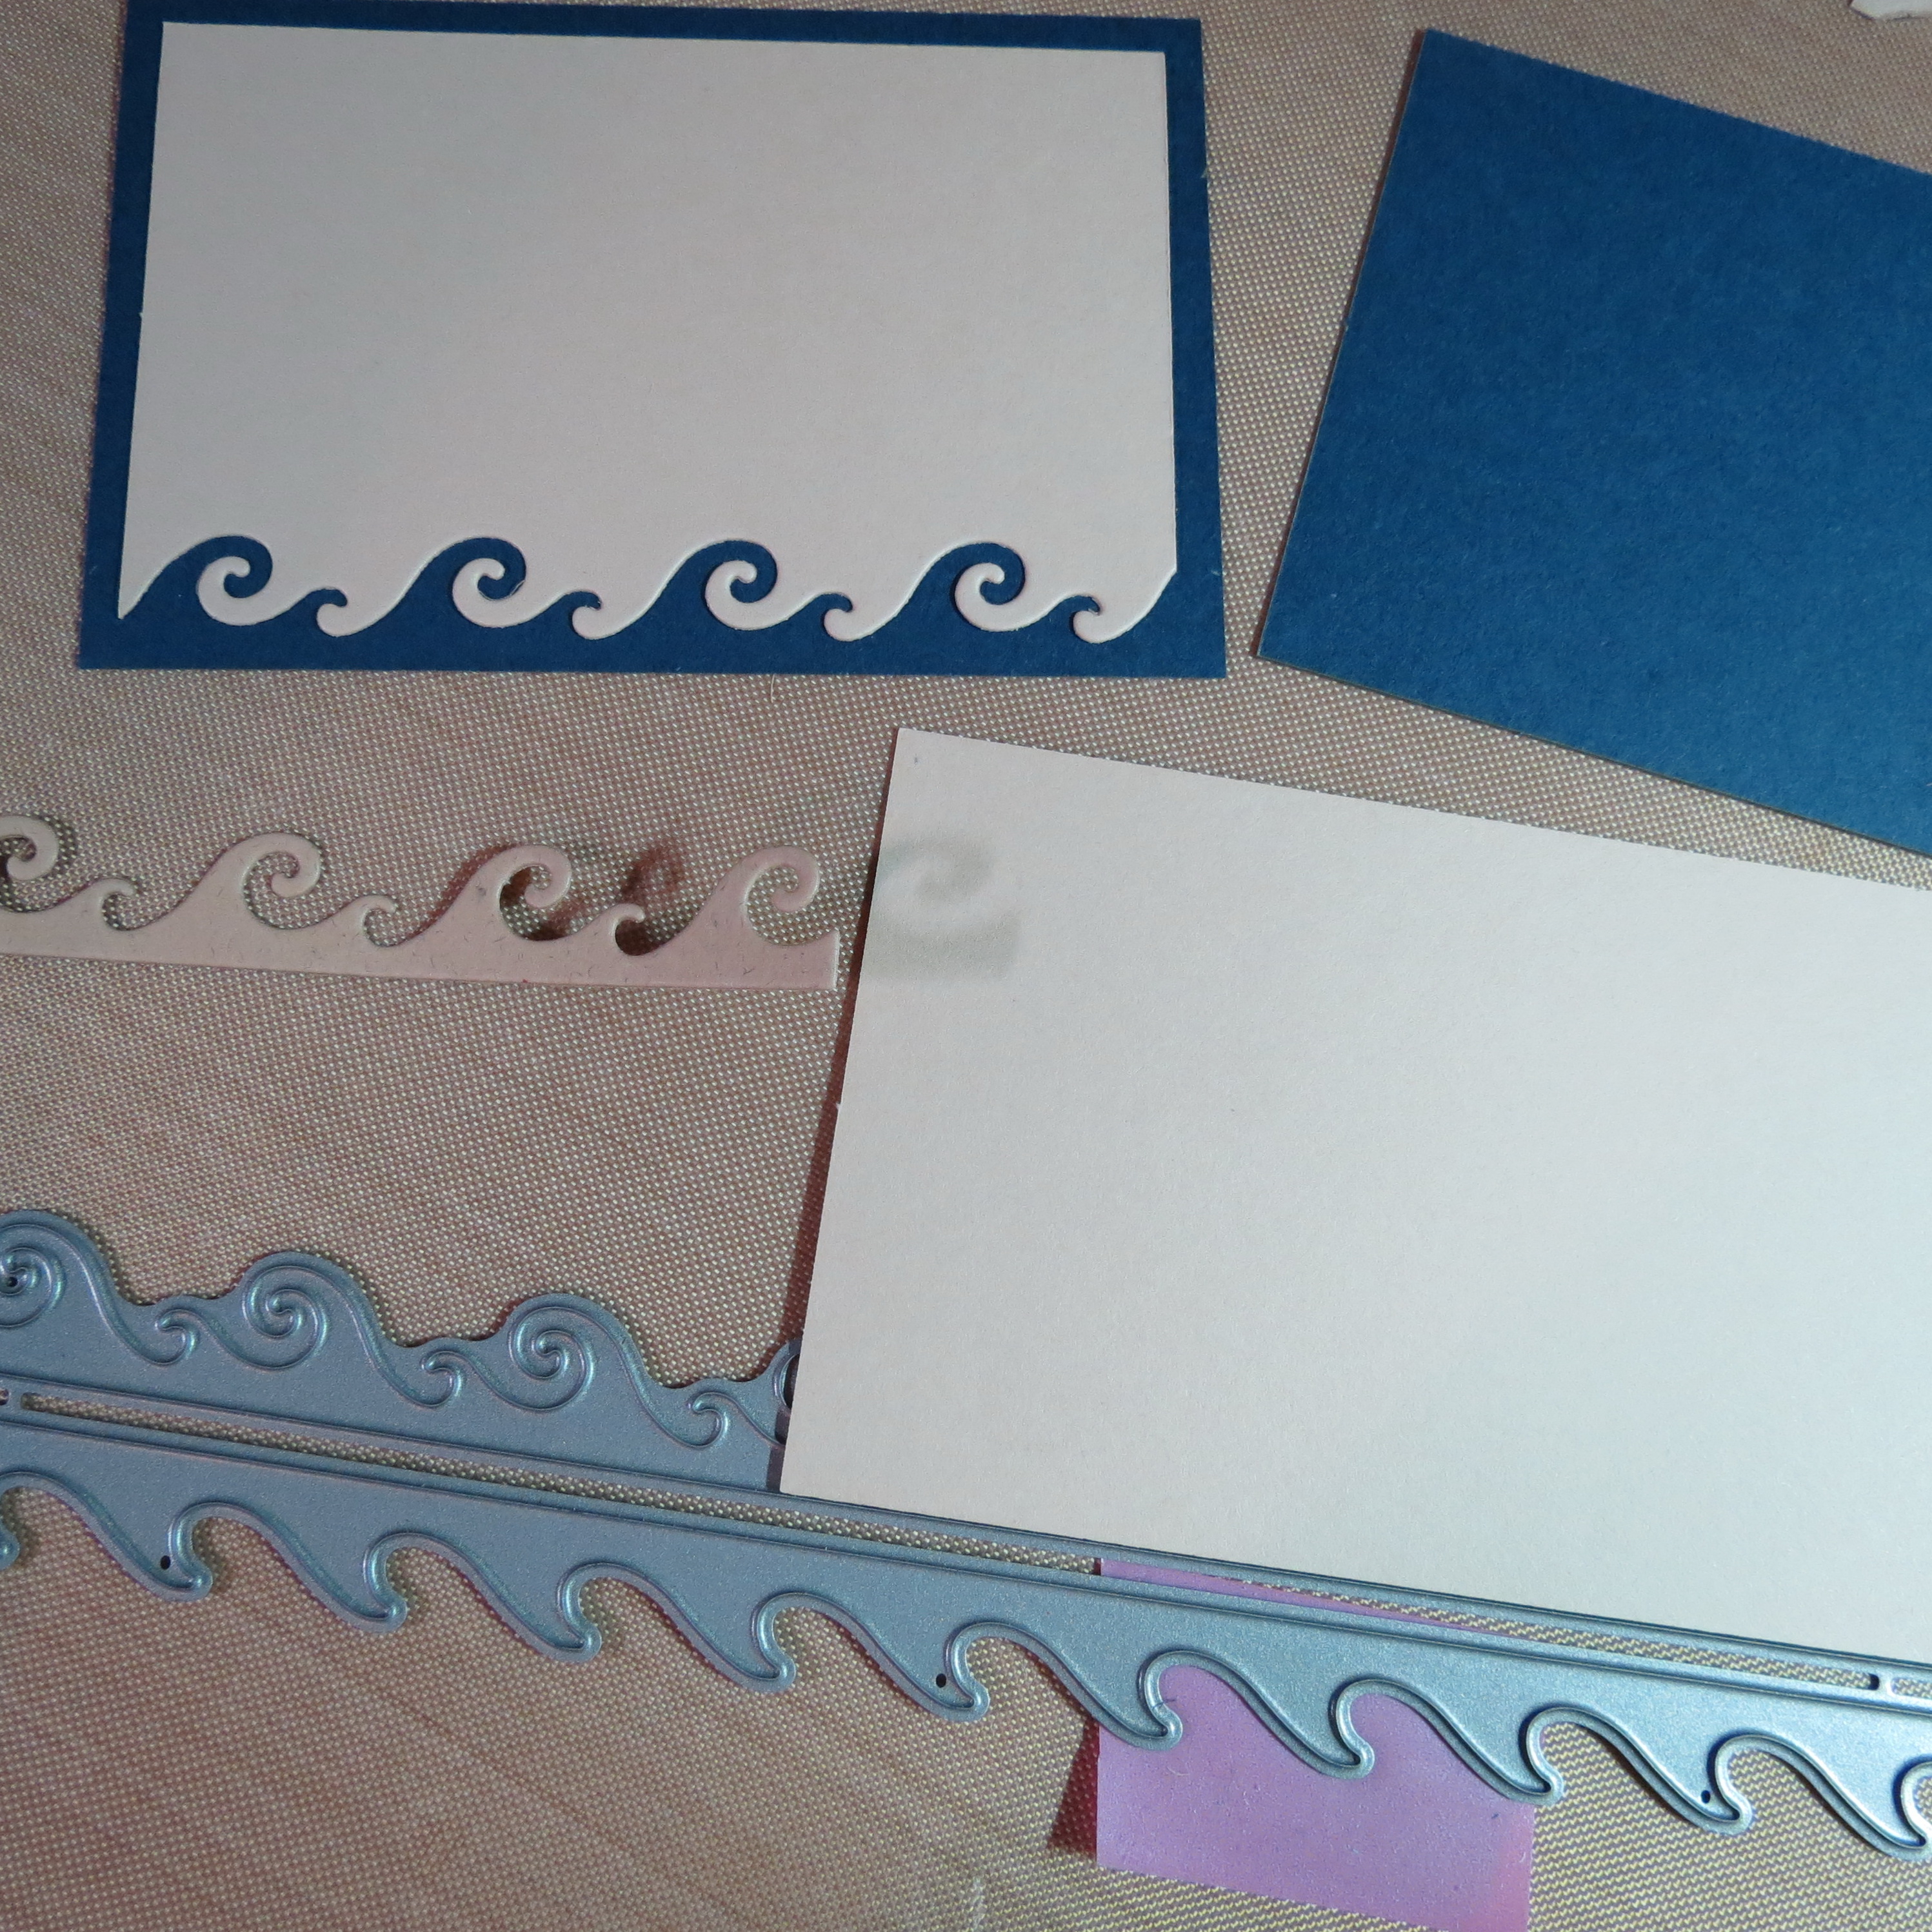
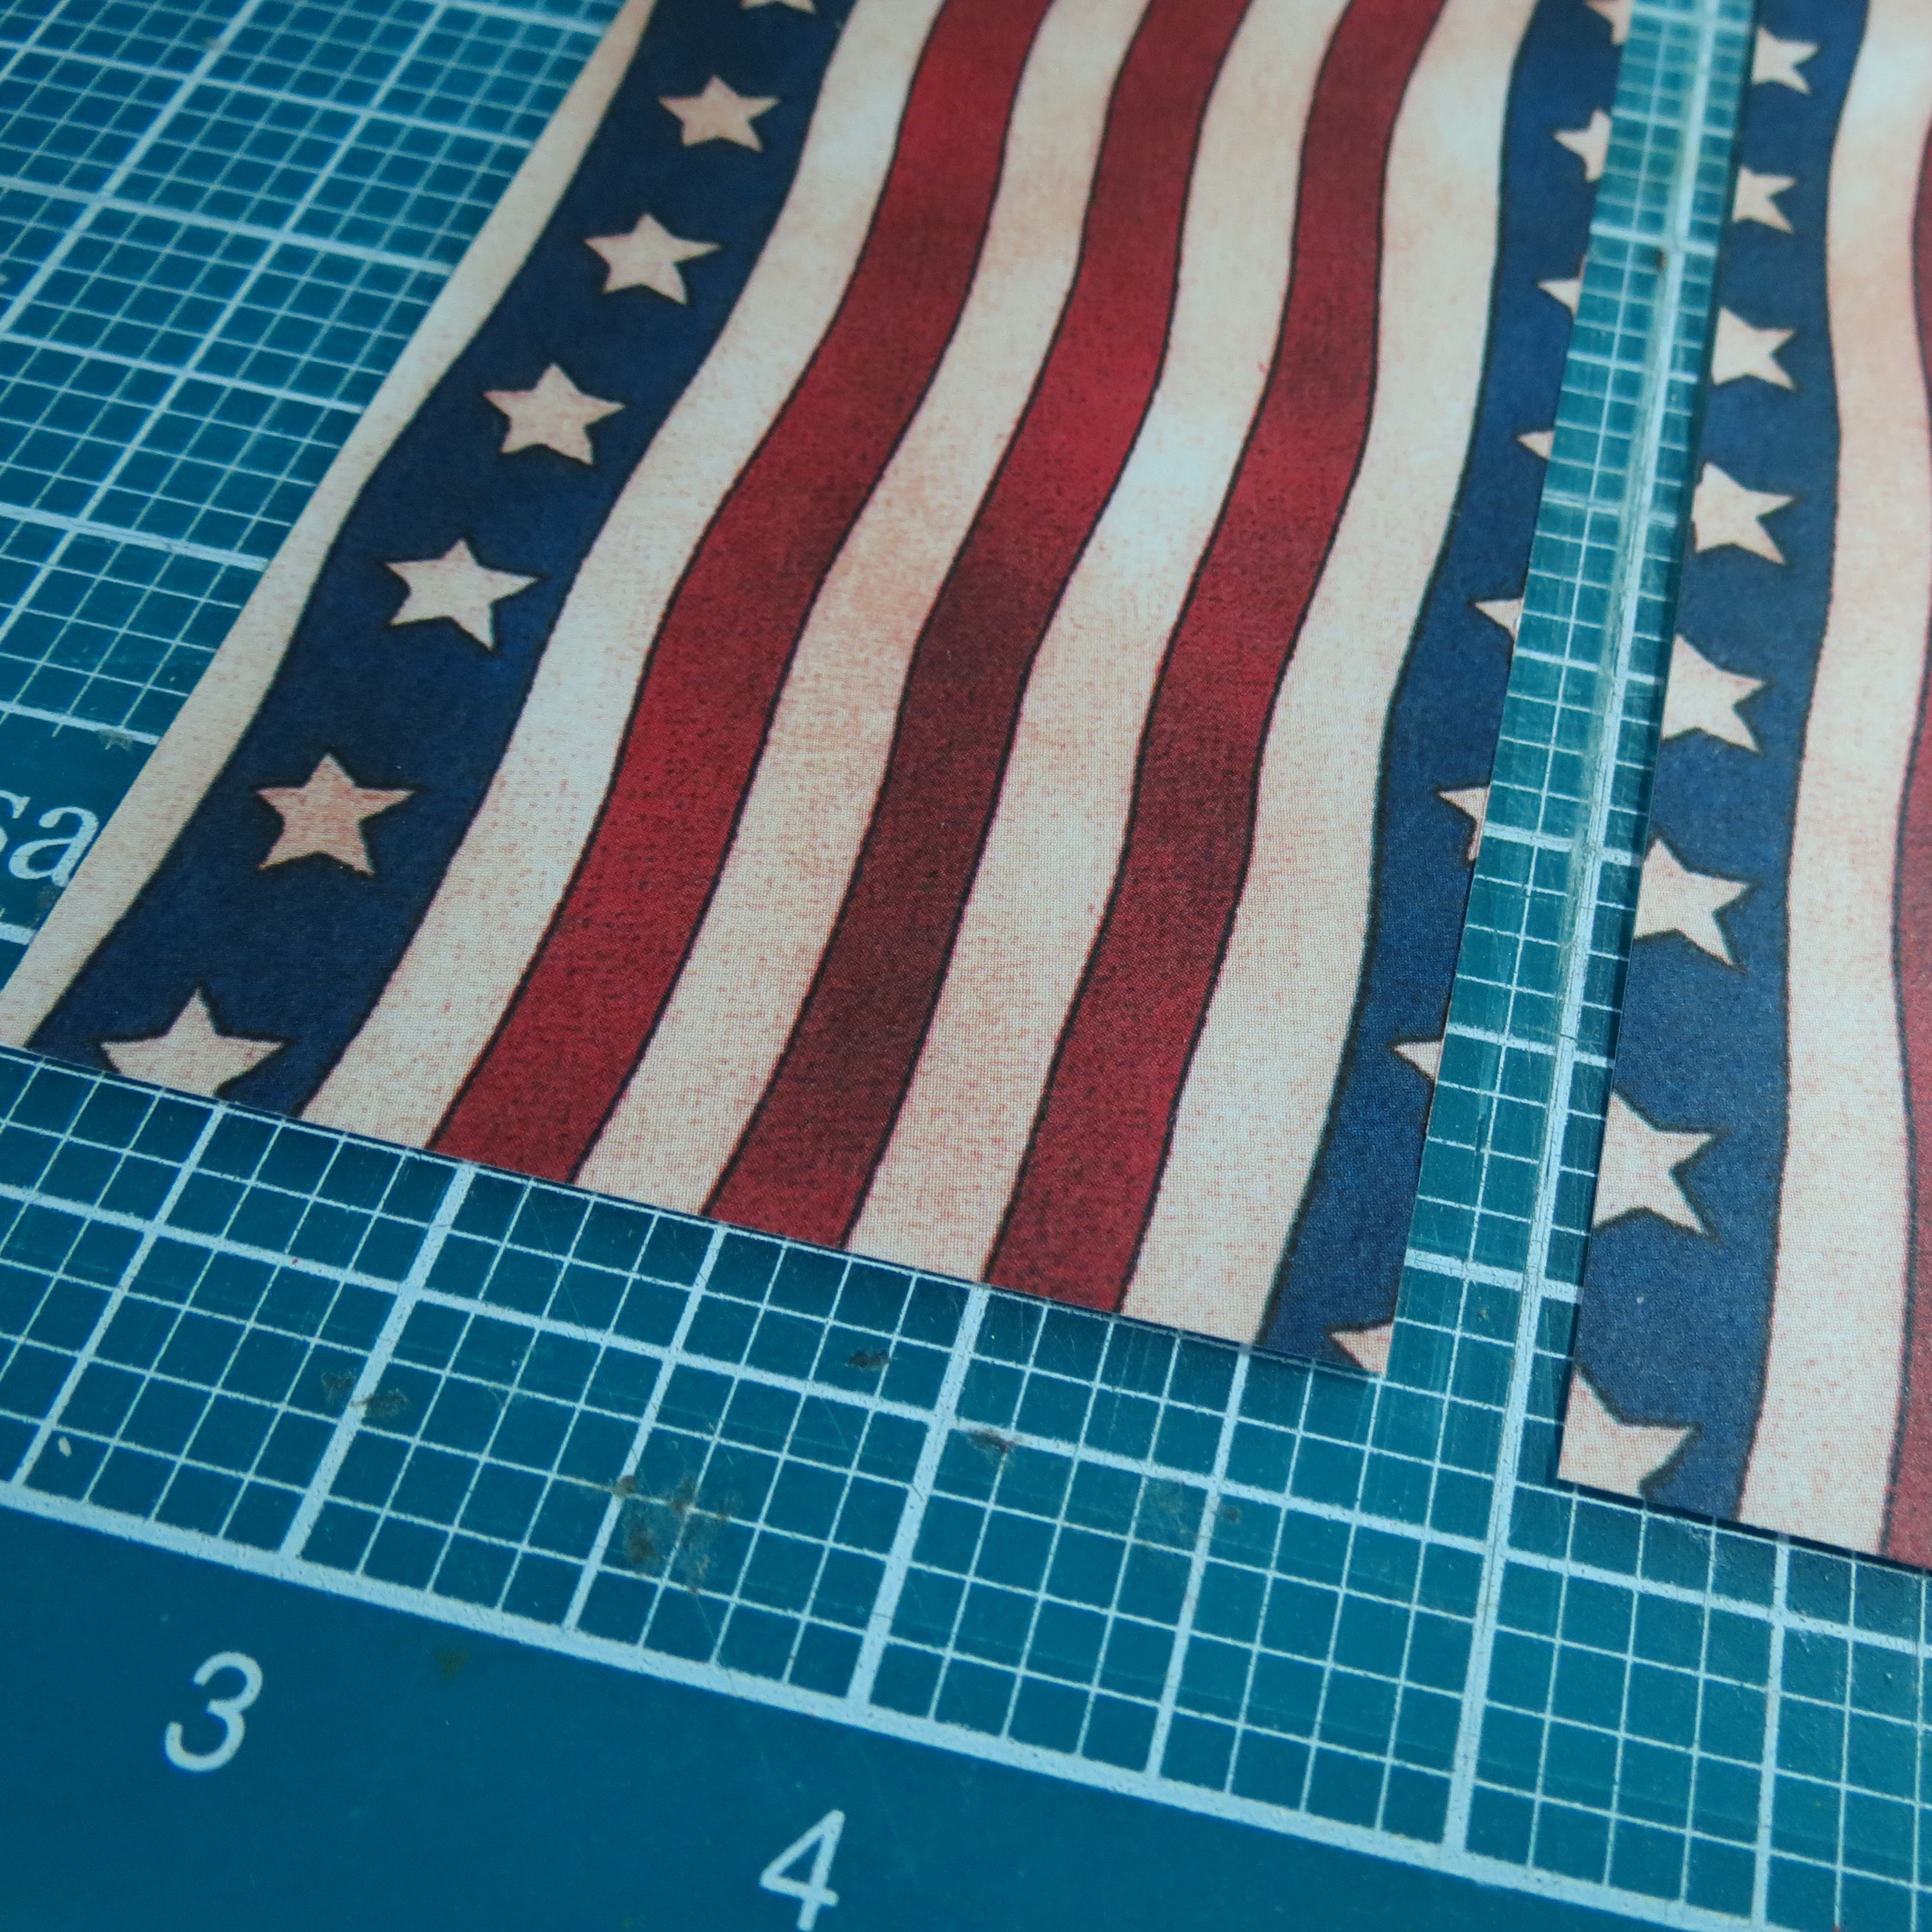
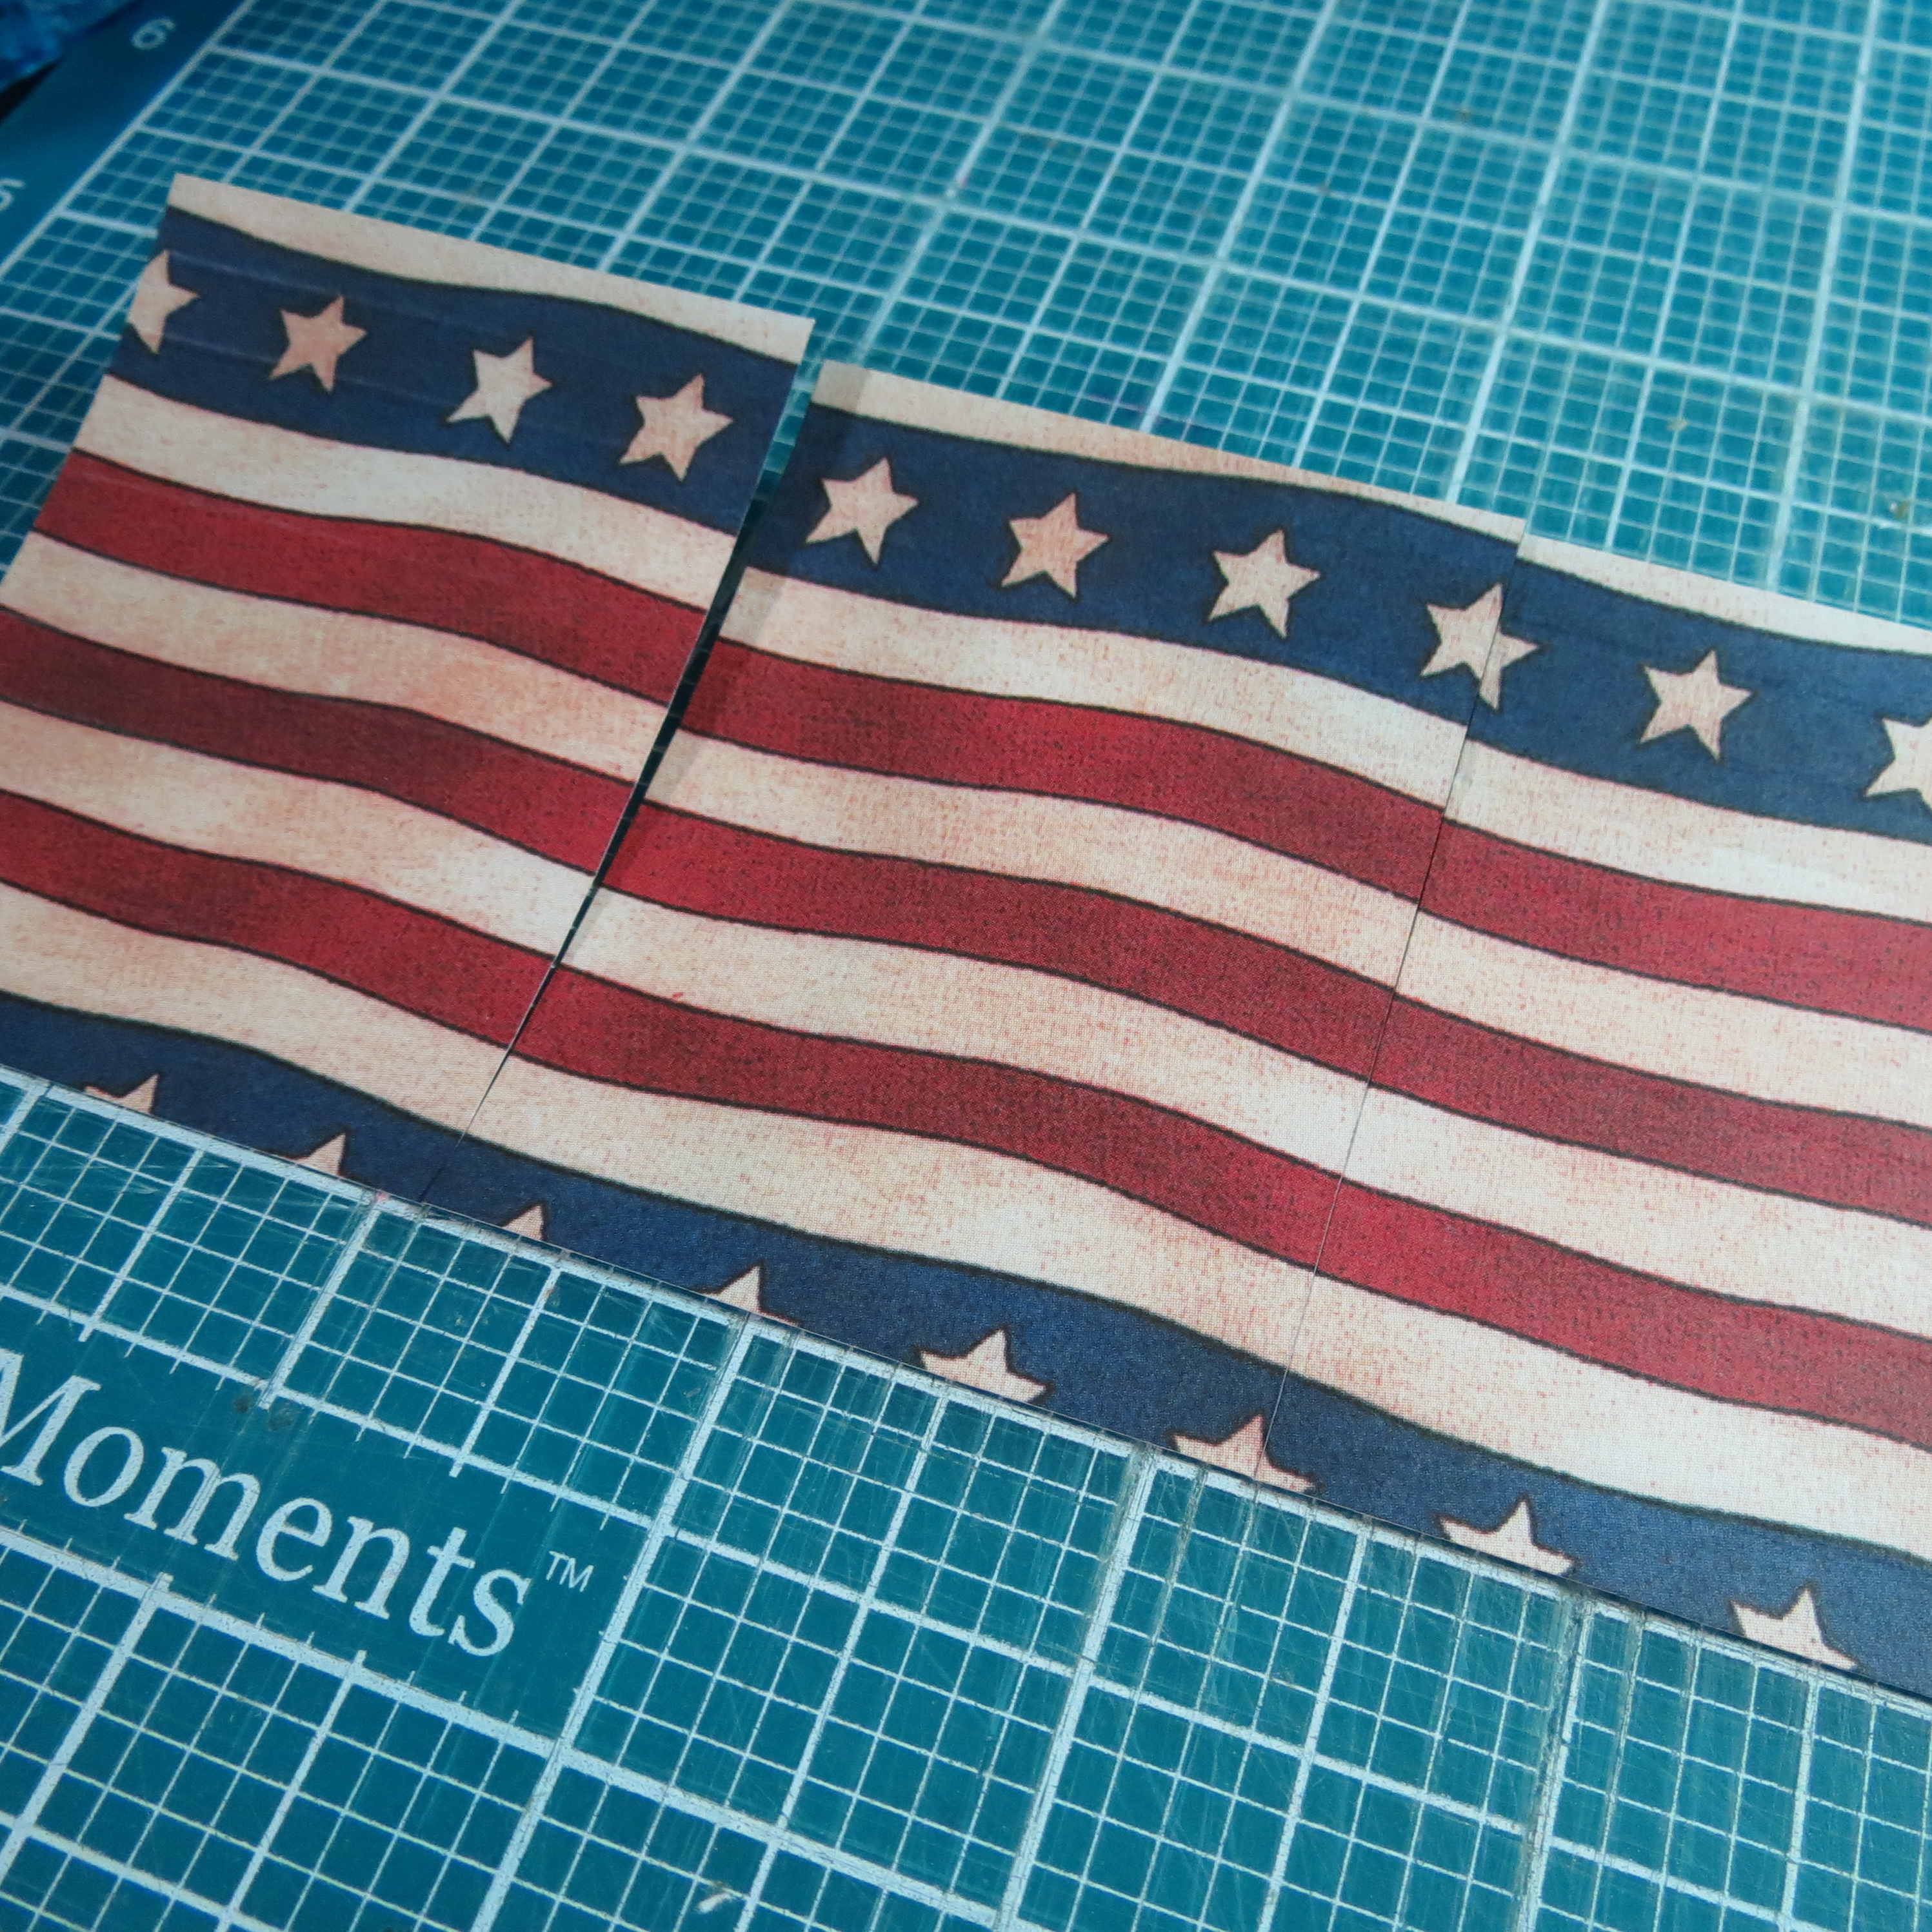
I began with a Sand Mosaic Moments 12x 12 Grid Paper, Navy and Almond Cream Paper Tiles, and patterned papers with a muted red, white and blue pattern. I added Hot Fix brushed nail heads for detail accents, a large pennant punch, a large two-point flag punch (EK Success), a small star die (Sizzix), and a wave die (Sweet ‘n Sassy) to create the borders. The layout has a dual border and large neutral center section that allows the feature photo to be the main focus. The border sections enhance and complement the photo by adding interest, but not distracting from the photo.
BANNERS
Let’s begin with the top banner. This is actually a buildup of several banner elements to create one. I have used two punches that are larger than the desired size, so…
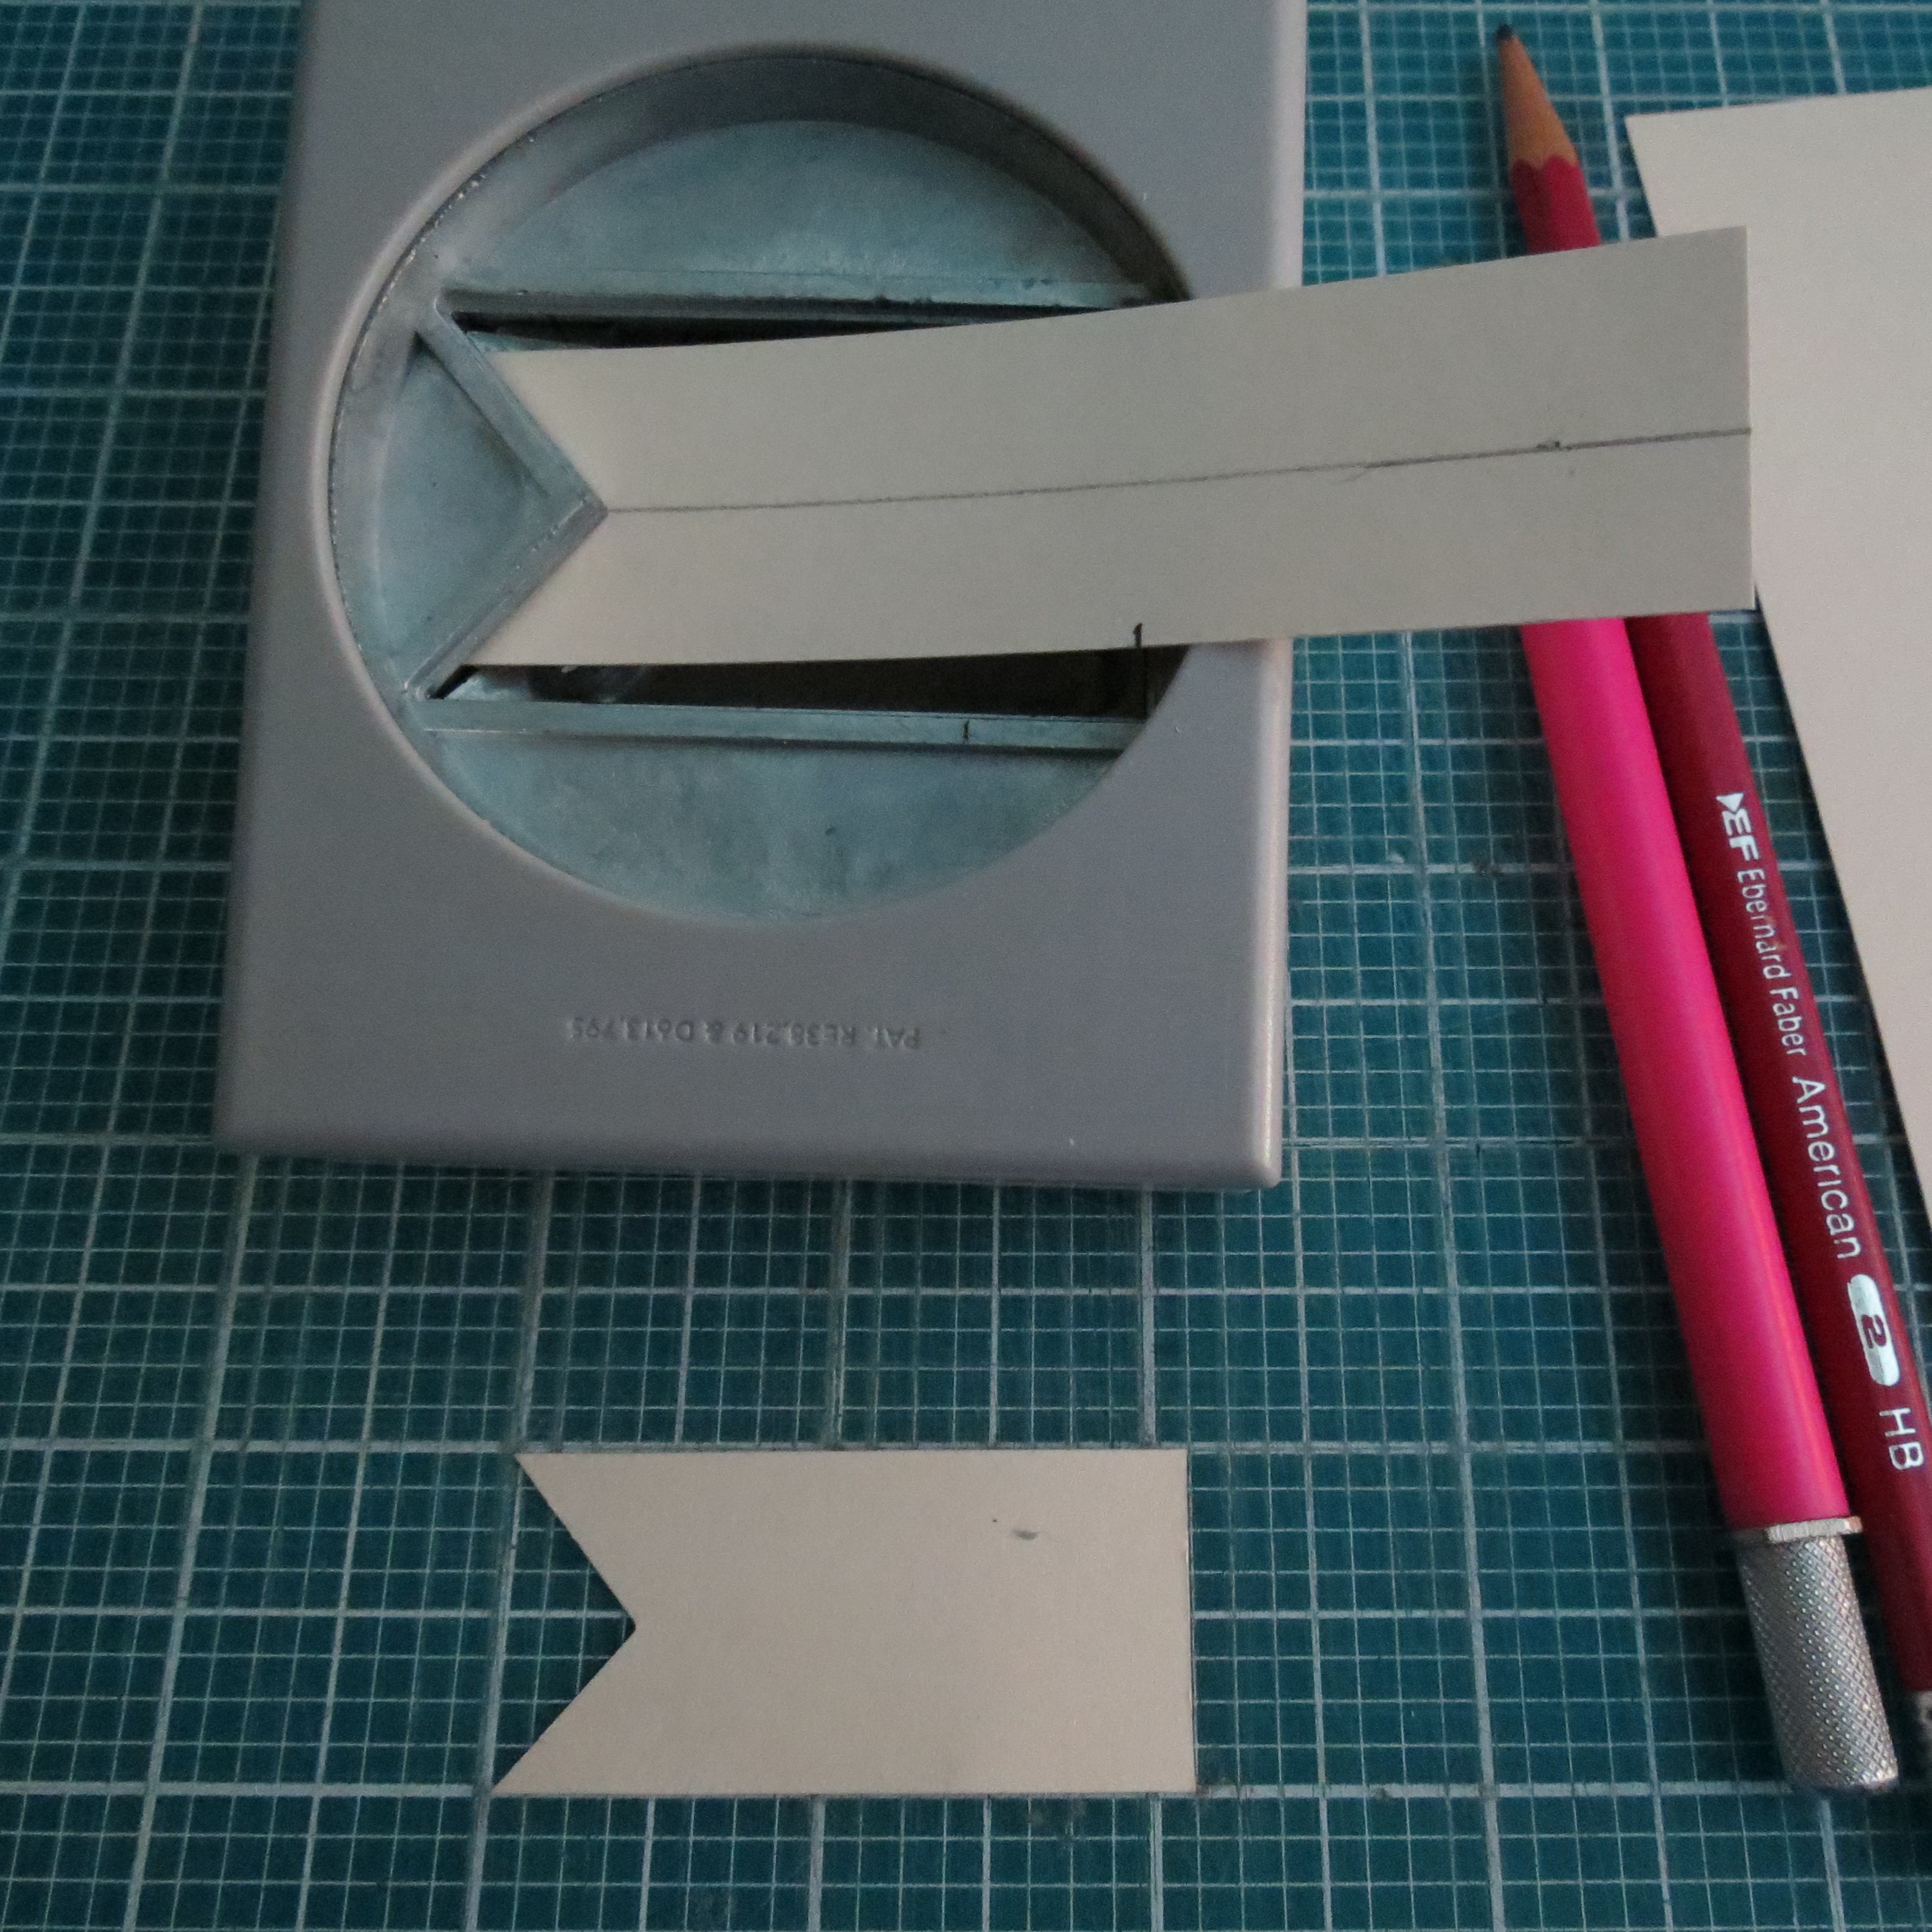
TIP TWO: customized your cut. Our pages have 1” grids and this is what I wanted along the top of the page, so I cut 1” strips of the blue star pattern paper. If you want to you can draw a line on the reverse side of the paper to find the center or you can just eyeball it. Slide the 1” strip into the punch so that it will only trim the flag bottom. On your mat you will measure out the 2 1/8” to cover the space of two tiles and trim the excess away.
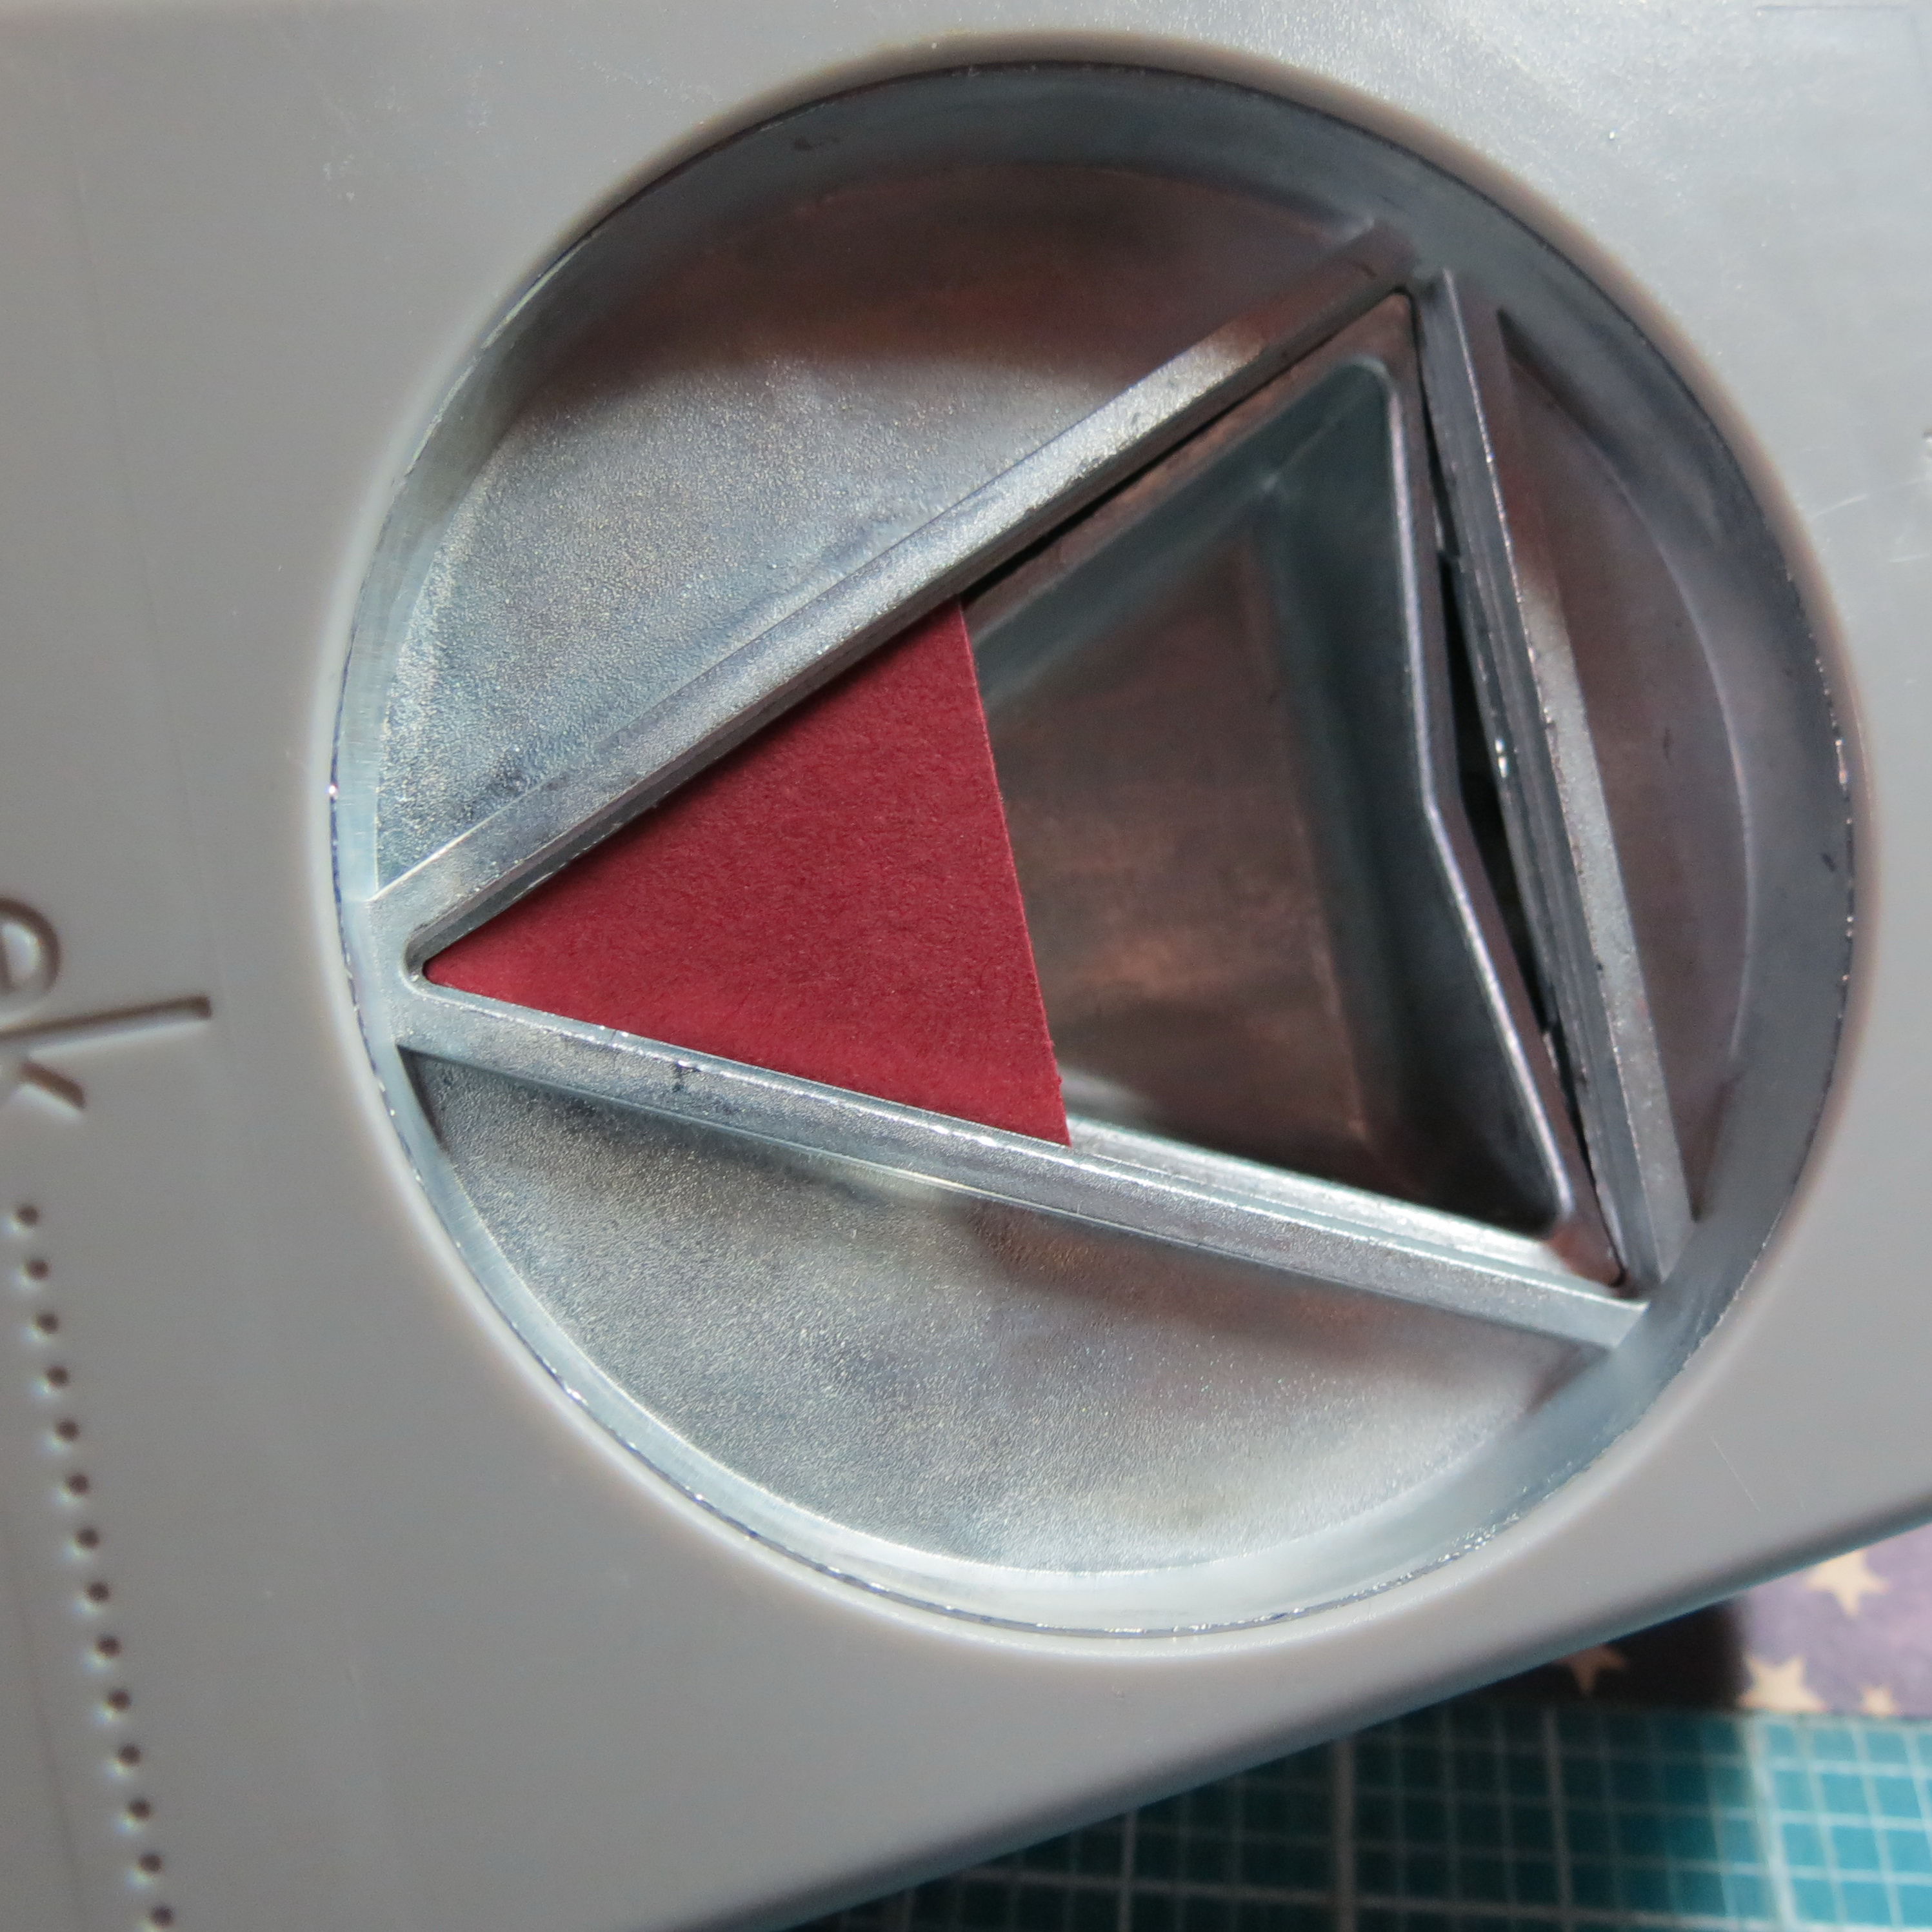
TIP THREE: to add the layer of pennants you will again adjust the size of your paper that you will feed through the punch, this time I used a strip of 1” burgundy cardstock and lined up the edge with the point of the pennant and kept it parallel to the end of the pennant. A narrow 1/8” strip of the burgundy was cut and attached to the top edge of the blue flag banner. The points of the pennants were centered in the space between the flags and directly below to the strip of burgundy. The strip was from an 11” paper so it was 1/8” shy of being able to go edge to edge, but by placing a brushed gold nail head at each end covered that up. Add a few more in intervals.
I had envisioned adding a star garland on top, but it was failing to meet my expectations. After playing around a bit I liked the look achieved by placing a star at the bottom of each burgundy pennant, but I was left with the holes I’d punched to string them in a garland. So, the nail heads came in very handy again! The end look actually reminds me of a row of military pins…so I think it was a good save!
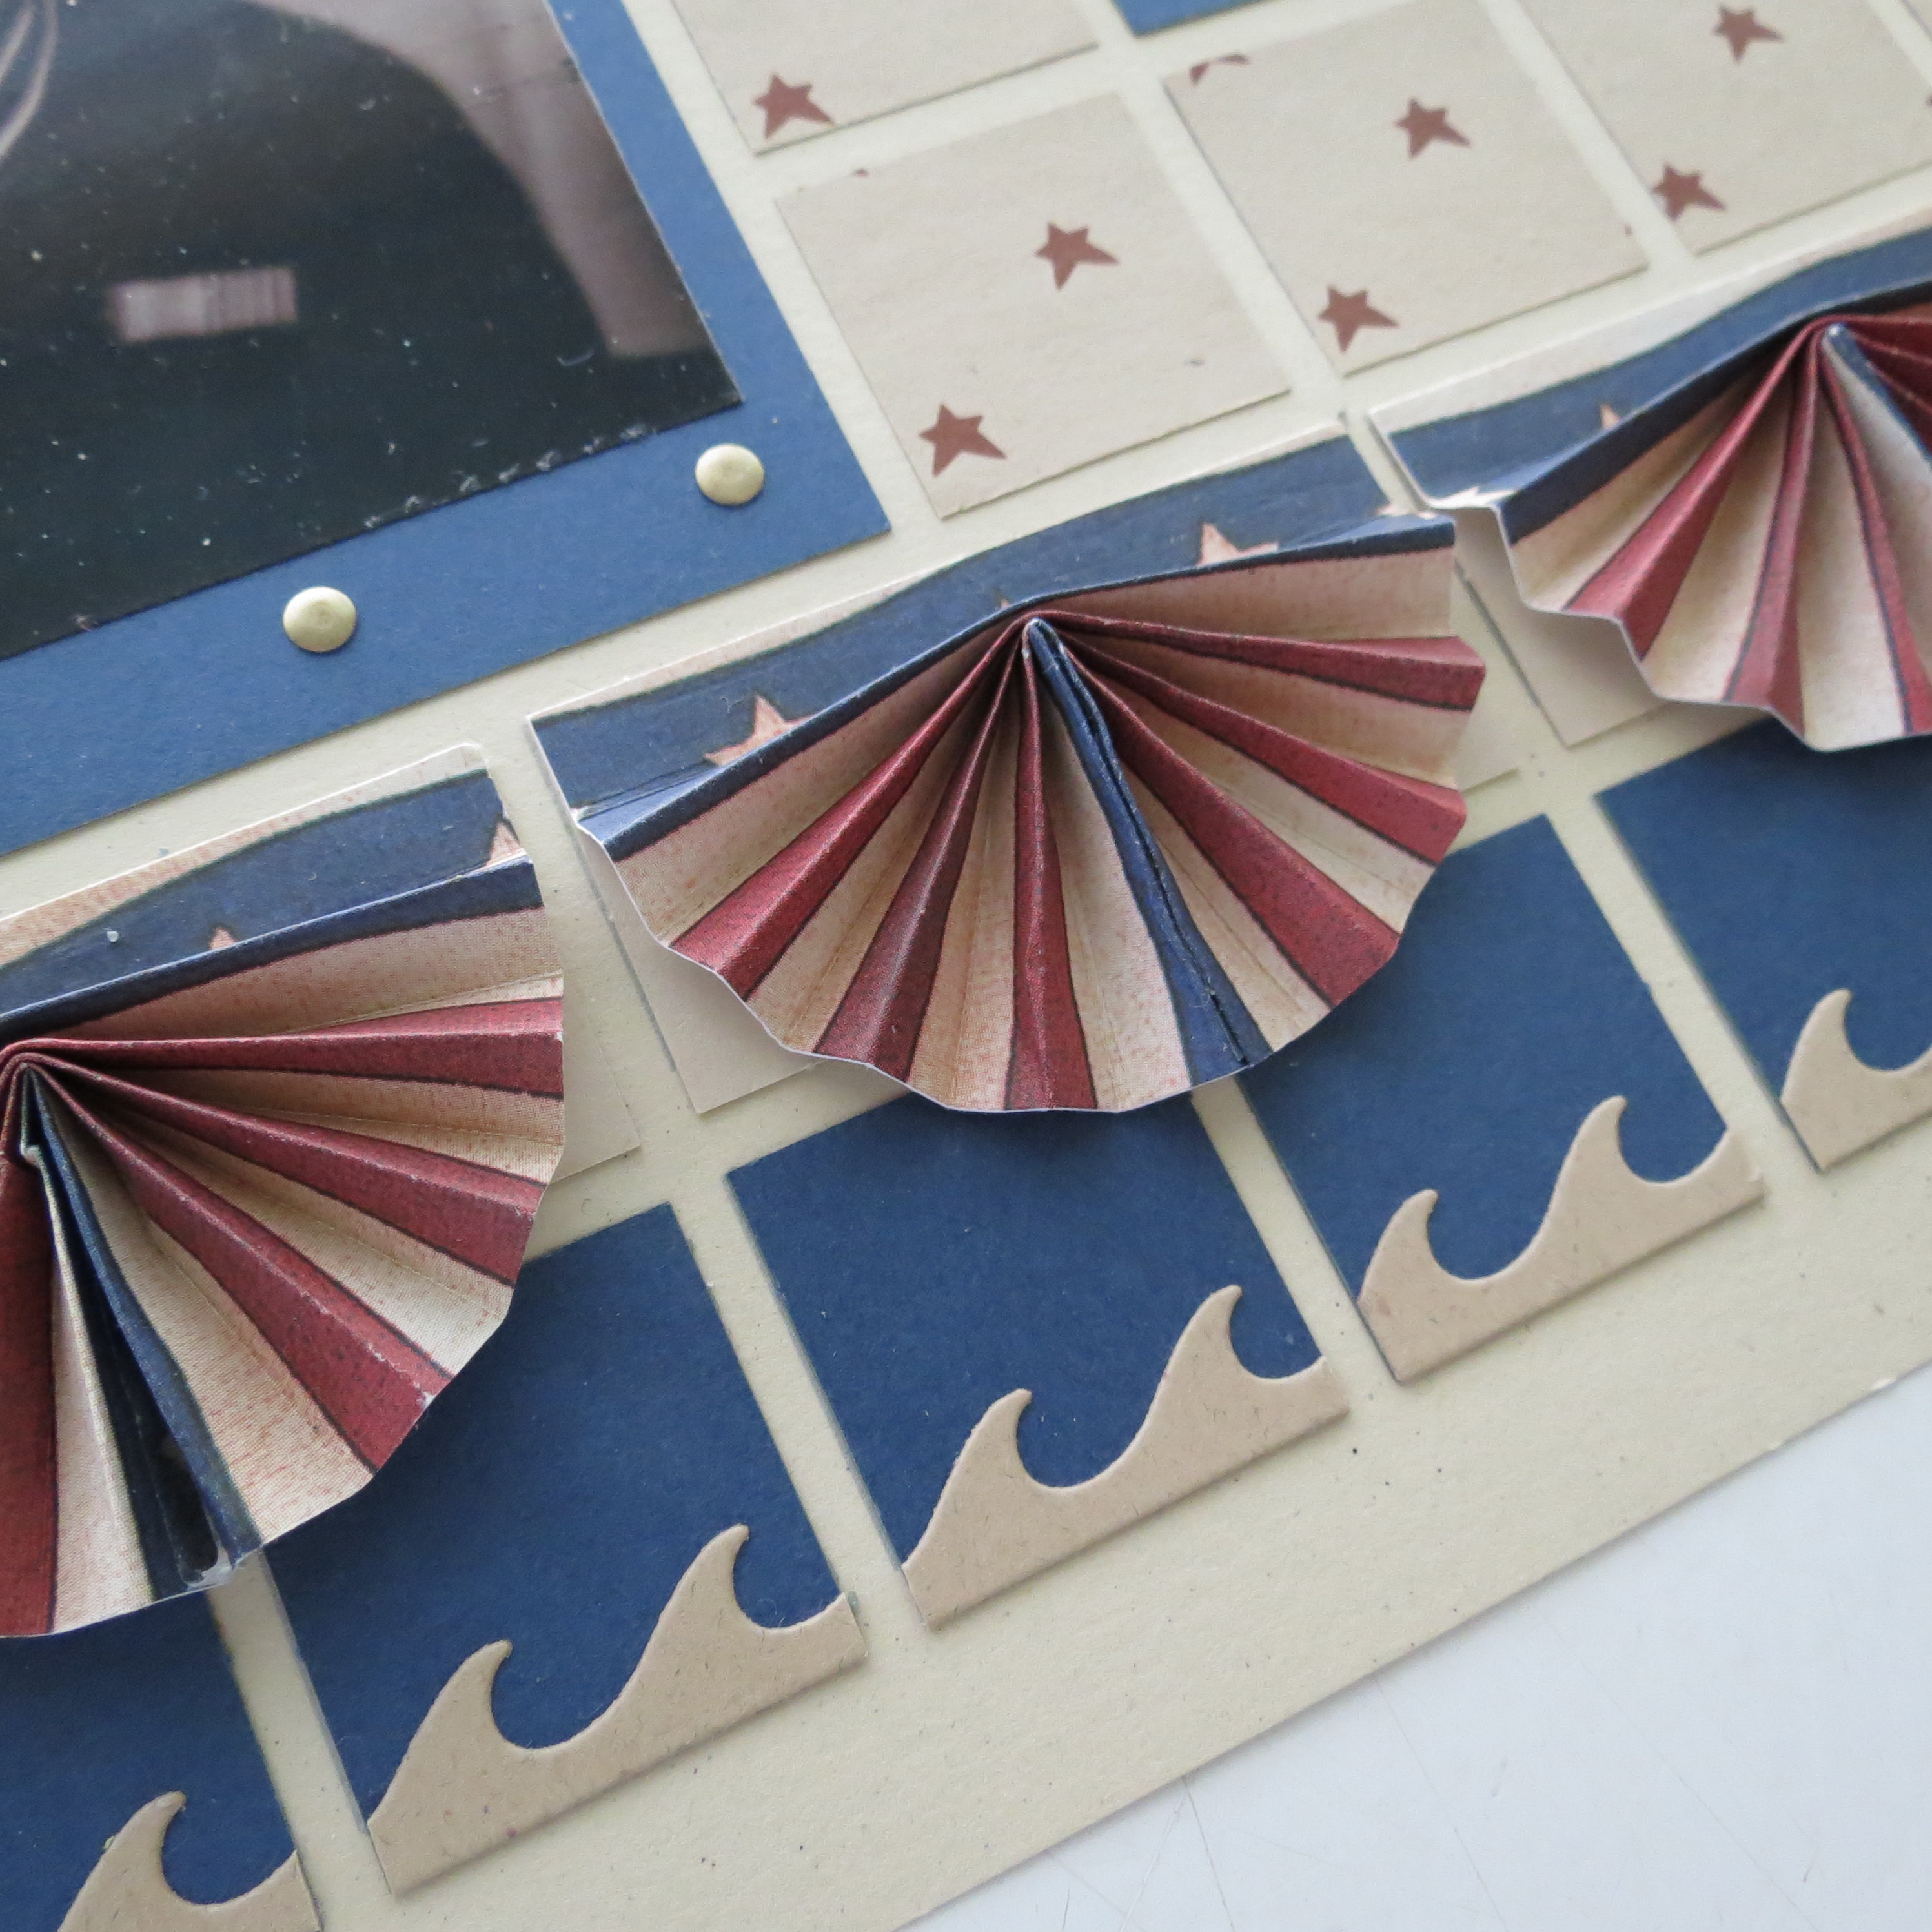
BORDERS
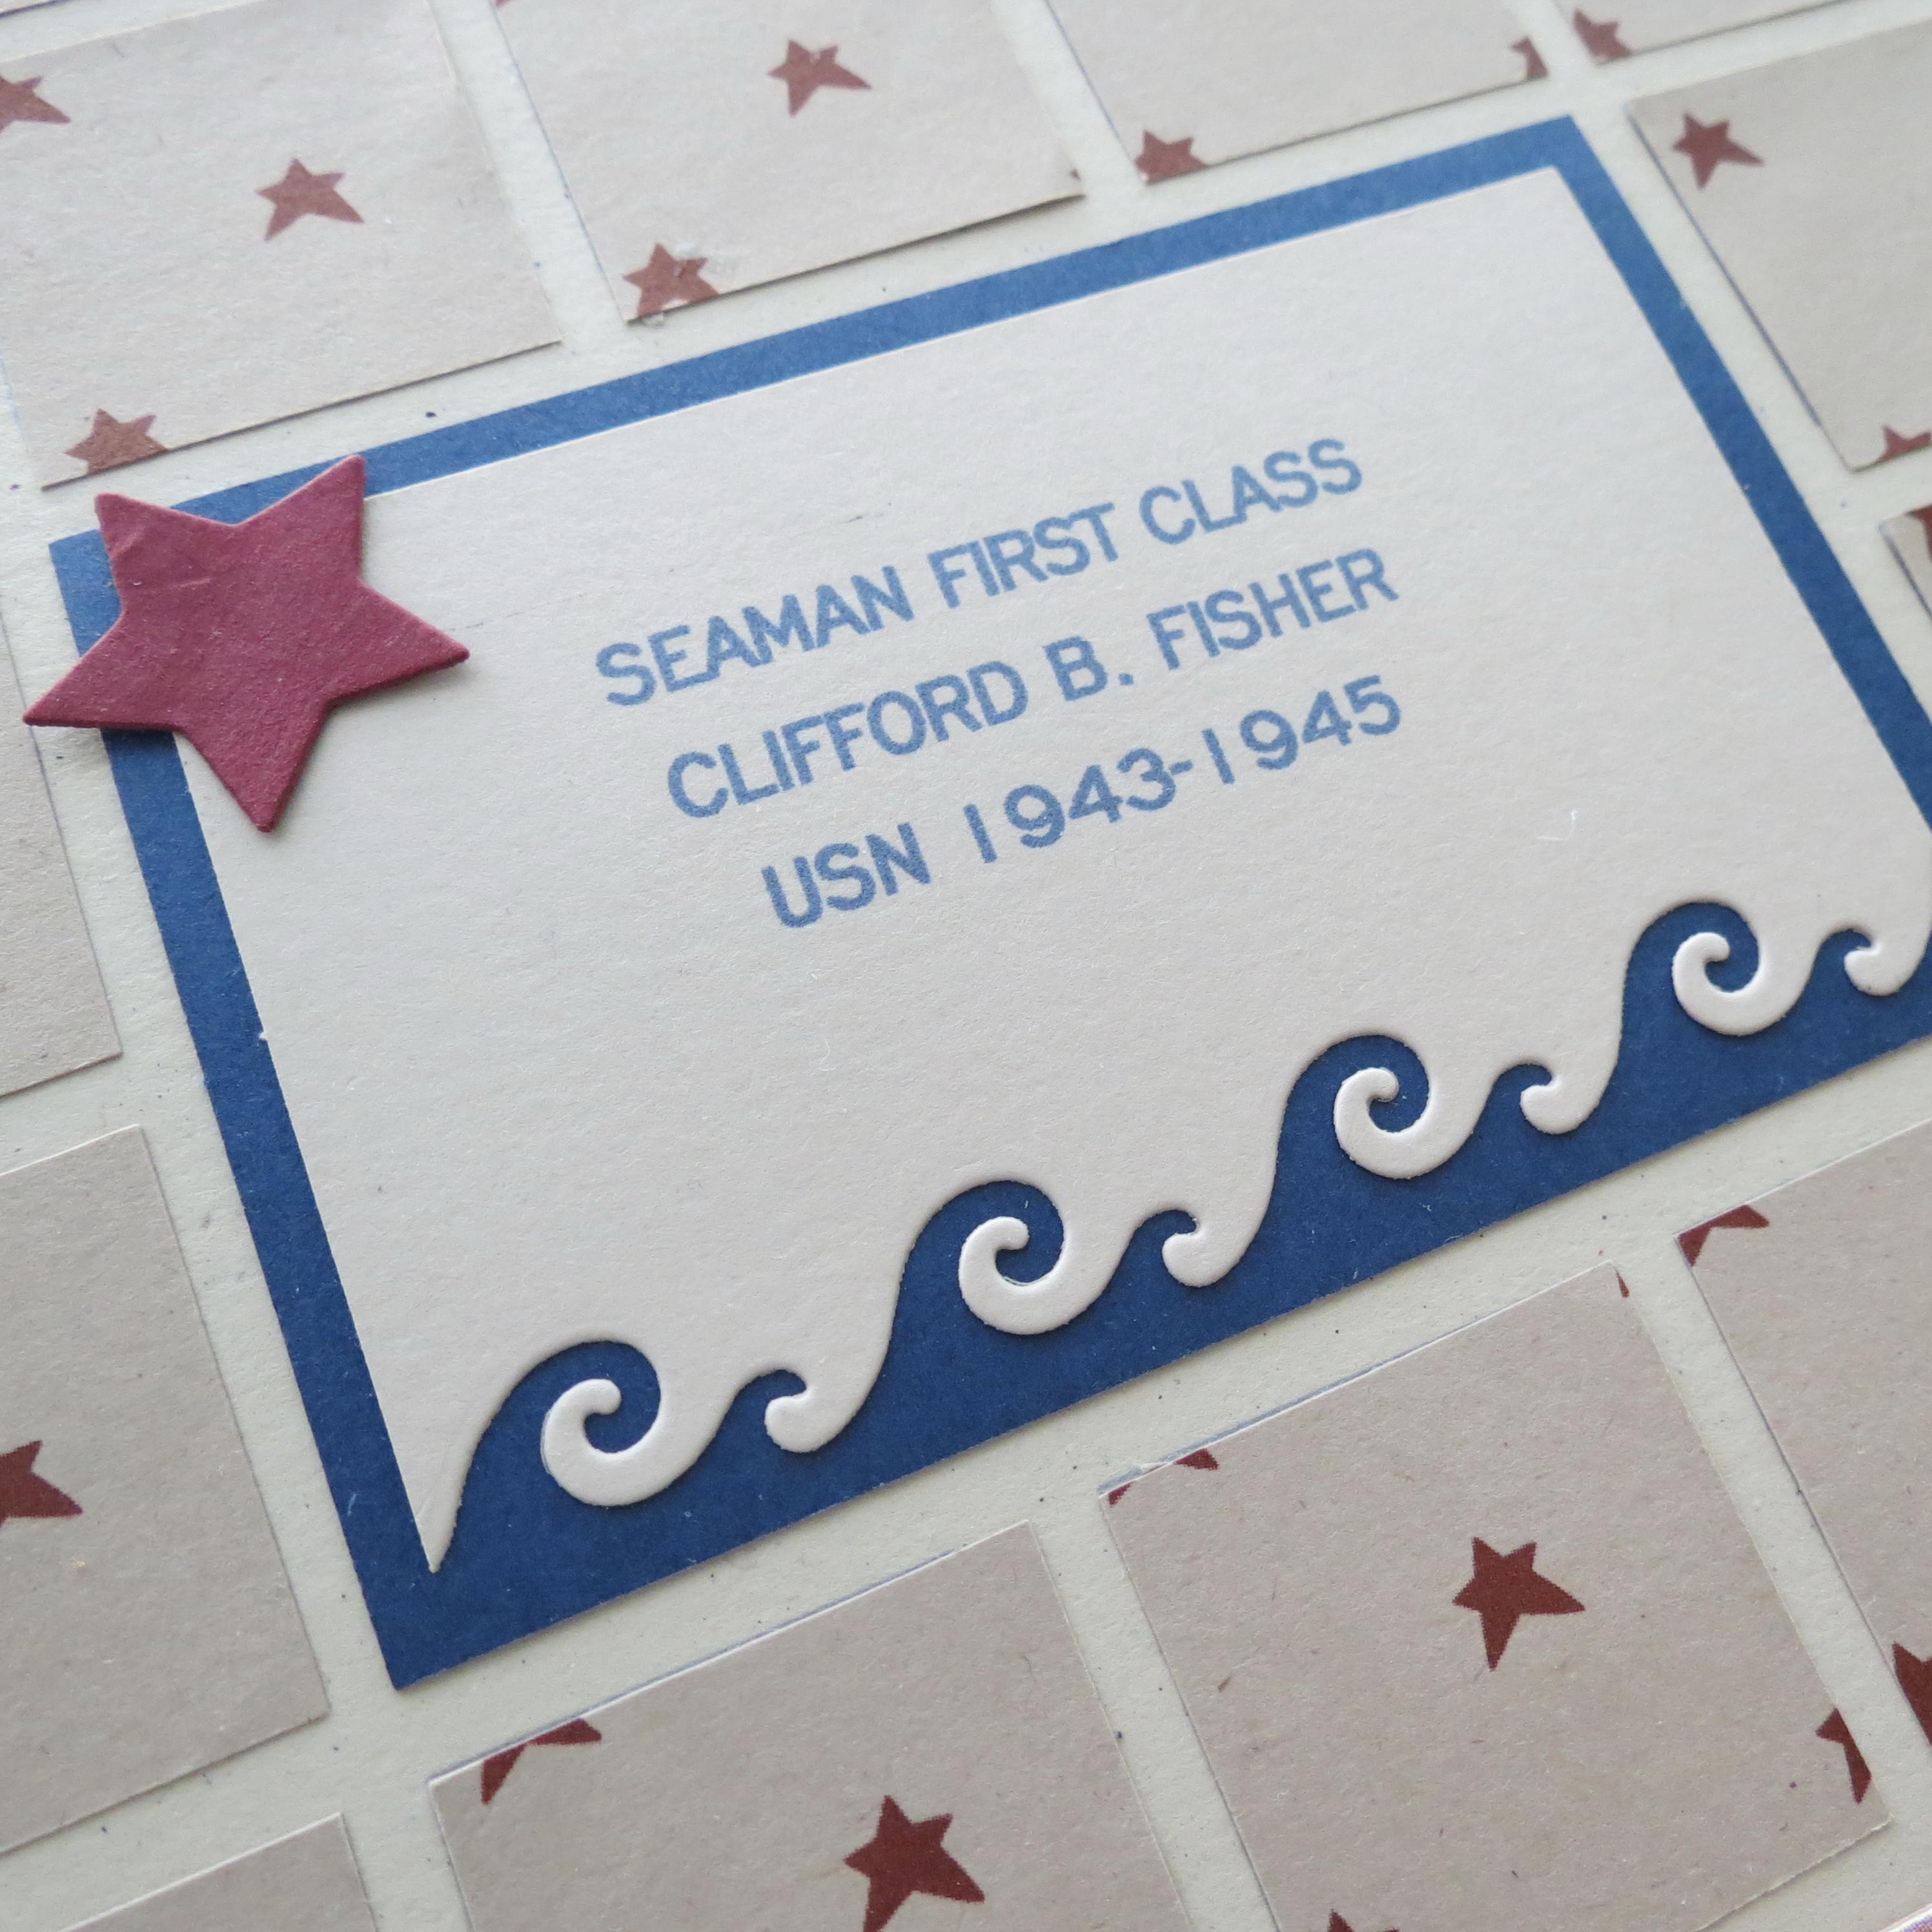
The small border I have used in the “title” was created by using the wave die (Sweet ‘n Sassy) to take a bite out of the Almond Cream Paper Tile rather than add the wave to the top. This way the Navy blue of the tile below shows up as the wave. I chose the wave because he served in the Navy and it was just the right amount of a nautical touch, and I used this side of the die as it was a bit fancier than the second wave used in the bottom border section and added a bit more to the simple title card. Once cut with the die I trimmed to fit the navy paper tile. I printed the title by using Tami’s tip for printing. Adding a star to the corner added color, but it also covered up a little smear of ink left by the printer!
For more details on this scrapbook tip for printing on the Paper Tiles check here: http://blog.tamipotter.com/how_do_i/2006/12/print_journalin.html
To the photo I have used a Navy Paper Tile mat and I have centered the photo to the top and side allowing a larger border on the bottom where more of the nail heads were spaced out. The nail heads become a repeating element adding to the design. A page of Over the Moon EK Success paper of tan and red stars were cut to fill the center section, giving a touch of new color, same theme, but neutral enough to blend into the background and not be overpowering or distracting.
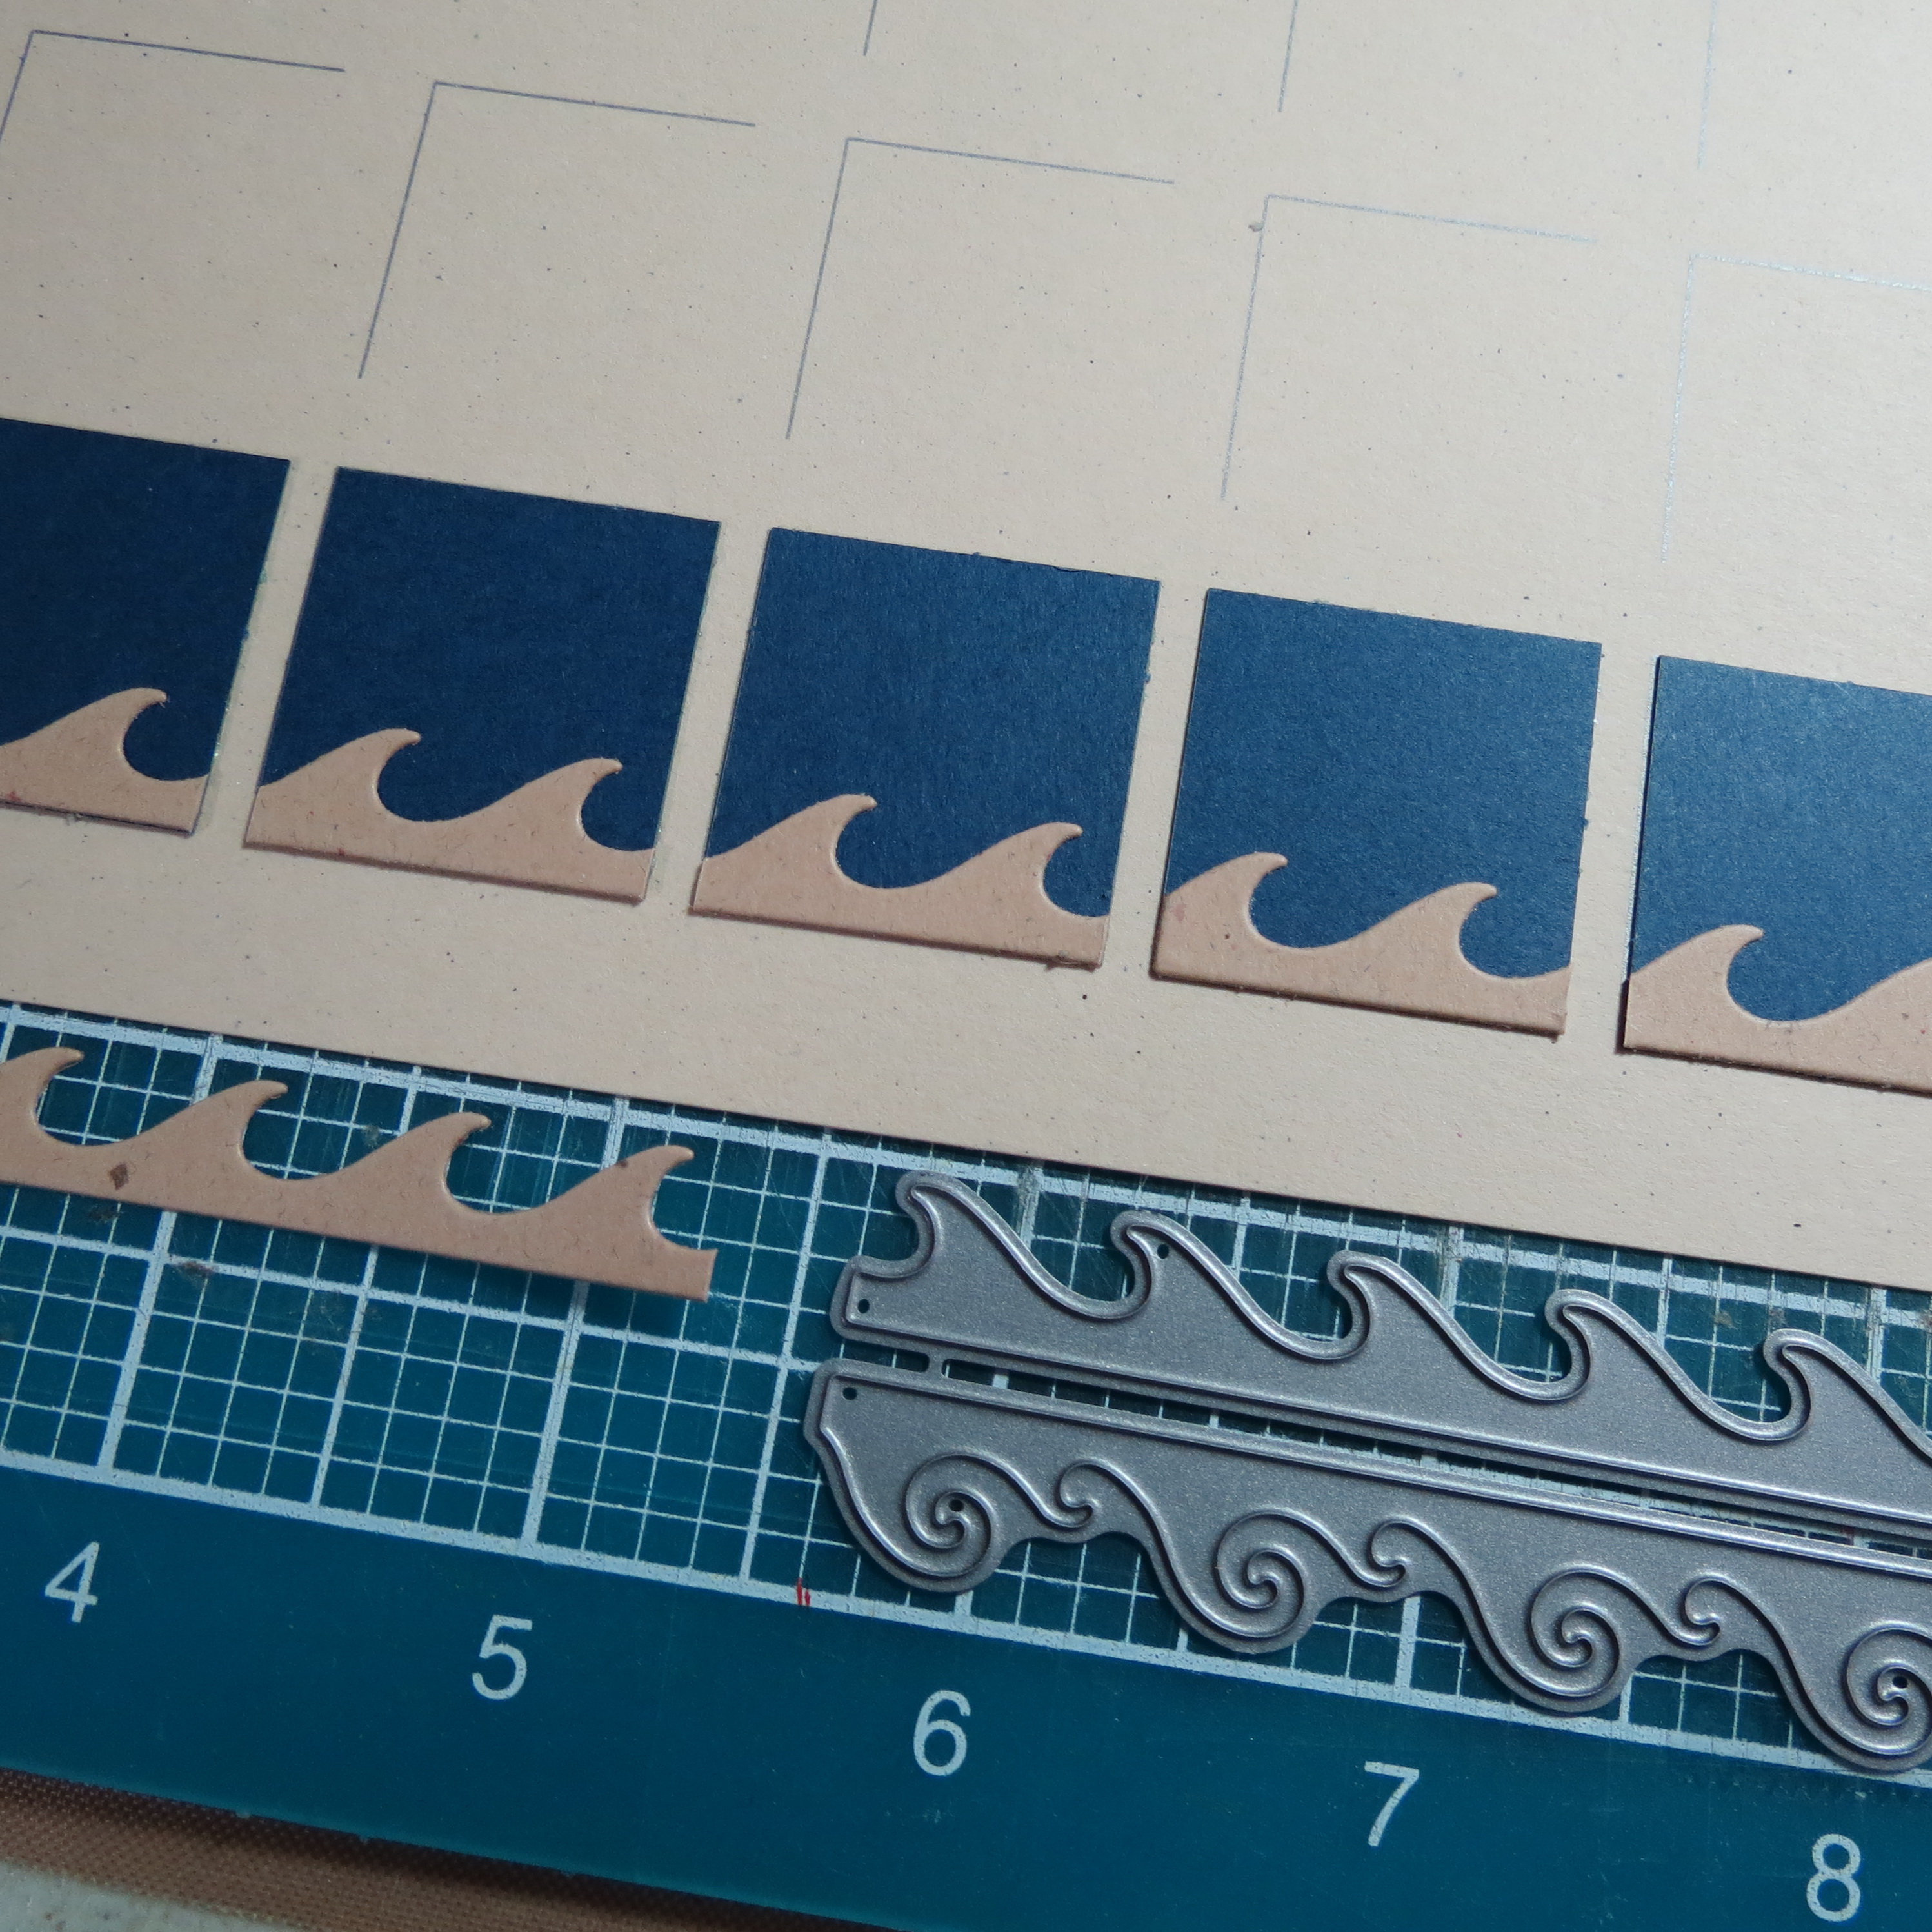
The bottom border is also a buildup, the simple lower 1” Navy Tiles with the kraft paper waves, with the secondary row of banners that dip down into the waves below. For the wave squares I used a strip of the die cut waves and adhered them one at a time to the tile and then trimmed the remained off and onto the following tile. This wave works better because the design is simpler the more detailed wave would have lost too much of the details in this one inch cut.
BUNTINGS
The buntings began with a strip of 2 ¾” patterned paper and scored at ¼” intervals. (I’ve shown this in a lighter paper to see the details of the score lines more clearly)
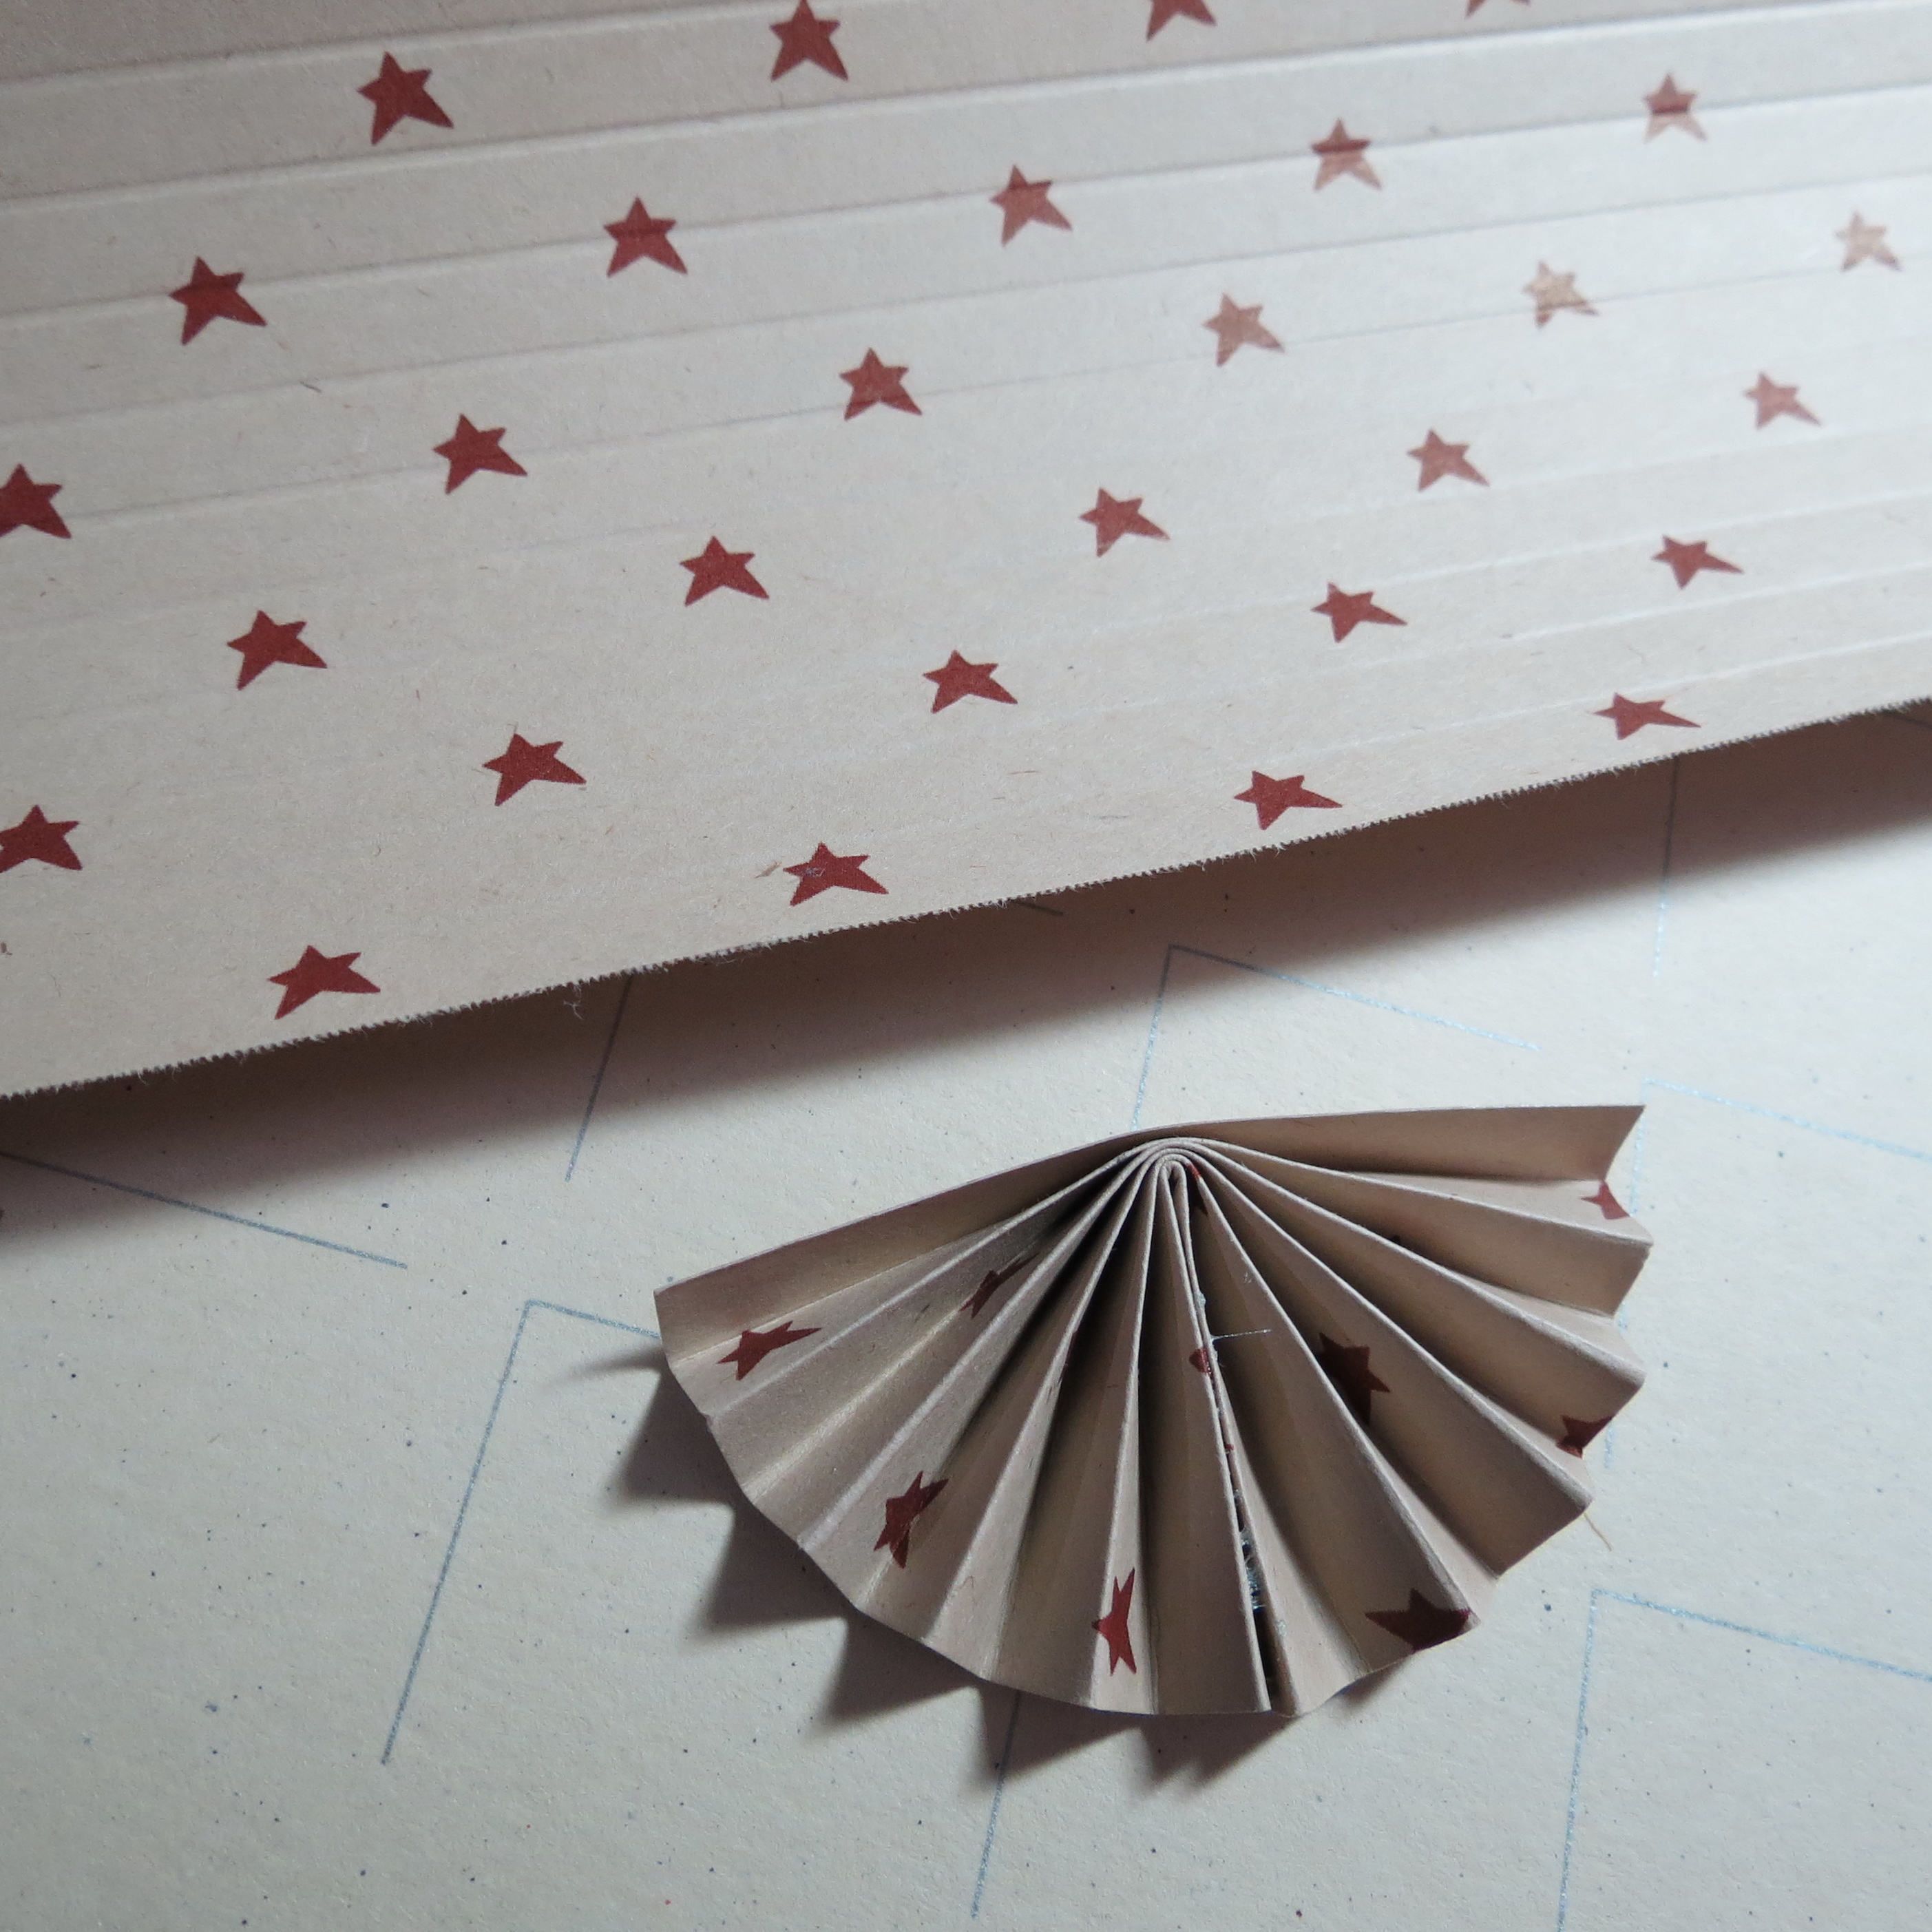
Then the strip was divided into 2 1/8” sections. Each section is accordion folded and finger nail pressed for a crisp edge. There will be a top and bottom to the piece.
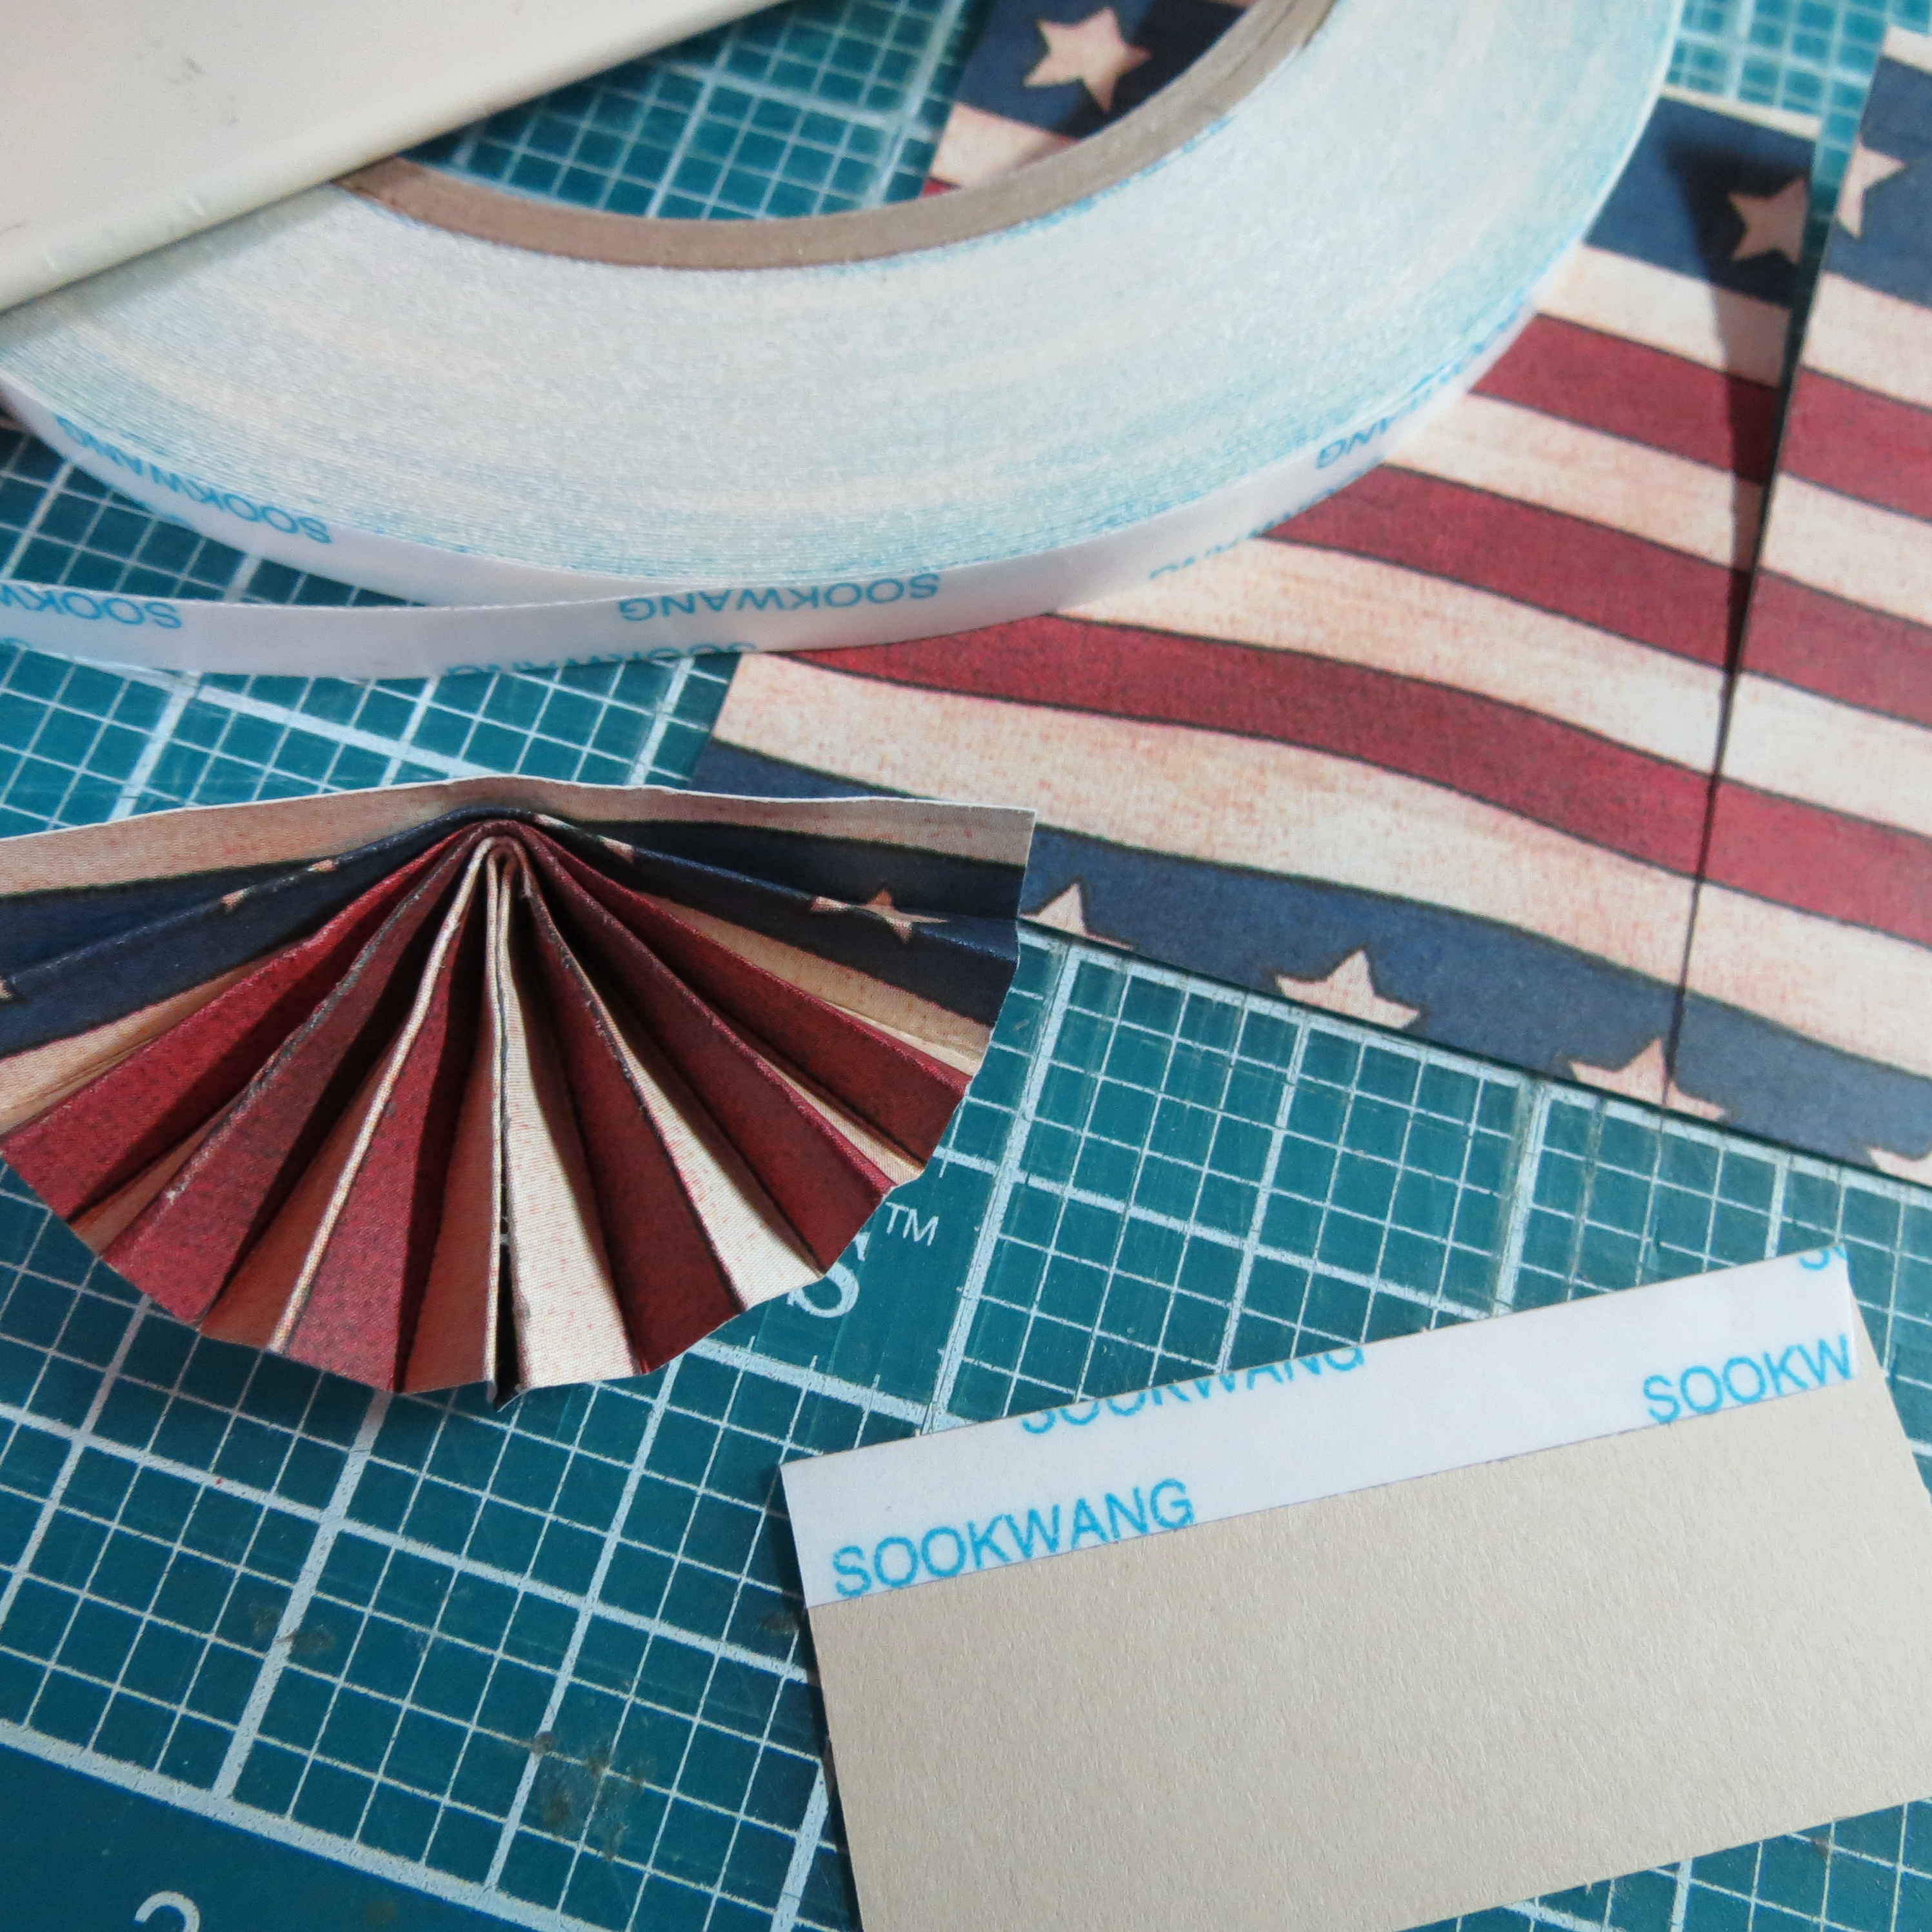
On the bottom a 1/8” strip of tape will be needed to hold the bottom of this bunting together. Fold in half, pinch to get a full hold the full length of this section. Fan out the top section to lie even along the top of the edge of a 1”x 2 1/8” Almond Cream Paper Tile, secure with adhesive with a good hold. Then take each of these completed sections and apply to the page. The bunting fan needed just a touch of a glue dot to the underside to keep it in place.

TIP FOUR: using the Almond Cream that is close to the color of the grid below allows the banner to appear to float above the grid and removes the lines for the grid below that would be a distraction should I apply the banner directly to the page.
So the next time you have a special photo you want to highlight, think about applying these Scrapbook Tips and Techniques to really make it stand out. If you have someone who has served in the military that you’d like to honor, consider doing this and displaying it for this Memorial Day Holiday as your family gathers for that first BBQ of the season.
Let us Never Forget the sacrifice of those who have served their countries proudly.
Andrea