
Let me begin by saying not all photos work in all patterns. Not all photos should be used with every die. We want layouts that we can love, share and enjoy for years to come with classic looks, not just following a trend. Making choices will help you see how your photos work best in the patterns you choose. Let’s look at some tips for making those choices and making your photos work for you!
So, you’re sitting with the latest bunch of photos you have printed, wondering where to start.
• You will want to choose a grid color
• You will want to choose a design
• You might have a die you want to use
• You might have patterned paper, die cut titles or embellishments you want to include
You’ve heard us say begin with a pattern, but that doesn’t help because you just can’t figure out how to make your photos “work” with the patterns, so, you either give up and put off until a later time or you plow forward just putting them on the grid, anywhere.
Sometimes they turn out ok, because many of us can visualize the end result and determine what is balanced and where things should go to look good. Others can use a pattern as a framework to begin with and tweak along the way to suit our photos and embellishments. That’s great, but let’s talk about some simple steps to take to actually learn how to use the hundreds of tried and true patterns Tami and crew have created to simplify things. Once we have a better understanding of how to make your photos work in any pattern, your confidence will grow and soon you will be breezing through your scrapbook pages with patterns from the Pattern Gallery.
Throughout this post I’ll be referring to ways to take and use photos from a developer or printing your photos from home. I’ll try to point out the advantages/disadvantages of each as I go.
Let’s begin with your 4×6 photos from a developer. When you placed your order, did you take the time to use the feature many have to crop your own photos? If you are shooting with a digital camera, as most of us are, or even your phone’s camera, these are not necessarily sized to the photo standard of 4×6. It requires you to crop and determine what you want printed. I’m sure at least once you’ve taken a “great” photo only to find during printing, something has been cut off or it just doesn’t look like you imagined. Take the time to crop your photo and have them print the view you want to have. Get the best of what you’ve shot, edit out what isn’t necessary or is distracting, and you will be happier in the end.
Now you have your prints, verticals, and horizontals. Separate by events you will scrapping, then separate by directions. Unless you have taken several pictures from both directions, like many of the long time Mosaic scrappers have learned to do, you will be determining a pattern based on those photos being in the mostly verticals or mostly horizontals. It’s good to have options so start by taking more photos in both directions of each view to be adapted into the pattern of your choice.
The next thing you will you want to consider is which of your photos might be cropped to a square, maybe a 4×4? Now you can add into the pattern search squares.
Continue to examine your photos for portions you want to focus in on, maybe reduce your photo to a 3×4 or even 2×3?
Now you have more options to look for in your pattern search.
Are there any photos that you’d like to strip or Mosaic style, now you’ve added more pattern options once again?
Do you have a die you want to use, what size is it? Look for patterns with that shape, which is made easy with the color coding of dies and patterns.
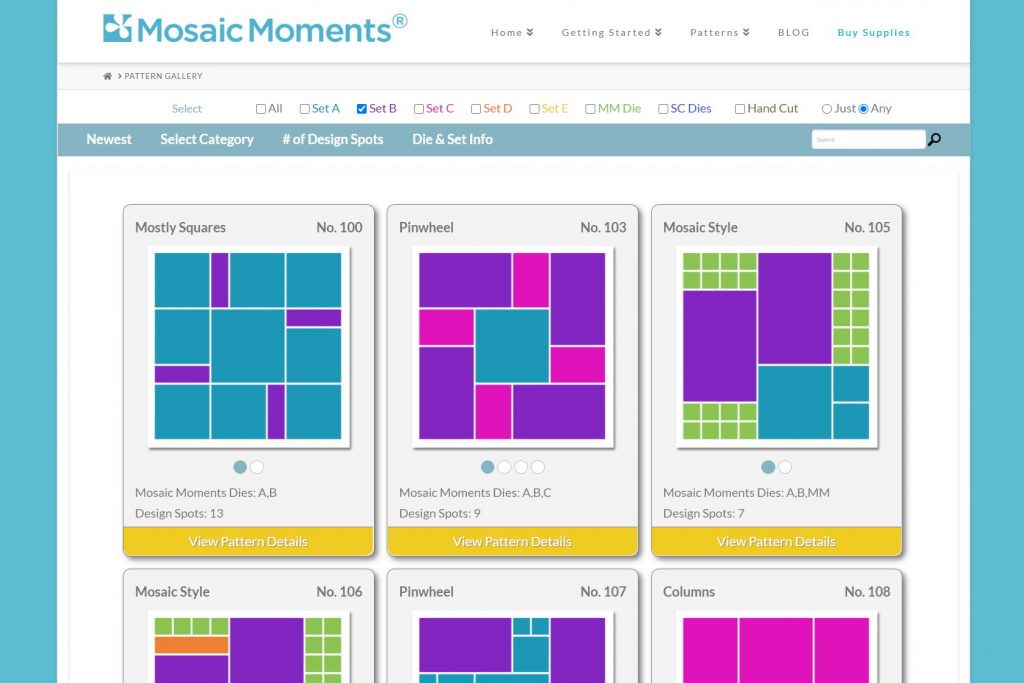
Consider that the majority of patterns are not going to accommodate your 4x6s without a mat or being cropped (purple rectangles in the patterns).
Die Set C with the 4×5 die will preserve much of your photo to place on a mat (pink rectangles in the pattern).
If you are behind in your scrapping efforts and are still working with older photos that are 3.5”x 5”, congratulations, you win, you will have more options to choose without losing much of your photo when you crop, the patterns with 3×4’s will suit you so well!
Other pattern sizes will easily accommodate your photos cut to fit the grid with no mat necessary. Do yourself a favor and get familiar with the color coding of patterns and dies to make reaching for the right die and choosing the right grid second nature.
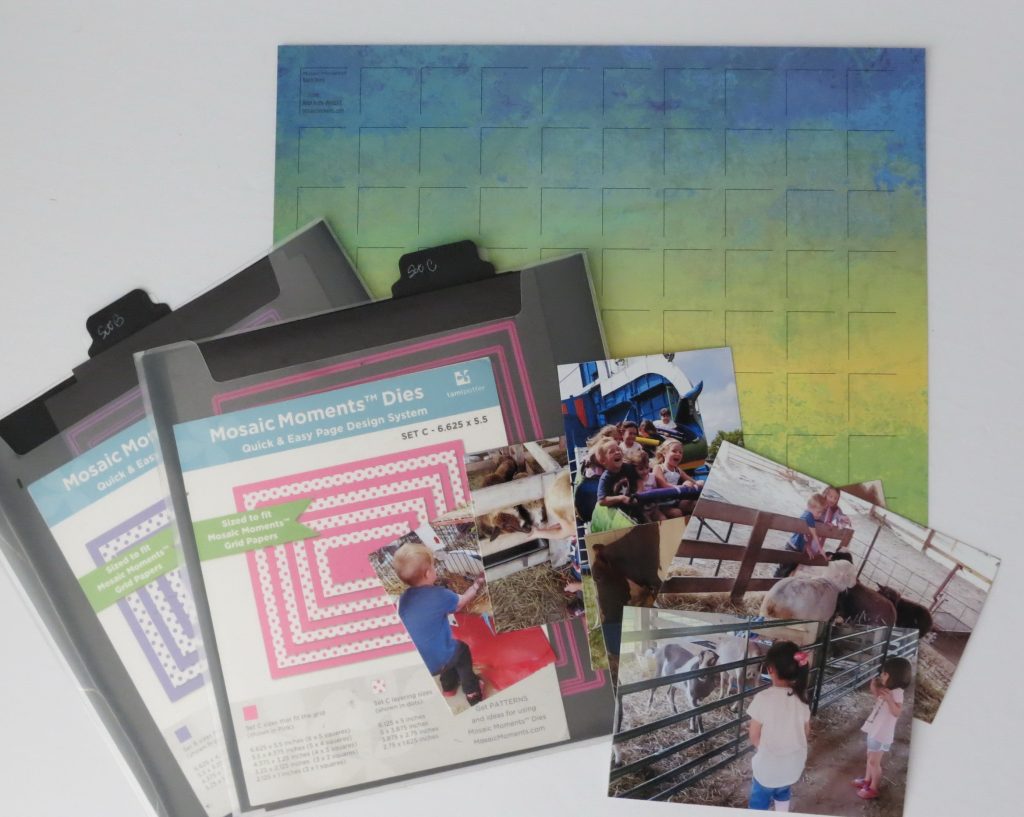
Now that you’ve done some sorting and planning, pick your grid color to build upon.
• Based on the colors in your photos
• Based on the theme (Christmas, Easter, Independence Day)
• Or go with neutrals, black, white, ivory, navy, browns and grays
Now to choosing a pattern!
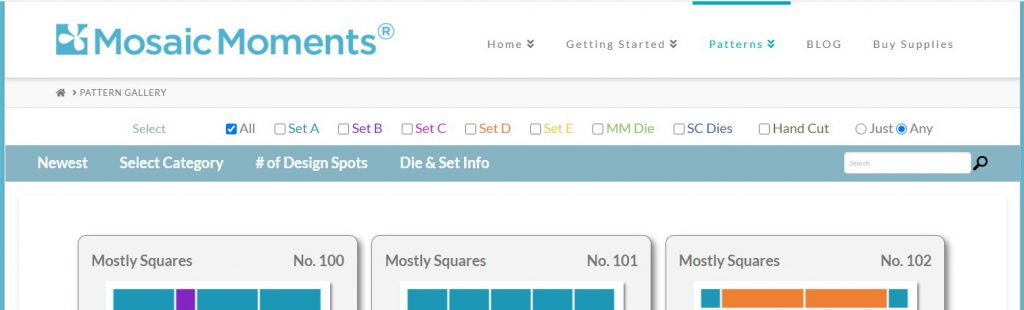
In the Pattern Gallery there are several choices you can make. The first being displaying the patterns from the first to last numerically, or to show the newest first. With over 500 patterns there’s a lot to choose from!

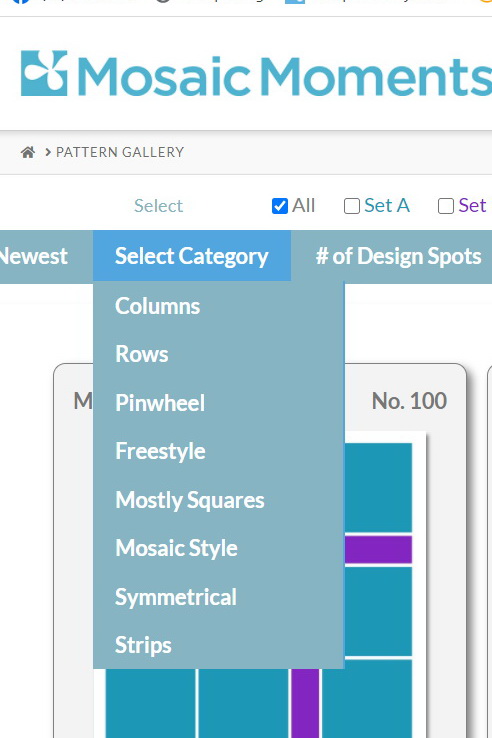
You can also sort by style…if you want to preserve as much of your 4×6 photos as possible, a pinwheel pattern might be the right choice, so sort by that style so you can consider them all at one time.
Maybe you want to sort by the die set you have and want to use, that too is a way to sort your view in the Gallery.
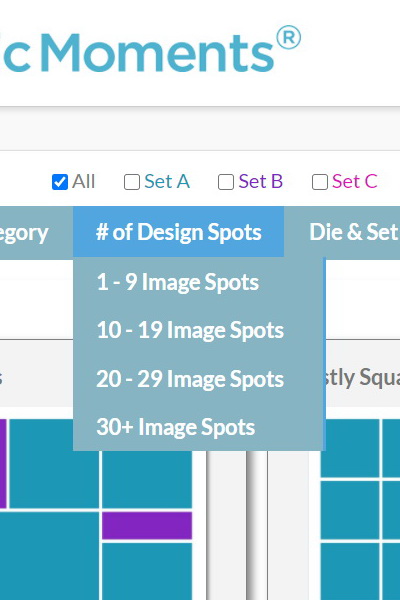
You can even sort the gallery by the number of spots for photos you have.
Pick several options that might work and then start to mentally arrange them in the spots of the pattern. You can lay them out on your grid paper to help “see” things clearer if it helps you.

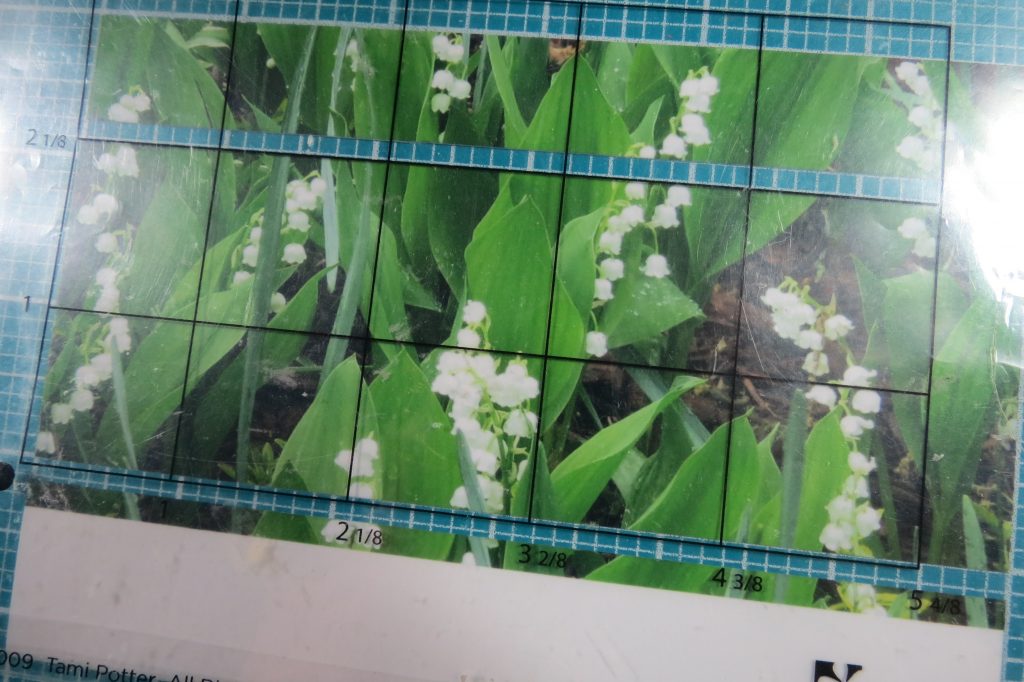
Now’s the time to use your Quick Glance Guide to help you see the portion of the photo you want to save and where to cut away what you don’t need. It’s a quick way without pulling several dies to “see” your area. With just this tool you can determine if you’d like to go with a square or rectangle, 3×3 or 4×4 or even a 3×4, at a “quick glance”. If you hand cut, you can easily line up on the grid and cut where necessary or pull out the appropriate die to use and cut.
What about a photo you want to use that isn’t oriented in the right direction for the pattern? This is where printing from home is a big advantage. Cropping your photo, changing it from a vertical to horizontal direction is easy to do without sacrificing too much of your picture to get a 4×6. That’s harder to do with photos you’ve had prepared by a developer, it is still possible, but it will be a smaller photo, and that comes in handy for filling those 3×4 or 2×3 spots in the pattern! Use your Quick Glance Guide to select the area and cut on the grid or use the die that fits the grid and the spot you want to use the photo.
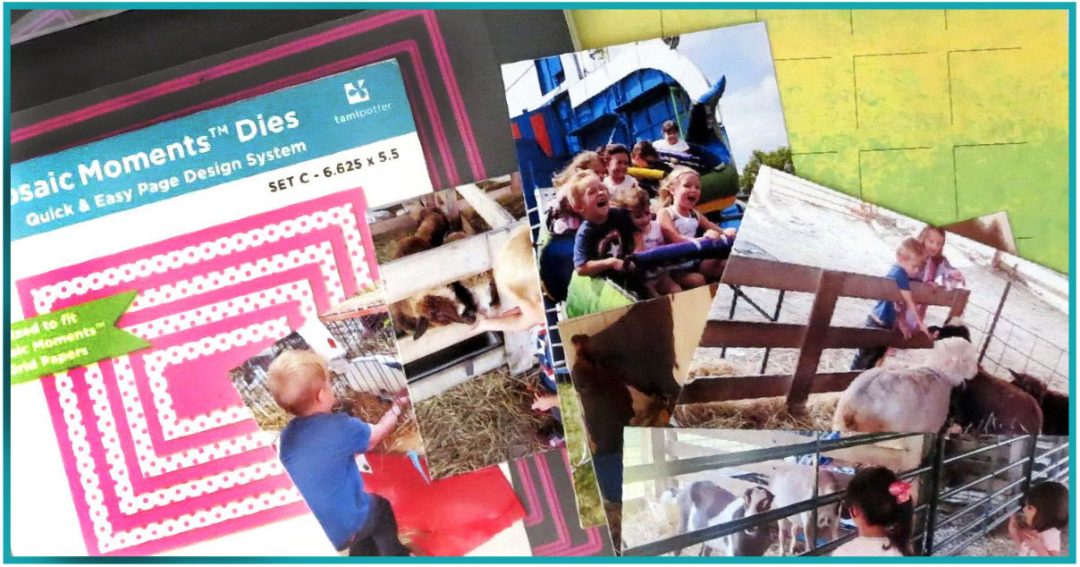
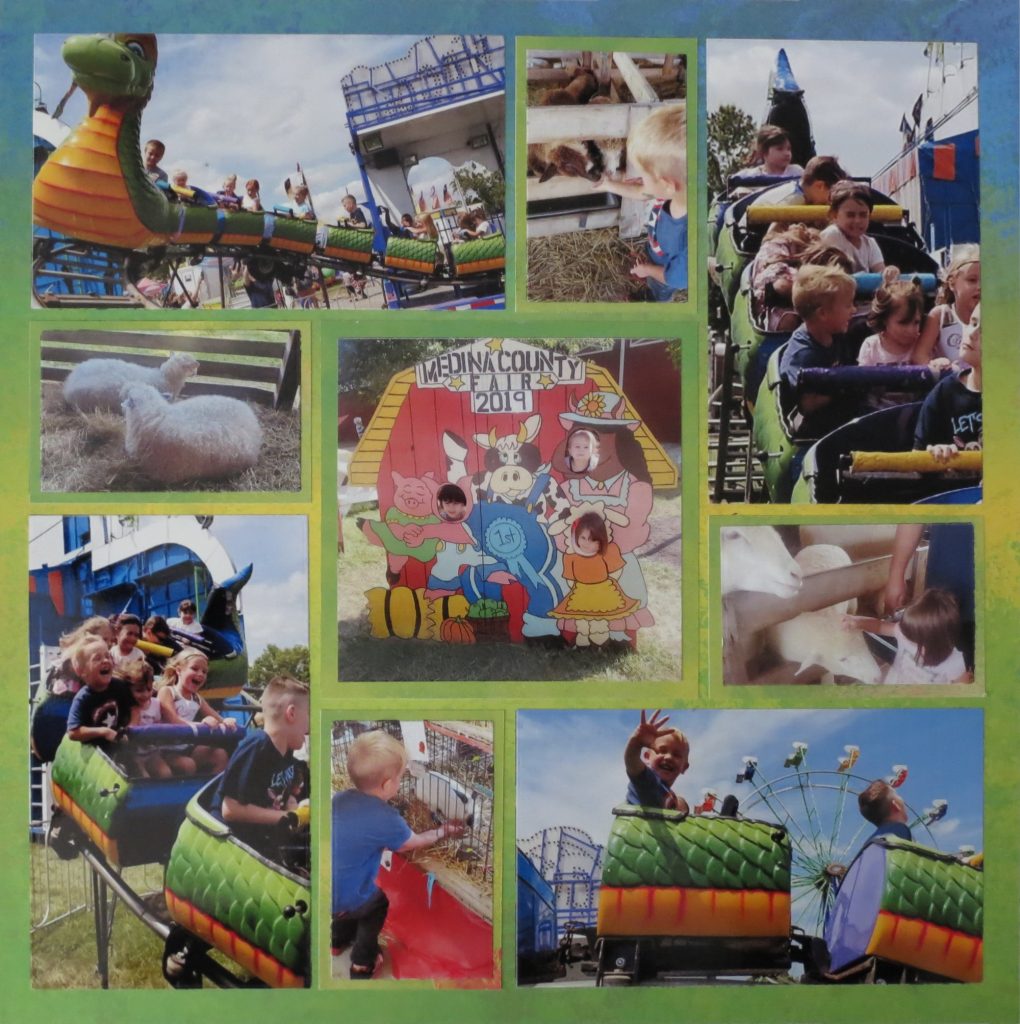
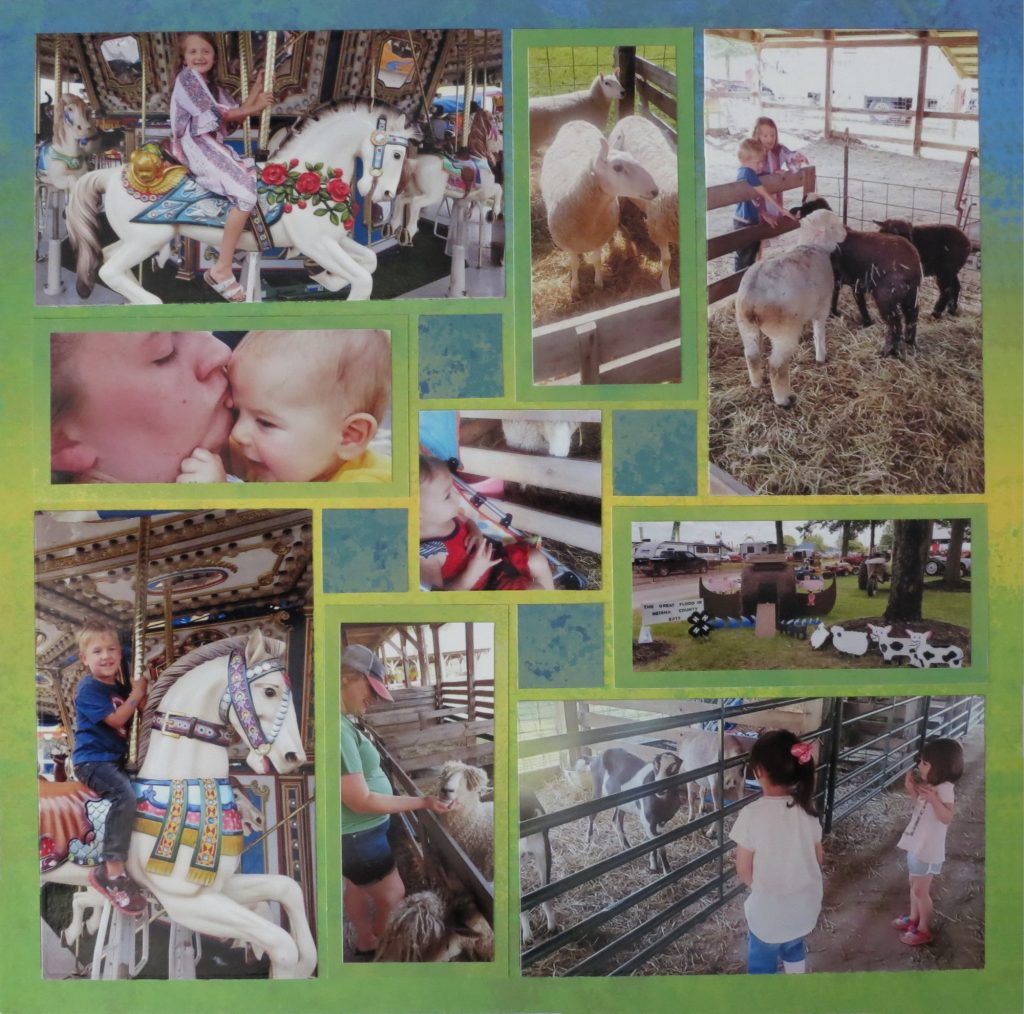
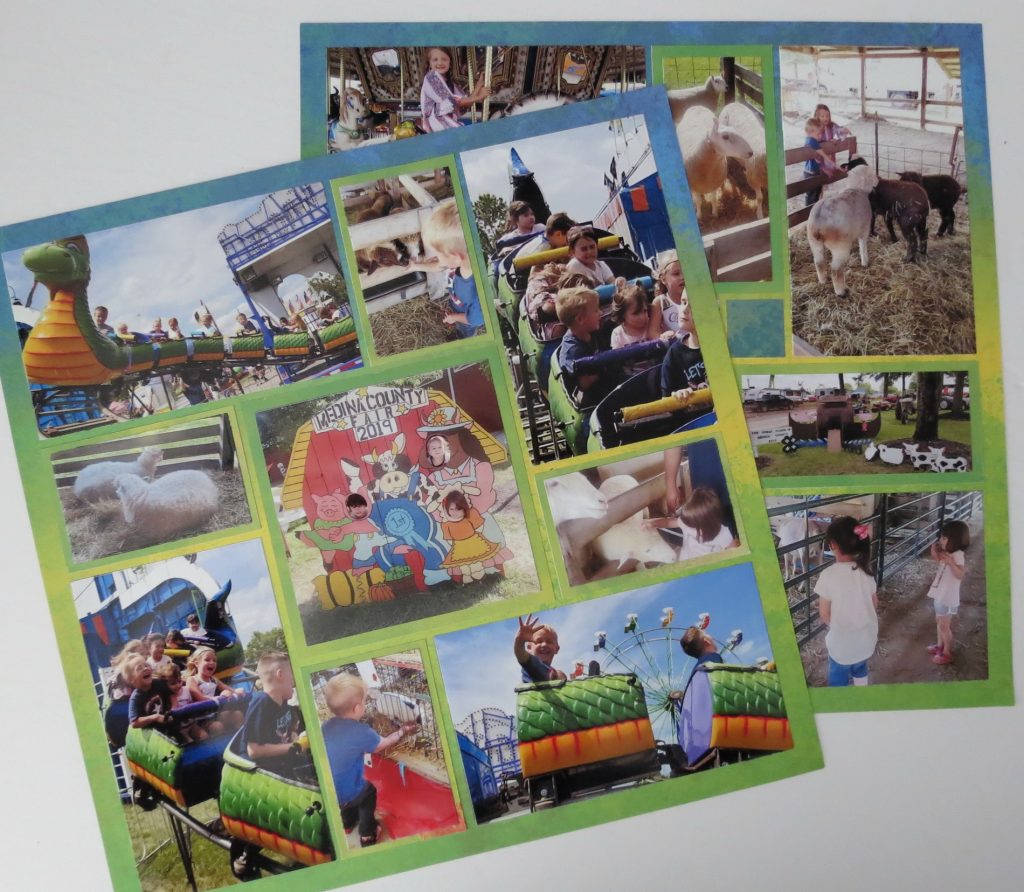
Here’s a few of the photos I’ve used in this layout and how I changed the photos making them work for me and the pattern I chose.
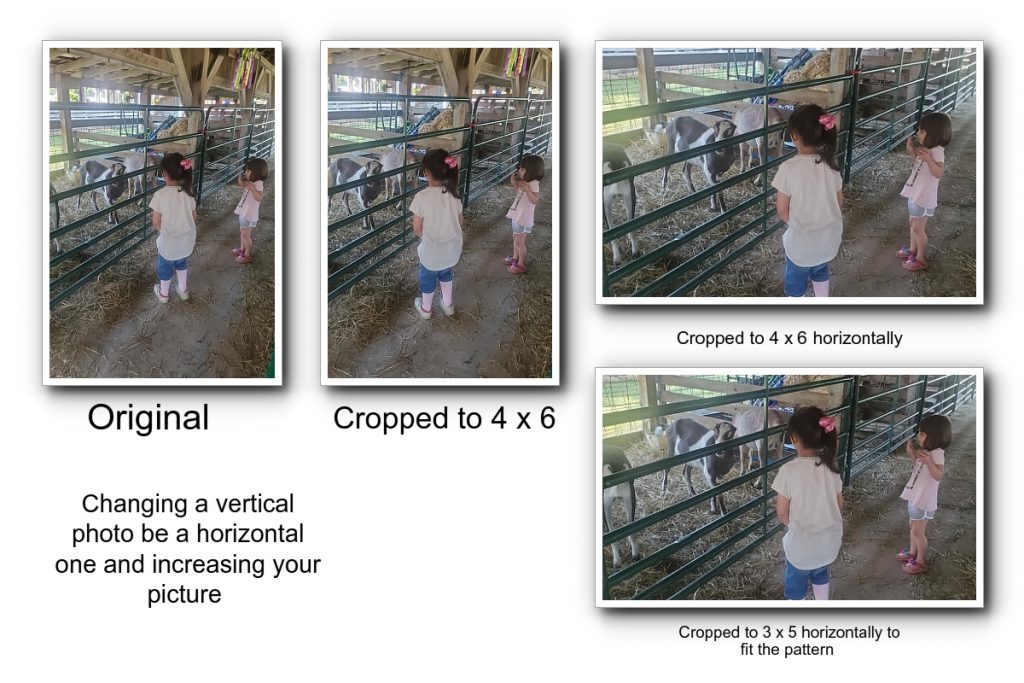
Change a vertical to horizontal
I began with a vertical photo, cropped it to a 4×6, but what I needed was a 3×5 horizontal. I went back to the original image and cropped the photo to 4×6 horizontally. From here I could have printed the photo and used the Die Set B 3×5 die to crop. Instead, I took that image and further cropped it in my editing program (I use ACDSee Photo Studio Home 2020) to exactly 3.25”x 5.5” and printed it adjusting my margins to maintain that sizing. Most times it prints just slightly more so that a cut with a die or hand-cut will not be leaving a white edge showing, or cut too much off.
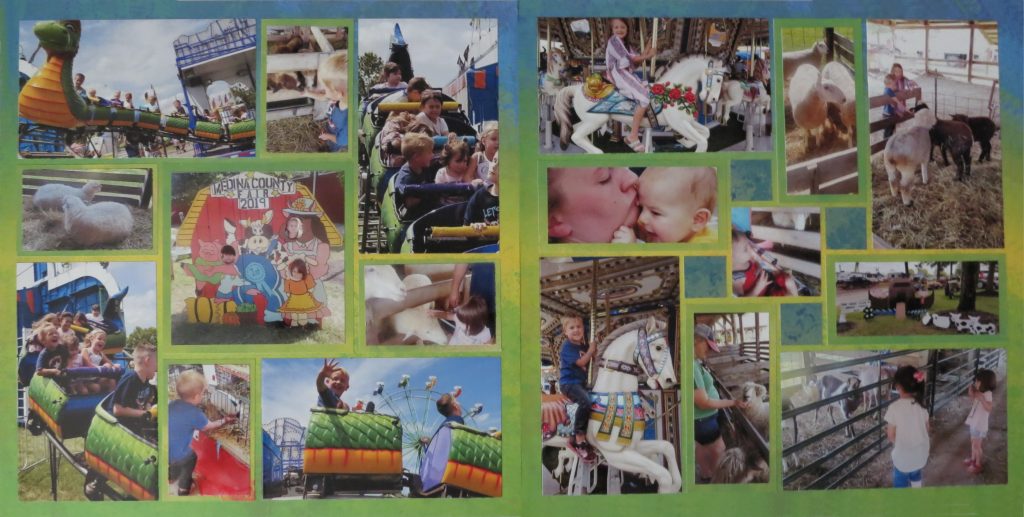
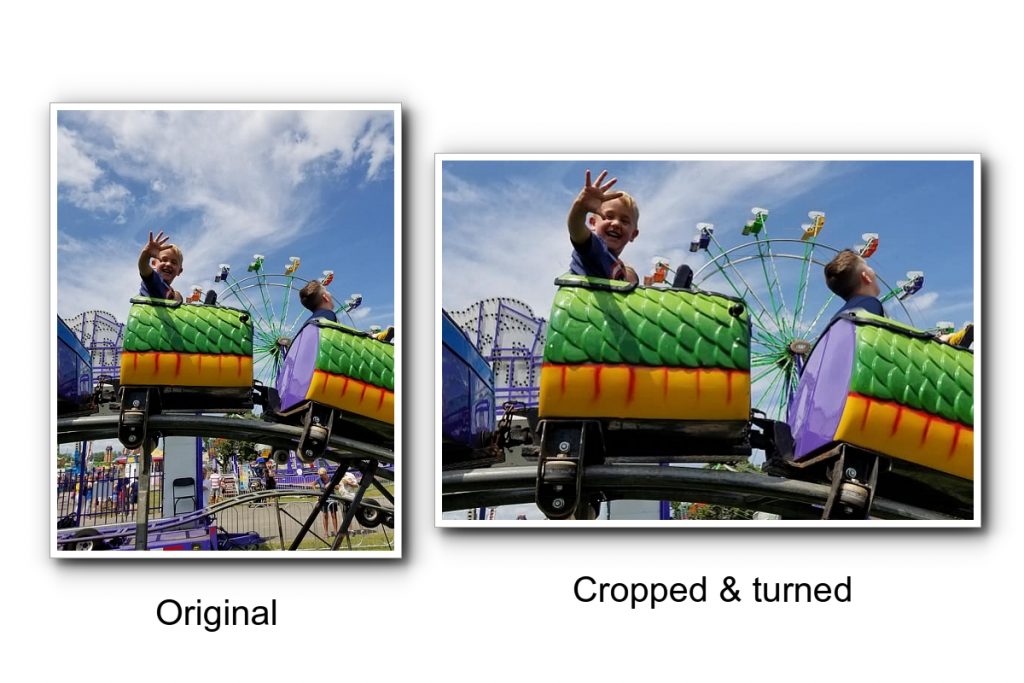
Another example of changing a photo’s direction is one that I think helped to focus in on the subject and got rid of distractions. I like the photo as shot, but again, I needed it to be a horizontal. Because I’m cropping the photo before printing the focal area will be enlarged, I’ll lose some of the beautiful clouds in the blue sky, but the Ferris wheel becomes a more significant feature. The rails of the roller coaster remain prominent giving context for the photos setting. This I printed to 4×6 and then used a die to crop to fit the grid. When I did, you’ll see in the layout, I lose some of the rails, but my boy waving madly is still out front in focus!
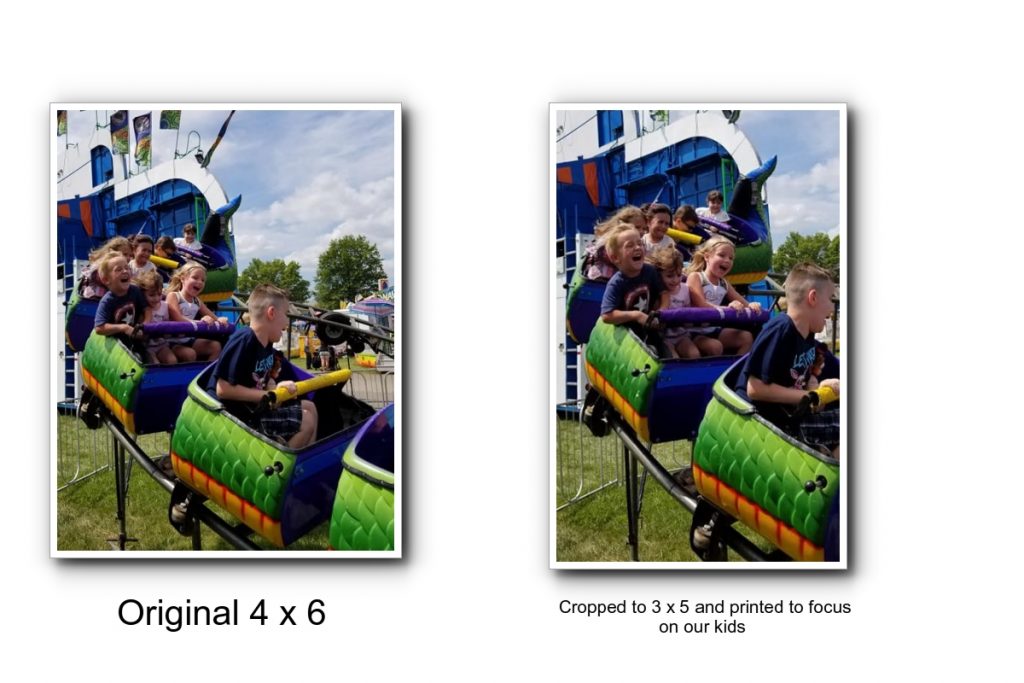
Change focus, crop
Beginning with the 4×6 vertical and trimming to fit the grid with a die is a simple way to get your photo to work with your pattern. As you look at the 4×6 photo you can see I won’t lose much by taking of ¾” from the right or ½” from either the top or bottom. It’s an easy fix, but the child in the first car is not essential to my photo, it’s the following two cars that hold my kids, and I really want to see those expressions a bit better. So, the solution is to crop before I print to get right to the focal point I want. That enlarges the photo a bit and that’s a huge plus! Then just set the margins accordingly as stated before and you’ve got what you want.
Personally, I print all my photos from home. That allows me to get a full 4×6 print, not some print 1/8” off that will mess my strips or Mosaic style spaces. I don’t find it more expensive than sending out to developers and the convenience of printing and reprinting, changing sizing and doing it at any time of the day or night when I might be working, is invaluable. I watch for the sales on printer paper and that helps even more. For an example, I am currently in the middle of printing photos for camp I have over 400 4×6 photos and 9 – 8.5” x 11” photos so far on the one set of printer inks. It works well for me. I know every printer will be different, but before you dismiss it out of hand, test for yourself with your own printer.
Hopefully, you’ve seen a few ways to fully access the Pattern Gallery to understand the patterns better.
Hopefully, you can see how to take and edit your photos to get them to work for you and fit the patterns.
Hopefully, you are more confident in working with patterns armed with a few tips and ideas and are ready to get scrapping!
Andrea Fisher