
Sometimes you get packs and packs of Paper Tiles™ to make various pages. But, you may have many left overs! It takes up space and you don’t know what to do with them! If this sounds like you – You’re in Luck! In Today’s post I have a few solutions to use your left over Paper Tiles™. All of them are very simple and quick projects. So here is my list of ideas:
1. Mix and Match Paper Tiles
One idea is to simply create a page using colors you originally were not planning to put together. Take a look at our many Mosaic Moment™ Layouts on Snapncrop and Facebook. You might find some unexpected color combinations! You can also check out this site: design-seeds.com. Click on Palette Search and enter in a color of one your Paper Tiles. This site will bring up many different color combinations that look great.
Do you have a lot of the 1 in. tiles left?
Solution: Create a fun and colorful Mosaic page with them:
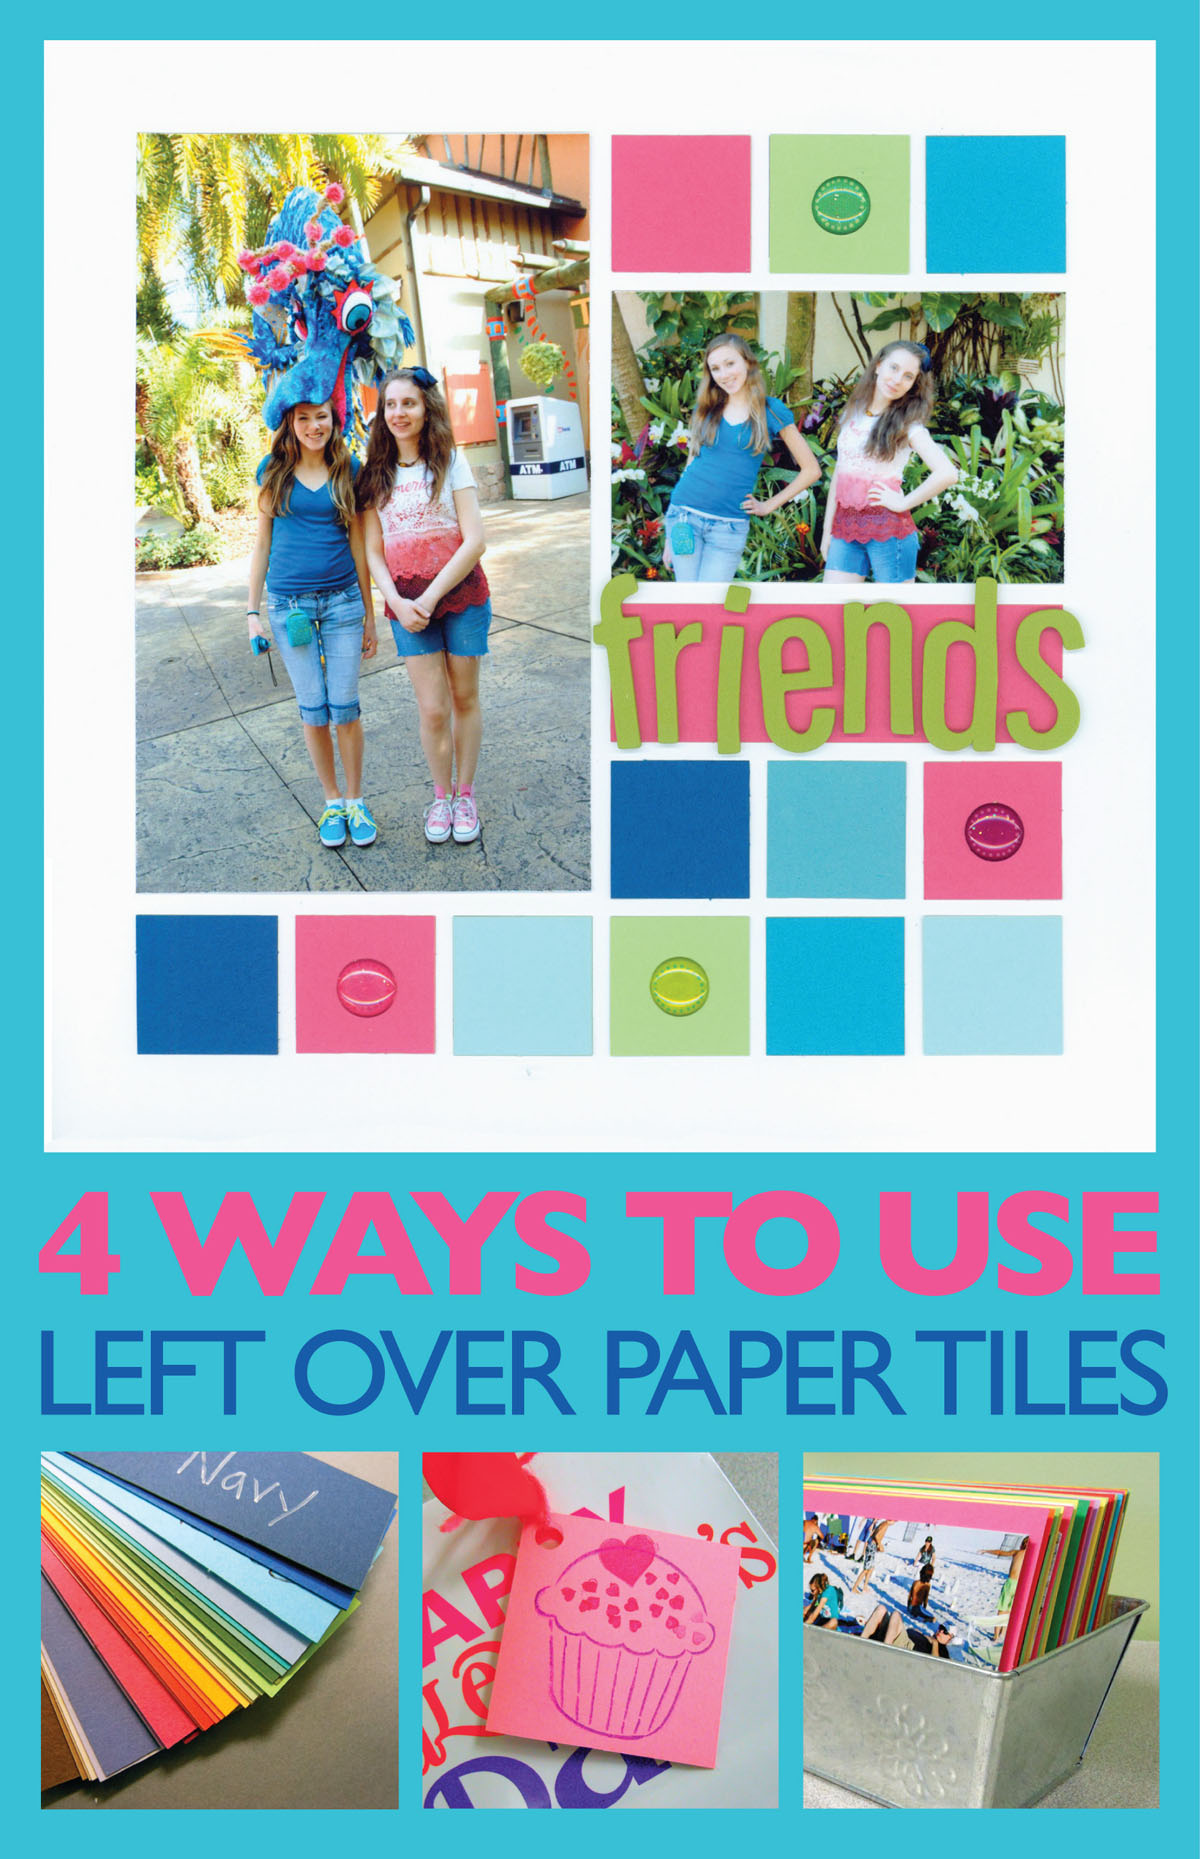
Originally I did not plan to use these colors together. I used the creature (shown in the photo on the left) as inspiration, and started to mix and match different colors of 1″ Paper Tiles™ to create a fun page. Because the squares are already cut, I was able to make this page in under 10 minutes! Be sure to try this with your left over 1 in. squares!
Supplies for “Friends” Layout:
- White 8×8 Mosaic Moments™ Grid Paper
- Various Paper Tile Colors
- Alphabet Foam Stickers
- Circle Stickers
2. Create a Quick Gift Tag or Card
Is there a Birthday coming up? Or need a last minute Valentine gift? Use a Paper Tile to create a cute gift tag! It’s super easy!
First, pick the color Paper Tile you will be using. For this project I usually use a 4.375w x 2.125h block.
Use a score to fold the Paper Tile in half. You can use a ruler to make sure it makes a straight line.
Fold your Paper Tile in half and punch a hole in the top left corner as shown here. Make sure you punch the hole on the folded side.
Quick and Easy! Now you just need to embellish the card as you would like.
Here is my finished gift tag! If you are in a rush you can use stamps or stickers to decorate your card. On my gift tag I used a cupcake clear stamp.
You are not just limited to smaller Paper Tiles. Use larger Paper Tiles (like the 6.625w x 4.375h blocks) to create a quick card. Simply fold the Paper Tile in half with a score, and embellish!
3. Get Organized with Paper Tiles
There are a couple of ways you can use Paper Tiles to help organize your photos and scrapbook supplies.
Tami uses 6.625w x 4.375h Paper Tile blocks to organize her photographs as shown above. Just get a cute container that will fit your photographs. Simple! Use the Paper Tiles as dividers. This is a cute and colorful way to organize photographs and you can grab them easily when you plan on creating a page.
Here is a close up shot of the dividers.
I personally like using 3.25w x 1 in. paper tiles as labels. You can either use a pen or marker to write down the items or print them off your computer. The one above was done by a label maker. The Paper Tile is a perfect fit for labels and is a colorful way of keeping things organized. Here I used it on a plastic bin where I keep all of my supplies.
4. Make Color Swatches
Using 3.25w x 1 in. Paper Tiles are great for making color swatches! If you have stamps at home, you can use a color swatch to help you find matching pattern paper and other embellishments when you shop for new supplies. It is also great for helping you know what the ink looks like on paper.
Here are the directions on how to make a color swatch for inks:
First, choose several or all of your inks. Here I am going to make a swatch for several of my chalk ink colors.
Second, take your ink and color the end of your Paper Tile. Make sure the ink is spread on evenly to get the best color.
Here is what the end of the Paper Tile should look like.
The third step is to write down the color ink with a marker or pen. This will help you remember the color name if you need to purchase more. Whenever you are creating a page, you can use this as a quick access for figuring out what ink to use with your pages.
Next, punch a hole at the opposite end of your inked tip. Repeat this step, and all of the previous steps with every color of ink.
Last, add a ribbon, string, or another embellishment through the holes to make sure all of your swatches are together.
Finished! Now you have some color swatches for your convenience when you shop and create your pages!
You can also use these steps to create a swatch using different colors of Paper Tiles as shown above. Take this with you to craft store to choose matching embellishments, and use it when you want to re-order certain colors.
Thanks for visiting and I hope you will find many uses with the Paper Tiles!