
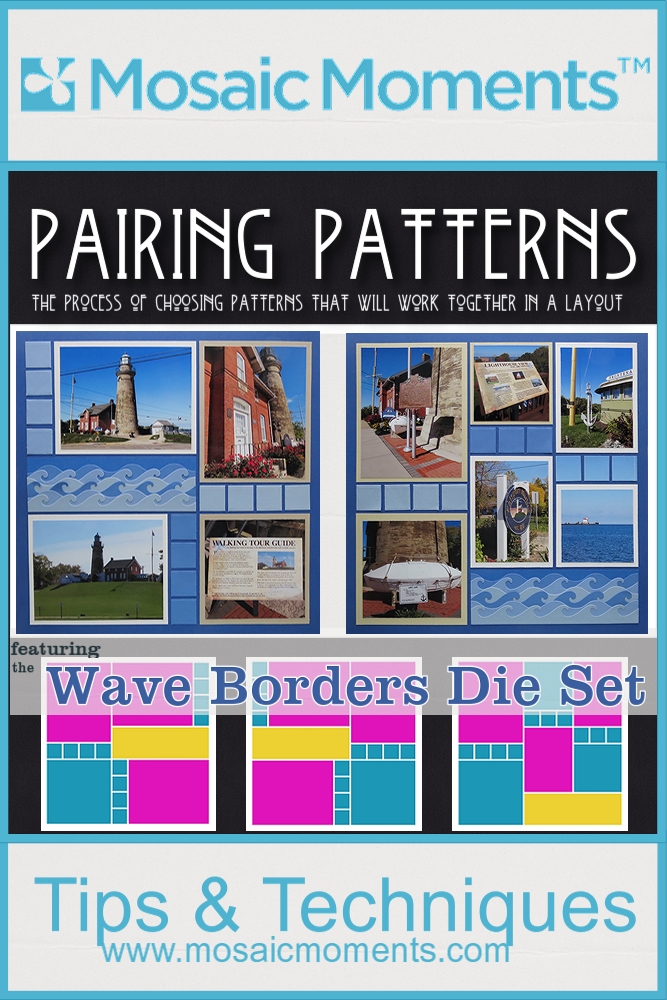
Catch a Wave with the new Wave Border Die Set
Mosaic Moments Pattern Pairings and The Wave Borders Die Set
Our Pattern Pairing search today will look to find the perfect patterns to feature our 1×6 Wave Borders Die Set. I pulled several patterns to accommodate the 1×6 strip, but I also had an idea I thought I’d like to try for a feature spot and included several patterns with a 2×6 spot. Here’s some that will work:
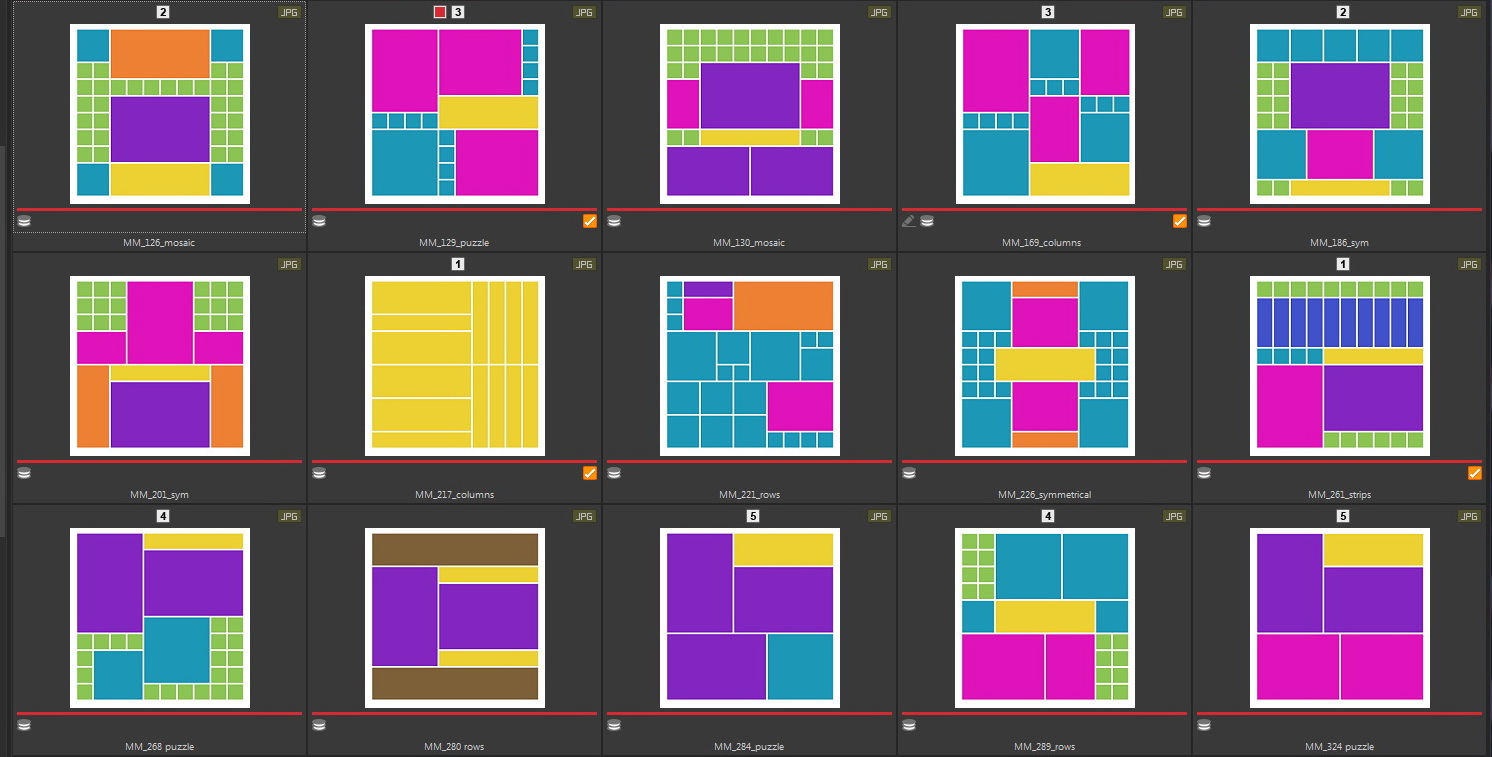
Mosaic Moments patterns for using with the 1×6 dies
Here are the ones that were in the final selection.
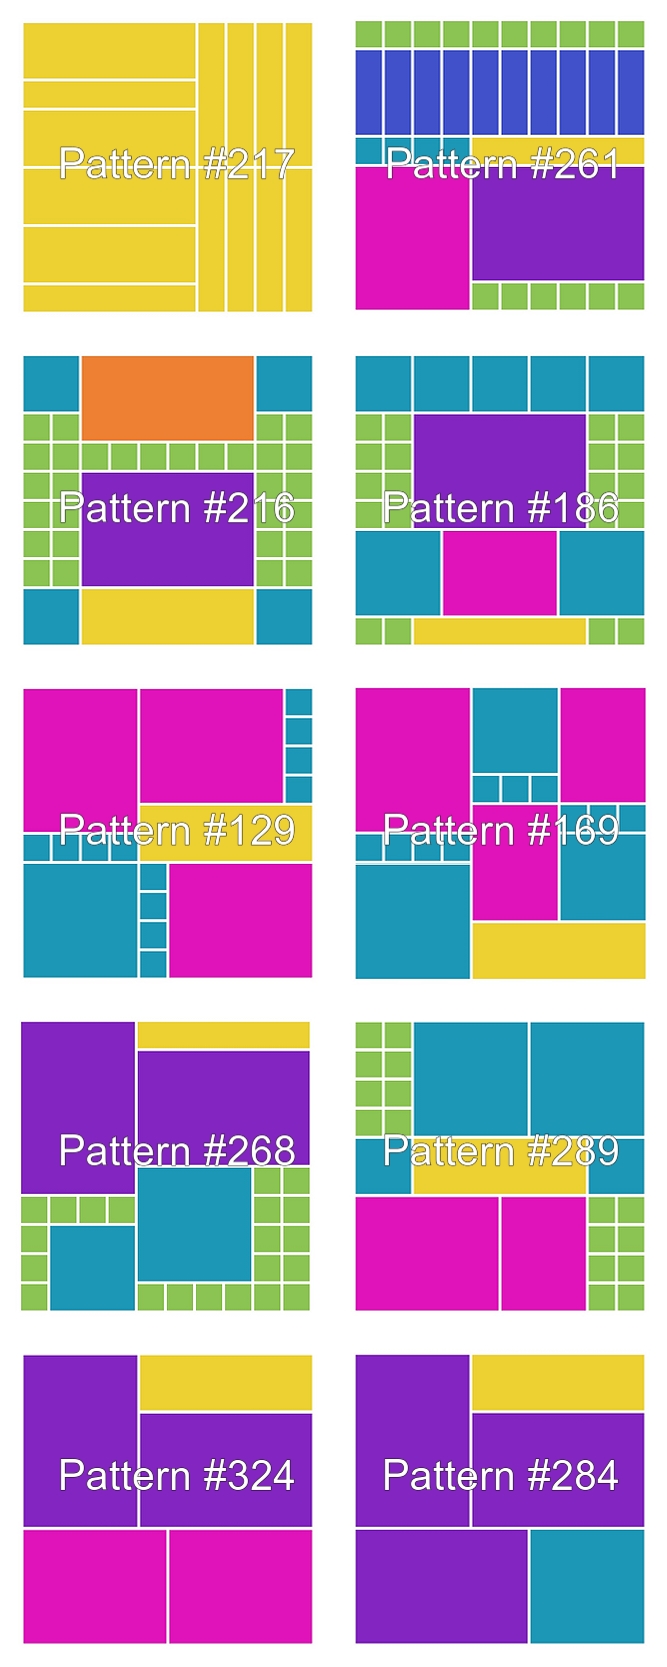
Mosaic Moments Patterns for 1×6 die choices
In the end my search revolved not just around patterns that worked together well because of the featured die spot or how they complemented each other, but the photos I would be using.
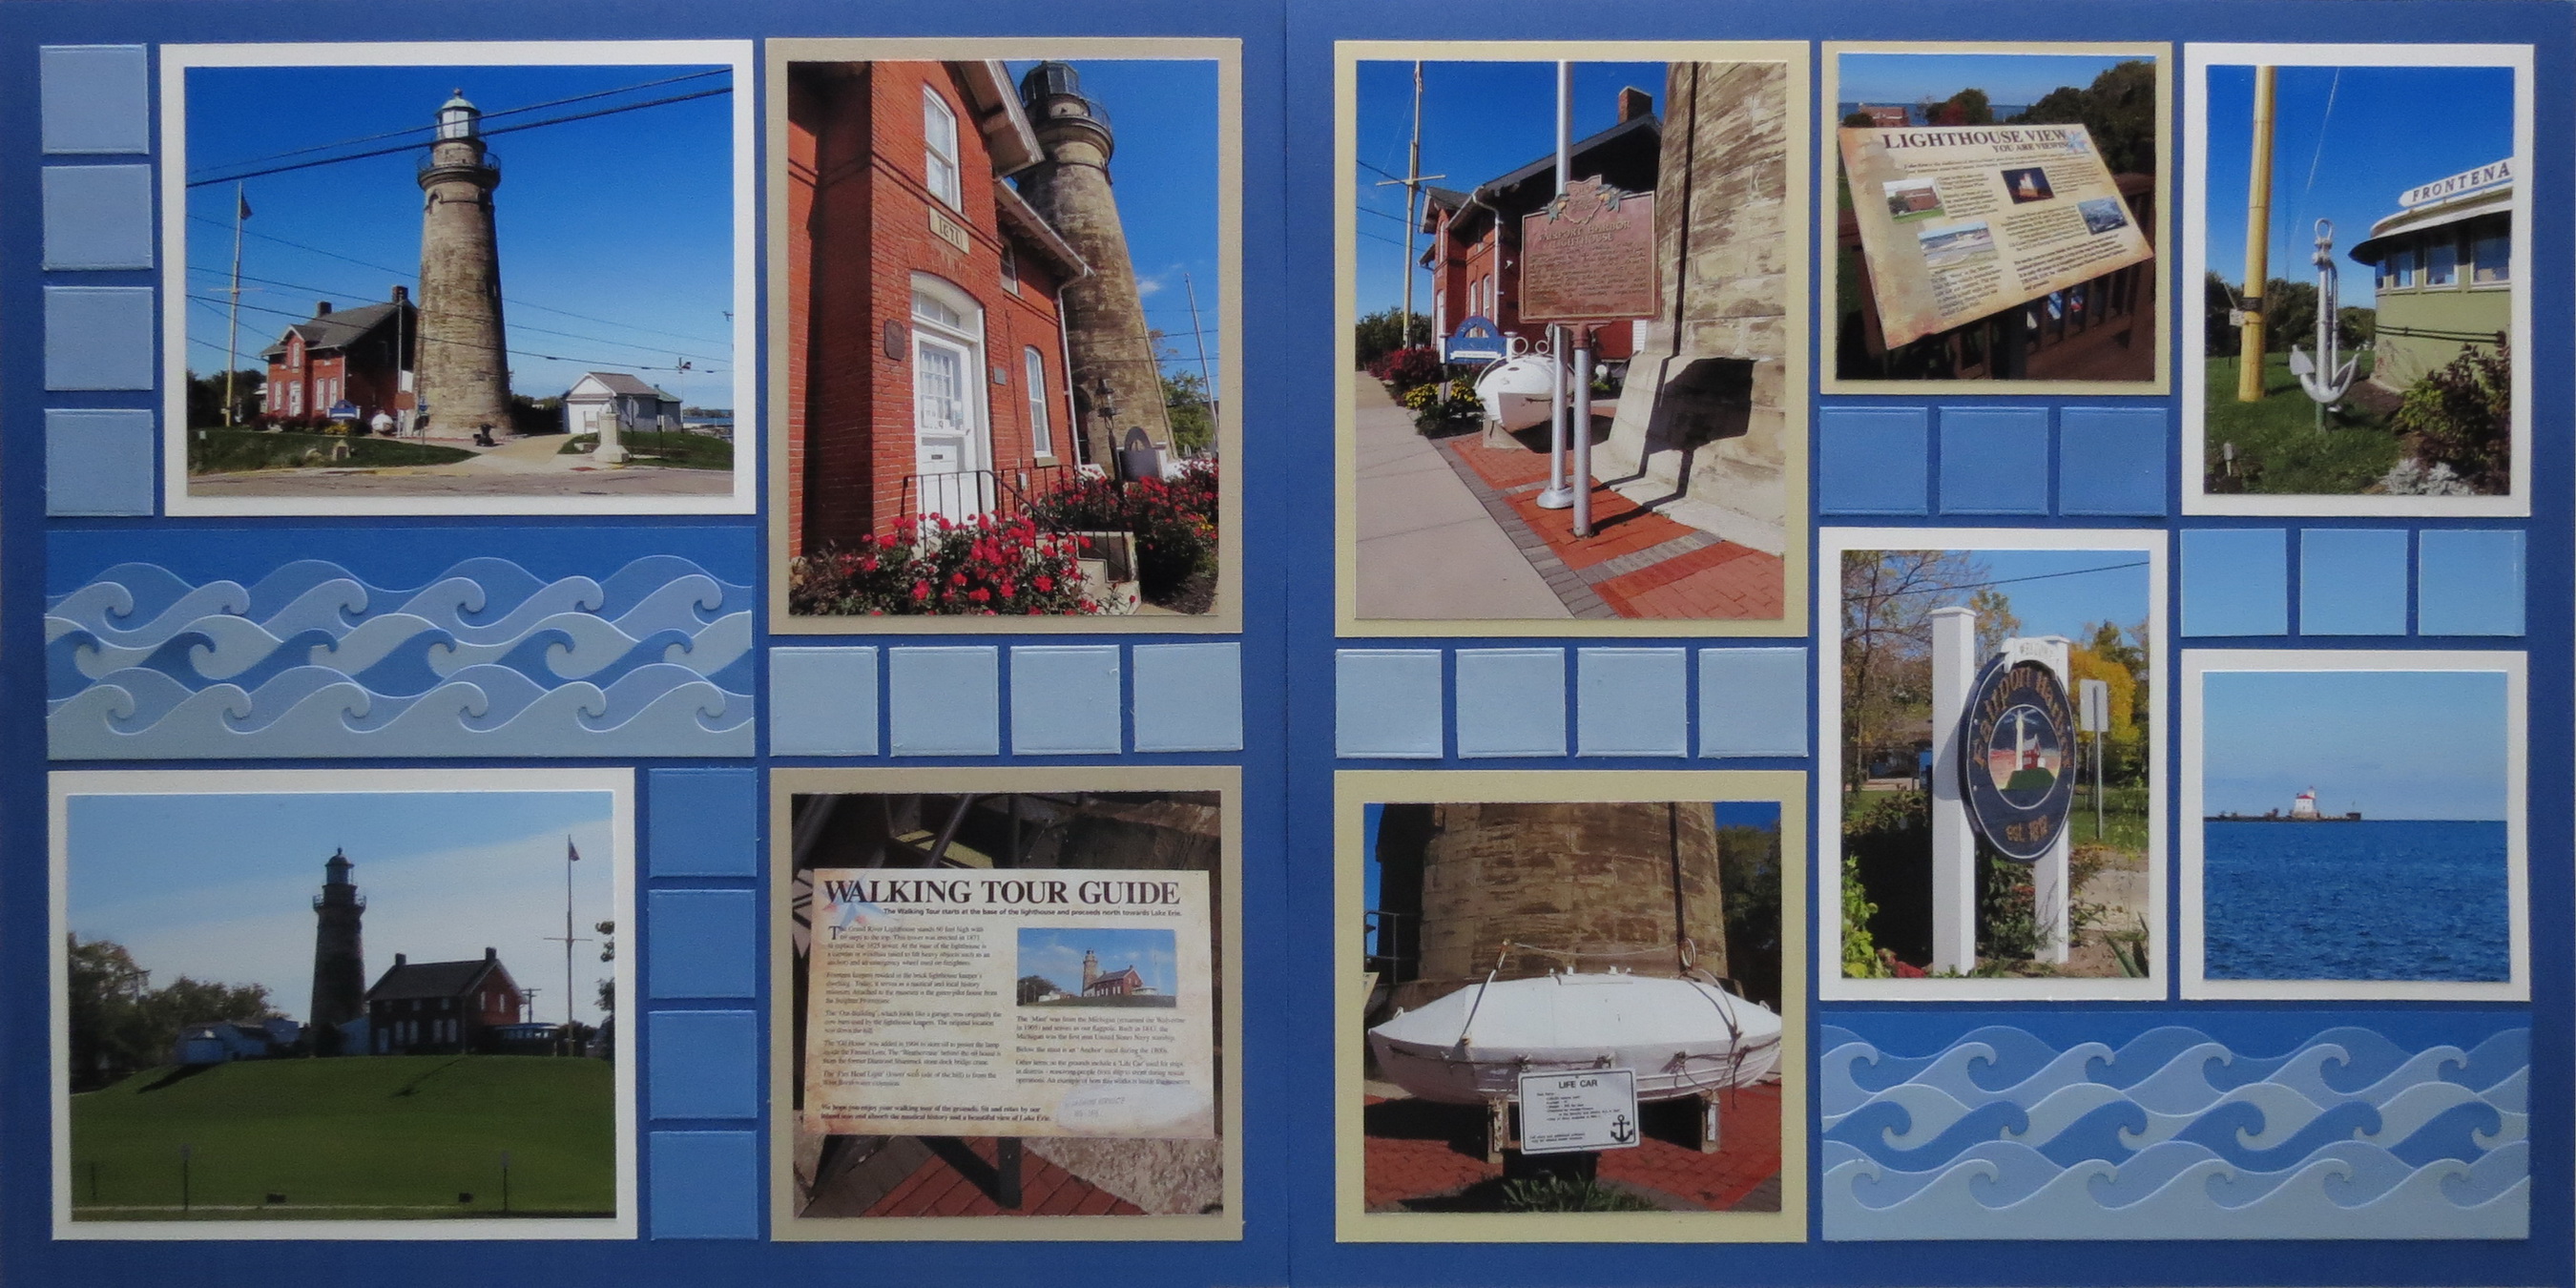
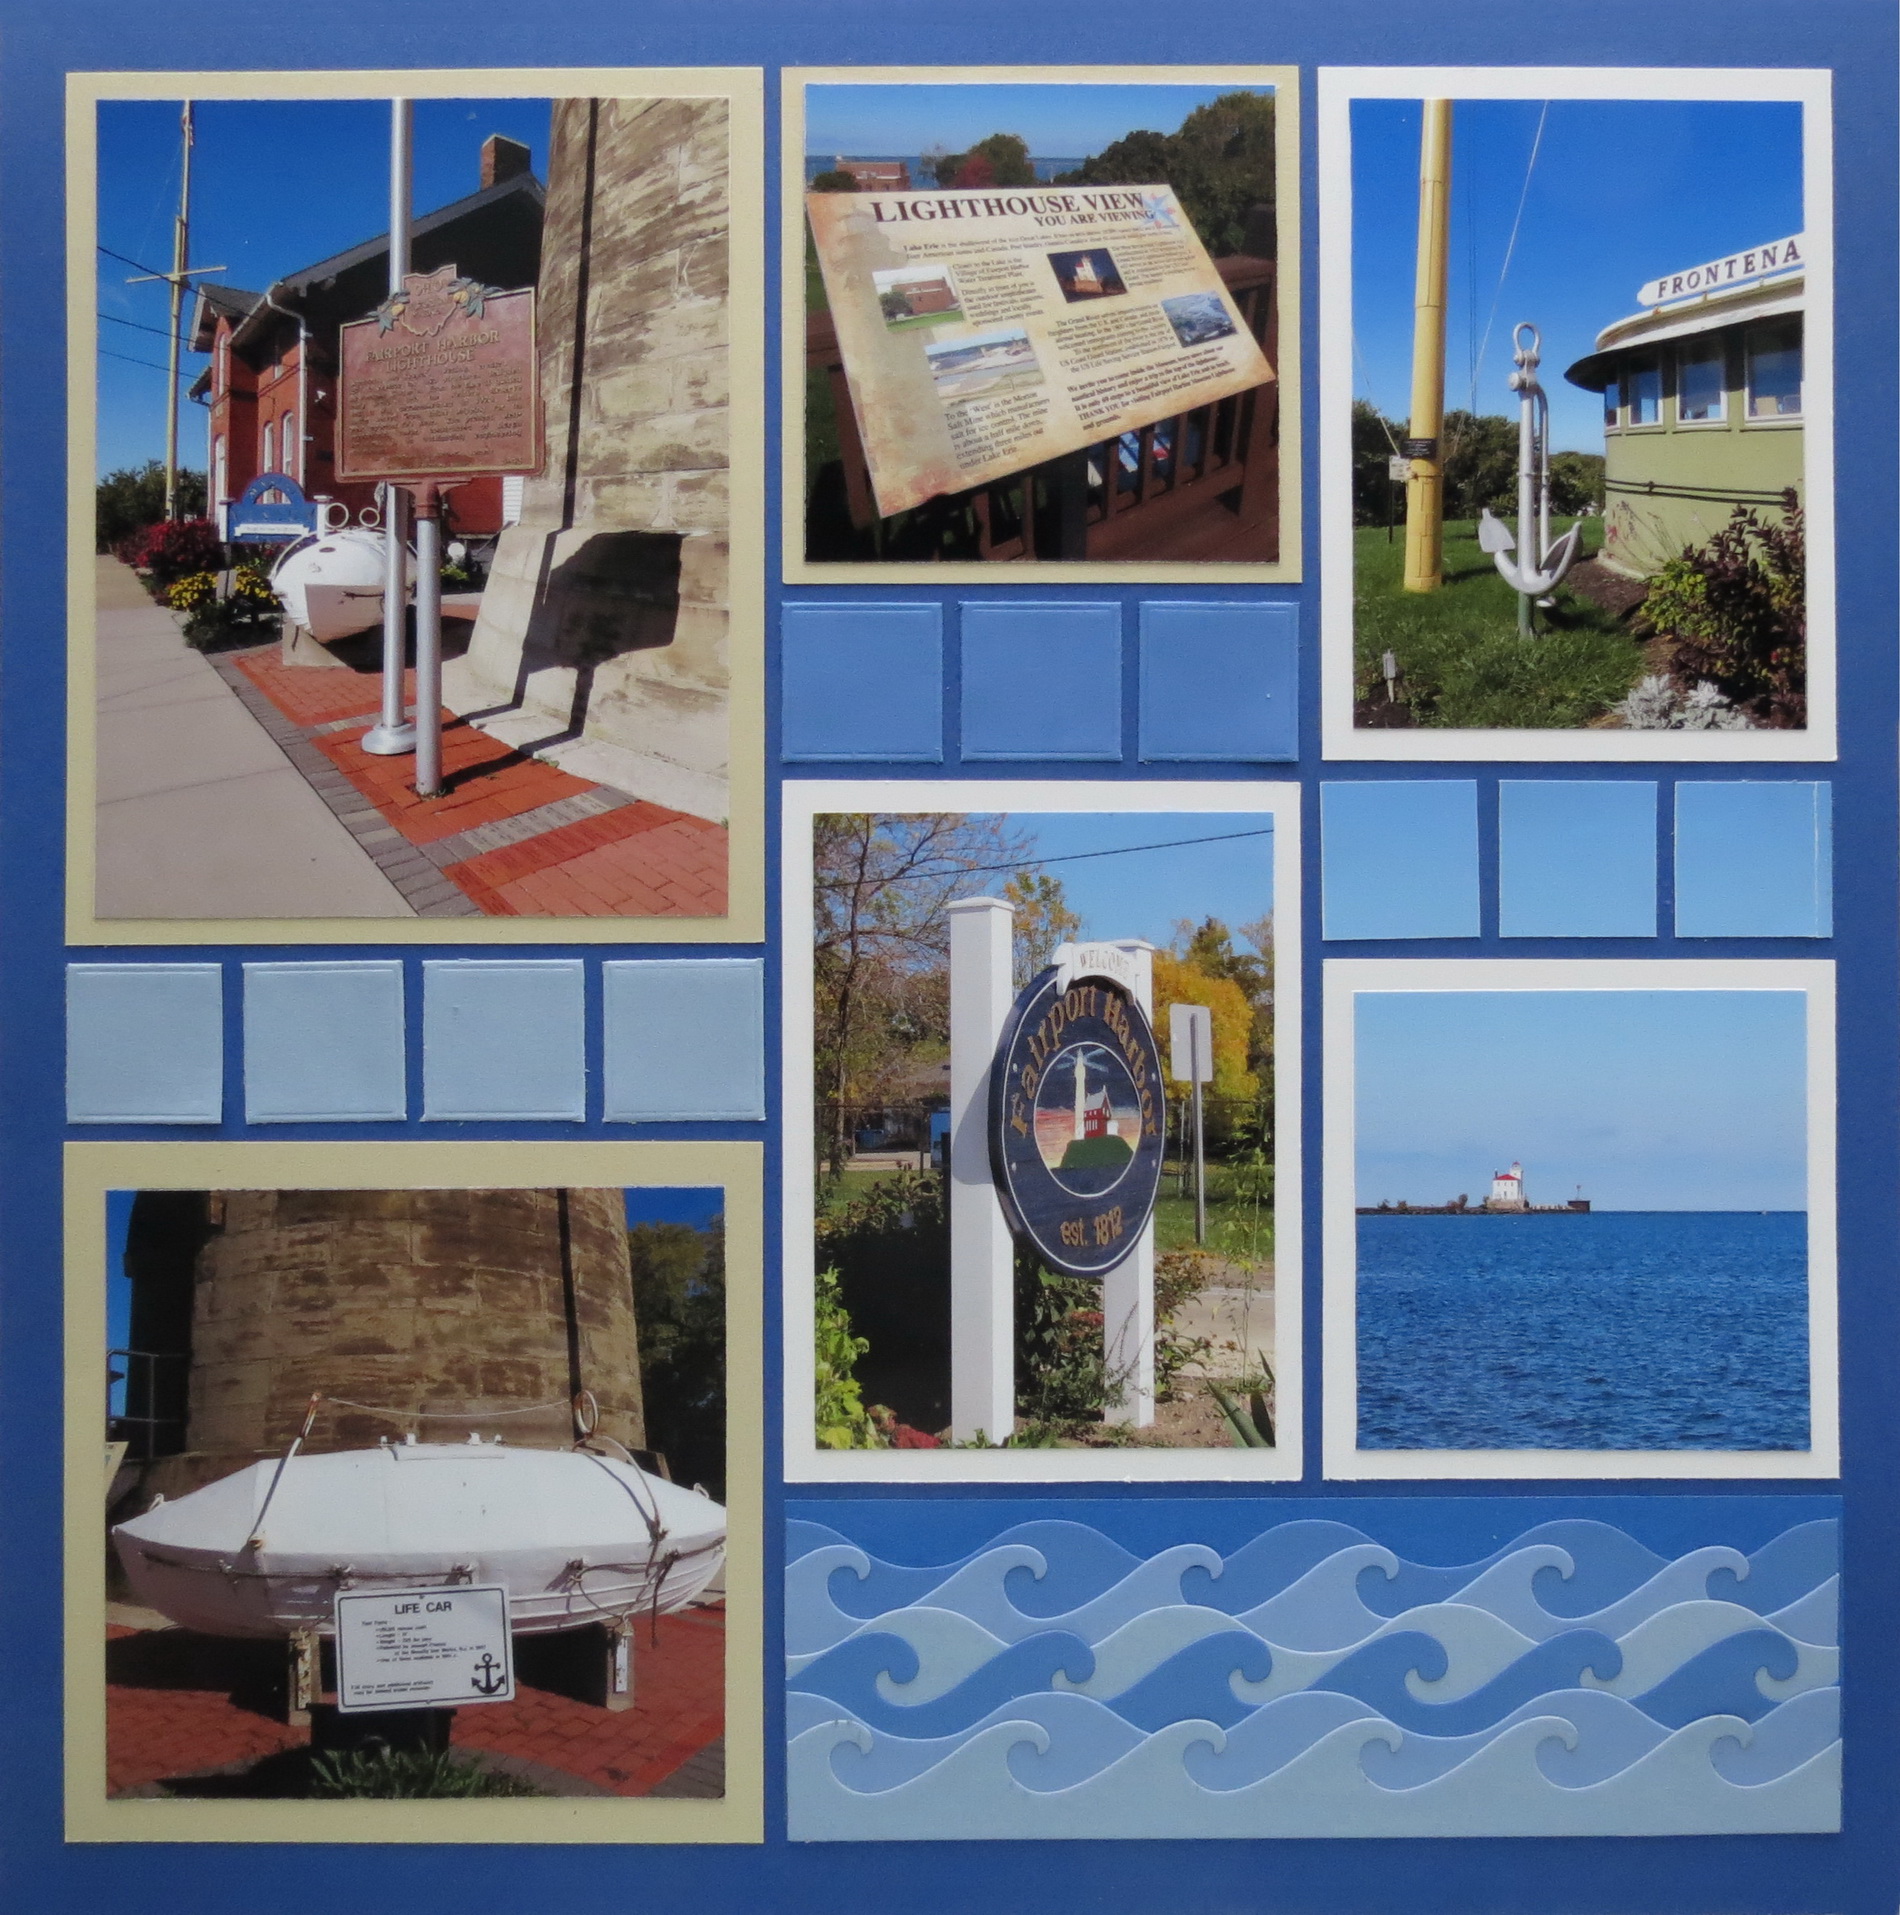
I took a day trip along the Lake Erie coast in NE Ohio and stopped at several lighthouses in Ashtabula County and had to decide whether to include them all or pick one. I decided I had enough interesting photos of the Grand River Lighthouse to fill a double page spread.
Also featuring Prussian Blue Mosaic Moments Grid Paper.
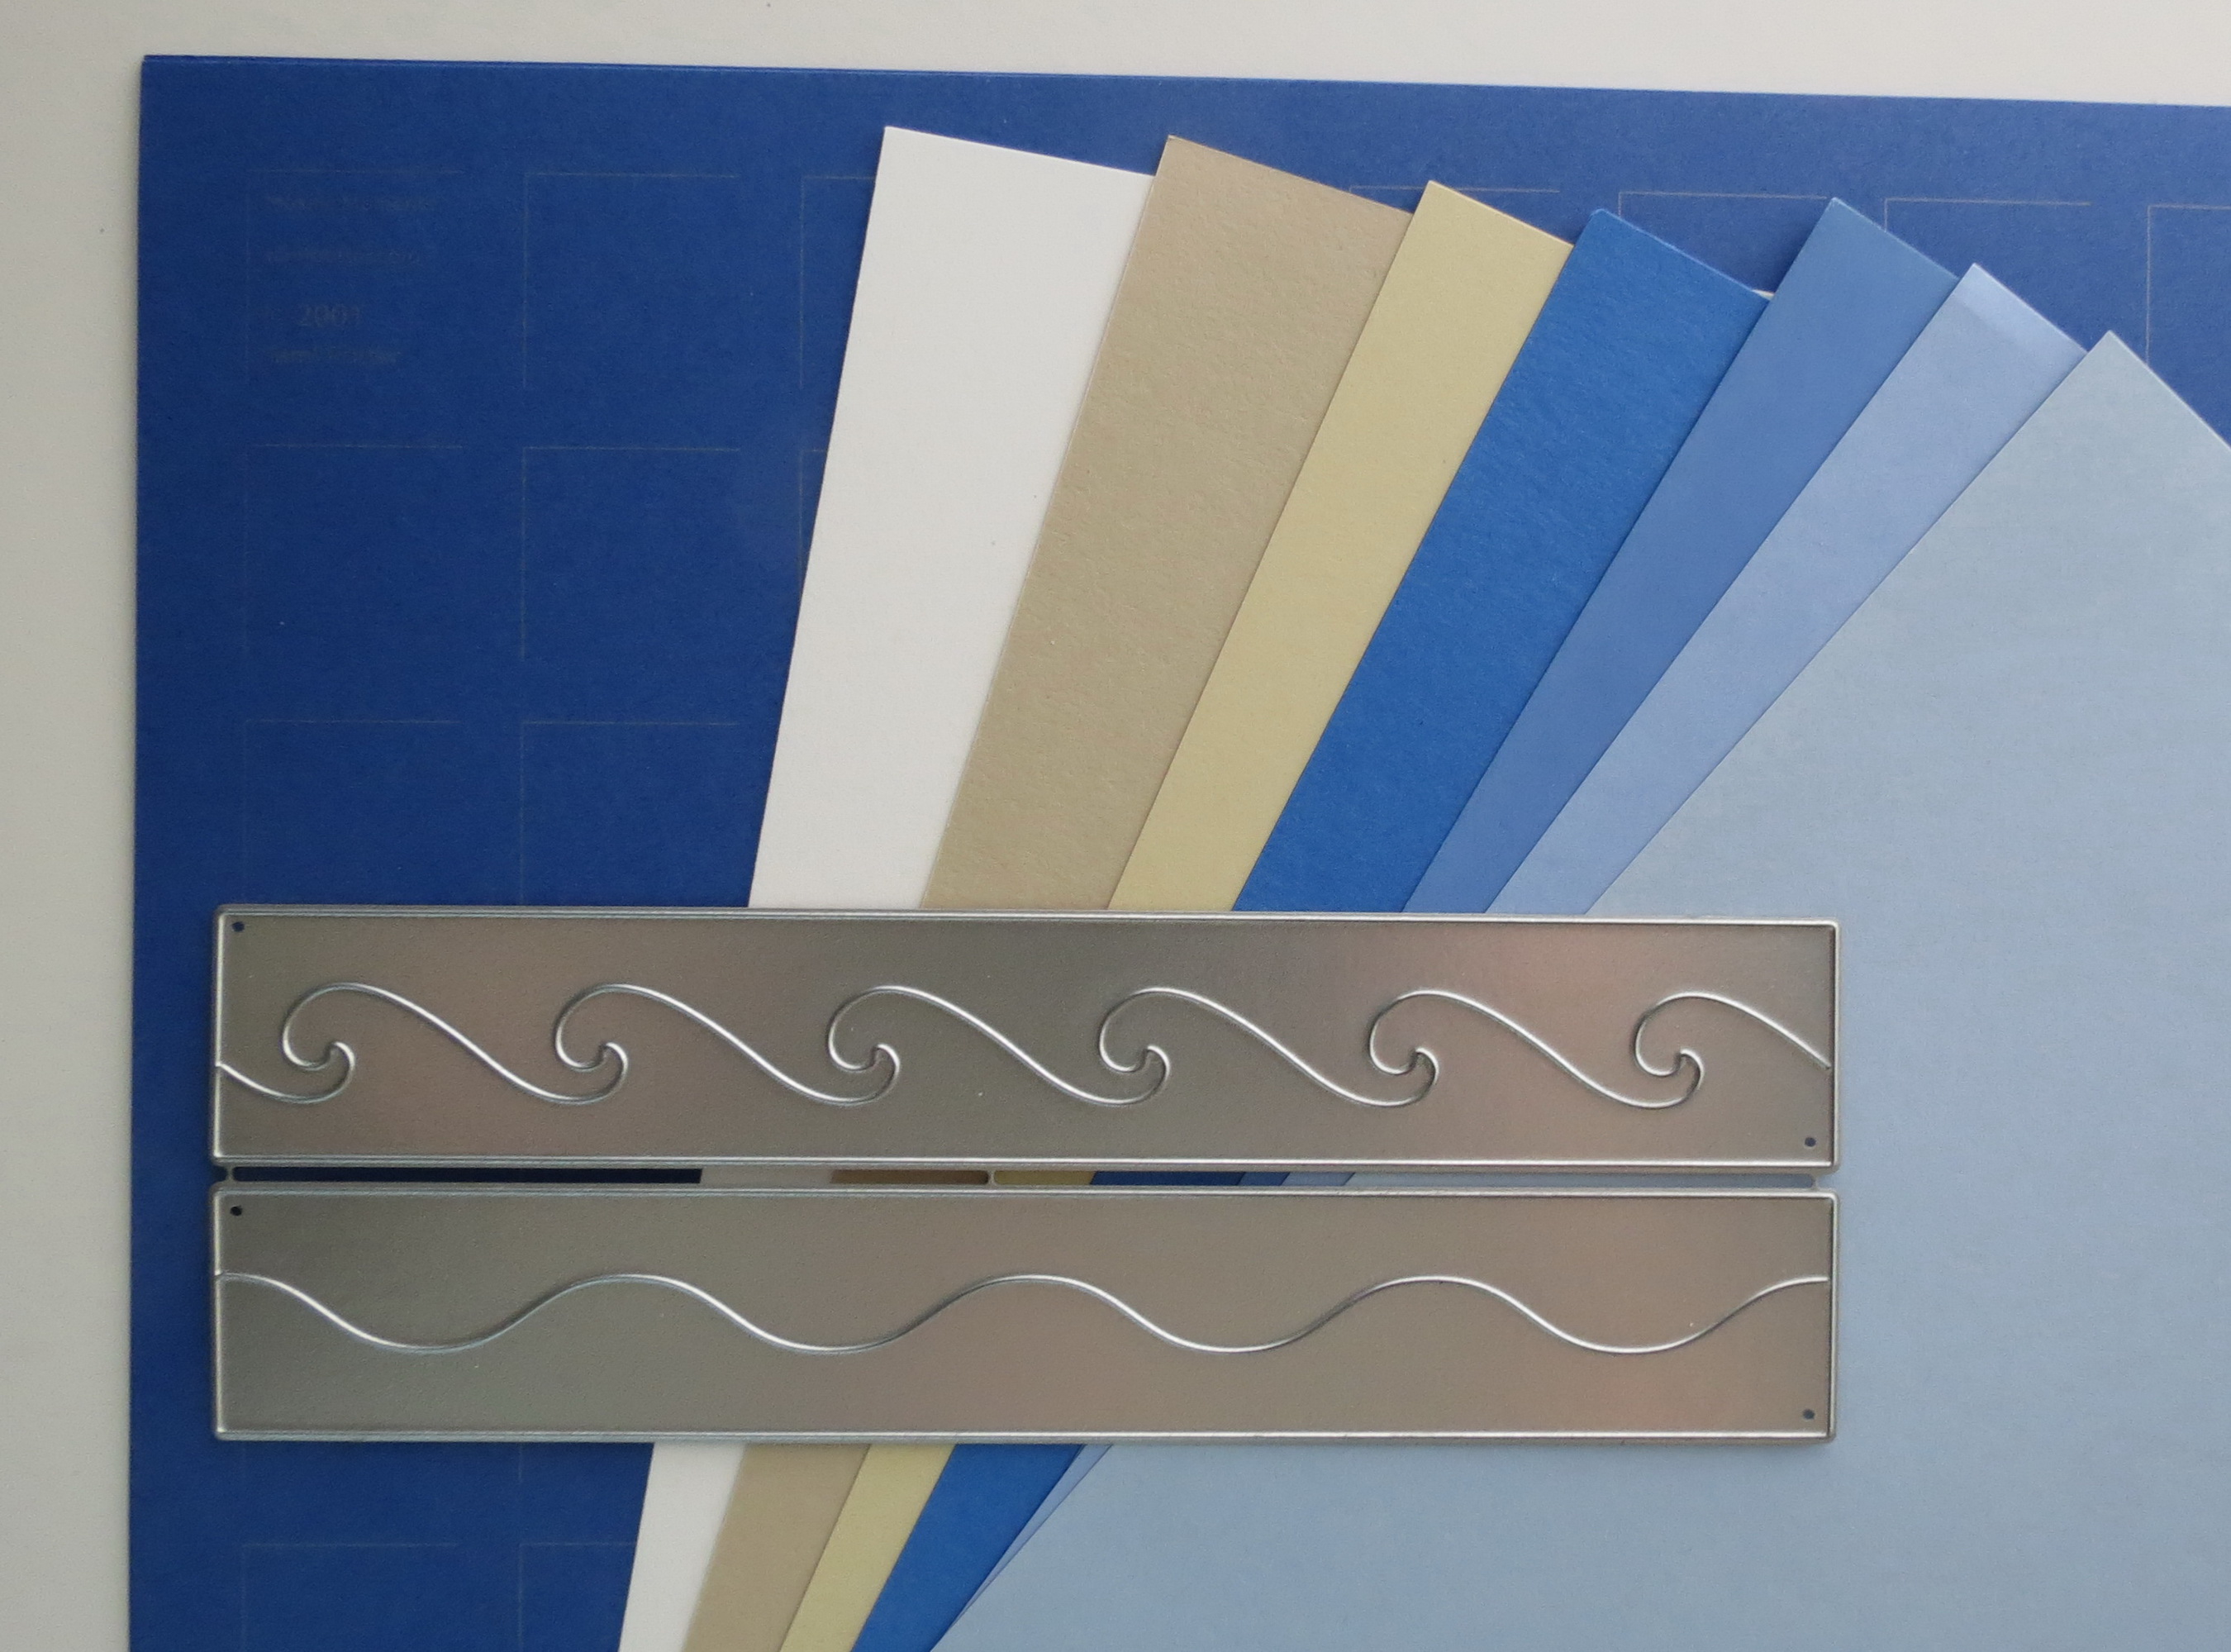
My Grid base is from the trio of ‘Singing the Blues’ that includes Mist, Cornflower Blue and my color of choice Prussian Blue.
I’ve added mats in white, sand and beige and accents in four blues that complement the Prussian Blue. My main element is going to be made using the Wave Border die. I will cut it out once in each of three colors and cut a 2×6 base in the darkest blue.

Mosaic Moments Patterns #129 and #169
I’m working with Patterns #129 and #169. I chose to flip Pattern #129 so that the 2×6 I’d be using for the wave piece was on the outside of the pattern and the result was that the center photos on both pages would be a mirror image of each other.
TECHNIQUE: Wave Layers
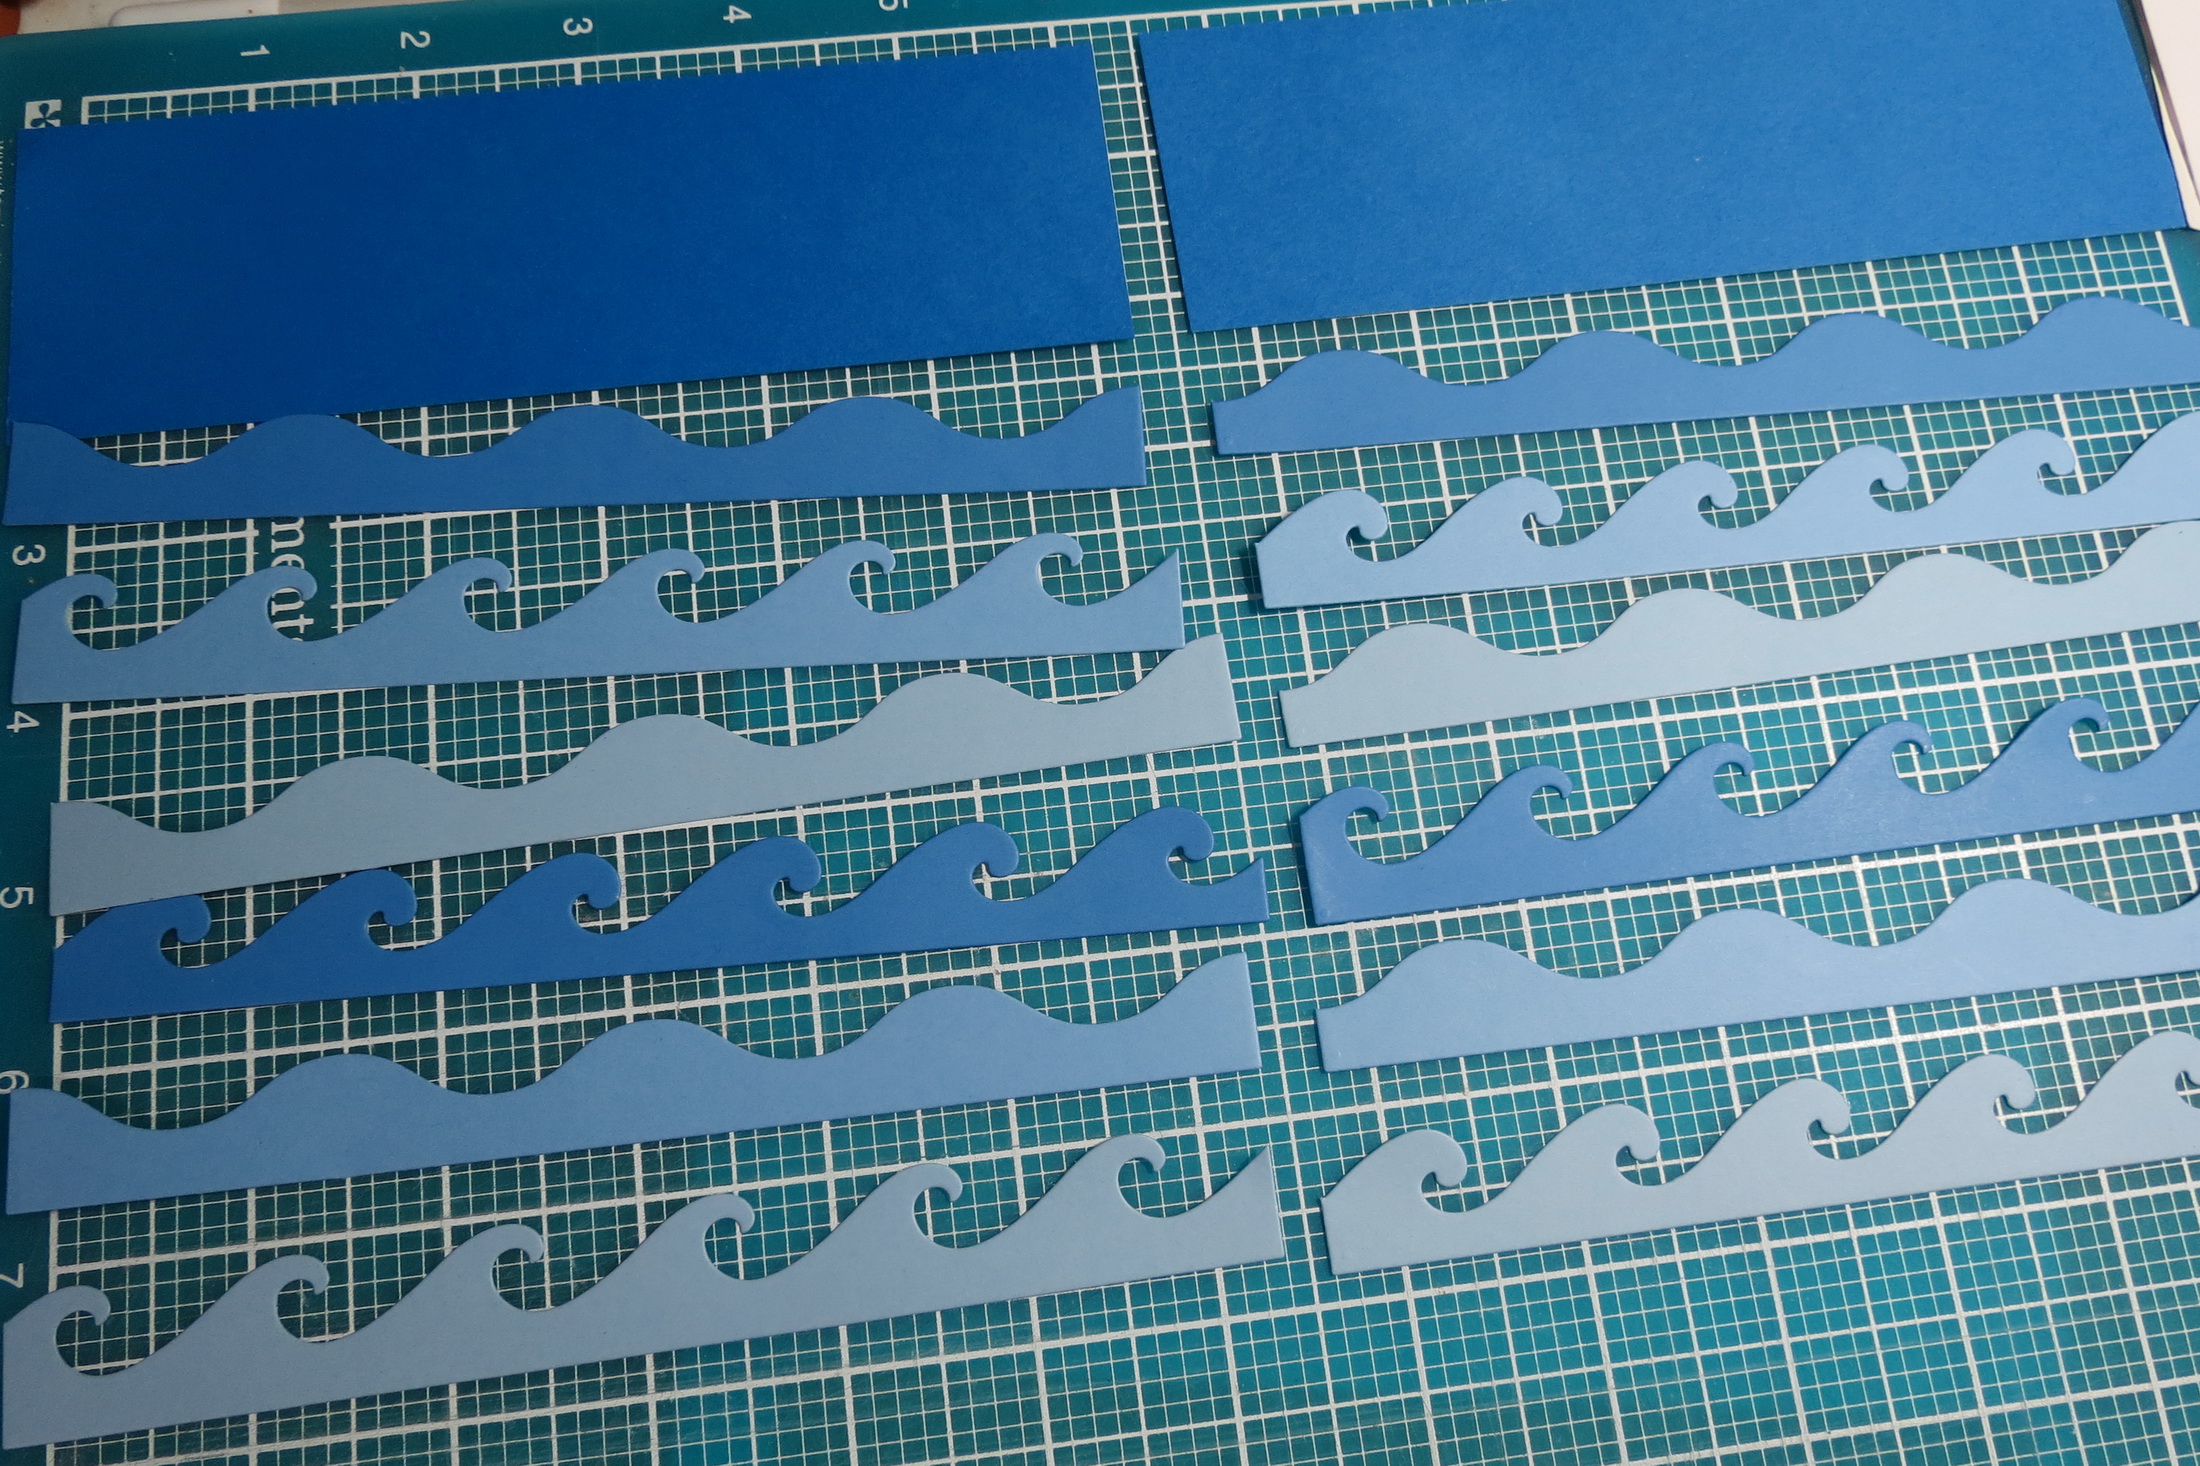
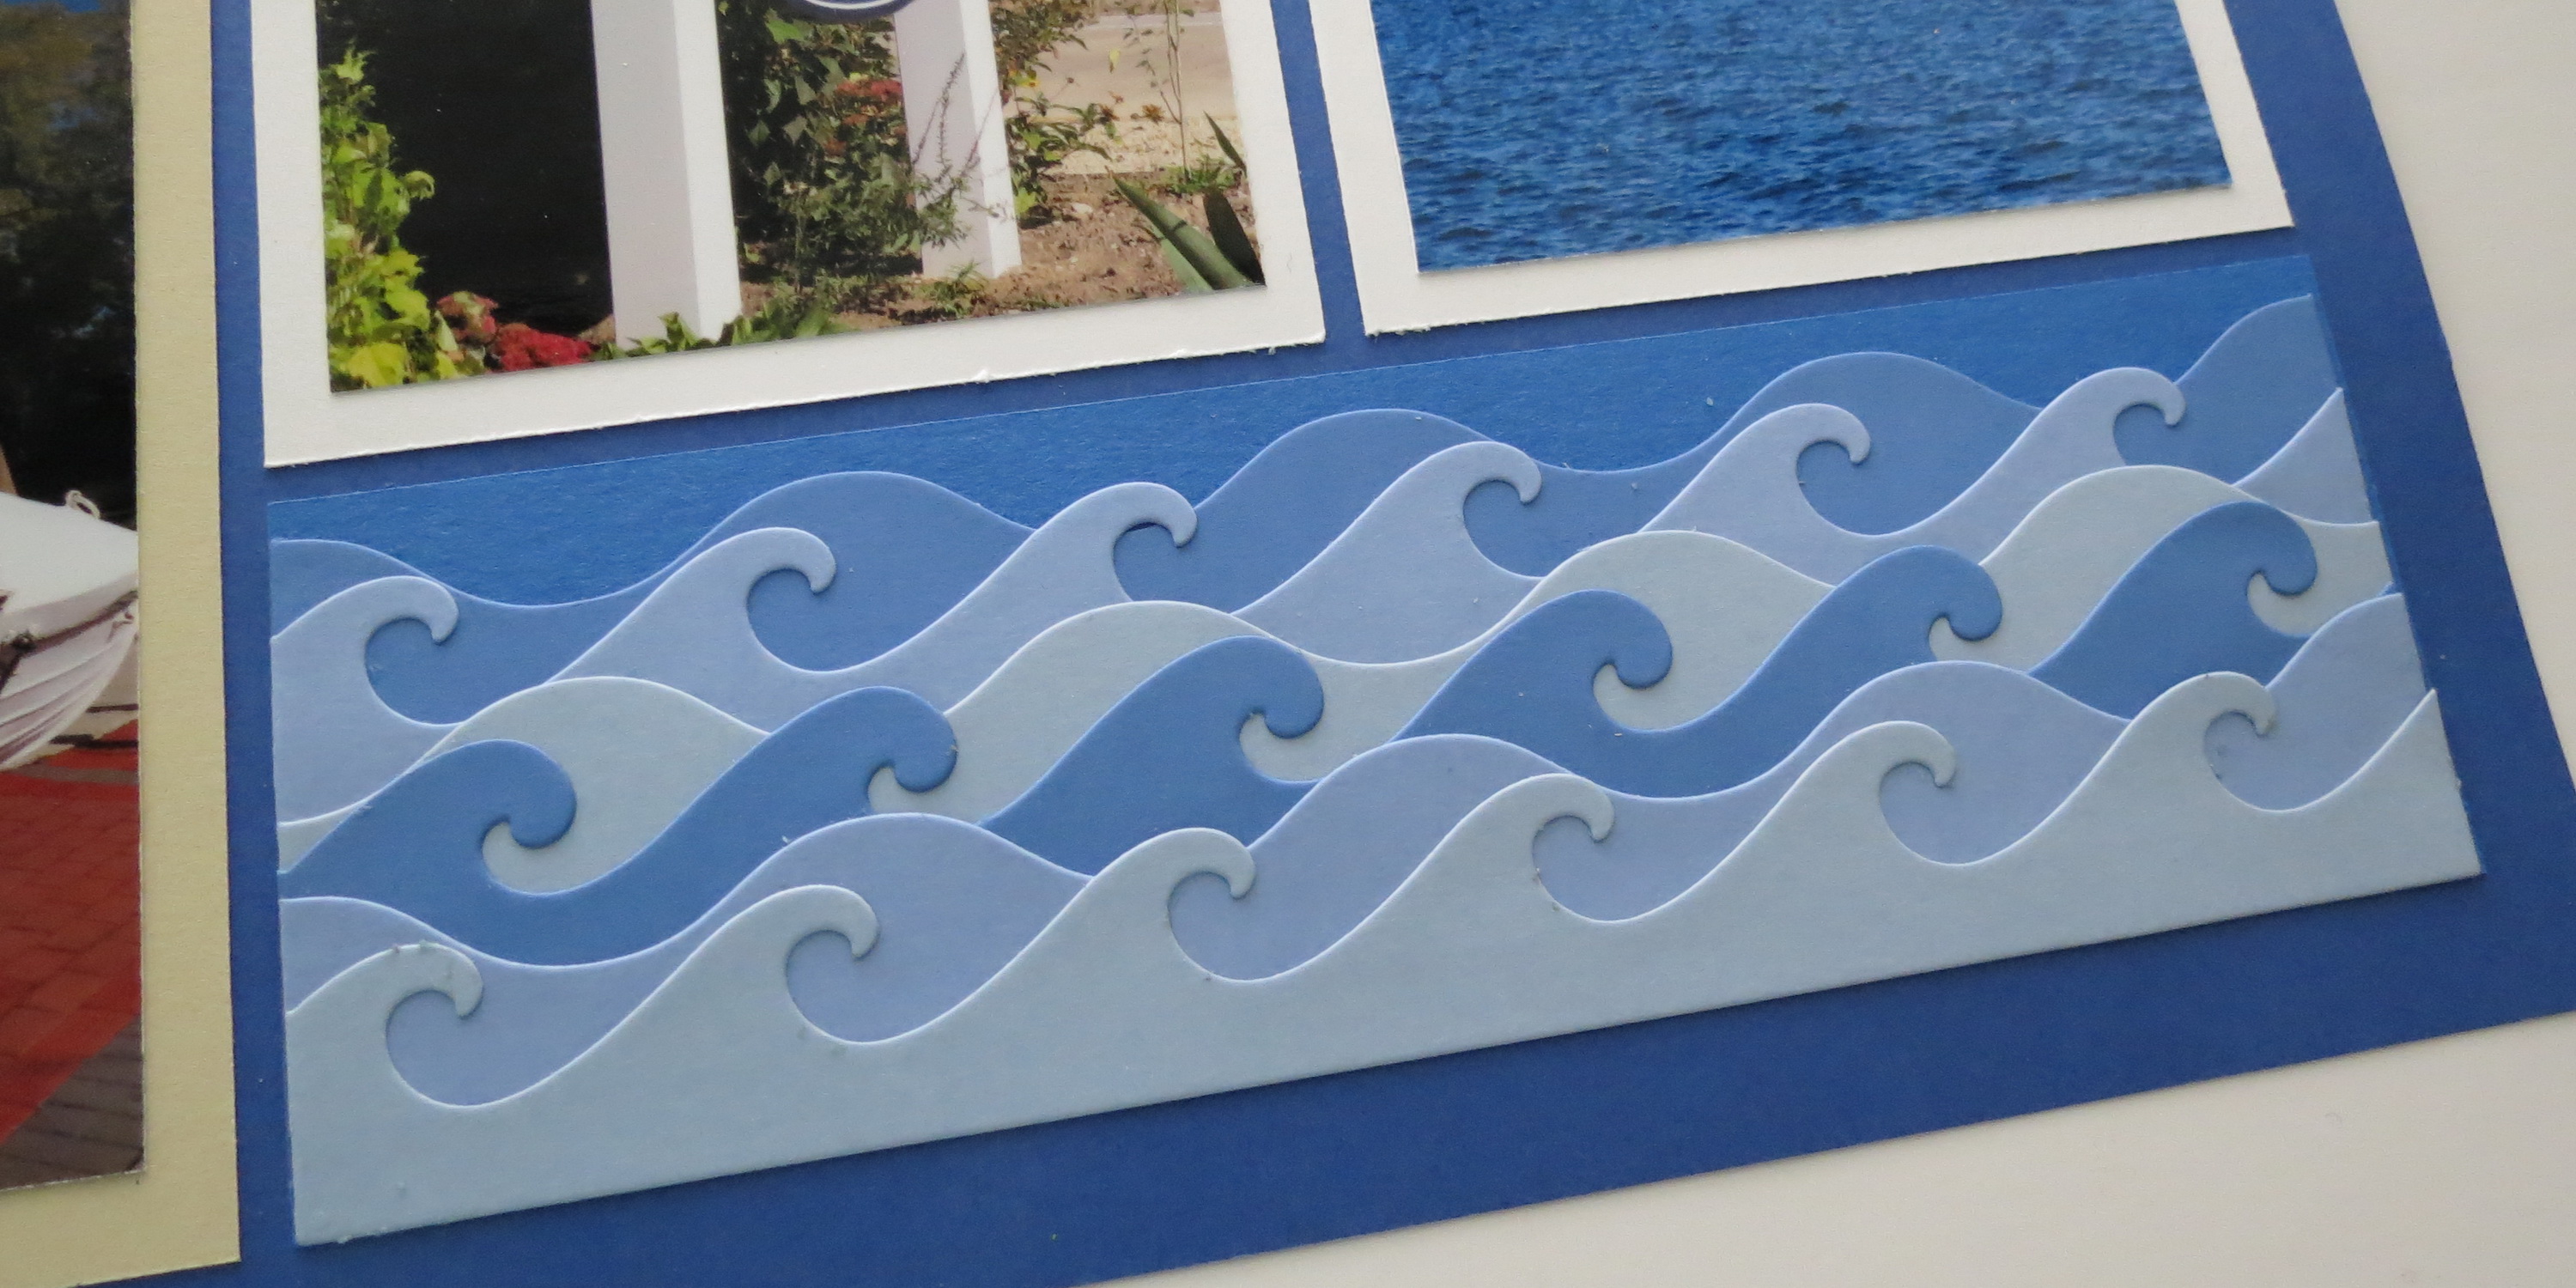
While using the wave dies in the 1×6 sections is good I thought it’d be good to think outside the box a little and see the versatility of the die. There are four distinct wave patterns you create when you cut both dies. Let’s see how that might work for this feature block.
Mosaic Moments Pattern Pairings and The Wave Borders Die Set
In the photo I’ve separated each section and alternated the shapes. The only one I changed was the middle rounded wave, I switched it side to side (not shown in the photo) so that the waves would not line up but be positioned off of the top and bottom rounded wave row.
Mosaic Moments Pattern Pairings and The Wave Borders Die Set
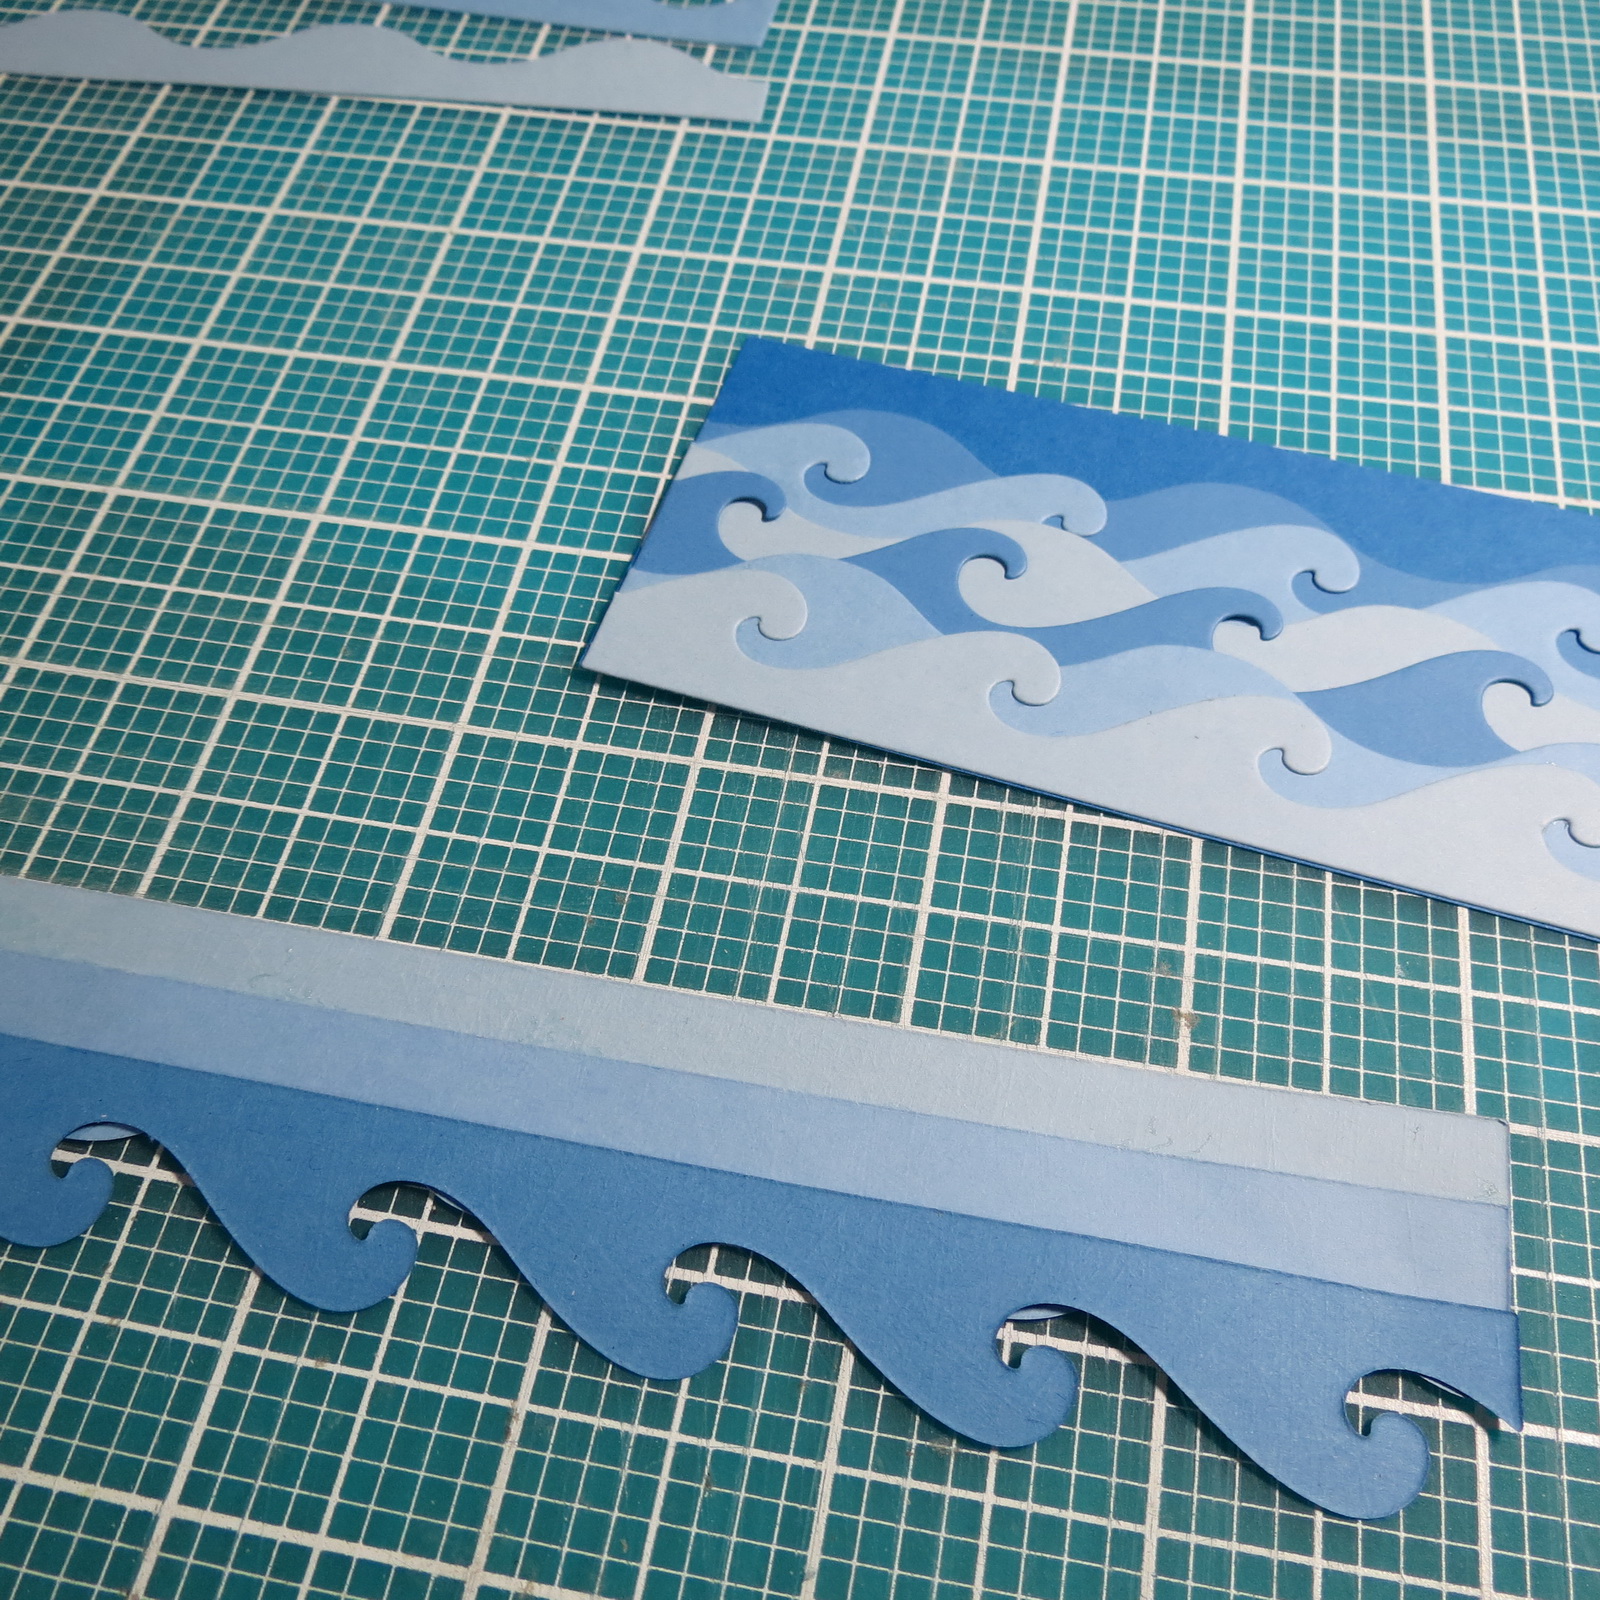
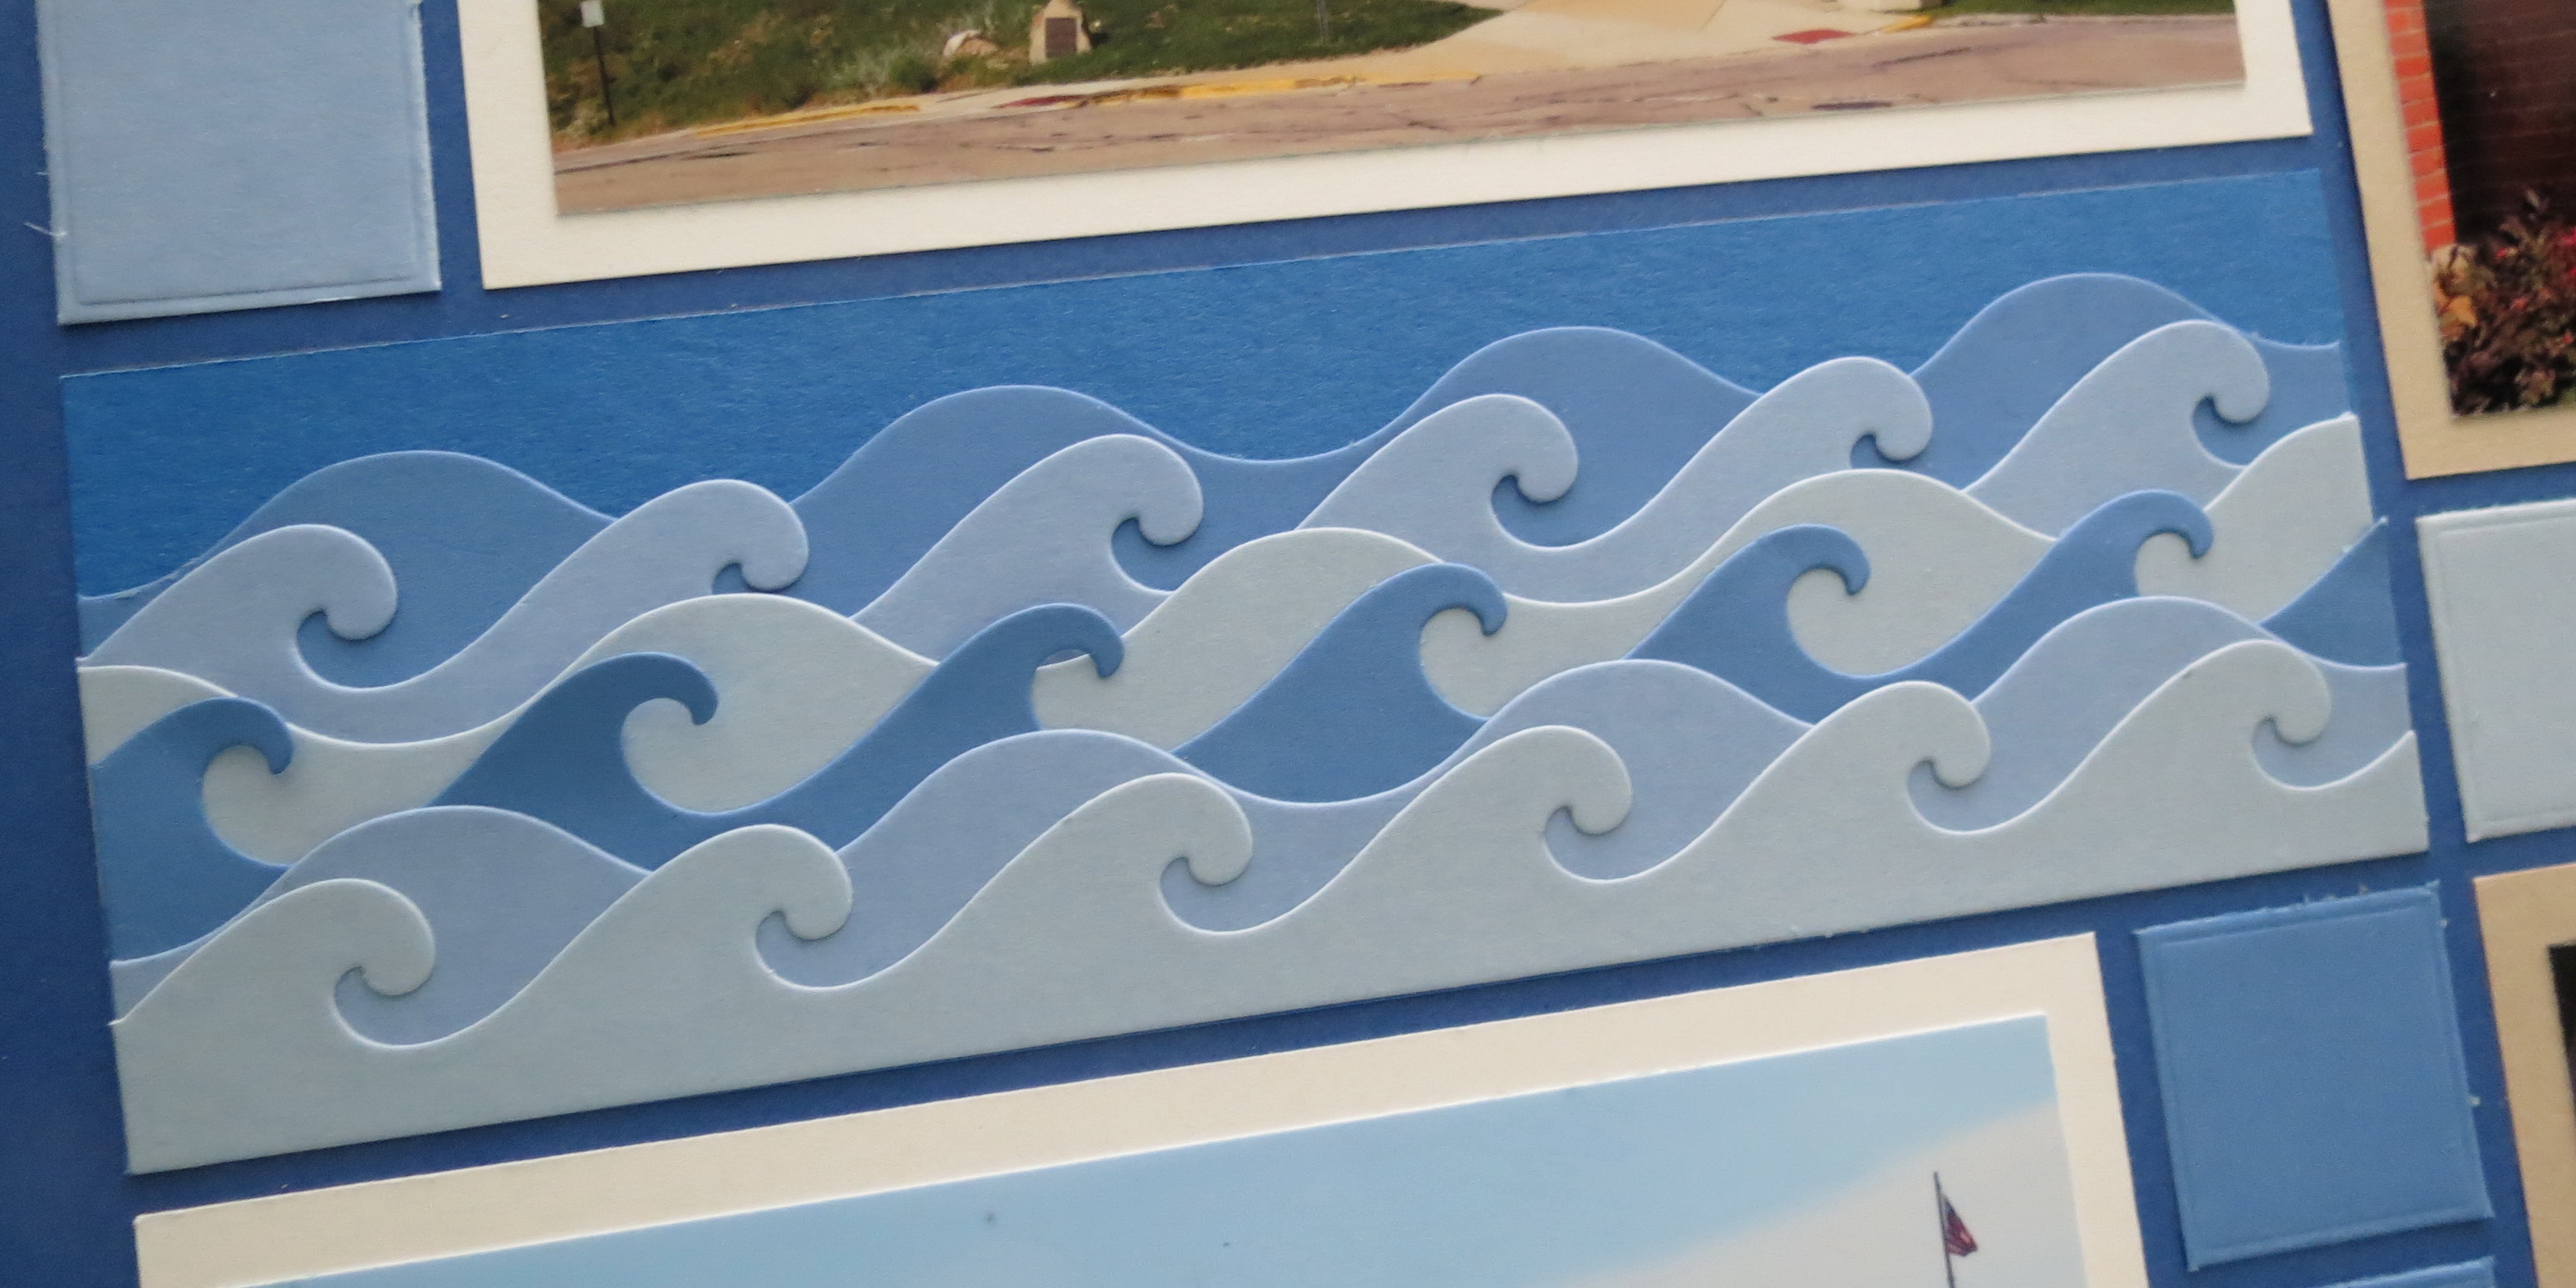
I connect the sections so that each piece just covers the dip in the previous row. Six sections connected will fit nicely on the 2×6 tile piece.

Mosaic Moments Pattern Pairings and The Wave Borders Die Set
Mosaic Moments Pattern Pairings and The Wave Borders Die Set
Mosaic Moments Pattern Pairings and The Wave Borders Die Set
Mosaic Moments Pattern Pairings and The Wave Borders Die Set
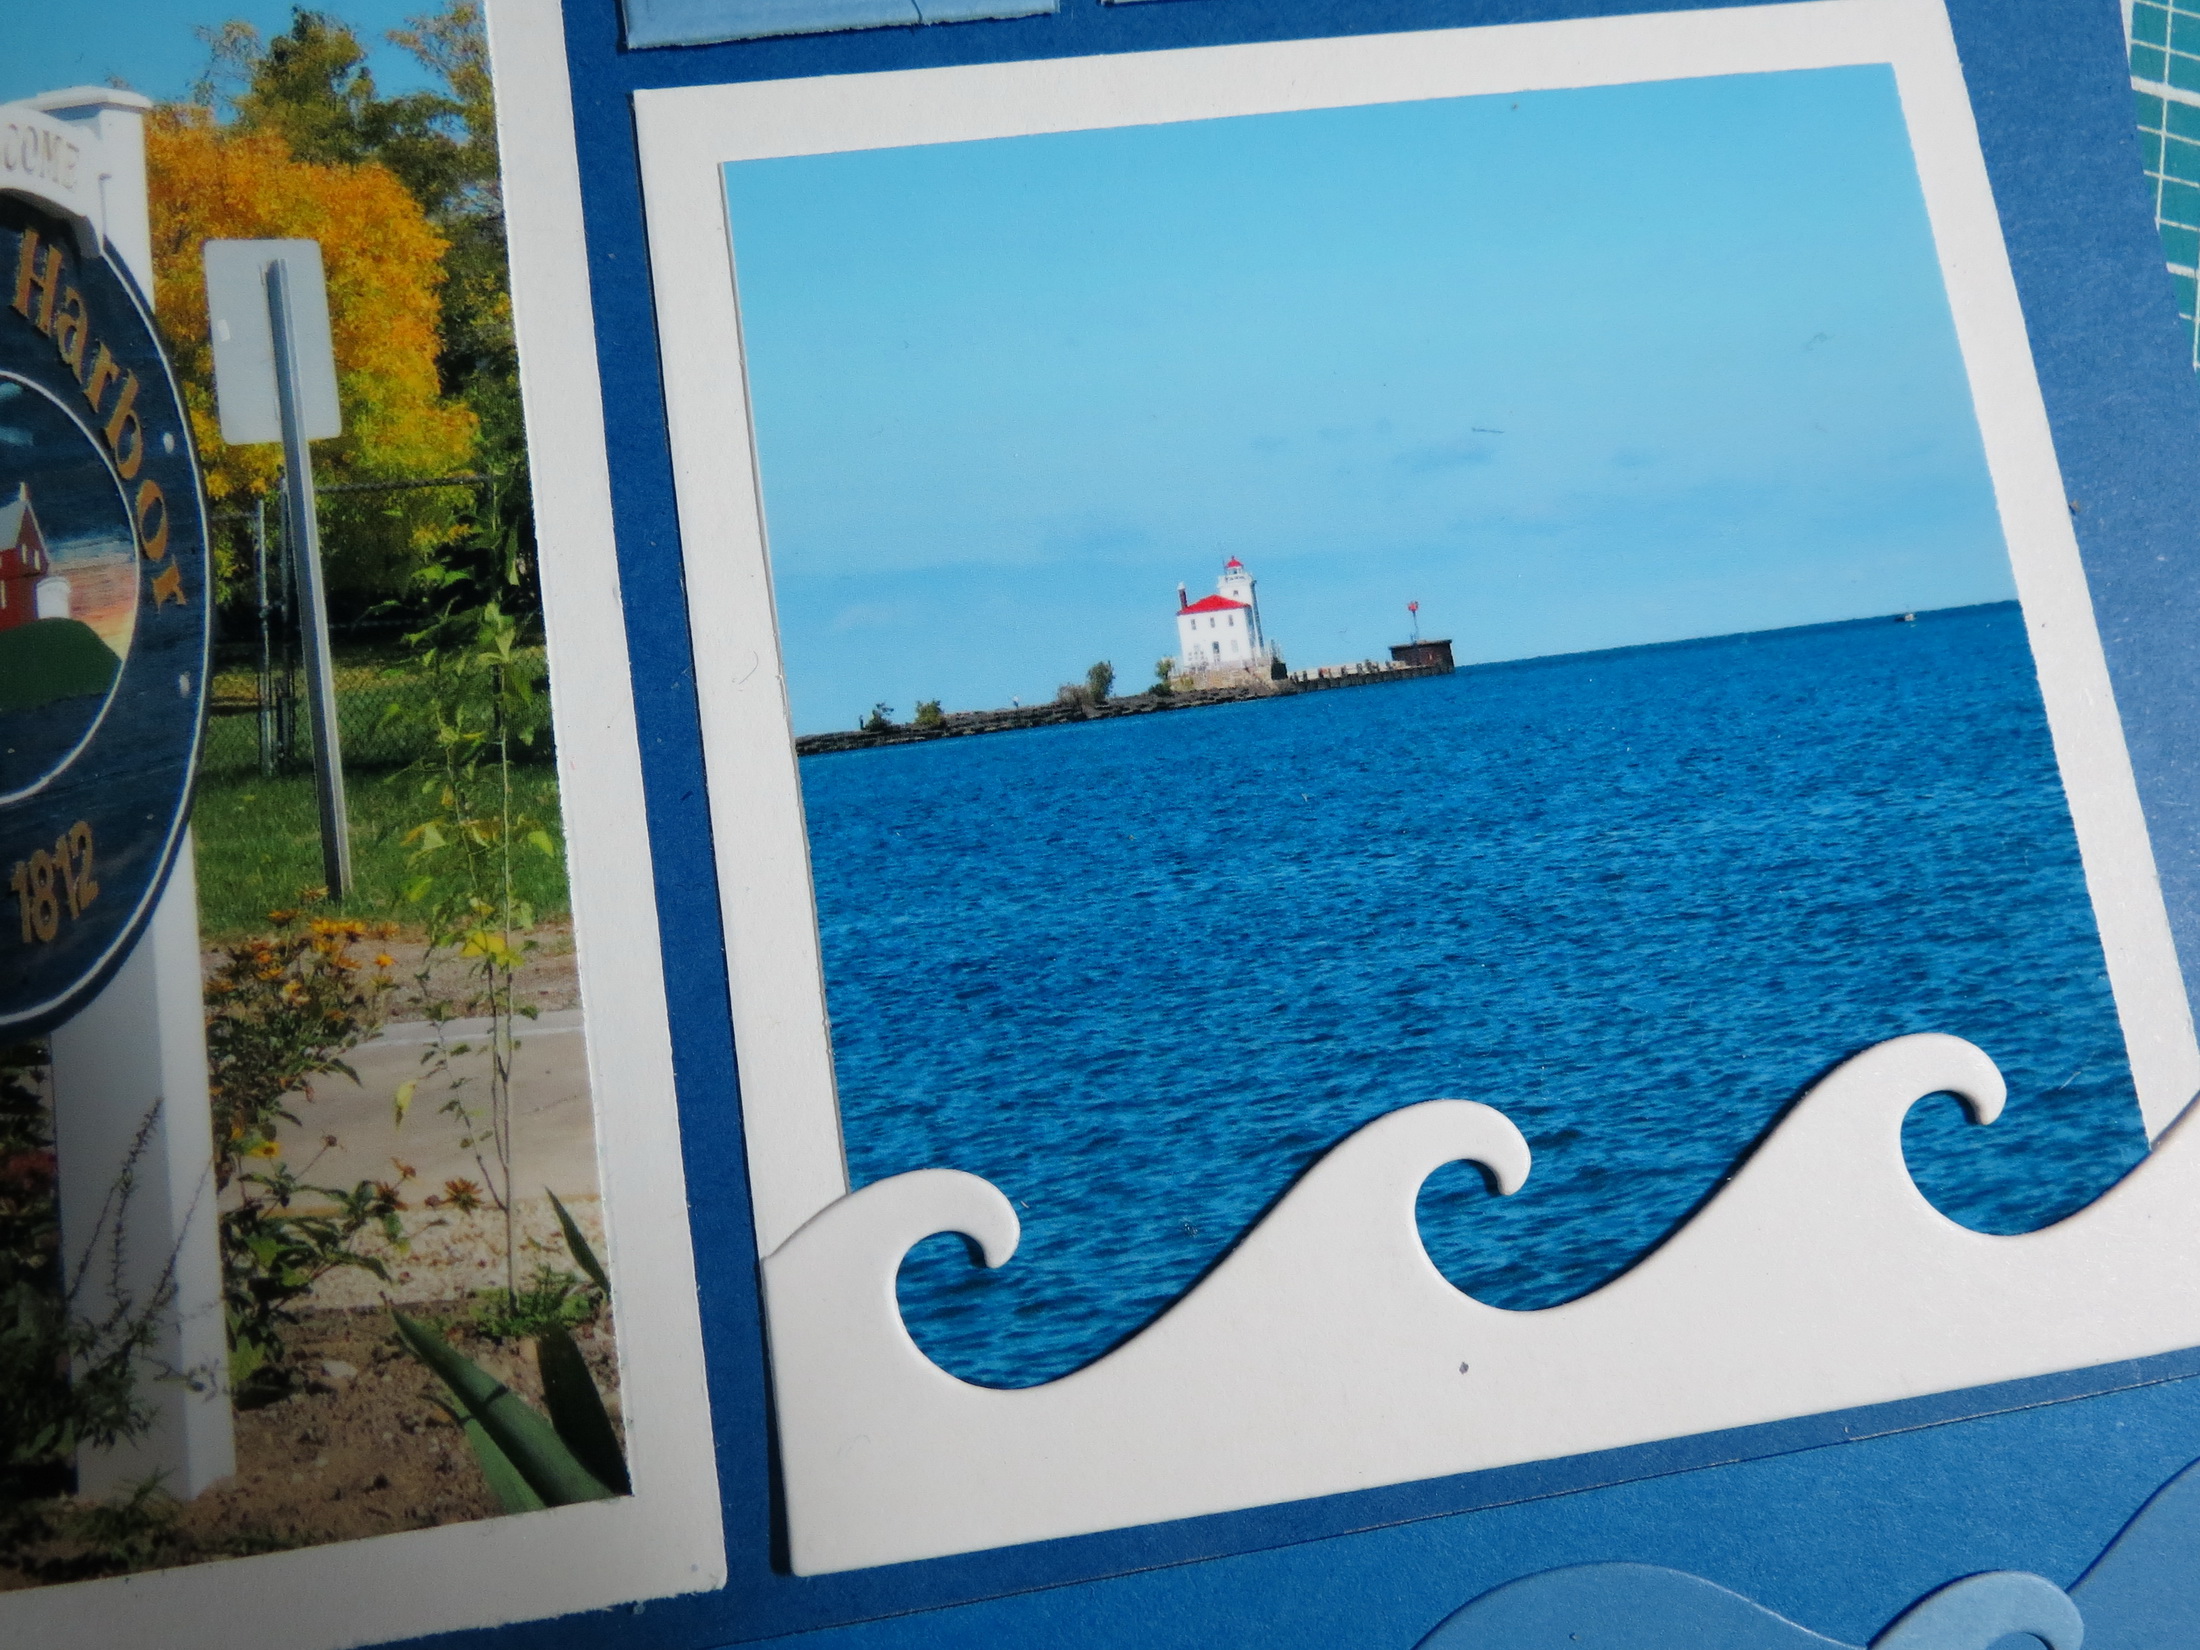
OPTIONAL IDEA
I played with the idea of adding a wave to the border of one of my photos. I really liked the idea, but with the multiple rows of waves just below that photo it seemed to be a bit too much. Maybe it would work for you!
Mosaic Moments Pattern Pairings and The Wave Borders Die Set Option 2
I hope you’ve been inspired to try a pattern or two that will allow you to try something new with your dies and have fun with the new Wave Border Die Set.
Andrea Fisher
Mosaic Moments Pattern Pairings and The Wave Borders Die Set