
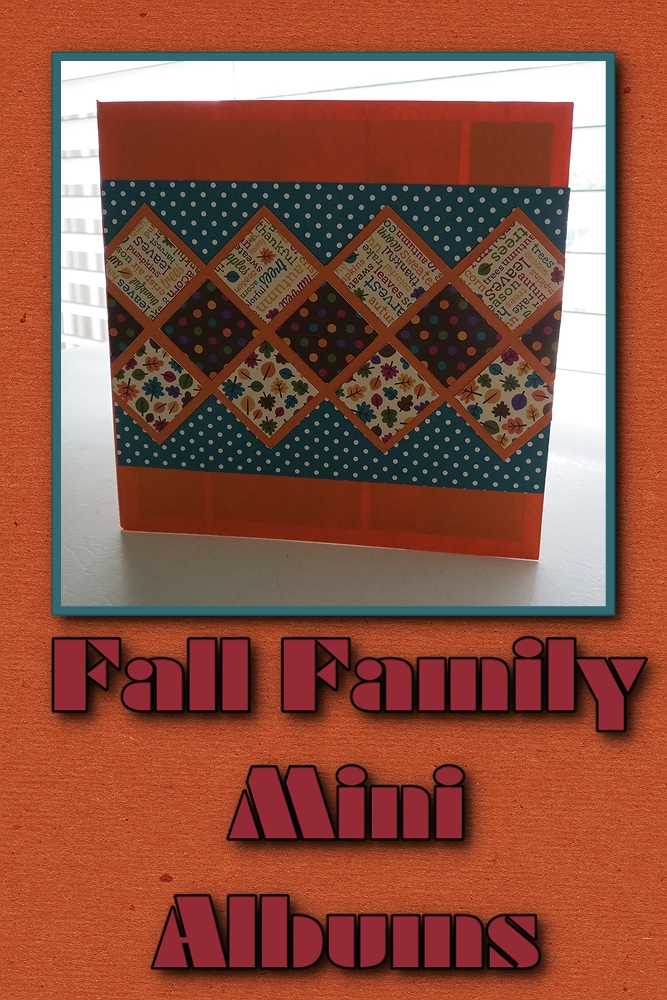
For today’s project we’ll be using September’s featured RTC grid paper color of Orange to create a Fall Family Photos Mini Album.
One of our family’s fall traditions is taking a photo of everyone to send with our Christmas cards to relatives. I thought I’d show you one way you could make a special presentation of that family photo shoot to display for yourself or give as a gift.
If you read my last post, one of my tips was to check your stash before you shop. Well, sometimes you just can’t help yourself and you splurge. This time I picked up several components from the fall Doodlebug collection Friendly Forest. For this project the 6” x 6” pad is the perfect scale for working with any of the RTC grids. The papers are double sided so there are a lot of combinations of colors and patterns to use. I also used the Washi tape, epoxy sprinkle shapes and two sheets of stickers/borders in the collection. The extra paper tiles are Mosaic Moments Killarney, Caramel and Grape Delight. The RTC Grid is the 6 x 6 size in our September feature of Orange.
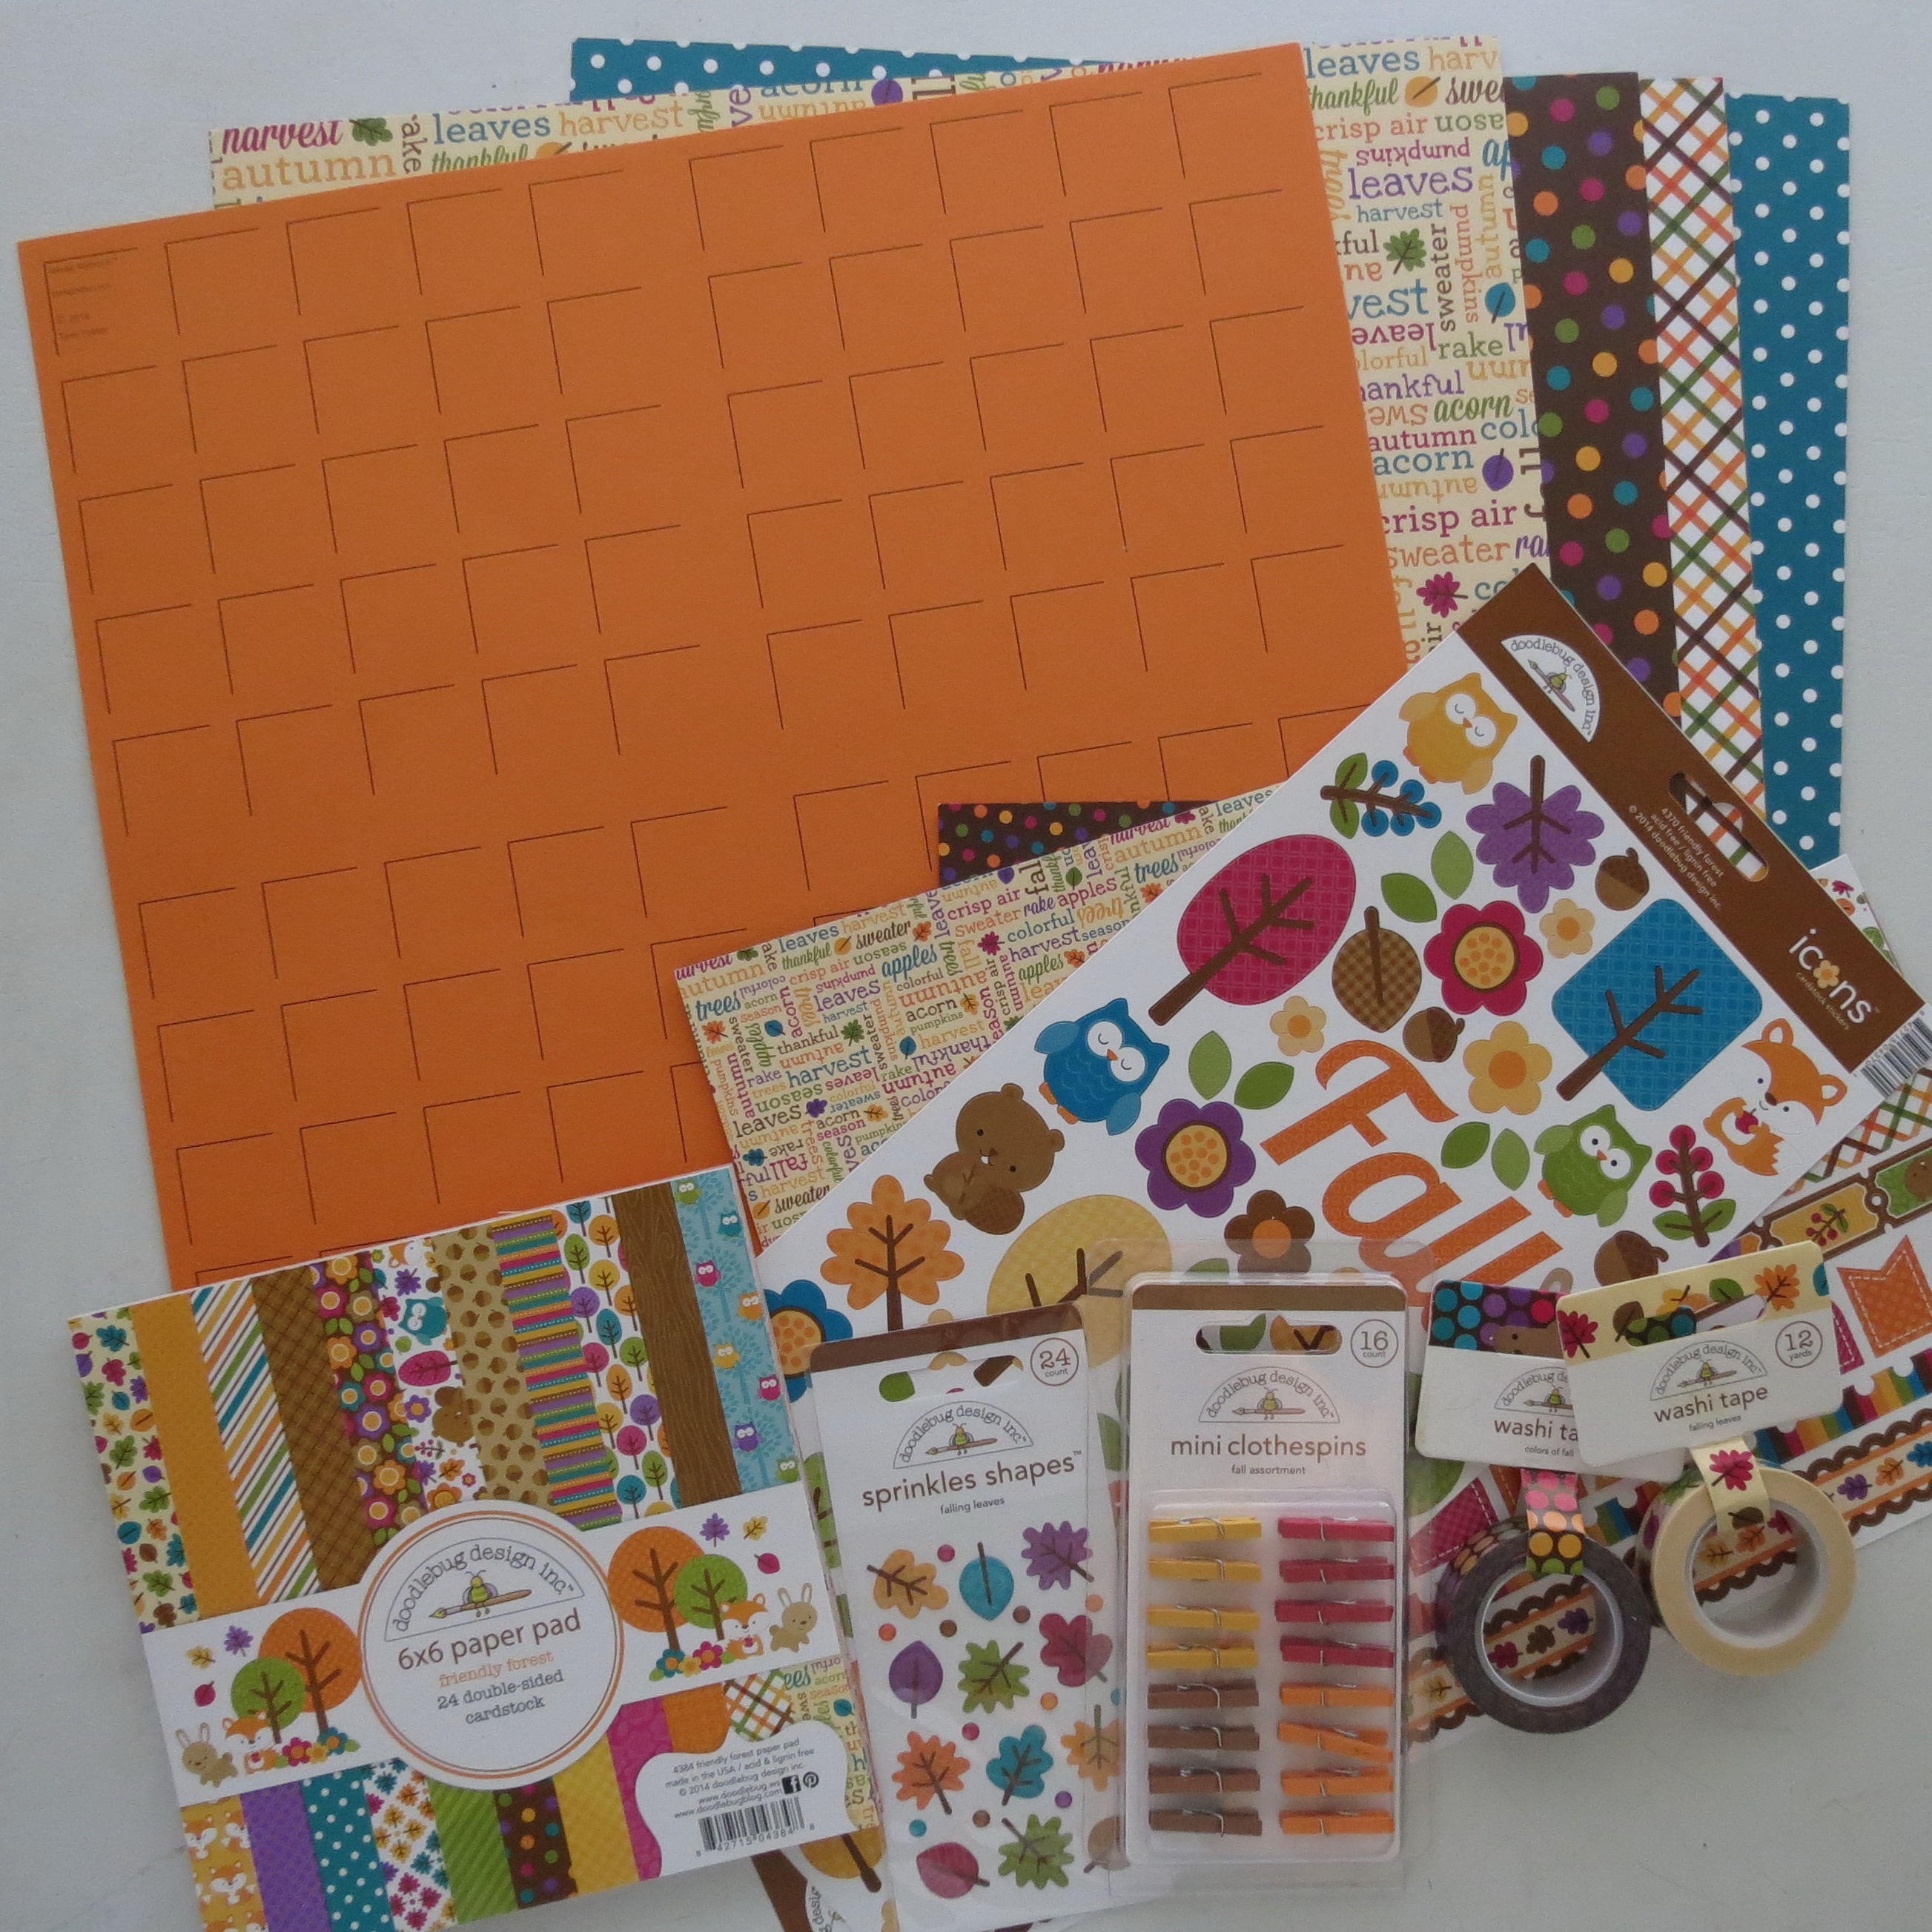
Supplies that I gathered to create the Fall Family Photos Mini Album, our 6 x 6 RTC paper in Orange and a collection of papers and embellishments that coordinate.
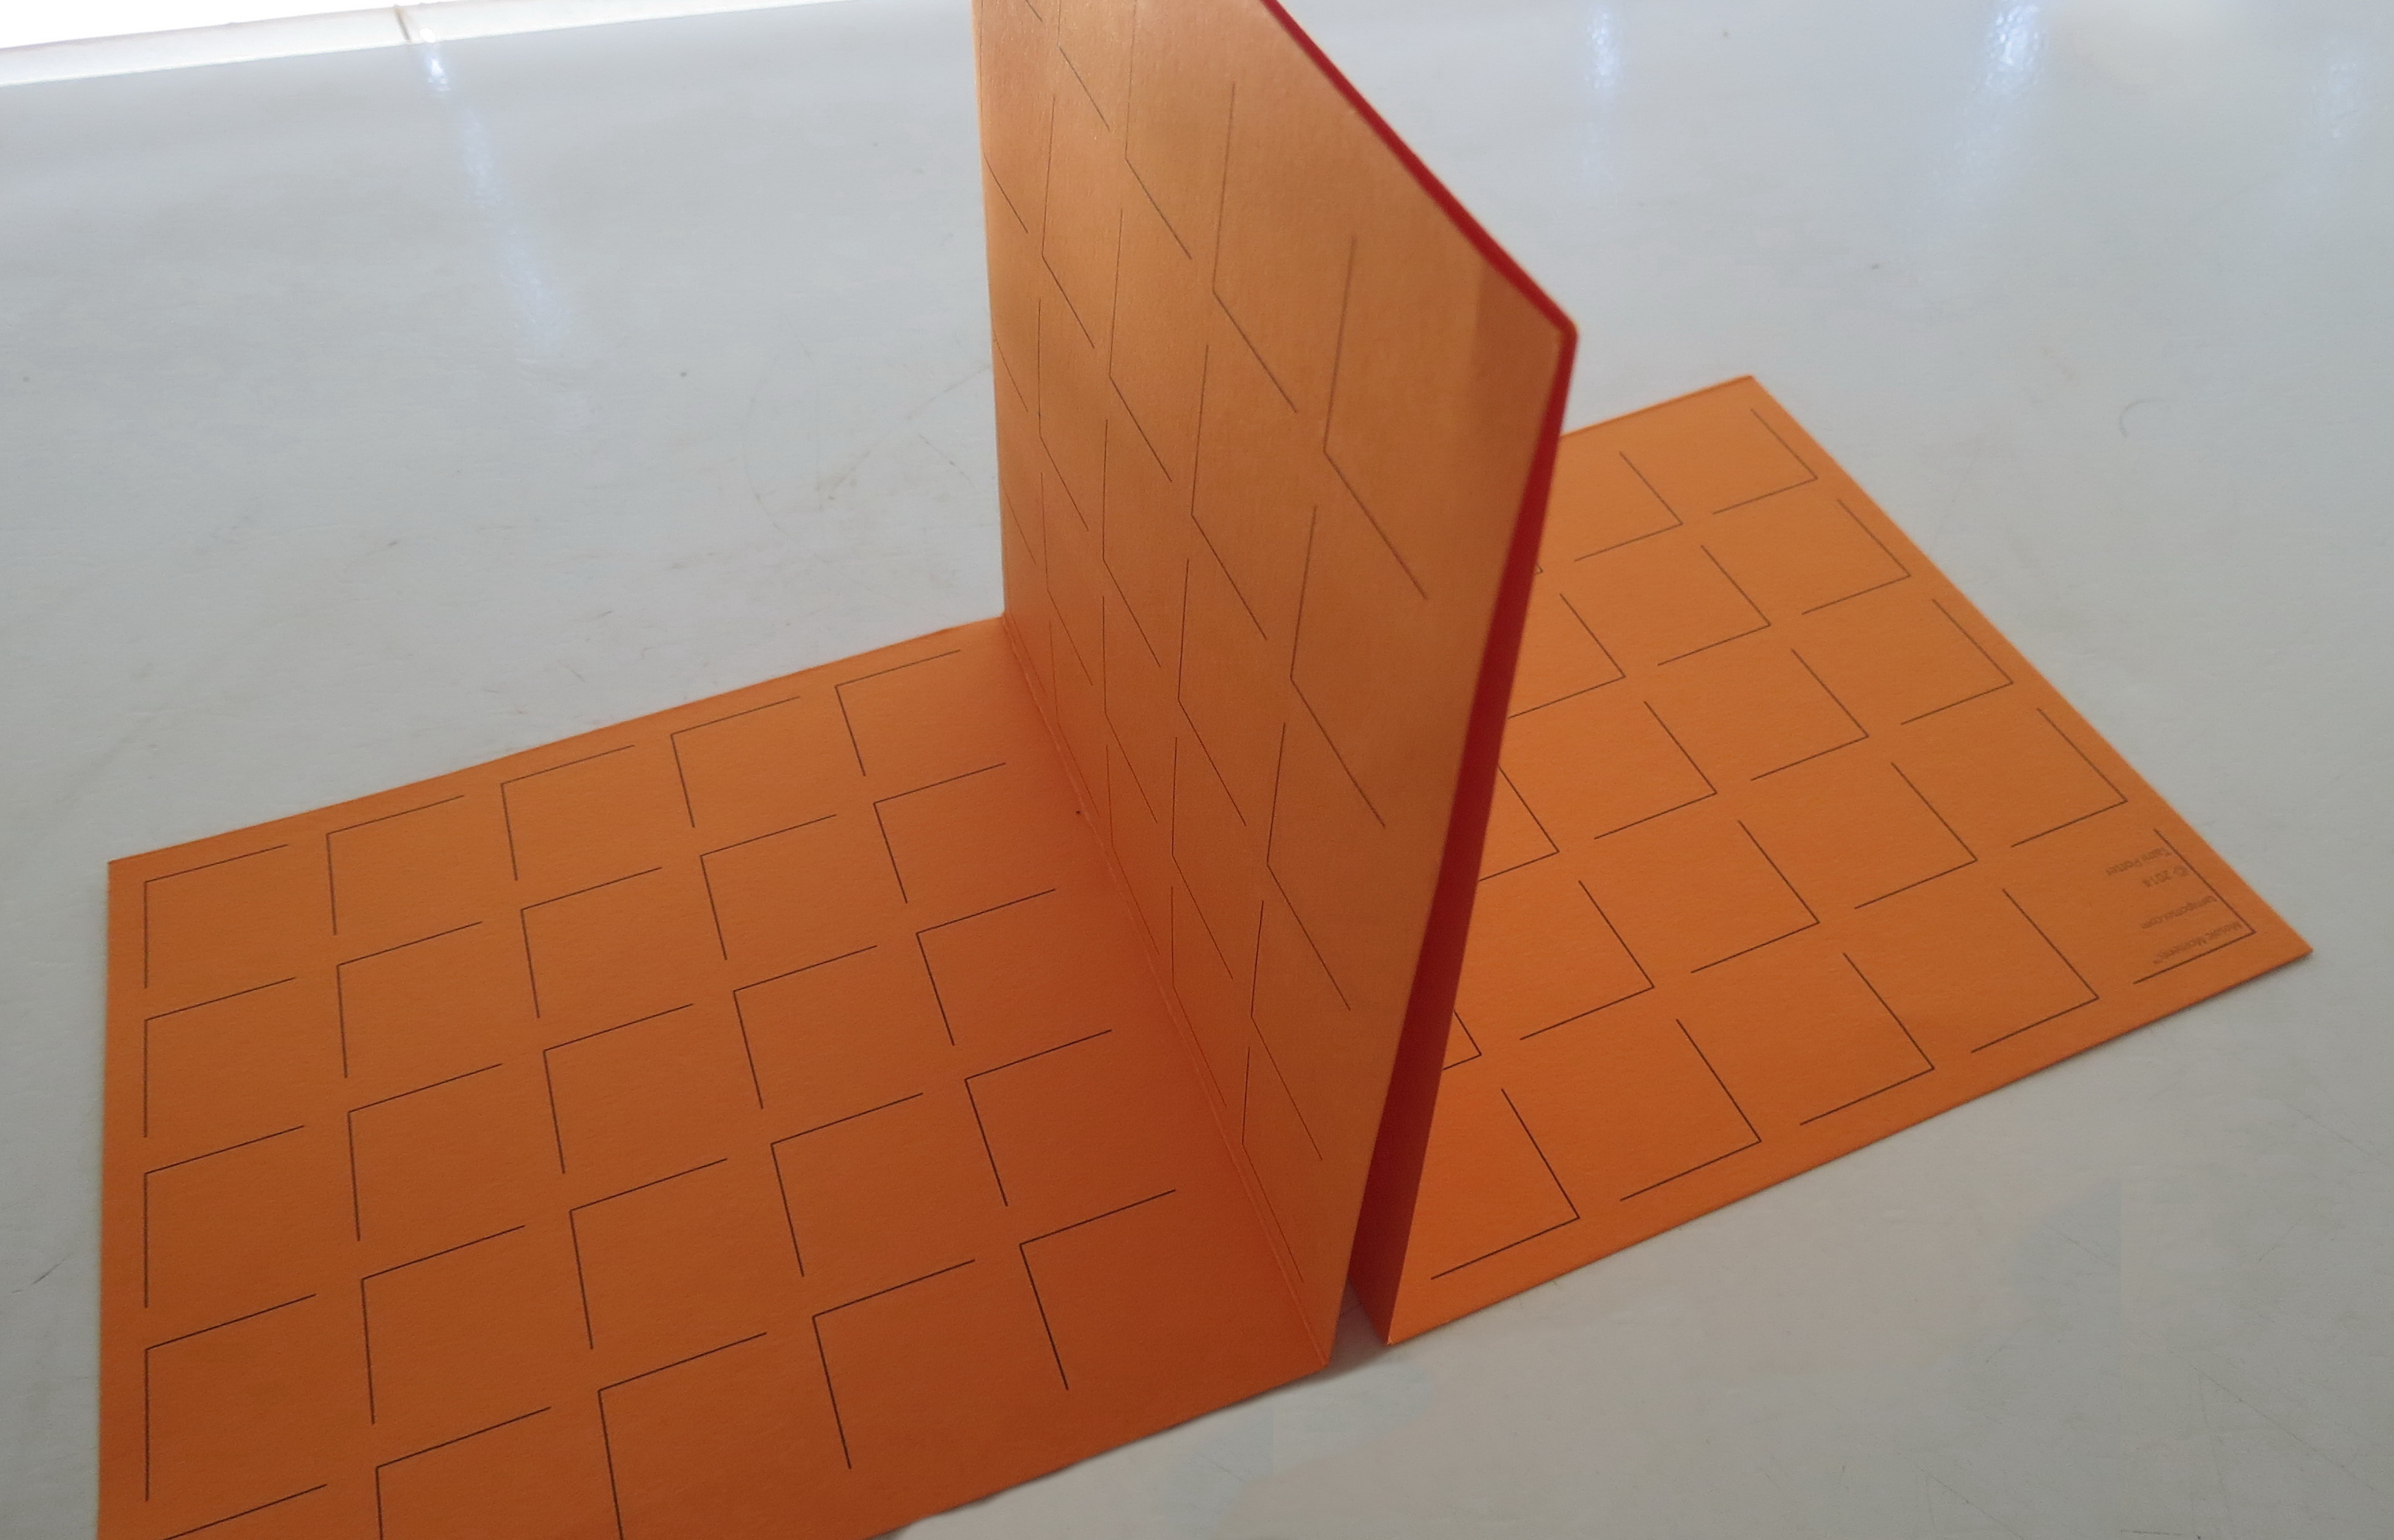
To begin this project score down the middle of the page from both sides, fold. Cut from the center out on one side of 12×12 square.
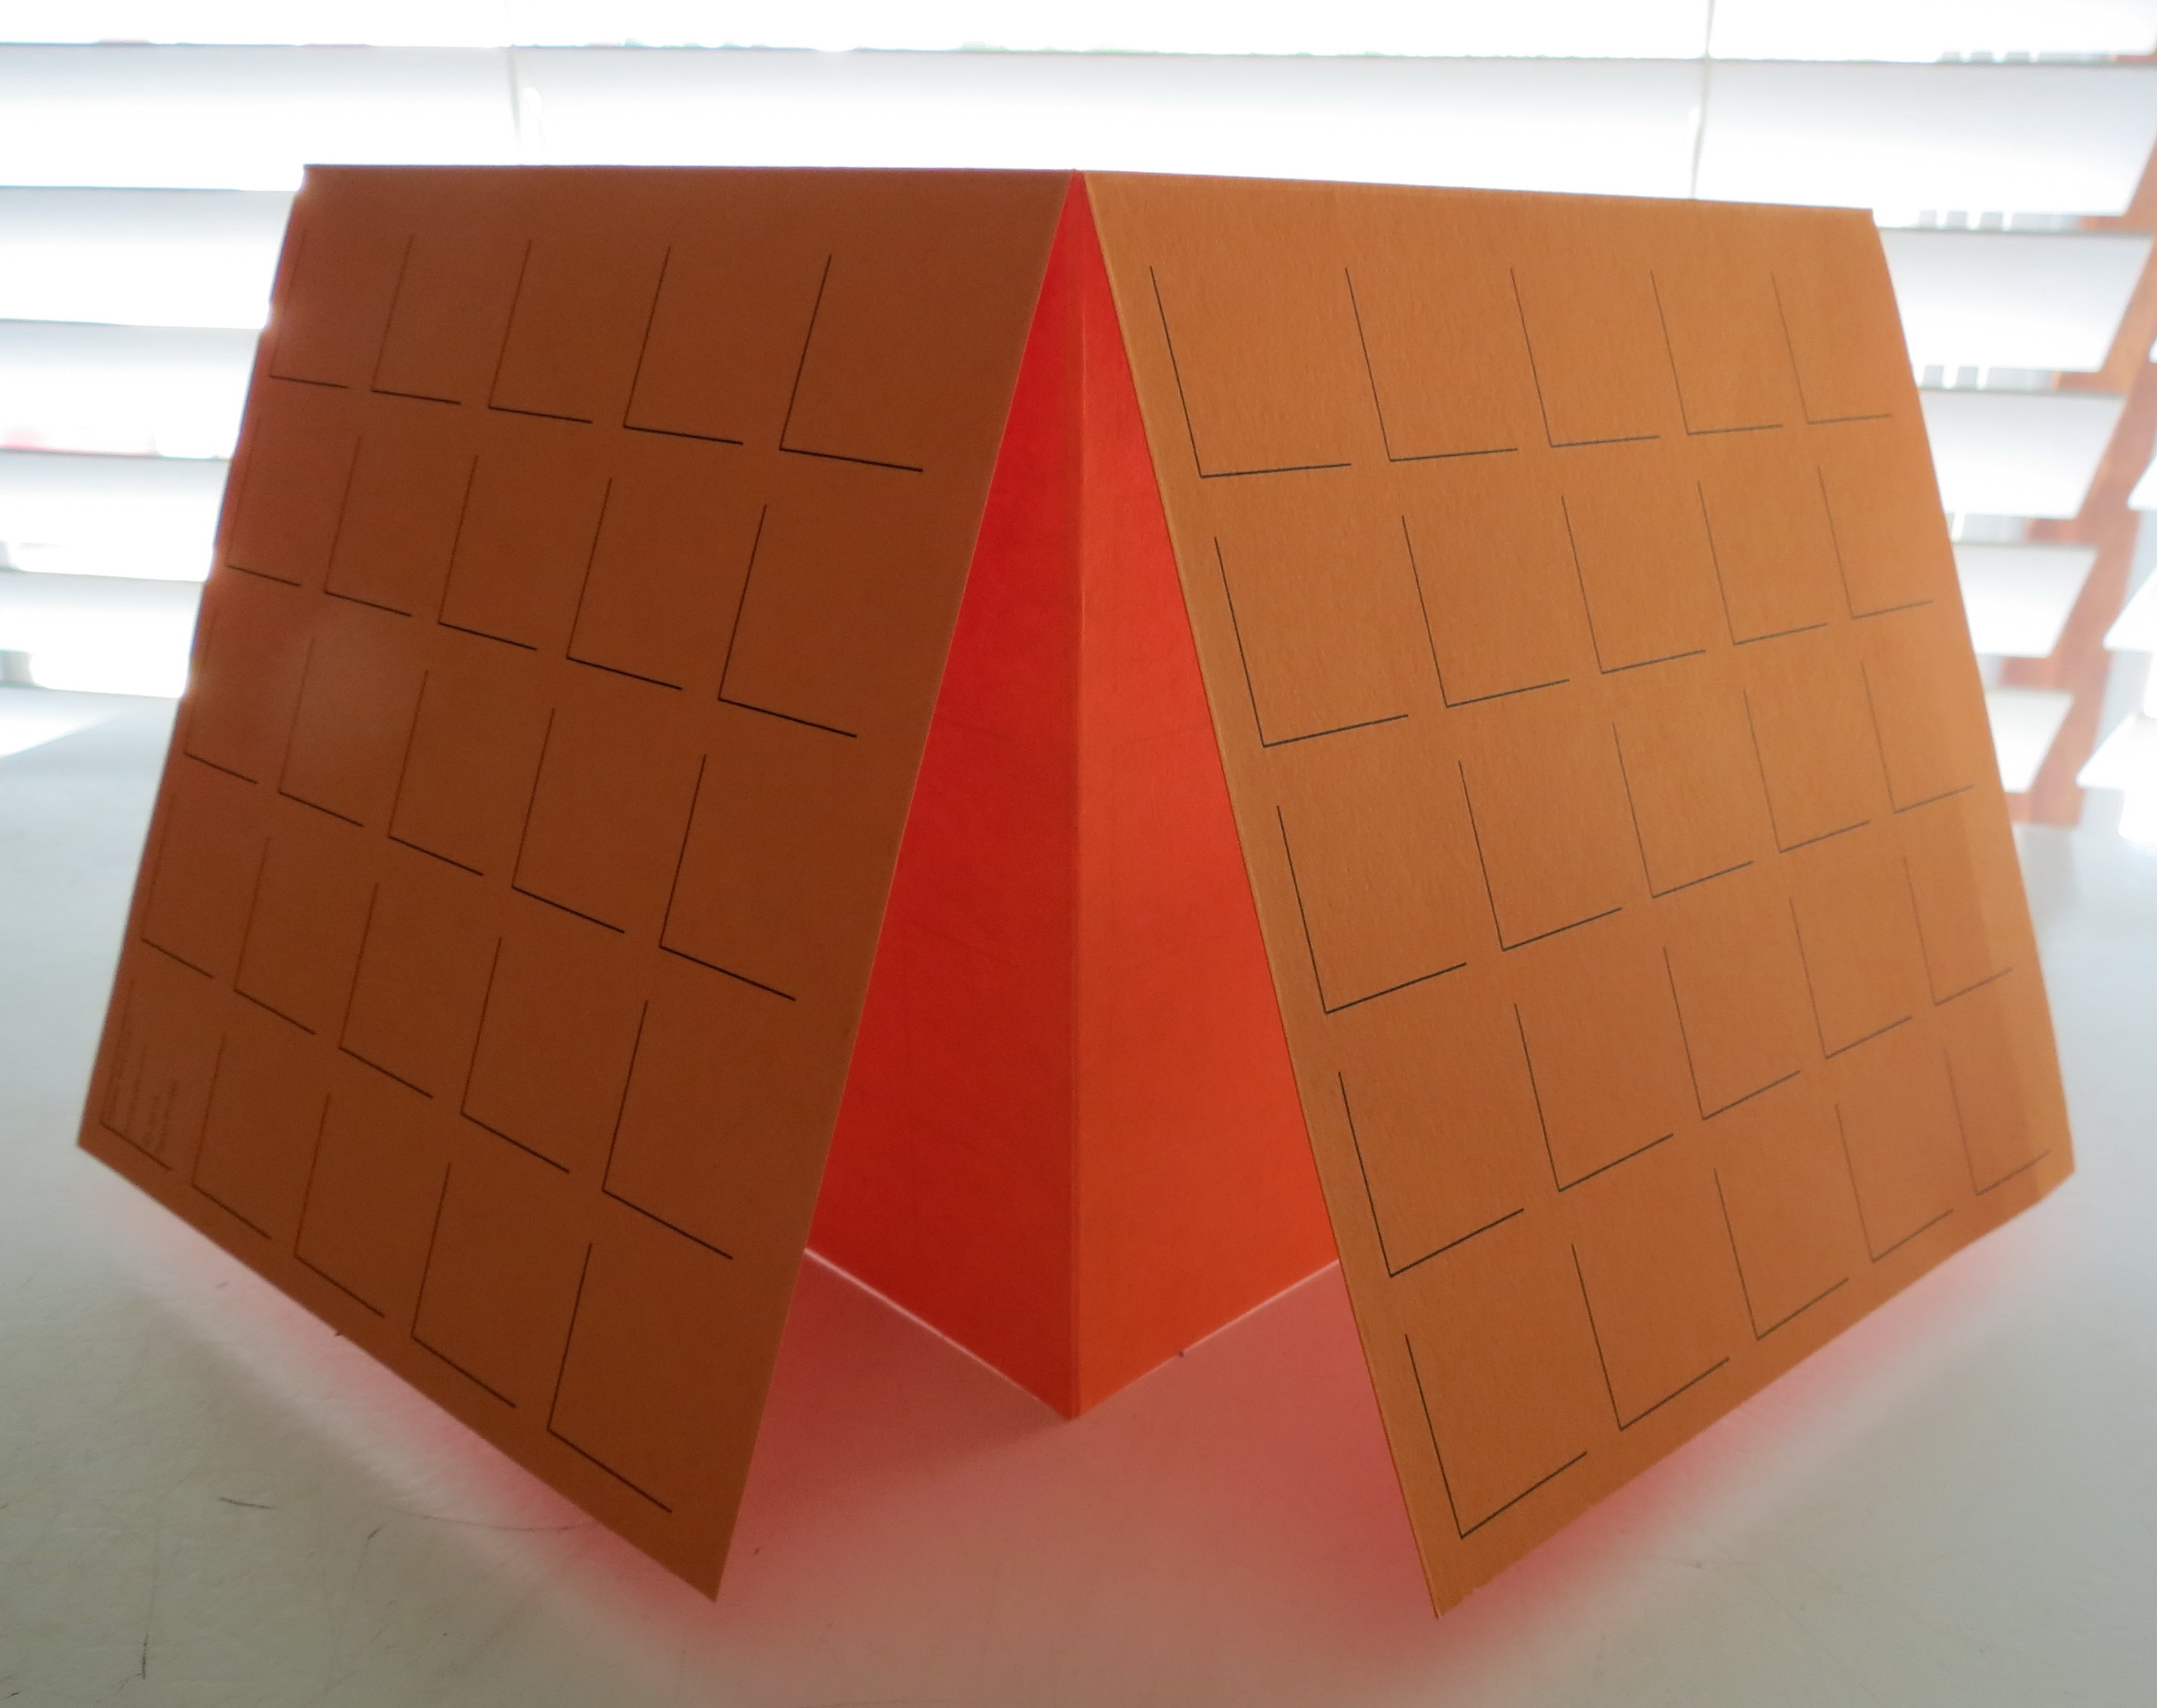
This fold will allow a layout inside and outside.
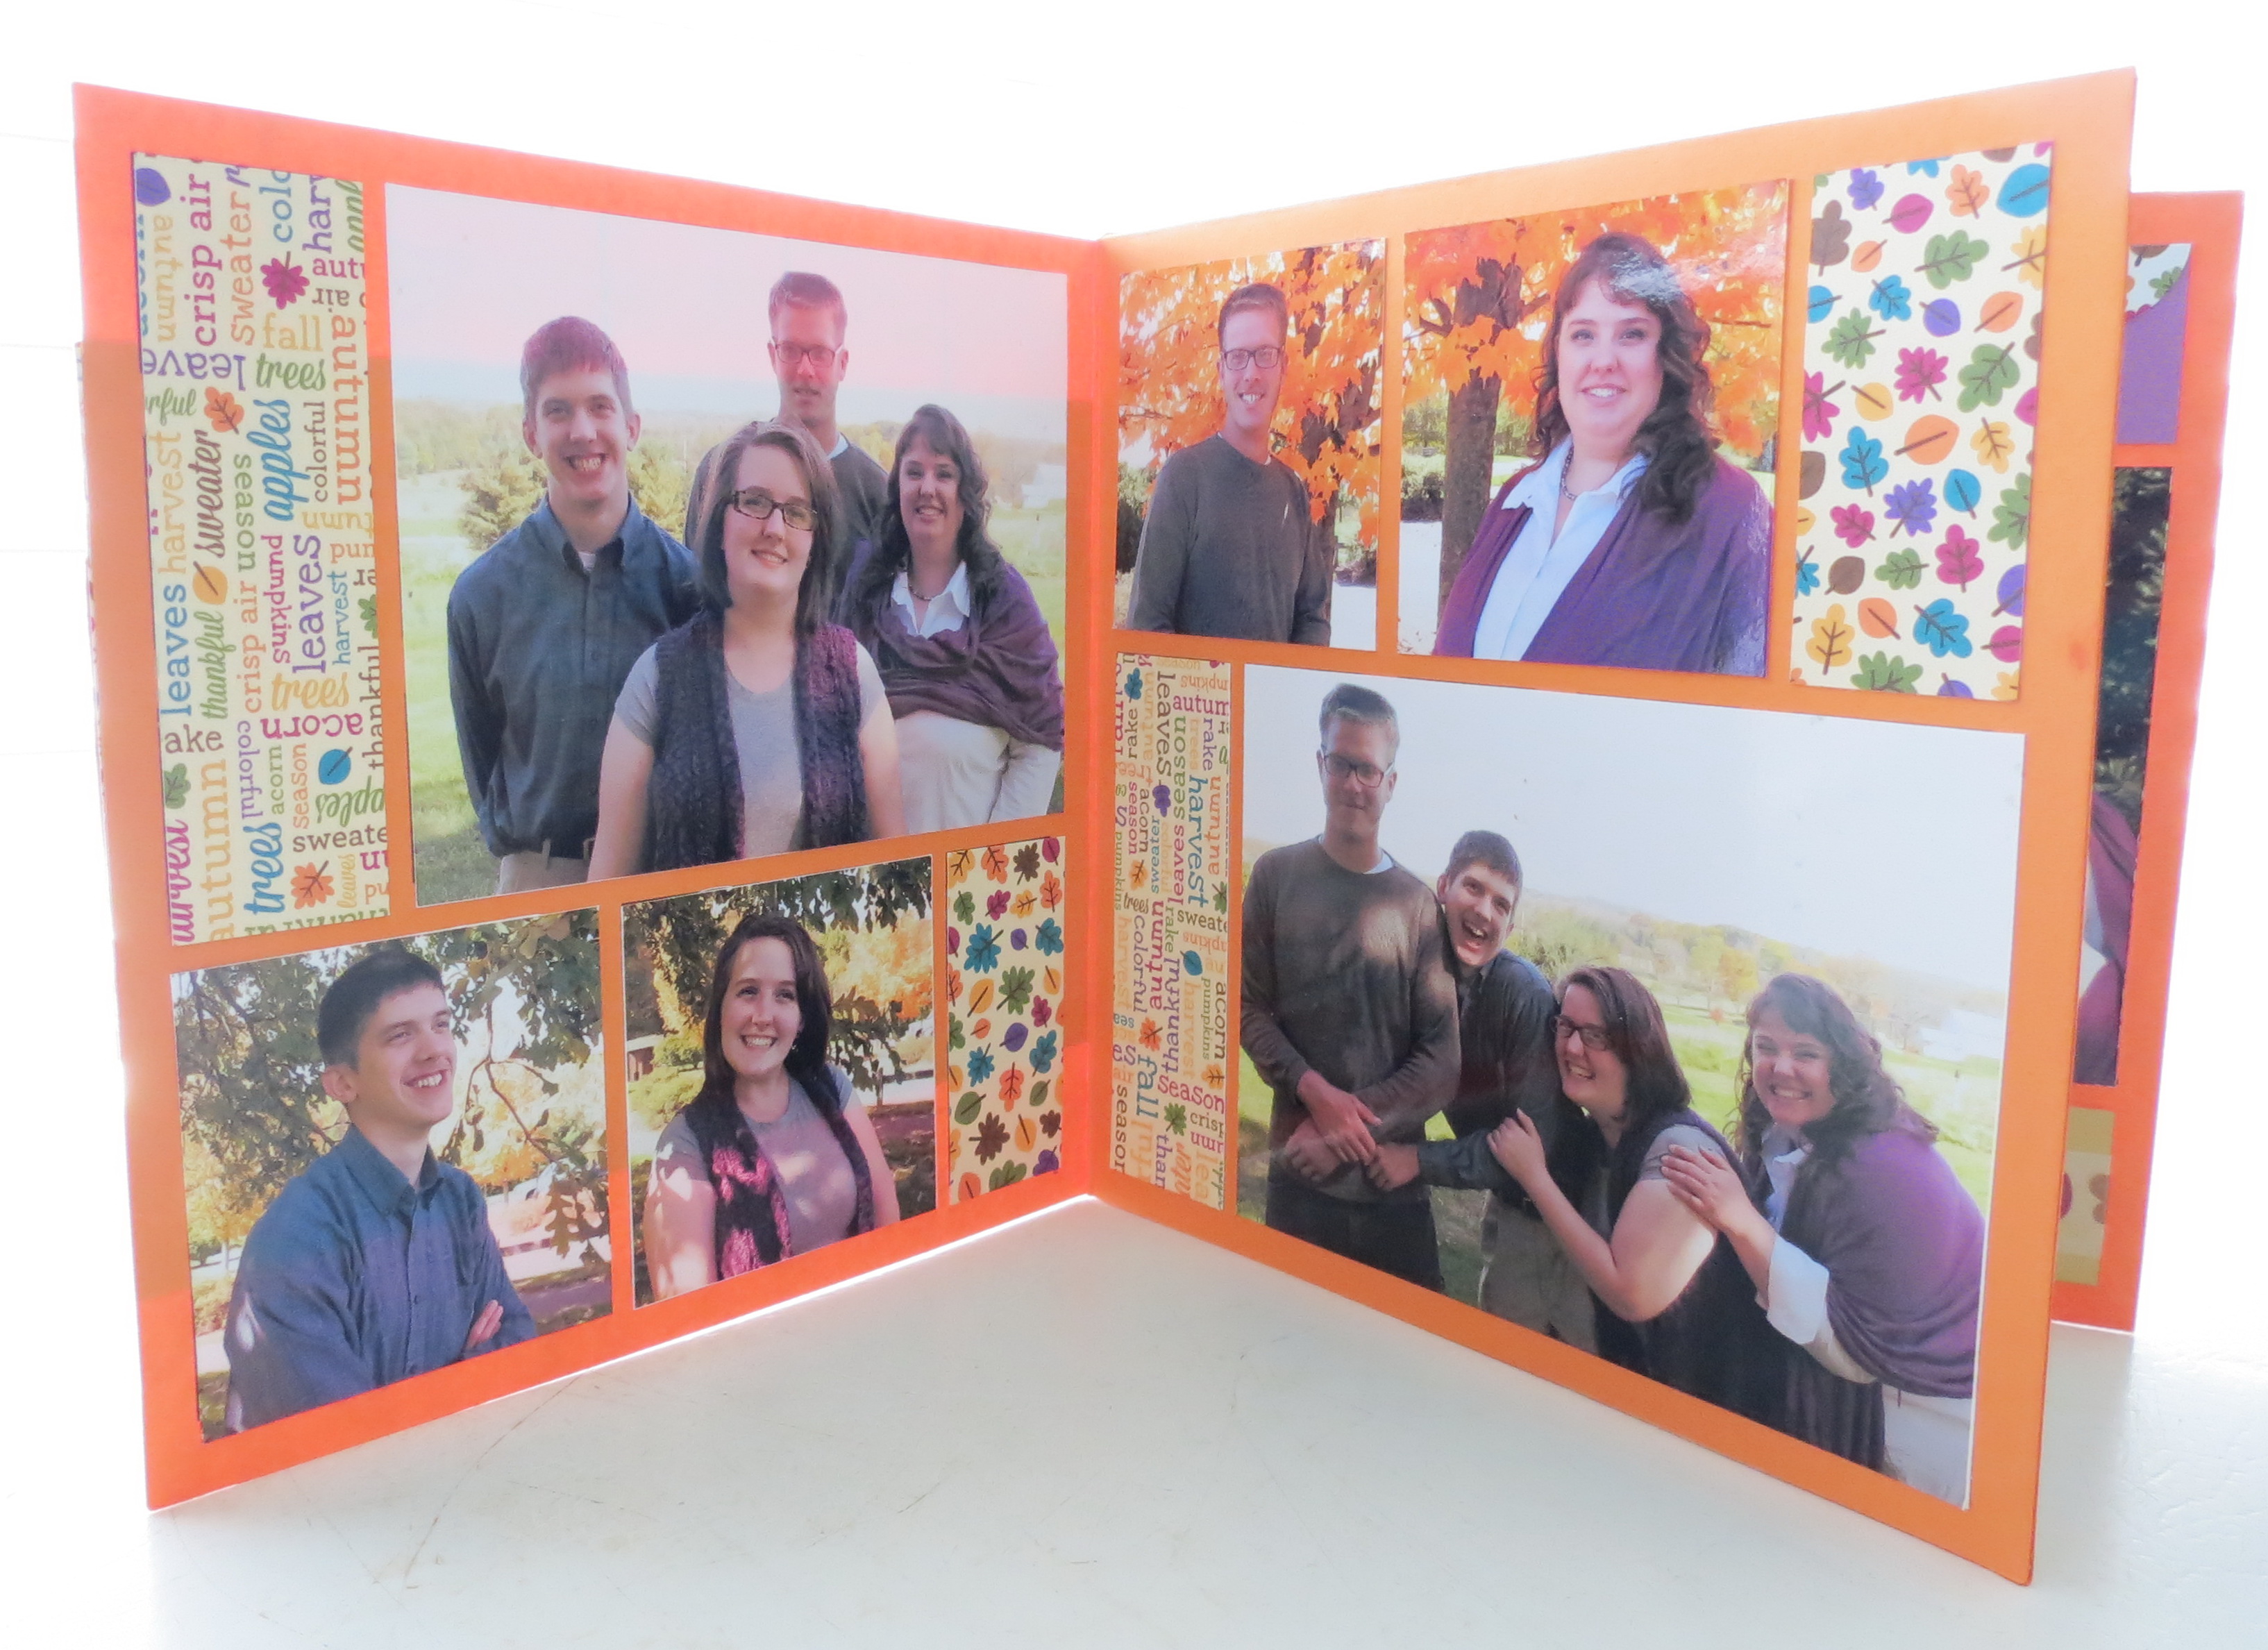
This can be folded to have an inside layout and two layouts on the outside that form the front and back, or it can be folded for two layouts inside and an outside cover design and a spot on the back cover to journal, which is what I’ll be showing you here.
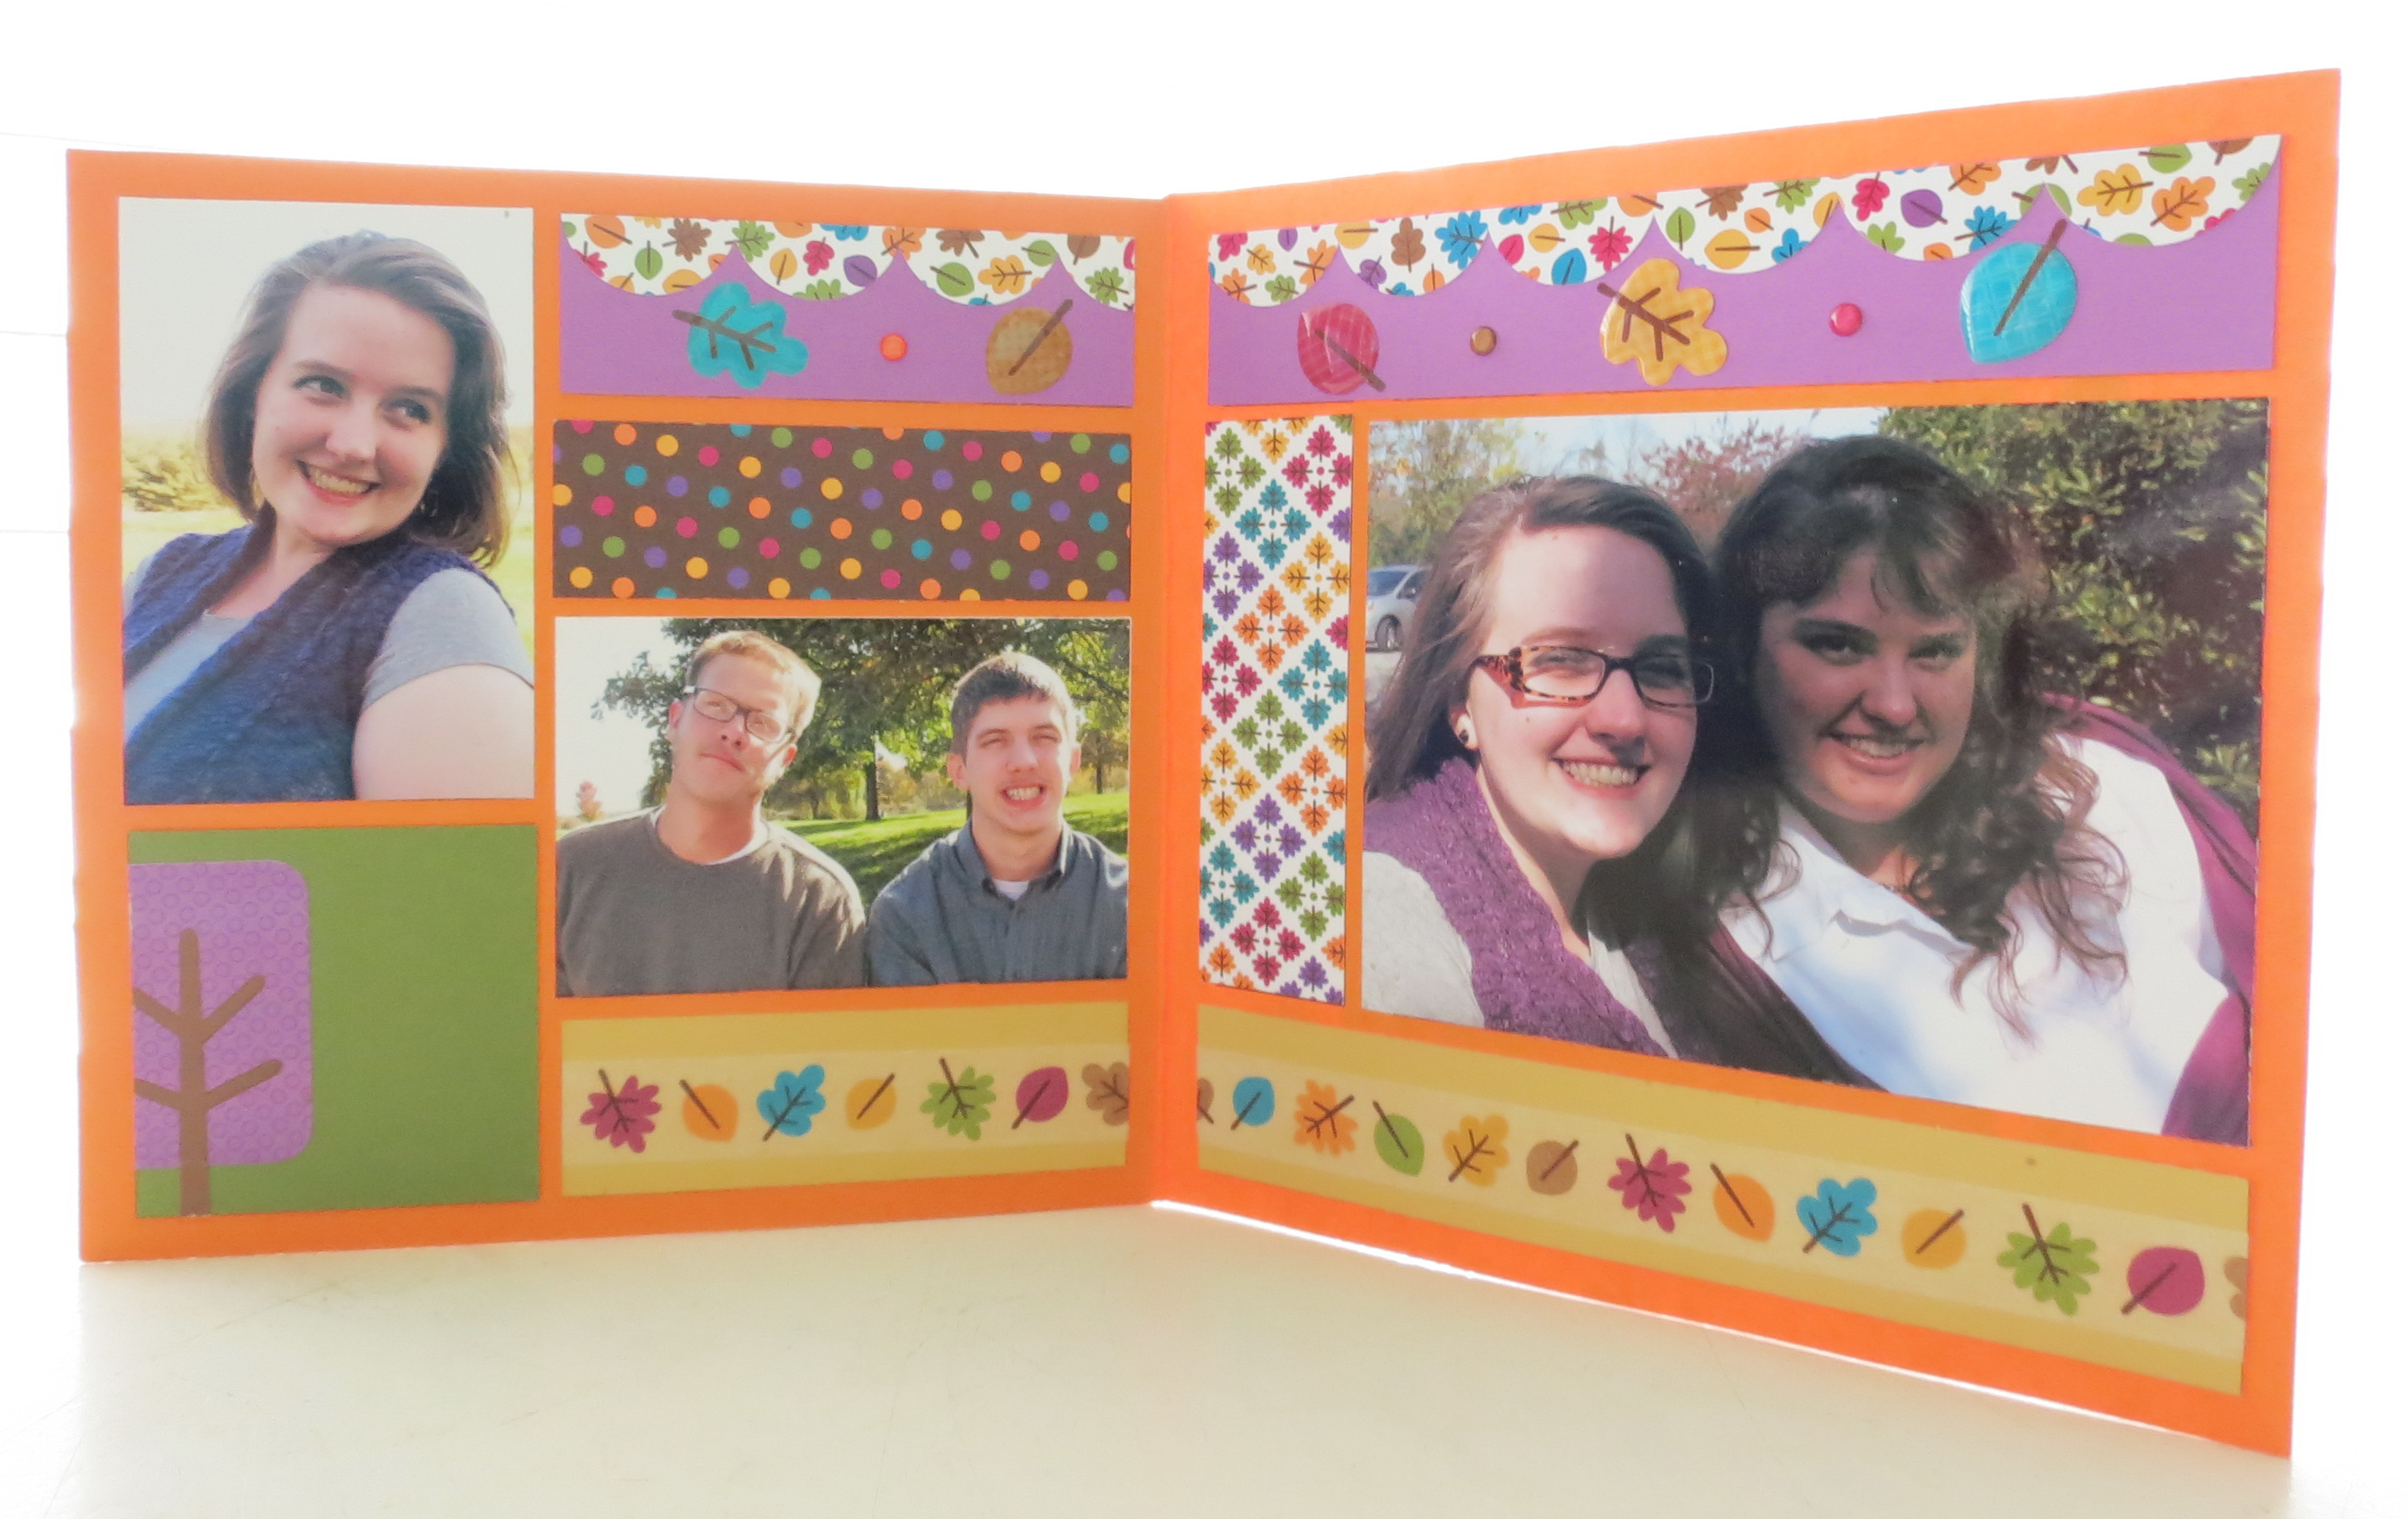
This is the layout used in today’s project.
Inside, there is room for three larger photos (3×4 blocks), five (2×2 blocks) squares, and three (2×3 blocks) and several smaller sections that could hold photos or paper tiles and embellishments. Any number of size combinations are possible, do what fits your photo needs.
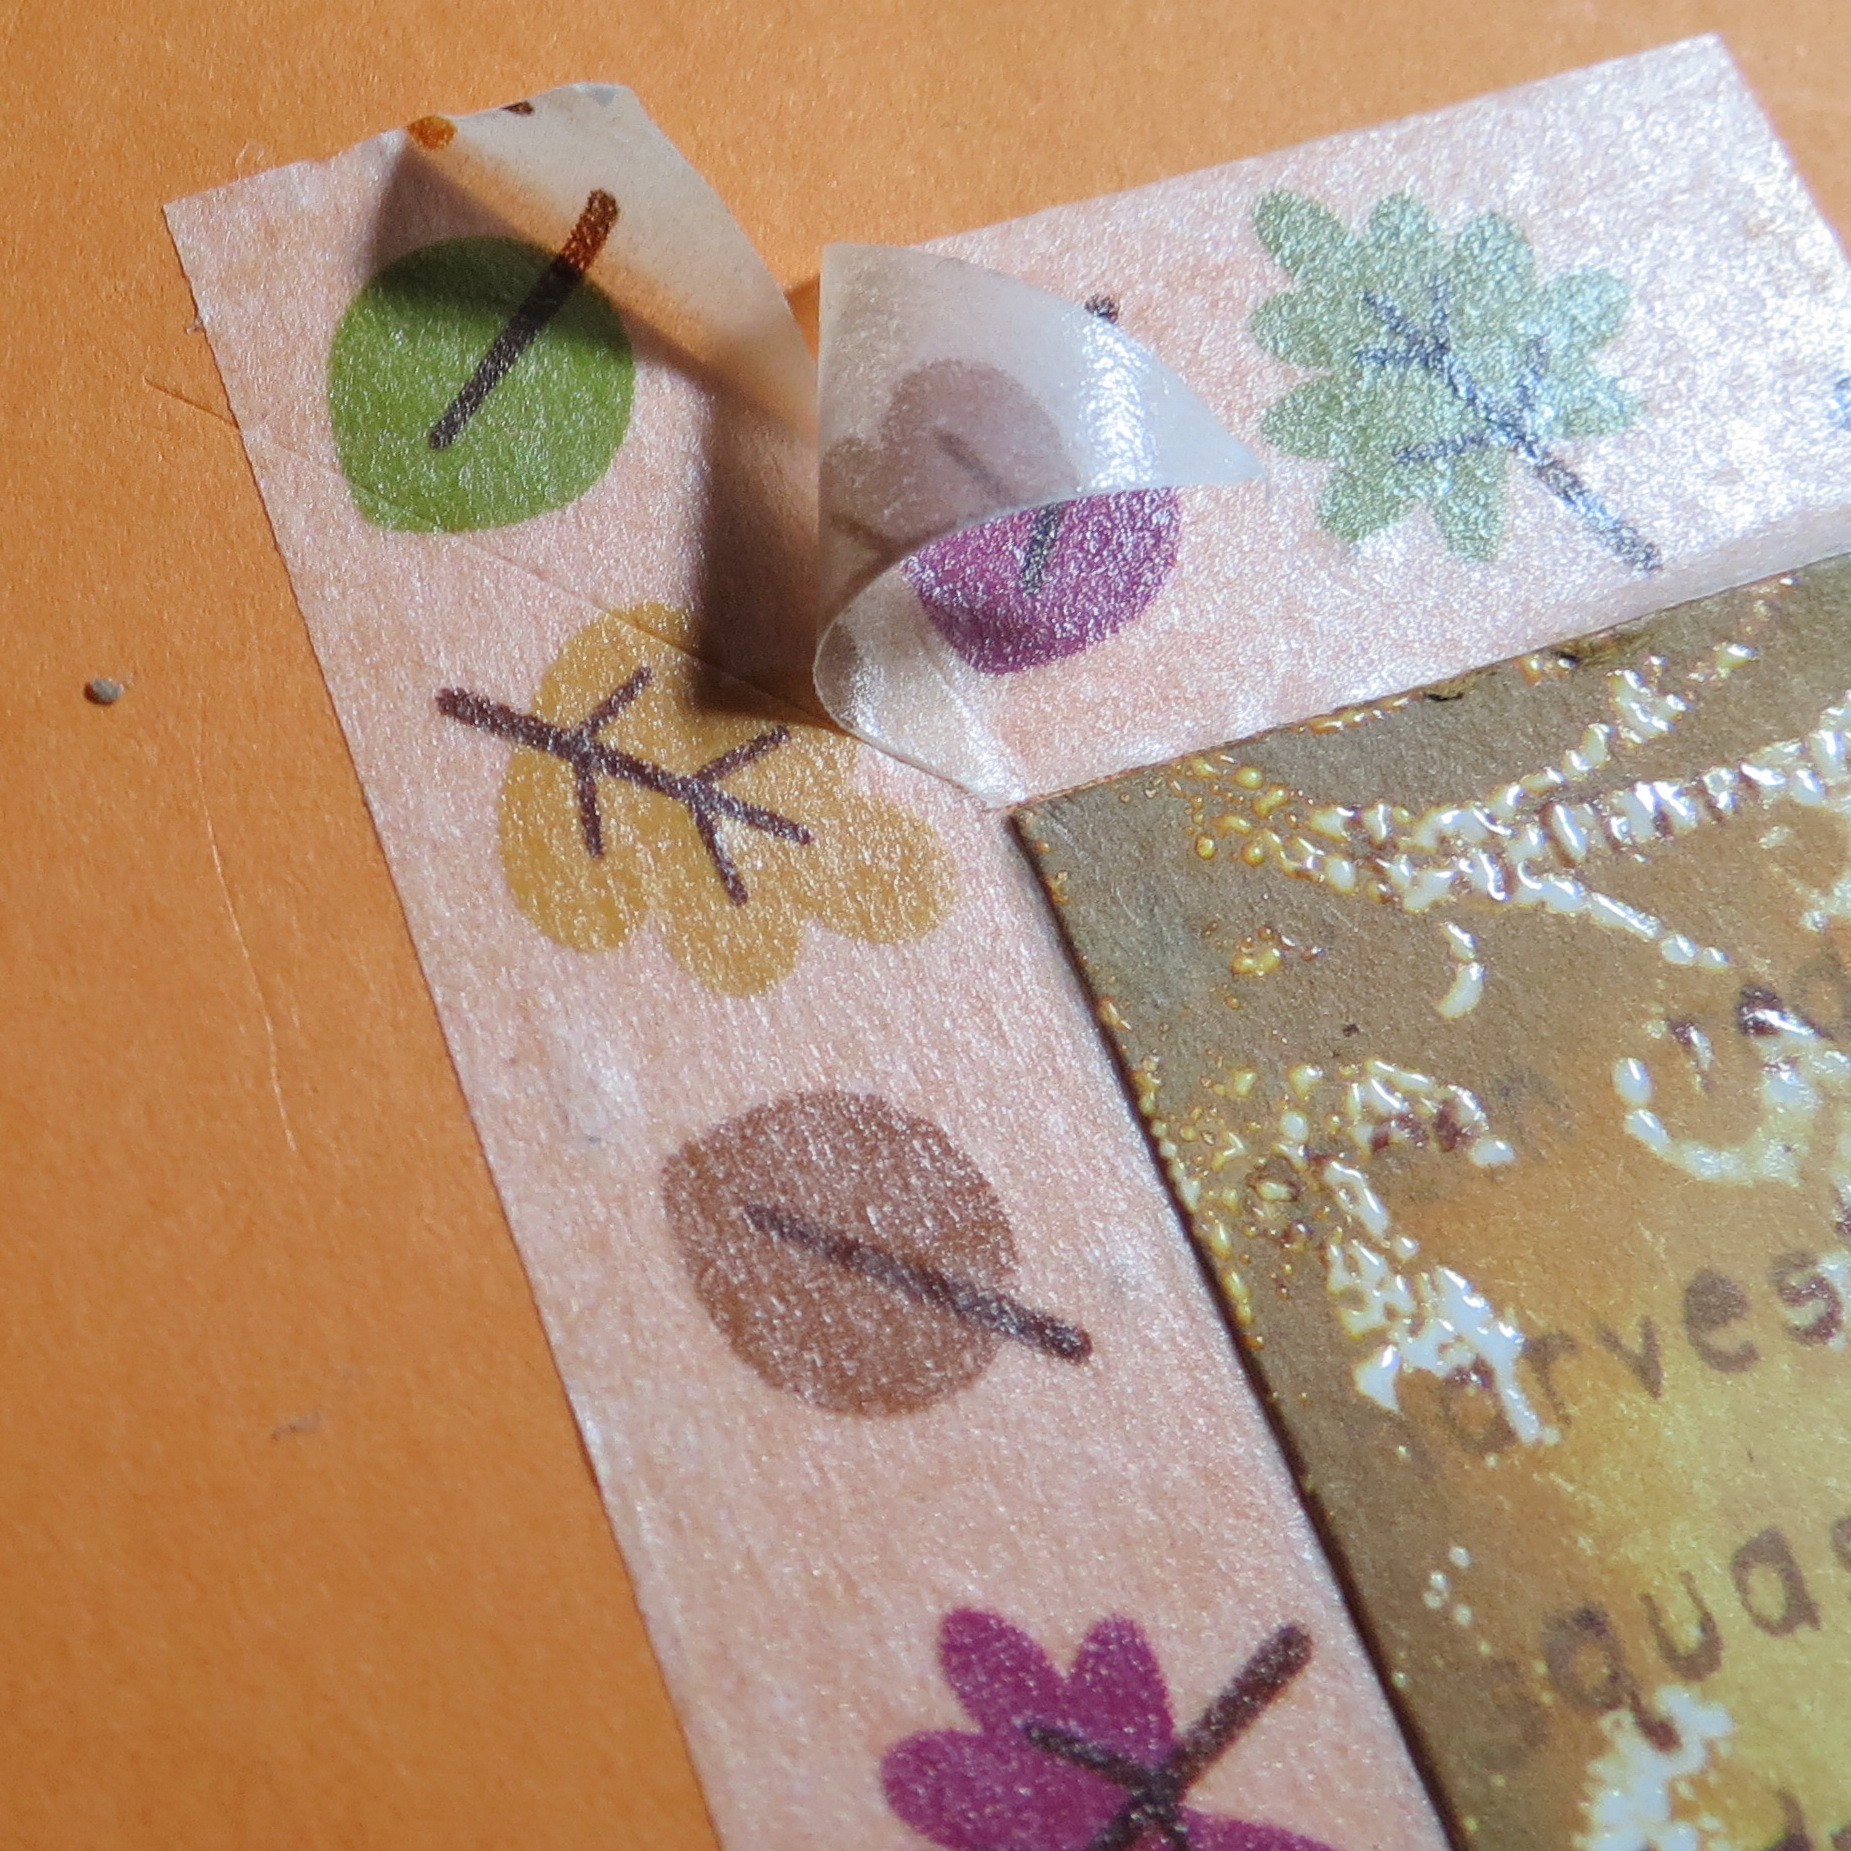
Washi tape was used on the caramel paper tiles and around the journal block as a frame. To create the frame, allow your tape to go beyond the edges of the block you are surrounding. Do this on all sides and then take your ruler and line up corner to corner on the diagonal and score lightly to cut through both layers of tape, but not your panel! Remove the excess bits by gently lifting the tape and then smooth out all the sections. You should have a very nice mitered corner.
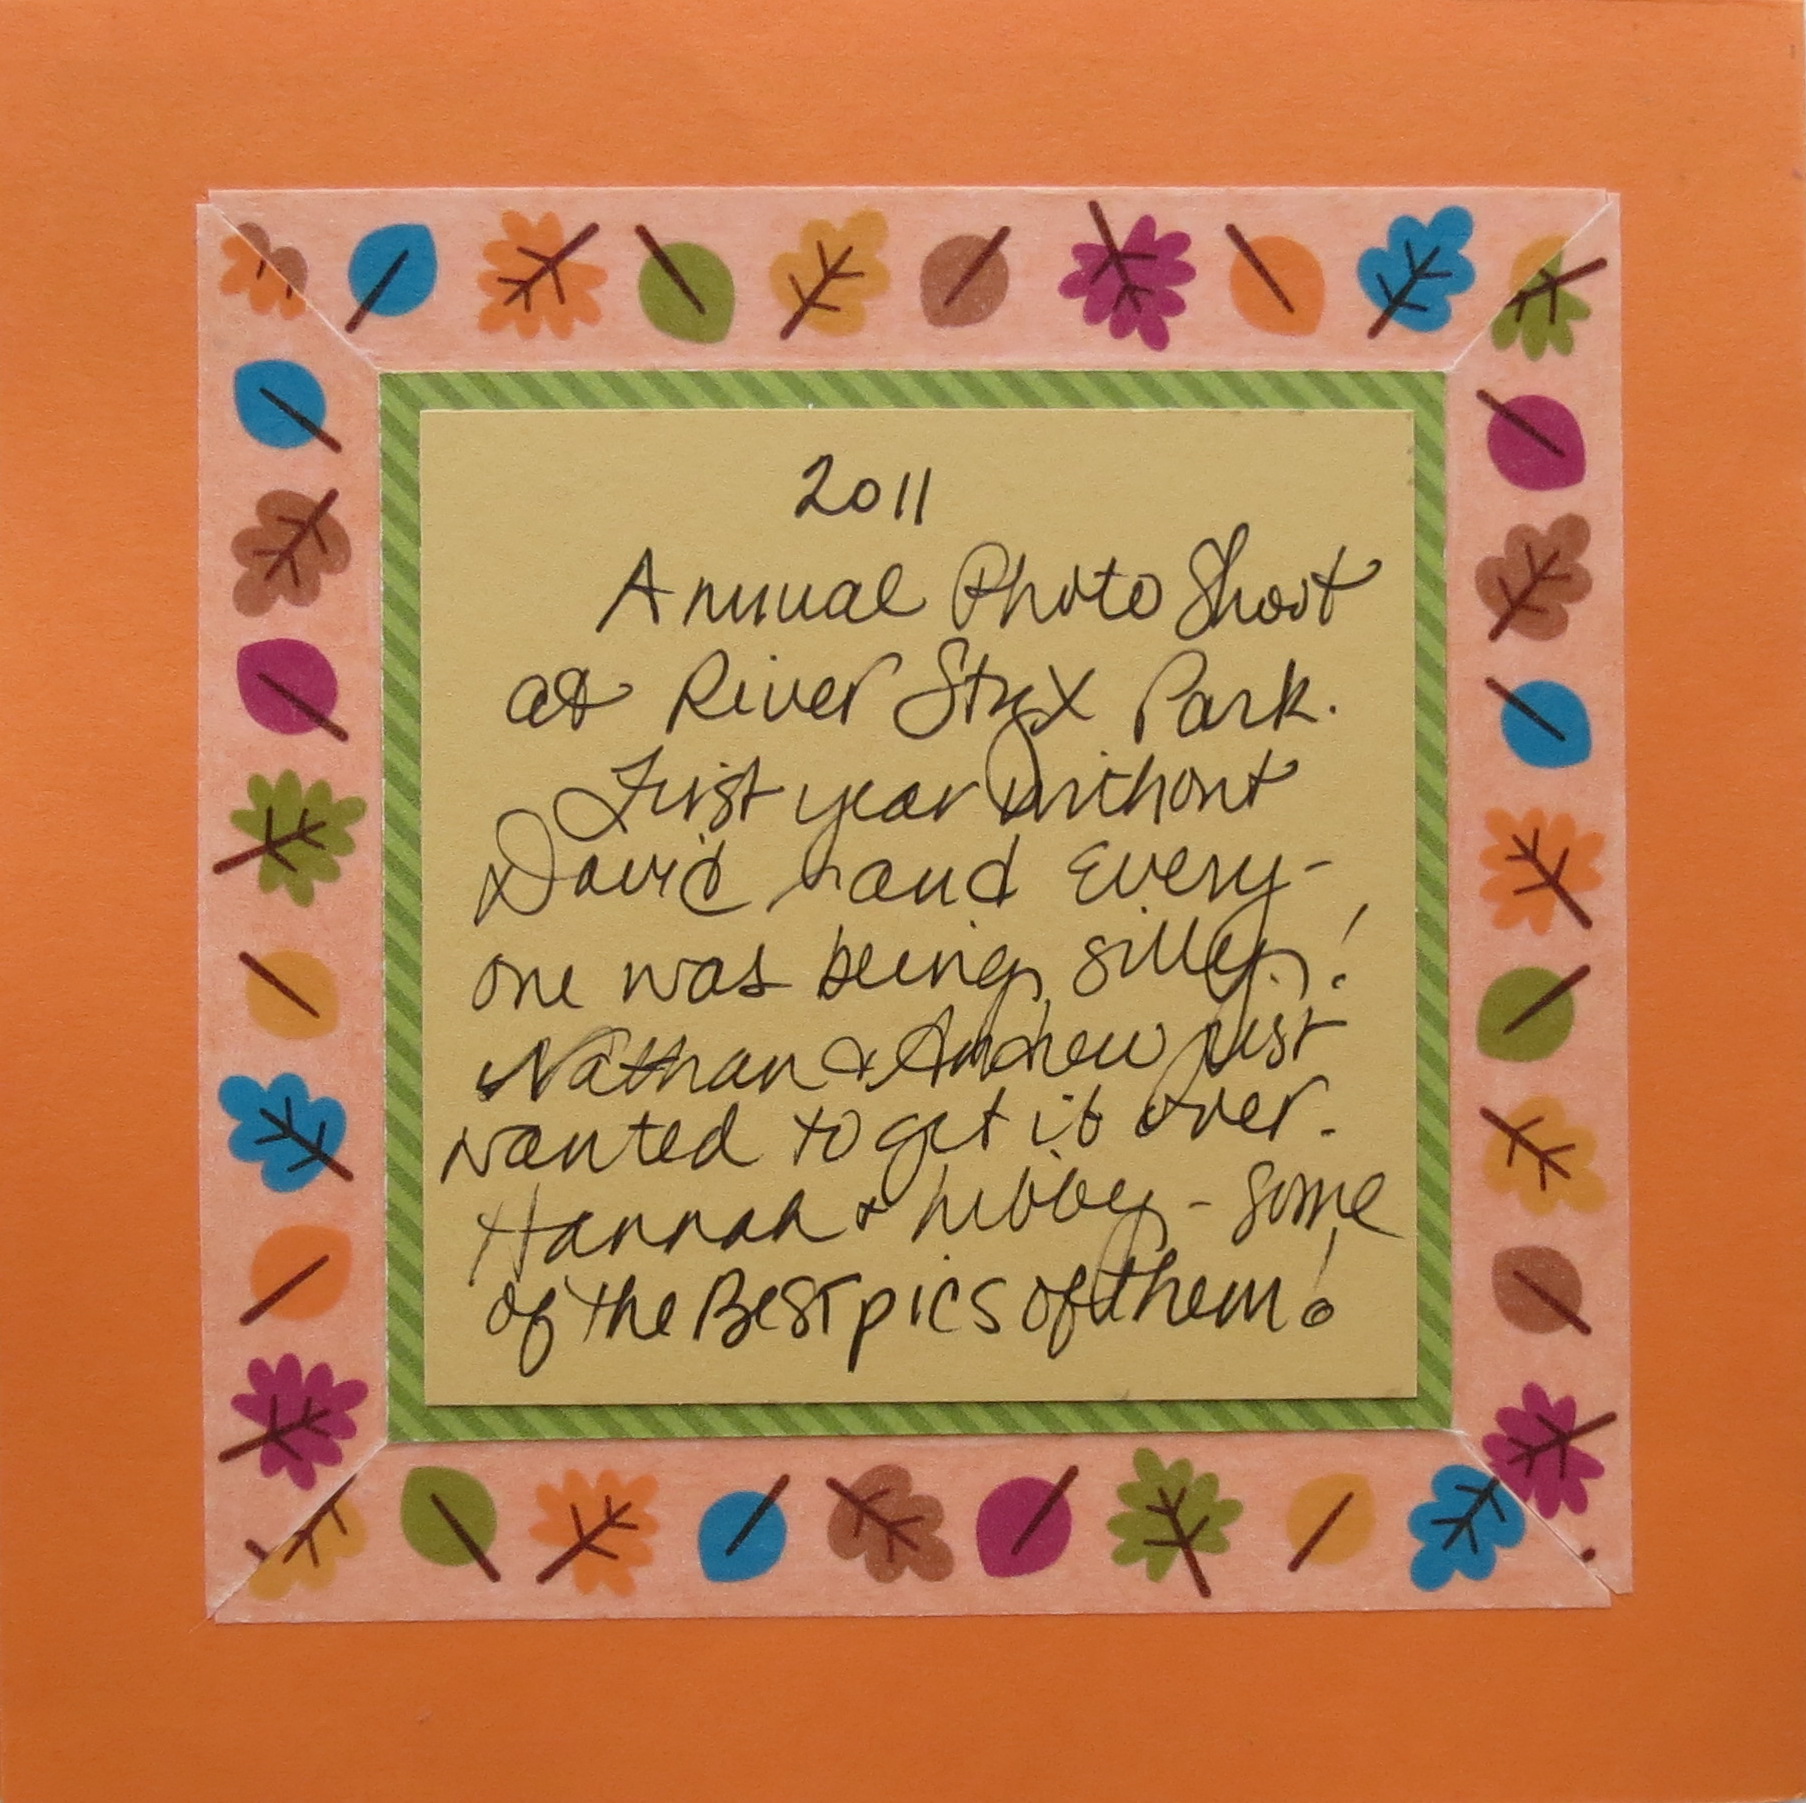
Fall Family Photos Mini Album Technique: using Washi tape miter trimmed to create a frame to match the theme.
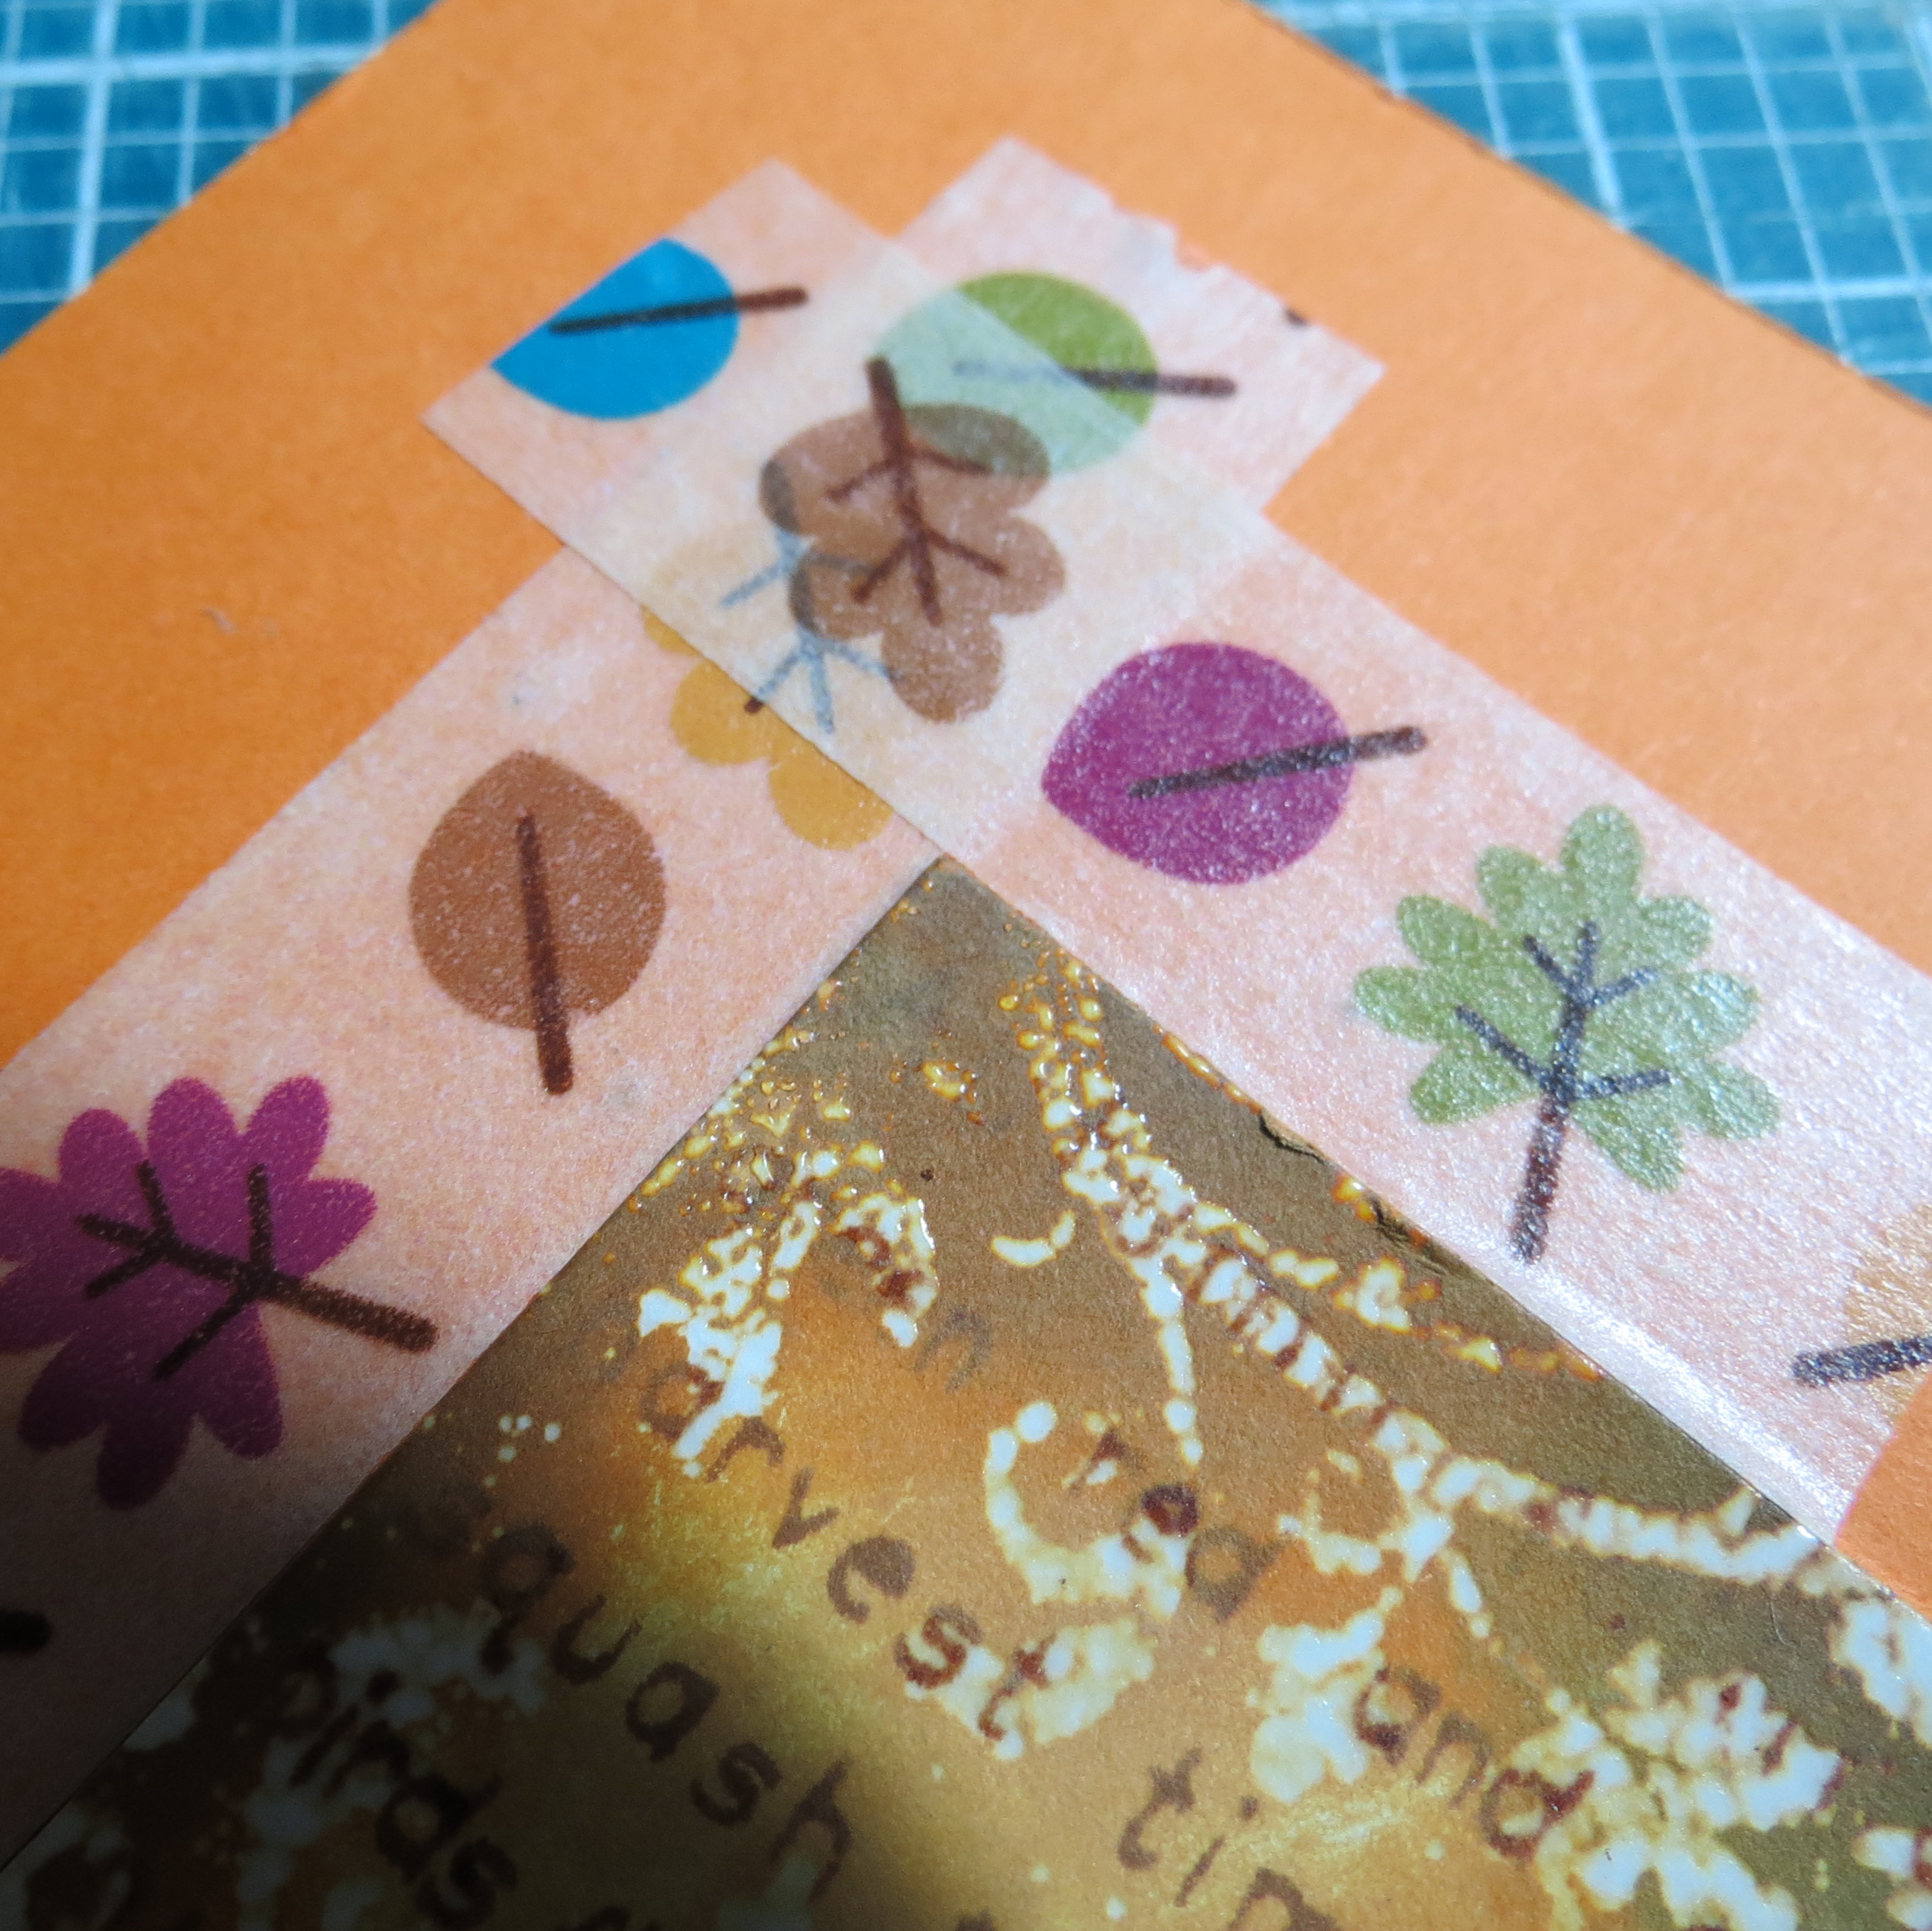
overlap Washi tape ends

Score tape at a diagonal lining up corners for accuracy.
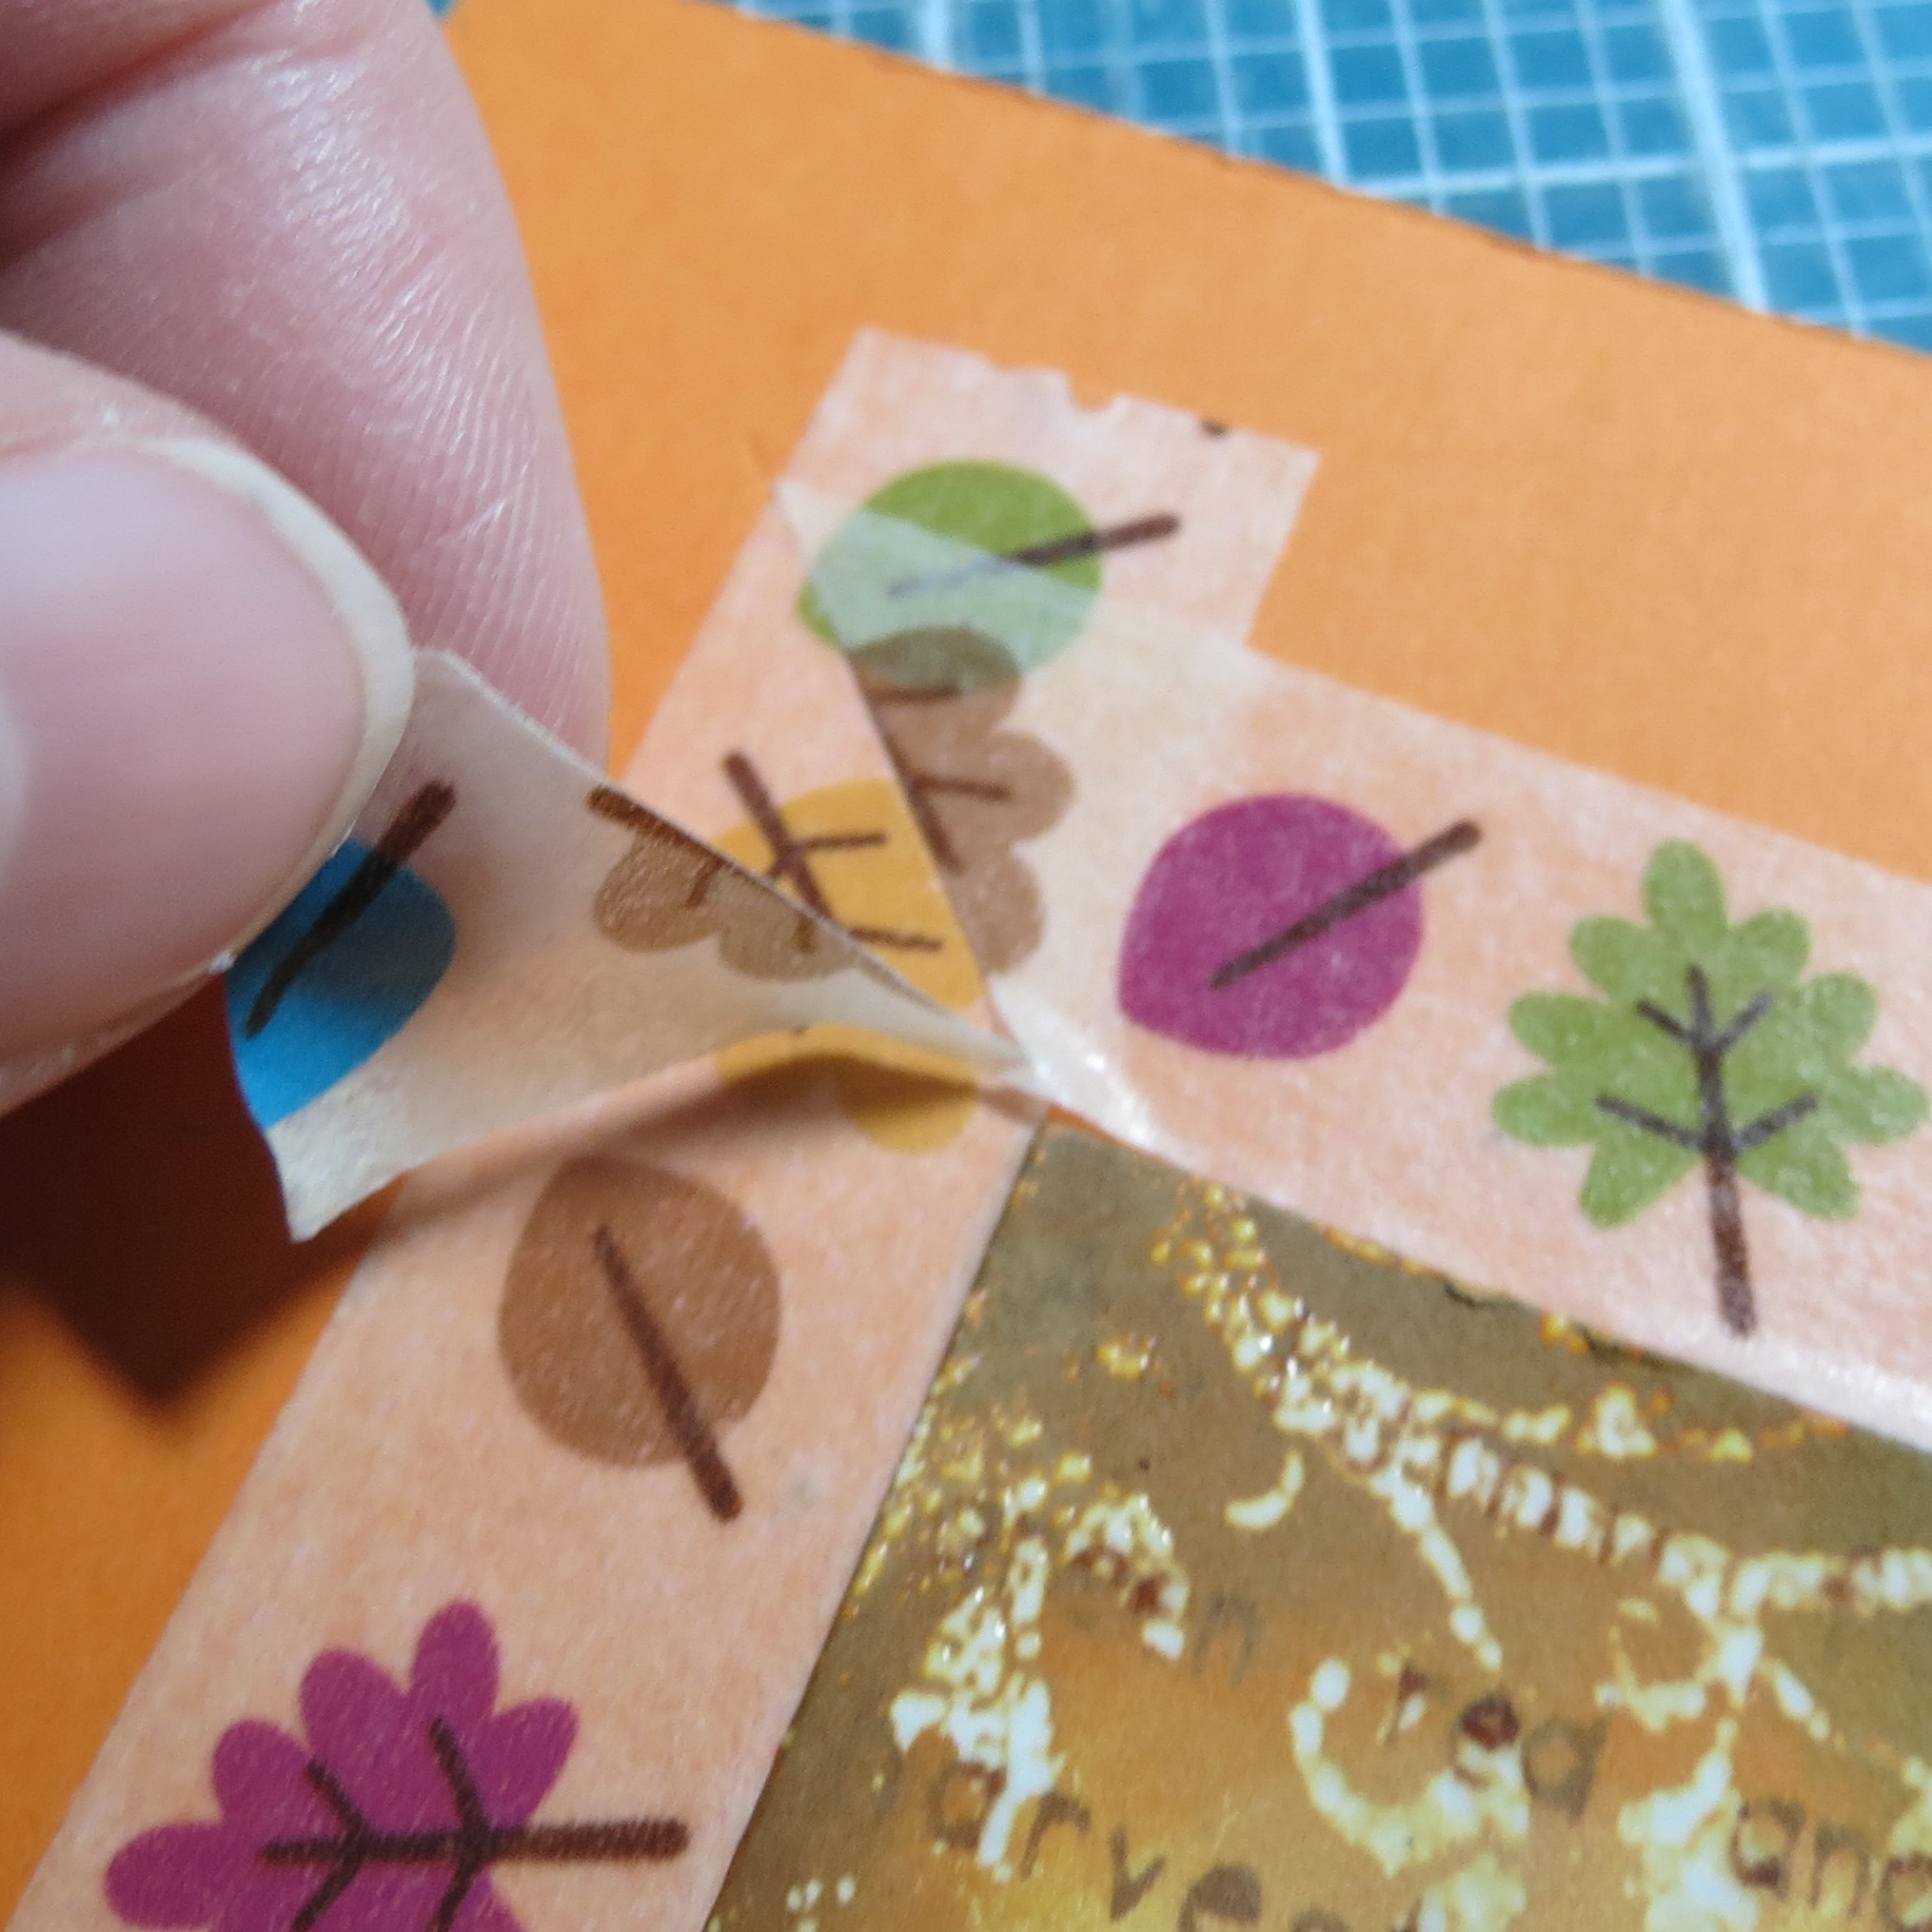
peel back top layer excess and discard
peel back top layer to remove excess from lower layer and discard
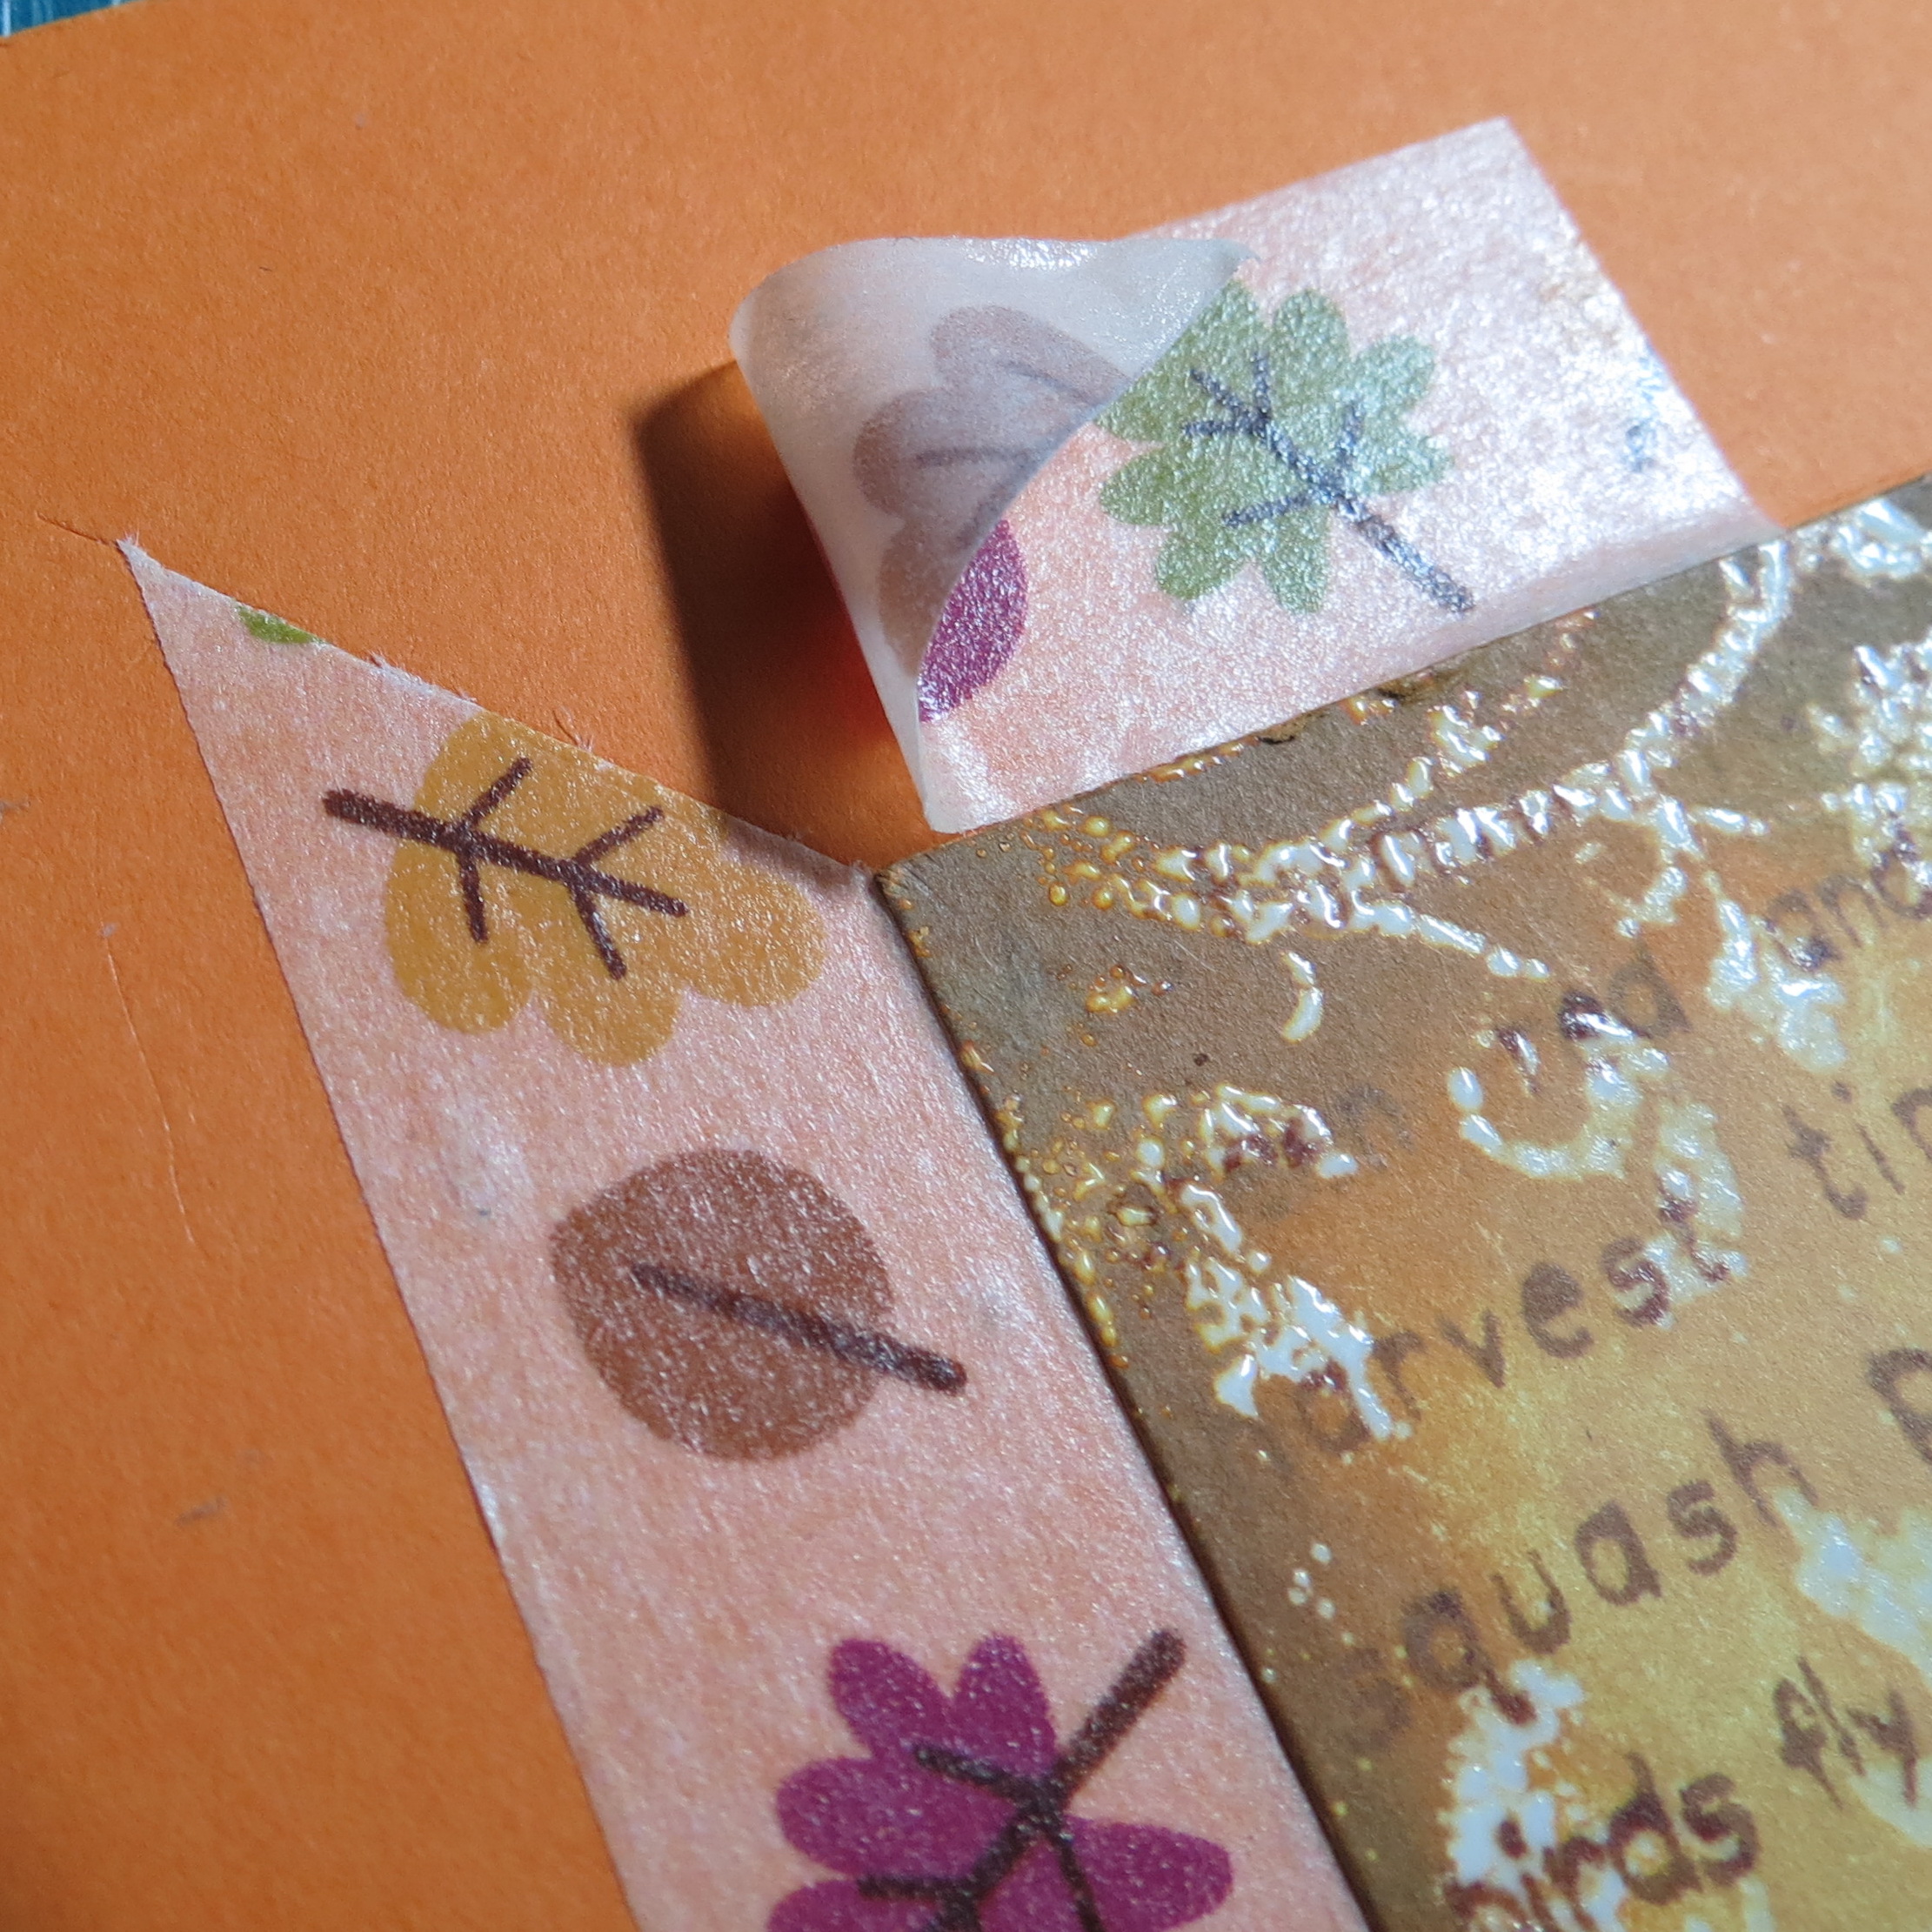
two mitered ends to be smoothed into position
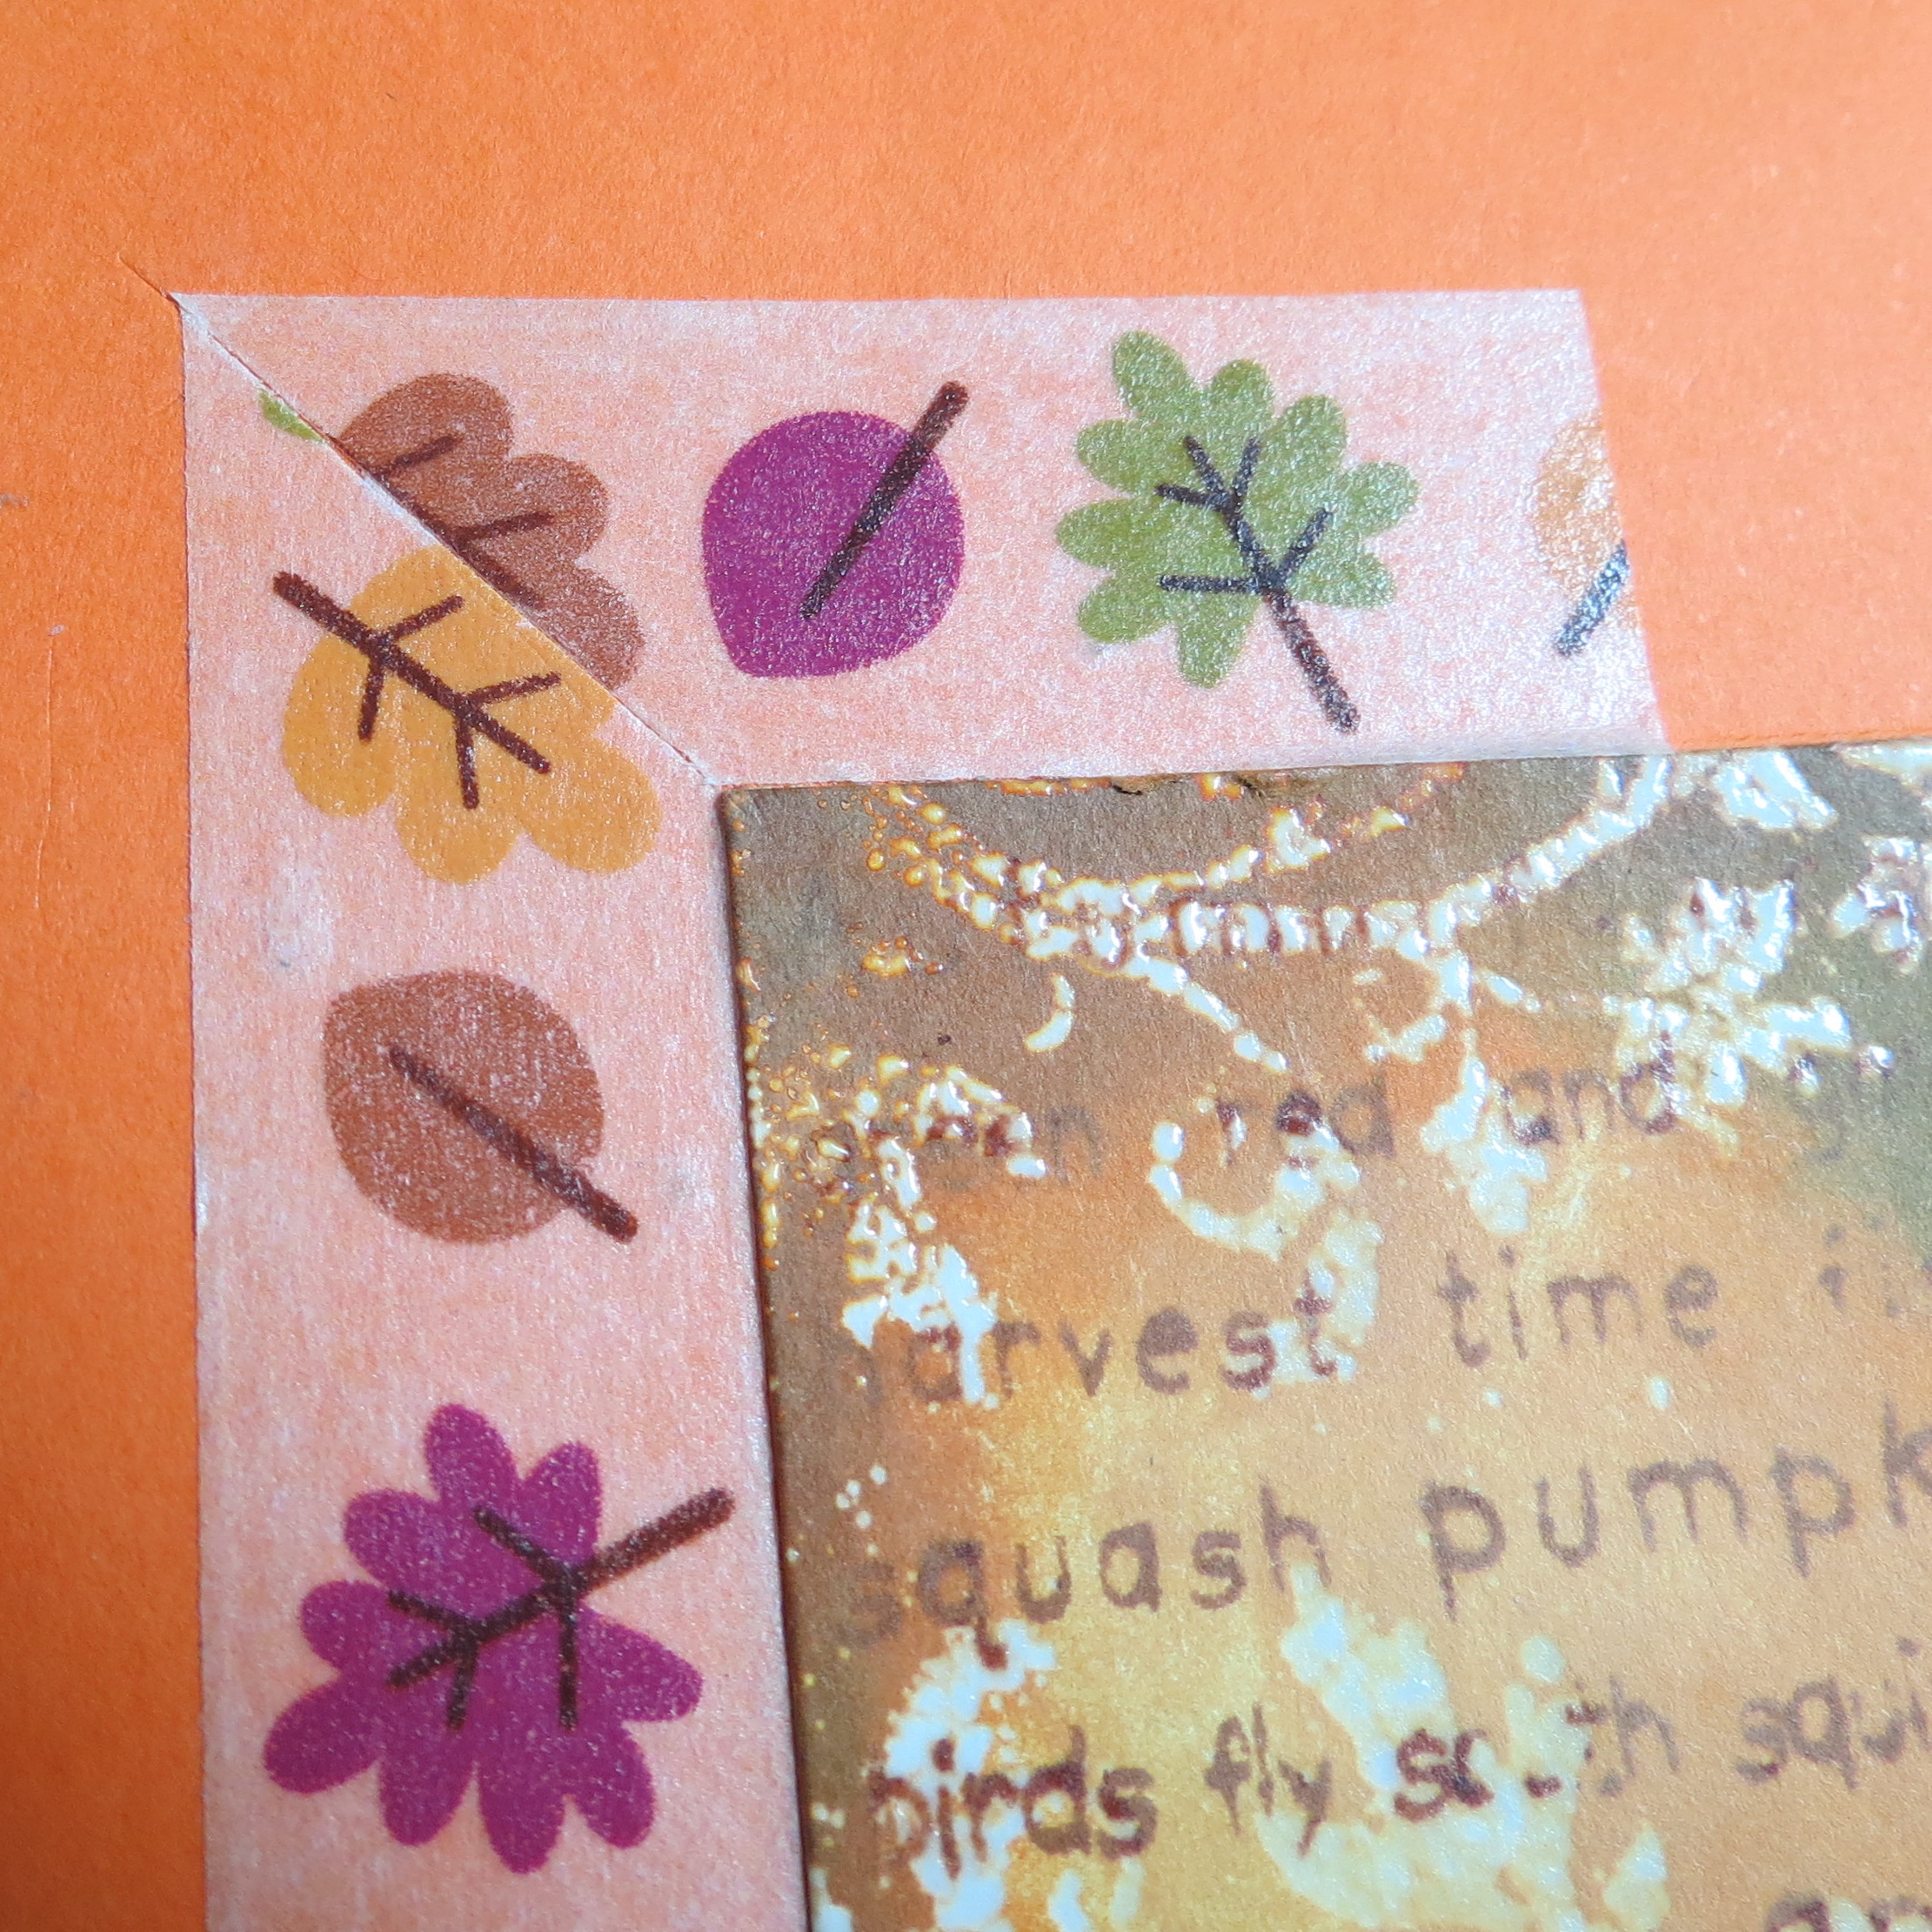
Finished corner
Adding embellishments to dress up paper tiles.
Washi tape brings a pattern and some color to the caramel paper tiles. I used a sticker border to spruce up the grape delight tiles and added a few of the epoxy stickers to match. I also had a 2×2 Killarney square but I wanted to use only a portion of one of the stickers so I let it hang off the side and trimmed the excess away. Why not try using only a portion on a tile or covering a tile and trimming the rest for a new look.
TECHNIQUE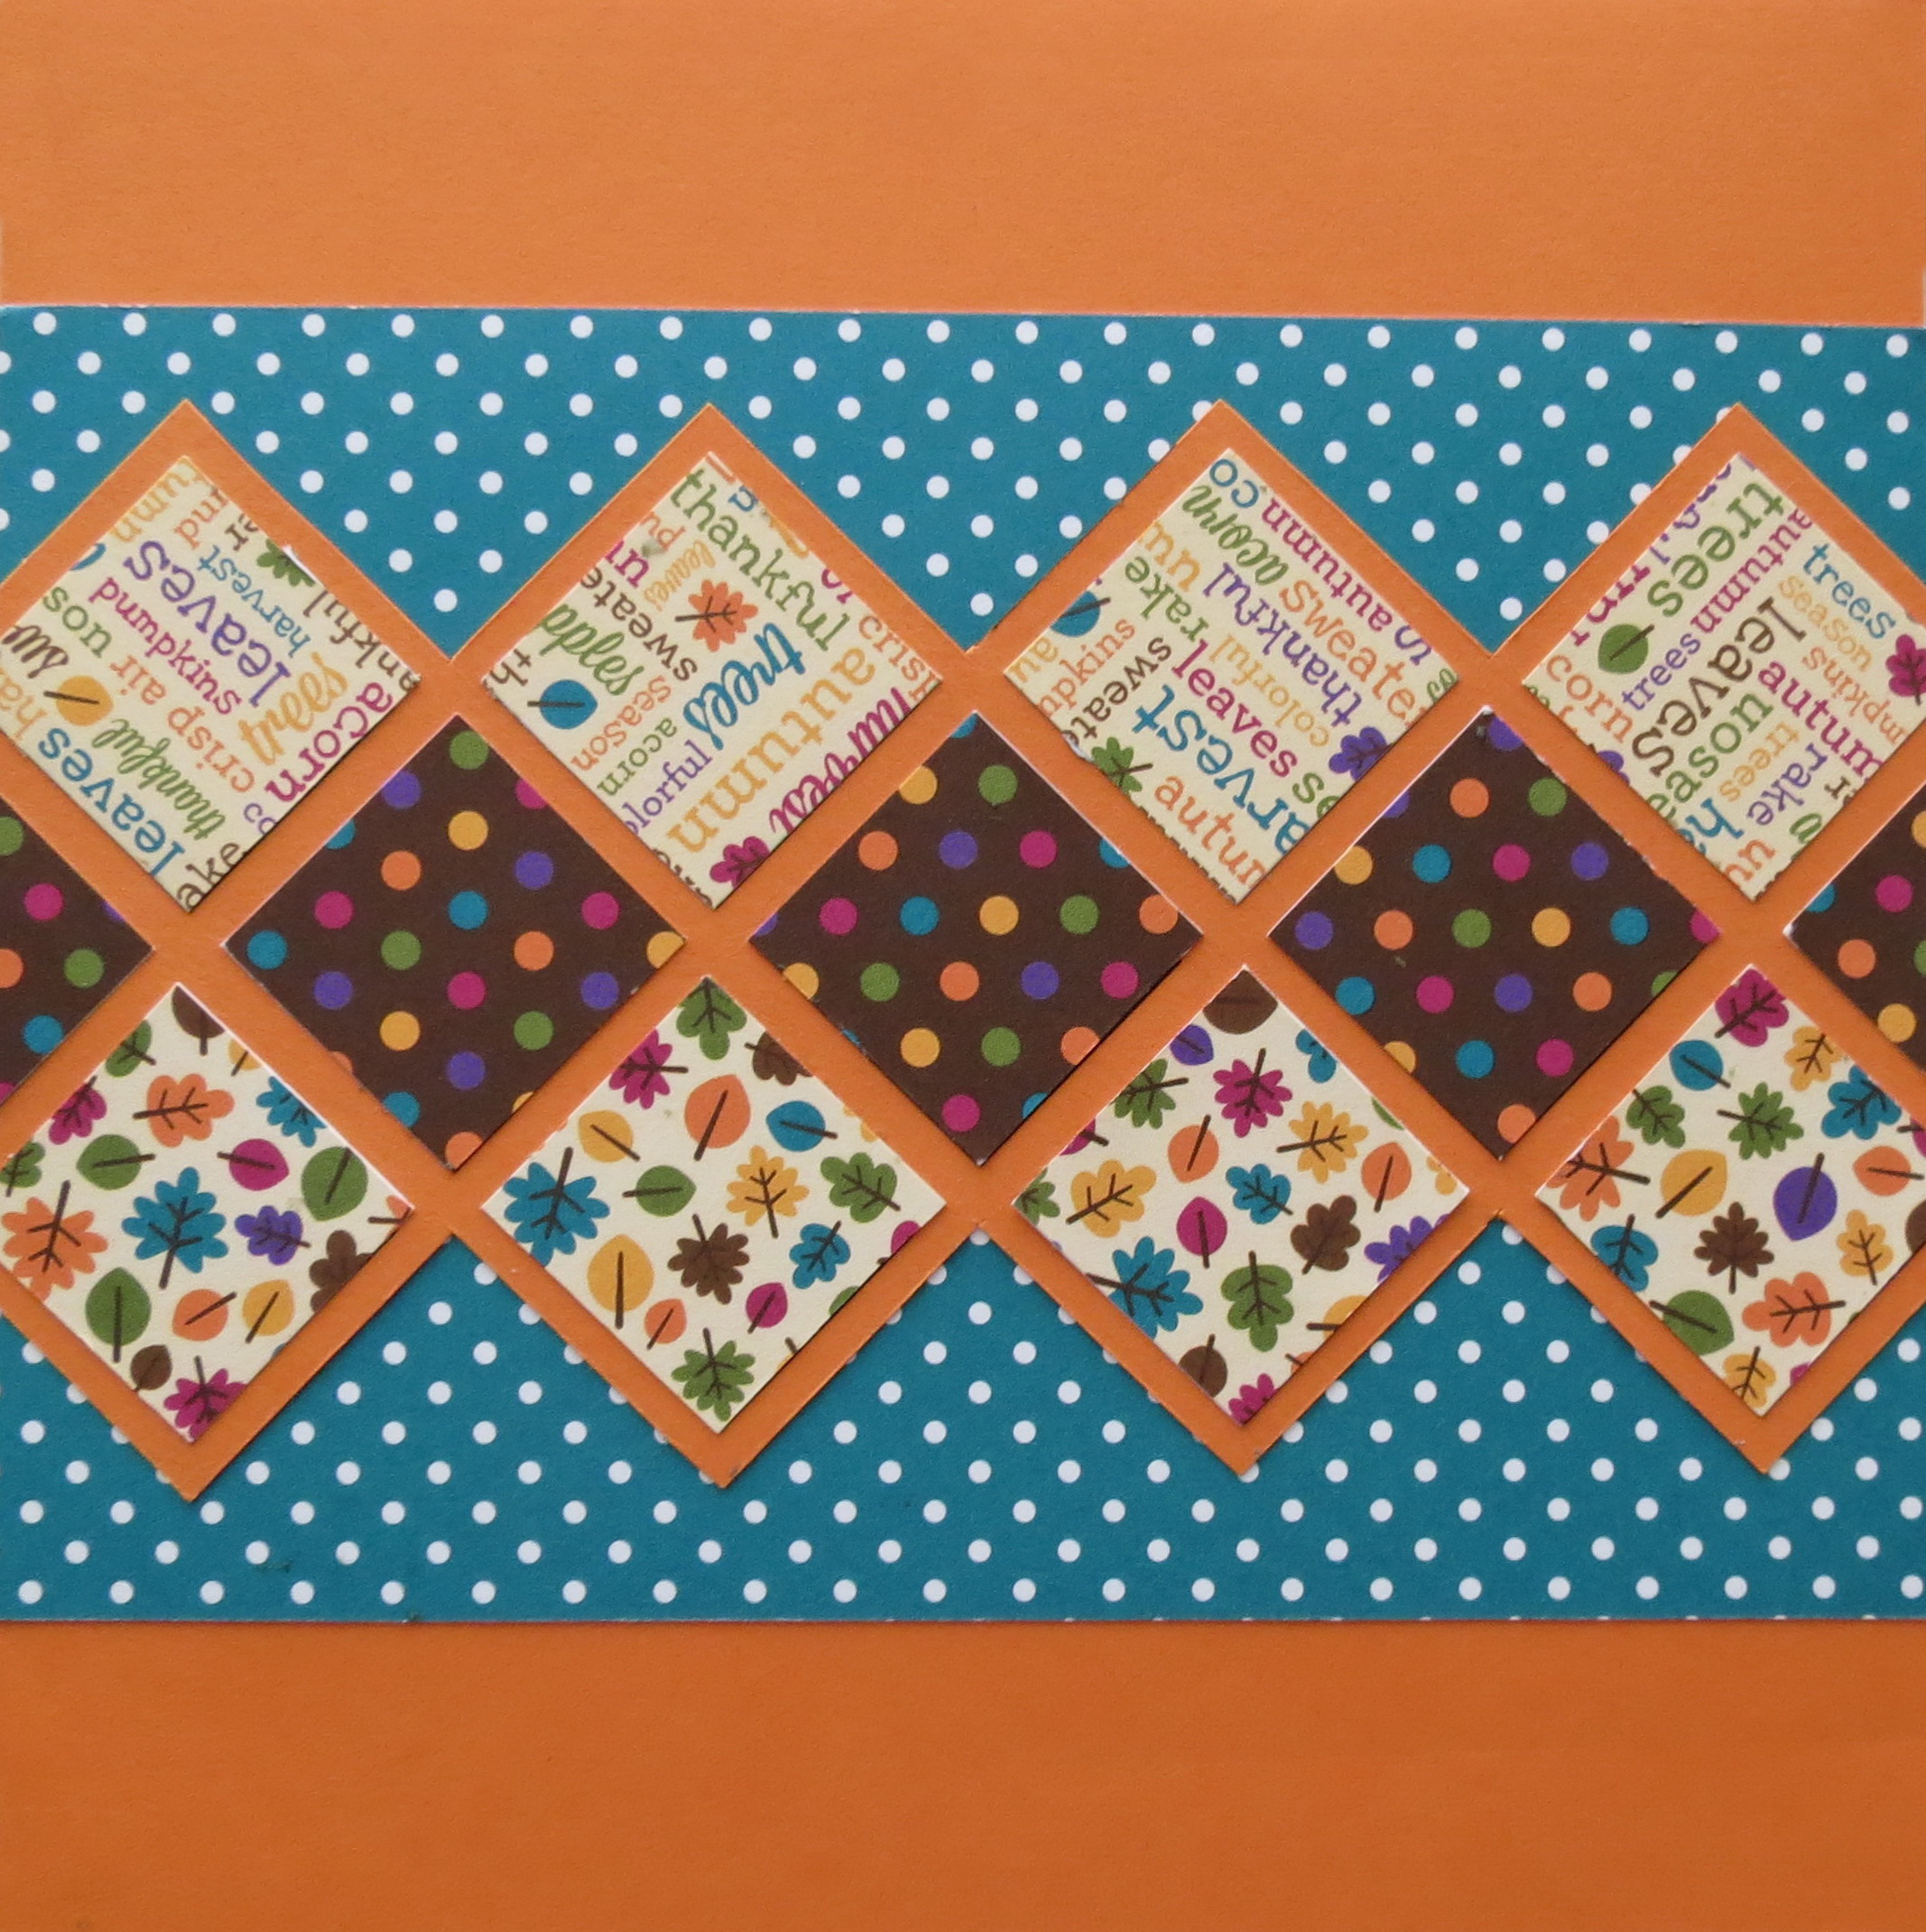
Fall Family Photos Mini Album cover Technique: RTC grid paper as an embellishment.
The final thing I tried with this mini album was a special cover piece using another panel of 6 x 6 RTC grid paper. For this technique I used three different patterned paper tiles cut into 1” squares and filled them out across the RTC Grid diagonally.
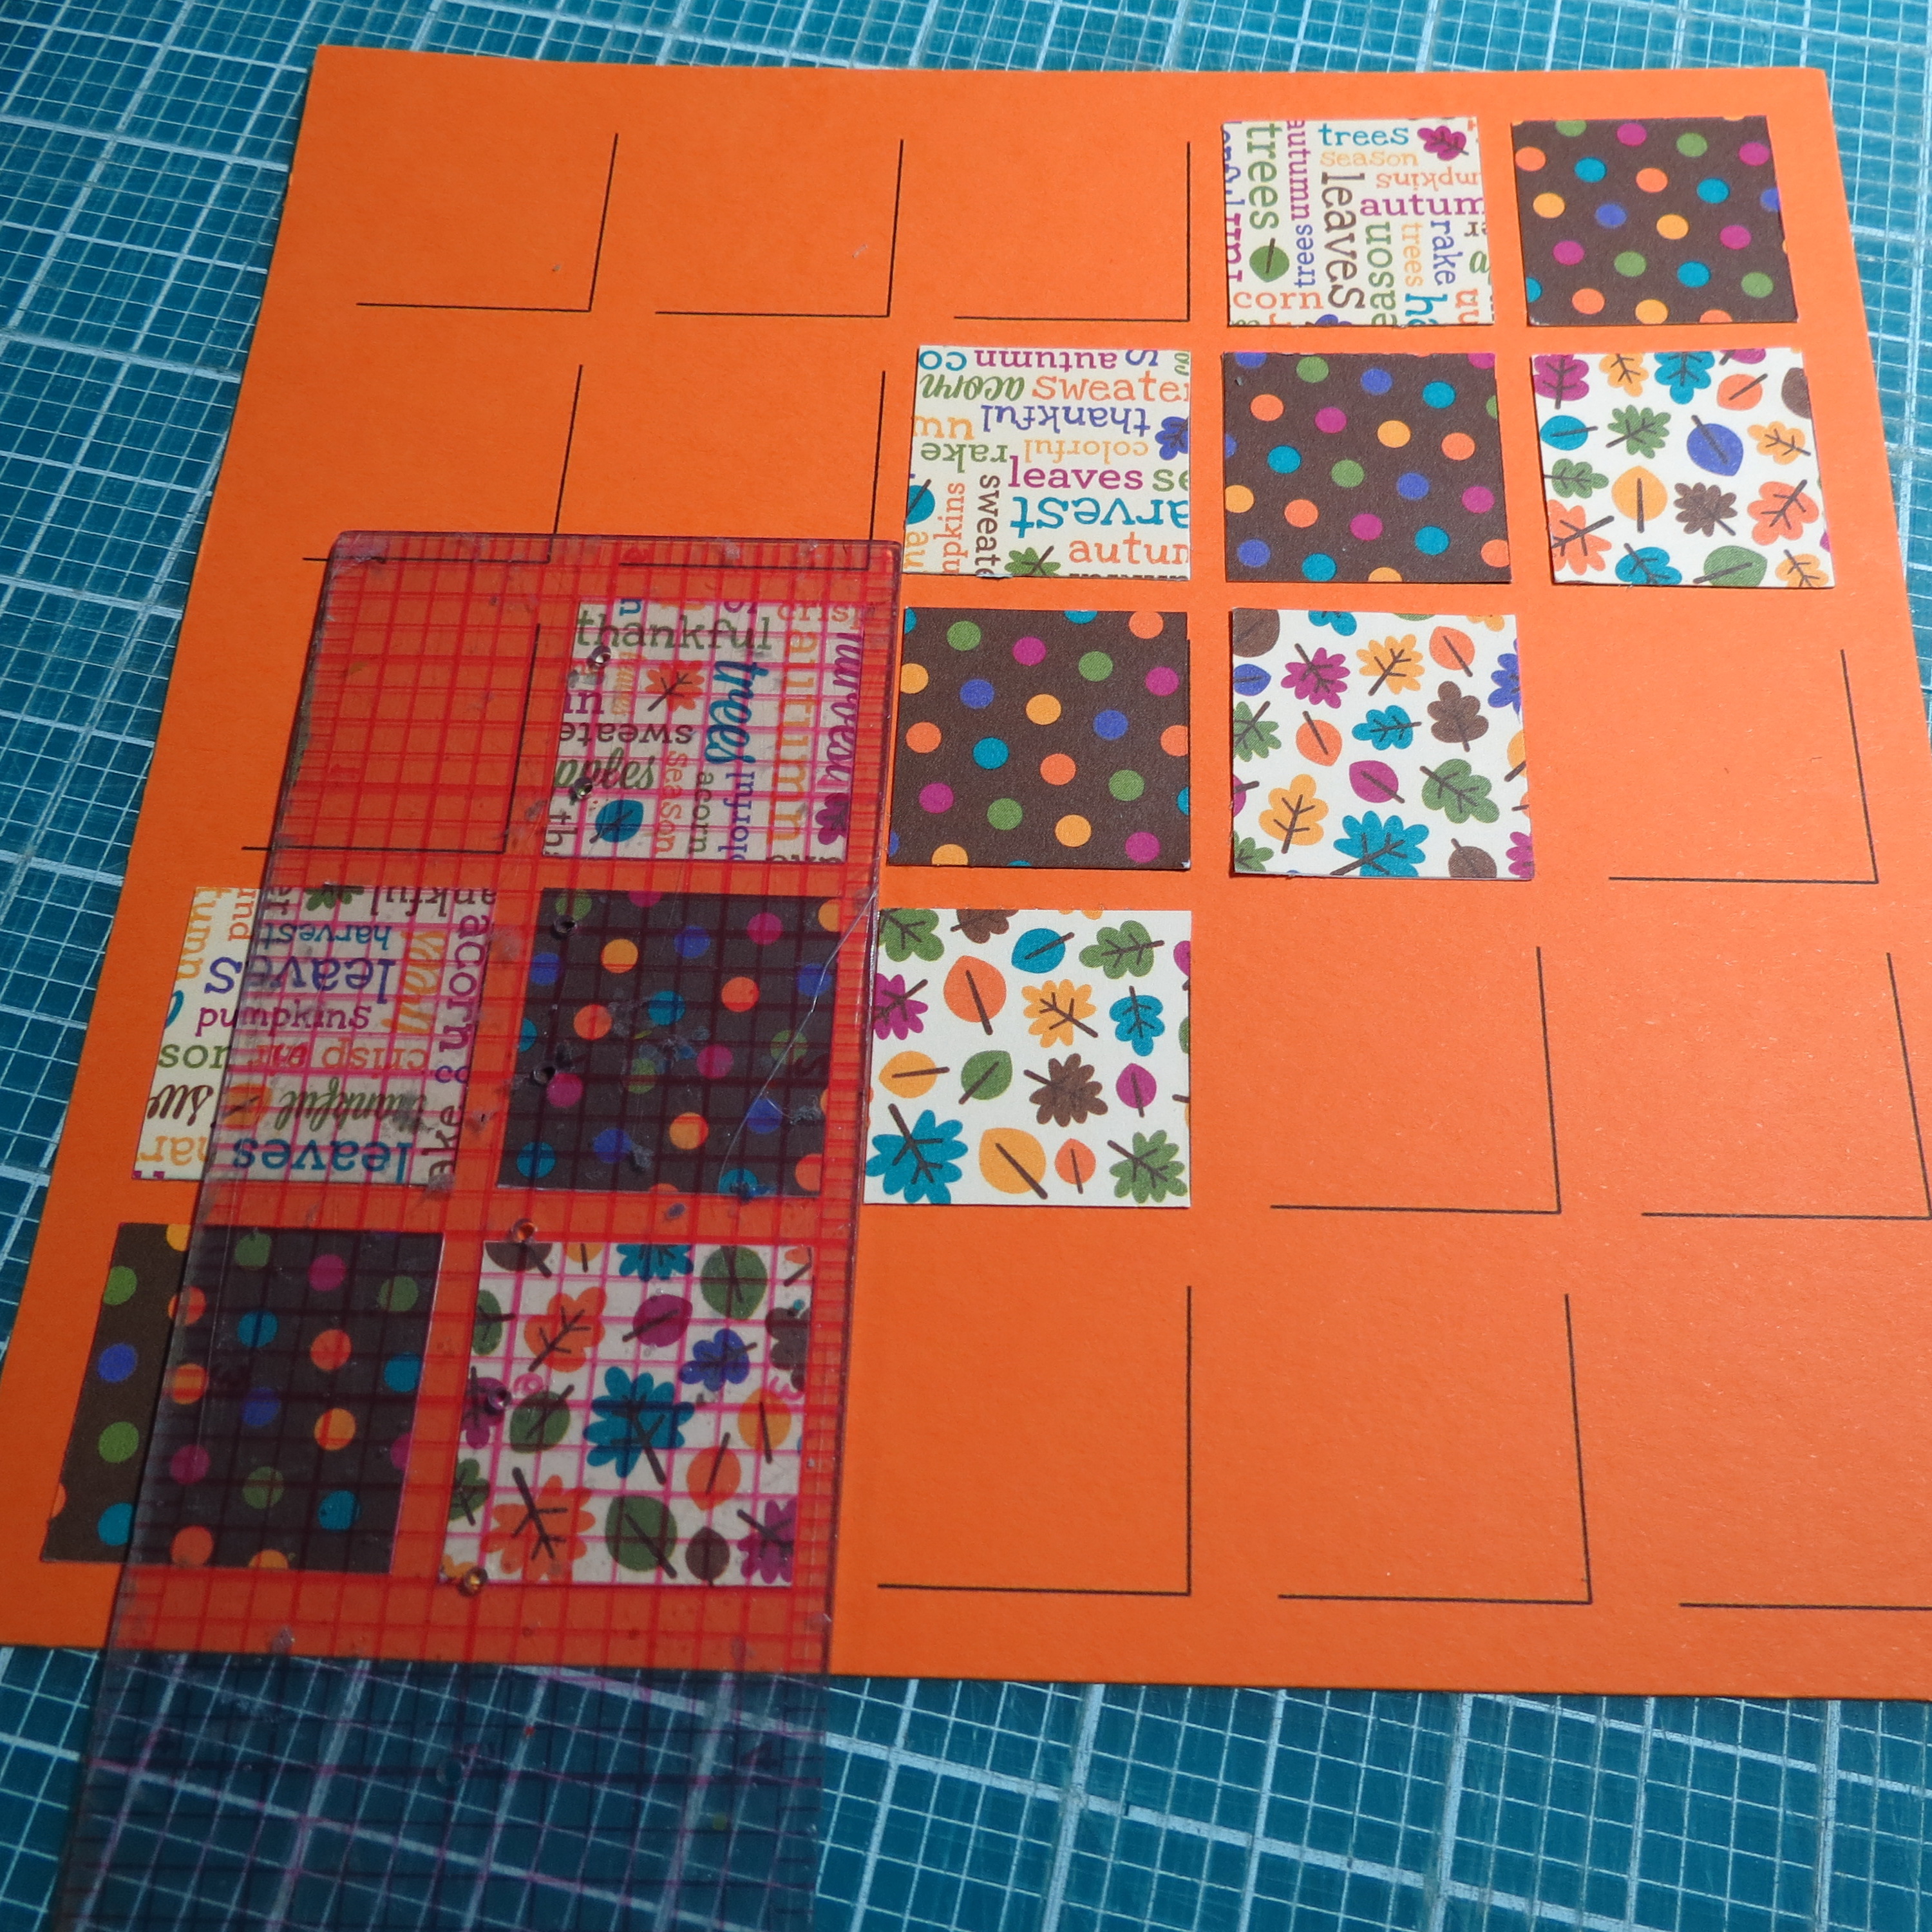
Three diagonal rows of tiles and trimmed outside edge of 1/8″.
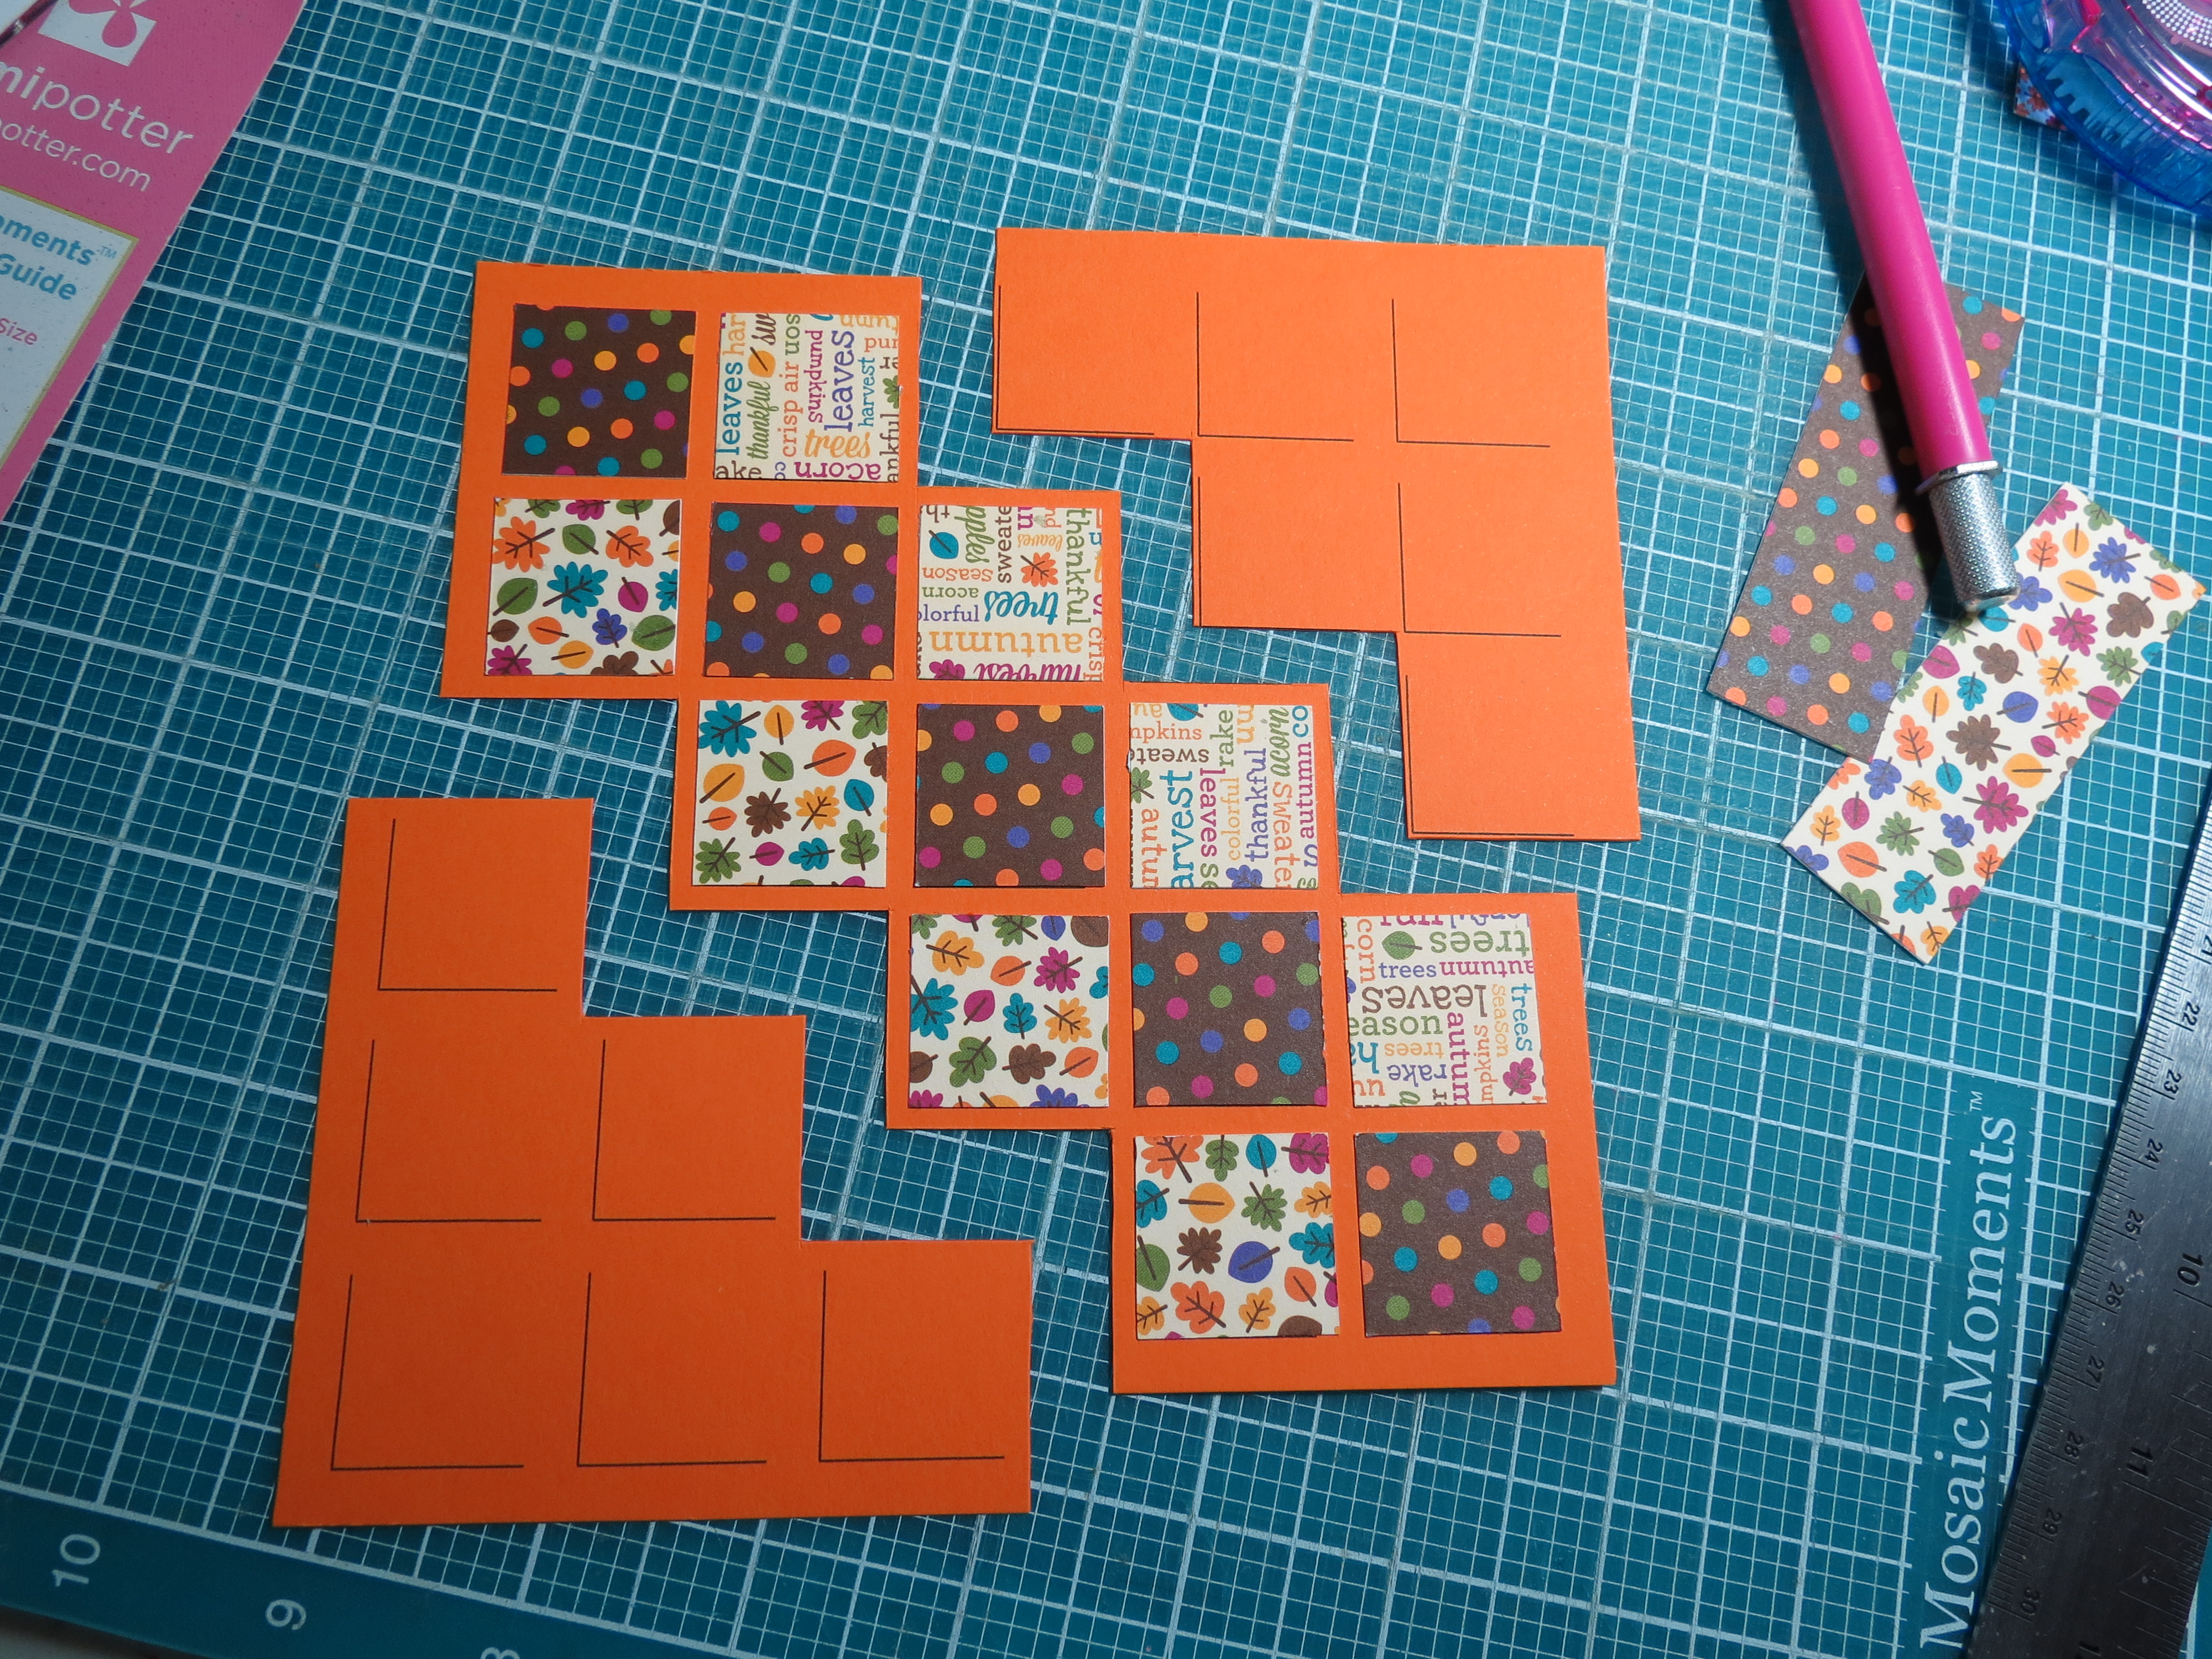
Cut away from the design, save excess for another project.
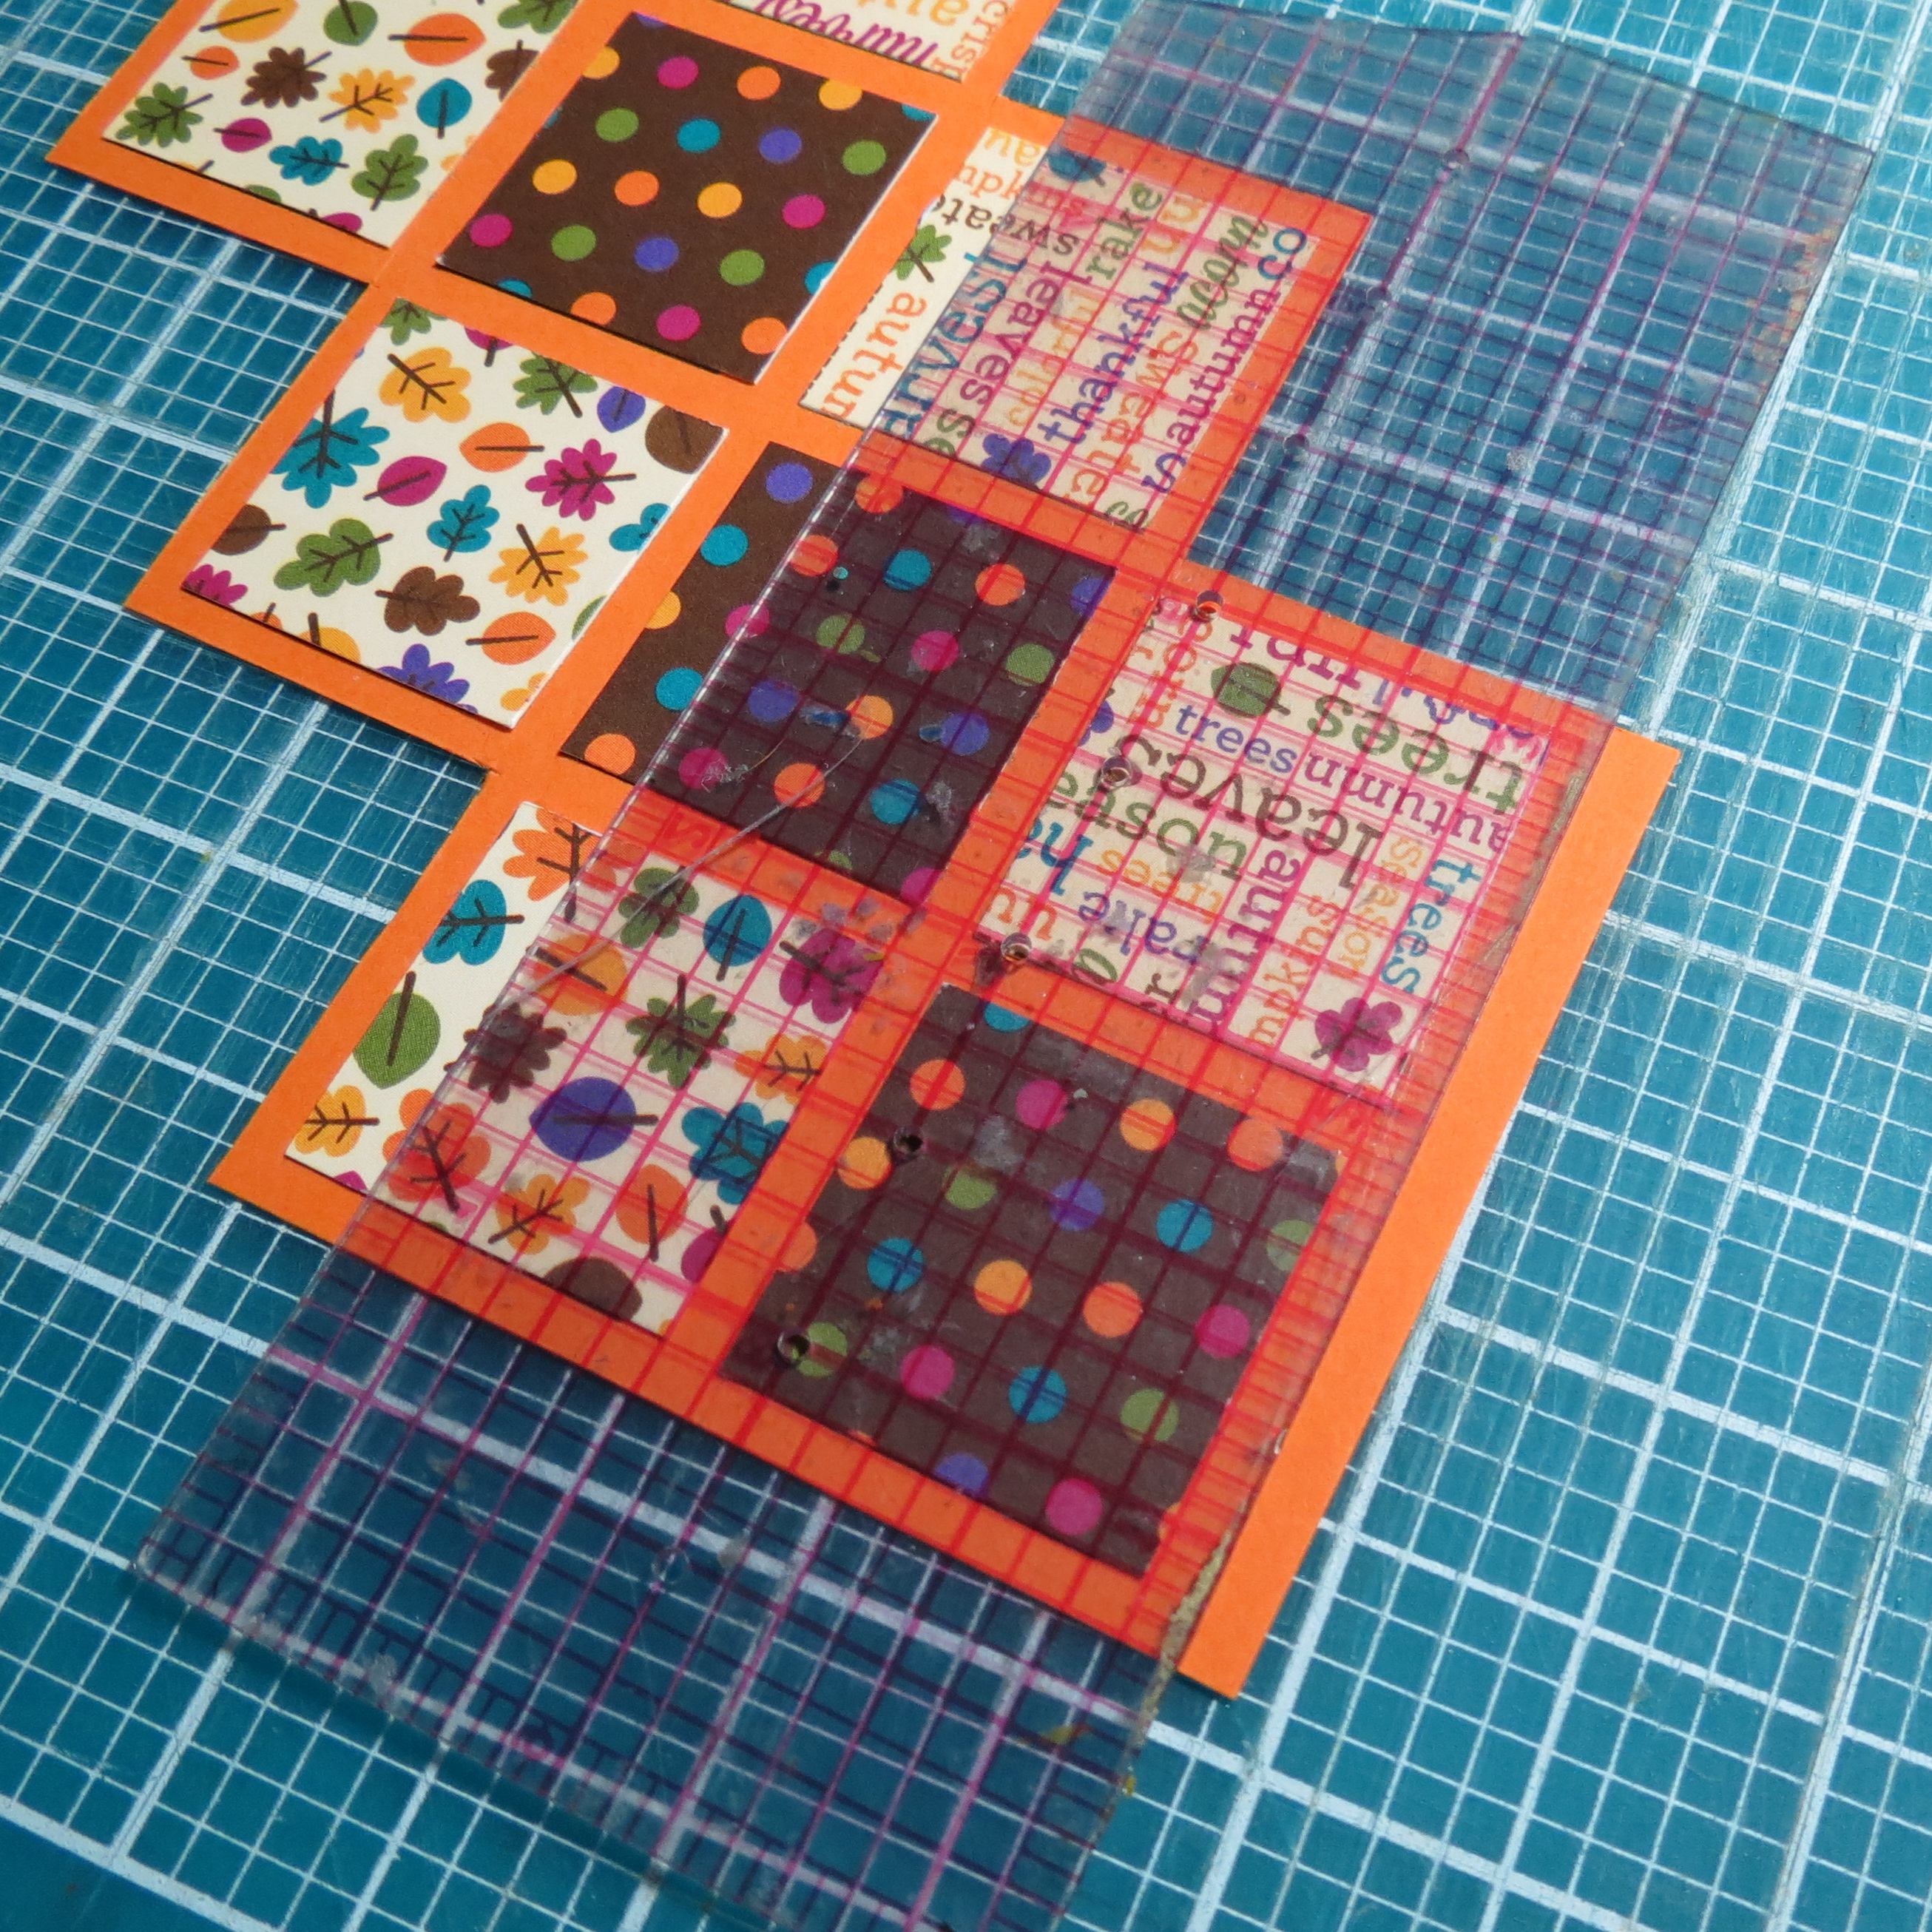
Trim outside edges to 1/8″ inch.
I trimmed away the unused portions leaving a 1/8” border all around. I selected another section of patterned paper in a 4”x 6” size to serve as the background to mount the tile section onto the cover. There is some overhang that you will need to trim away. I used patterned paper but several blocks could be filled with photos, dates stickers or other embellishments.
The ease of using RTC Grid paper to create this for your Fall Family Photos Mini Album along with a coordinated collection of papers and embellishments will help to pull this project together quickly. The Orange RTC is perfect for all your fall and Thanksgiving events, stock up while you can!!
Andrea Fisher