
 Designing with Dies: The Nested Scallop Frame Die Set

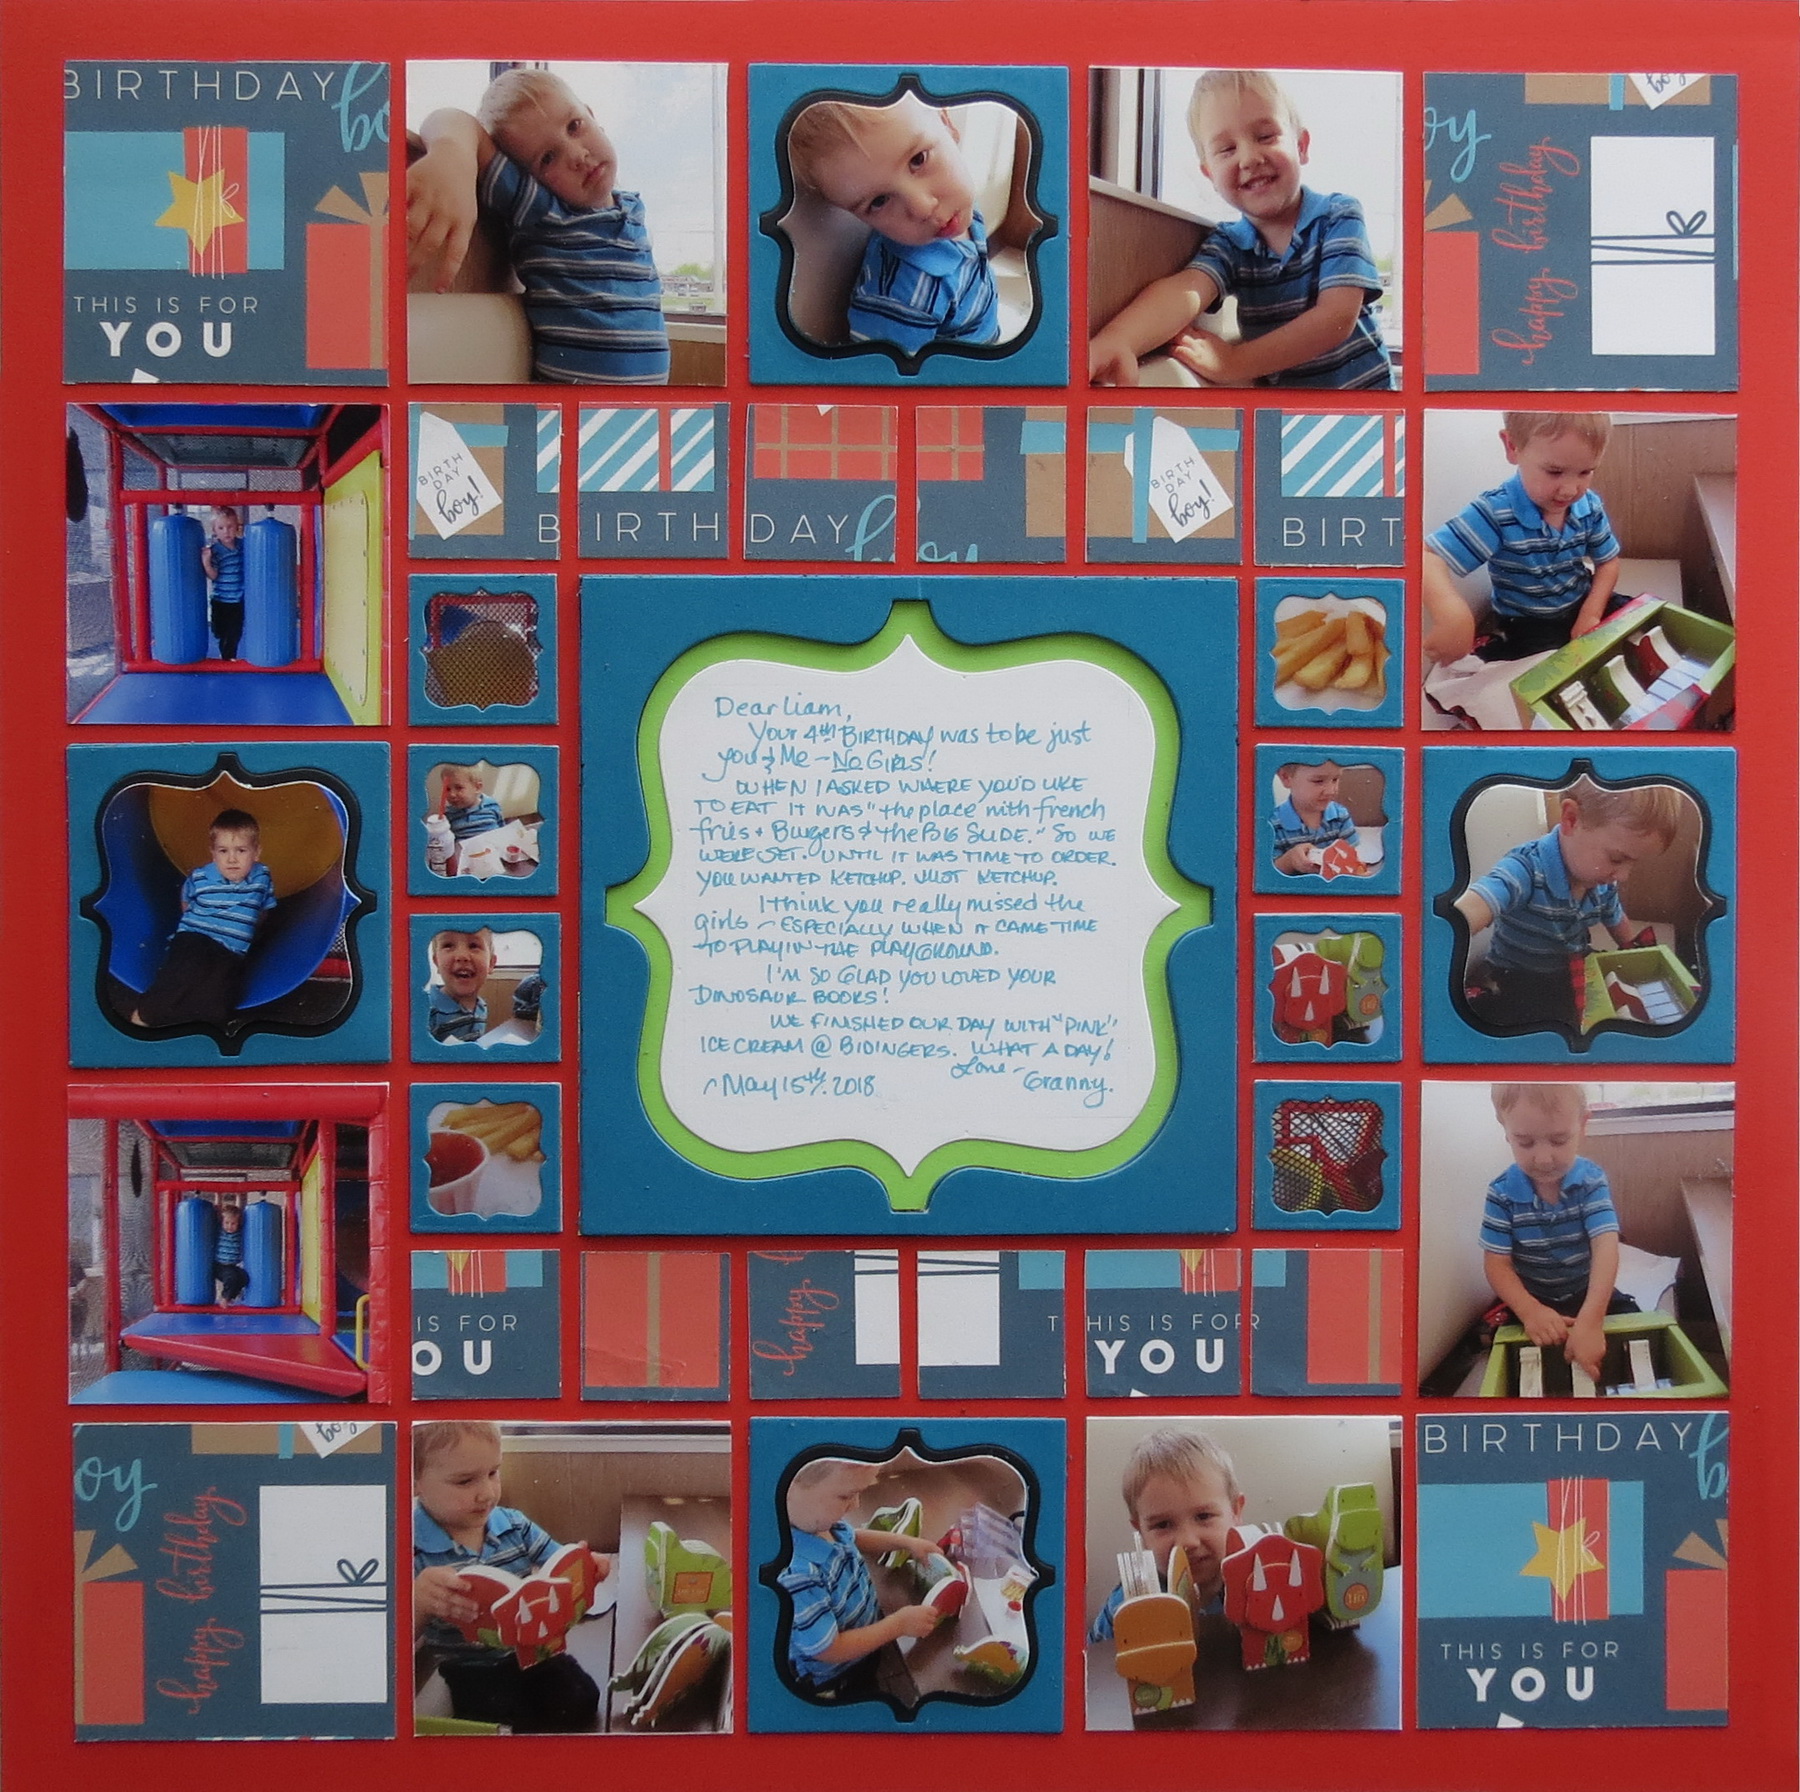
My Birthday Boy
Frames!
For this month’s Designing with Dies, the Nested Scallop Frame Die Set is our featured die. You might like to see your photos framed in these Scallop Frames. They give you lots of options for designing with multiple sizes of die frames, why not elevate your style with one of them!
This set has a 4×4, 2×2, and a 1×1 die and I’ve chosen Pattern #152 to be able to include them all.
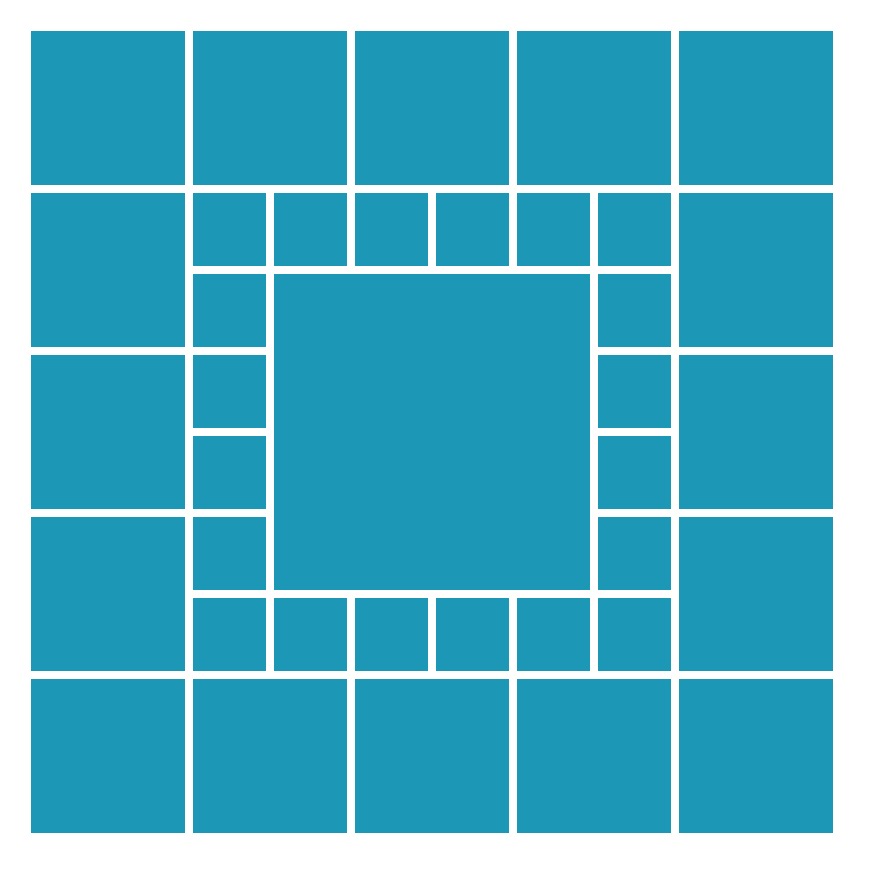
Mosaic Moments Pattern #152
My high school art teacher would tell us that a frame is a decorative edging for a picture intended to enhance the picture and not distract from it. We’ve got three sizes of frames to show you three different ways to use this set.
Mosaic Moments Designing with Dies featuring the Nested Scallop Frame Die Set
The largest 4×4 scallop frame sits in the center of the page. Eight 1” scallop frames flank each side of the center frame. The final die, a 2×2 scallop frame, is used on four of the photos in the center of each side of the page.
Mosaic Moments Designing with Dies featuring the Nested Scallop Frame Die Set
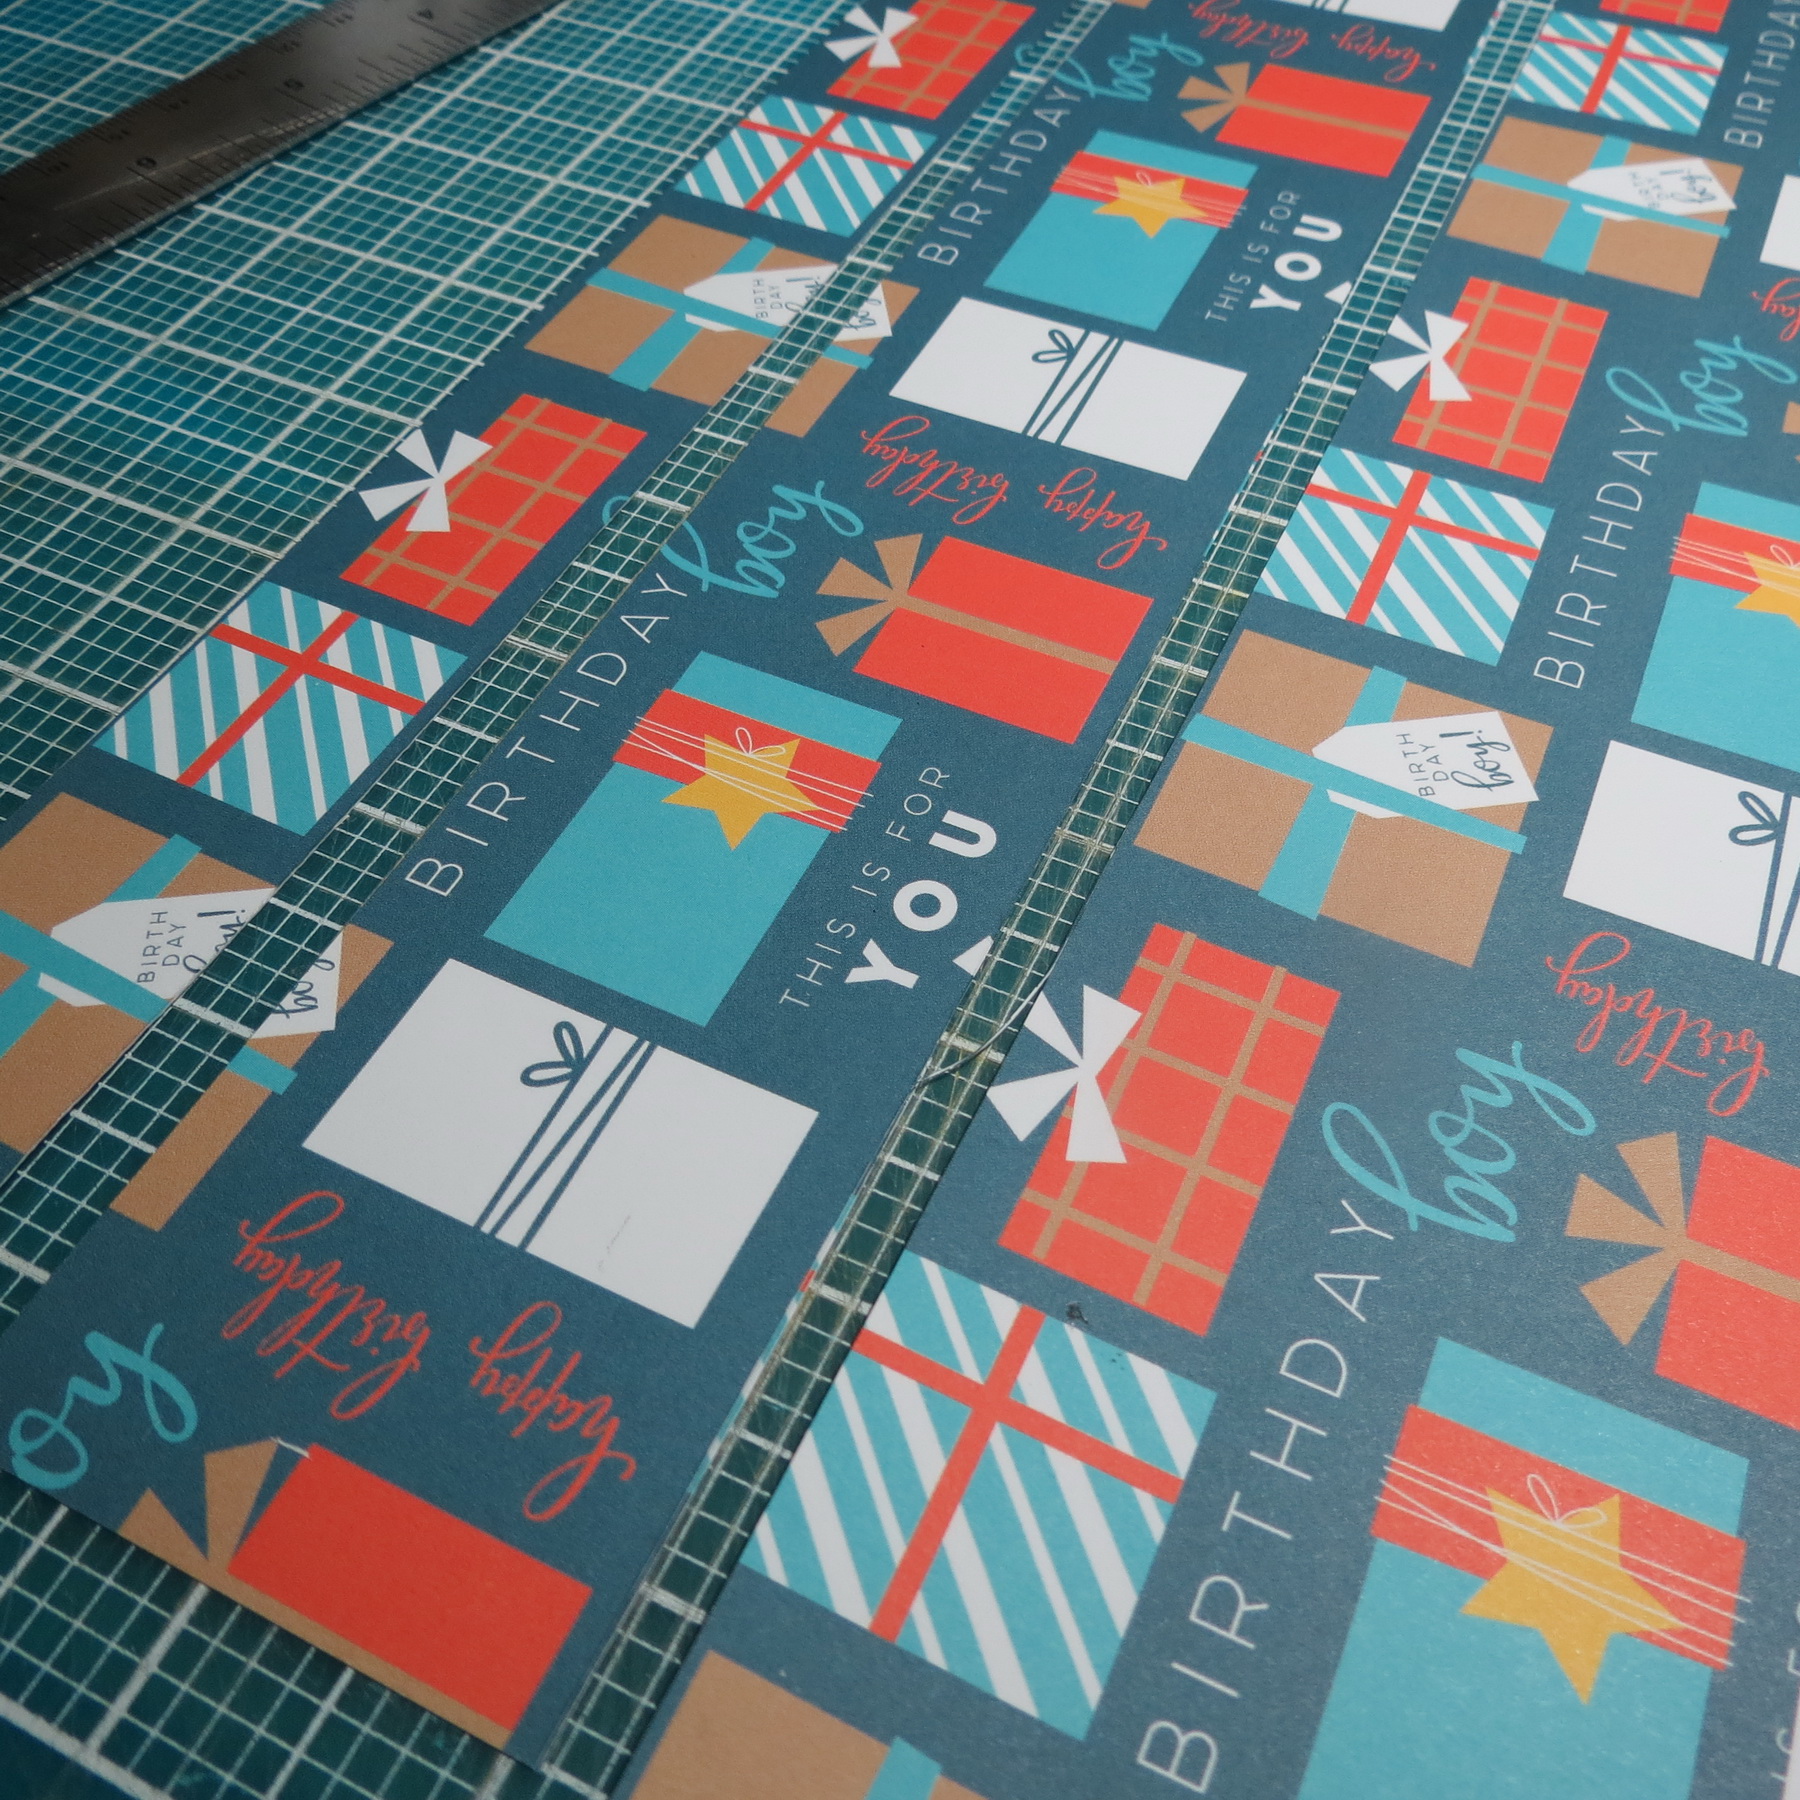
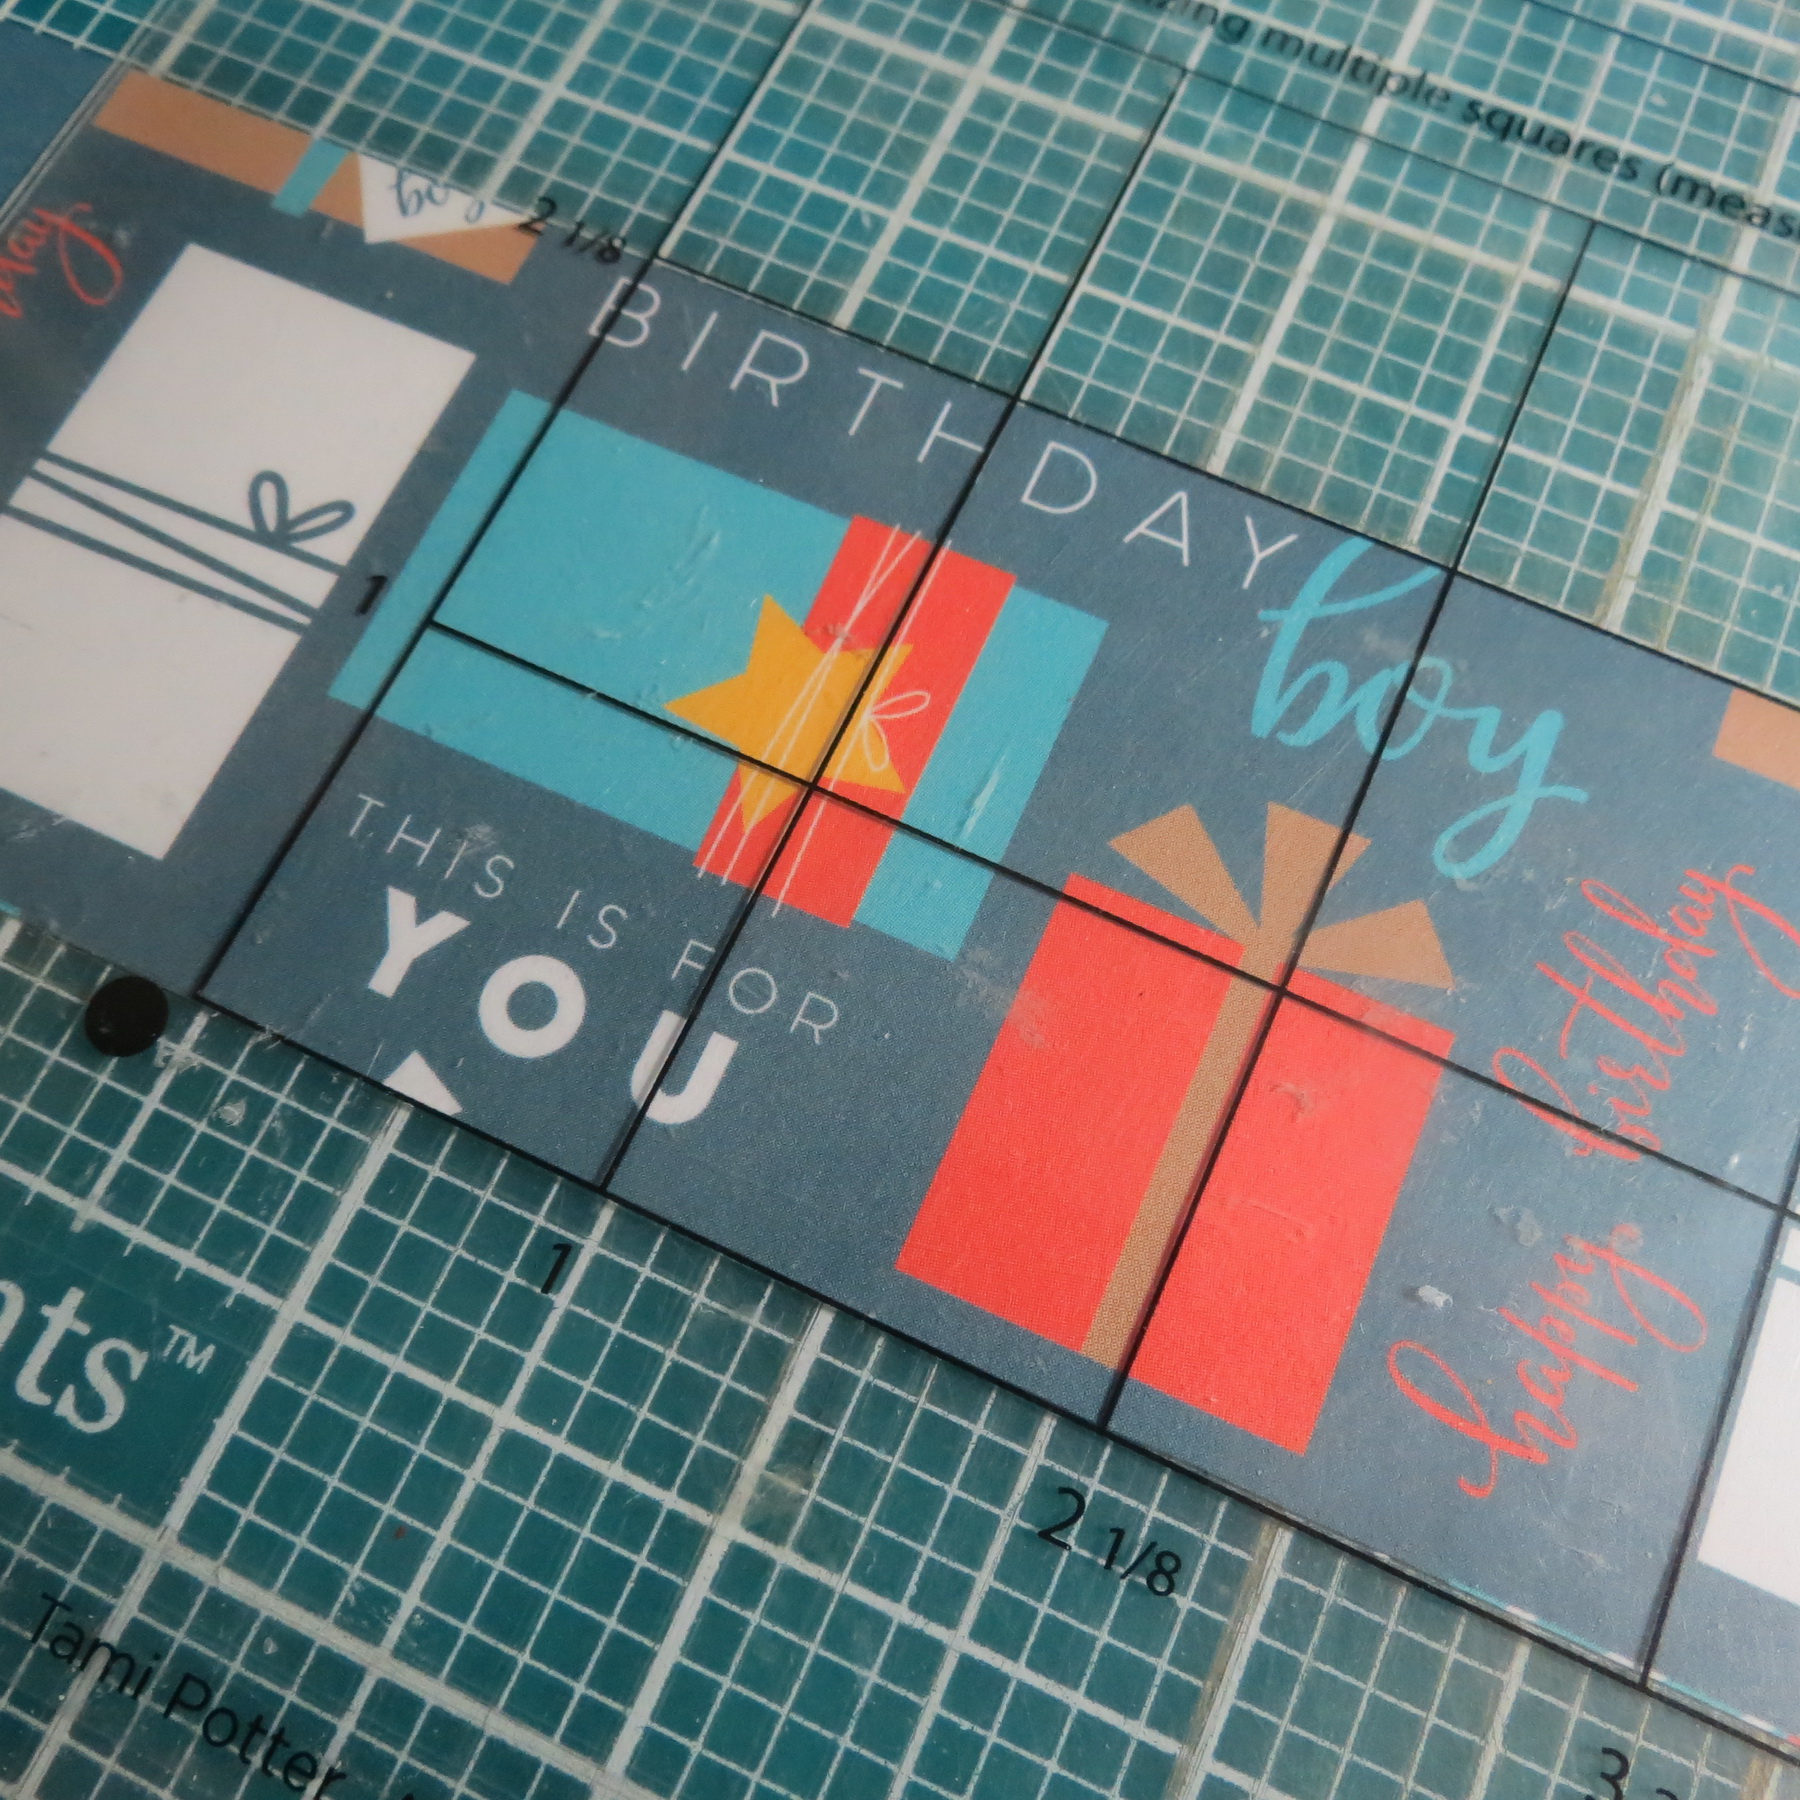
Let’s begin with the layout. There are 16 – 2×2 squares on the outside of the pattern. In each corner, I have placed 2×2 pattern paper squares. I used the Quick Glance Guide to isolate the sections of the pattern paper I wanted to use then cut a strip. I turned it and found where I wanted to begin my cuts for my squares. There were words I wanted to capture whole as best as I could.
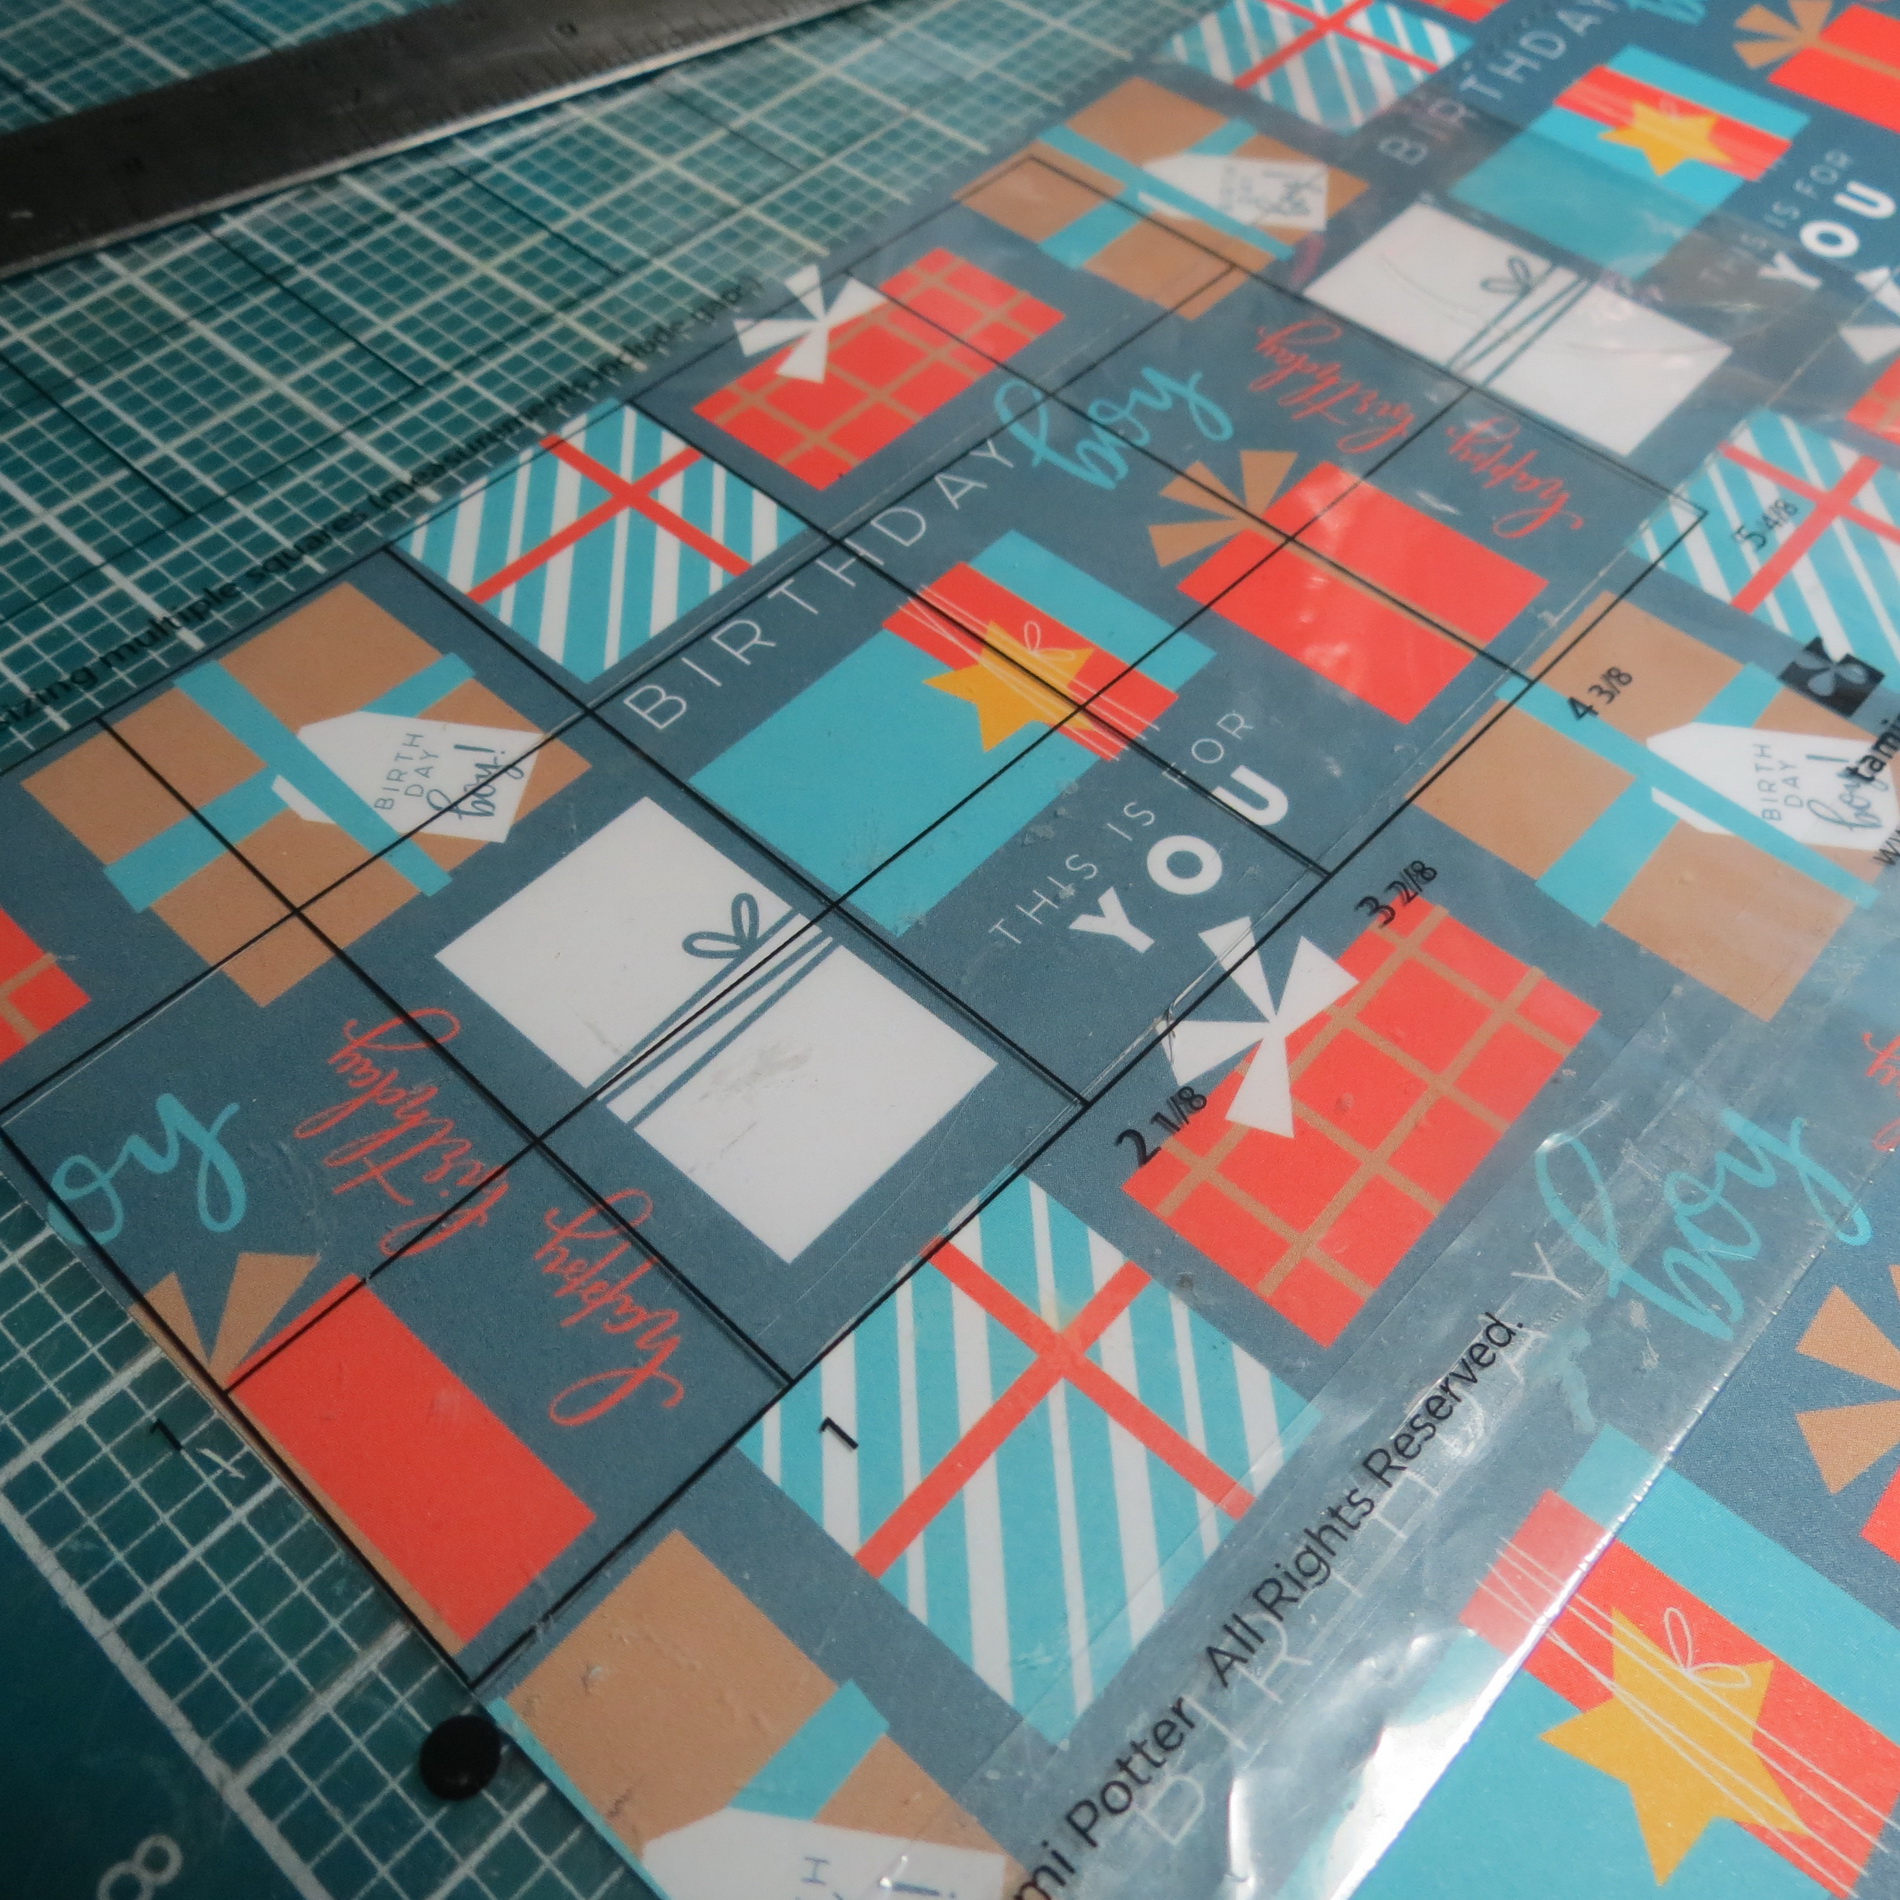
Mosaic Moments Designing with Dies Quick Glance Guide for fussy cutting your pattern papers
Mosaic Moments Designing with Dies featuring the Nested Scallop Frame Die Set Fussy cutting using the Quick Glance Guide
Mosaic Moments Designing with Dies
Mosaic Moments Designing with Dies
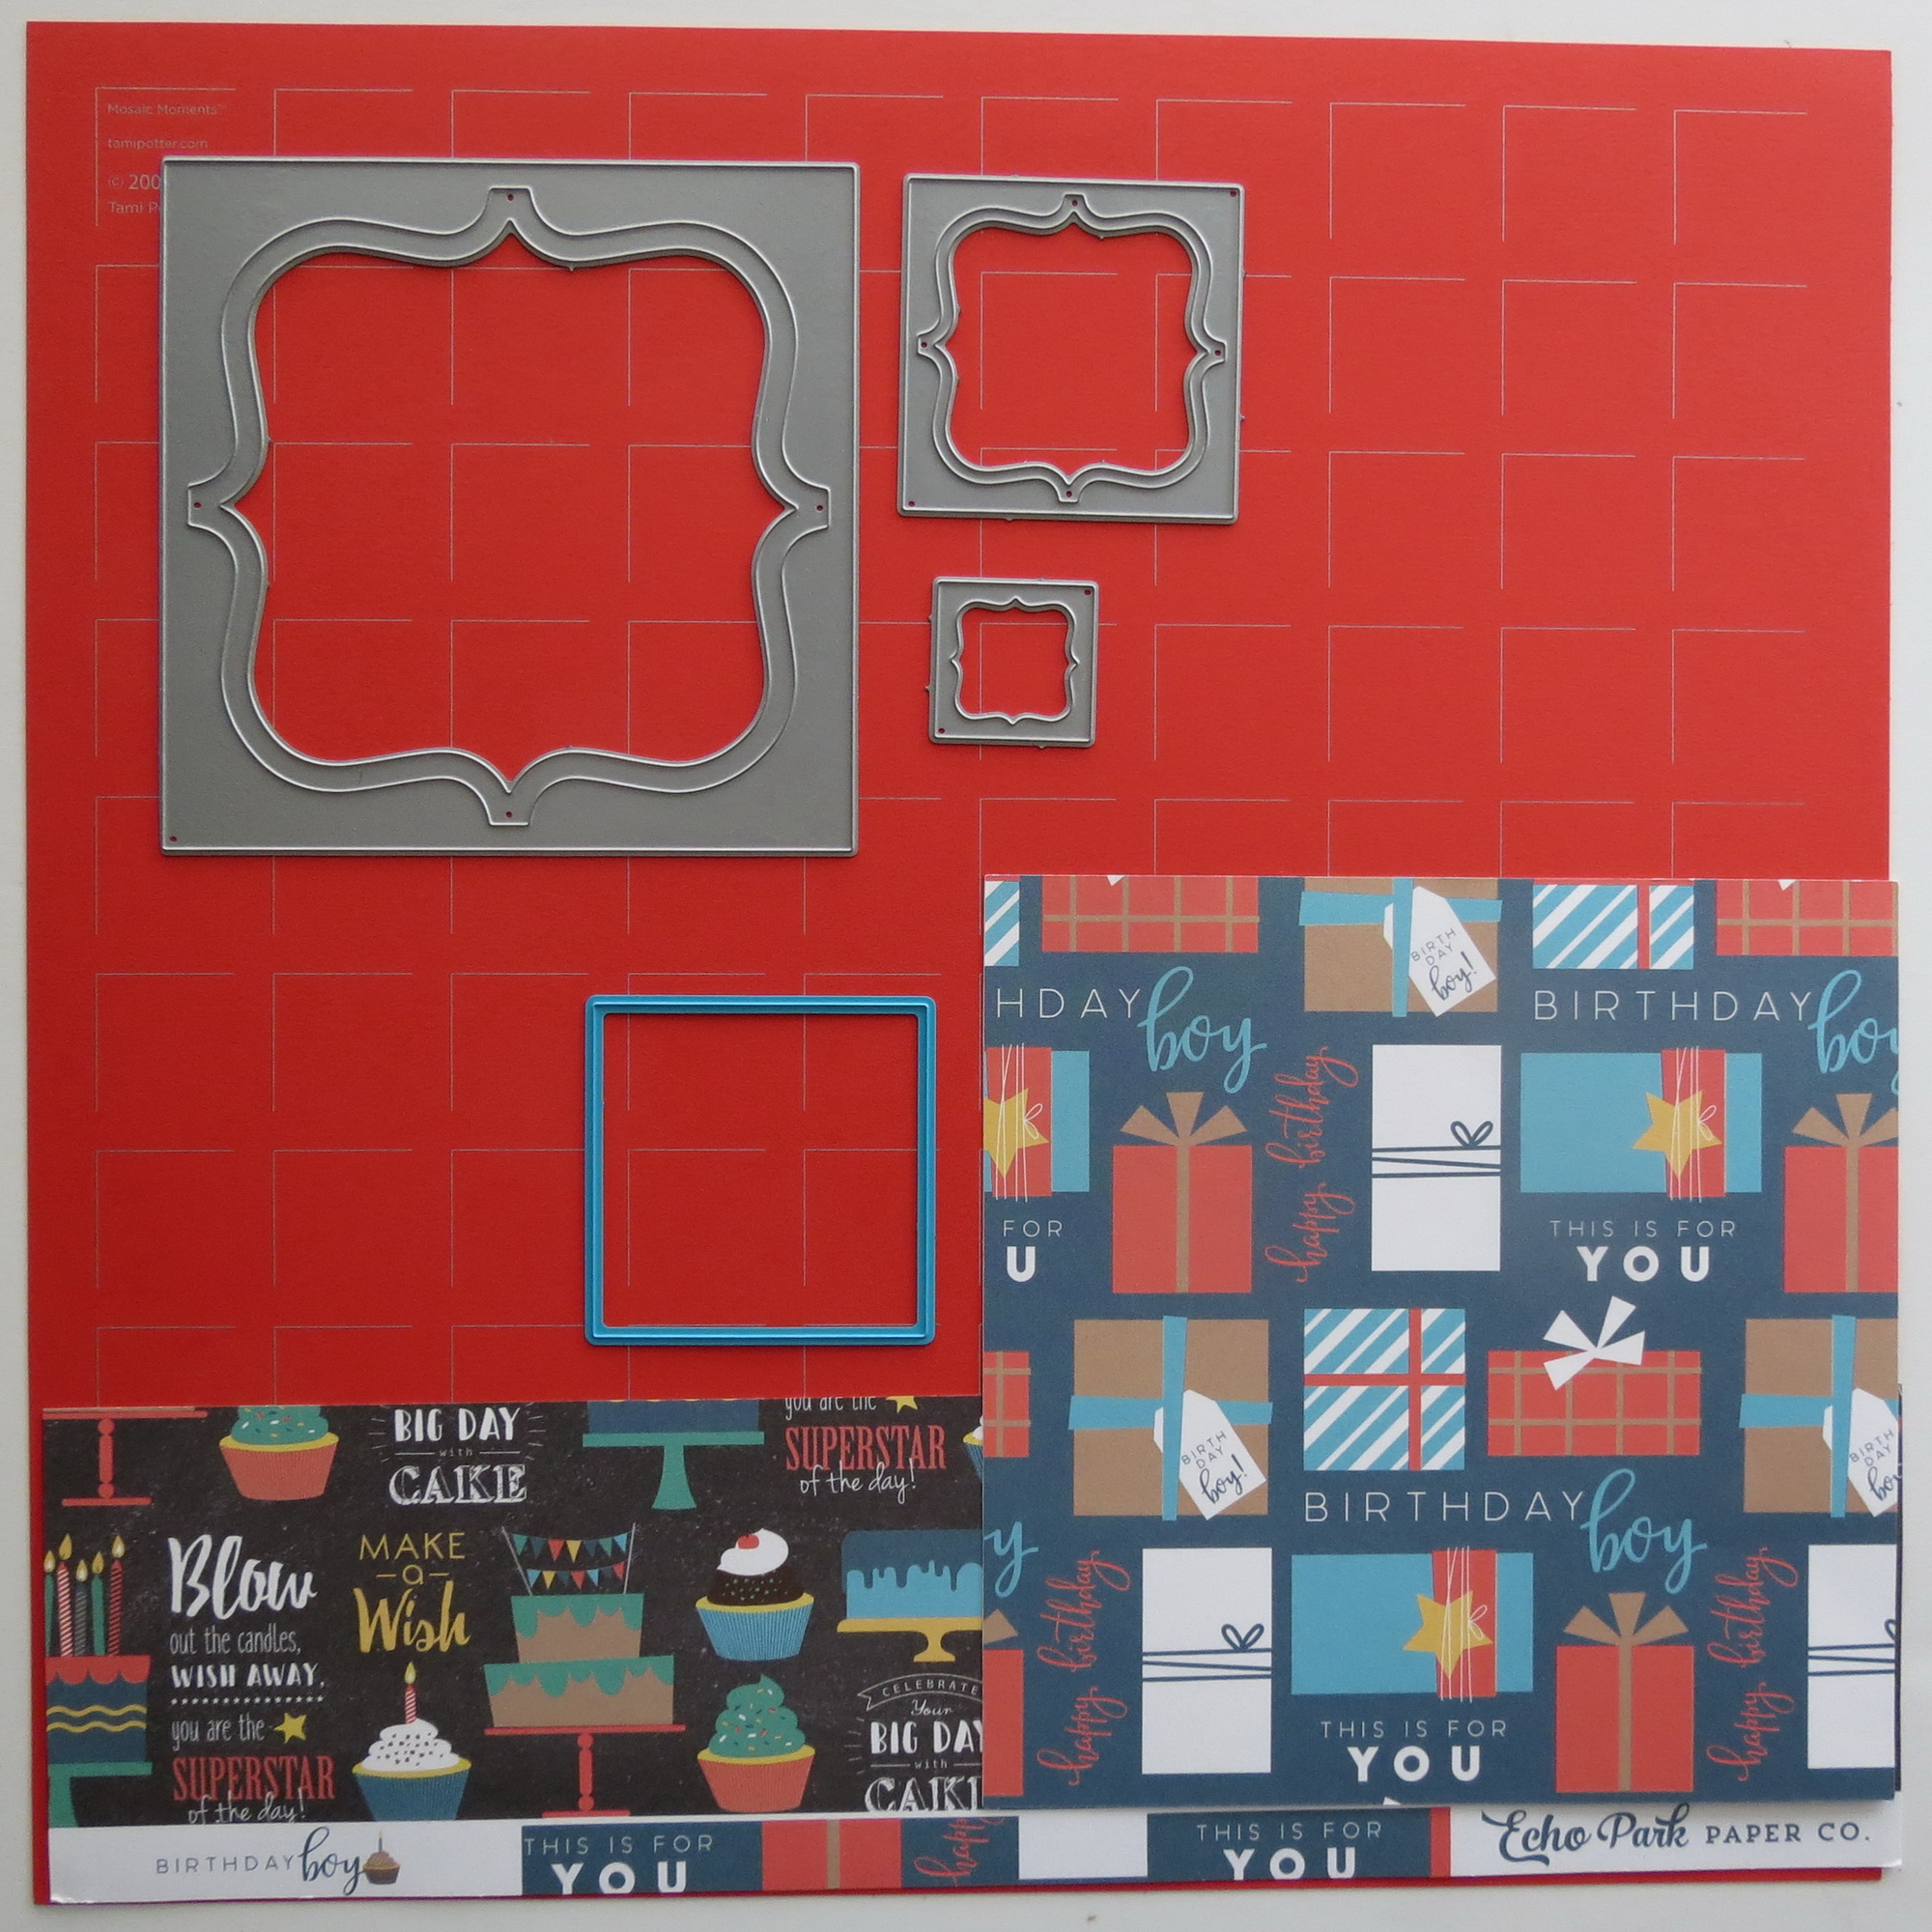
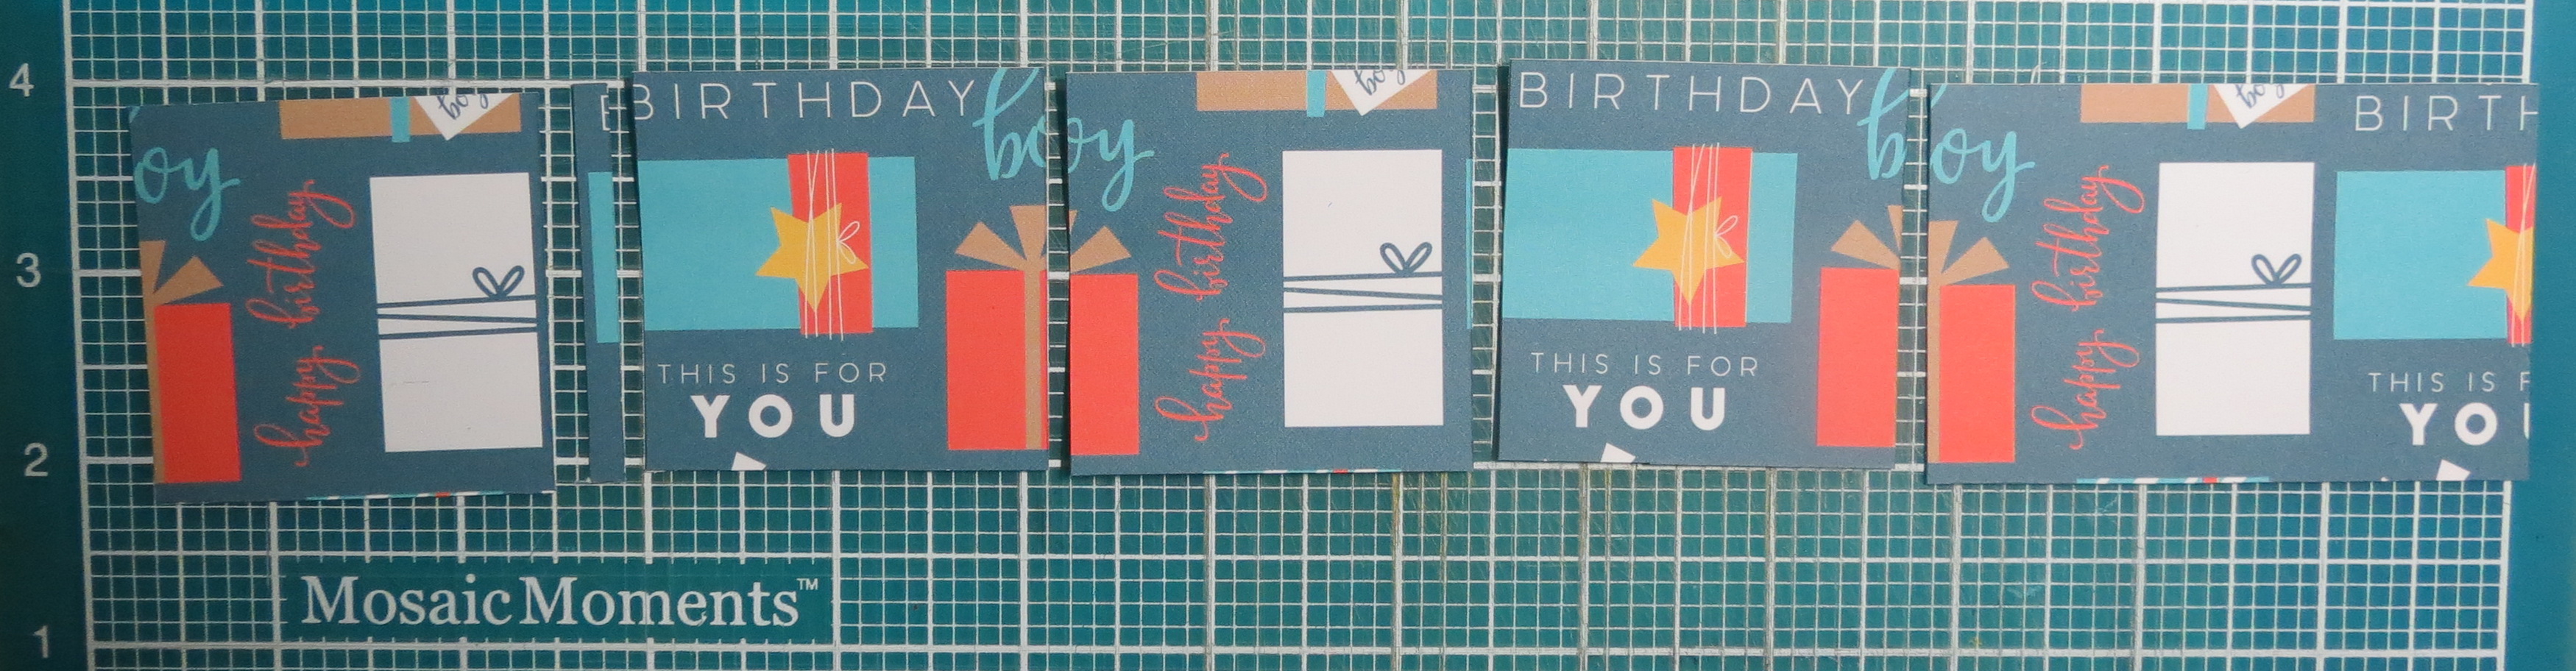
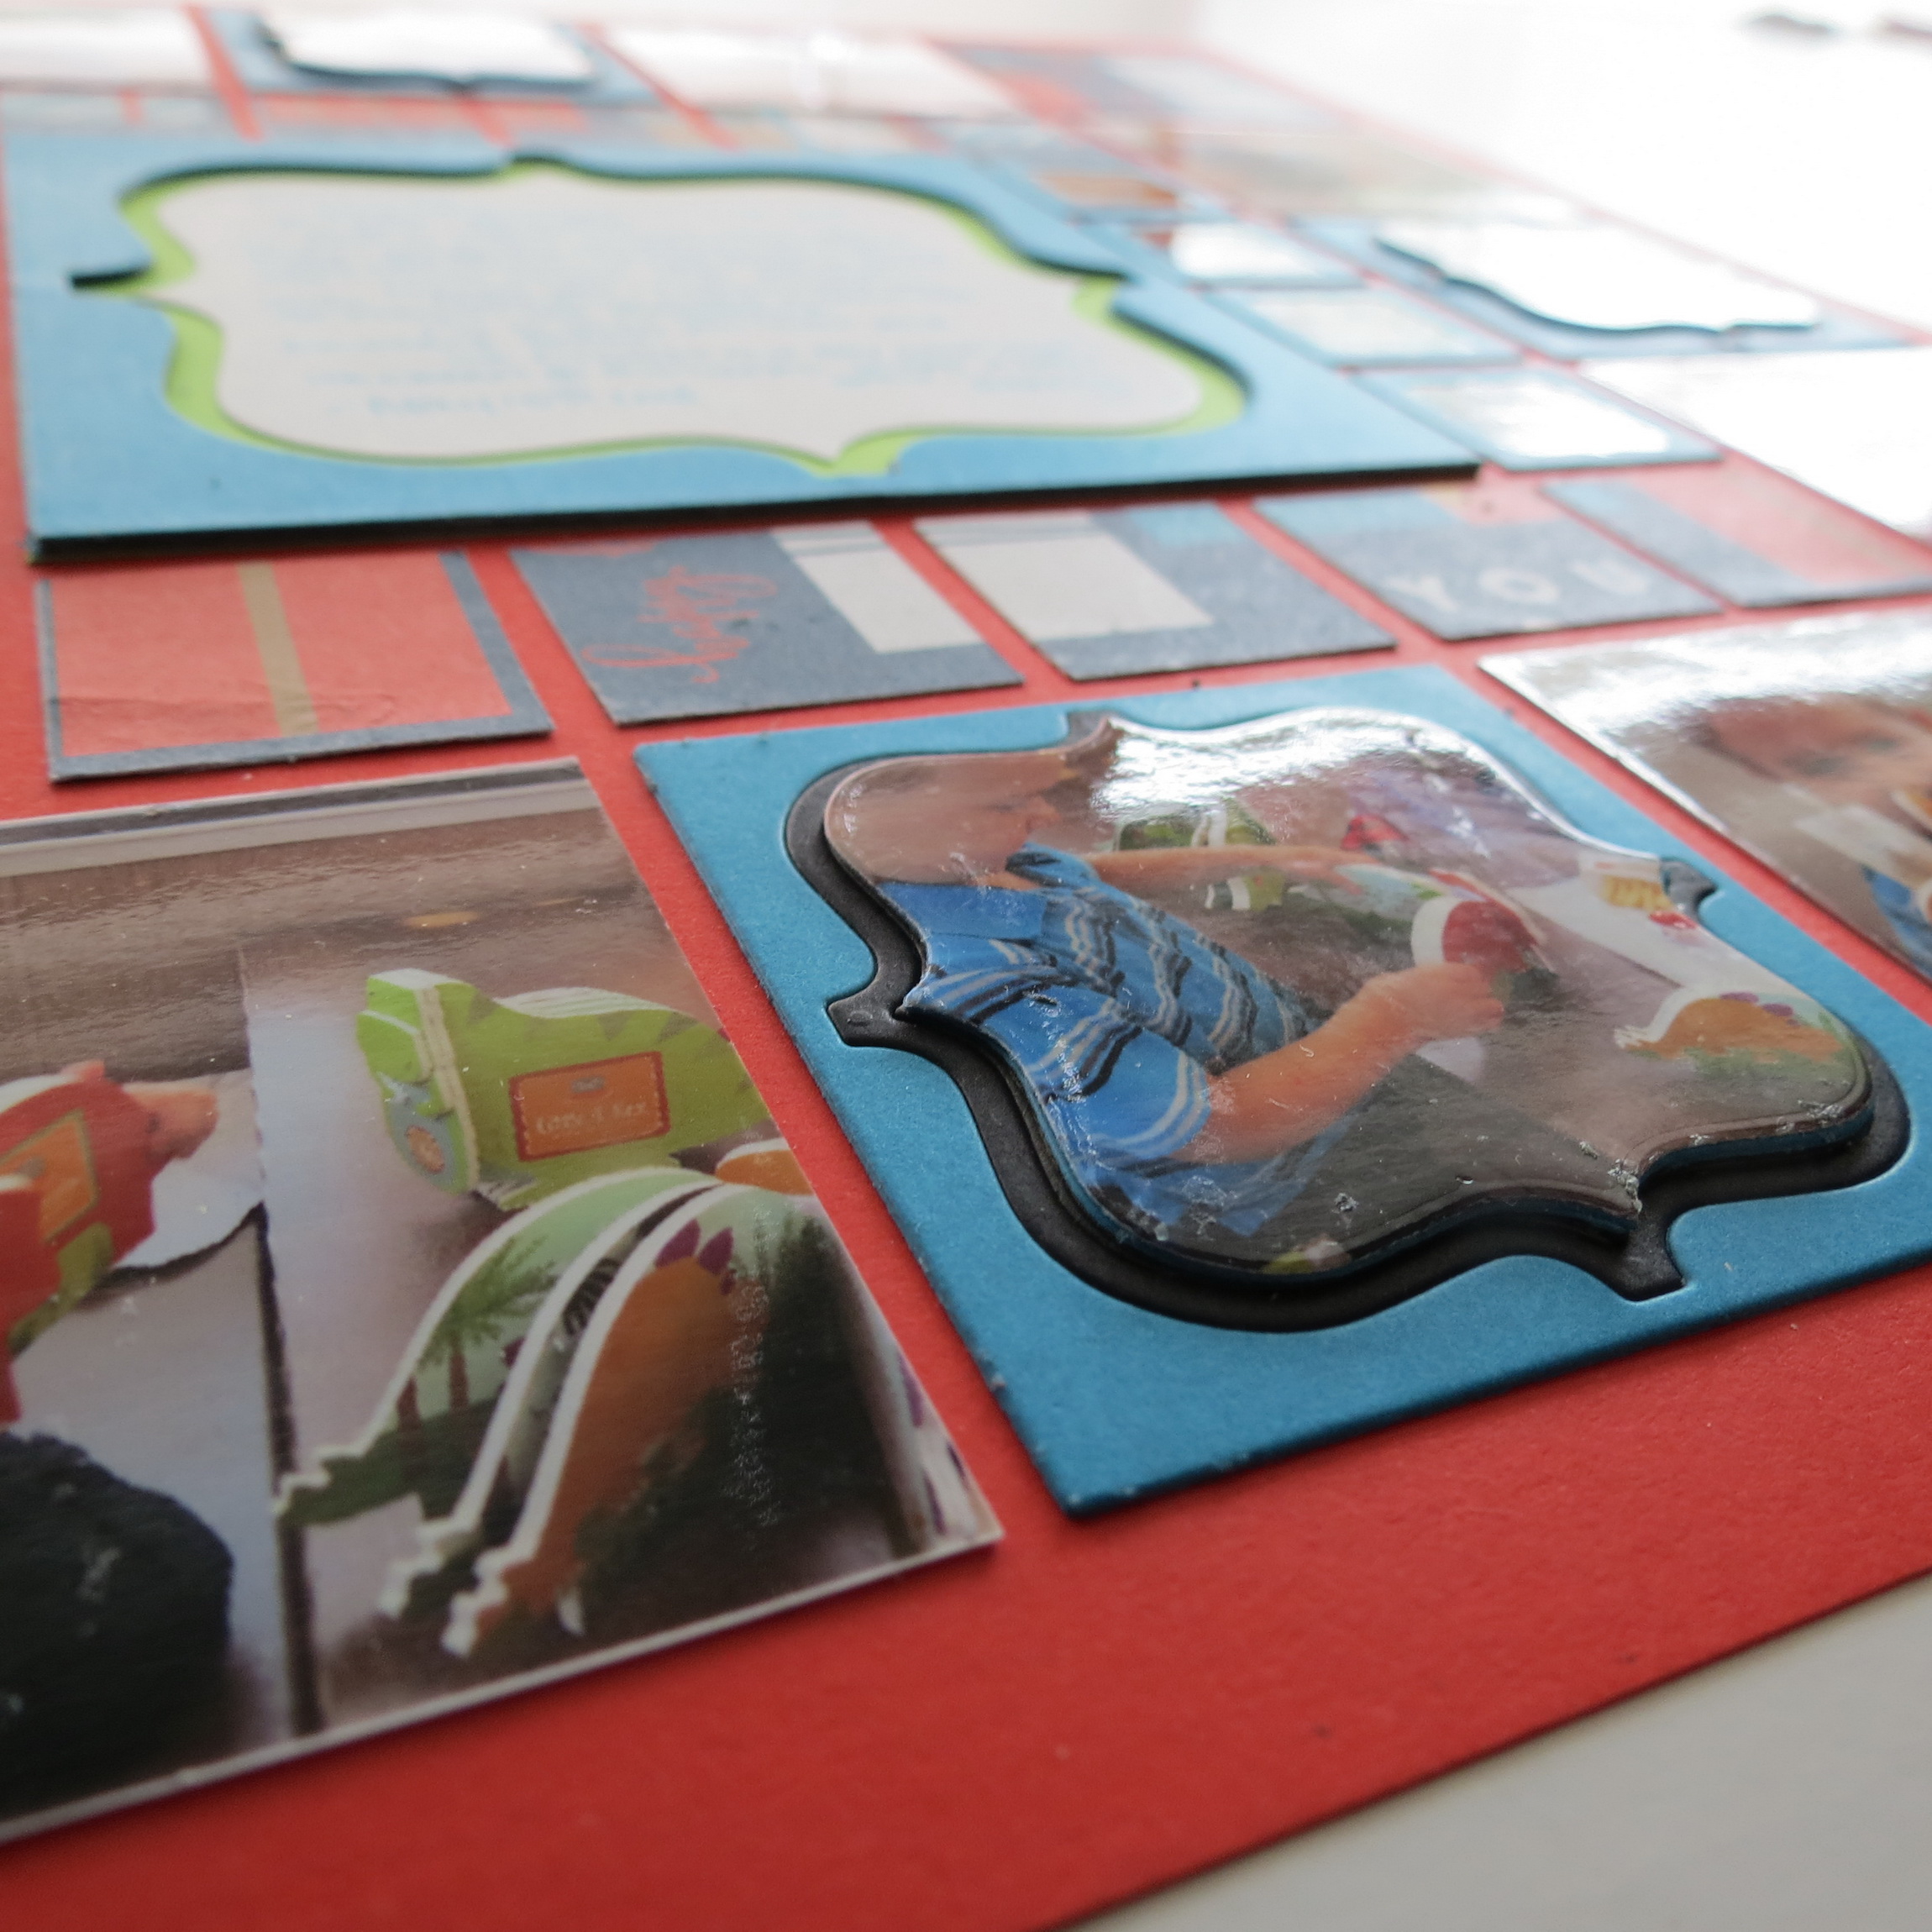
Pattern paper in 1” squares line the top and bottom rows of the center frame. It was this pattern paper that helped me to choose the colors to use for a grid, Mosaic Moments 12 x 12 Grid in Chili Pepper, and mats, teal, black and lime green cardstock.
I chose three photos that related to each other to fill each of the remaining 2×2 spots. I chose one photo in each section to use the scallop frame die with and placed it in the center of each row.
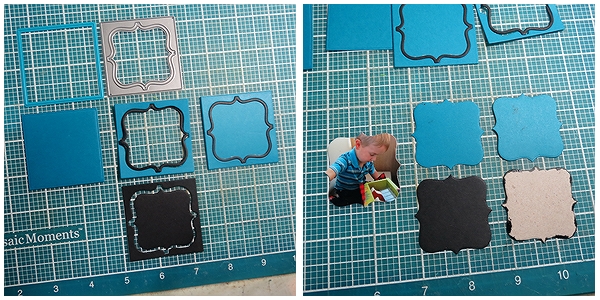
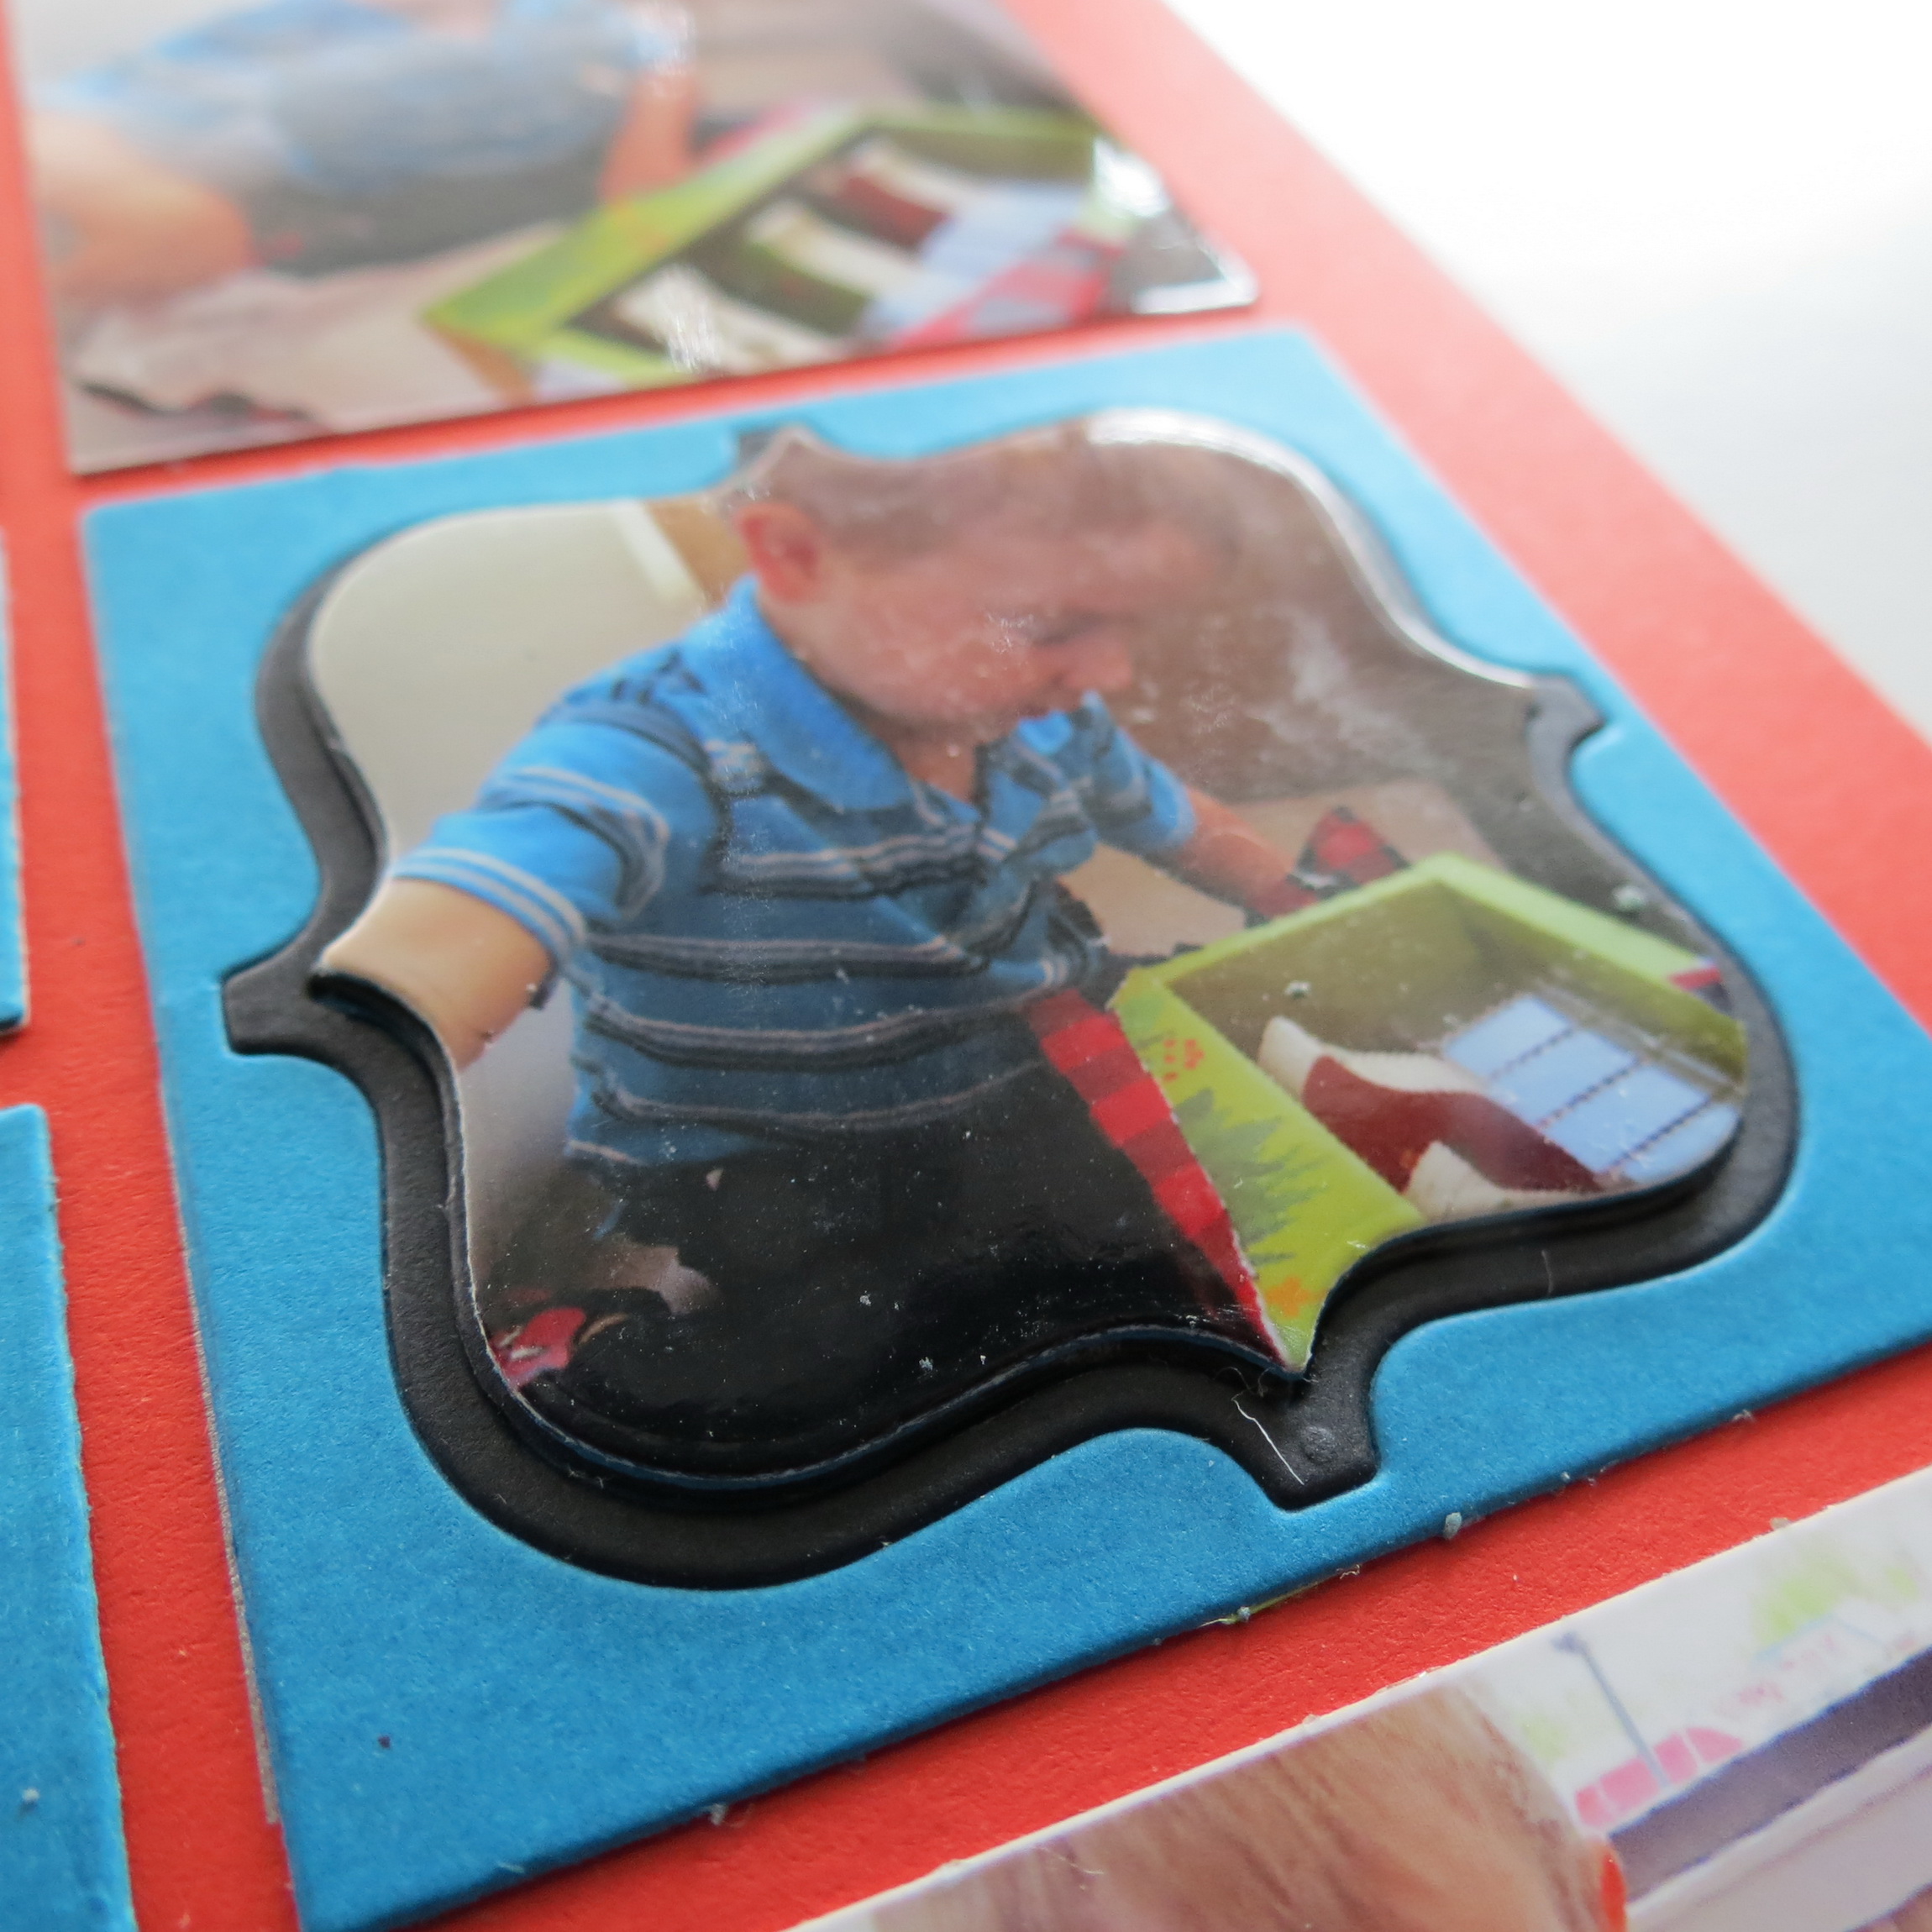
I wanted these to stand out in some way that I hadn’t tried before. I used the 2×2 square die from Set A and cut teal bases to build on. Then cutting a frame in both teal and black I used the black as a mat to draw your eyes to the photo. However, I didn’t just want to set the photo into the frame, so I built it up with layers of cardstock (TIP: good use for scraps). I also cut a chipboard layer and inked the edges in black for a uniformed look and depth.
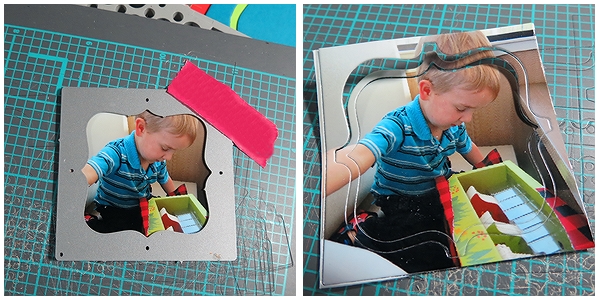
Mosaic Moments Designing with Dies featuring the Nested Scallop Frame Die Set Cutting the photo
Mosaic Moments Designing with Dies featuring the Nested Scallop Frame Die Set Assembling the 2x2s
Mosaic Moments Designing with Dies featuring the Nested Scallop Frame Die Set The photo stack
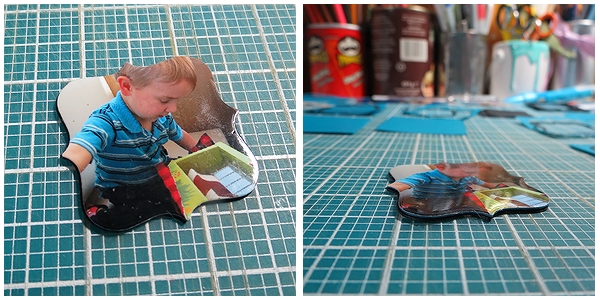
The chipboard was slightly thicker than the cardstock and I placed it into the frame first so that it set slightly above. Adhering the remaining layers together, placing on top of the chipboard base the photo then completed this stack. In appearance, it looks like a puzzle piece and adds dimension to the page and gives prominence to the photos.
Mosaic Moments Designing with Dies featuring the Nested Scallop Frame Die Set 2×2 frame

Mosaic Moments Designing with Dies featuring the Nested Scallop Frame Die Set
Mosaic Moments Designing with Dies
Raised elements
Mosaic Moments Designing with Dies punching 1″ photos for the 1″ frame
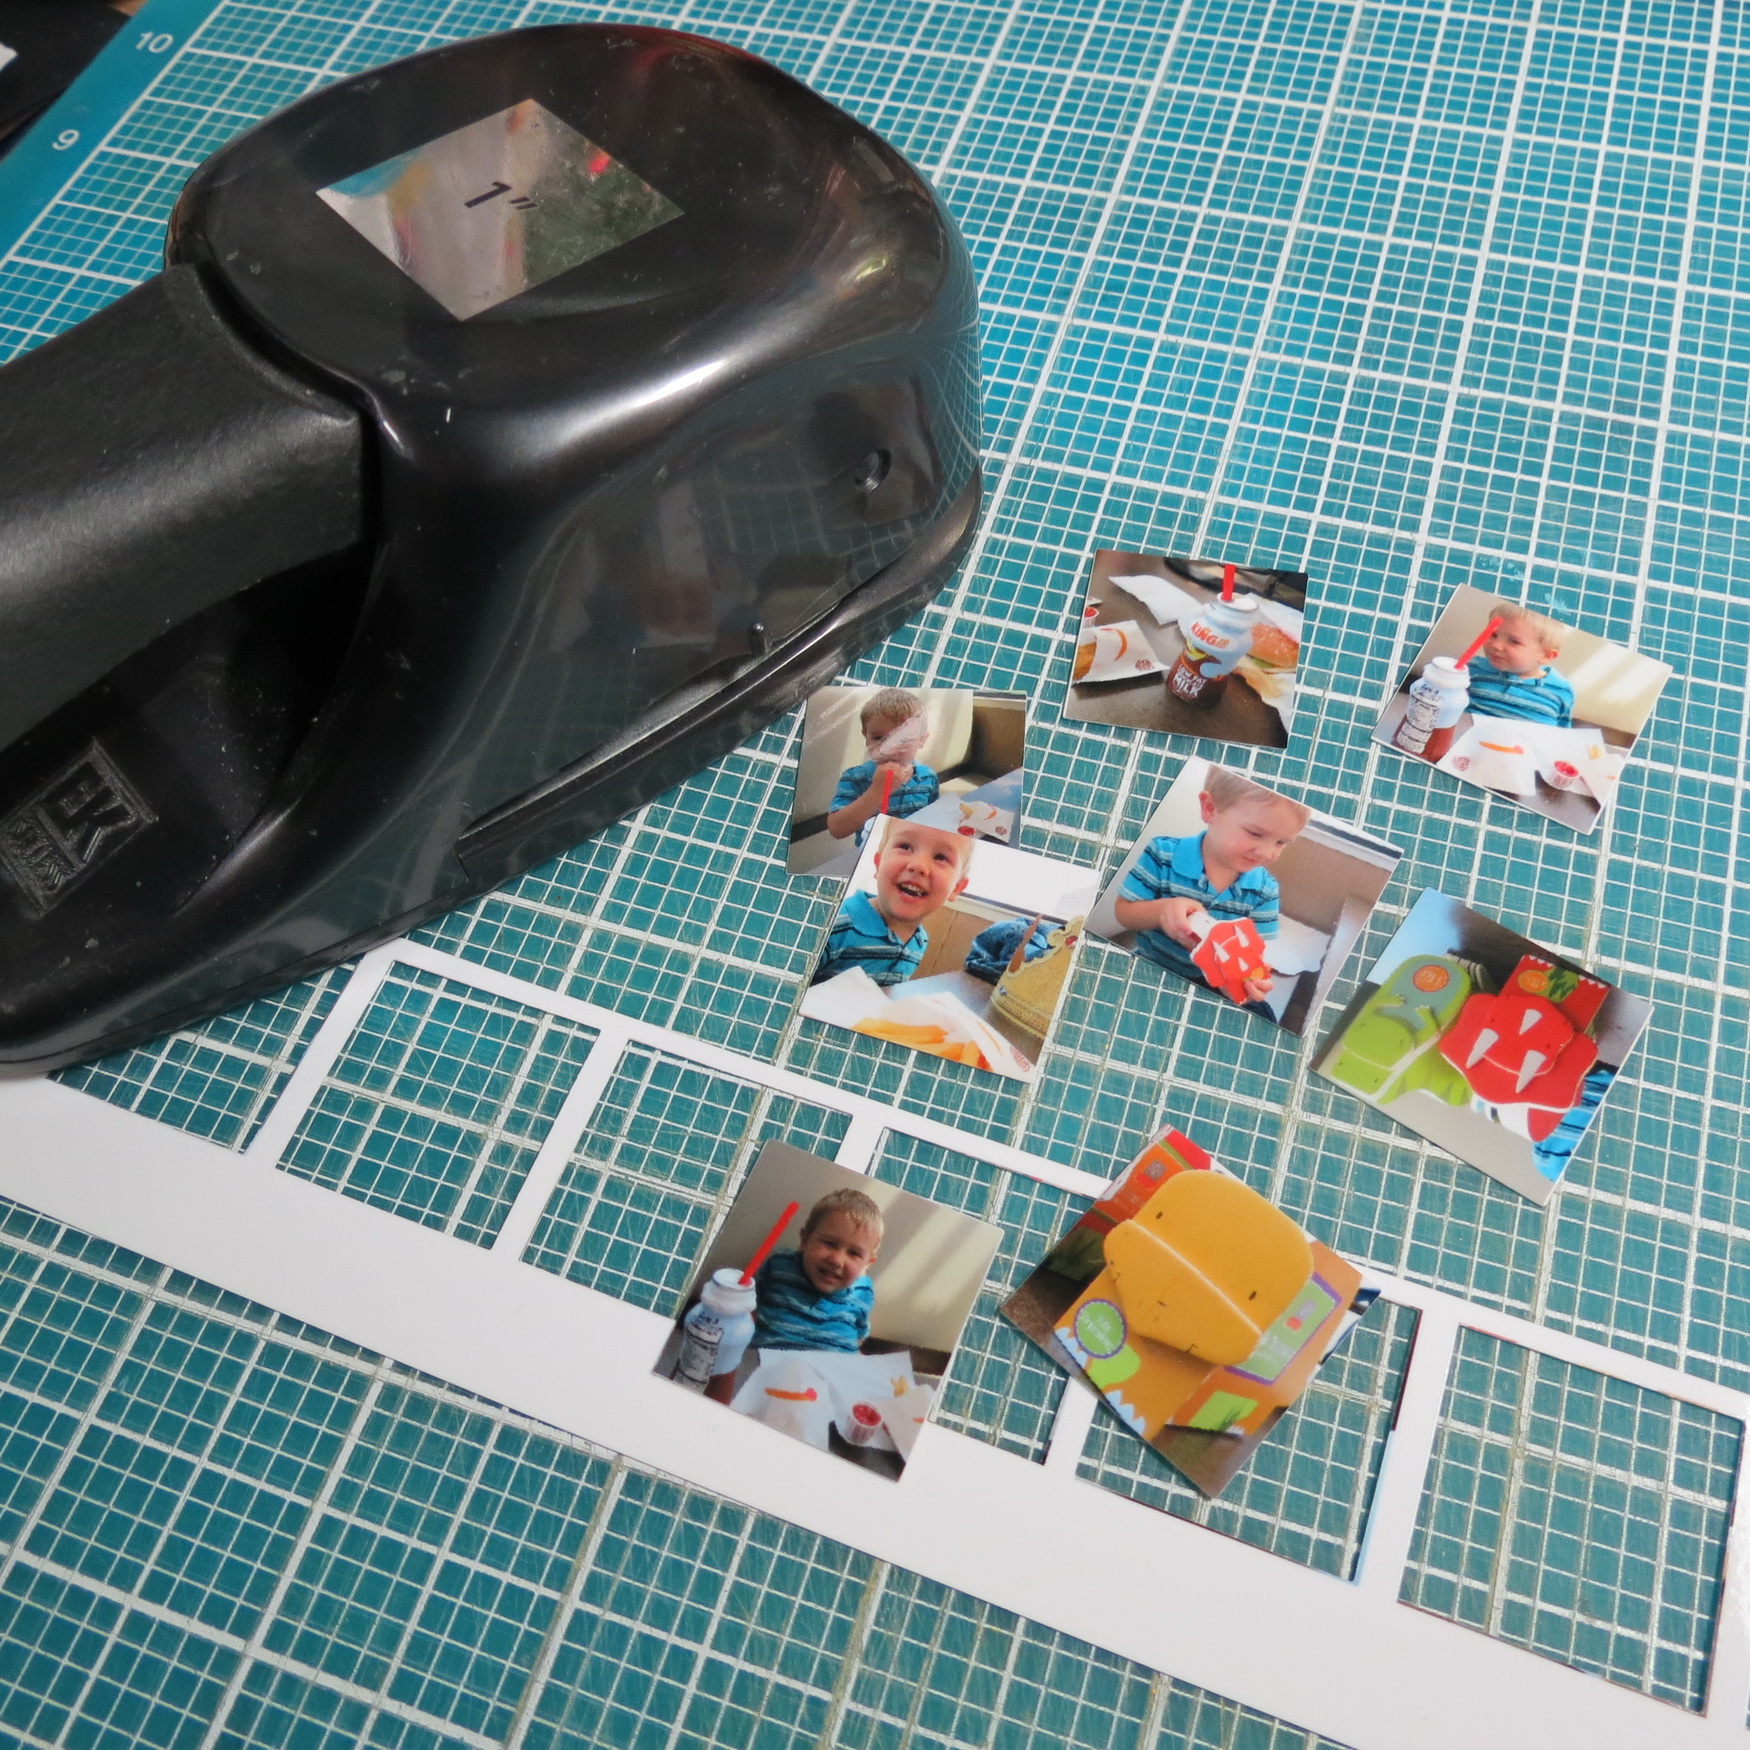
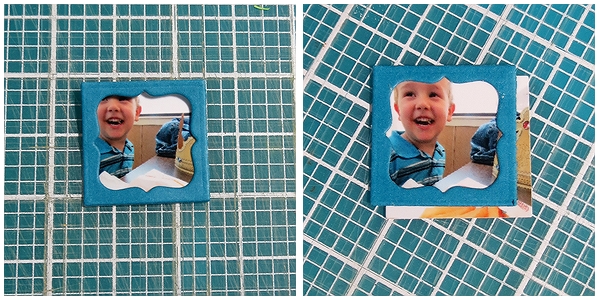
The smaller 1” die was used to frame a series of photos that I printed as 1” squares. I used my 1” square punch to trim each photo. For all but one, all that was needed was to layer the frame on top of the photo below.
Mosaic Moments Designing with Dies 1″ frame die
One photo needed to be re-centered so that I didn’t lose the photo I was going for. A simple trim was all that was needed.
Mosaic Moments Designing with Dies featuring the Nested Scallop Frame Die Set 4×4 and 1×1 scallop frames
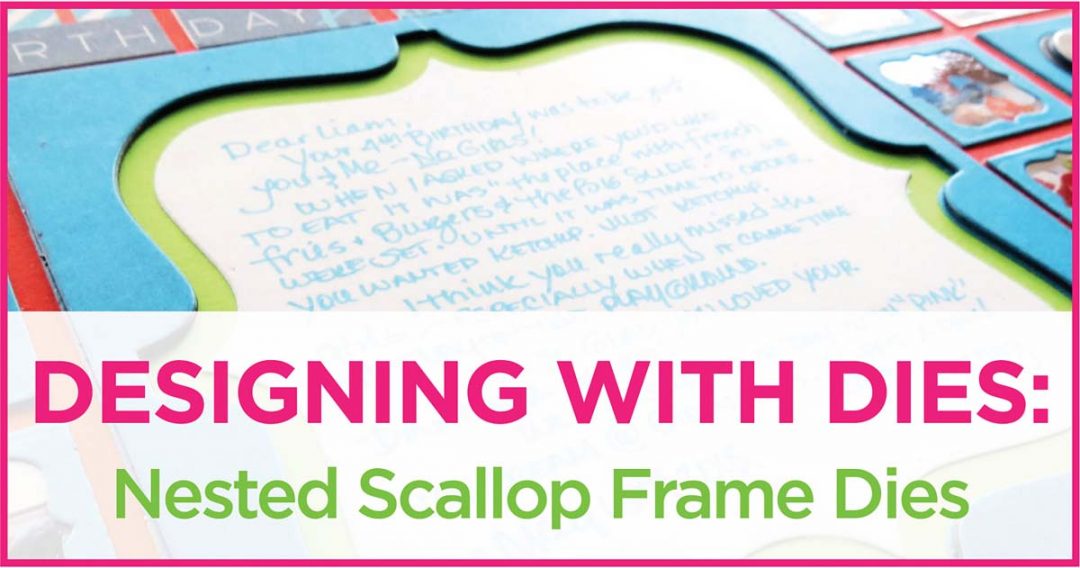
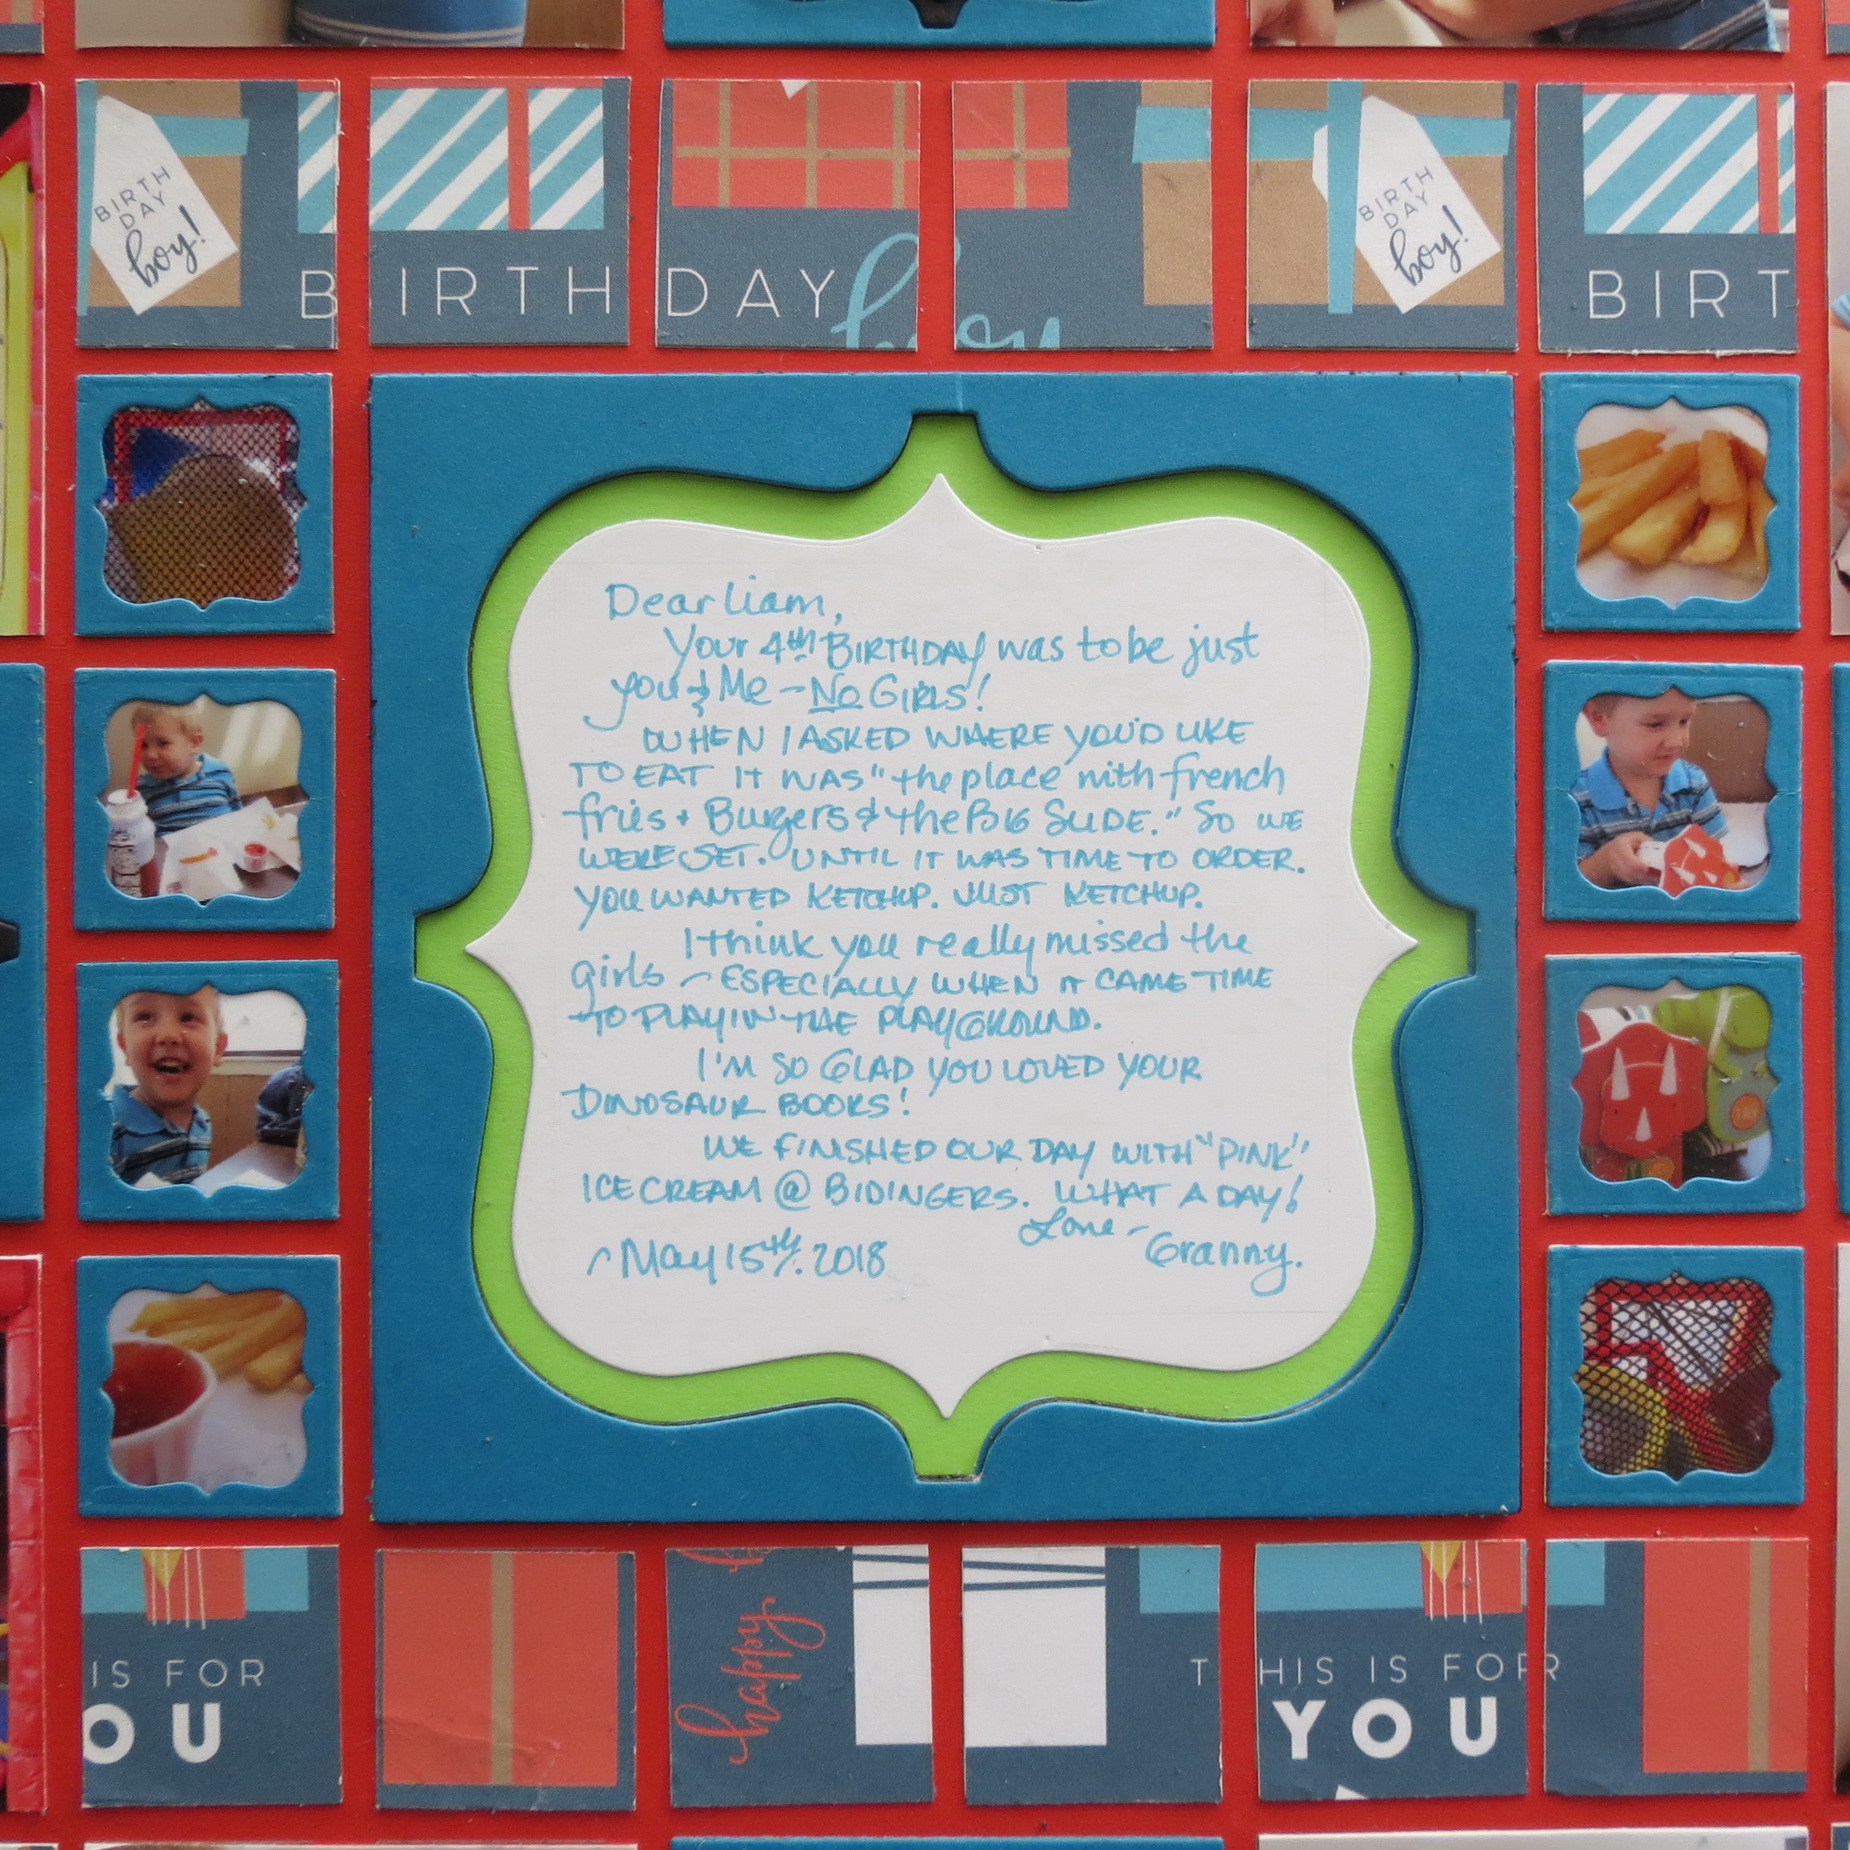
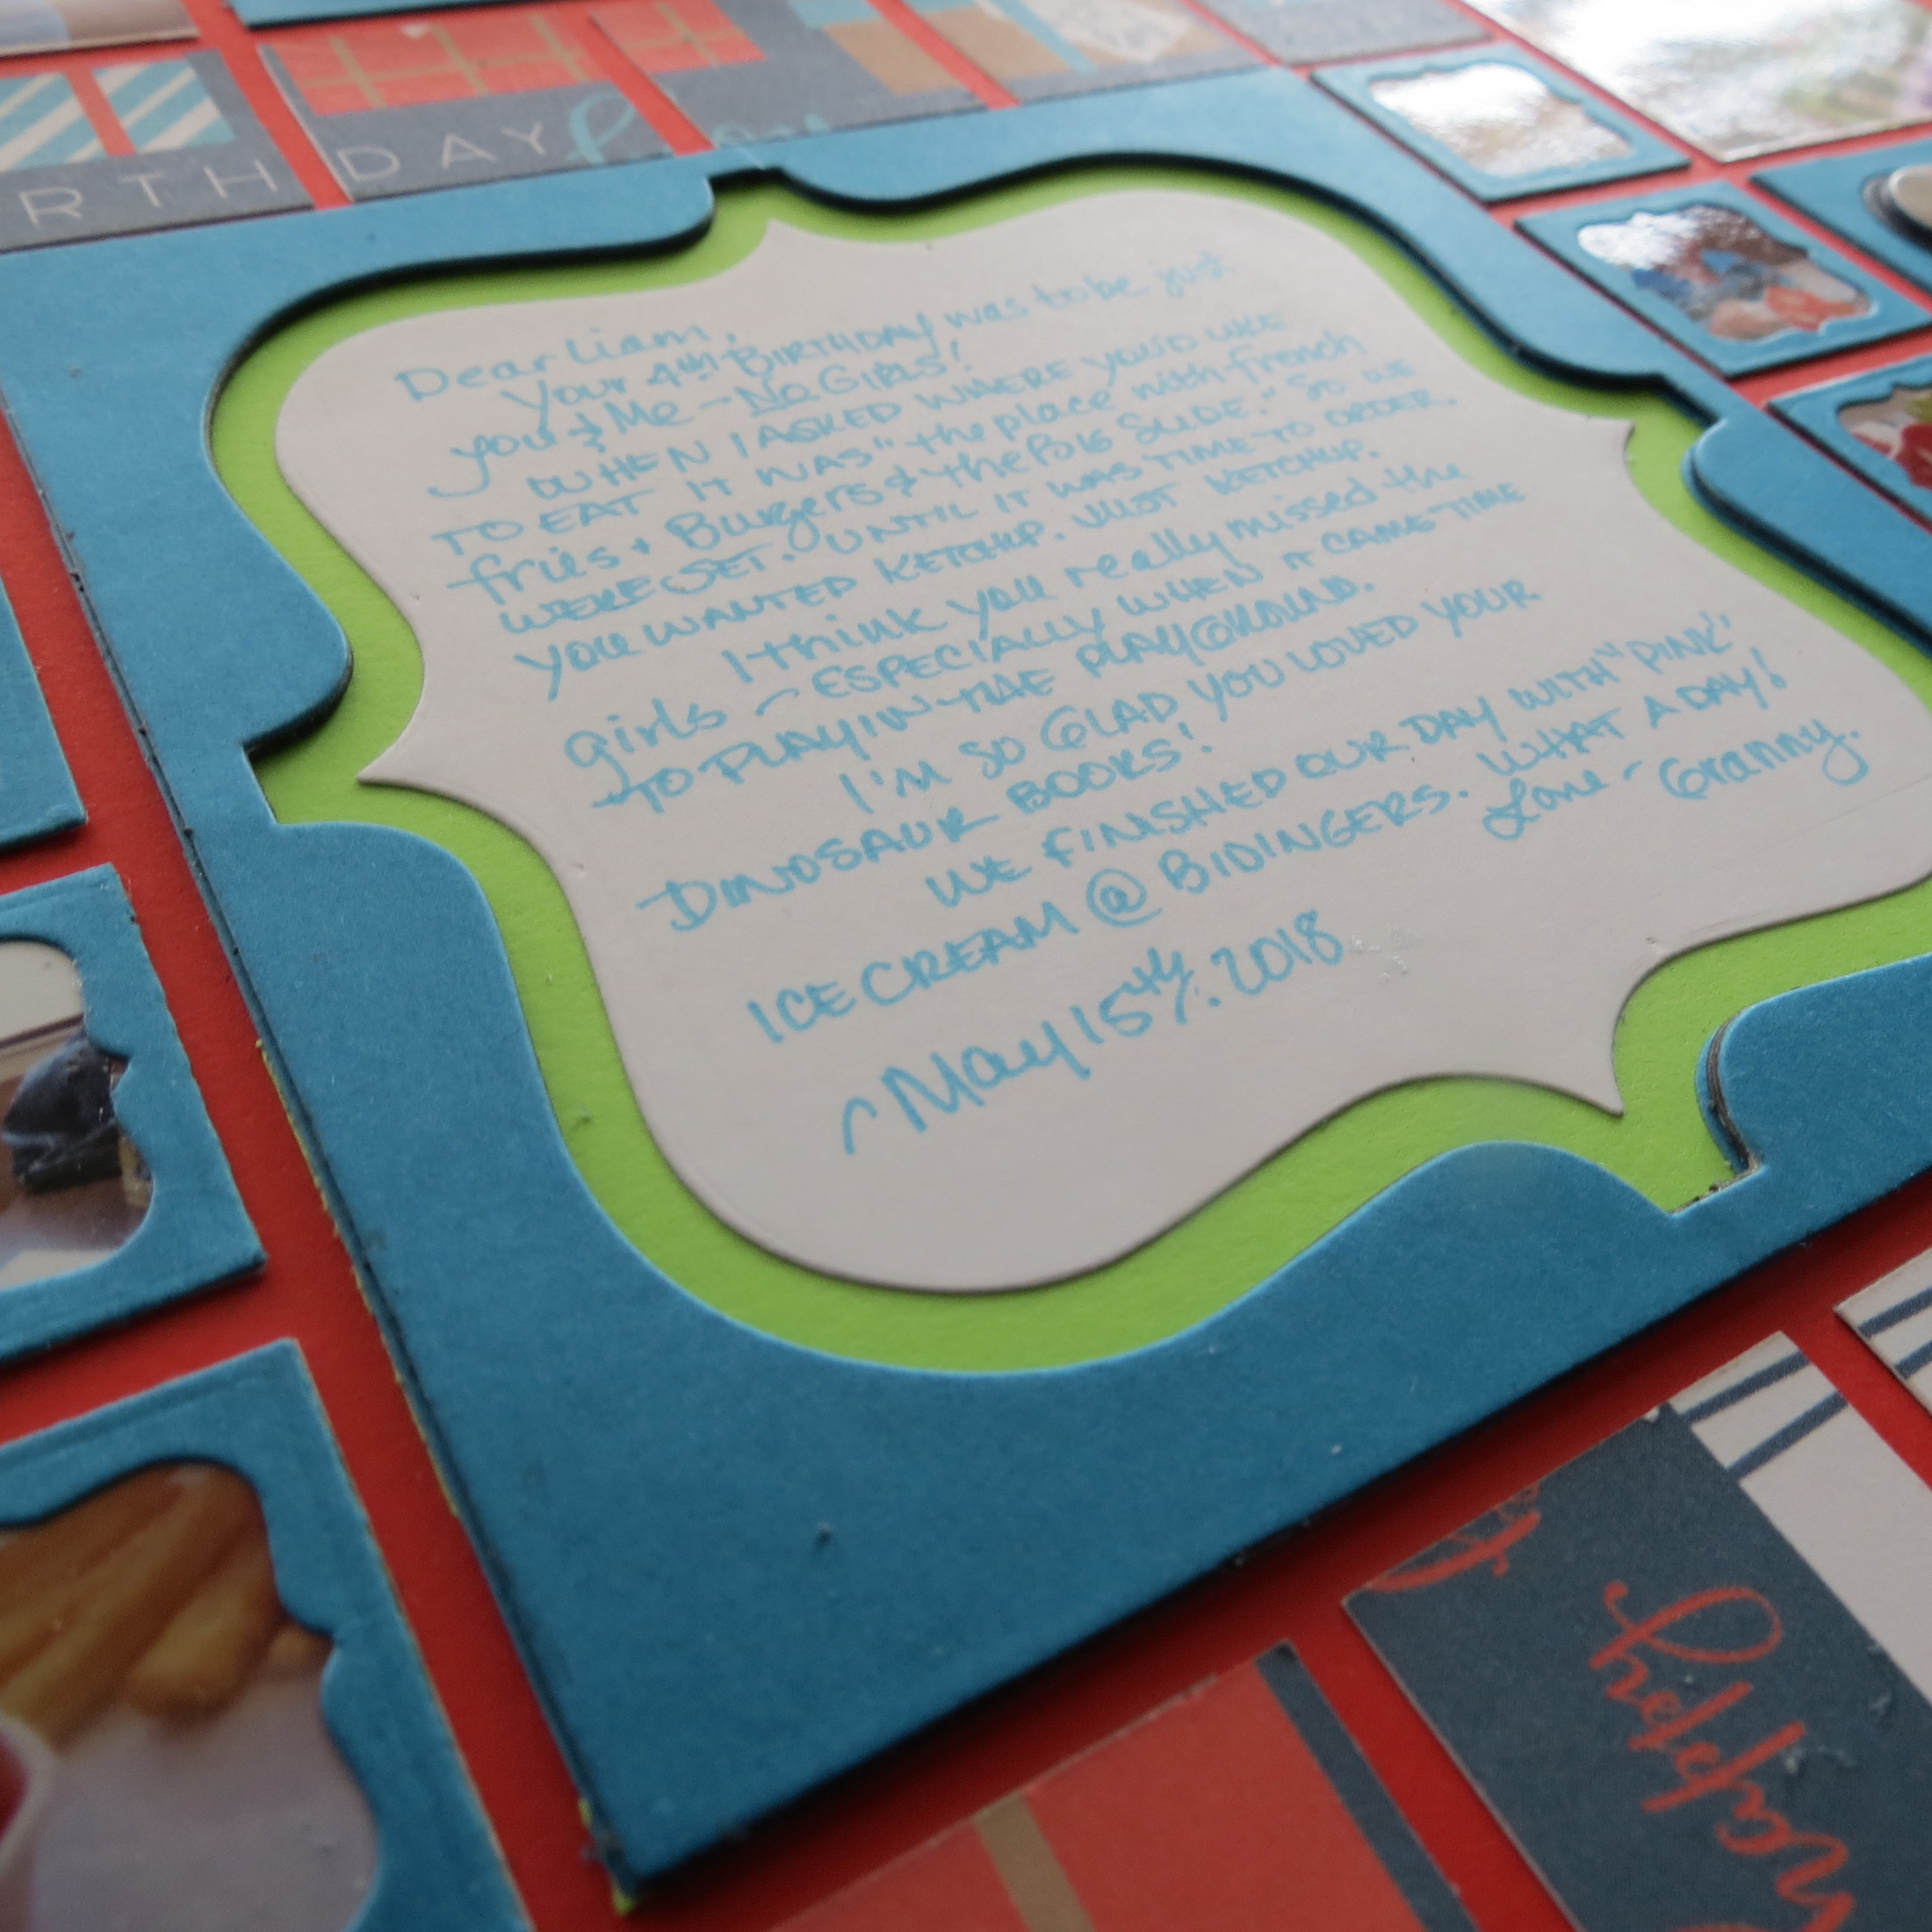
Finally, I wanted to use the largest 4×4 scallop frame die for my journaling. I wanted something more than a simple frame.
Mosaic Moments Designing with Dies featuring the Nested Scallop Frame Die Set 4×4 frame
Mosaic Moments Designing with Dies featuring the Nested Scallop Frame Die Set
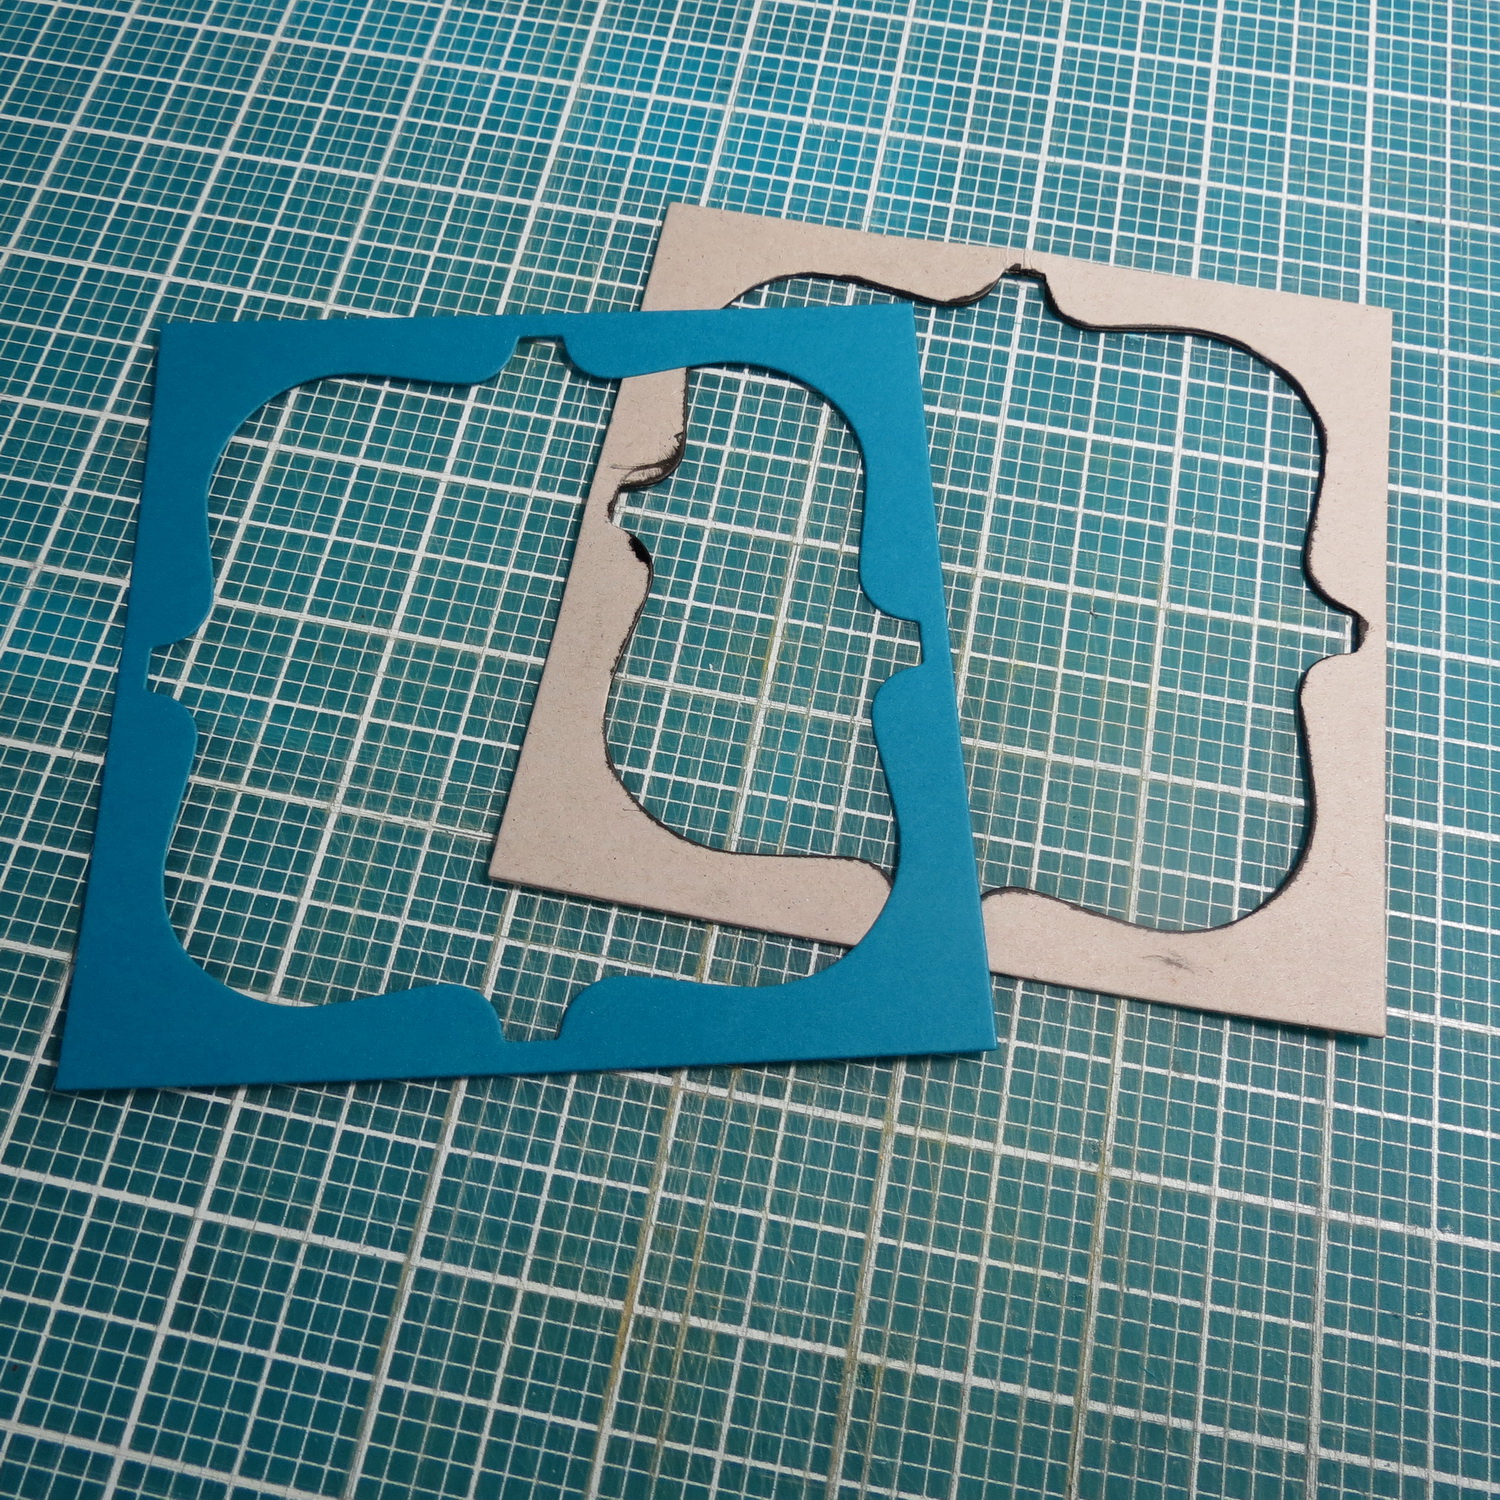
Two layers of chipboard with a layer of cardstock on top was just the right touch of dimension for this frame. Again, I inked the chipboard edges inside and out so that a dark shadow look was achieved.
My journaling is handwritten in the form of a letter to my grandson recalling the events of our day to add a personal touch.
These techniques with the scallop frames may not show up the best here on the page, but they will make a nice difference by adding interest to you pages close-up! Give it a try!
Andrea Fisher