 Photo Tips: Keeping Records
Saving kids artwork, school papers, memories of the school year. Preserving the present.
We’re getting pretty good preserving our past memories, maybe a bit slower to get to the current memories, but how about keeping records and preserving the present memories of the youngest members of the family?
School is once again coming to an end for the year. Your kids have finished a grade with lots of memories. How do you remember all they have accomplished this year?
Long ago I knew a mom that took her kid’s papers from school out of the backpack and tossed them right into the garbage…not even worthy of a brief place on the fridge. I always thought she was crushing her children’s spirit to not even give them a brief acknowledgment of their work.
On the other end of the spectrum are the moms who save EVERYthing. Boxes and boxes of every piece of paper, every project and every leaf and flower their little one brings to them. I’m going to suggest another way. This can be something that you do once a month or sum it all up in a pair or two “year in review” layouts. You’ll have something wonderful when it’s complete.
Seven Photo Tips for Keeping Records
There are so many elements that can go into this type of page and the sky’s the limit. It can be the place you store their report cards, photos of the school play, or projects they’ve completed. You can’t always stuff their papers and drawings into this format and that brings me to my first tip!
PHOTO TIP #1:
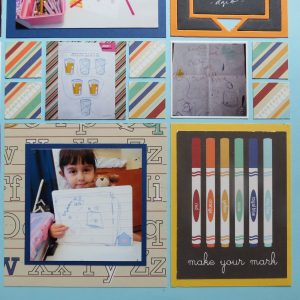
Take a photo of their drawings. You can preserve their handiwork easily this way.
PHOTO TIP #2:
Are they learning to print, write, or do calligraphy? Take a photo of what it looks like in the beginning of the year and another at the end of the year to show how much they’ve improved.
PHOTO TIP #3
Field trips, outdoor activities like field day, gardening projects, or even the Science Fair! Be sure to capture those unique events that have added to their educational experience.
PHOTO TIP #4
Take photos of teachers, classmates or even the bus driver and support staff at their schools. Do they have a story about someone that made an impression, encouraged or challenged them this year that helped them out? Journal about it and maybe even write a letter of gratitude to this person for the role they played with your child…it’s good to encourage others!
PHOTO TOP #5
Is there a report, a test or other paper item that you want to save? Scan it into your computer and reduce it to a size you can scrap. Do you have more than one page? Create a pocket (with our nested pocket die) and slide them into it. Hands-on lessons…watch them work!
PHOTO TIP #6
Don’t forget the first and last days of school. Capturing the eagerness to head out the door for the first day and the joy when it finally comes to an end for the summer break!
PHOTO TIP #7
It helps to balance out your photo pages with journaling, so don’t forget to include a few words. When putting your page together it will be good if you have some of your child’s thoughts written down so they remember how they thought, what they liked, or didn’t and maybe what they think about what they’d like to be when “they grow up.” That may change month to month or even year to year.
If you haven’t been doing this all along, it’s never too late to start. When you finally have a child graduating, you now have a unique gift to give them show them how far they have come. It will be their story, in their own pictures and words.
This is a project that isn’t limited to kids in a formal school setting. It’s perfect for those families who home educate their children. These albums may be more of family albums than individual, but it’s up to you to customize it to suit your situation. You might even have far more “outside” activities with longer field trips and road trips to include! I’ve got dozens of random photos from various projects that could make a great overall year or two in review layout.
Tips in Action
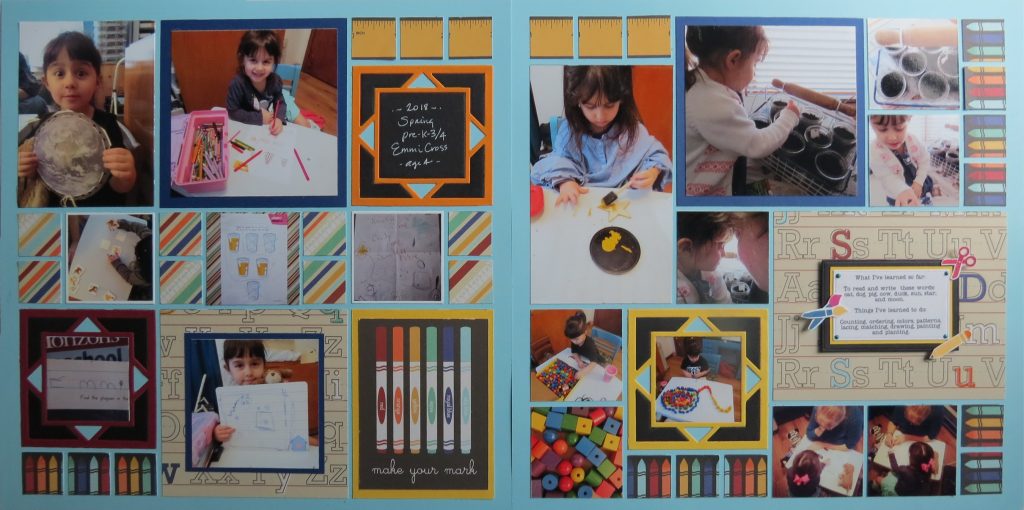
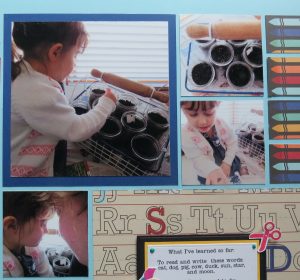
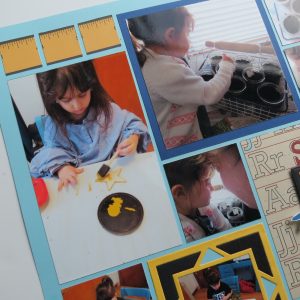
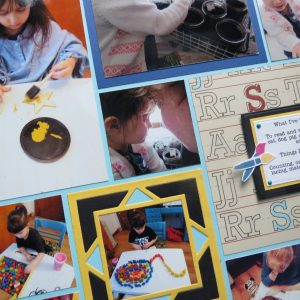
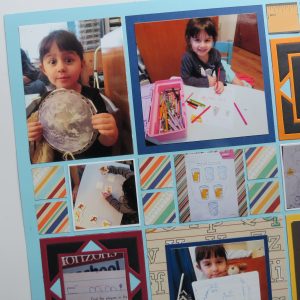
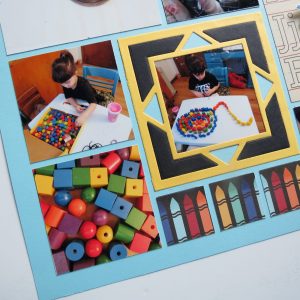
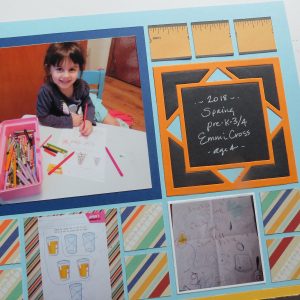
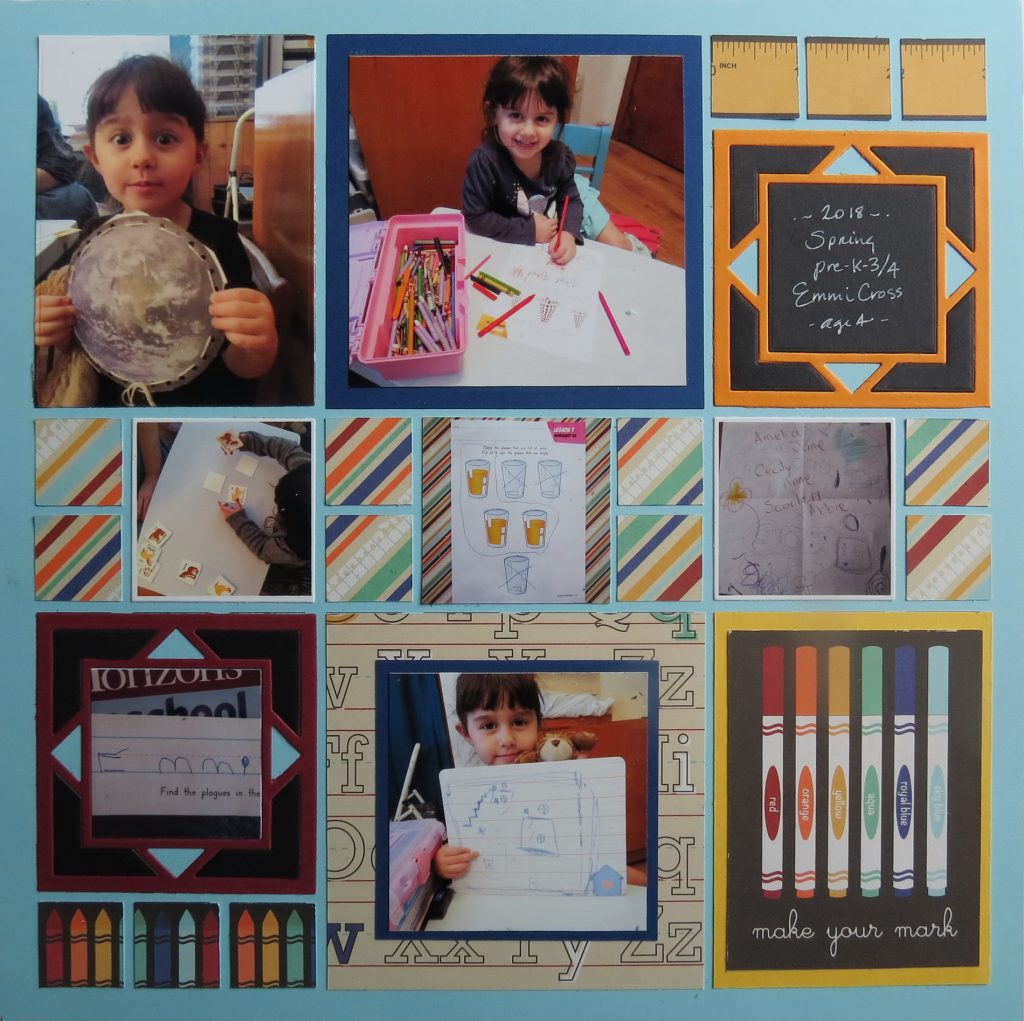
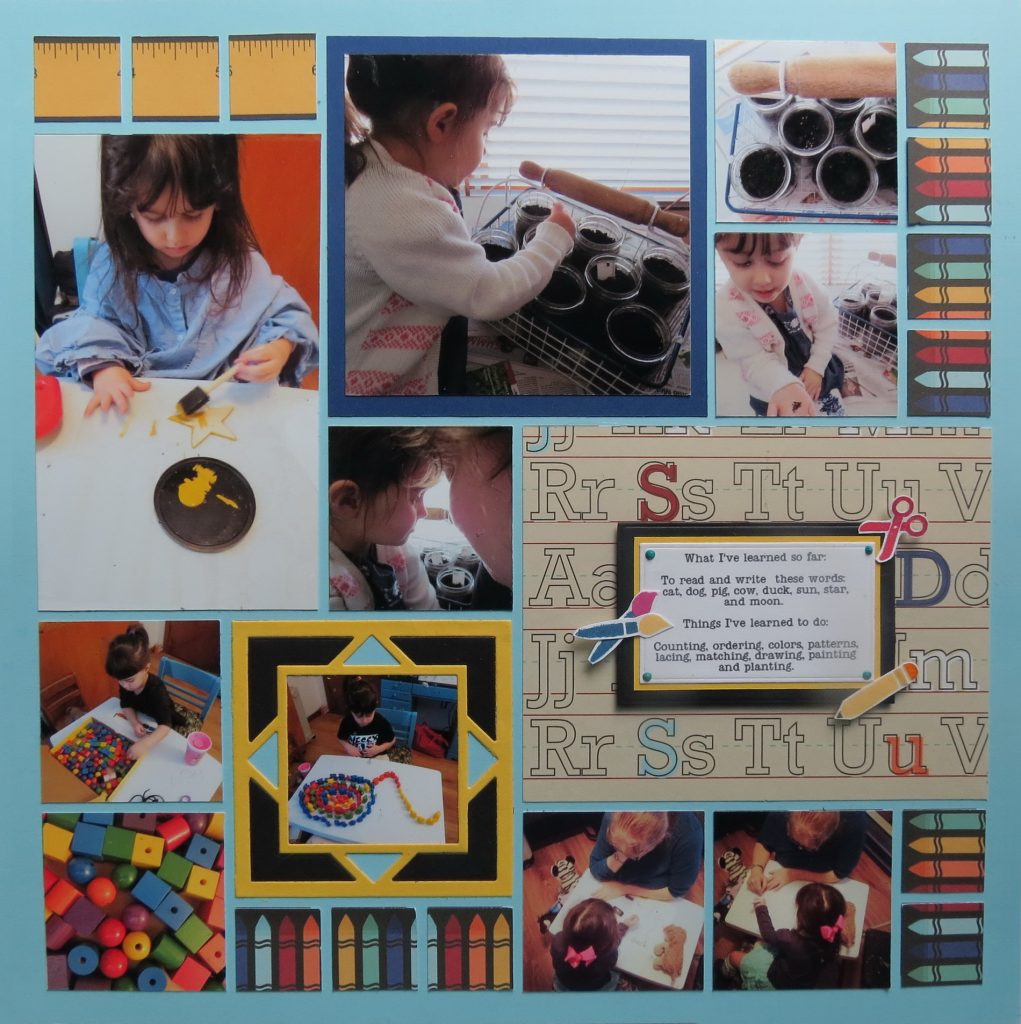
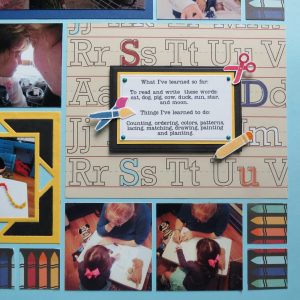
This is my example of the album I’m beginning for my granddaughter. I’ve tried to include most of the tips I’ve suggested!
The Supplies
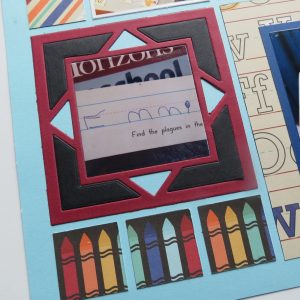
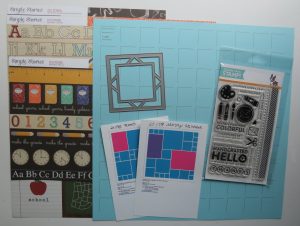
The Mosaic Moments Die we are featuring in this photo tip is the Square Diamond 3×3 Die. I’ve cut the die in black and several colors, using the colors for the die frame with the black set into the outside border, and one as a blackboard journal block. I have allowed the grid color to show through those small triangle sections to set off the framed feature photo/journaling.
The Patterns
I’ve used patterns #192 & #178 with Mosaic Moments 12×12 Grid Paper in Sky Blue for my layout. Patterned papers from Simple Stories Old School Collection add some of the extra elements and provide much of my color inspiration for cardstock mats.
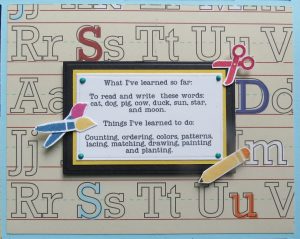
I love the Alphabet paper and wanted to show a significant amount so I used it for a smaller photo matted and also double matted and mounted a small journal block on one larger section. I had a new stamp set that gave me the opportunity to add a few tiny embellishments to this block that really punched things up a notch. The stamp set is Crafty Friends from Simon Says Stamp. Wendy Vecchi liquid Enamel Dots in Garden Patina create “pins” for my journal card corners. Foam mounting tape lets it appear to float above the page.
I hope you are inspired to collect some of the special moments of your child’s school year and include some of those great achievements they’ve made in the course of a year that you may have overlooked in the past!
Andrea Fisher

