
I have two main choices when printing my photos. I can print as shot usually giving me a 4×5 photo or crop it to 4×6 and print it out. I usually can go further in cropping to size for the grid, but this is to show you how to work with the photos as you get them developed.
Let me begin with some tips for taking photos to work on the grid. We have talked about some of these in previous posts, and on our FB pages, but it’s always good to remind ourselves what we need to have.
- When taking your photos, be sure to take photos of your subjects in both a horizontal and vertical orientation.
- Take photos of things close up.
- Take distance photos or ‘the long shot’ this will allow you to have more room to be able to crop it to a vertical or horizontal position.
Key thing here, that you should know by now, sometimes you are just going to have to cut into your photos. I know that can sound drastic, but it’s your chance to develop a better eye as to what is or isn’t essential in your photos and crop them accordingly.
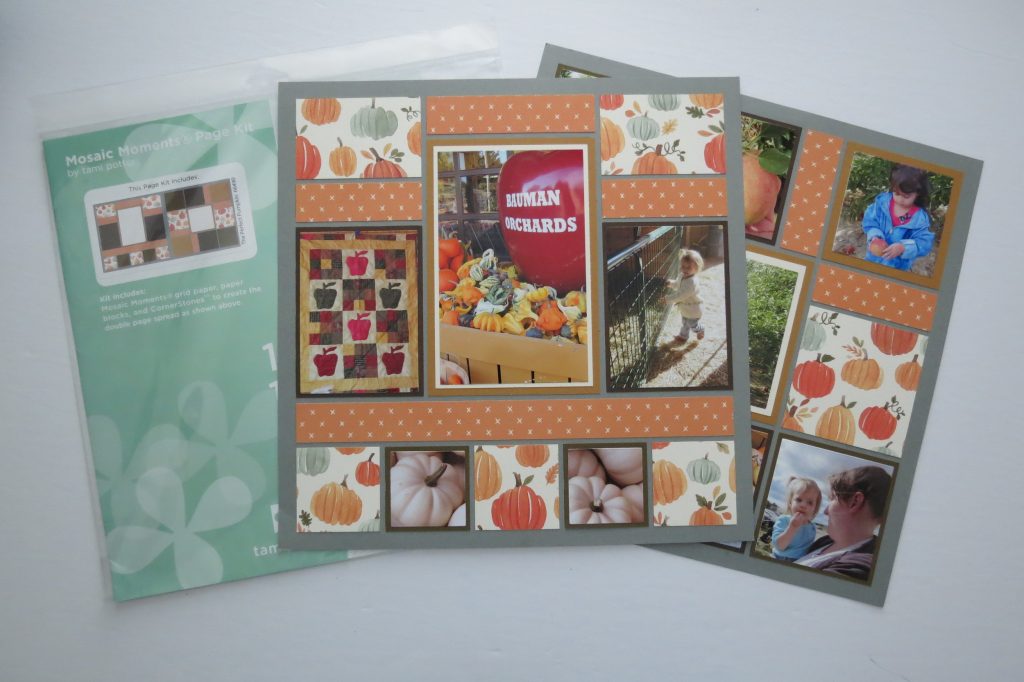
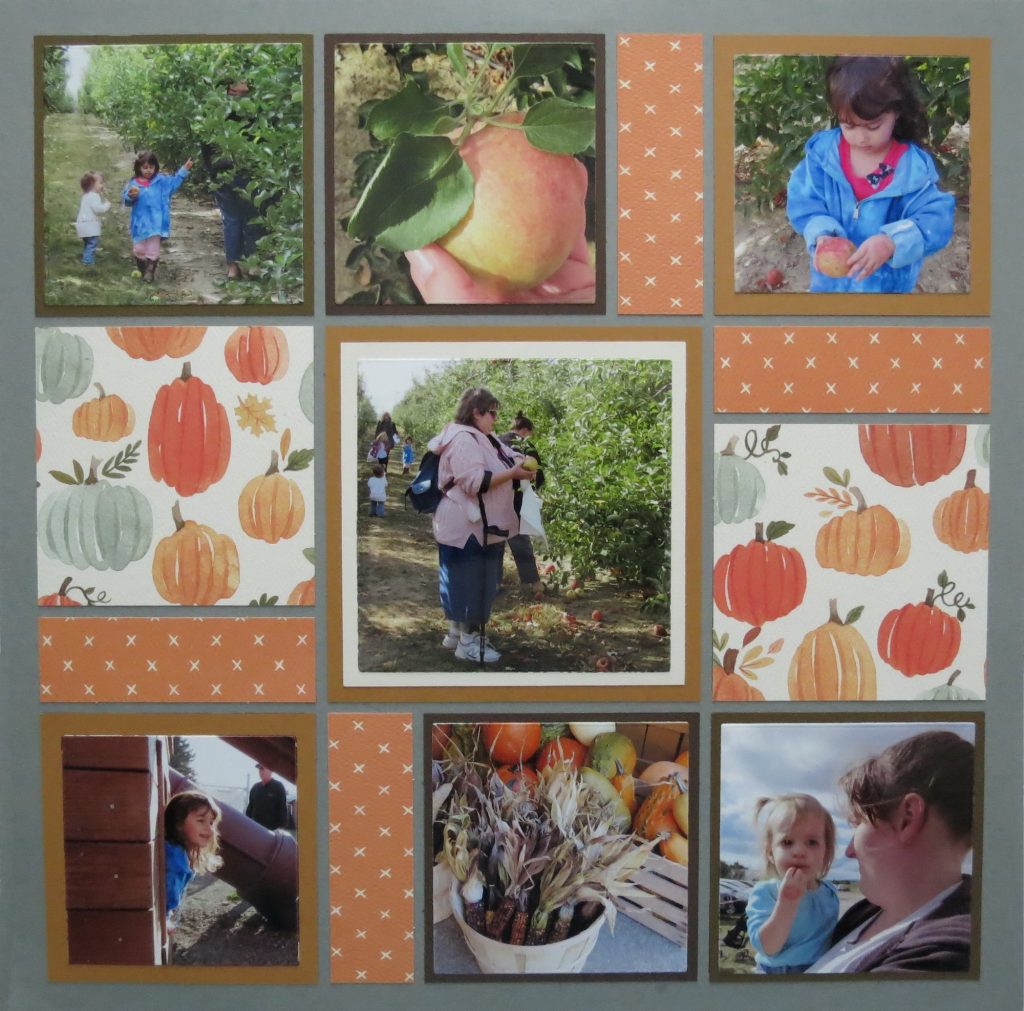
This week we will look at specifically how a page pattern can work for most photos. This is the page kit The Perfect Pumpkin.
These patterns go together quickly, in just a few minutes and then all you need to do is add your photos.
Sonya picked out the page kits I’m going to be using and they are on beautiful Carta Bella paper. They are also textured and have the look and feel of watercolors.
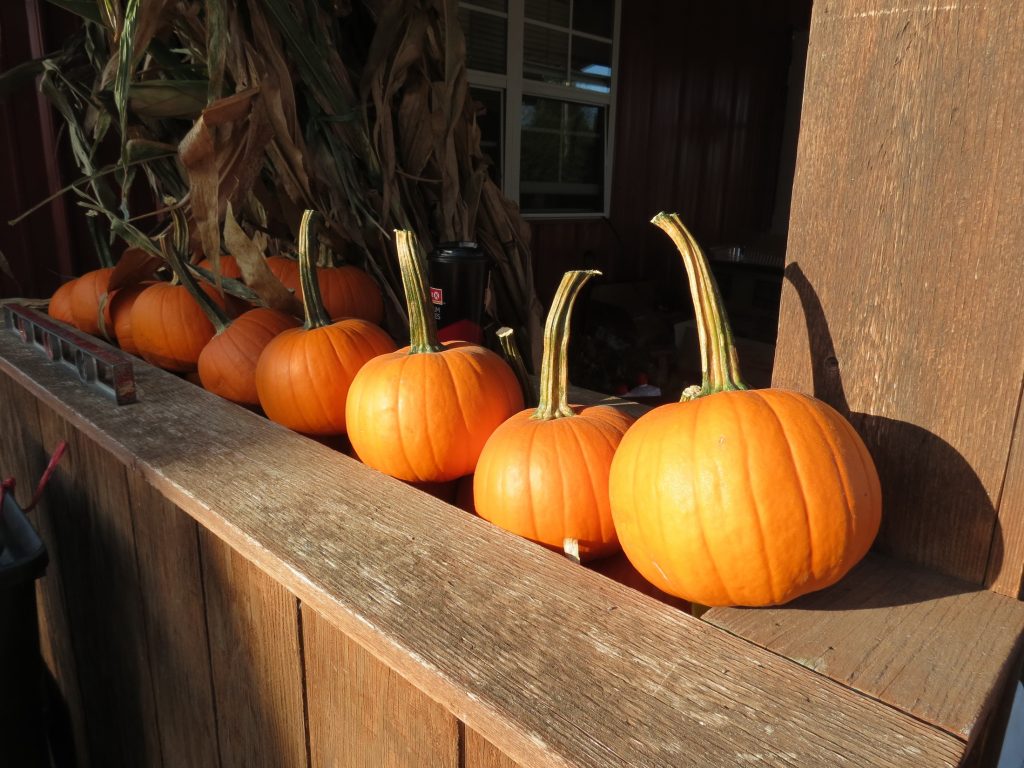
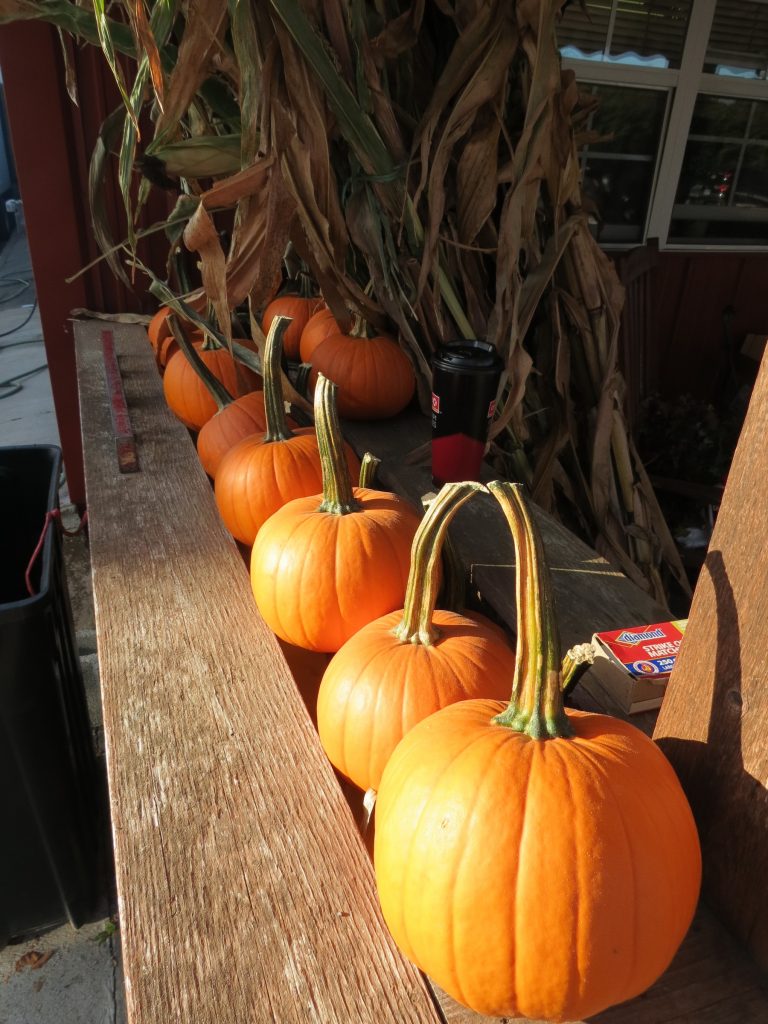
Let me start out with a look at the same subject shot three different ways, one is horizontal, one vertical and one is taken from an above looking down. Now I have options when it comes to a pattern, or a page kit.
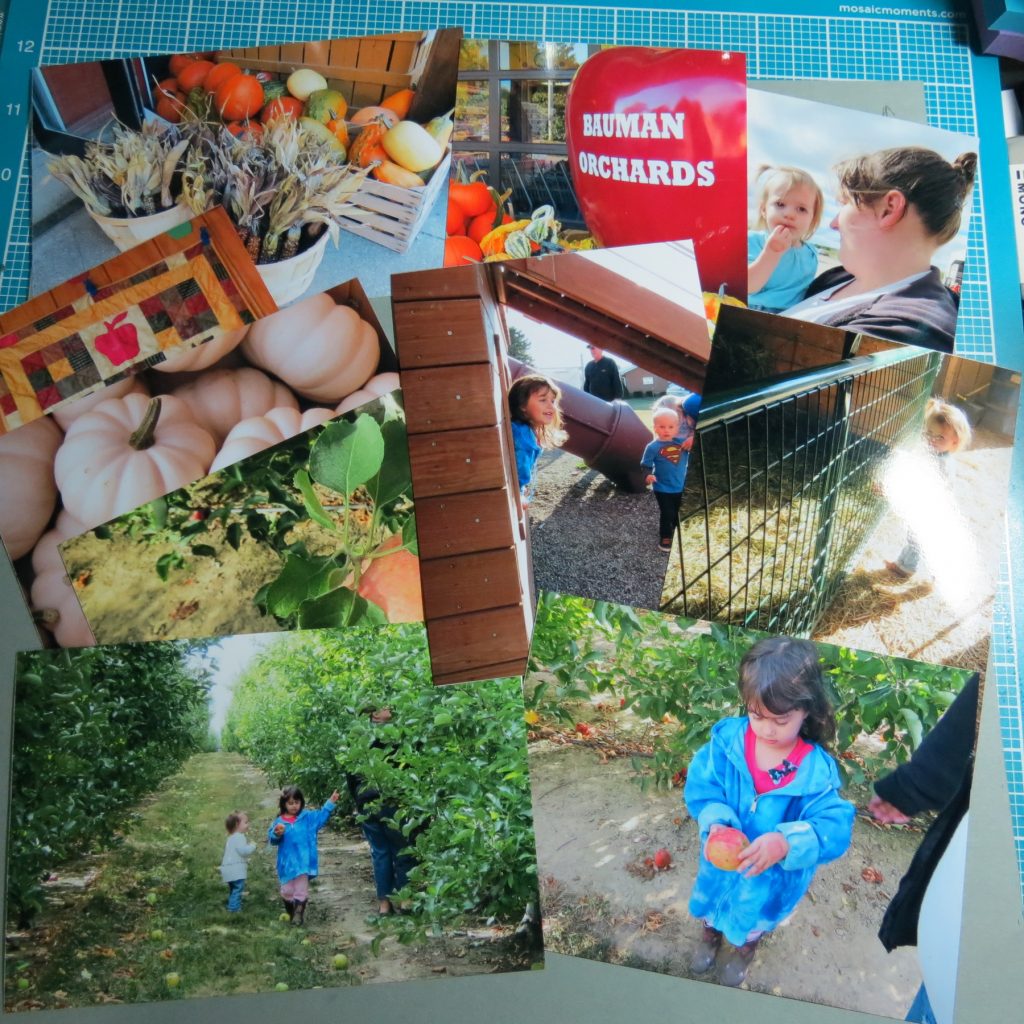
Next, here’s the photos I’m going to work with for this page, some vertical, some horizontal.
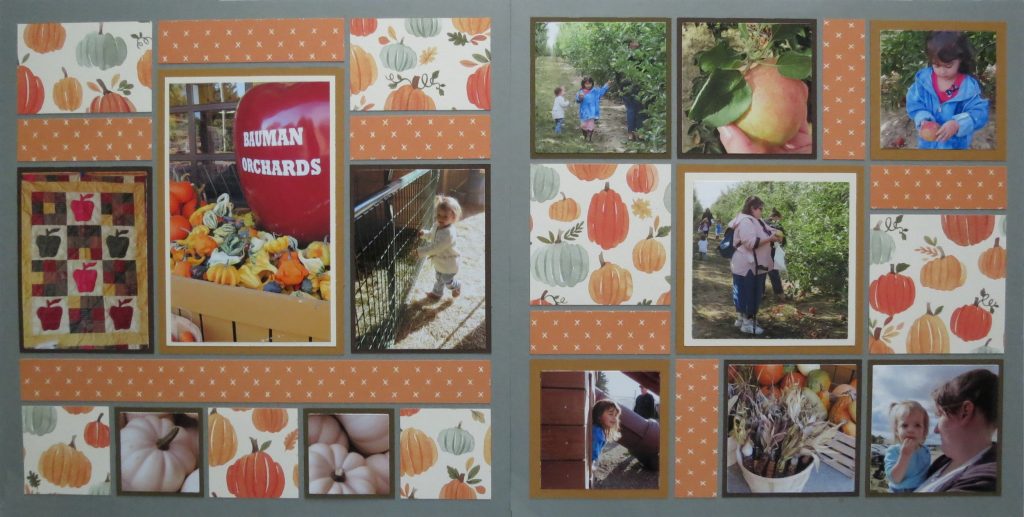
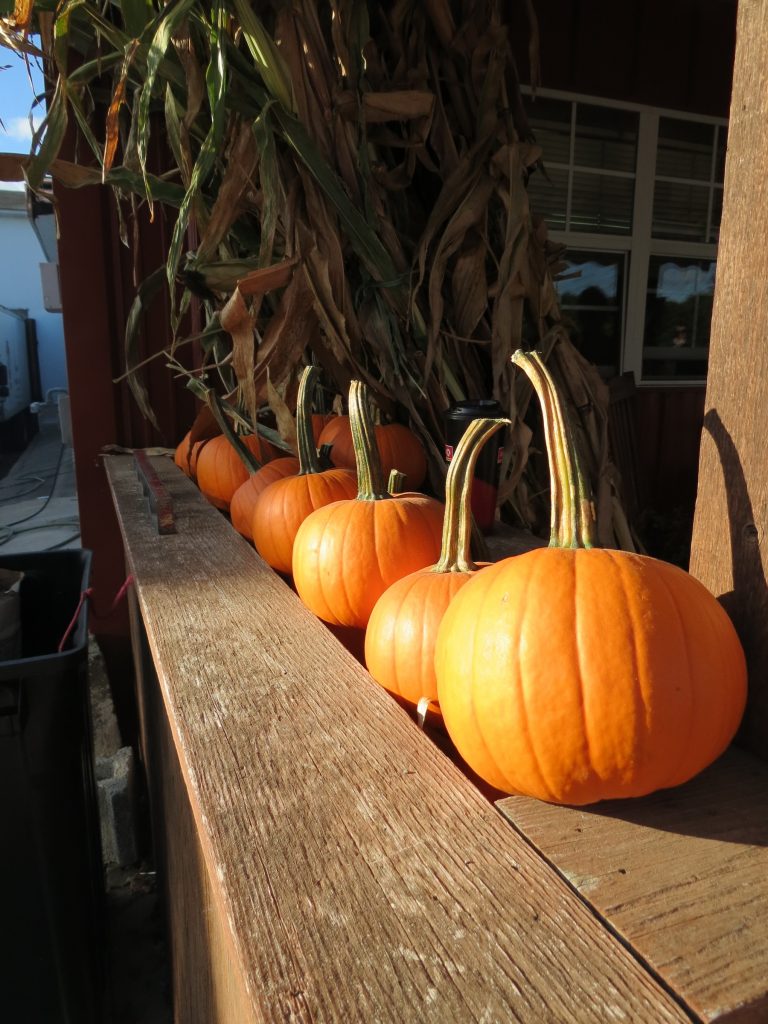
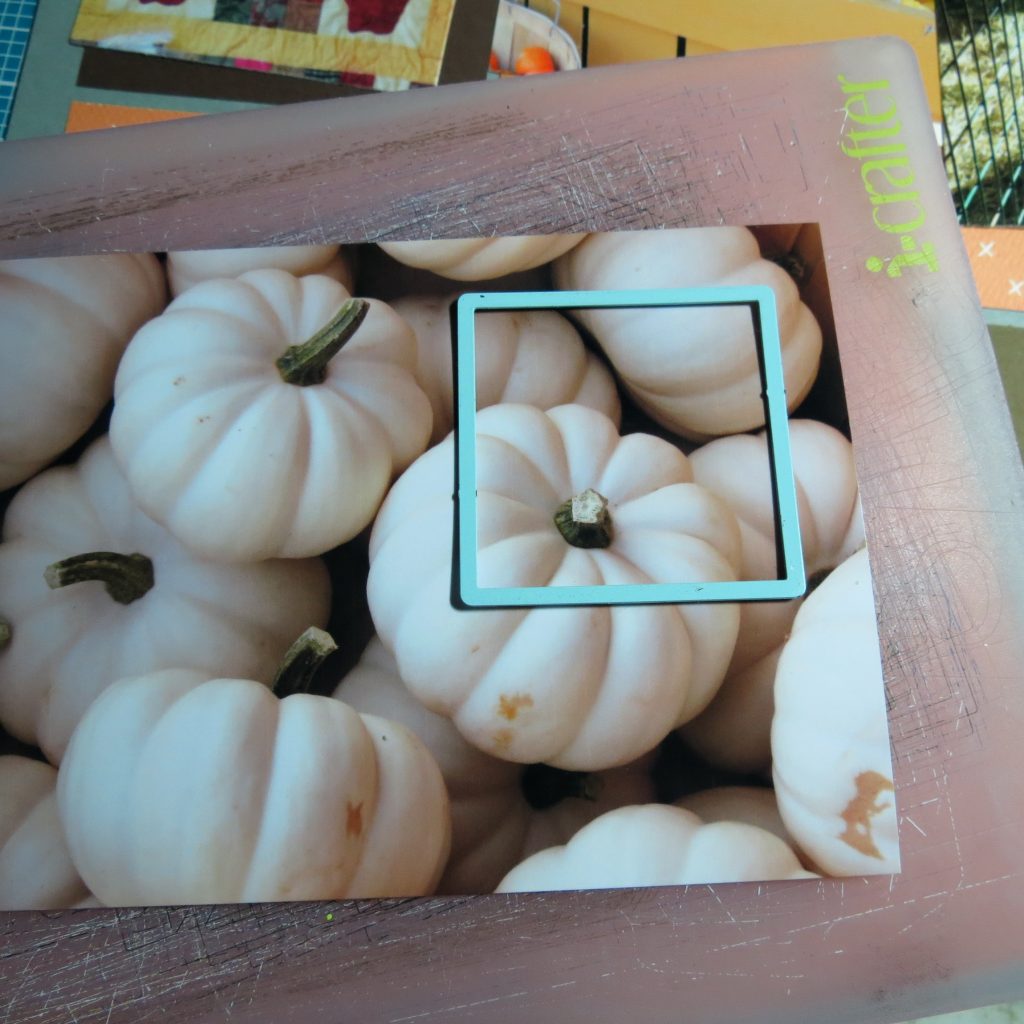
The first place I want to fill are the two 2×2 spots along the bottom of page 1. These ghost pumpkins are just right and I can get both squares filled from the one 4×6 photo. It’s your chance to get that artsy-look by framing sections with the layering die to decide what you want to cut and use.

Most of the remaining photos needed are 3×3’s. On the first page however, I need a 4×6 and two 3×4’s.
The 3×4’s are fairly easy to frame with your die and cut and not really lose much, and the 4×6 only needs a slight ¼” trimmed from one of the long sides to fit nicely on the double mat. I use a photo that has the signage of our location as a title.
That leaves me with 4×6’s to fit into a group of 3×3 blocks.
What makes a good way to determine what goes, what stays, remembering the emphasis needs to be on how to make it a better photo, not just to ‘fit’.
Photo one.
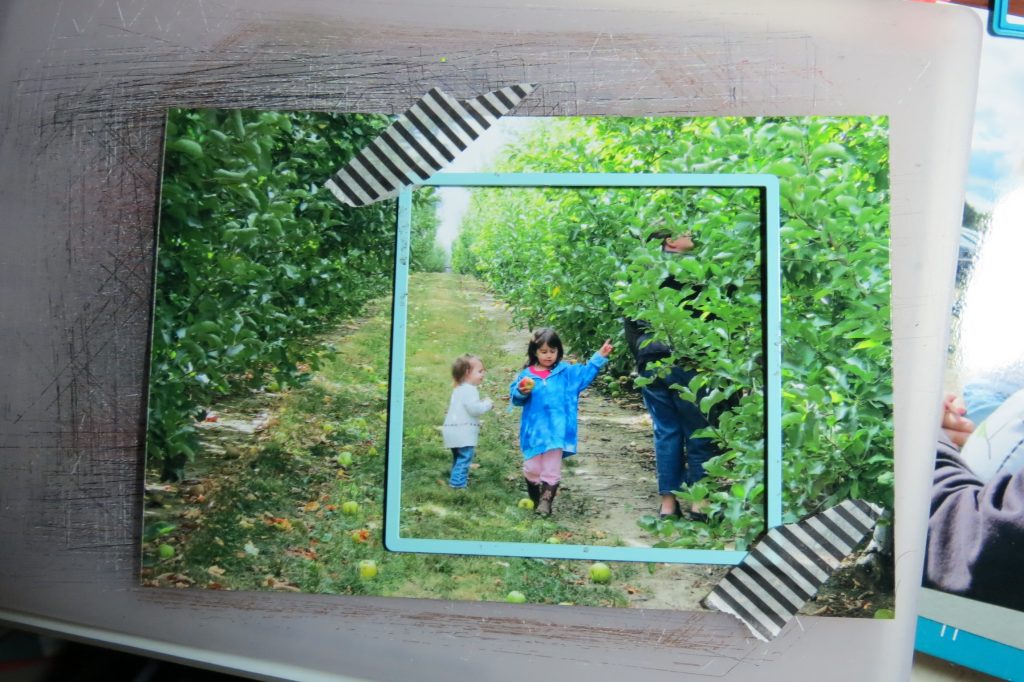
When I shot this, my goal was to have that focus on the long stretch down the orchard rows, getting a sense of the size of where we were compared to the size of the girls. I can still get a bit of that with the girls in the near foreground with the lines of the dirt and trees fading into the background.
Photo two.
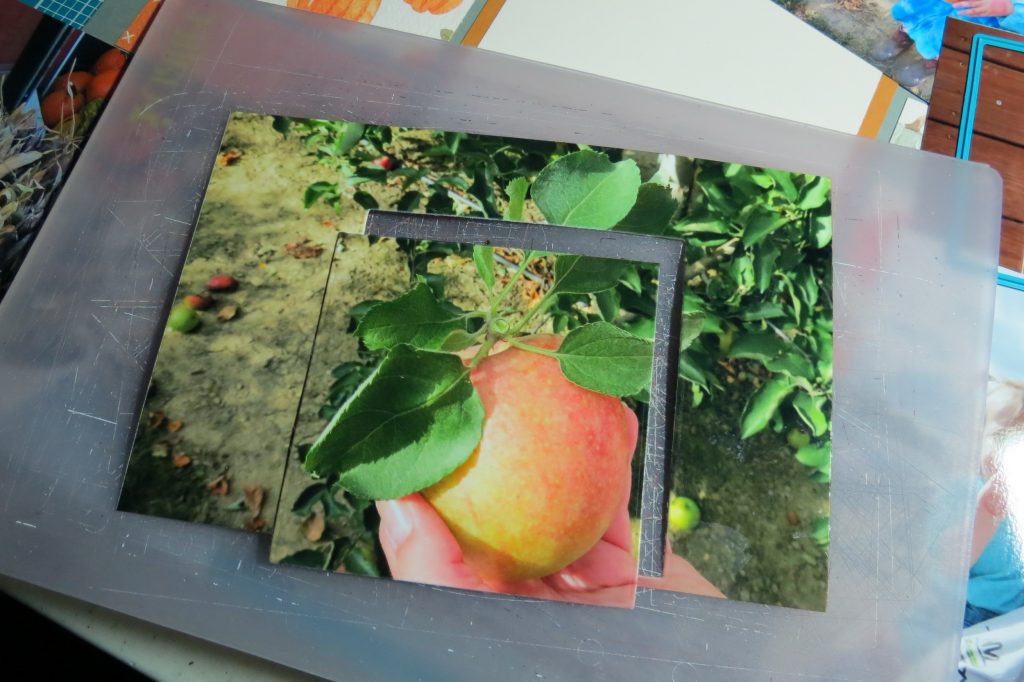
The close up of the apple. By framing the apple and the leaves as the dirt and foliage on either side is cut away concentrating on the apple alone.
Photo Three.
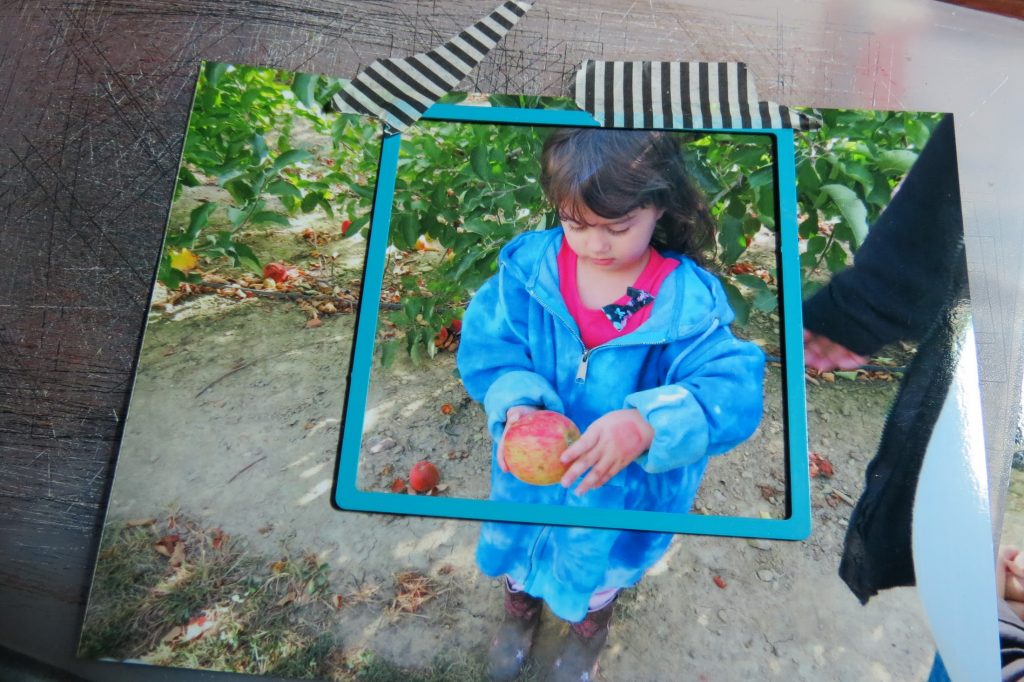
For this one I cut out Libby on one side and the dirt on the other. Emmi is the center as she examines the apple. Green leaves and a few random apples on the ground. Lots of color and fewer distractions. I would have loved to keep her boots, but not for this size.
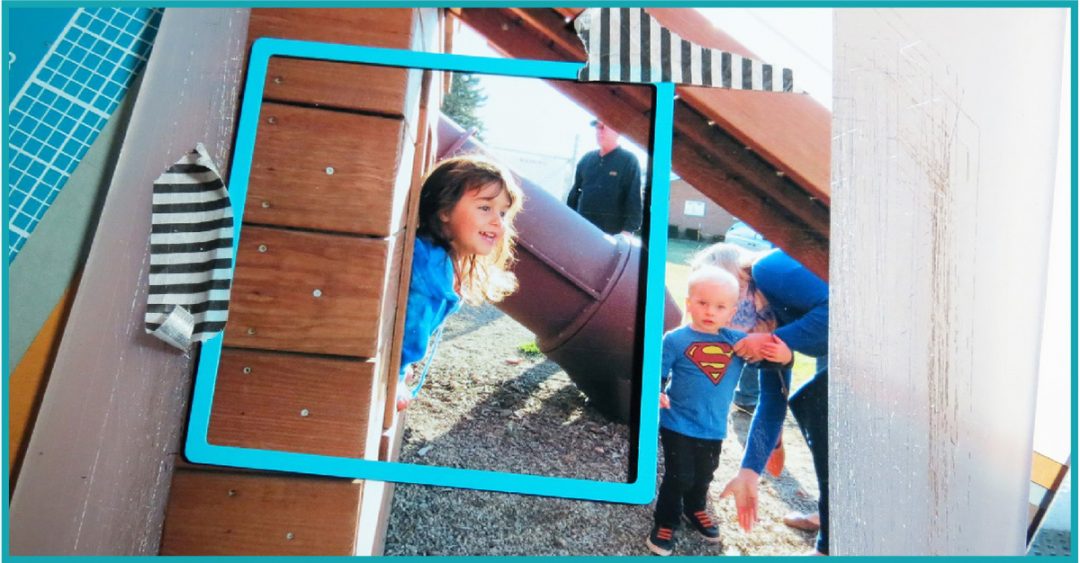
Photo four.
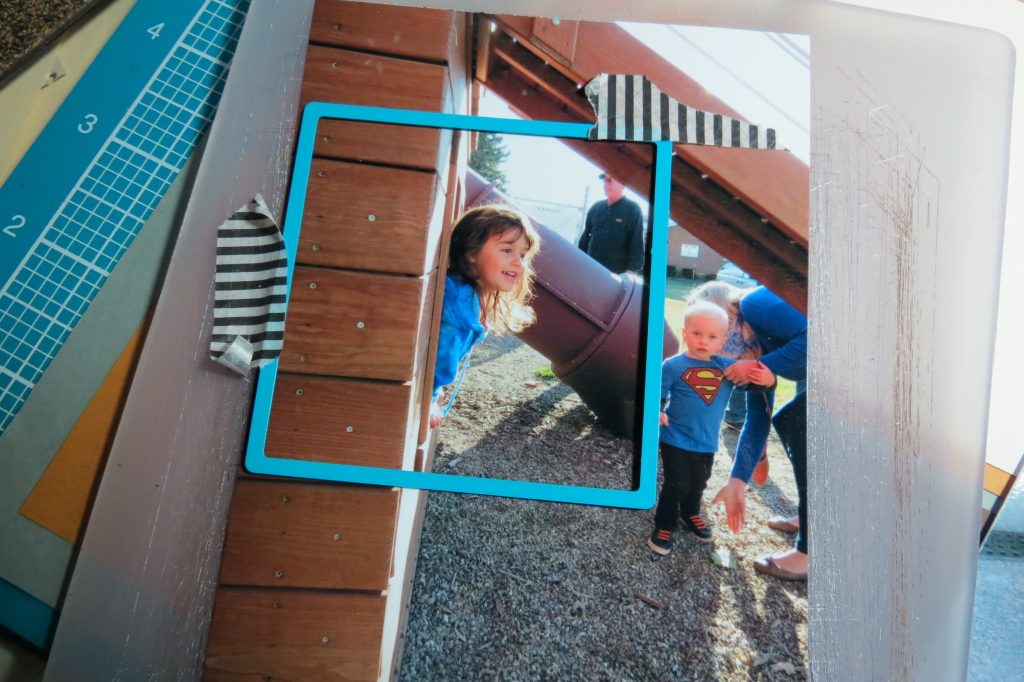
This is a candid shot I loved of Emmi. But, like all of us at one time or another land up with other people we don’t know in our pictures and are very noticeable. It’s hard to miss a toddler in a Superman shirt. This time is was better to have more of the fort she was hanging out of in the picture when I centered the die over her.
Photo five.
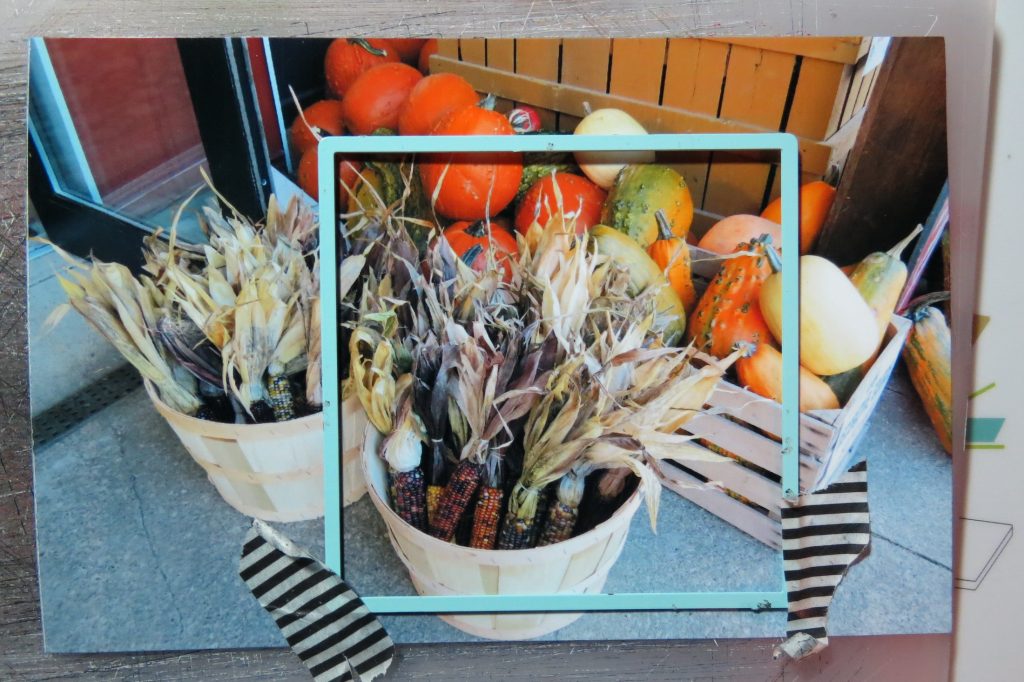
This last photo is one I’d classify as being a filler shot and depending on the space I need to fill; it can be used just about anywhere. I have lots of options for framing and cutting. I definitely wanted to lose the glass door and as much concrete as possible. I wanted a portion of the crate in the background, but also the bushel basket of Indian corn in the front. The bright colors of pumpkins and gourds against the more neutral corn and baskets gave me a good composition for my last spot to fill.
For the two 3×3 photos that stand apart from the other two pairs, I decided a wider border as they were mounted added a little variation from the narrower borders of the rest of the photos.

If you don’t have the dies to cut and trim your photos, hopefully you will have our Quick Glance Guide to be able to visualize and then cut using the Double-side Craft Mat and your X-Acto knife to achieve similar outcomes.
Soon you will find yourself adjusting your photo taking and thinking “on the Grid” for better layouts and more versatile use of the many page kits that will save you time!
Andrea Fisher