
Understand the System
First, let us explain how the Mosaic Moments® System works.
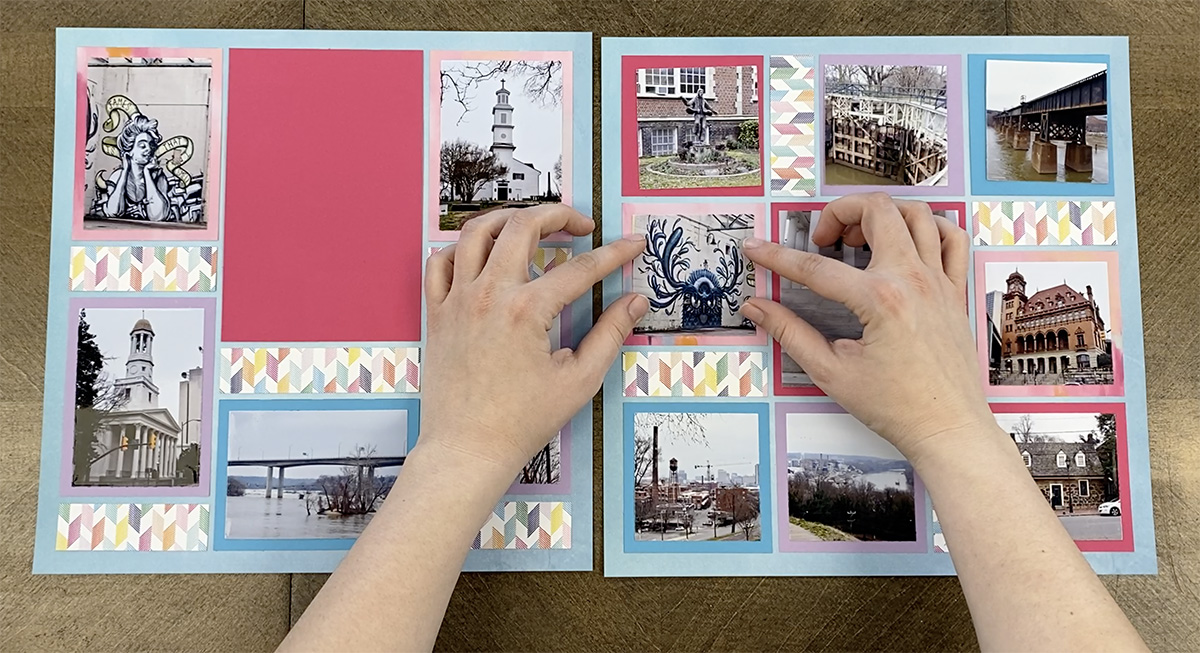
It may look confusing, but it is simply a photo-centric collage system based on a grid. That means the focus is on the photos and dies, papers and embellishments are meant to accentuate the pictures.

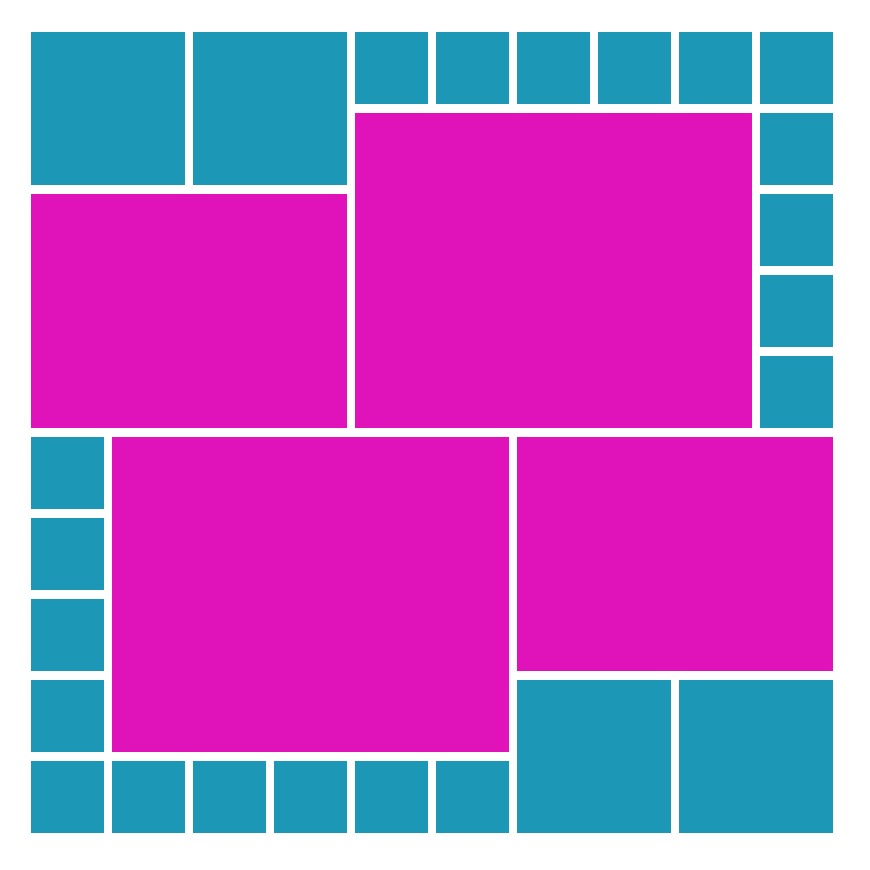
The foundation of all layouts is grid paper.
This high-quality cardstock is printed with a grid pattern – ten 1-inch squares by ten 1-inch squares, with a 1/8-inch gap in between each one, and a border around the entire page.
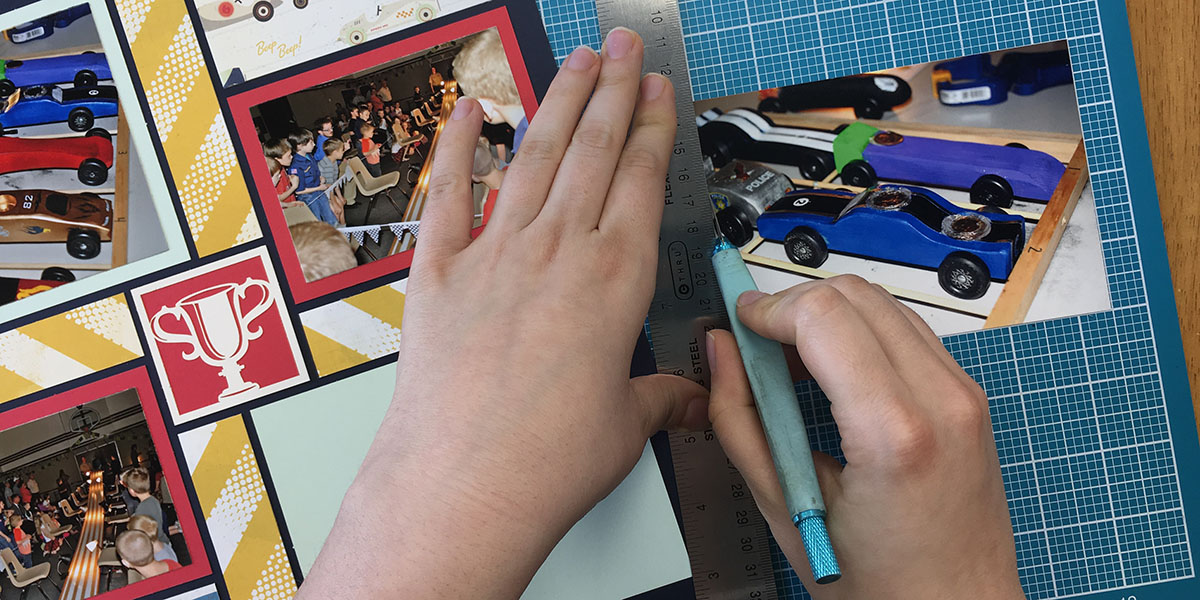
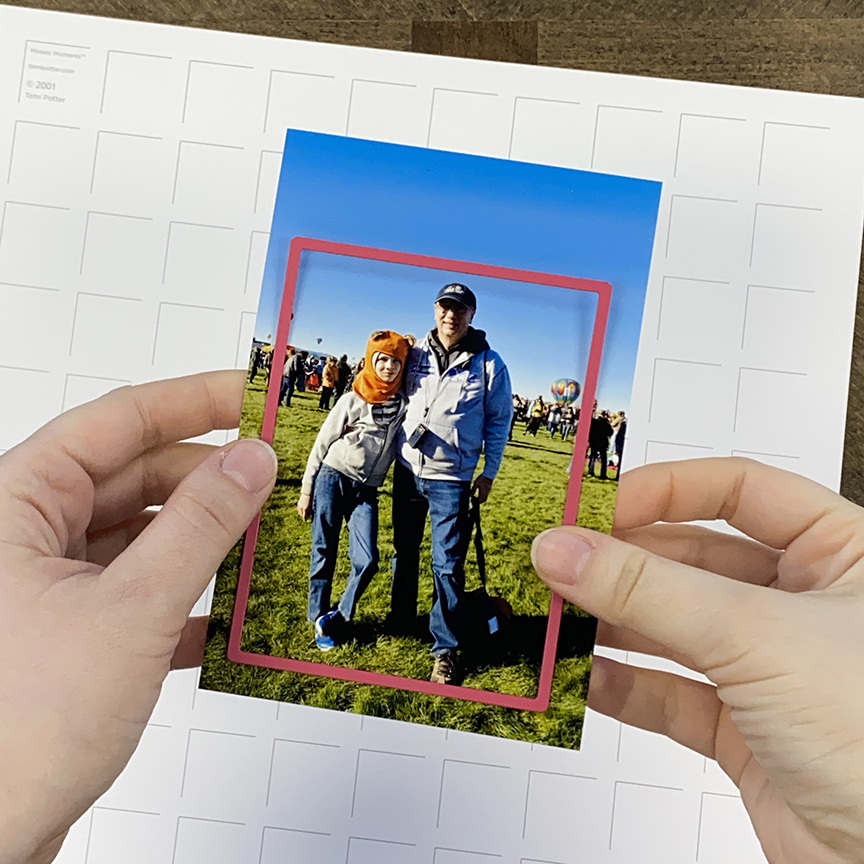
You should also be prepared to cut your photos.
There are no overlays in this system that cover a portion of your picture. Rather, you trim your photos and/or paper to fit the grid. The type of photo you have, whether it be a professional portrait, a snapshot, or a picture printed off your phone, will help dictate how you cut your photo and what types of dies you might use.
Note: Never cut a Polaroid. These should be scanned and reprinted or matted and placed on the page. Cutting it may release harmful chemicals into the air and will cause the photo to disintegrate over time.
That said, there is only one rule to creating with Mosaic Moments®.
You must cover each of the grid lines printed on the paper with something so when you are finished, no one sees the lines that made it possible.
Getting Started
There are many ways to get started, but the easiest is to try a few Mosaic Moments® Page Kits.
These kits are created using Mosaic Moments® Grid Paper, quality cardstock, and printed papers from some of the most popular paper manufacturers. Everything is laser cut to fit the grid and a picture shows you how the design can be put together.
You simply open the package, separate the pieces, and adhere each one in the place designated. Then, you trim your photos to fit and place them on the photo mats. It is that simple and can take as little as 15 minutes to complete.
Note: Be sure to use only quality adhesive designed for scrapbooking. Inexpensive brands may dry out over time causing all of the pieces of your page to fall apart. We recommend the Herma™ Dotto Dispenser and glue. It is re-positionable while you work on it and it becomes permanent over time. Most importantly, it has been tested for decades and it continues to be the best we can find.
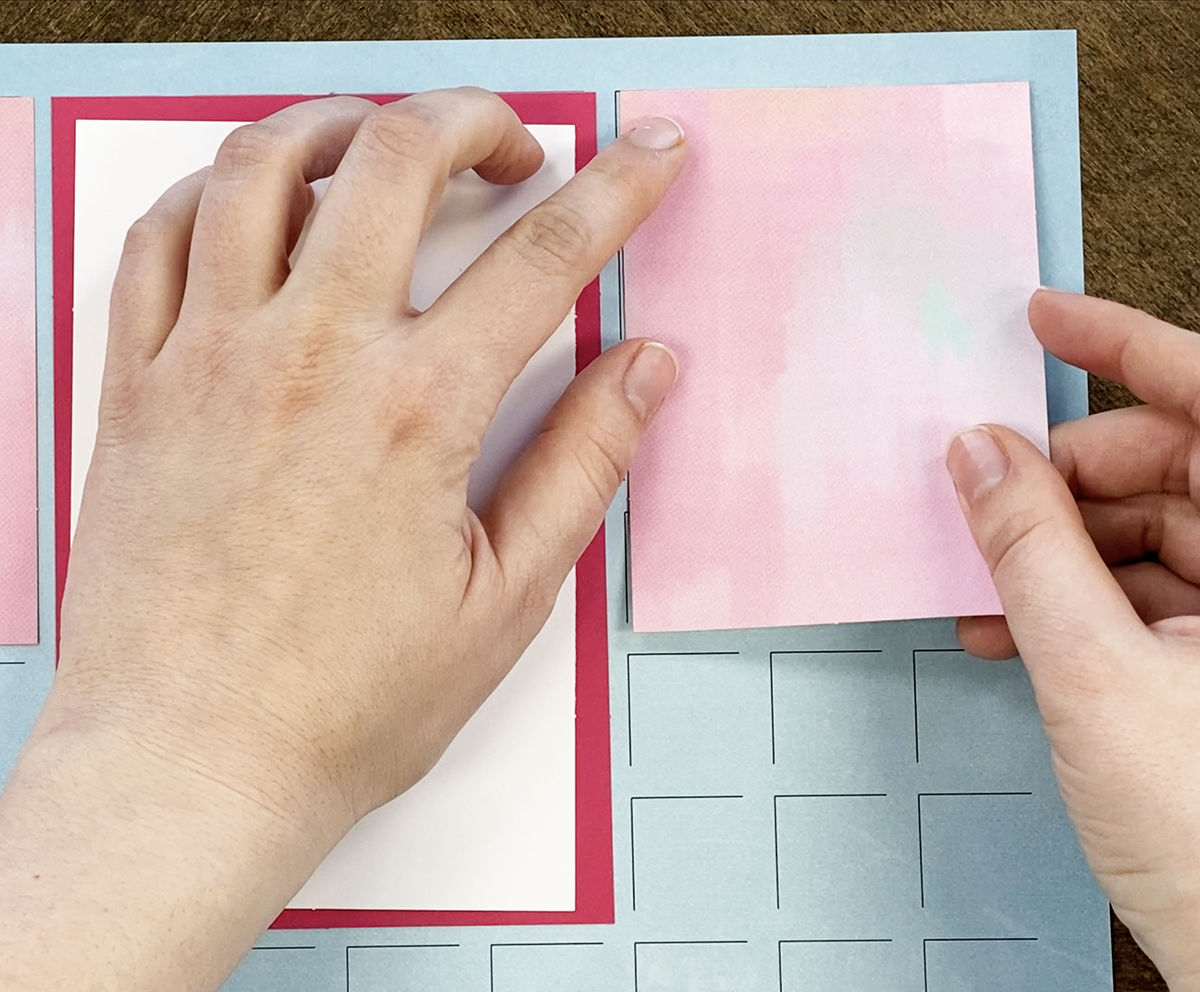
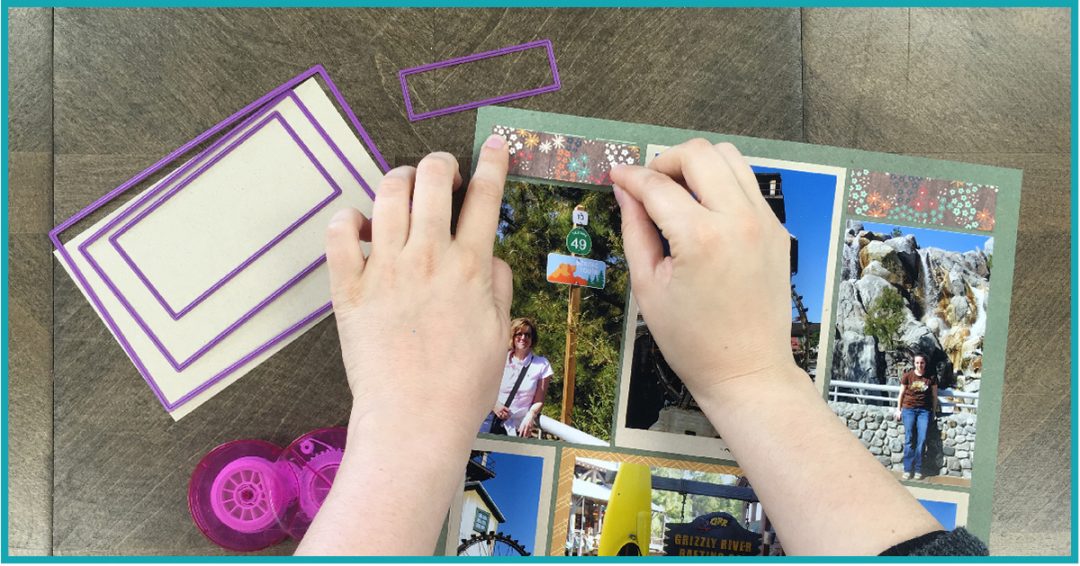
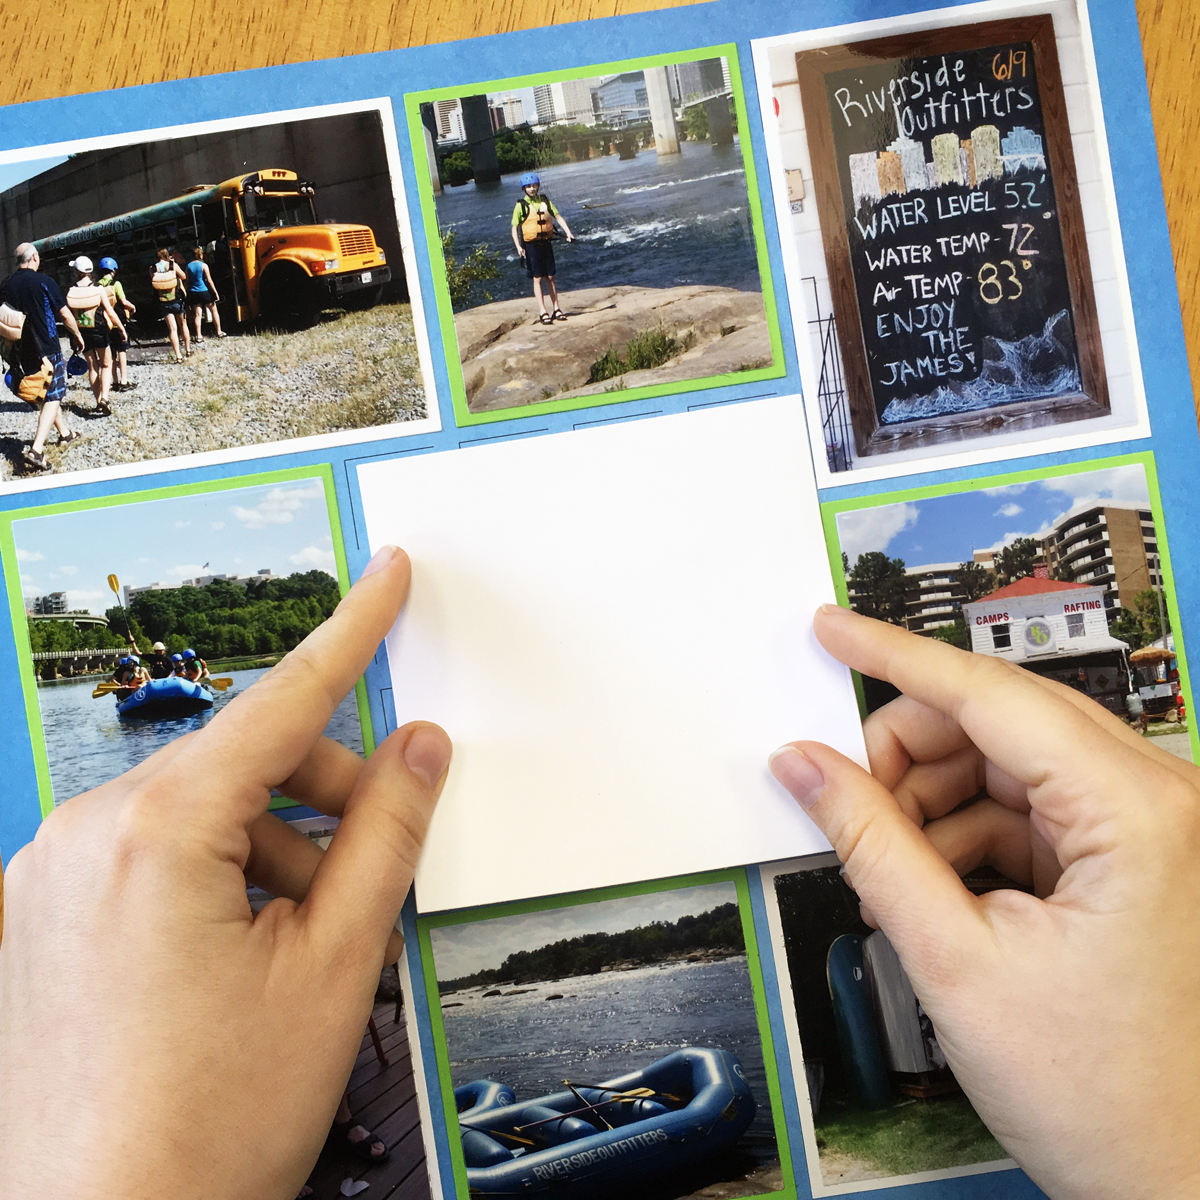
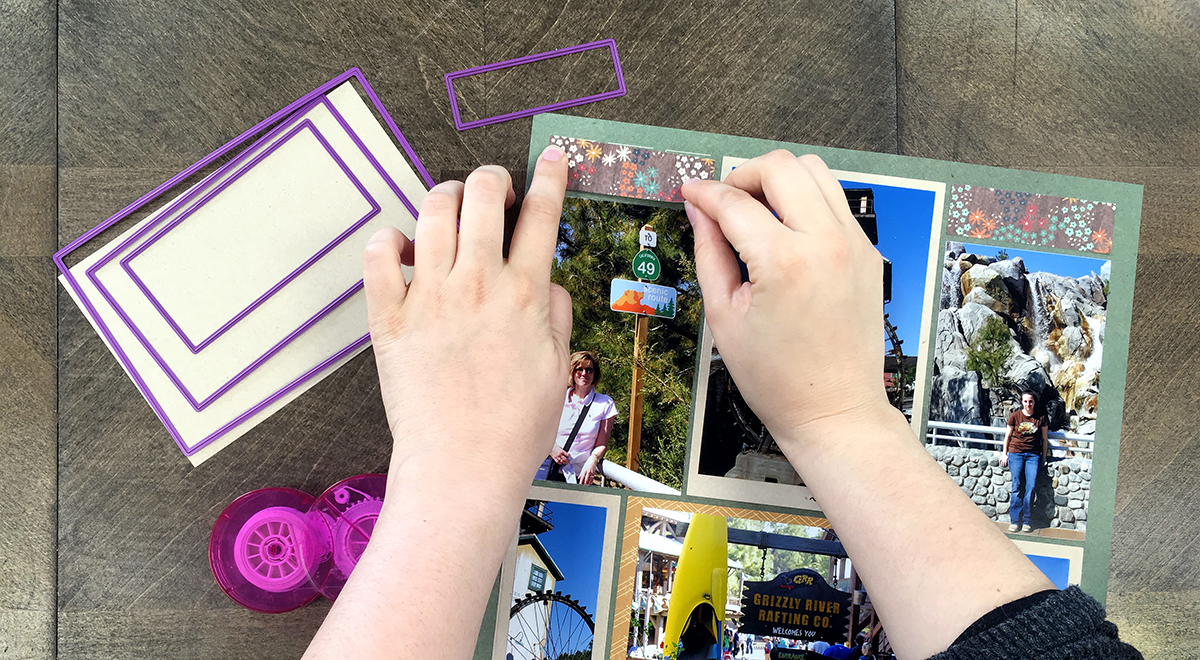
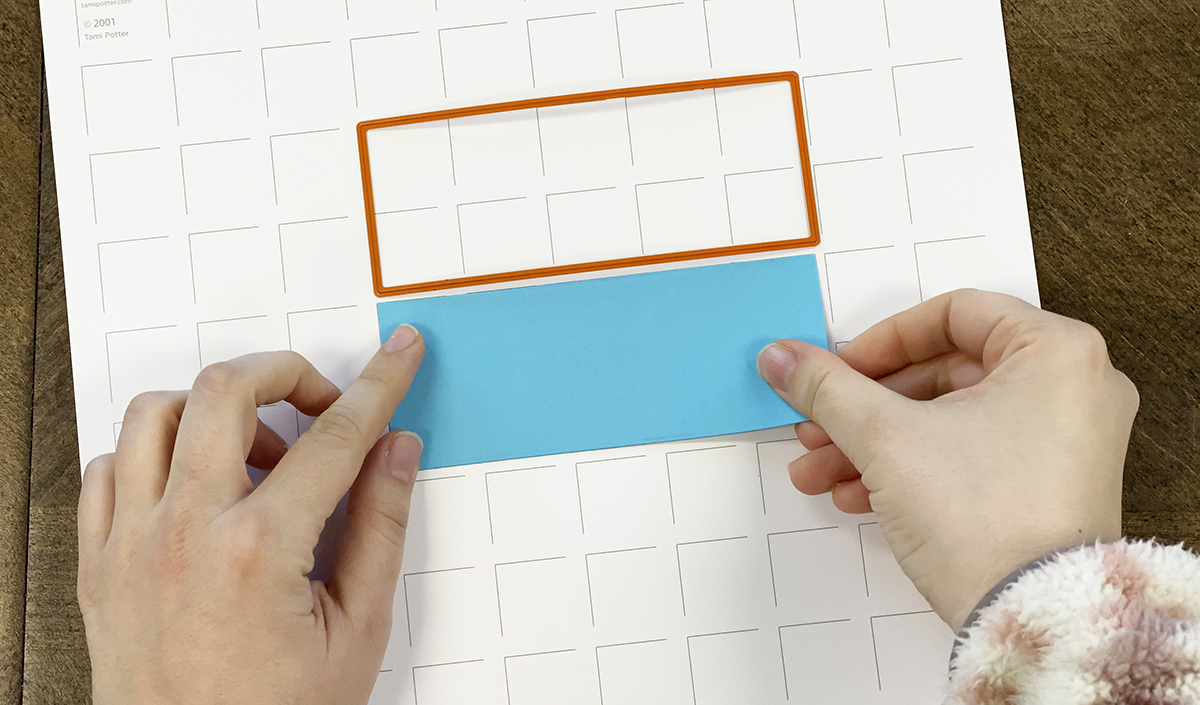
To get everything to fit perfectly on the grid paper, you will want to line up the top, left corner of your element, with the coordinating mark on the grid paper. You want to stay as close to the line as you can, without seeing the line. That way, when you are finished, everything will automatically be straight and evenly spaced.
Tip: Some find it easiest to place the element in the corner of the grid line, even with the top grid line. Place a finger there to hold it then gently line up the left side.
See Our 3 Tips on Getting Started:
Start Die Cutting
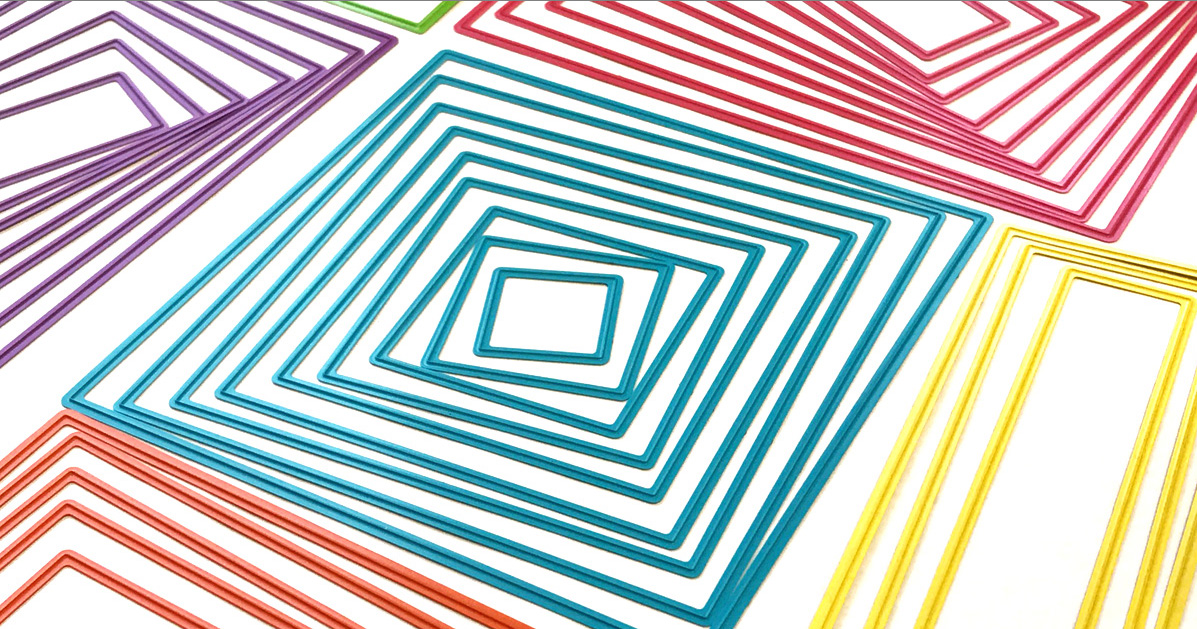
The easiest way to cut your photos is with dies.
These thin-metal dies, except for the colored bundles, are made in the USA of high-quality steel. Most must be cut apart using flush snips. They are not blades (although they may have sharp edges) and cut only when immense pressure is applied via a die-cutting machine.
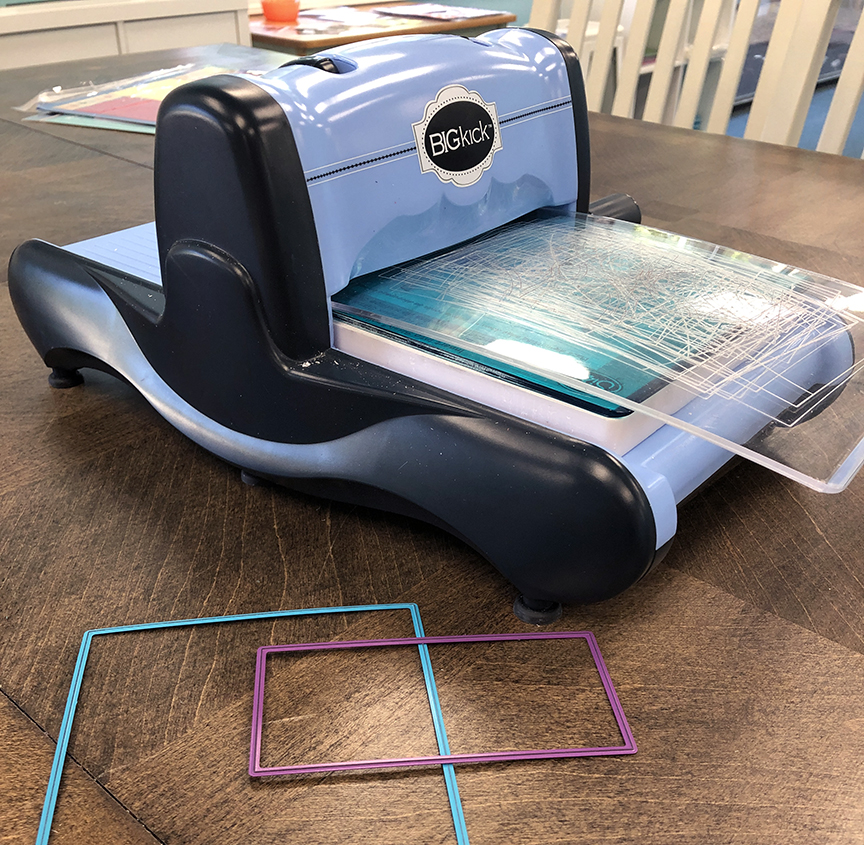
To use the machine, you follow the manufacturer’s instructions to create a “sandwich.”
This is a stack of platforms, cutting plates, dies, and paper or photos. As a general rule, you should only use the plates and platforms designed for your machine, as every machine is a little bit different and improper use can break the machine.
Cutting plates are generally items that will have to be replaced over time.
Each time you use them, they are being bent around a die and being cut into. Over time, they may become warped, but when they stop cutting cleanly, they need to be replaced. For this reason, select a machine that is still being made and one that it is easy to find accessories or replacement plates.
Note: Because these machines use pressure to cut, you will get small creases around the edges of your photos when using thin-metal dies. Some people are bothered by this. If you are one of those, choose a machine that allows you to change the amount of pressure used. Or, select a Sizzix machine, like a Big Shot, Big Kit, or Vagabond and replace the top cutting plate (the one you do NOT cut into) with the Sizzix Crease Pad.
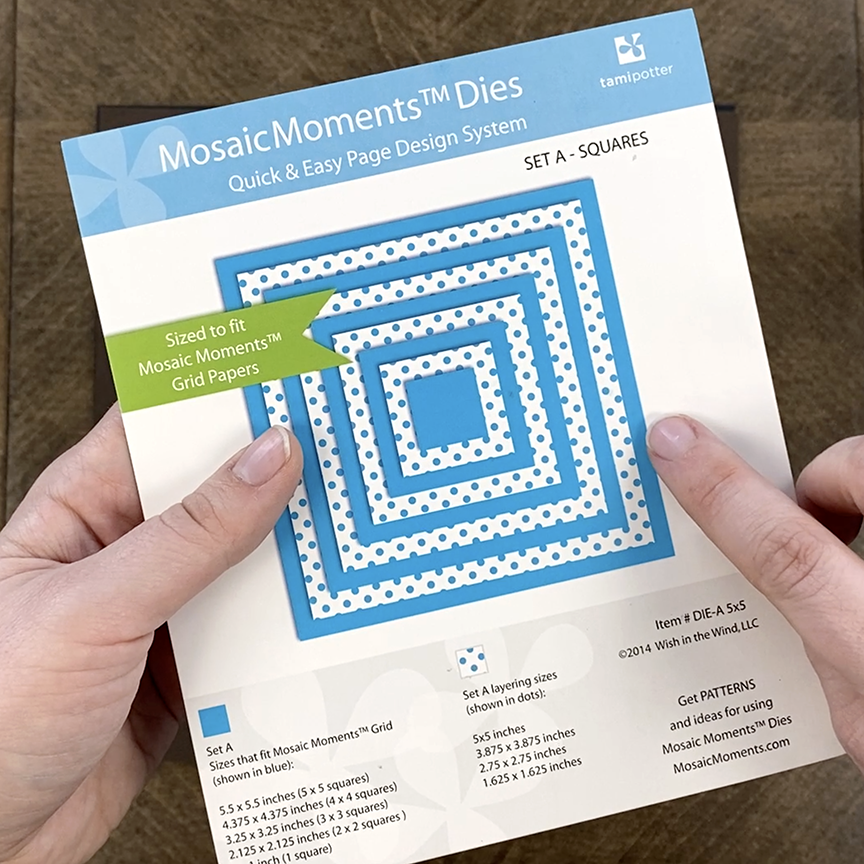
There are some dies that do not fit the grid. These typically come in sets and are usually colored on the packaging with either dots or pastel shades. These dies are meant to cut layers that go over another die cut that fits the grid.
Look at Set A, for example. The solid blue shapes on the packaging represent the dies that fit the grid. The dotted shapes are layers. So, you would use the solid blue dies to cut a photo mat and then the dotted layer to cut your photo, creating a perfectly matted picture that fits the grid.
Buying Dies
Most customers begin by buying either the Basic Die Bundle, or purchasing the basic dies in individual sets.
If the budget does not allow for the entire Basic Die Bundle, consider buying sets A, B and C ala carte, as these are the ones used most often. These dies are used on nearly every layout to cut your photos and photo mats.
Next, you will want to look at dies in the Explorer Level.
These dies are the quickest and simplest to use and include alphabets and numbers to make titles, as well as decorative dies to add seasonal touches, interest and borders to your designs.
You can view all of our level one dies on Snapncrop.com.
Explore the Pattern Gallery
There are hundreds of patterns already in the Pattern Gallery, and more are going to be added!
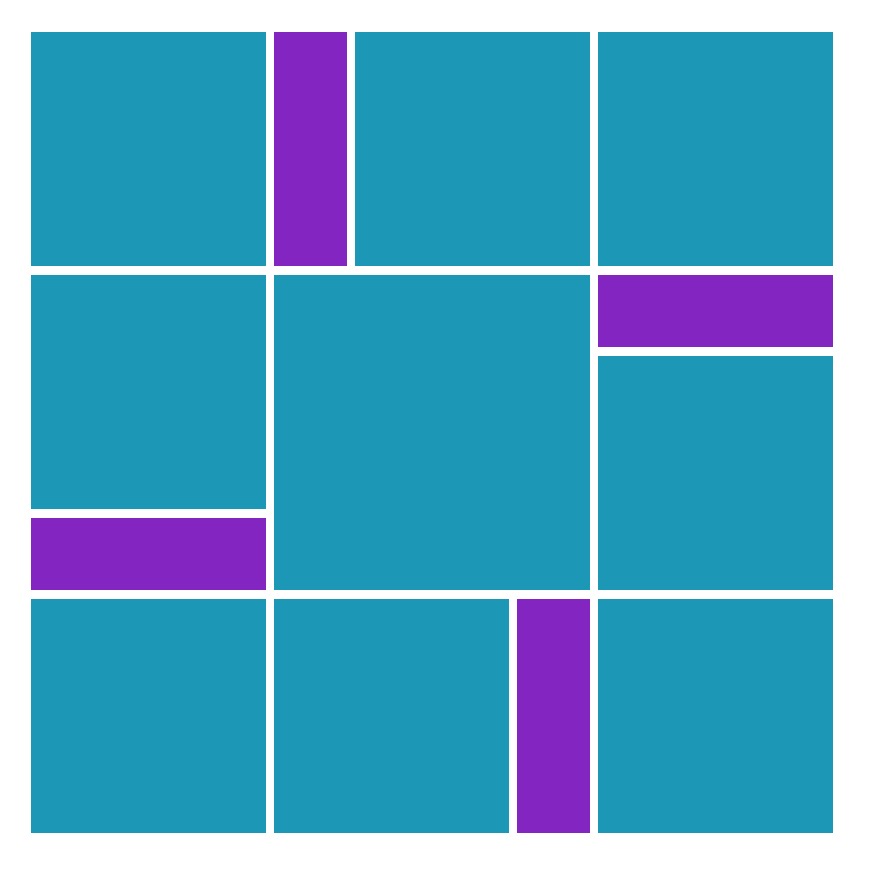
The colors of elements used on the patterns match the colors on the packaging of the dies, and/or the dies themselves, depending on which set of basic dies you chose. So, if you see a bright pink rectangle, you will look in Set C for the die that fits that space.

Decorative, border or specialty dies can be substituted for a die of the same size.
For example, the Hand Bell Die can be used in place of a 2x2 blue space on the pattern and the 3 Rings Die can be substituted for the orange 1x4 space on the pattern. The inserts show the color you would match with on the page patterns.
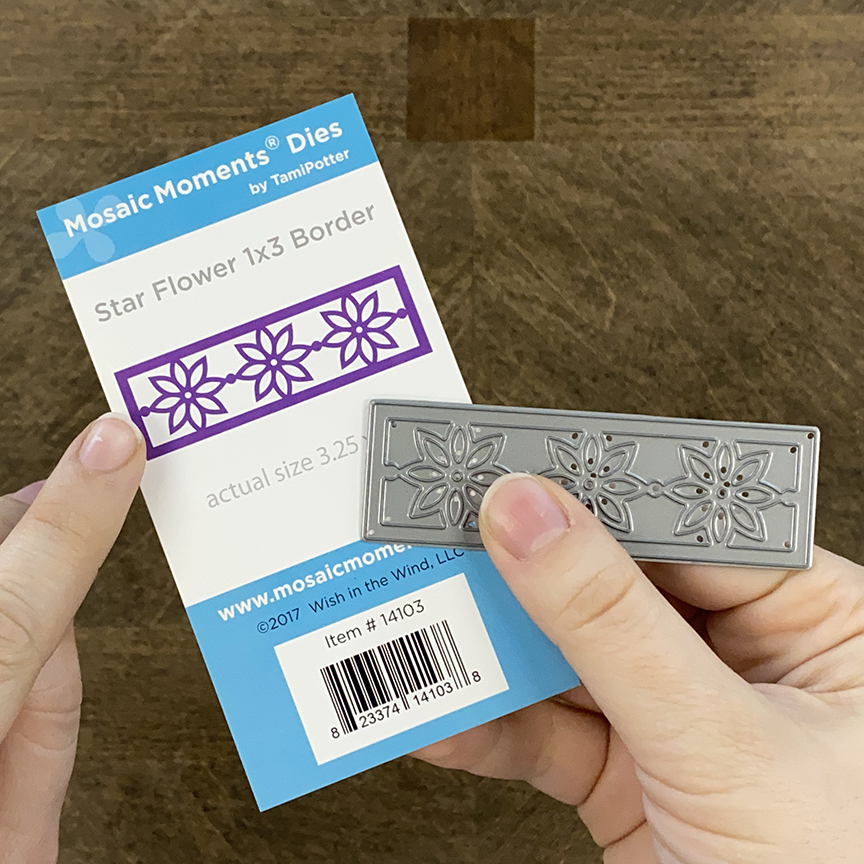
Image below shows the Star Flower 1x3 die, which is purple on the insert. For this die, you would look for patterns with 1x3 purple design spots, such as pattern #100 below.
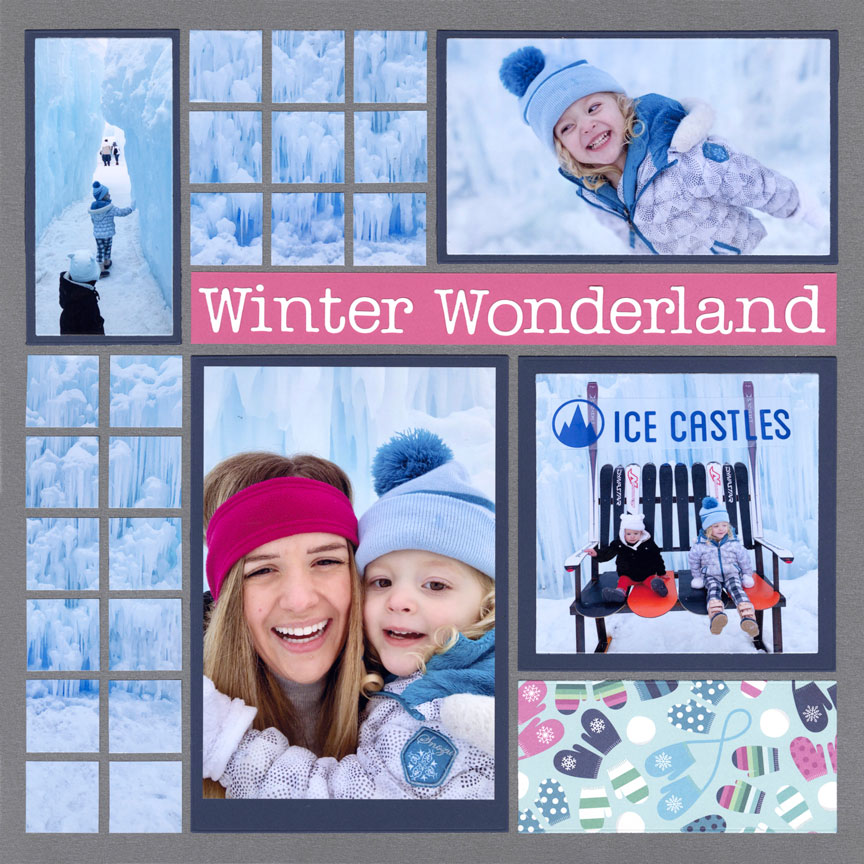
Shapes on the pattern gallery can be filled with anything you wish – a picture, a matted journaling block, a title, a decorative die cut, patterned paper, cardstock, etc. You simply cut it with the die that cuts that size and shape, and you are ready to go.
Note: Should you choose to cut by hand, rather than using the dies, the sizes of each element are listed below the pattern.

Choosing Photos
As you work with Mosaic Moments®, you will see some things you never noticed before.
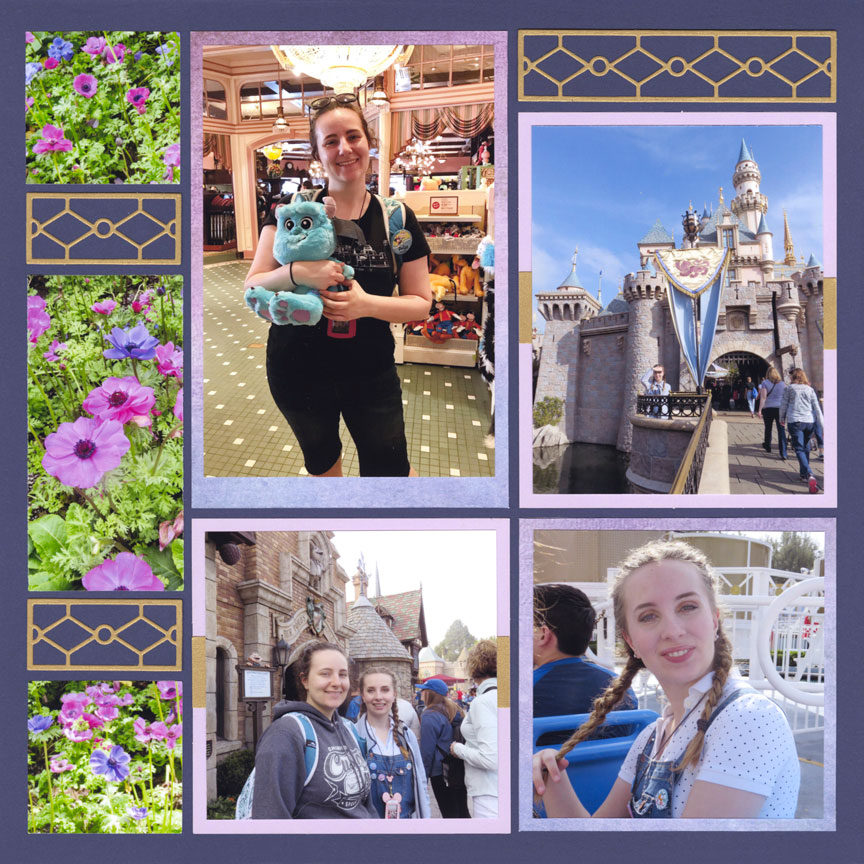
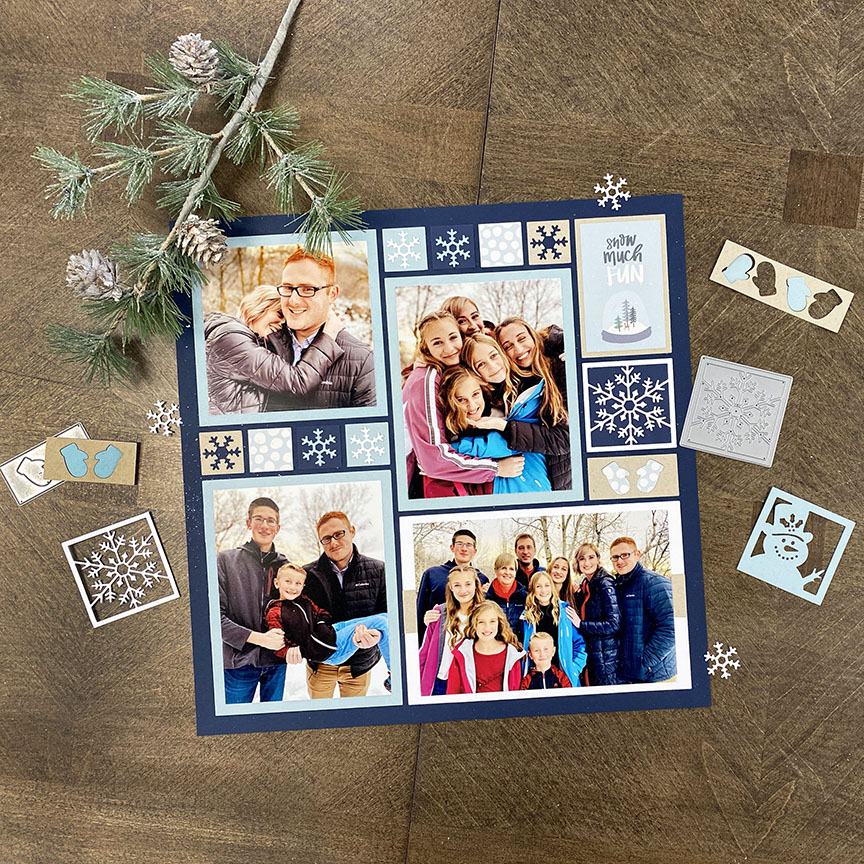
Tiny details in photos will become more obvious. You will see that you likely need both horizontal and vertical photos for each layout. And, you may also need pictures that are close-up, as well as those that are father away to tell your story.
You may even find yourself taking close-up pictures of flowers, Christmas décor, pinecones and other elements to use instead of pattern paper.
Many of the dies are open, meaning you can see through the center of them. Flipping the die over, so the cutting edge is against your photo, allows you to quickly get an idea of how the photo will look if you use that die. This is a handy way to choose the perfect photo for the die before you cut.
Note: Try not to cut any faces into small pieces. The end result is never flattering.
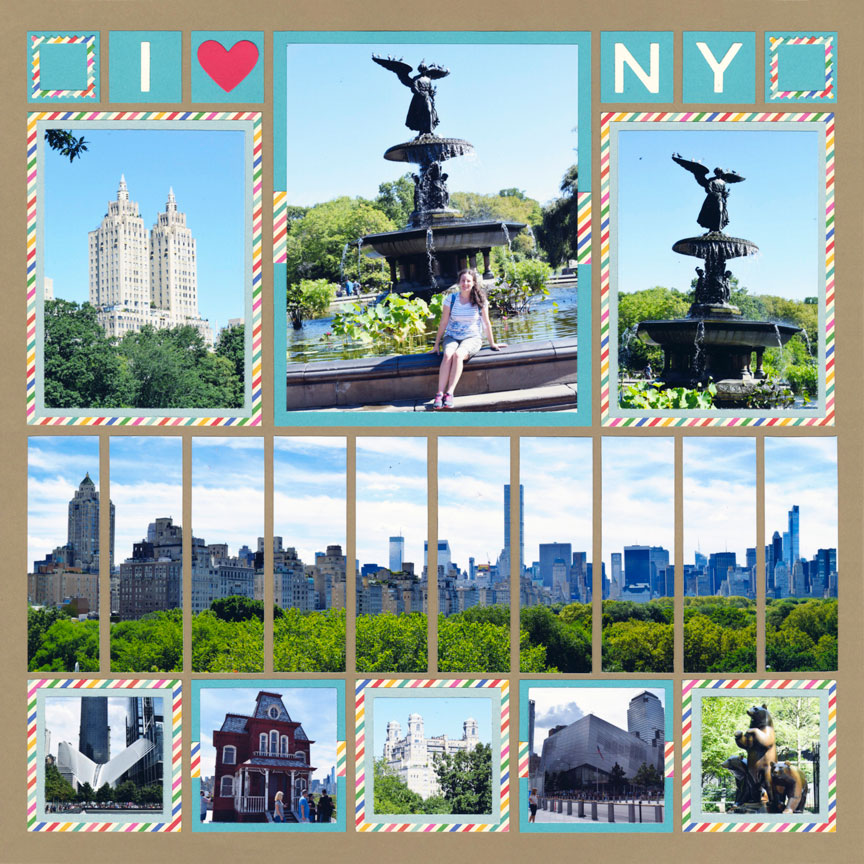
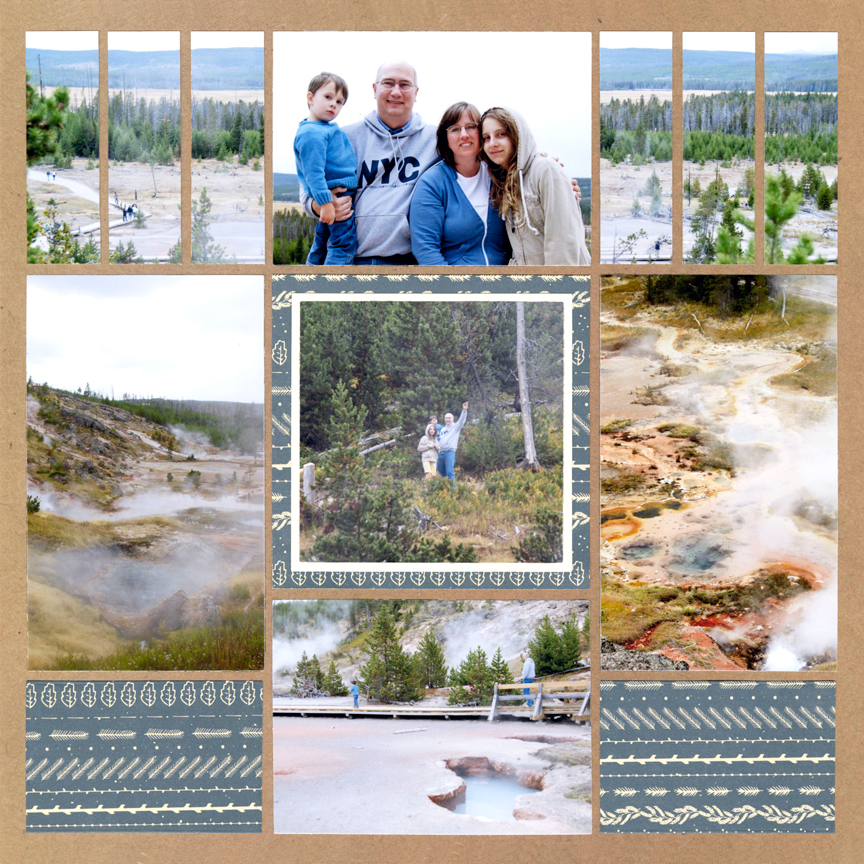
The second way to select the correct photos is to think about the layout you plan to use while taking the photos.
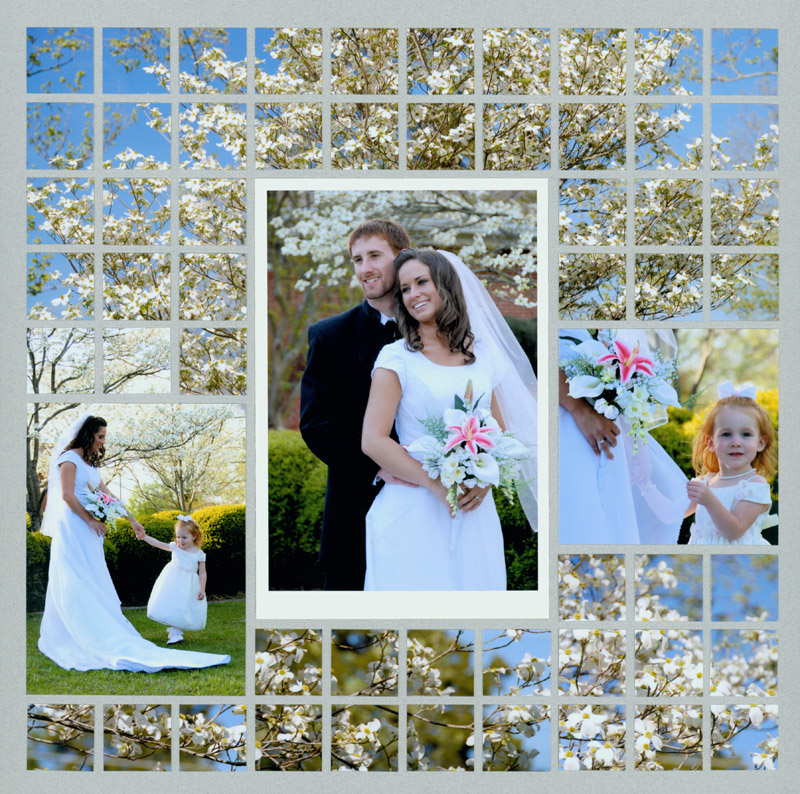
So, if you plan to create a faux panoramic, you can take photos along the horizon that can later be pieced together. Or, you might take pictures of a brick wall to fill in the frame around a picture of a person. And, you may take extra photos of shrubs to use to fill in the blank spaces on your floral mosaic.
Note which ones were taken close-up and which were taken at a distance.
If you are not planning on printing your photos at home, imagine what the original 4x6 photo looked like. Was a lot cropped off? Was nearly the entire photo used? Was a tiny portion used?
Since most of the designers who make the sample layouts work exclusively with 4x6 photos, imagining what the photo looked like before any cutting can help you frame the picture when taking it, so it will fit in the layout you planned.