
When you need a collection of dies that give you hundreds of options, create shapes within shapes, and lead the eye from one photo to the next, look to the Crisscross Collection.
This collection, according to some of our designers, is easier to work with and the results are spectacular. Just look at some of the ways to use these dies.
1. Create a Crisscross

"Playing in the Snow" by Paije Potter - Pattern #477
2. Rotate the Pattern
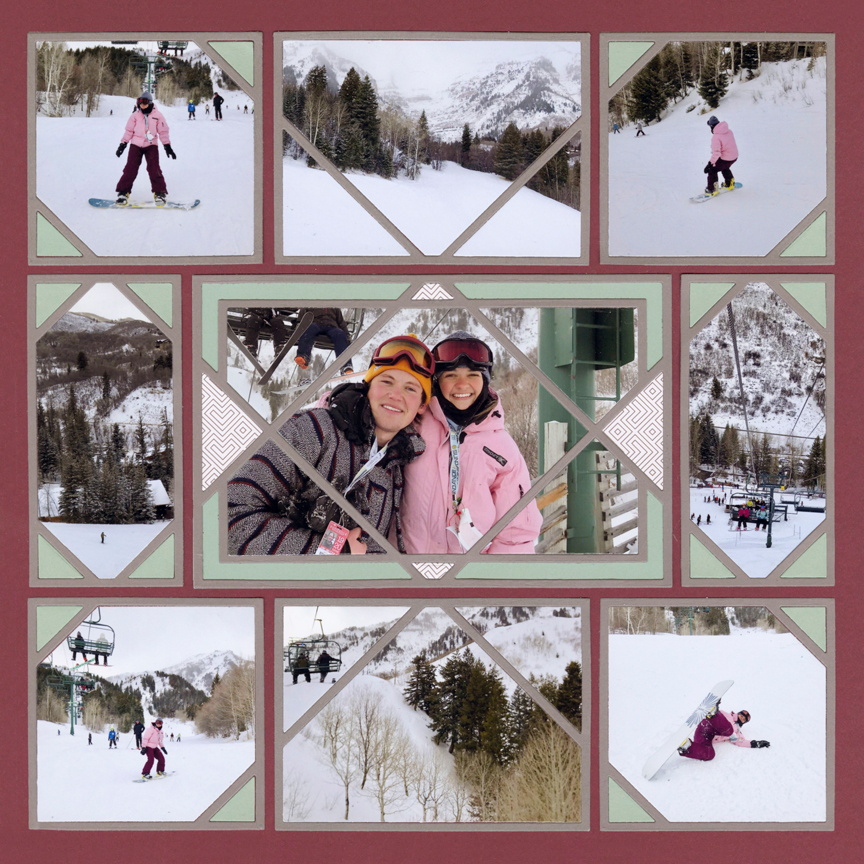
"Snowboarding at Sundance" by Jodi Benson - Pattern #477 (Rotated)
3. Make a Small Crisscross
"Swiss Family Tree" by Tami Potter - Pattern #596
Using only the smaller dies in the Crisscross collection can create a smaller crisscross centered around a 2x2 square, like Tami did here.
This treatment also allows for a border around the layout. It's perfect when you have paper you want to showcase.
4. Combine the Looks
"Swiss Family Tree" by Tami Potter
5. Save it for the Corners
For this design, Danielle replaced the center space with a 4x4 photo. However, by using patterned paper in each of the corners on the other photos, she maintains the crisscross design.
We love how it helps accentuate that center picture.
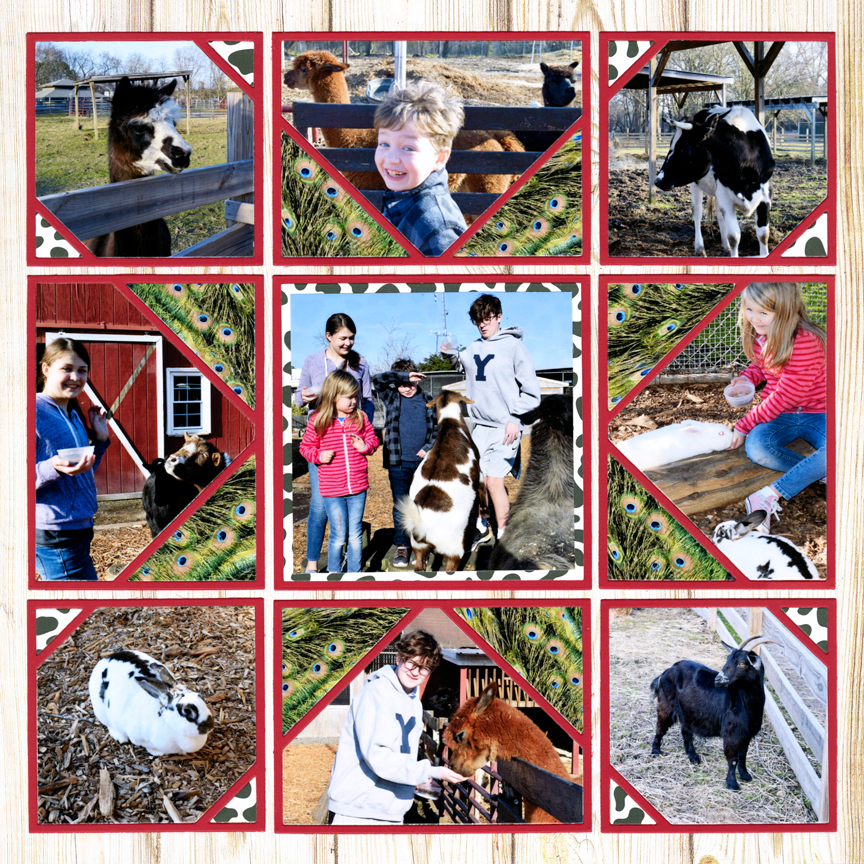
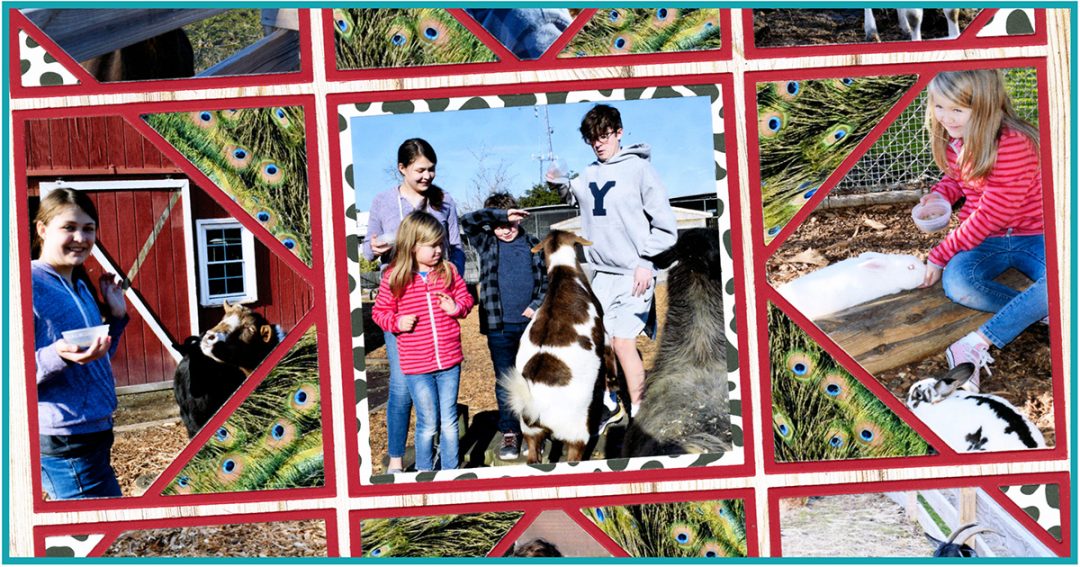
"Petting Zoo" by Danielle Lawson - Pattern #344
6. Repeat the Middle

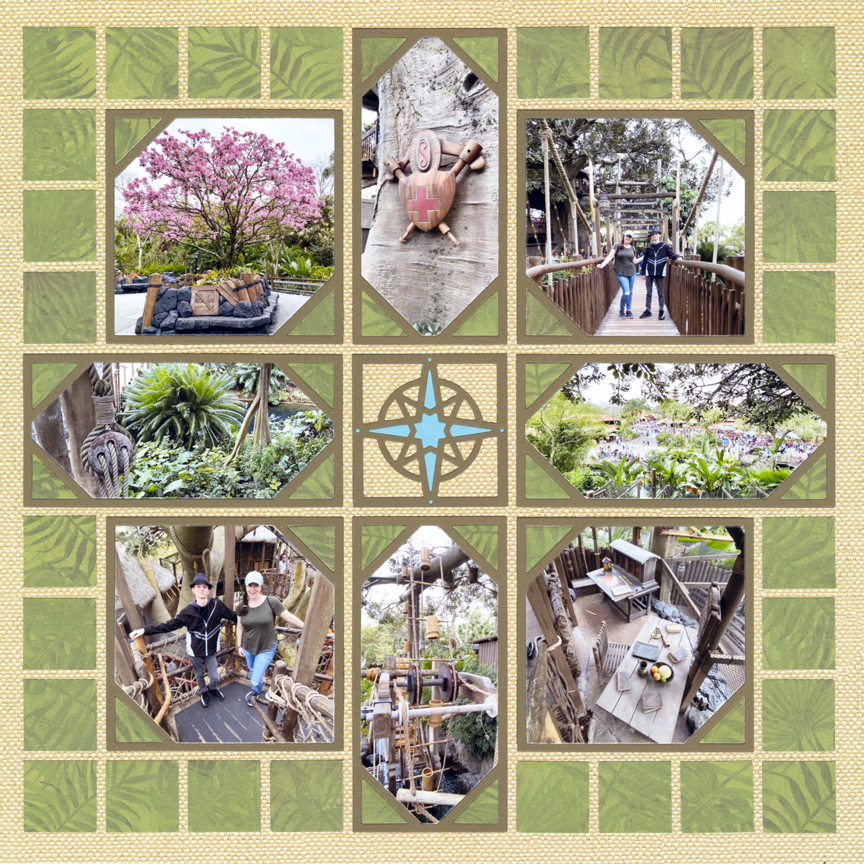
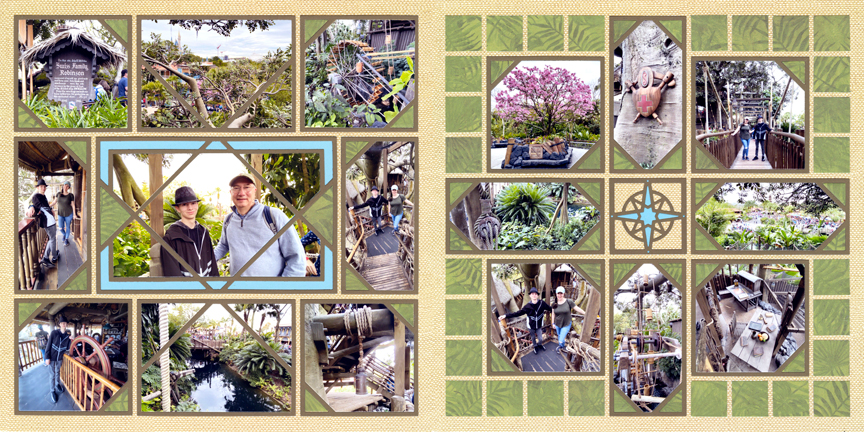
"Jungle Cruise" by Paije Potter - Pattern #598
7. Add a Border
Using the 4x4 Crisscross Die in the center, and the 2x4 Crisscross Die on each side, allows space for a short border.
Using patterned paper for these short borders is a great way to tie colors together on your layout.
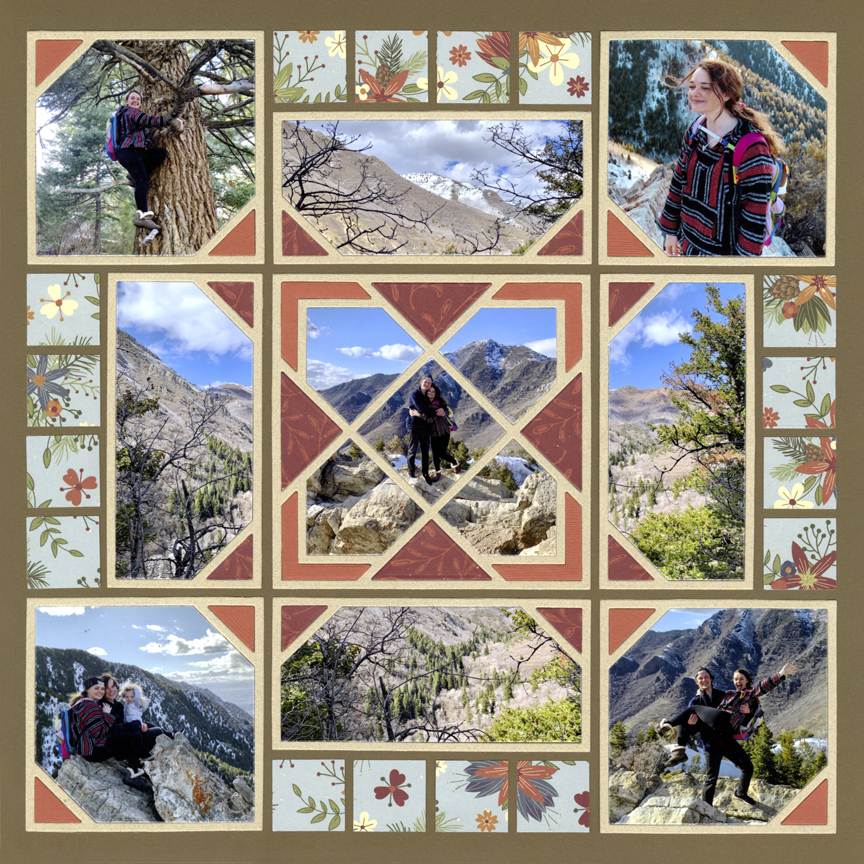
"Hike the Mountain" by Jodi Benson - Pattern #478 (slight adjustments)
8. Create Multiple Crisscrosses
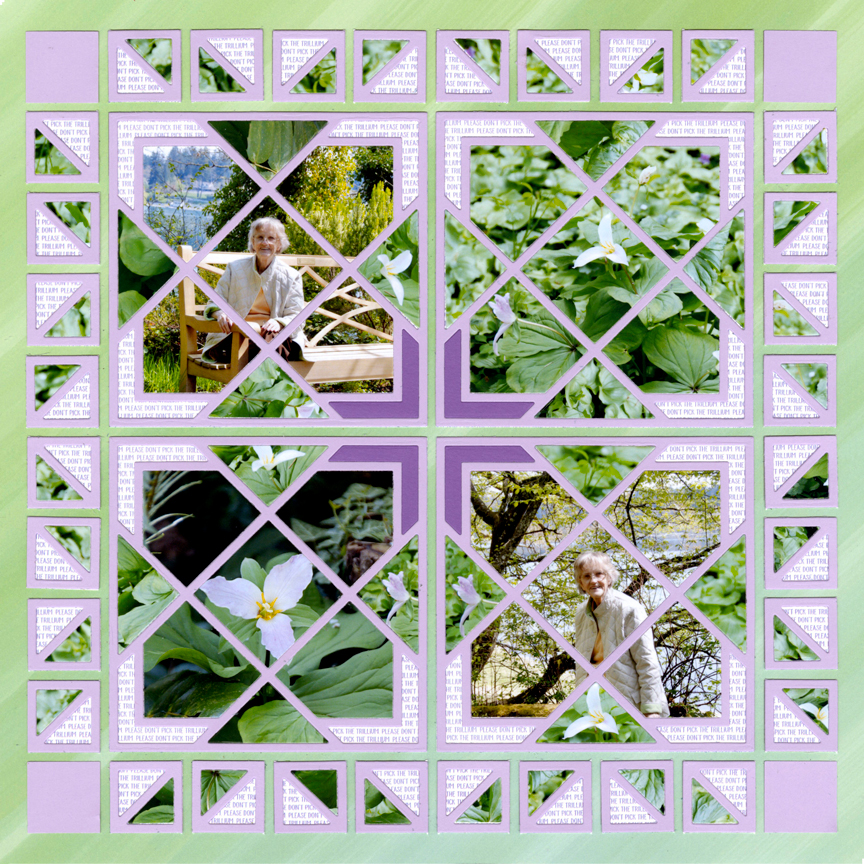
"Trillium with Mom" by Tami Potter - Pattern #133
This design uses only the 4x4 Crisscross Set (and a few 1" squares).
However, by alternating patterned paper, which Tami created and printed off on her computer, and photos, it creates multiple crisscross shapes that tell the story.
9. Make it Yourself
For this layout, Danielle did a bit of hand cutting to get everything to fit the way she wanted it.
She used the 3.25" x 3.25" square die from Set A and placed it on the photo oriented as a diamond. She then hand cut 1/8" off two adjacent sides to get a 3 1/8" diamond shape that fits in between the 4x4 Crisscross dies.
We can only say, brilliant!
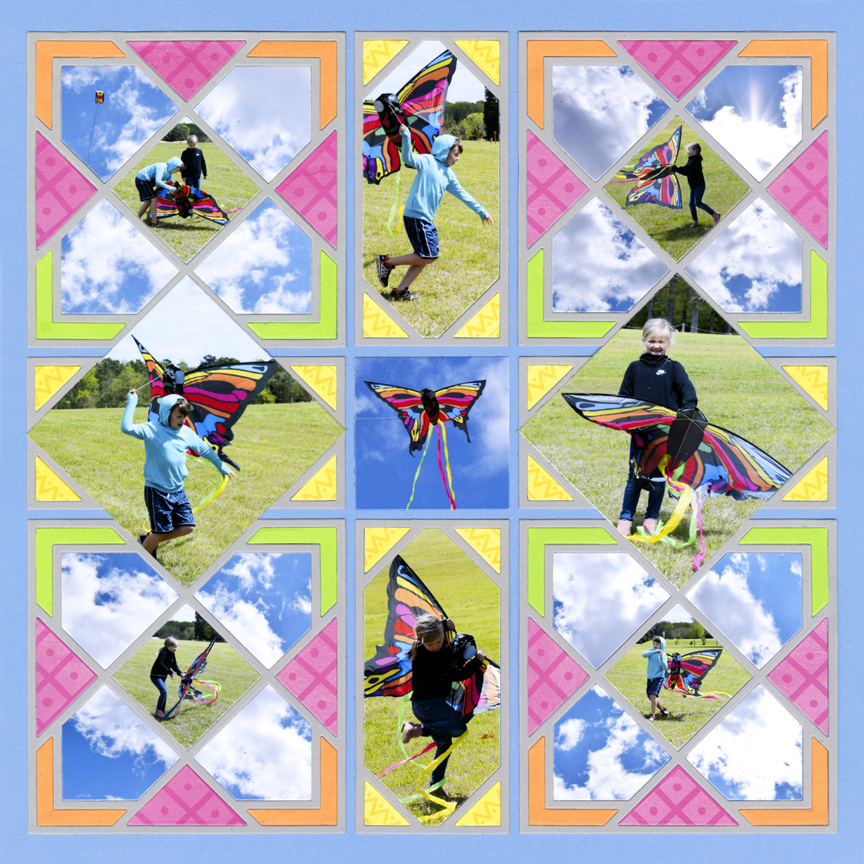
"Butterfly Kite" by Danielle Lawson - Pattern #368