
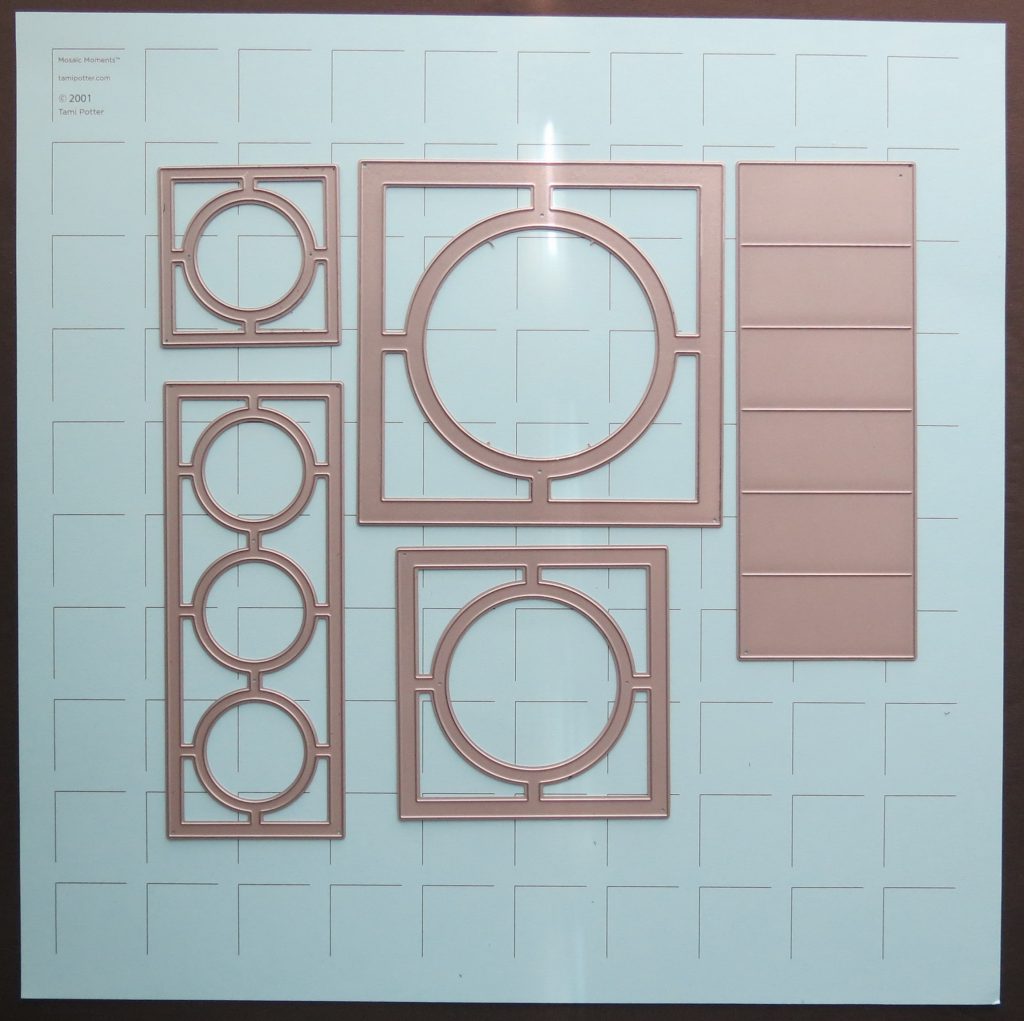
I’ve chosen the Circle Center Frame Dies for today’s layout with some framing ideas and tips plus a stacking technique to add a little dimension to the page. This Circle Center Frame Die Family includes what I’ve used today, the 4×4, the 3×3, the 2×2 and the 2×5 Circle Center Border. I also utilized the Basic Die Sets A and D as well as the 1”x 2.125” Strip Die.
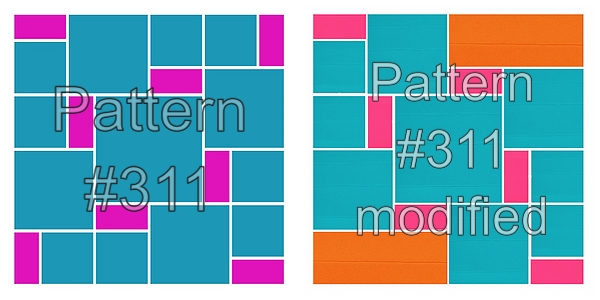
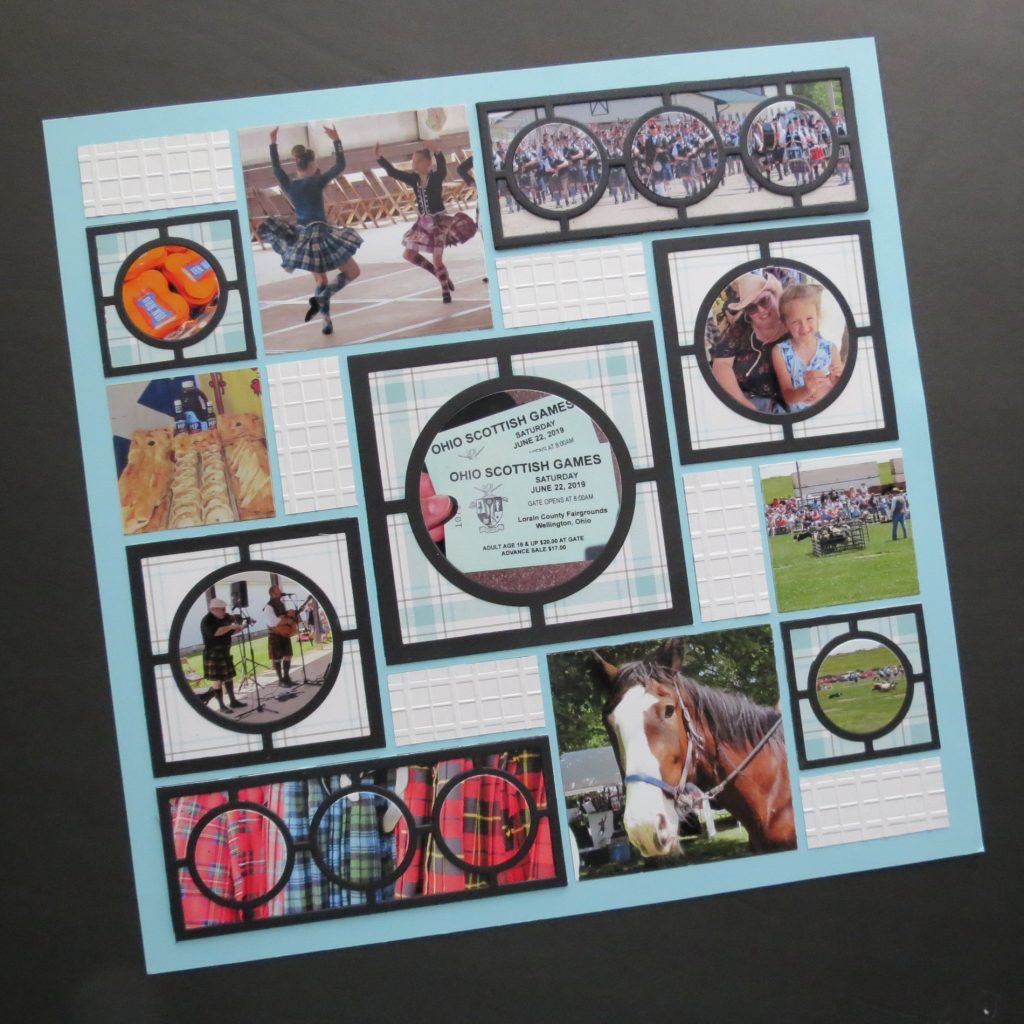
I began searching for a pattern that would allow me to use all of the Circle Center Dies. I poured over them for ages before I decided the only way to get what I wanted was to modify a pattern slightly. Pattern #311 gave me all the square spots I wanted, but not the 2×5 spot for the Circle Center Border die…until I saw how adjusting both the top right and bottom left squares and 1×2 I could blend these together for the 2×5 spots I wanted.
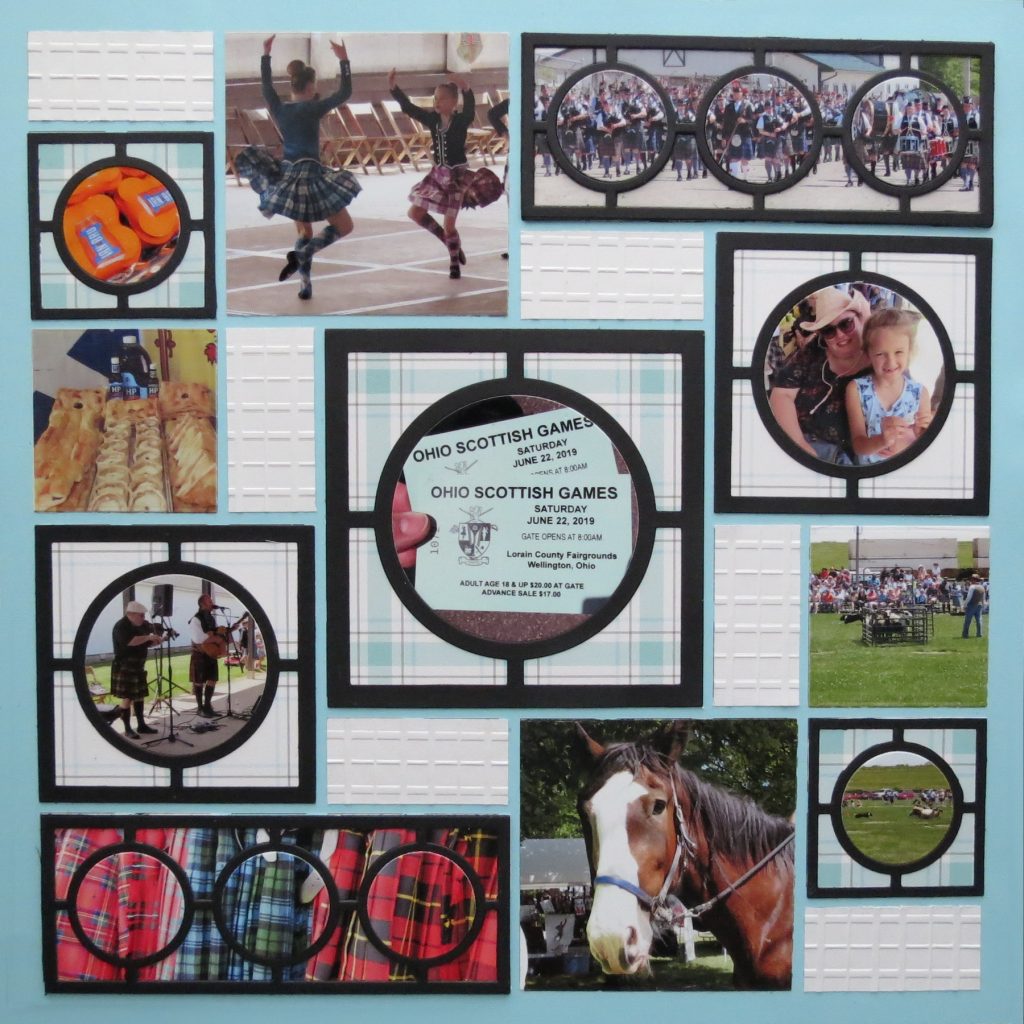
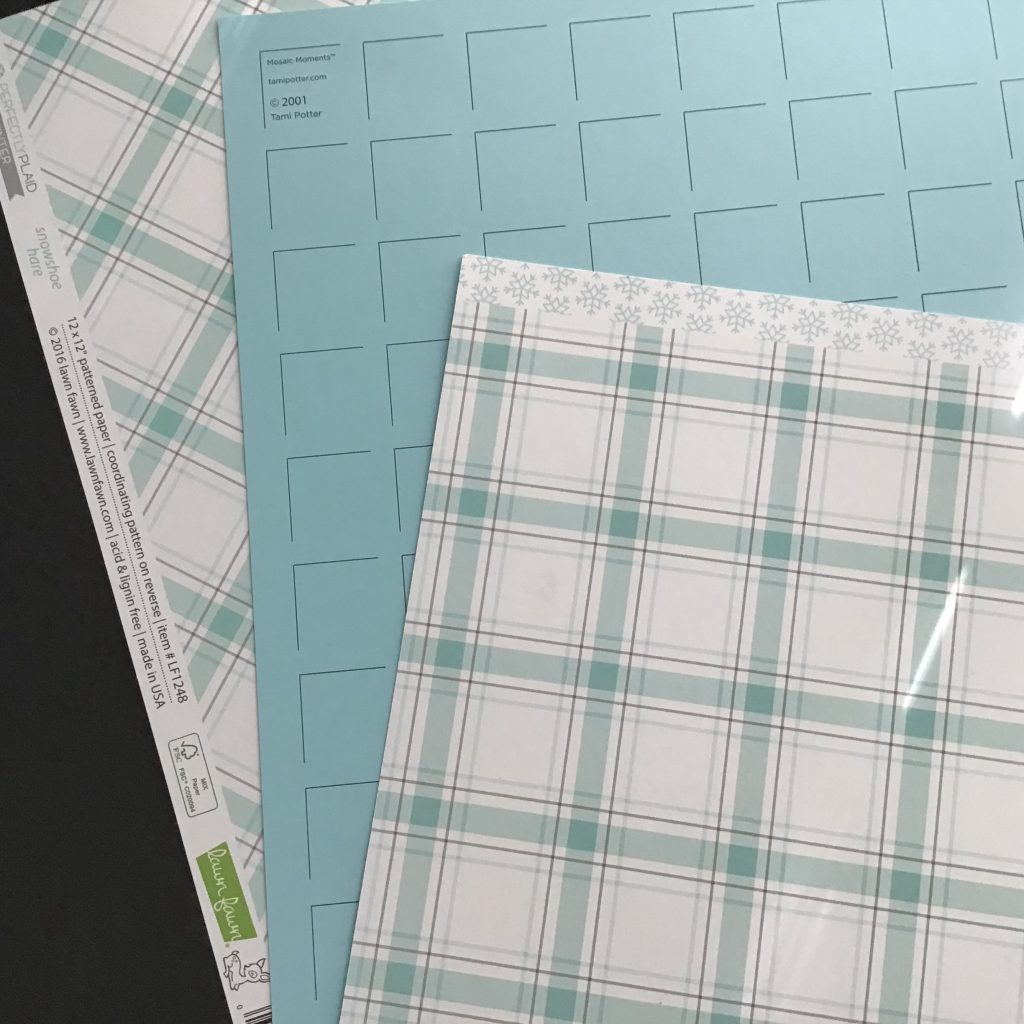
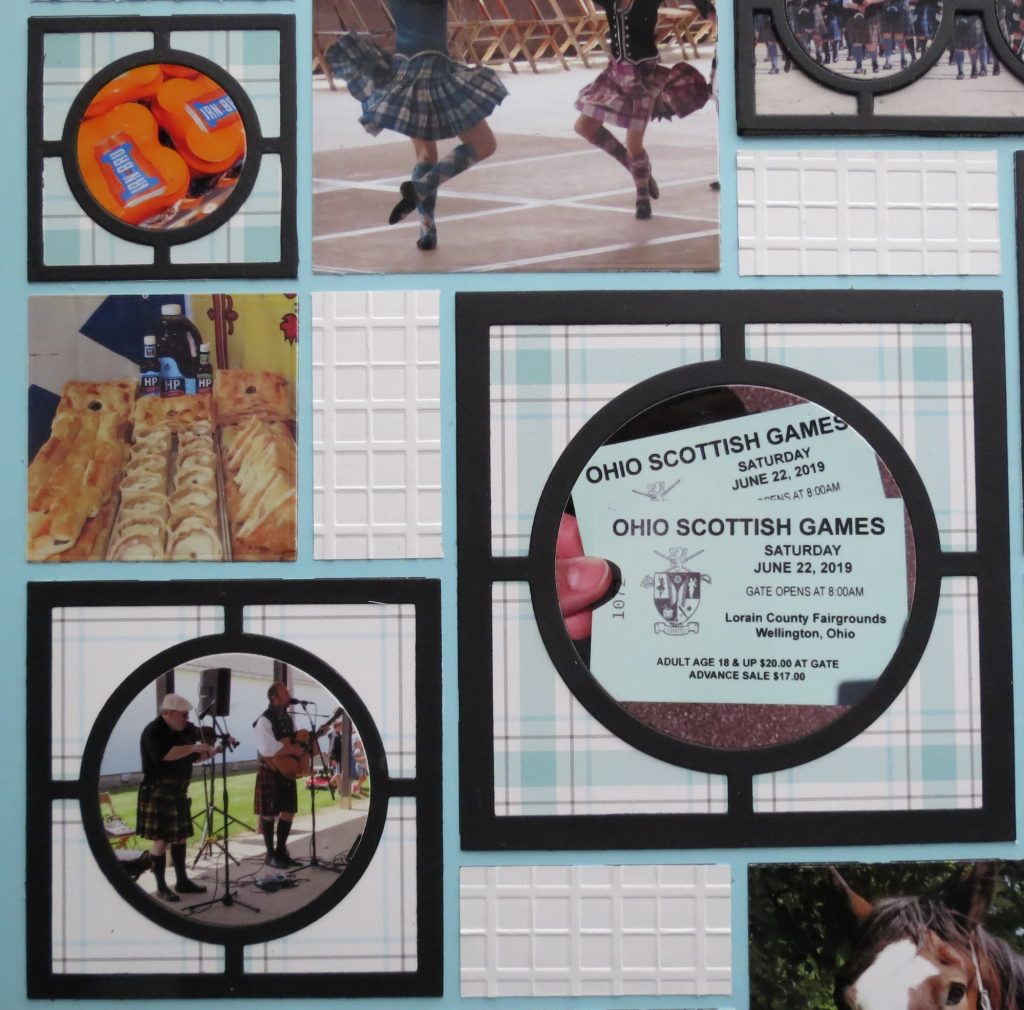
I printed all the photos and cut them with the specialty dies before I decided on a grid paper. After trying several colors I chose to go with the Sky Blue. A nice light cheery blue perfect for a summer outing! I played around with black on white and white on black frames and bases before deciding the black would work best especially on the 2×5 border die, but more on that in a bit.
IDEA:
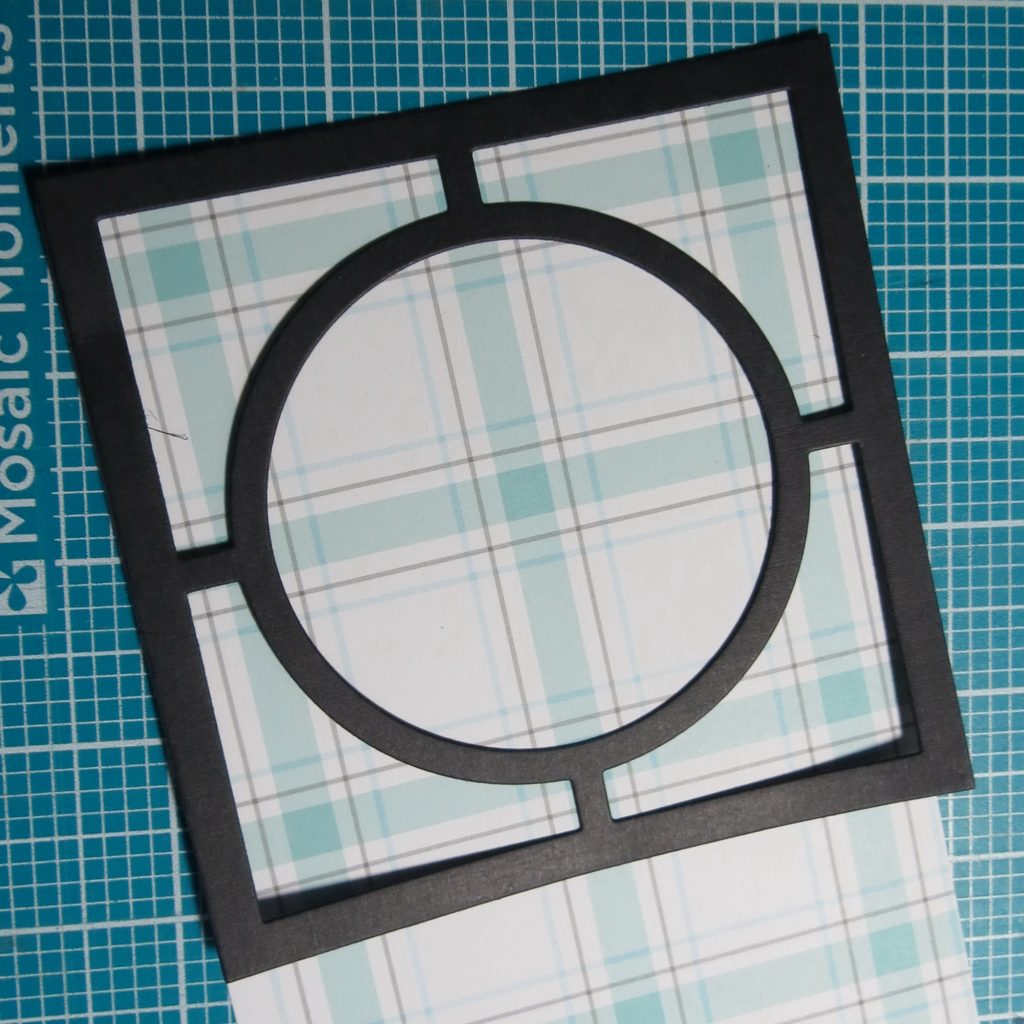
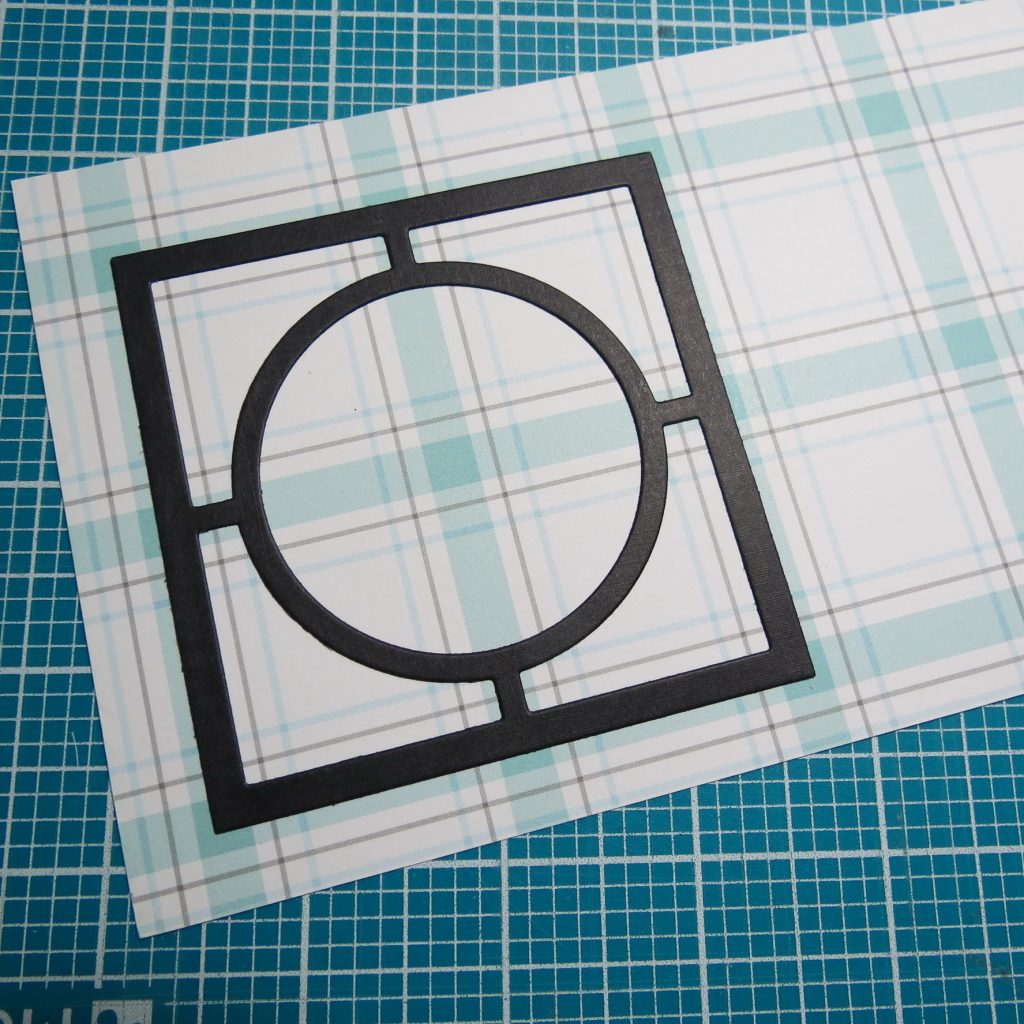
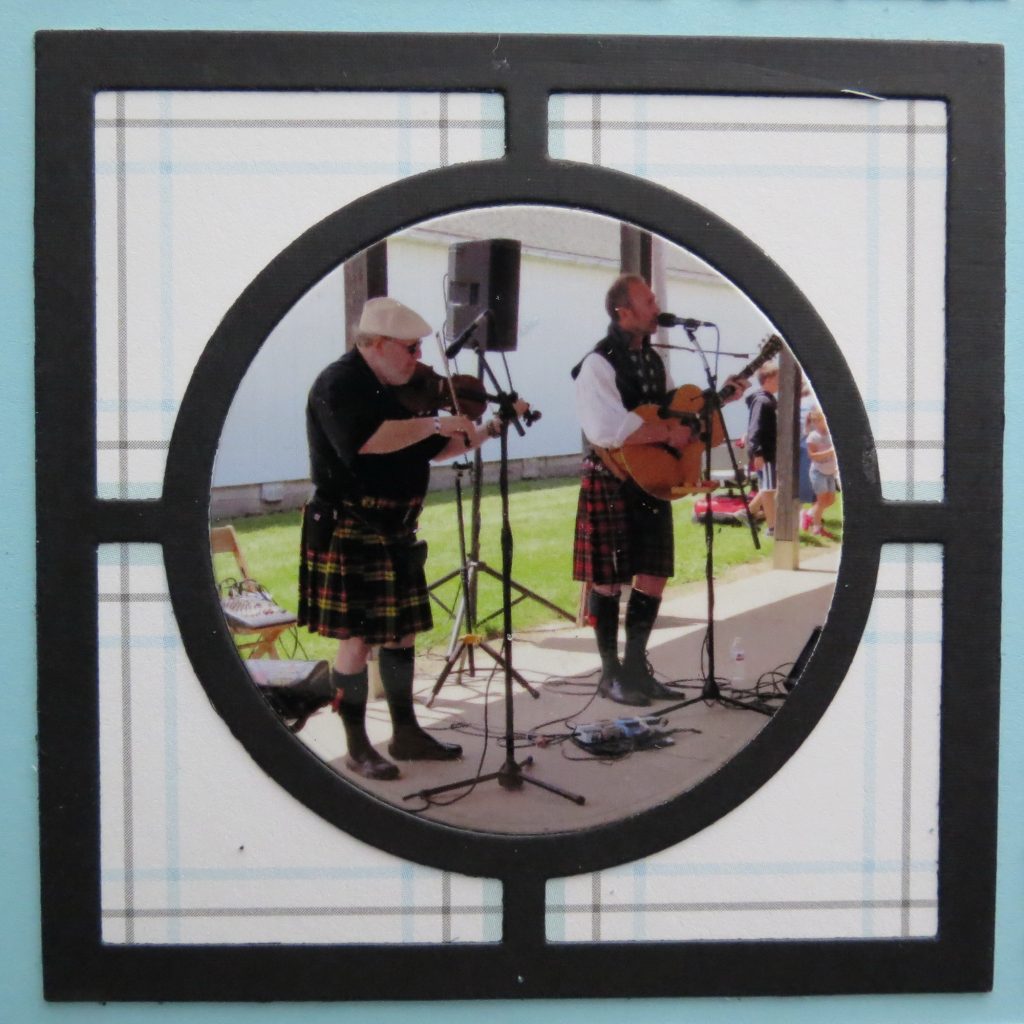
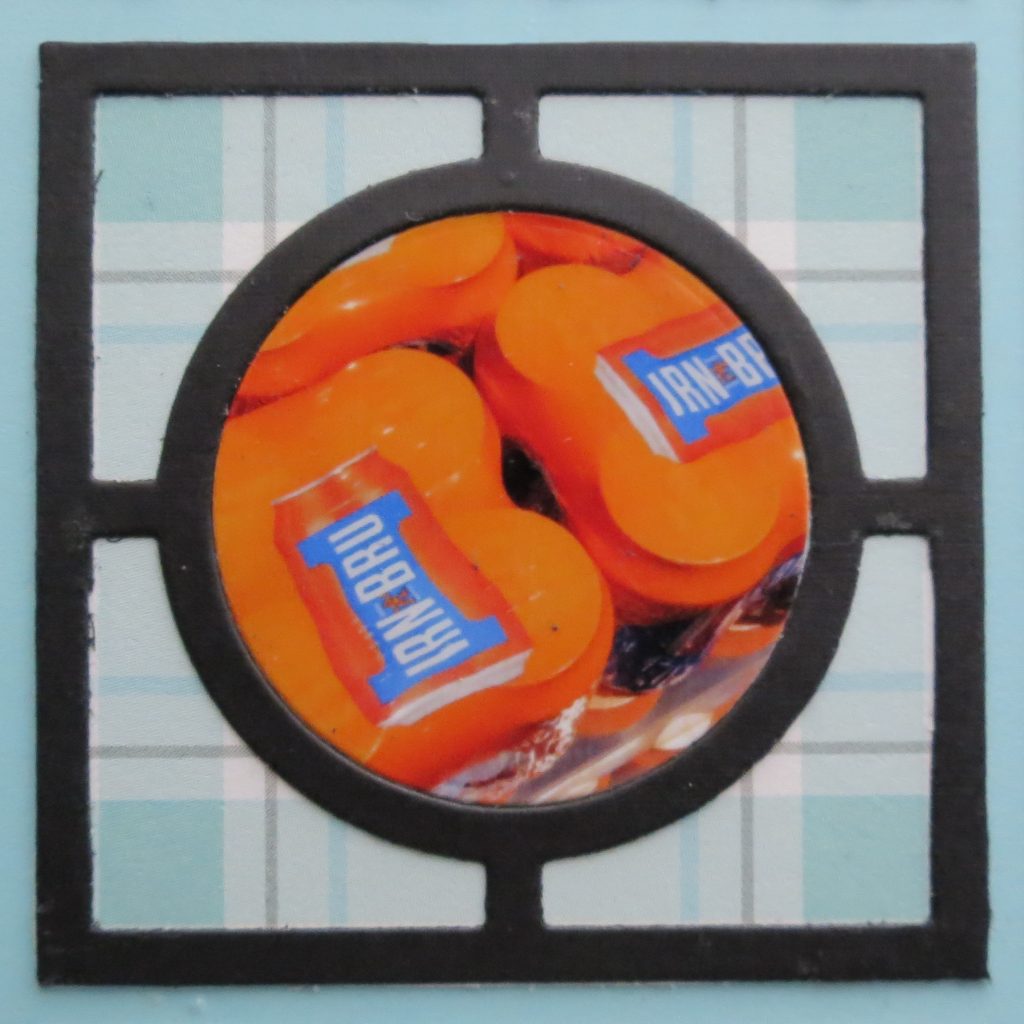
I’ve framed the center 4×4 photo, two 3×3’s and two 2×2’s. I used the Lawn Fawn Patterned Paper Snowshoe Hare as a background for all. By arranging them on the grid of the pattern in the paper I get three entirely different looks and backgrounds. After adhering them in place I trimmed the rest of the paper away with my X-Acto knife. I love the simple lines on the 3×3 square as it adds so much even in its simplicity.
TIPS:
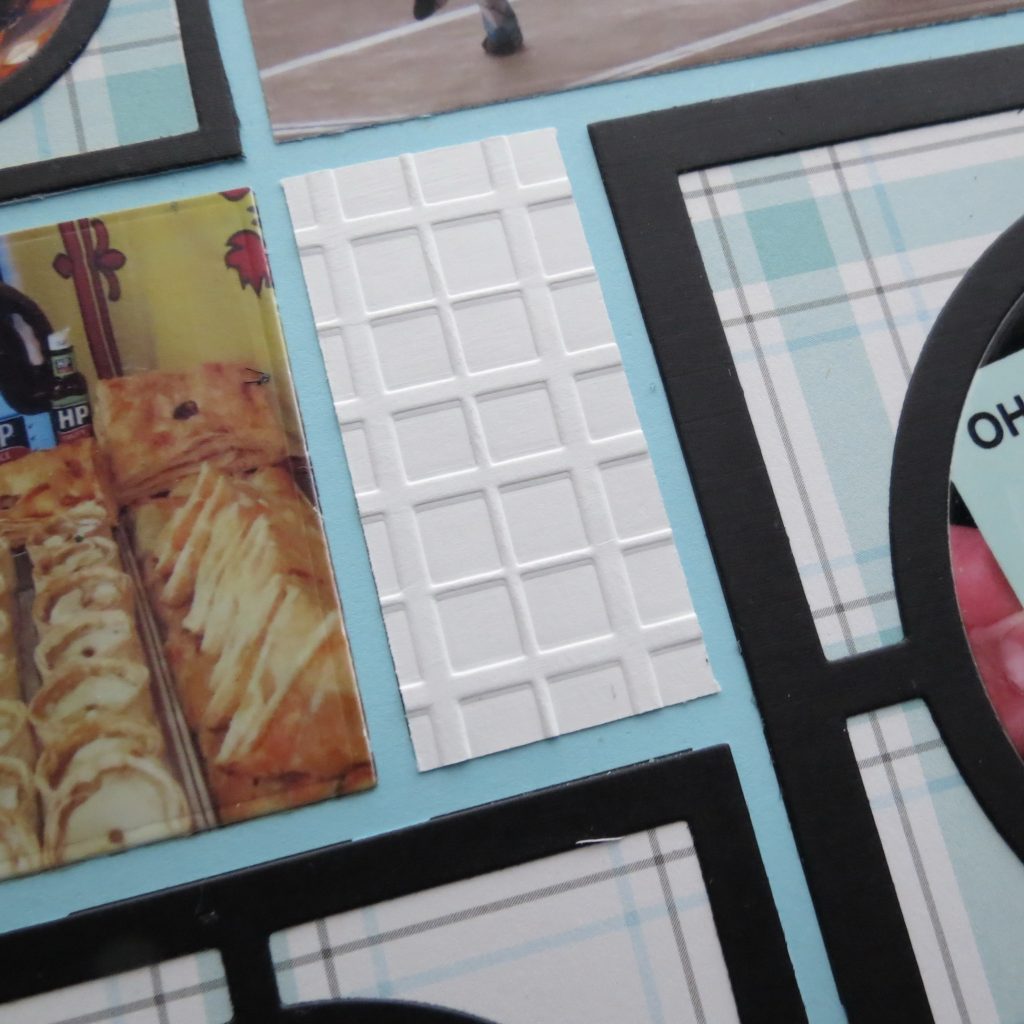
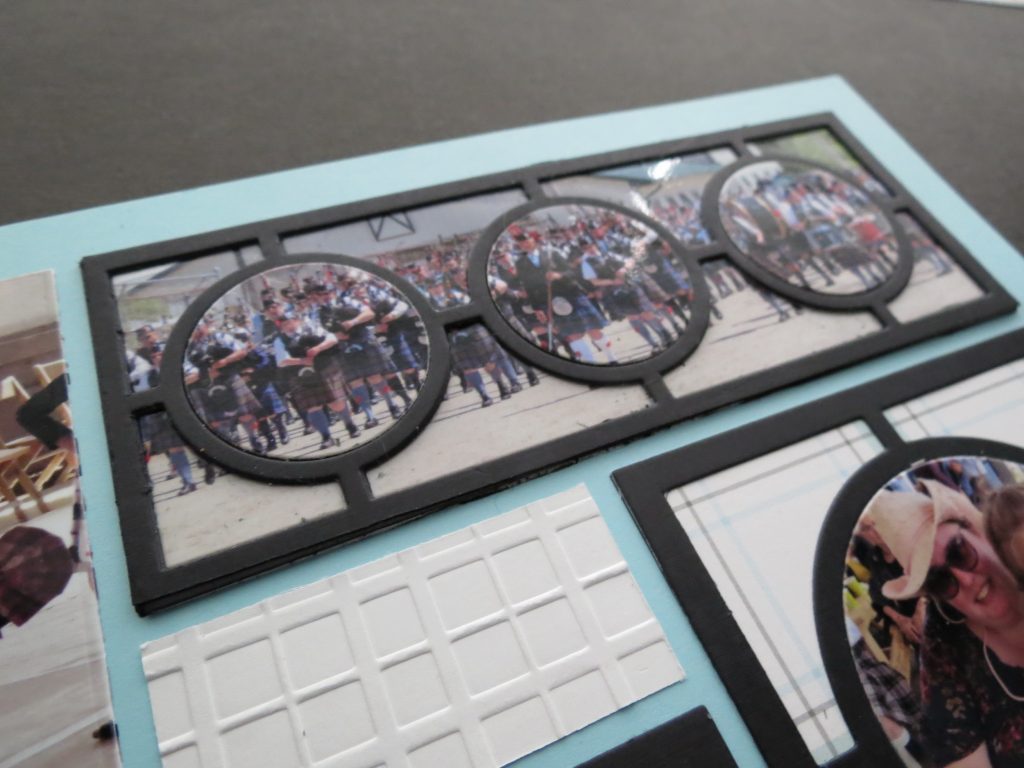
Some of the photos are not framed but are direct to the grid and all the 1×2 sections are white with an embossed plaid pattern by using the Darice Plaid folder. The embossing adds interest and texture to the plain white tile pieces without additional colors to distract from the pattern. I cut six at one time using the 1”x 2.125” Strip Die making it ever so quick and easy and then run through with the embossing folder.
TECHNIQUE:
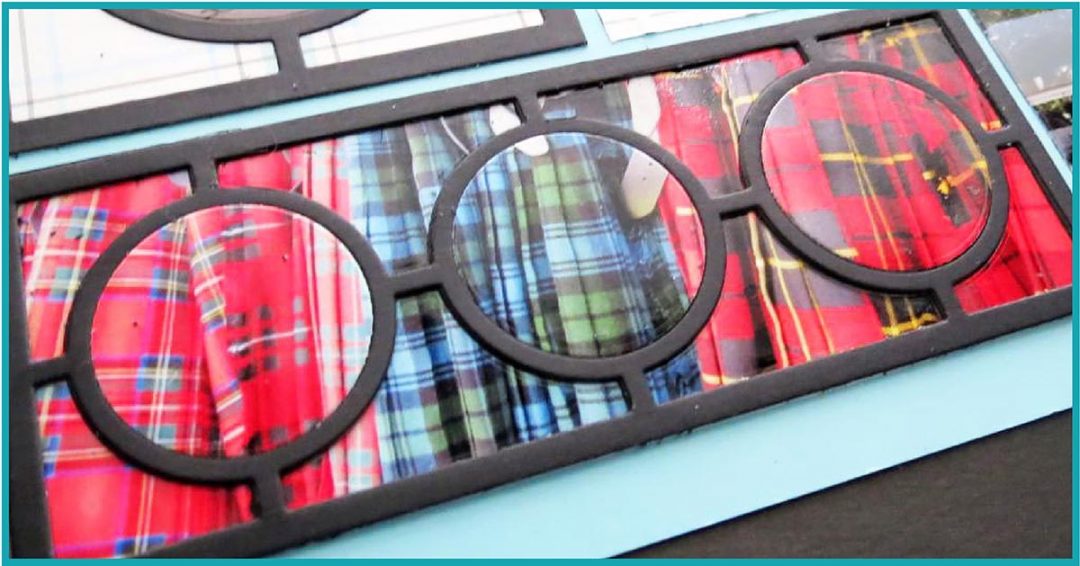
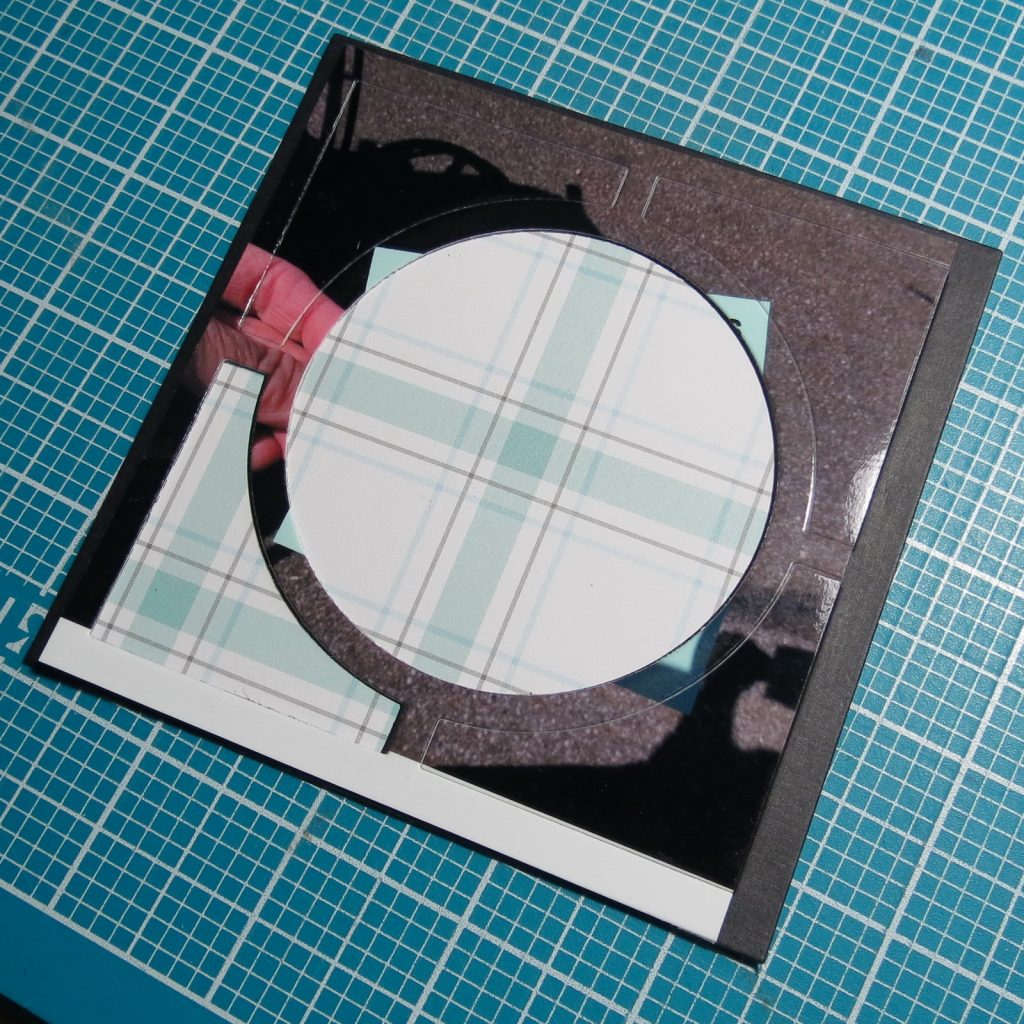
To pop up a portion of each of the photos in the (2×5) Circle Center Border Die I cut multiples of the die one in white and three in black. Here’s how I put it together:
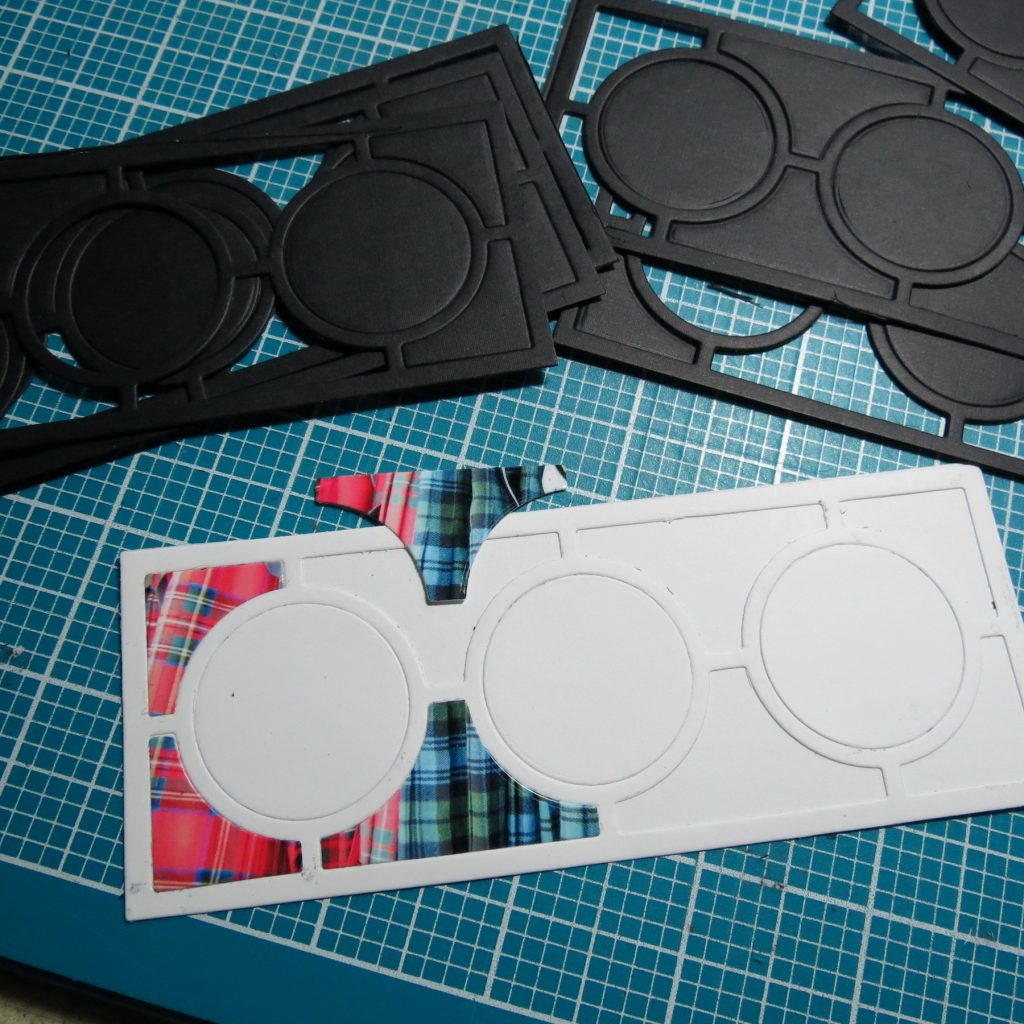
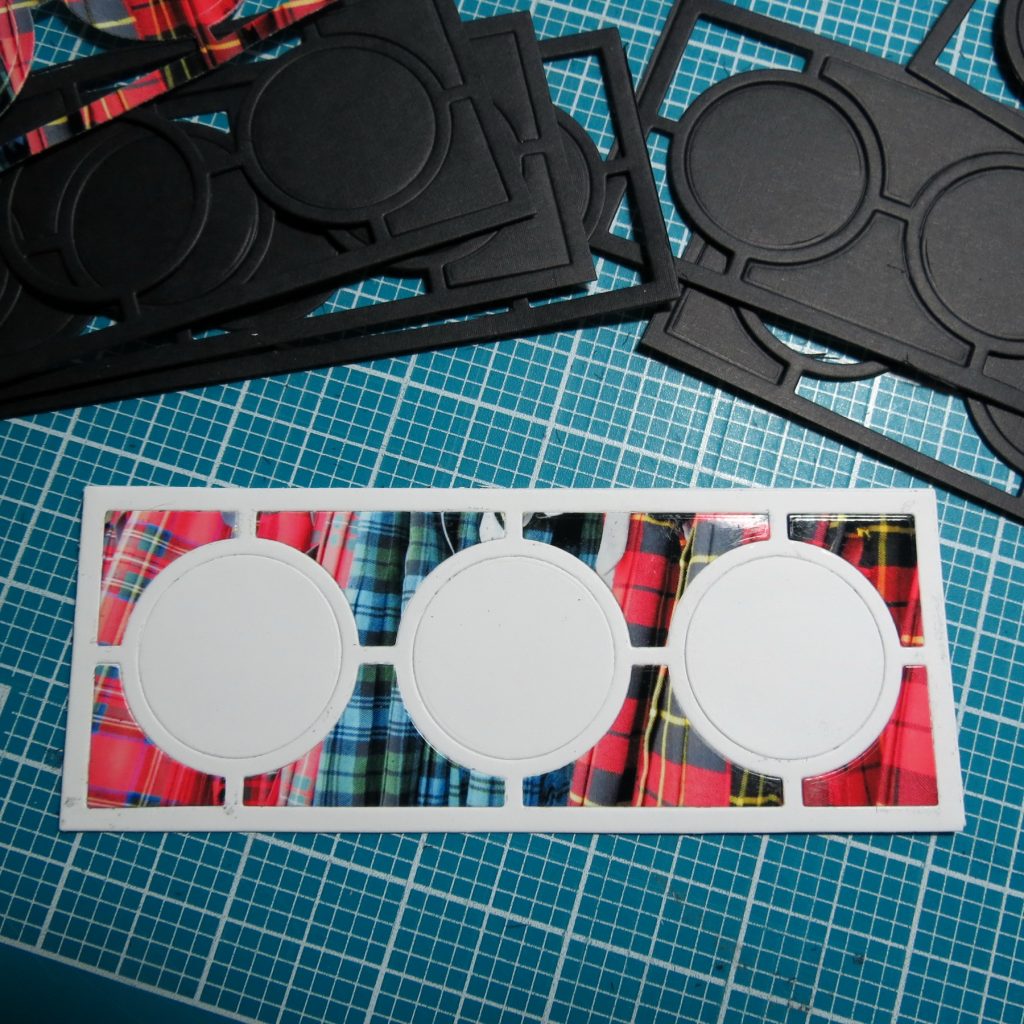
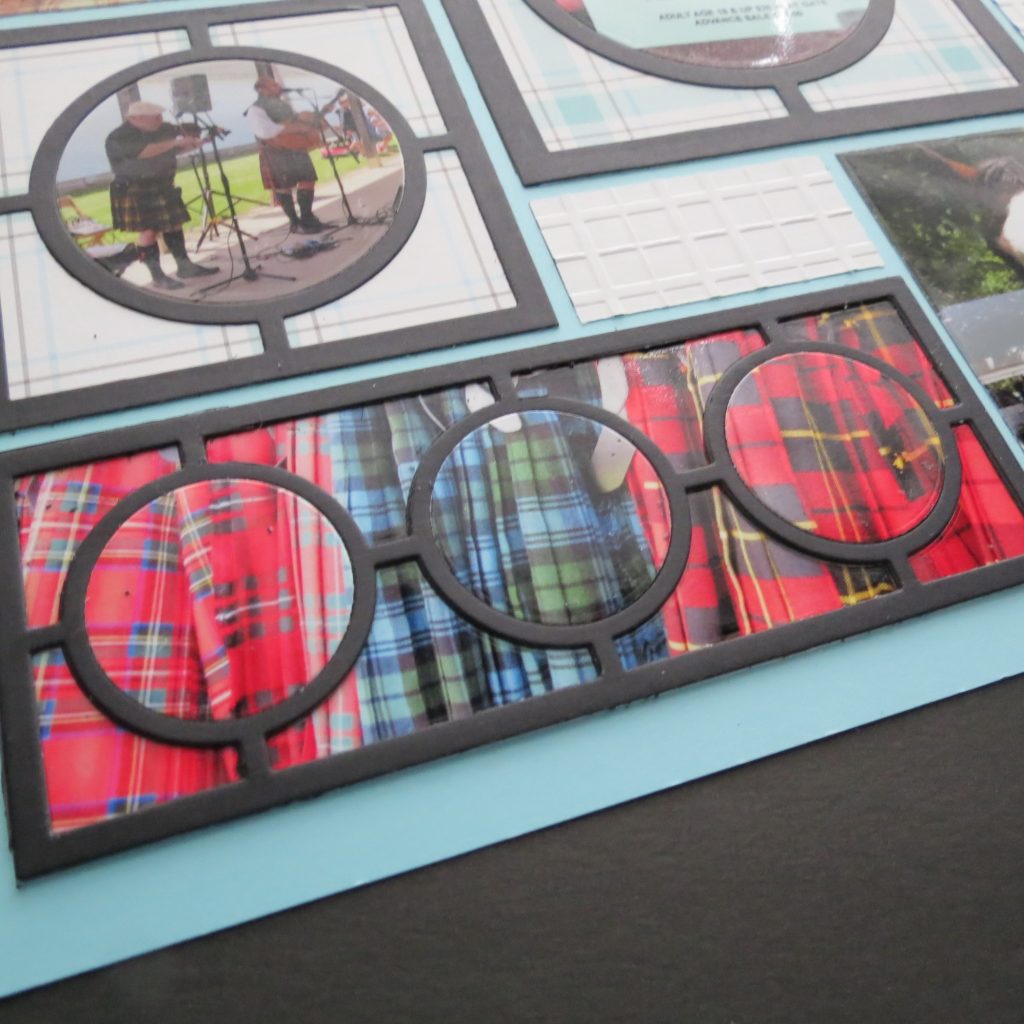
- The base is white 2×5 with a layer on top with the Circle Center Border Die. Replace the circles.
- Add the “background” sections of the kilts into the wells of the piece.
- Add the next layer in black filling all but the sections with the photos in them.
- Once you have three layers, add the circles to the top layer of circles.
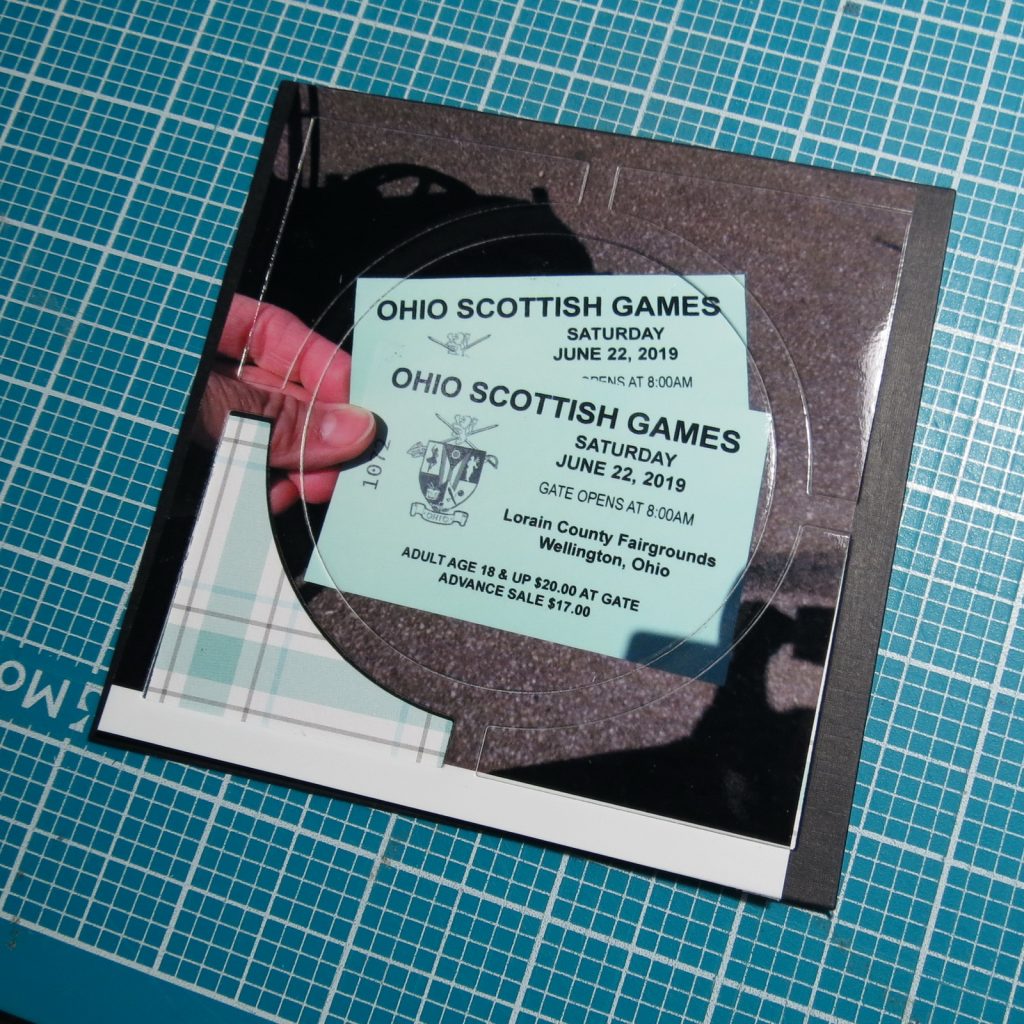
- To make sure they are aligned correctly use the frame section of the photo to temporarily lay over the stack, position and adhere the circles in place. Discard the photo frame section.
TIP:
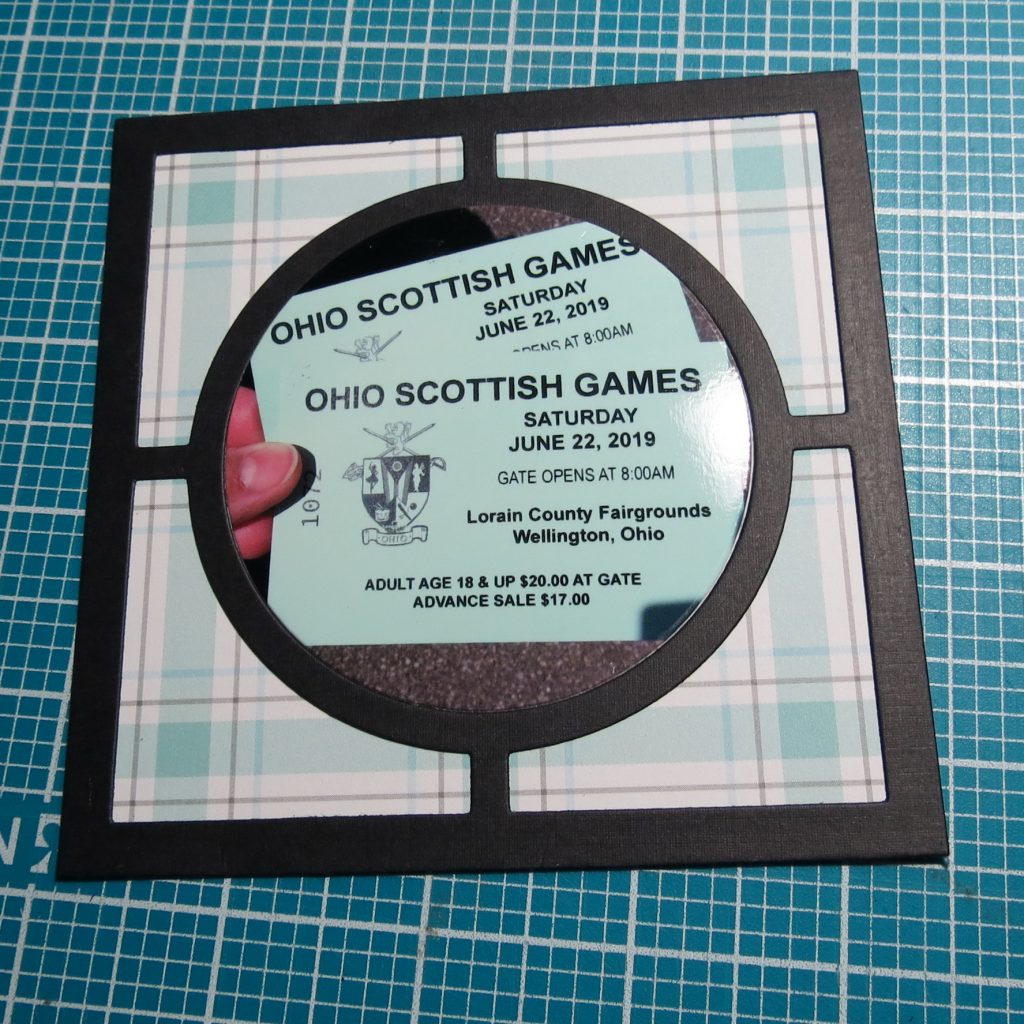
For my title and ‘journaling’ I took a photo of our tickets before we turned them in. All the details are there. The what, where and when cover all I need here to introduce the page. So next time, don’t forget to snap your tickets at the next event you are attending and taking pictures!

It’s a simple layout to pull together and using several of the Circle Center dies in different sizes lends it to a cohesive look. The circle is always going to draw your eye to the focal point and I like how that works on this page.
It’s time to play around with some of your photos and get them framed! Why not try any one of the Circle Center Dies on your next layout?
Andrea Fisher