Choosing Dies: Diamond Mines vs. X-Factor
I passed a local farmers rows of sunflowers and stopped to capture a few photos. My assistants from last year were not with me, so I only had the sunflowers cooperation to worry about. I thought they might make a good layout using the Diamond Mines Dies, but as I played around with some of my selected photos, I wasn’t happy with how it was developing. Let me point out a few of the areas that I didn’t like.
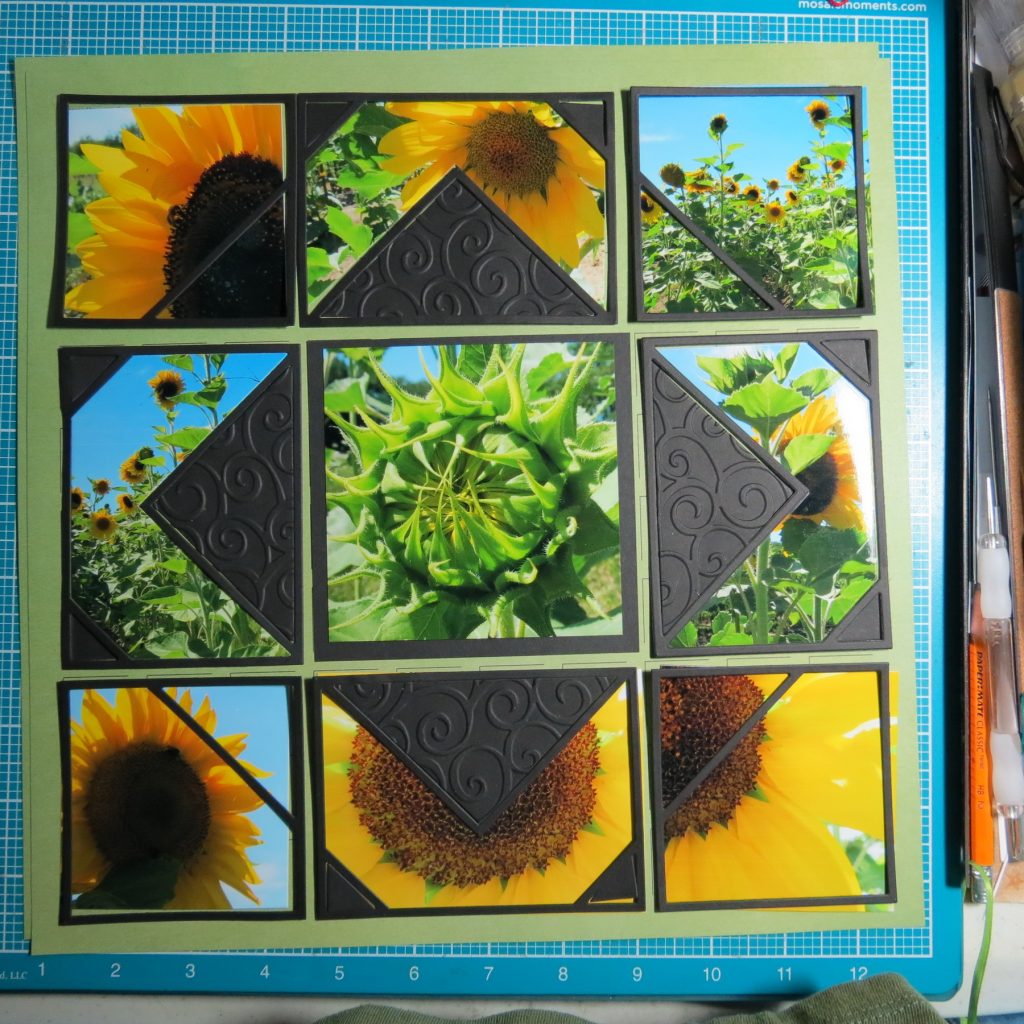
The focal photo was the closed sunflower in the center. I wanted a strong black contrasting diamond surrounding it. I ran it through an embossing folder for a textured vine look to add interest.
The following diamond should have been band full of a strong color. I wasn’t getting that. Dark centers of the sunflowers took away from the blues of sky or yellow of leaves. I could have tried other combinations, but everything I had was a fail.
Then my final problem was my strong dislike for the cross-bar of the die section crossing through the photo without contributing to the pattern of the diamonds and I decided, this is not the pattern or the die to showcase these photos.
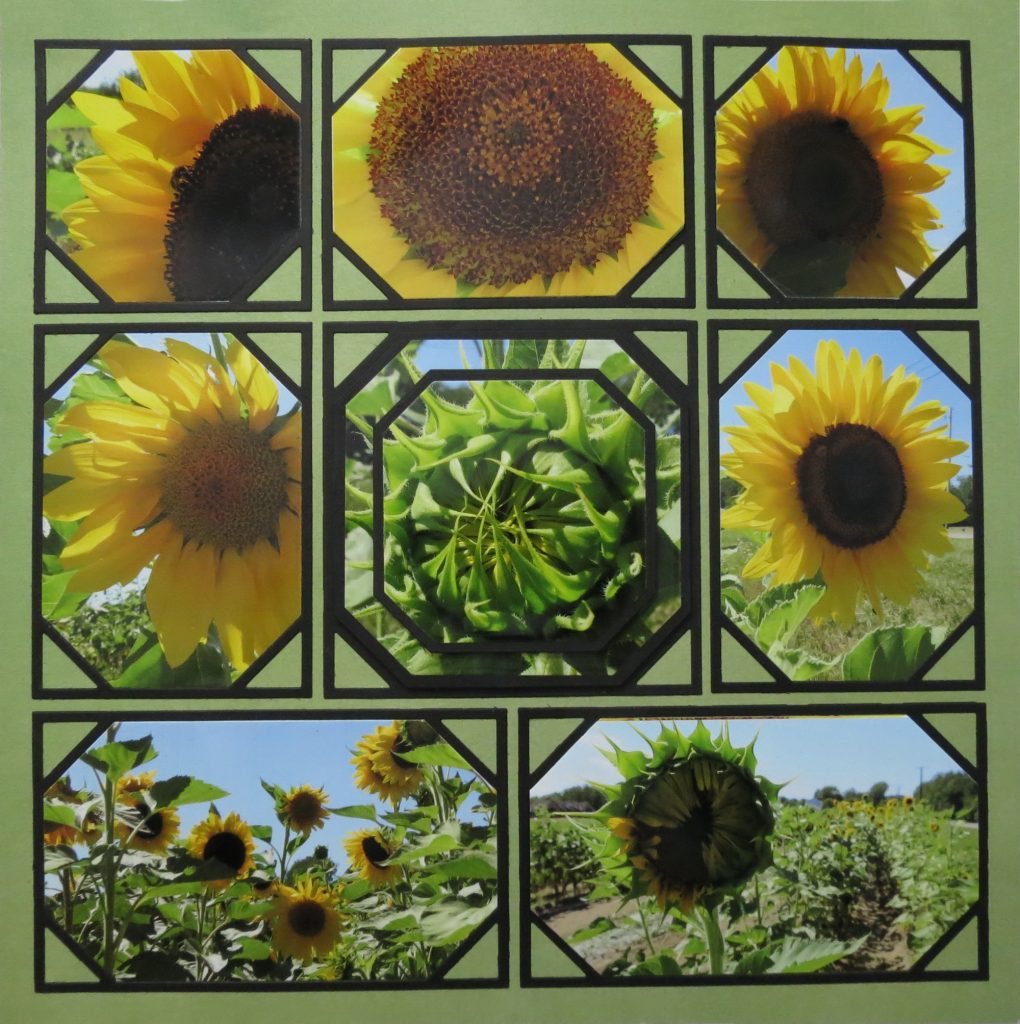
So, I switched to the X-Factor die. I know there are several dies in the set that can create a variety of patterns but I was more interested in some simple lines to show off my photos. The X-Factor Dies include a 2×4, 3×4, a nested 4×4 set, a 4×6, a 3×5, 2×3, 3×3, and Double X-Factor 2×4 and 2x6s.
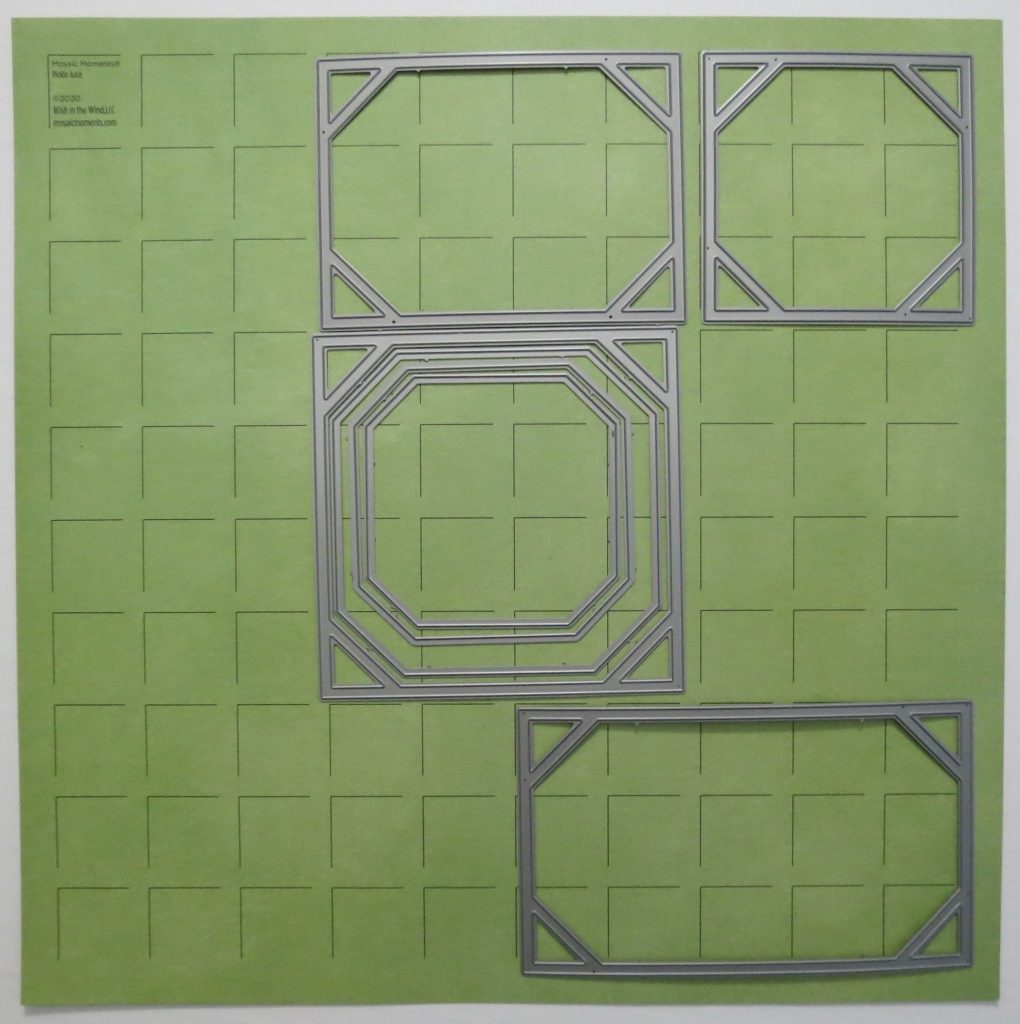
I decided to use the 4×4 Nested Dies, with frame dies of 4×6, 3×5, 3×4 and 3×3.
I haven’t created any fancy design by combining dies and positioning. I’m an odd one that really likes to just showcase the photos as they are. What could I do to make it a bit more unique?
Each of the dies has a built-in photo corner, I decided to leave those corners open to reveal the grid below. I thought a through-the-window look, almost industrial with black frames for an ironwork look would pop off of the Pickle Juice Grid below.
My wow factor with this set is going to be using the Nested Dies 4×4. I’ve used a similar technique before, but this set is particularly good for doing layers.
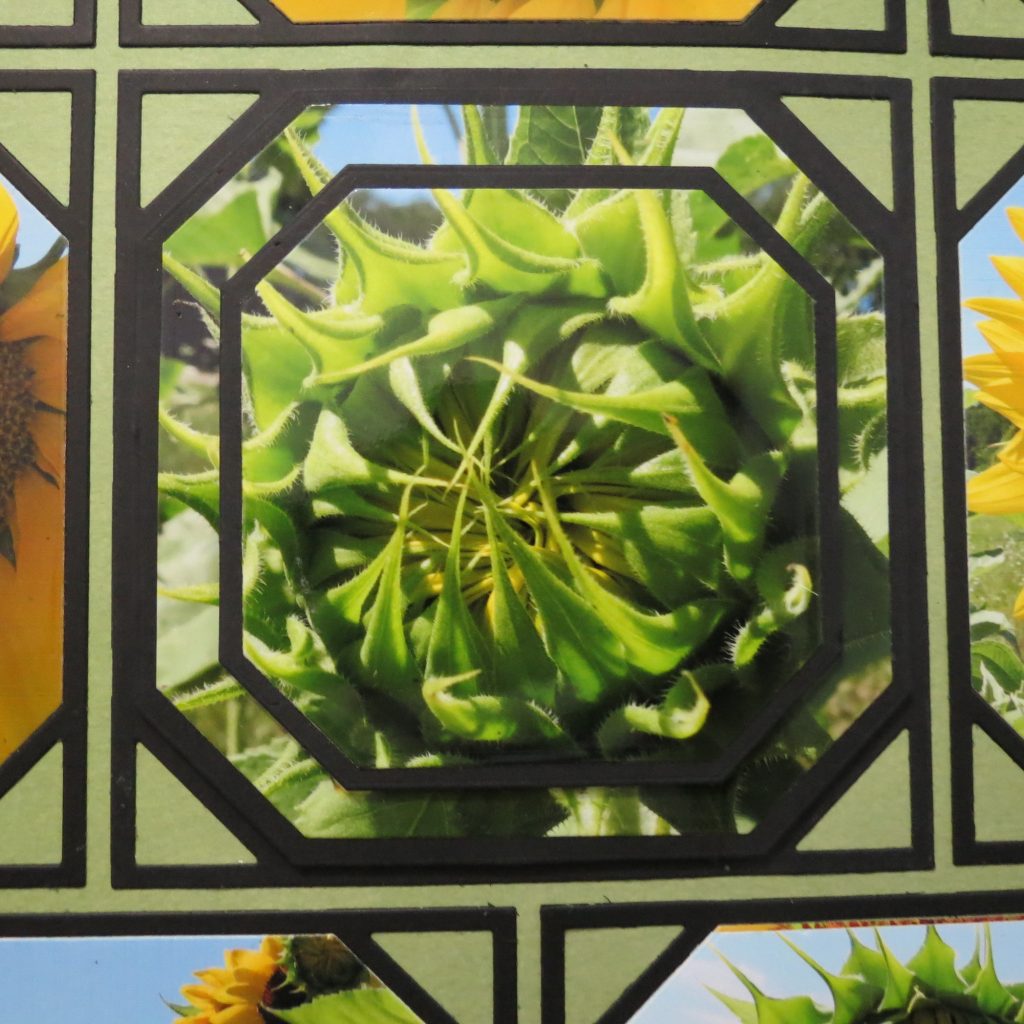
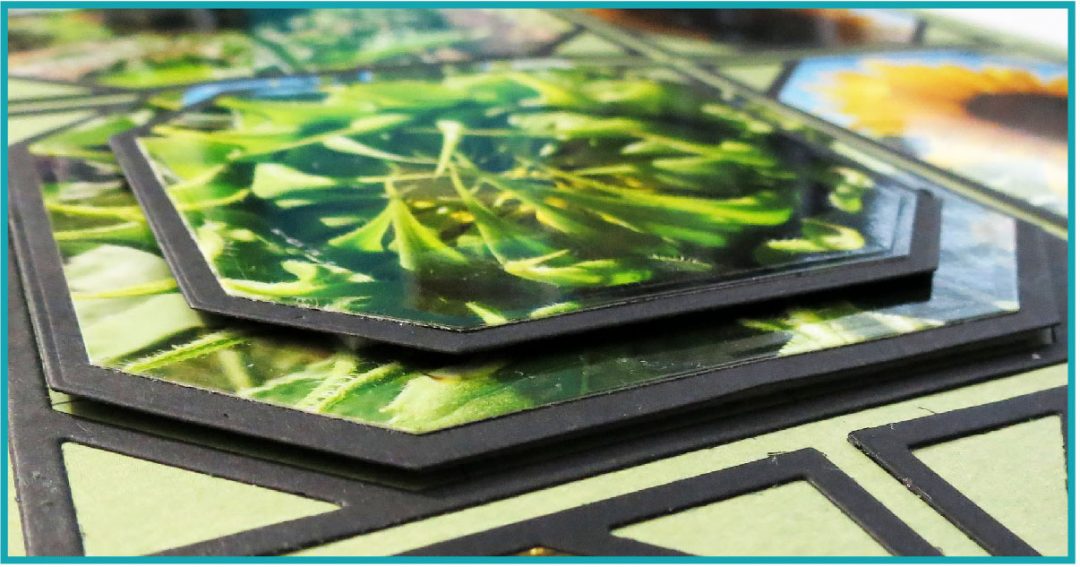
This time I will only be using one photo to achieve the results. The cut out from the die section will be the frame for the first layer of the sunflower, but before attaching it I will be cutting out the next photo layer by measuring the distance from the edges. Once cut I attach the ring to the bottom layer and then the rest to the top of the next black layer.
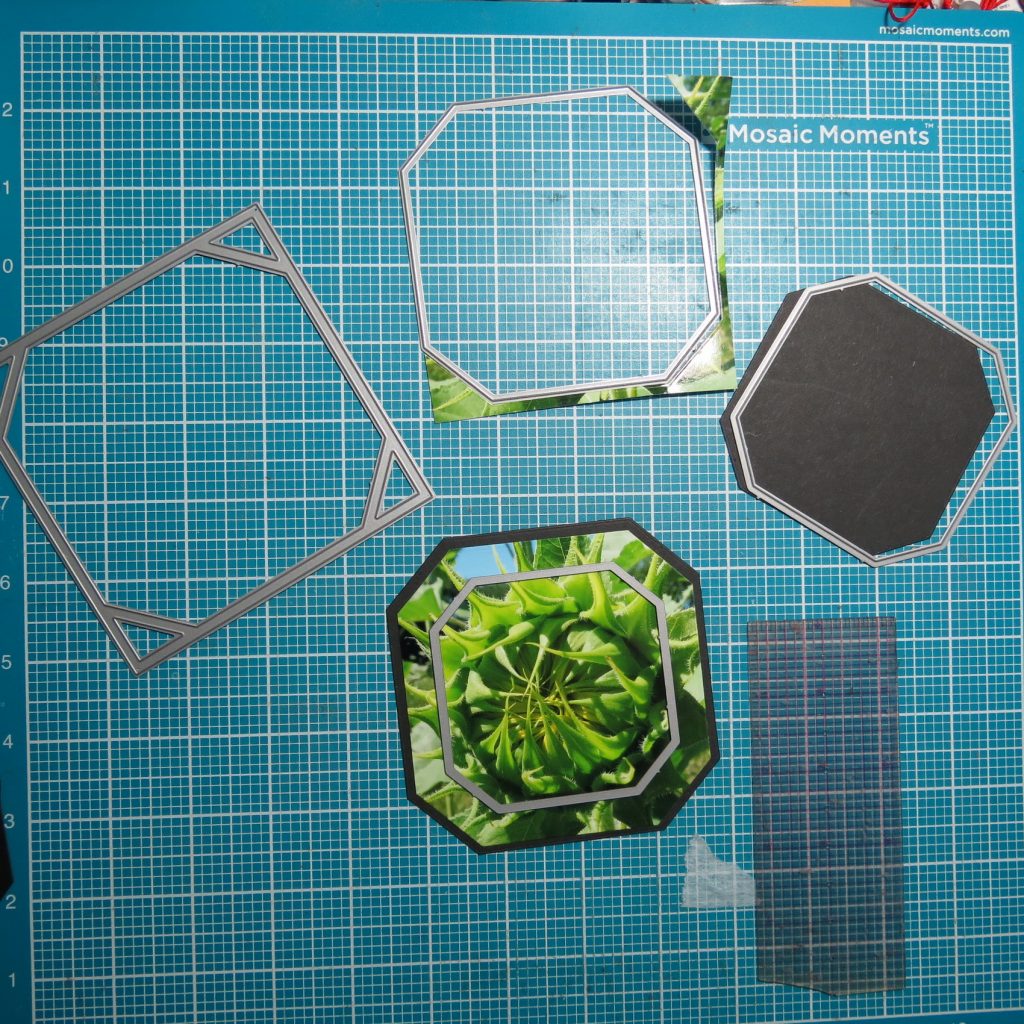
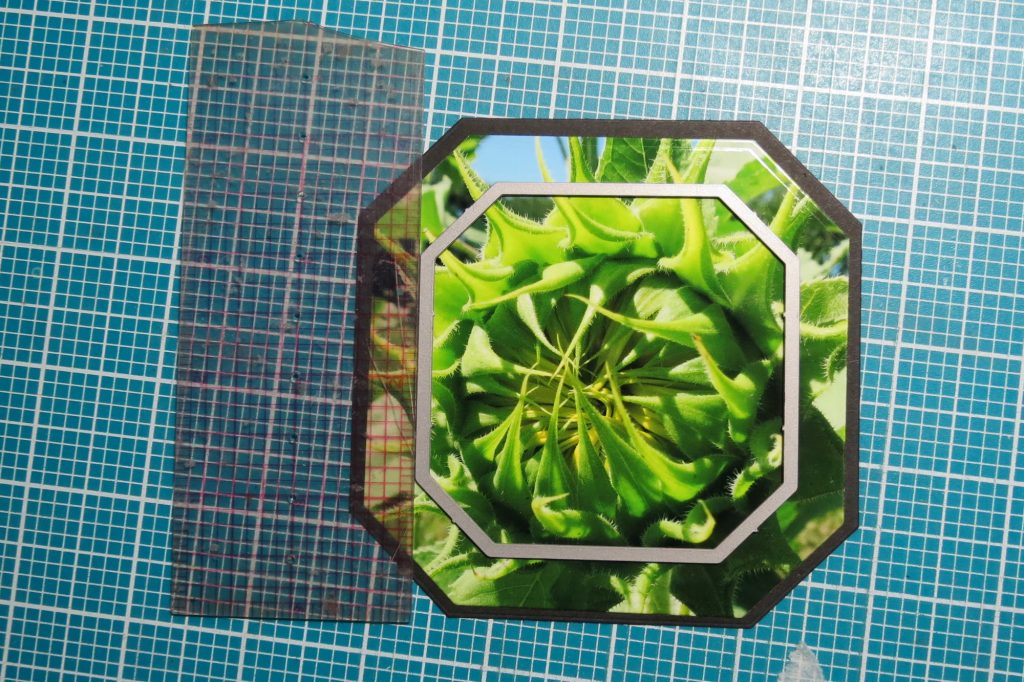
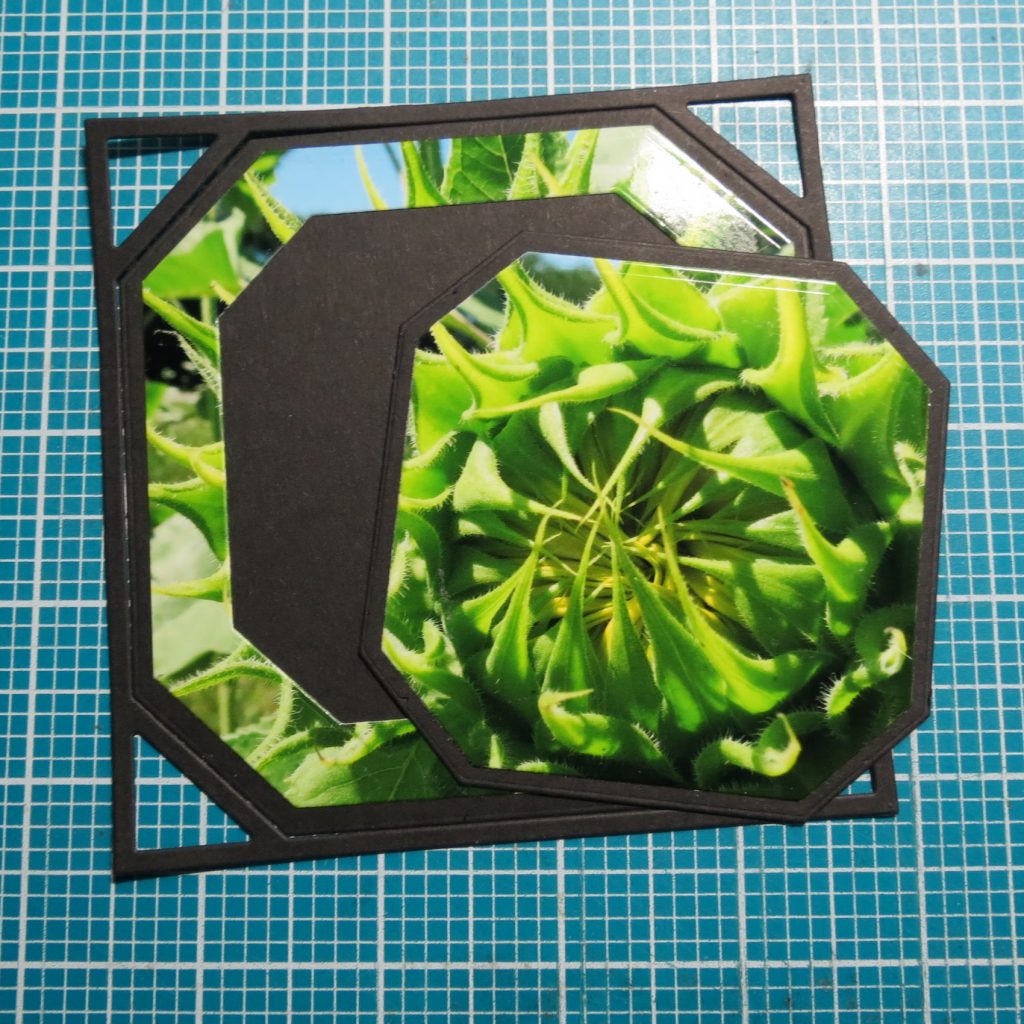
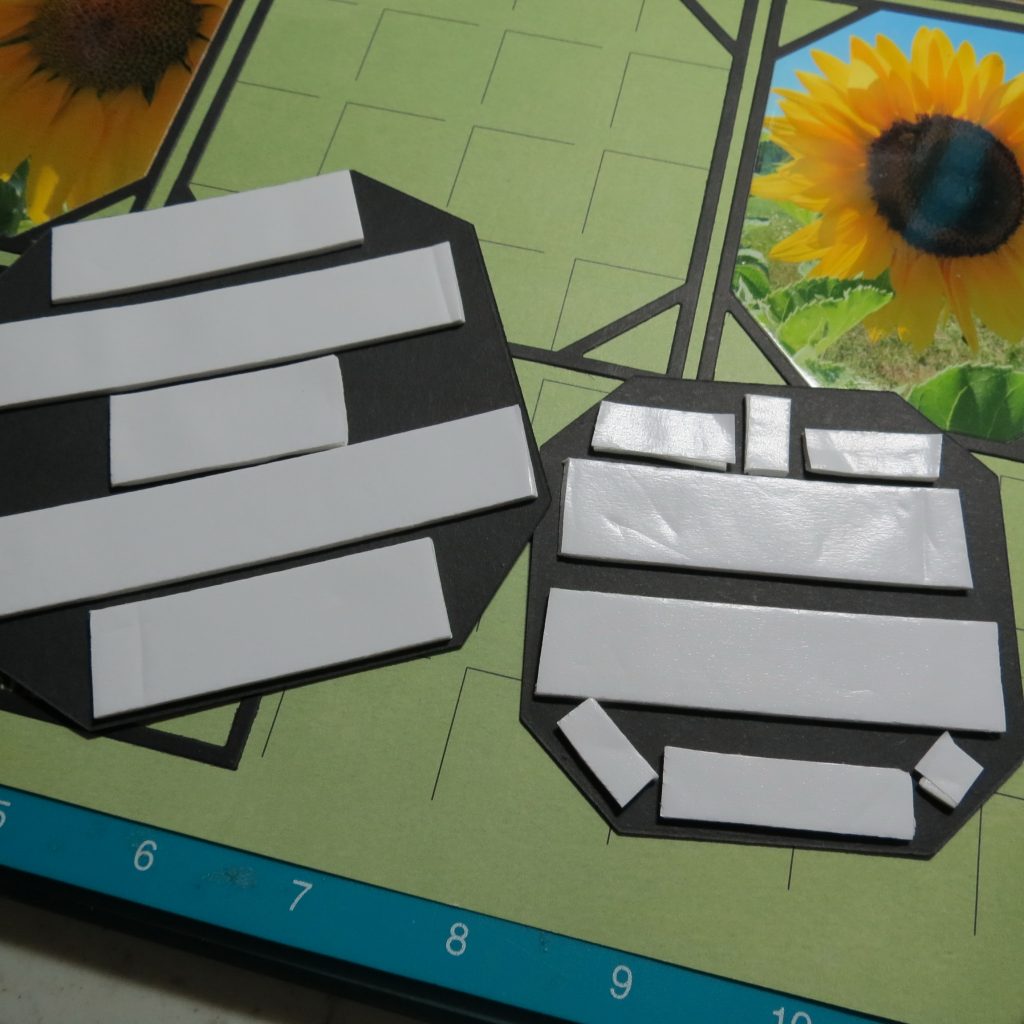
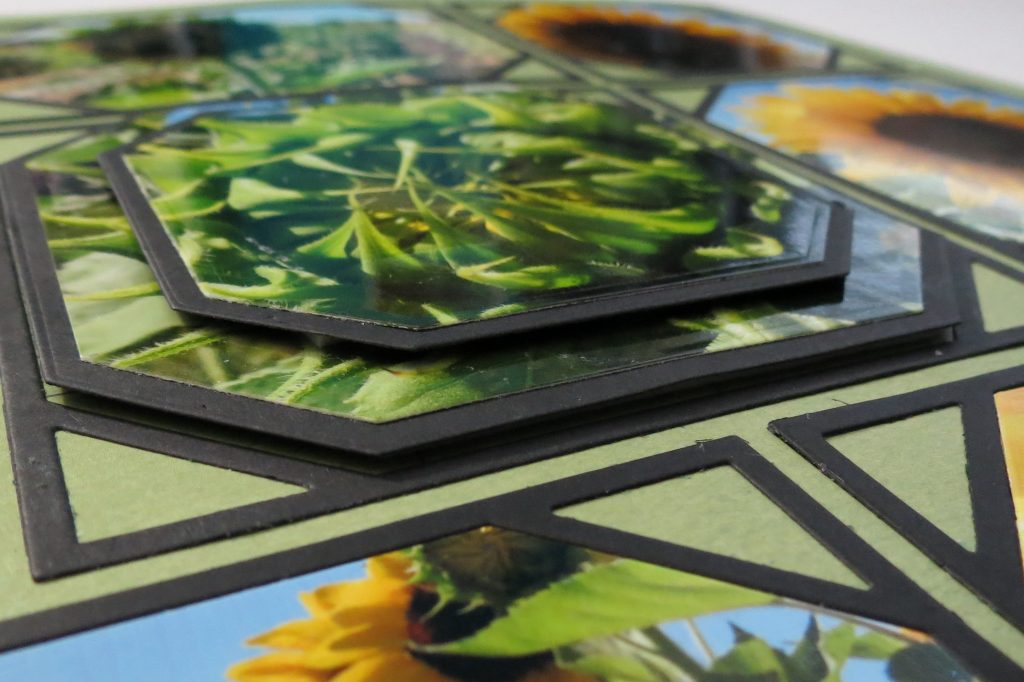
Assembling them is best achieved looking down directly from the top to get them centered. I have backed each piece with foam mounting tape for structure and support. I didn’t cut another layer, because I liked the strong black swirl that the shadows of the leaves create.
TIP: Now the problem with exposing to the grid is the trademark in the upper left corner. It can be an easy fix with a hand punch. A 1” square or a ¾” square punch removing a portion from the center of the grid where it will be covered with a photo. Place it in the triangle portion of any of the frame dies and place into that spot to cover the text.
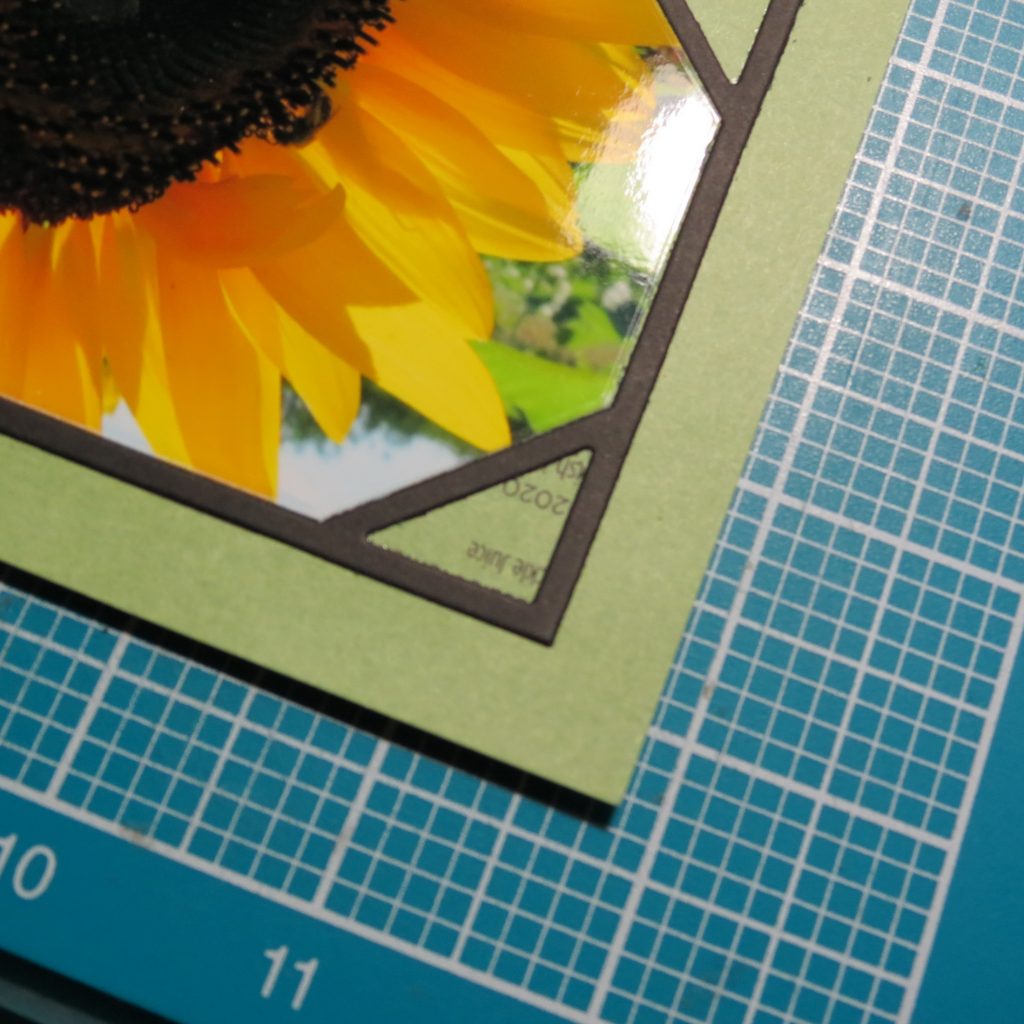
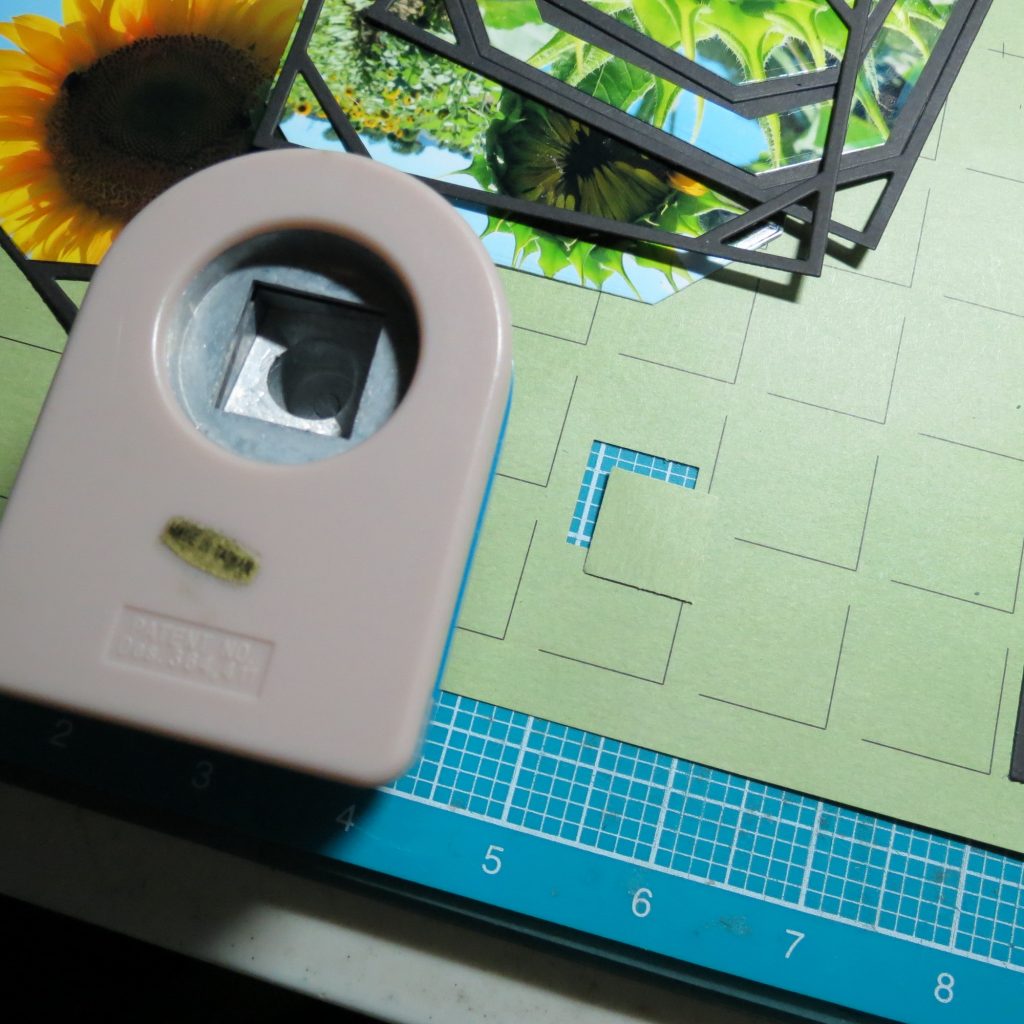
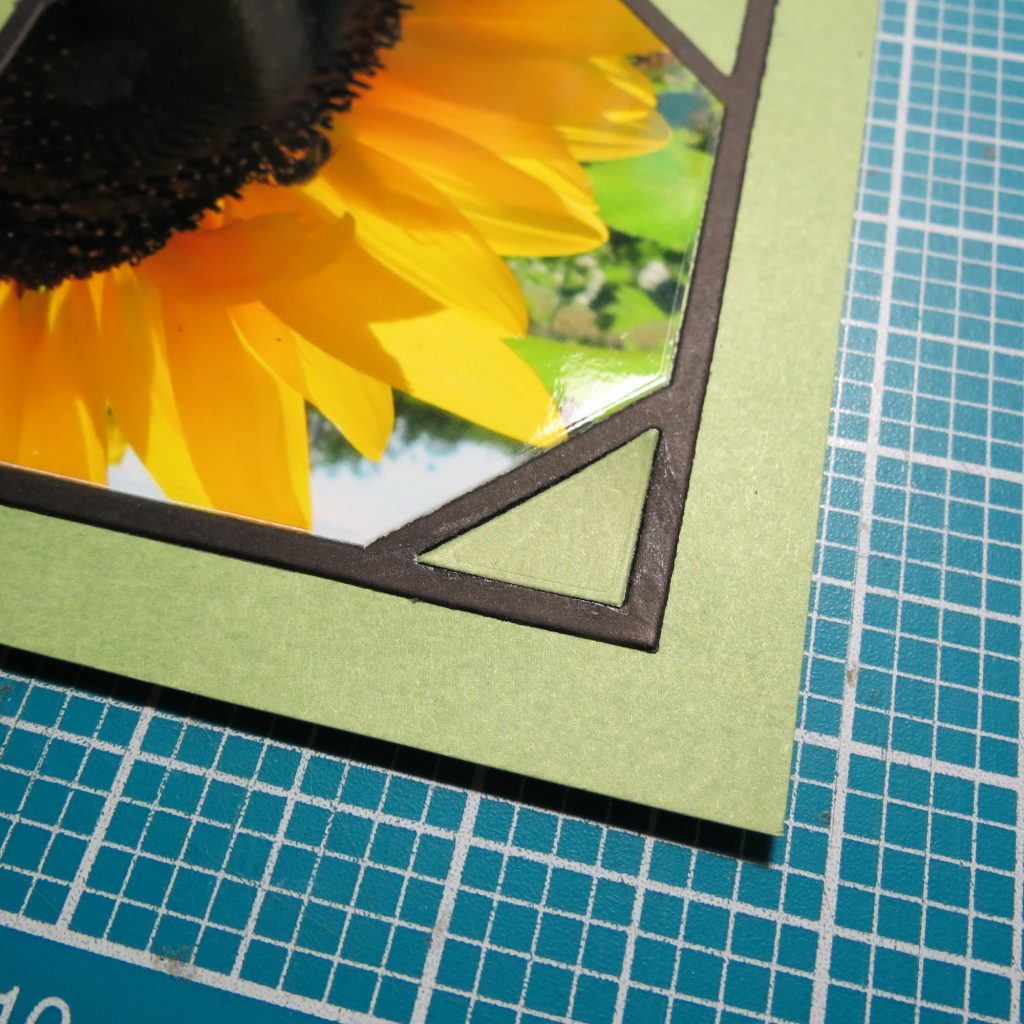
TIP: For attaching the frame and the photos, I’ve placed the photo in the frame face down to cover the back and frame with an even layer of adhesive. Those narrow frame bits get good coverage this way! Then, flip it and the adhesive will hold things in place while you get things in place on the grid.
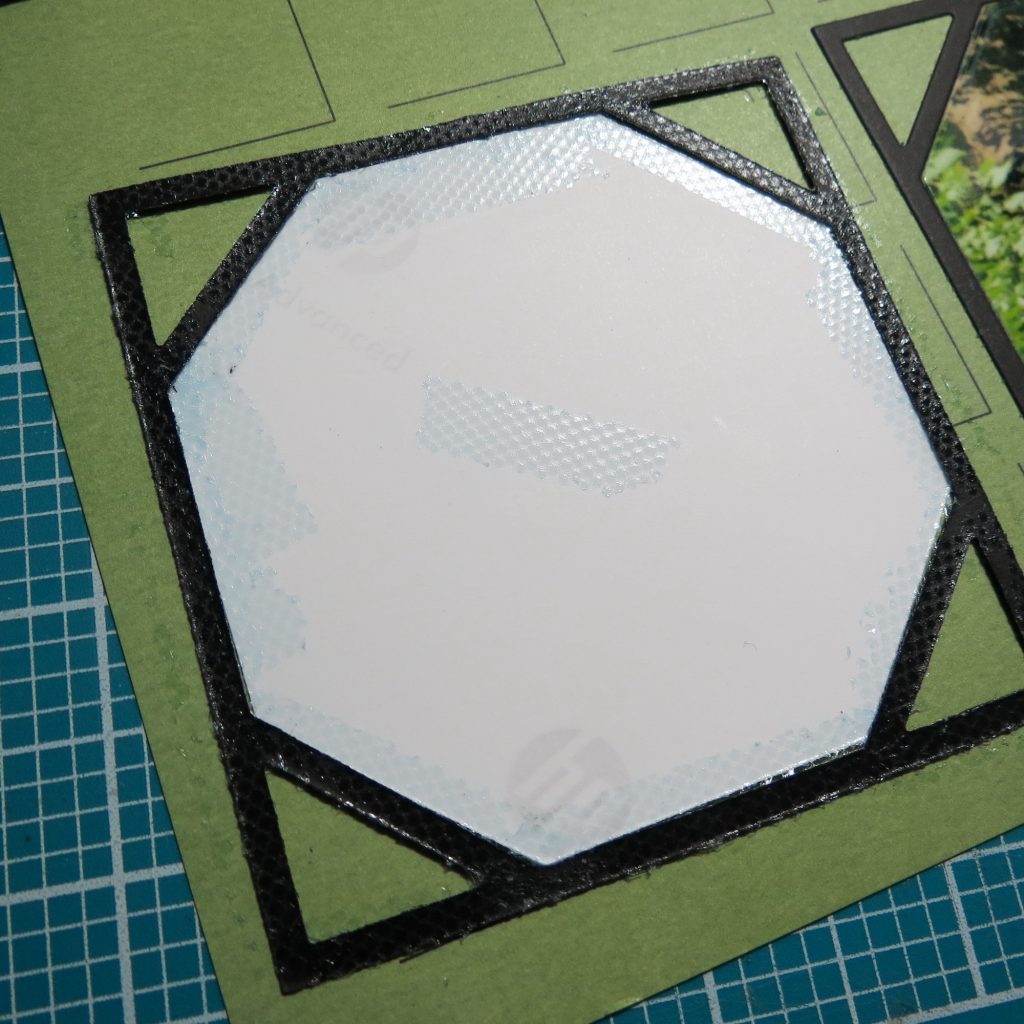
We have great dies that can frame your photos very nicely that can work independently of intricate designs. This doubles the amount of use from your dies if the pressure is off of creating a fancy design every time. I love that tiny traditional touch of photo corners that can be added with these dies and customized if you want! Don’t hesitate to get your dies out and use them for even what you may consider “ordinary” pages.

Andrea Fisher

