
Sunflower Festival
In the world of Mosaic scrapbooking, we all have many choices.
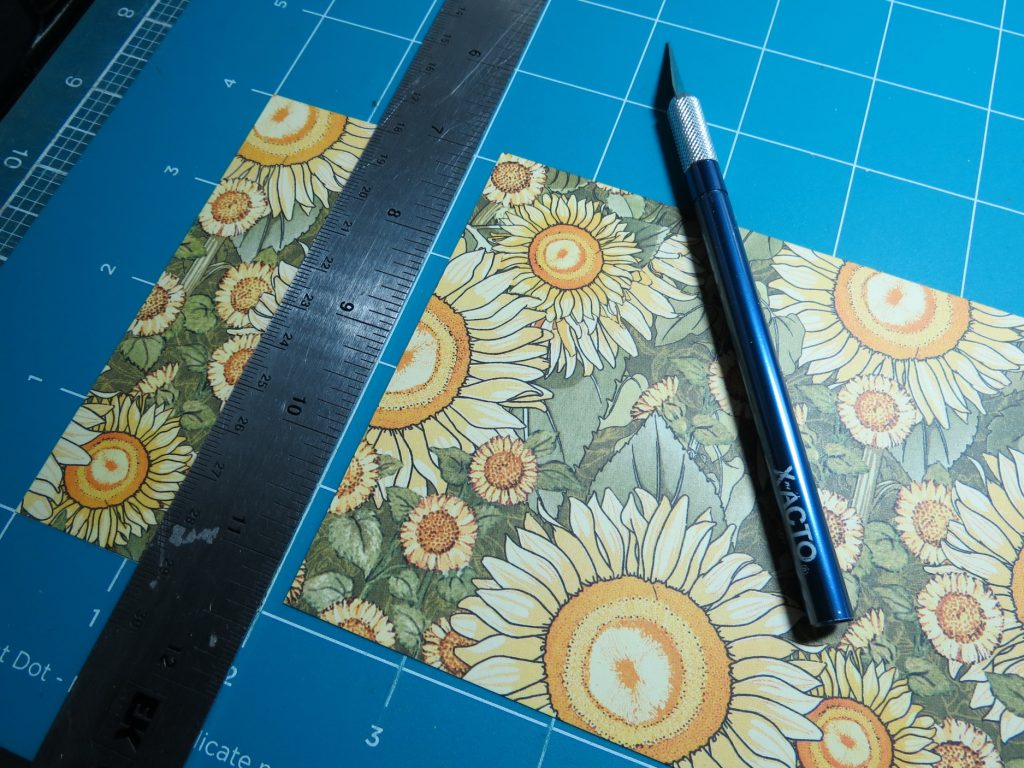
We can be “Originalists” those that rely on hand- cutting with the Double-sided Craft, X-Acto knife and cork-backed rulers.
We can be “Die-hard fans” dedicated to all the dies for quick and easy pages with lots of dies to choose from with lots of looks to achieve.
Then there are those who enjoy both camps. I guess that’s where I find myself.
Now when it comes to taking photos we’ve learned to vary our photos…some are distance shots, some close up and others macro shots getting in and getting the details. We include people, but also the extras like close-ups of decorations at a party or textures and the normally overlooked elements that add to the story you are telling.
We even can turn some less than perfect photos into a pretty nice layout. Sometimes, the less than picture-perfect photos tell the story better, after all, not everything is perfect in our worlds…and sometimes it’s funnier.
We choose our color of grid from the colors in our photos or the theme we are trying to set. Even patterned paper will guide the choices we make.
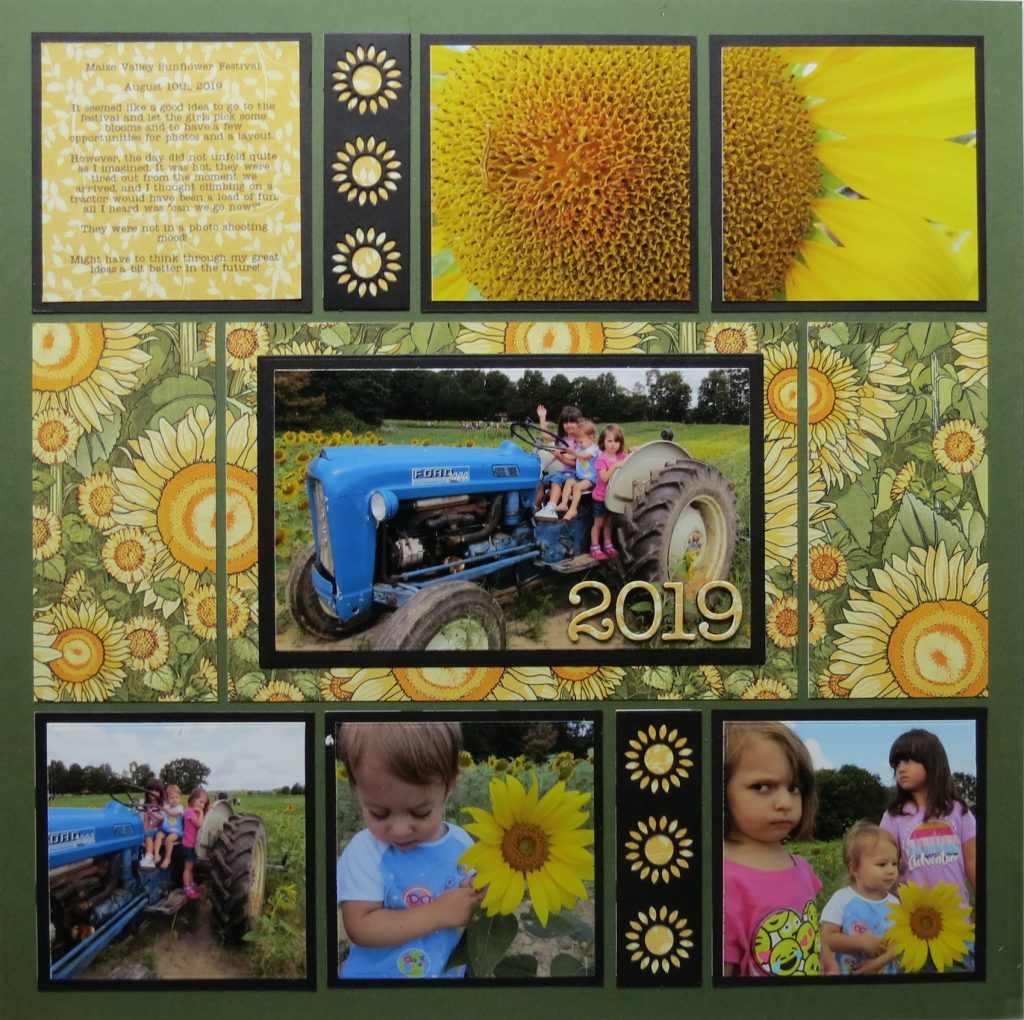
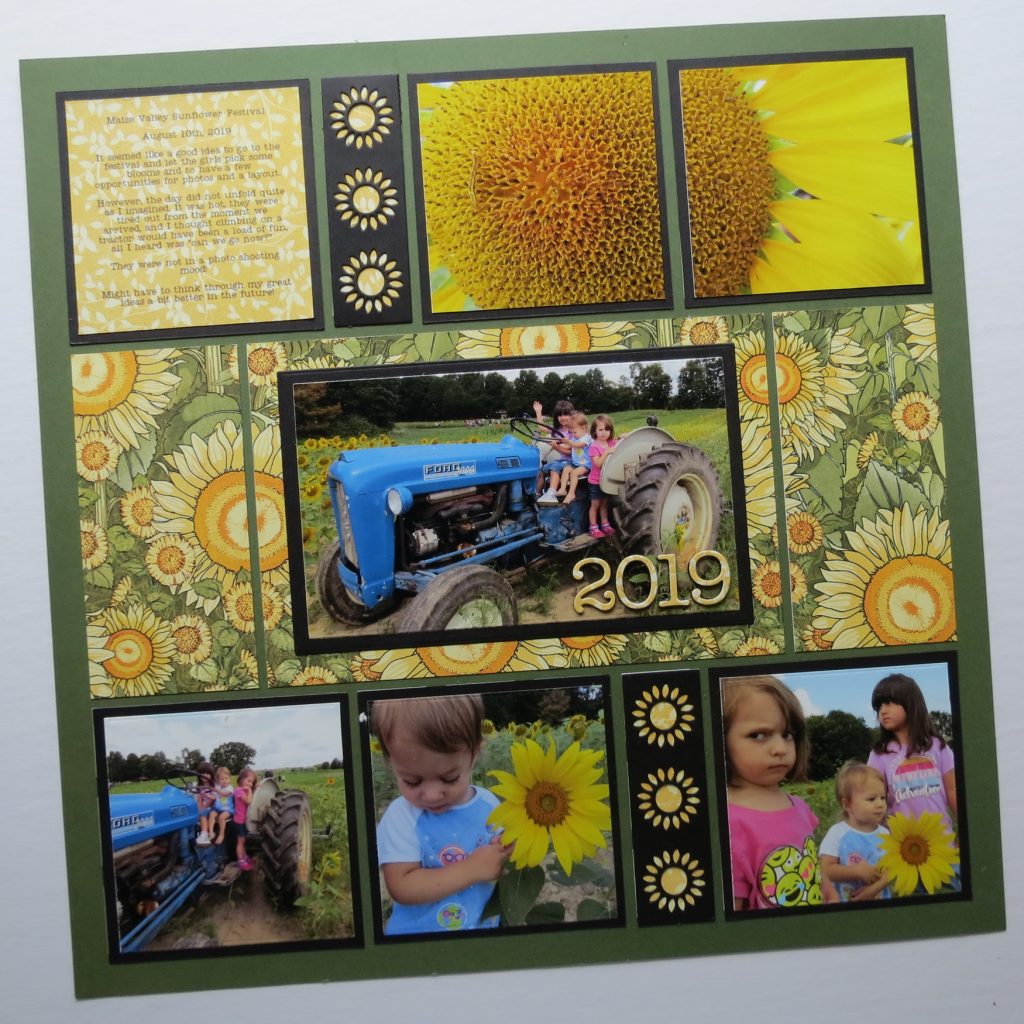
Today’s layout records the recent road trip the girls and I took to a farm for a sunflower festival. The drive out was about 45 minutes, half the distance of the one we missed out on the day before. However, from the get-go, everyone was tired, hungry and ready to go home. I thought they’d love climbing on the tractors they had set up for photo ops, but no, even that was torture! First, of many choices…do we pack it in or do we stay? We stayed.
Normally I shoot dozens of pics and sort and edit later. Not this time, not even time to examine what I was getting until much later. The results were less than wonderful. From sad-looking sunflowers to grumpy, disinterested girls. The second choice do I fight the mood of the girls in search of the perfect shot or retreat. We retreated.
Here’s how I salvaged what I had taken to put together a page to remember the day in a more positive light and look at the humor too…

I chose a pattern, #385, to feature one good shot in the center of the page. Three additional photos with the girls were cropped to fit squares and edit out “noise and distractions”. My bottom right square is not the best one of the girls…well, I guess it is…Cecily’s scowl, Emmi’s faraway look, and Scarlett’s gaze to the side, really sums the day up. In fact, it reminds of some 60’s rock album cover; if only I had a title…I digress.
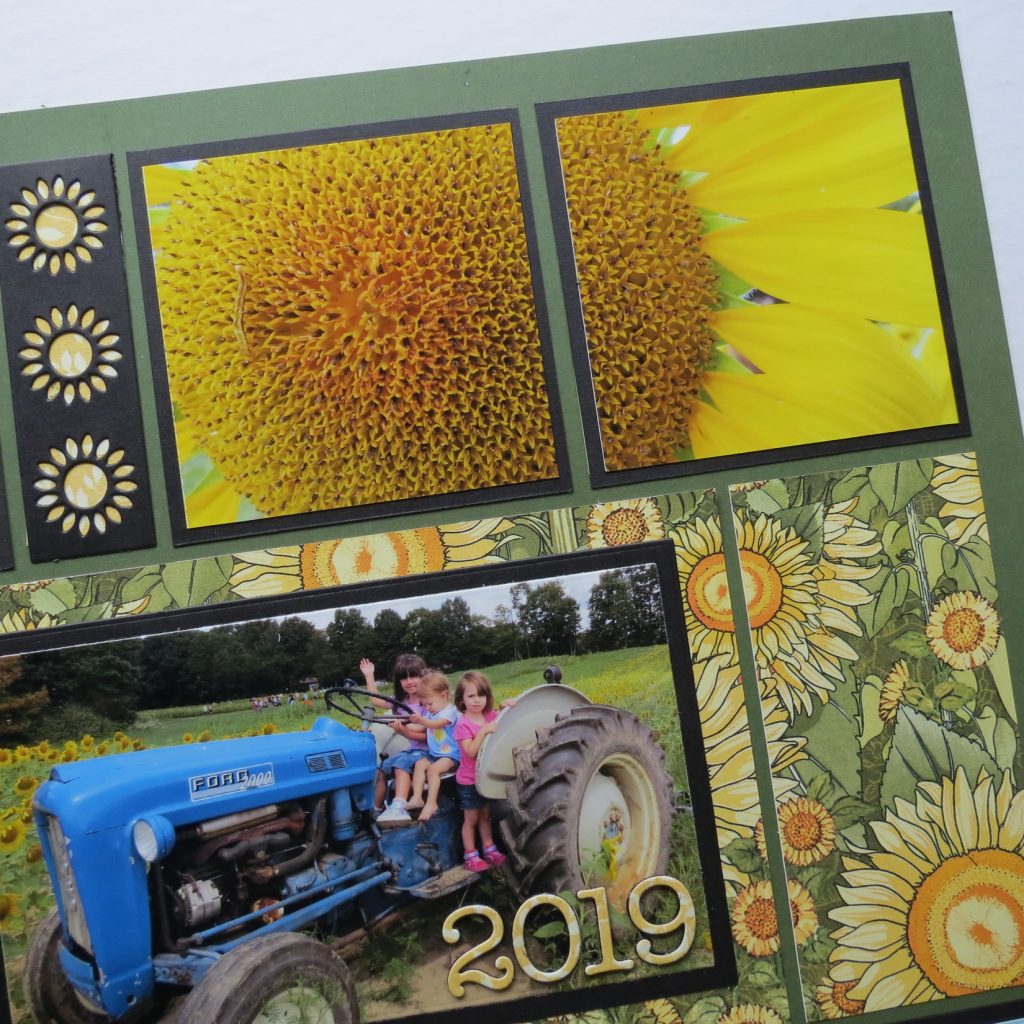
Next, I cropped a single sunflower that wasn’t withering away and printed it at 3×6 so I could divide it in half for the pattern. It’s my macro shot showing off the details in the sunflower.
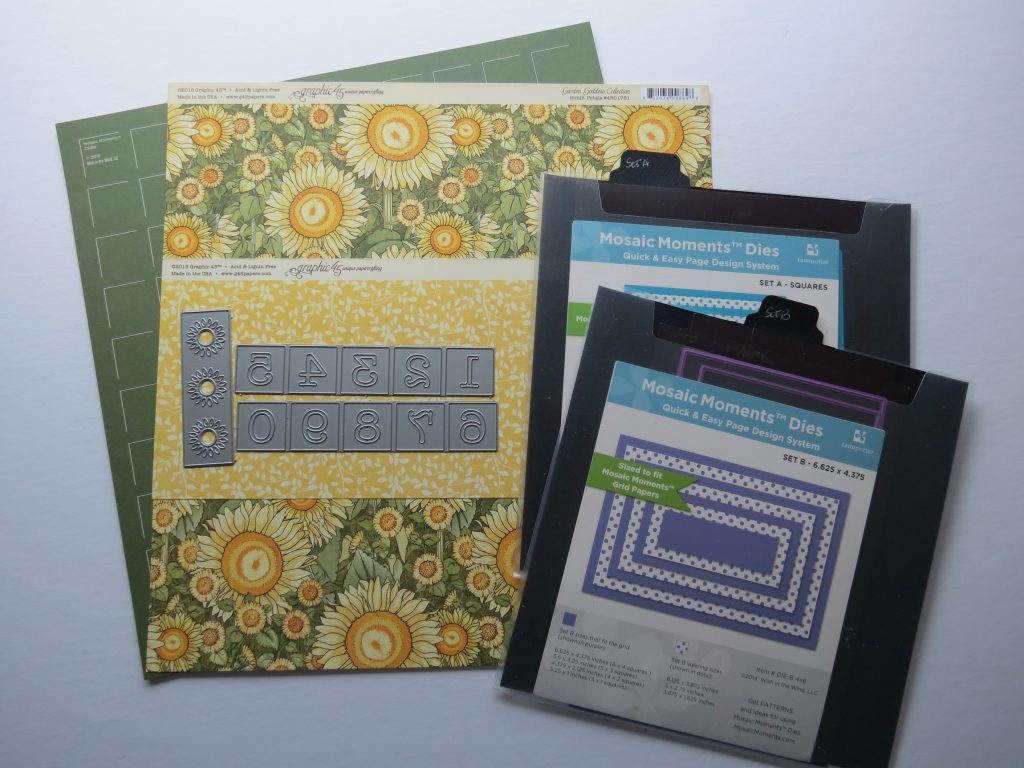
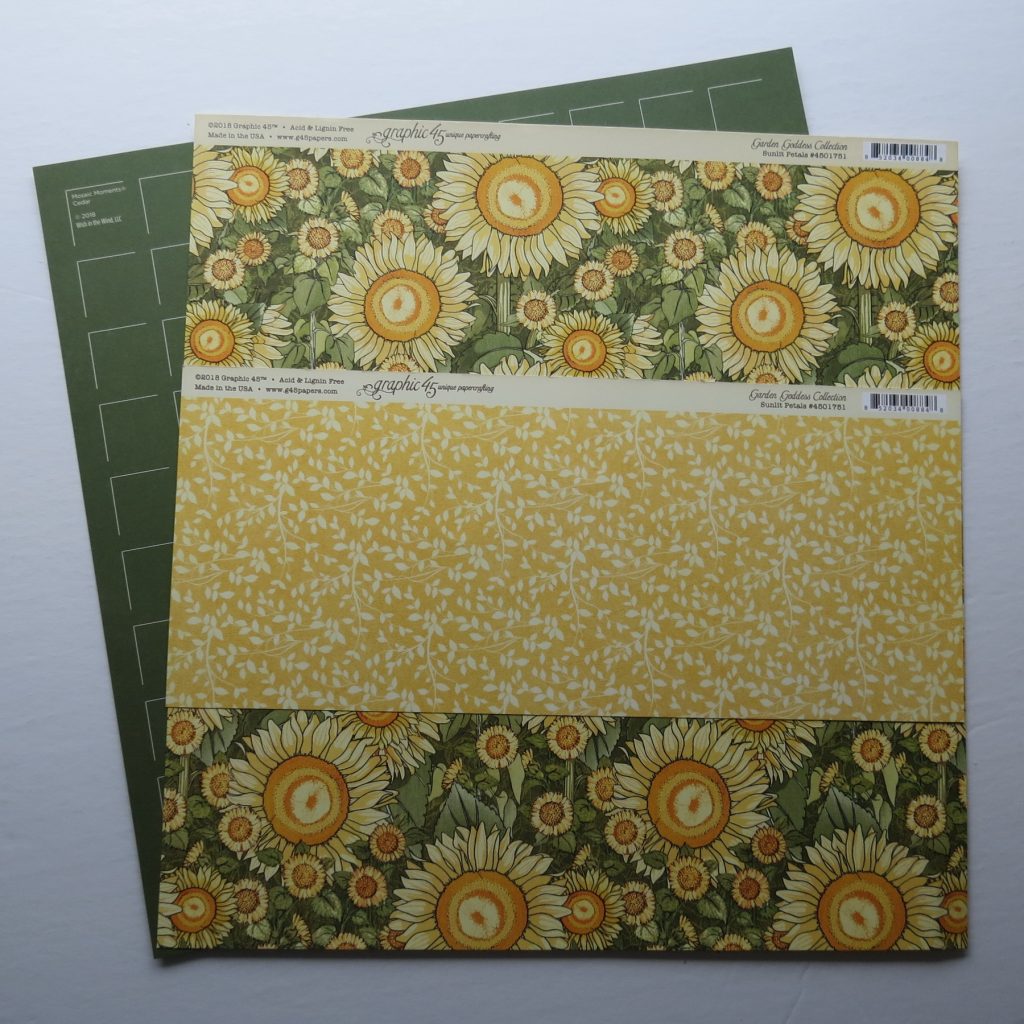
I’ve used the Basic dies to cut the mats and the layering dies for the photos. I chose to narrow mat in black to pick up the black line style of illustration in the Graphic 45’s Sunlit Petals paper from the Garden Goddess Collection. It is a perfect pairing with Cedar Grid Paper from the Mosaic Moments Trailblazer Collection.
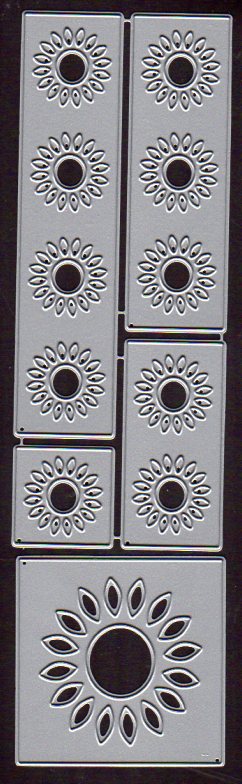
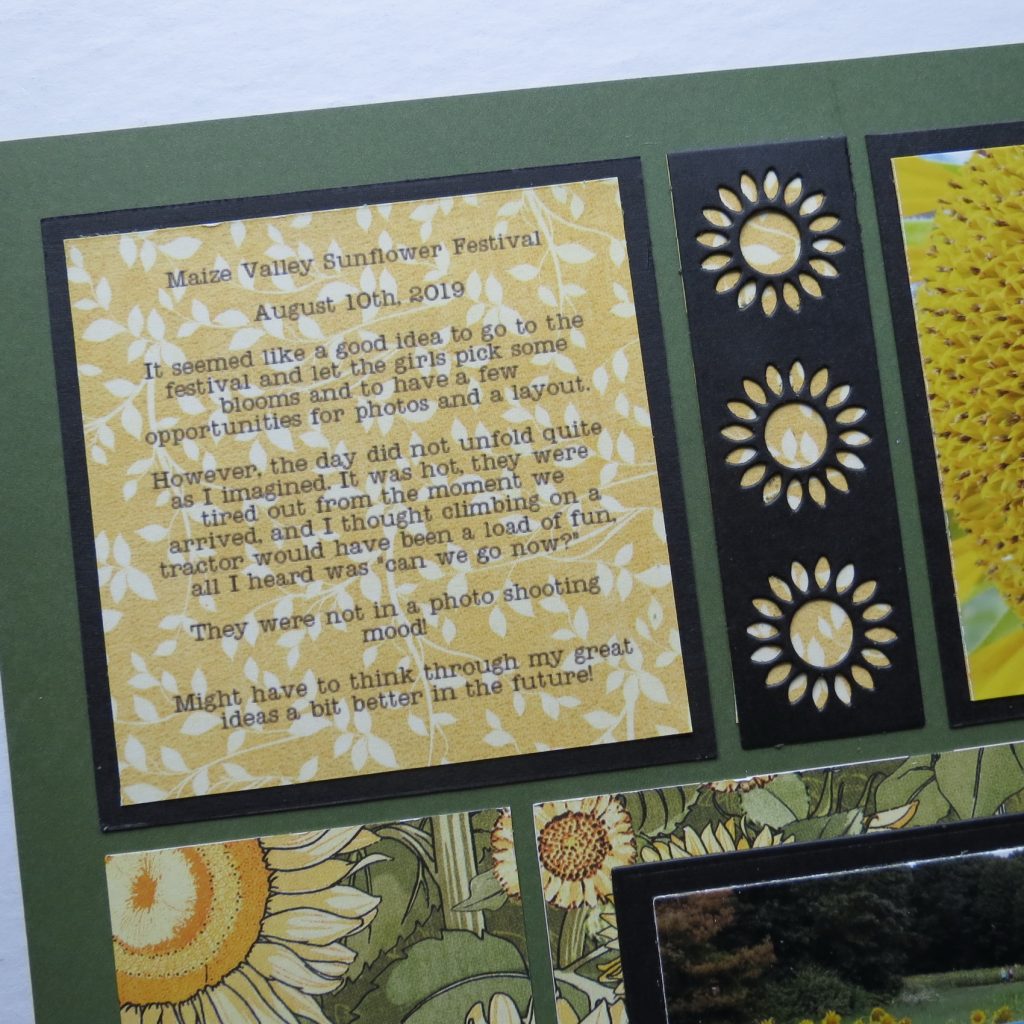
This double-sided paper has a yellow print that I’ve used for the journal block, and the background for the Sunflower Border Die 1×3’s also cut in black. The beautiful sunflower print is used in the center spots of the pattern with the main matted photo placed in the center. It’s a cheery paper that helps to mask what’s missing in my photos and pretty up the page!
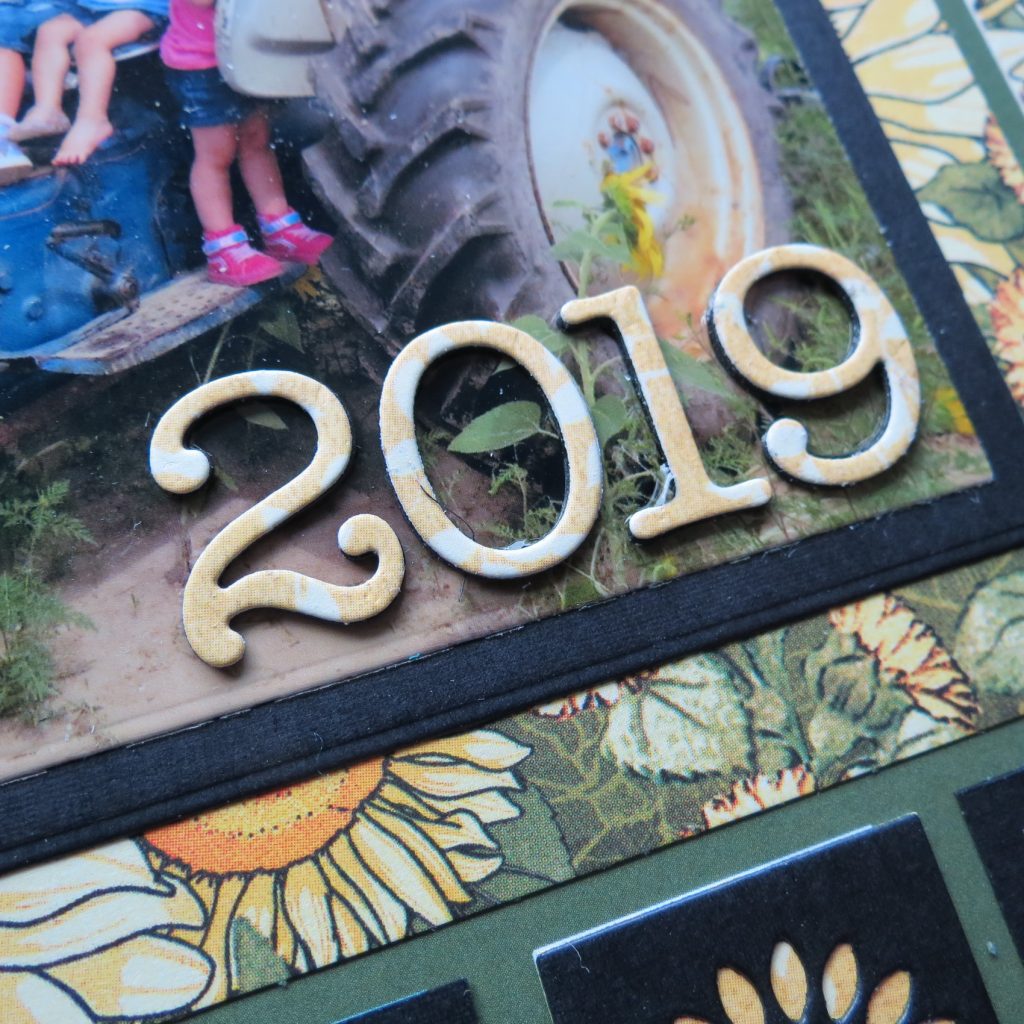
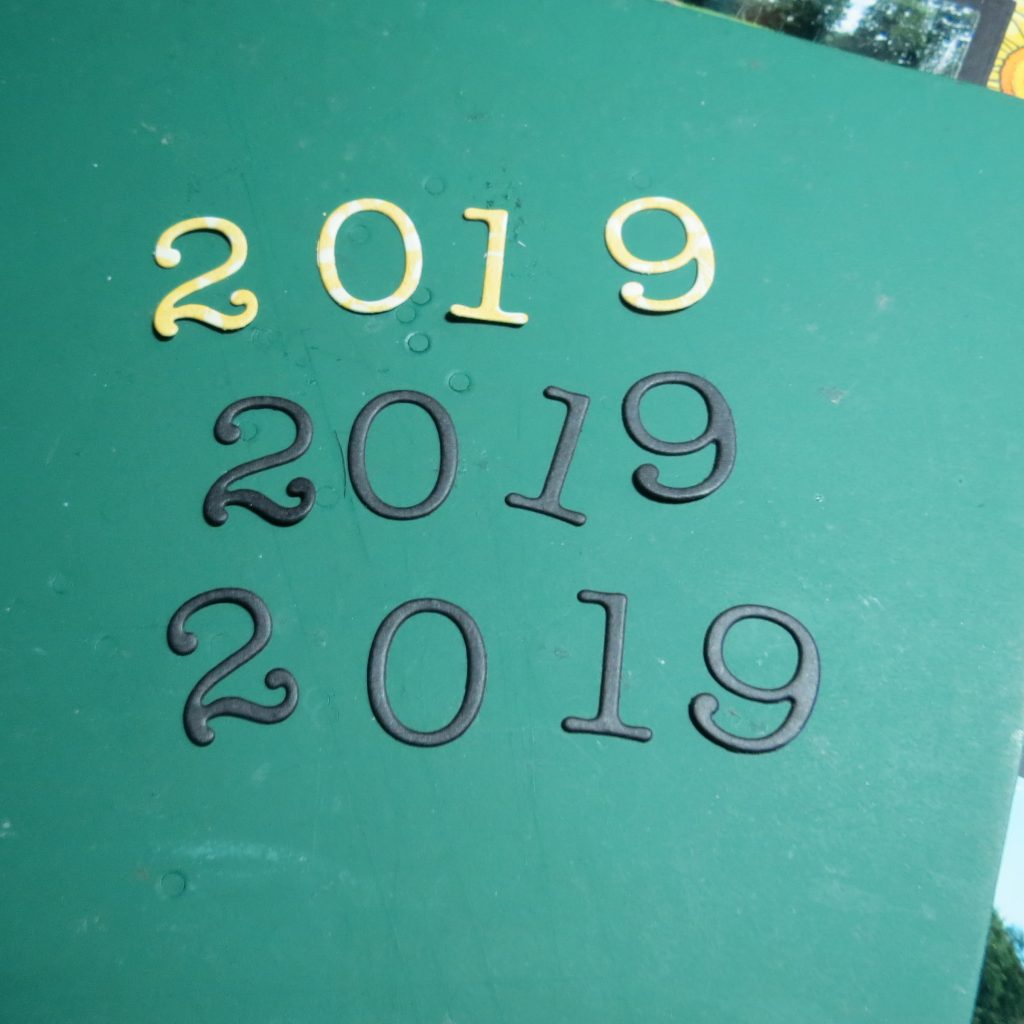
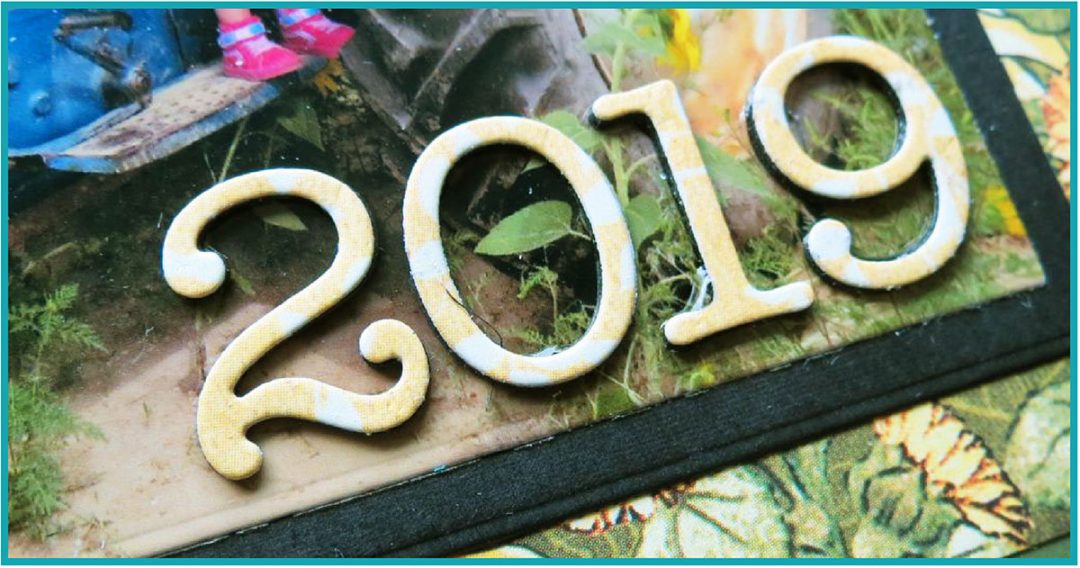
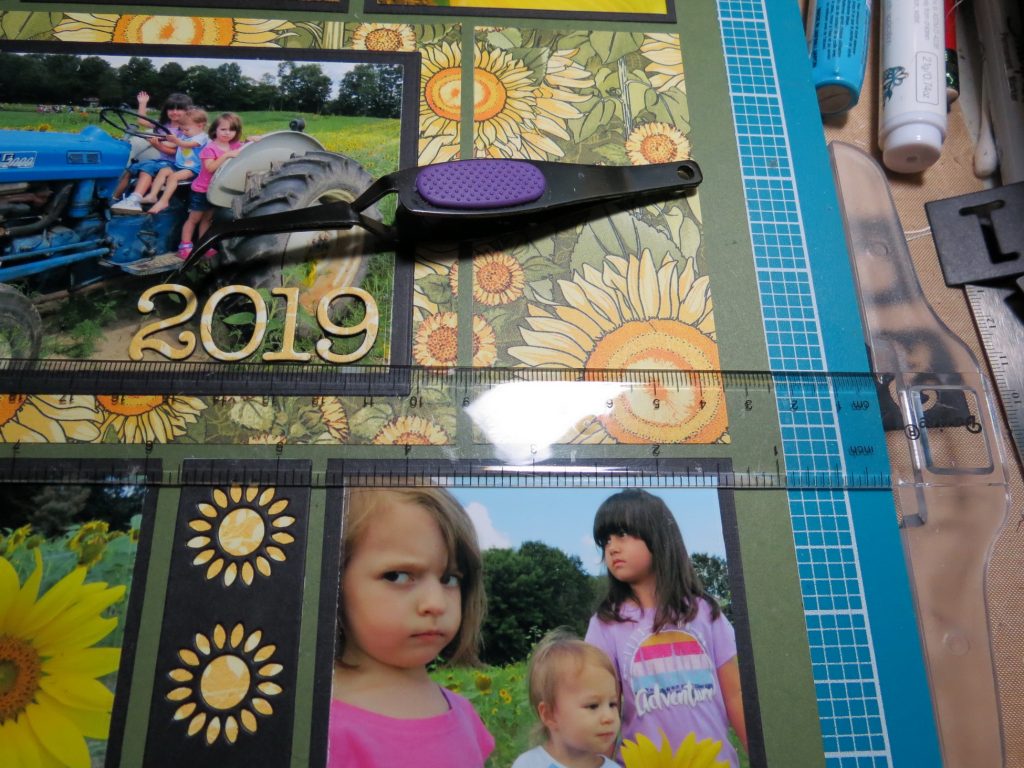
For the date, I’ve cut each number in black twice and once in the flip side of the patterned paper using the Alphabet/Numbers 4. I like layering my letters and numbers for a bit of dimension without a lot of weight. Using black to stack with gives a slight shadow effect. I’ve placed them on the corner of the photo using my T-square ruler to line them up and place in line. The T-square ruler placed at the edge of my mat, lined up on the grid, makes placement super easy.
So, in the end, I’ve salvaged five photos, edited to minimize problems of quality and even used one less than picture-perfect smiles photo to capture the mood of the day and come away with a layout that belies the day’s difficulties.
Yes, they say that the camera never lies…but with a little effort the editor can often change what you see! And the scrapbooker can make it look even better. So don’t give up on photos that may not be your best, find the basic choices you can make to overcome the problems and finish with something worthwhile.
Andrea Fisher