
With a few new dies and several older ones, you’ll see a few tips with some banner techniques for building a few festive features for your next holiday scrapbook pages. So, get your banner dies out and get ready for a little Red, White and Blue celebrating! Here’s what we’ll cover in this layout:
- Layering banner dies
- Half circle banner with stars
- Curling cord
- 1” square stars layered
- Horizon die starburst banner
- Layered center focal point
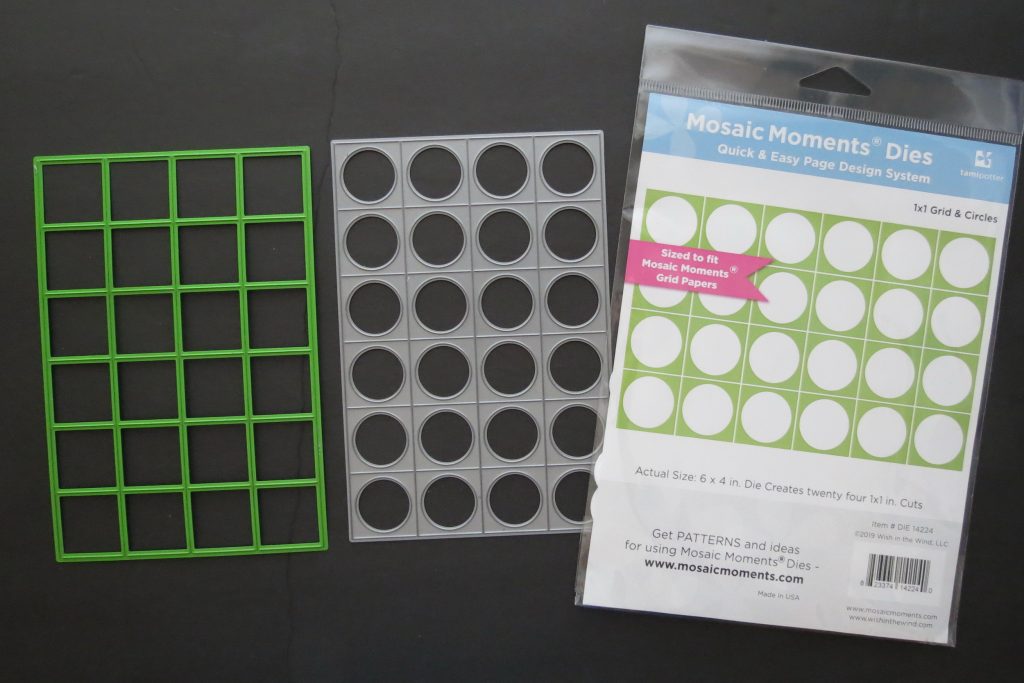
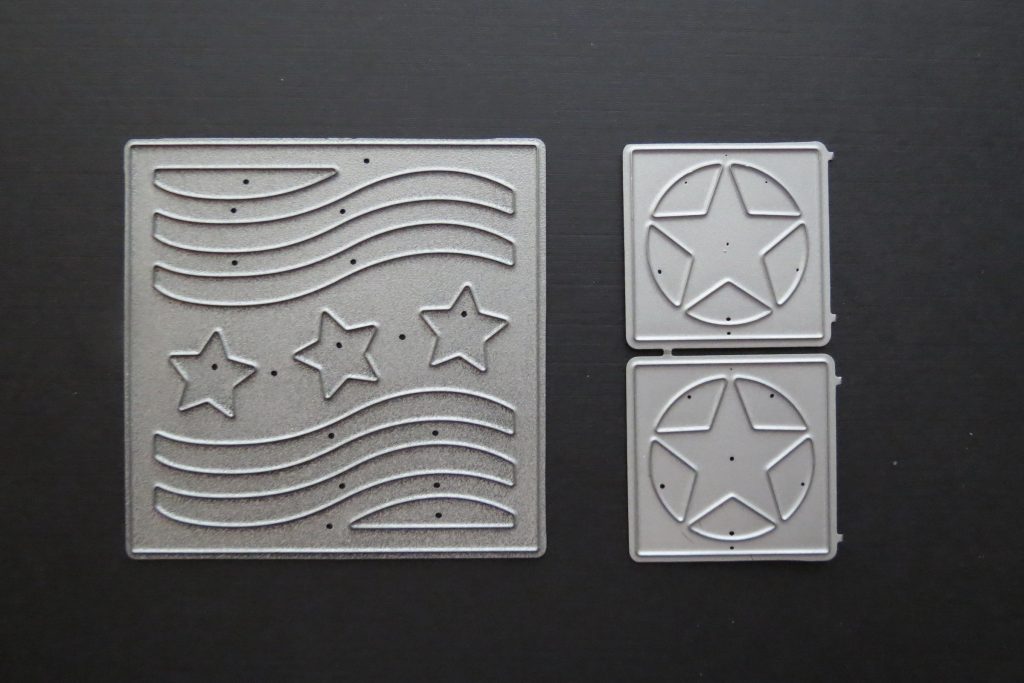
Here are a few of the Mosaic Moments Dies I have used for this page:
Circling Around Die, Horizon Die Set (2×2, 1×1) 4×5 Horizon Die Set (3×3), Layering Banners, Stars n Stripes, Star Die Set, 4 Banners Die Set, 1×3.25 strip die, Circle Time Die, Circle Grid Die
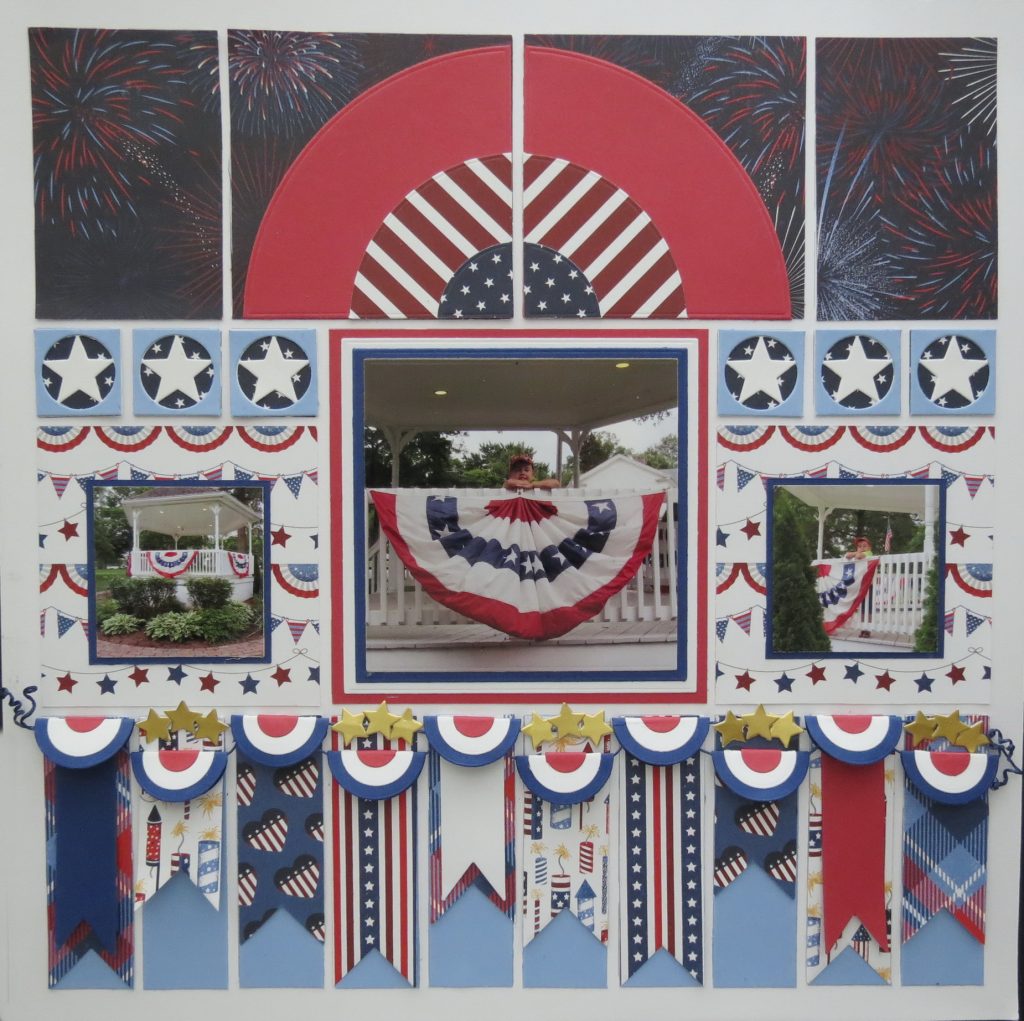
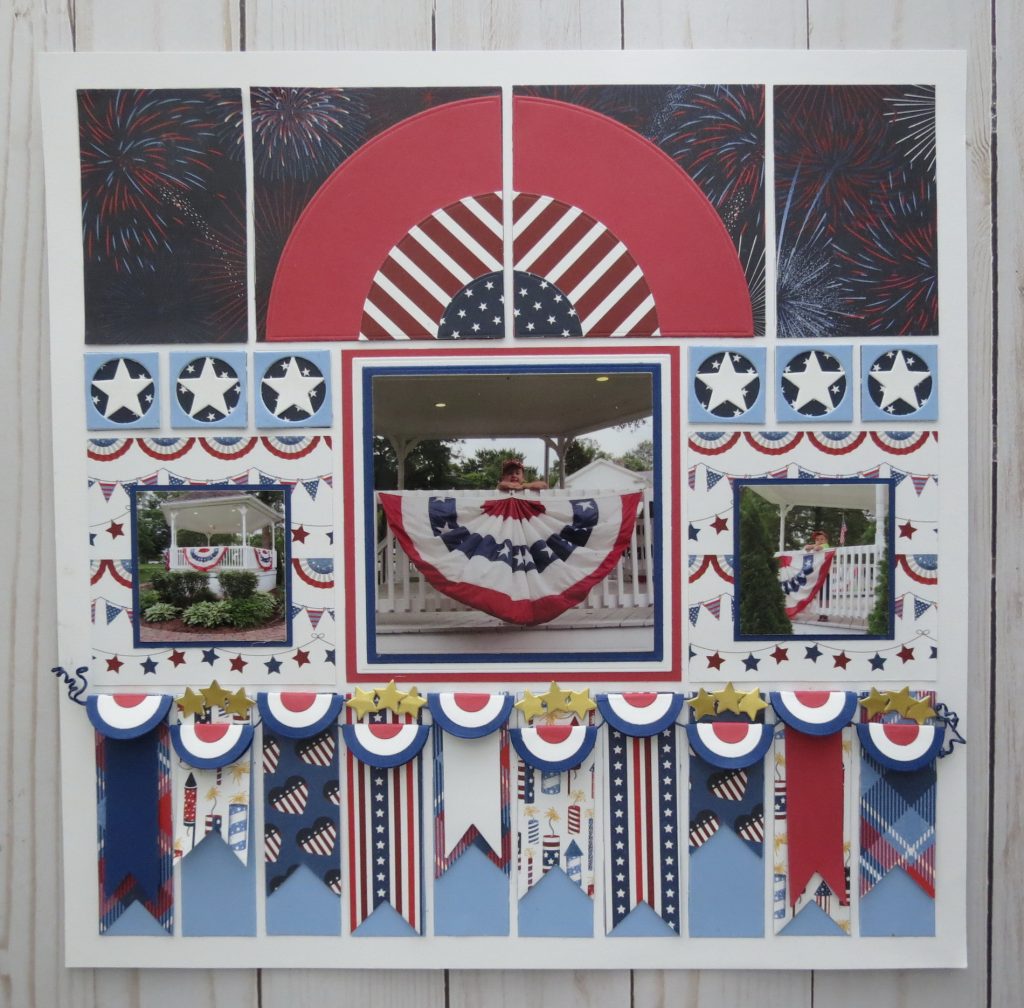
Let’s begin with my pattern. It isn’t from the Pattern Gallery this time because I wasn’t finding anything that included areas for all the elements I was planning on including. So I began with the shapes and sizes (before printing and cutting my photos, just in case I changed my mind) I wanted to use and placed them on the grid trying different arrangements until I had what I thought would be the final page.
I’m building this page on a Mosaic Moments 12×12 White Grid Paper the perfect neutral for this layout
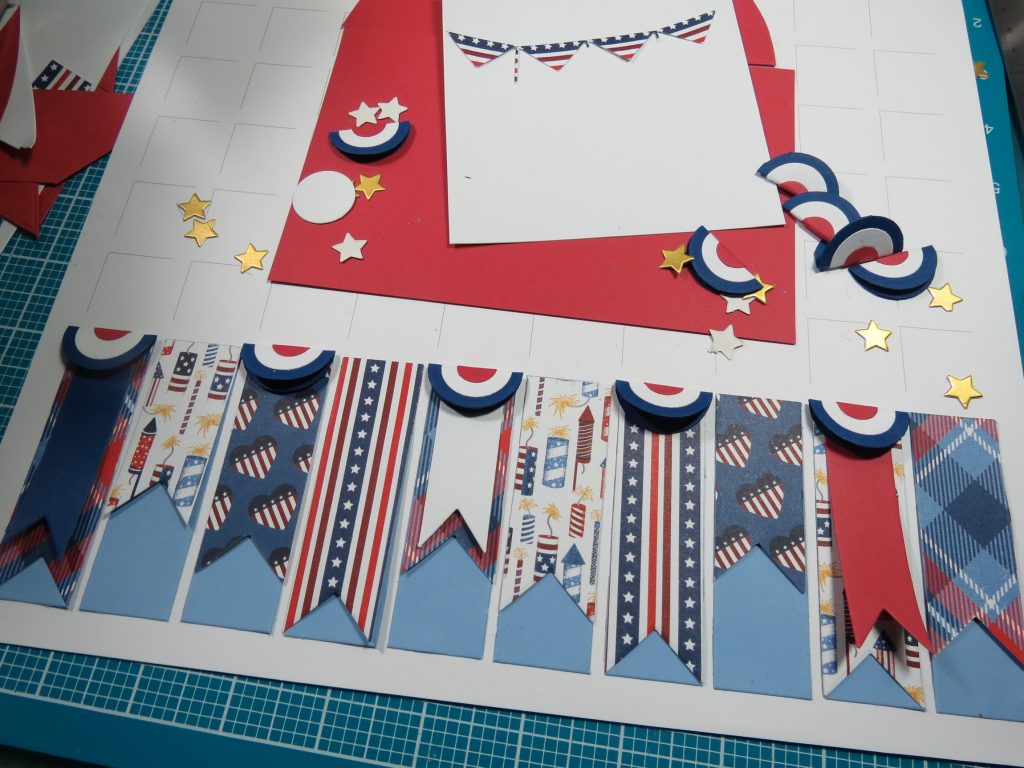
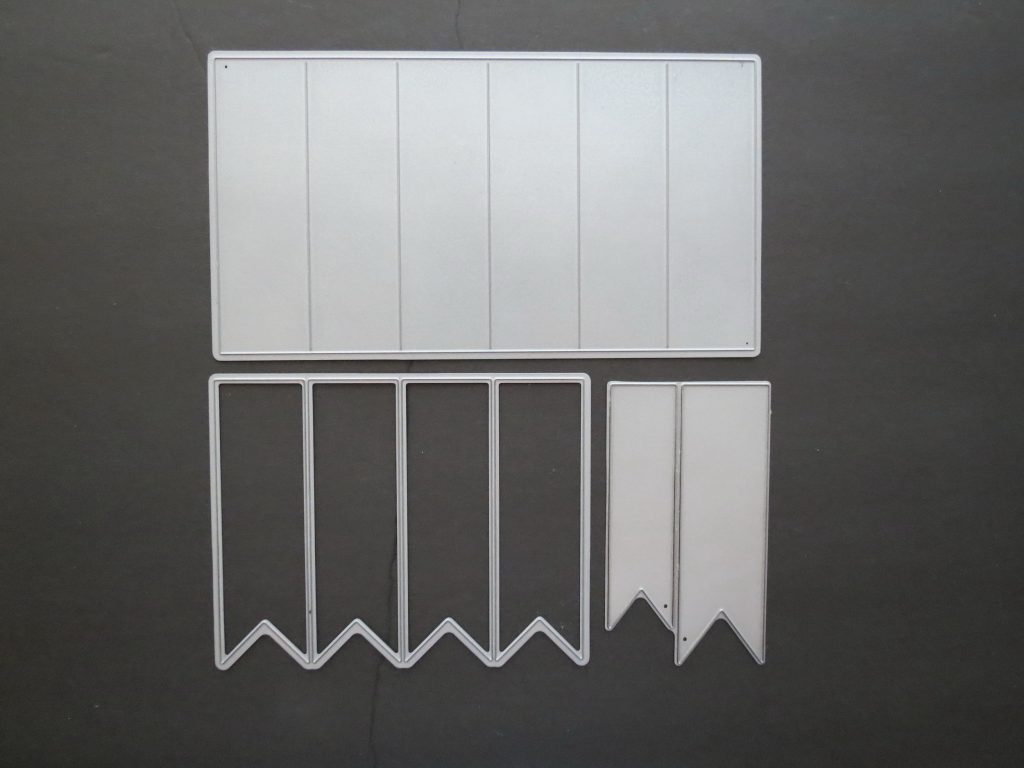
The first step: was to use the 1”x3.25” Strip Die to cut base tiles for each of these spots of the bottom row. While a base is not always necessary my plan was to trim the banner sections to varying lengths, so being sure to cover the grid lines was important to me, while also adding in another color from the paper’s color palette.
I cut several banners using the 4 Banners Die out of a couple of the double-sided papers that allow me to use two of each pattern.
Next using the smaller of the Banner Layering die I cut a few banners in solids and attached.
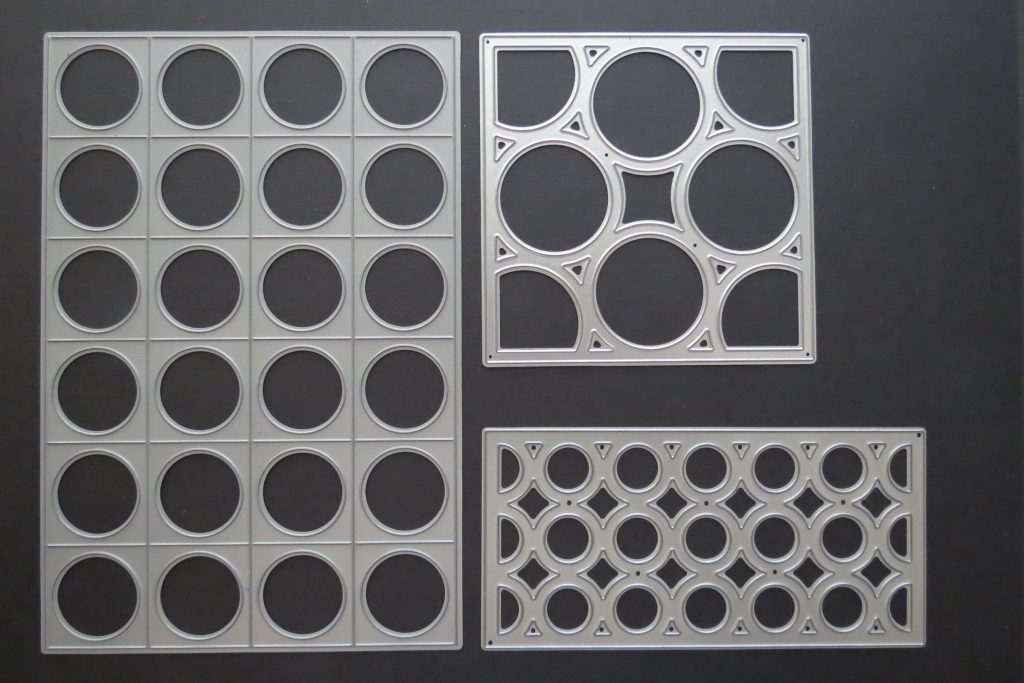
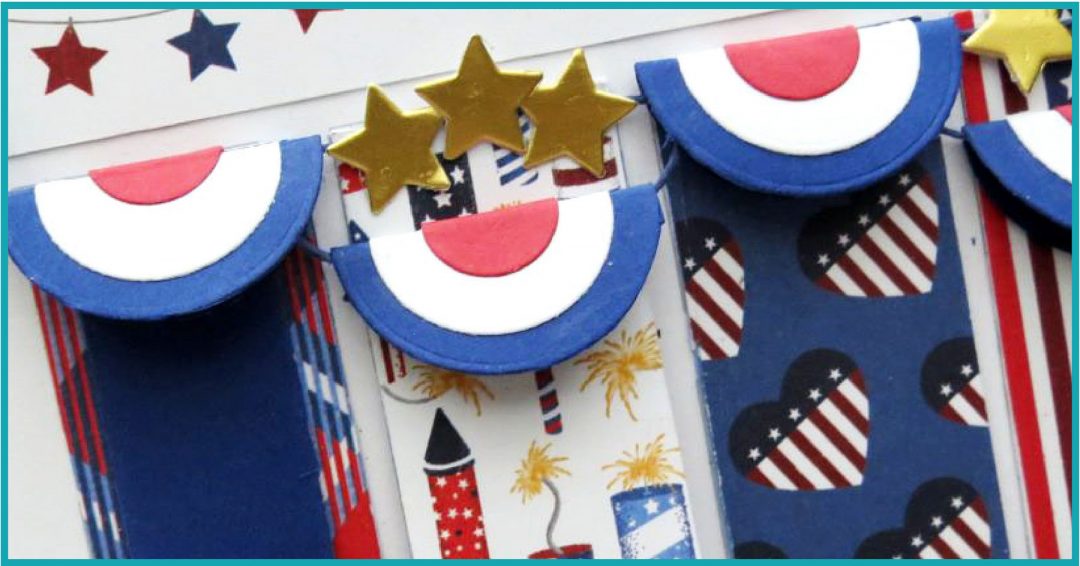
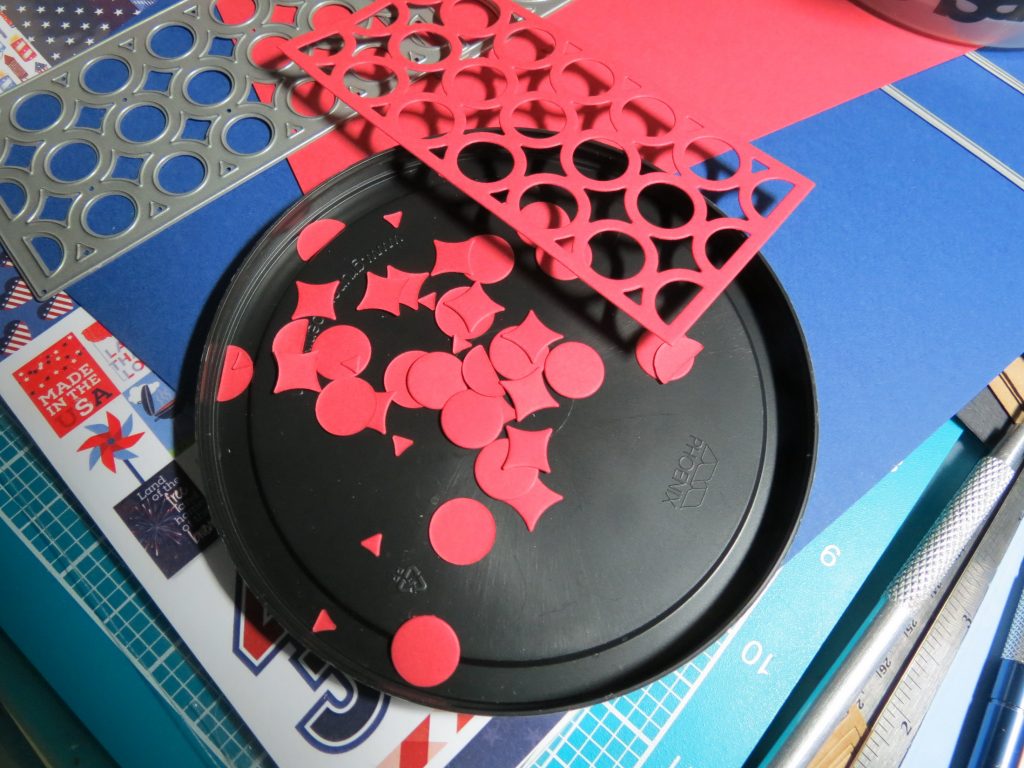
The next banner is made with several of our circle dies. The Circle Around Die, Circle Time Die, and the newest Circle Grid Die. Cutting ten large dark blue circles with the Circle Around Die, ten in white using the new Circle Grid die, and ten in red using the Circle Time Die.
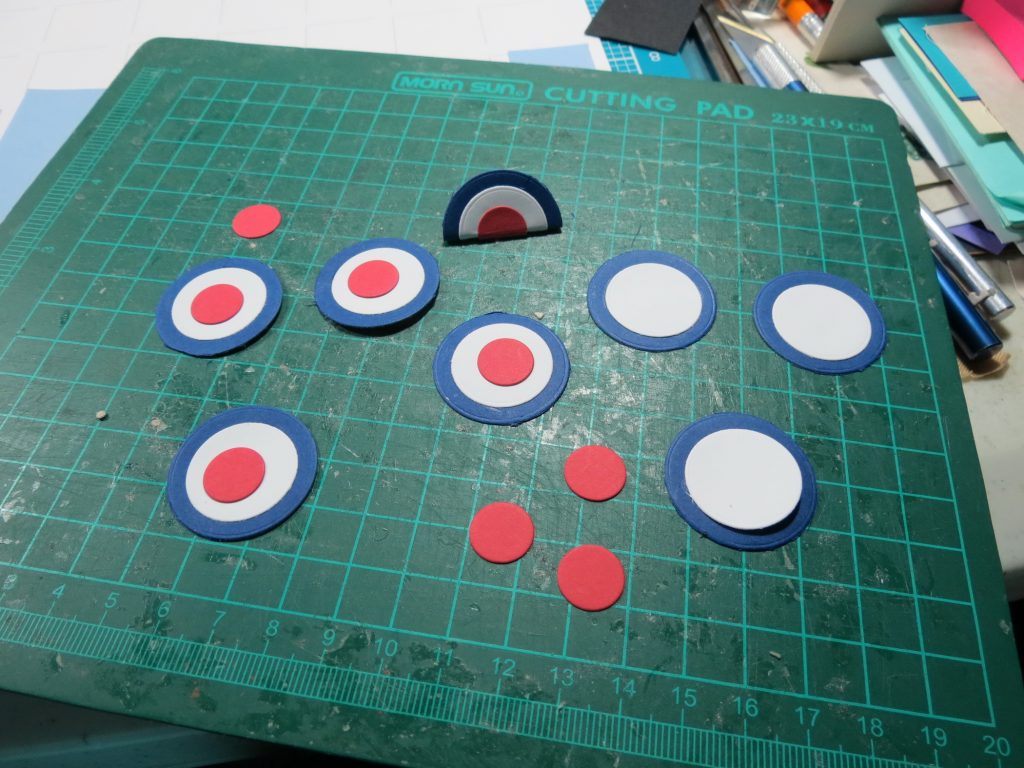
I used Tombow liquid glue to layer the circles and while they were still drying I scored and folded them in half. This really helps to keep a low profile on this banner and an easy fold.
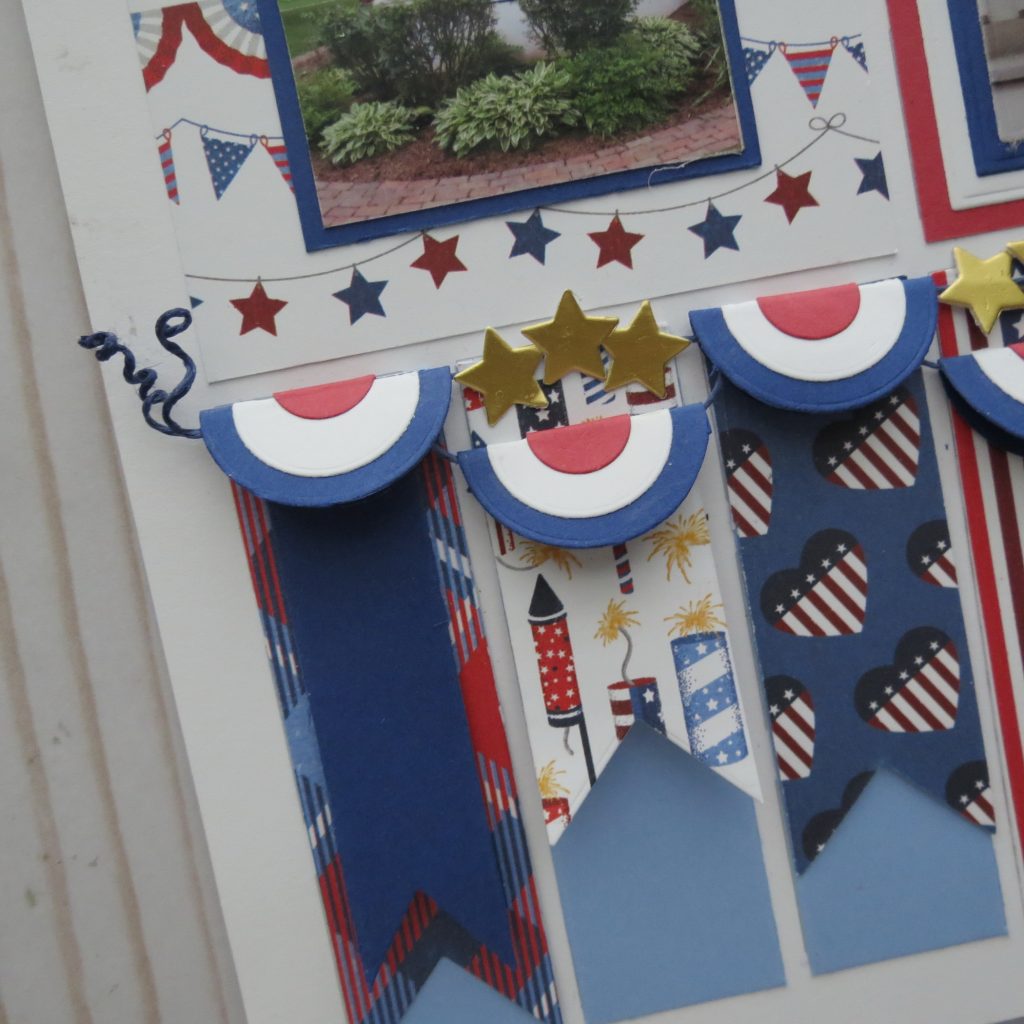
I arranged one on every other strip as my base is my largest circle and is slightly wider than an inch. Then the second tier of banners are placed 1/2” below the top edge of the alternate banners. They are all attached using glue dots to hold in place. I chose to fix them in place for a neater appearance, but you could drape them if you prefer.
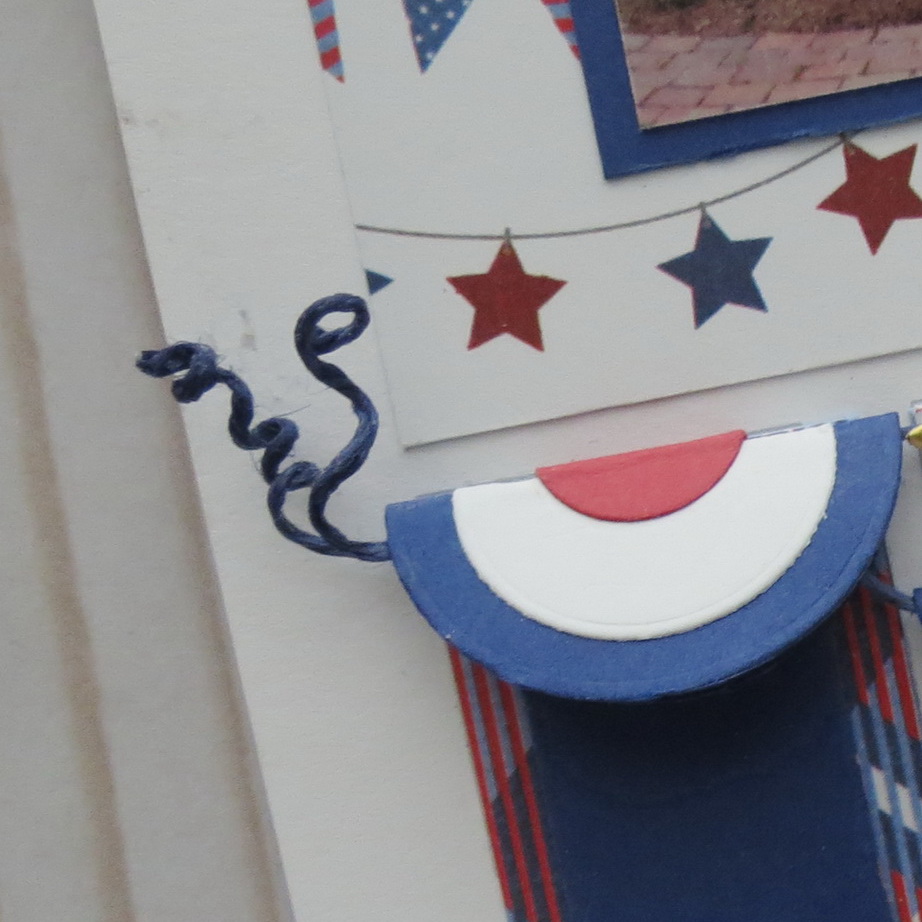
I took a couple of lengths of American Crafts Twine and strung between each banner on each row. At the ends, they are tucked or knotted and then curled for a fancy end.
TIP and Technique: All you need to curl is some of your liquid glue and something to wrap around, I used my piercing tool as it’s very thin and gave a nice tight curl. Place some. Glue on your fingers and roll the twine through until the end is covered. Then quickly roll the twine onto your tool and rotate. Hold this for a minute or two until it begins to dry. Slide the tool and curl carefully apart and arrange it the way you want and let it fully dry.

The next step is to add a few stars; I used the Stars n Stripes cornerstone die and a narrow strip of gold cardstock. Three stars for each spot between. I placed them on the twine with small glue dots.
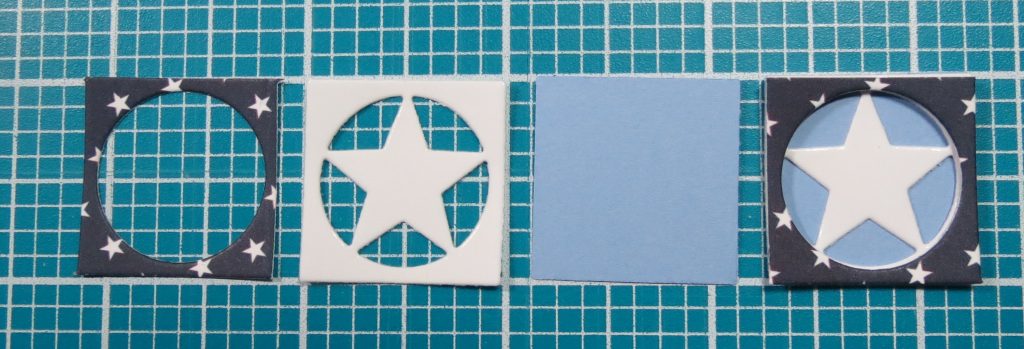
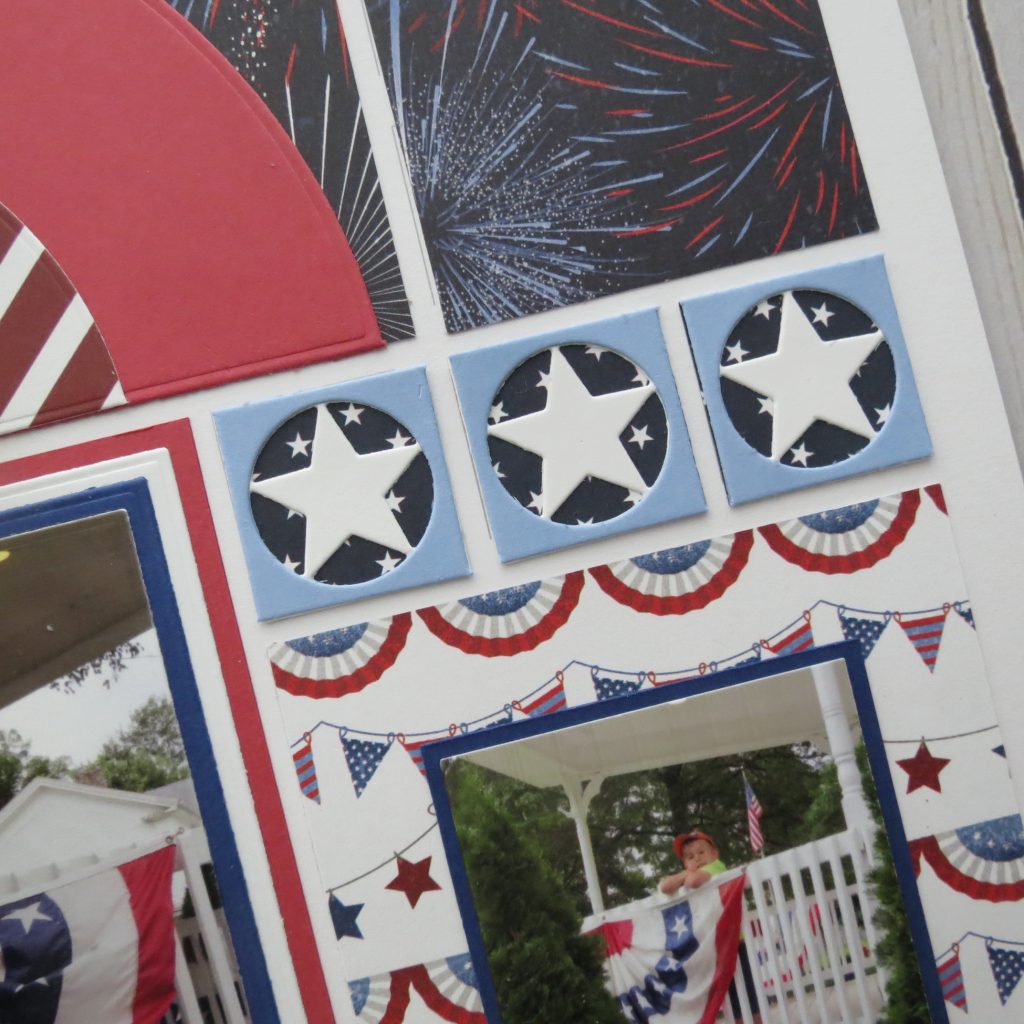
Or the 1” square spots I thought it would be nice to layer the 1” square stars. I cut the bases from the navy and stars paper, the stars from white and the covered top from the blue I used as the bases tiles for the banner so once again incorporating and tying things together.
I like this layered effect as it allows me to have that star color isolated. So many looks are possible!
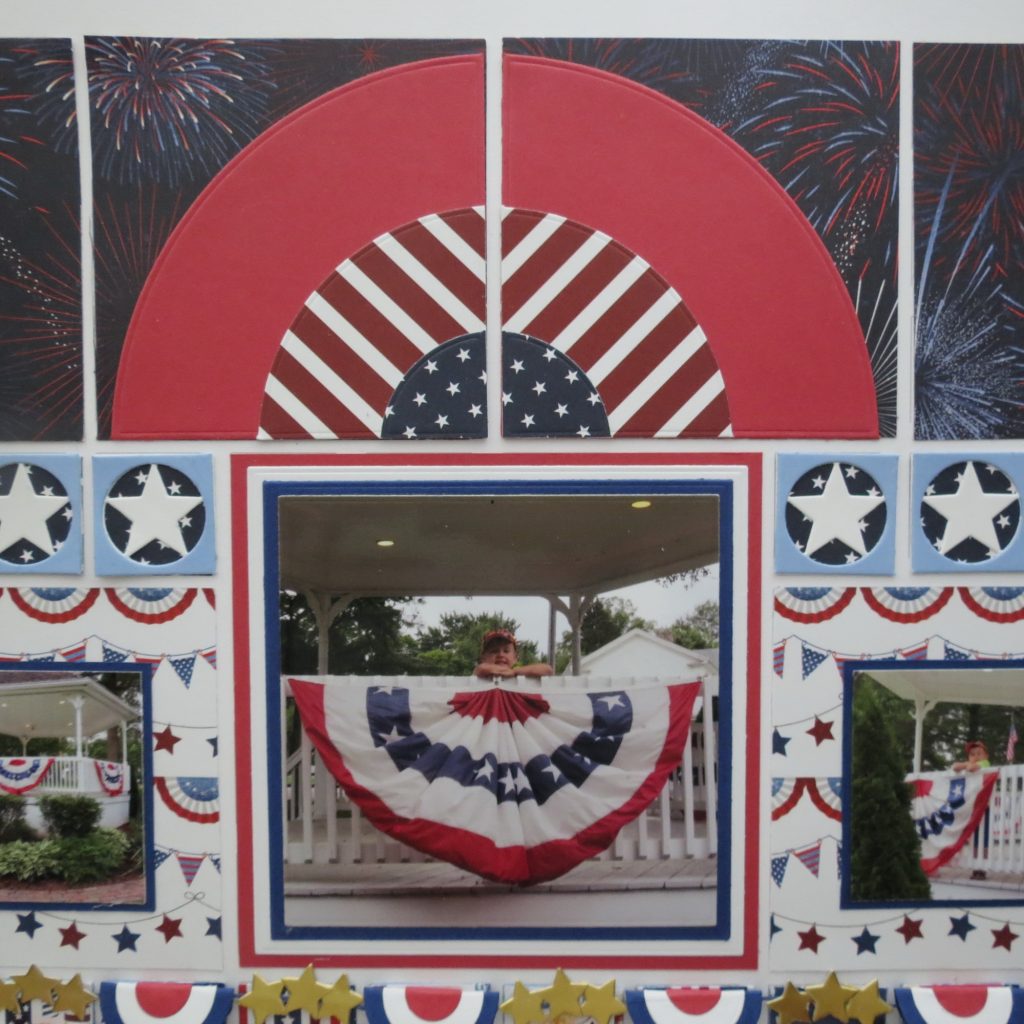
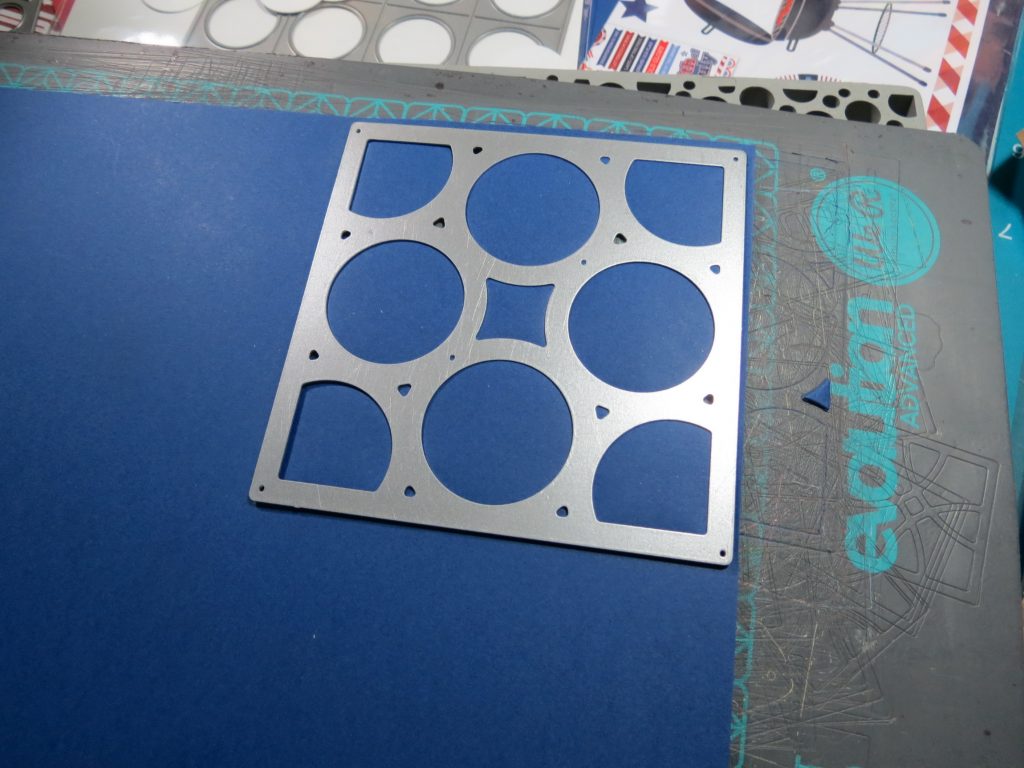
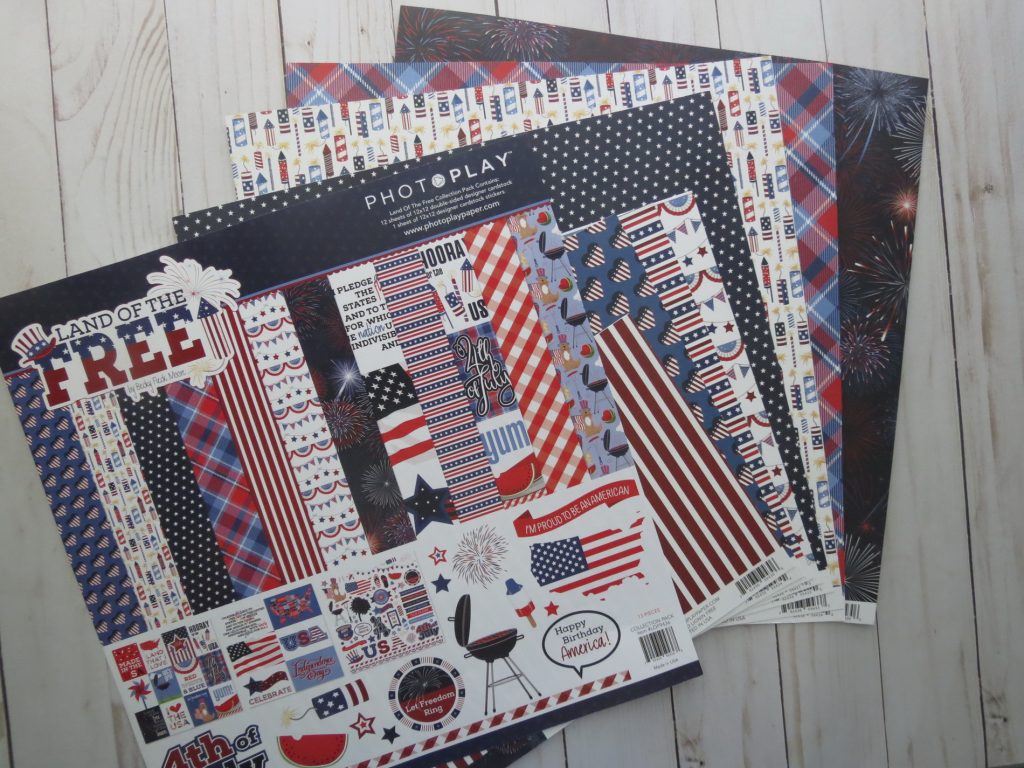
Now the top row of my layout is where I have used the Horizon dies square dies to produce several layers for a burst of color appropriate for pairing with the fireworks paper from PhotoPlay. This collection, Land of the Free, has a great group of patterns that all coordinate and that I’ve been using throughout this layout.
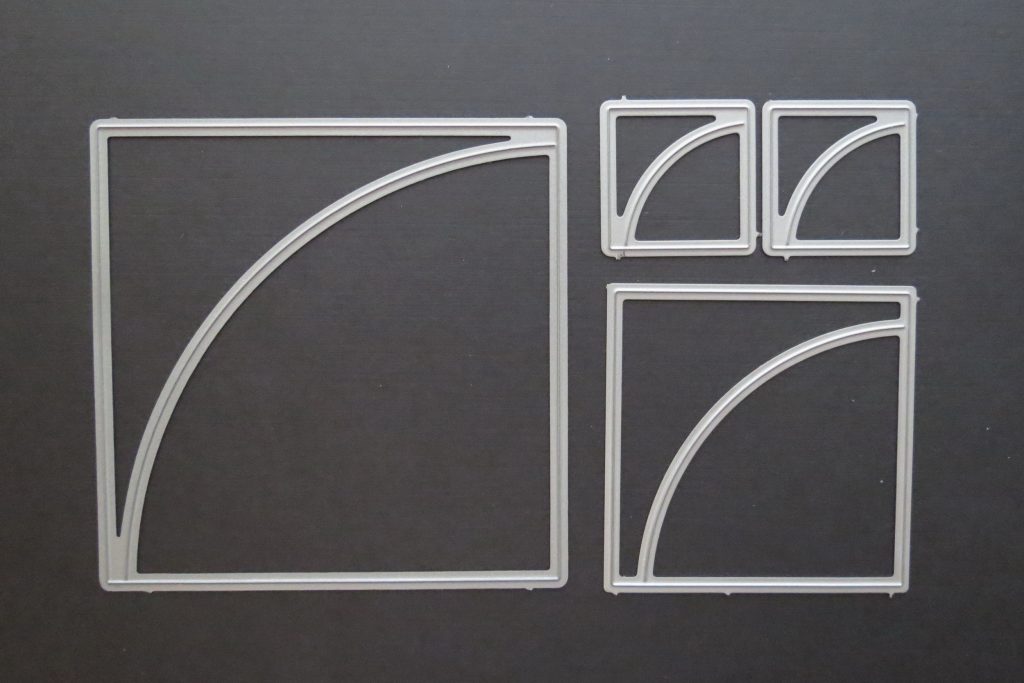
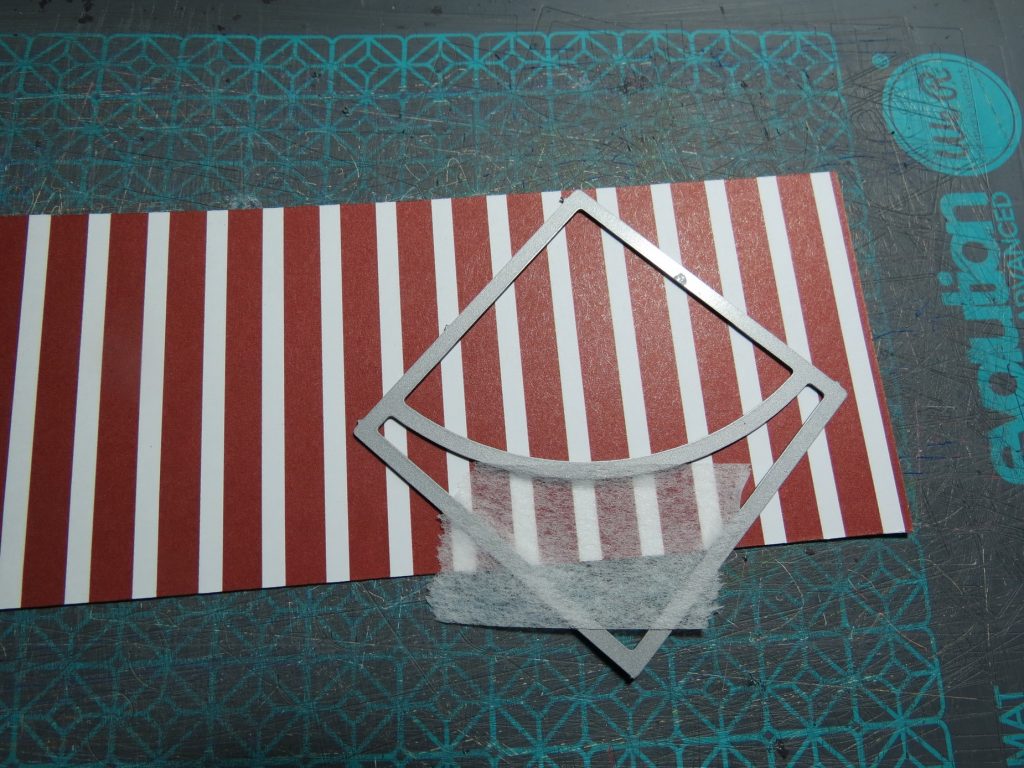
I began by cutting two red quarter circle with the 3×3, then two from the navy stars with the 1” square quarter circle die. Finally, the 2×2 Horizon Die was placed on the striped paper arranged to have the stripes at an angle.
All layered together this semi-circle mirrors the lower banner in the photo below.
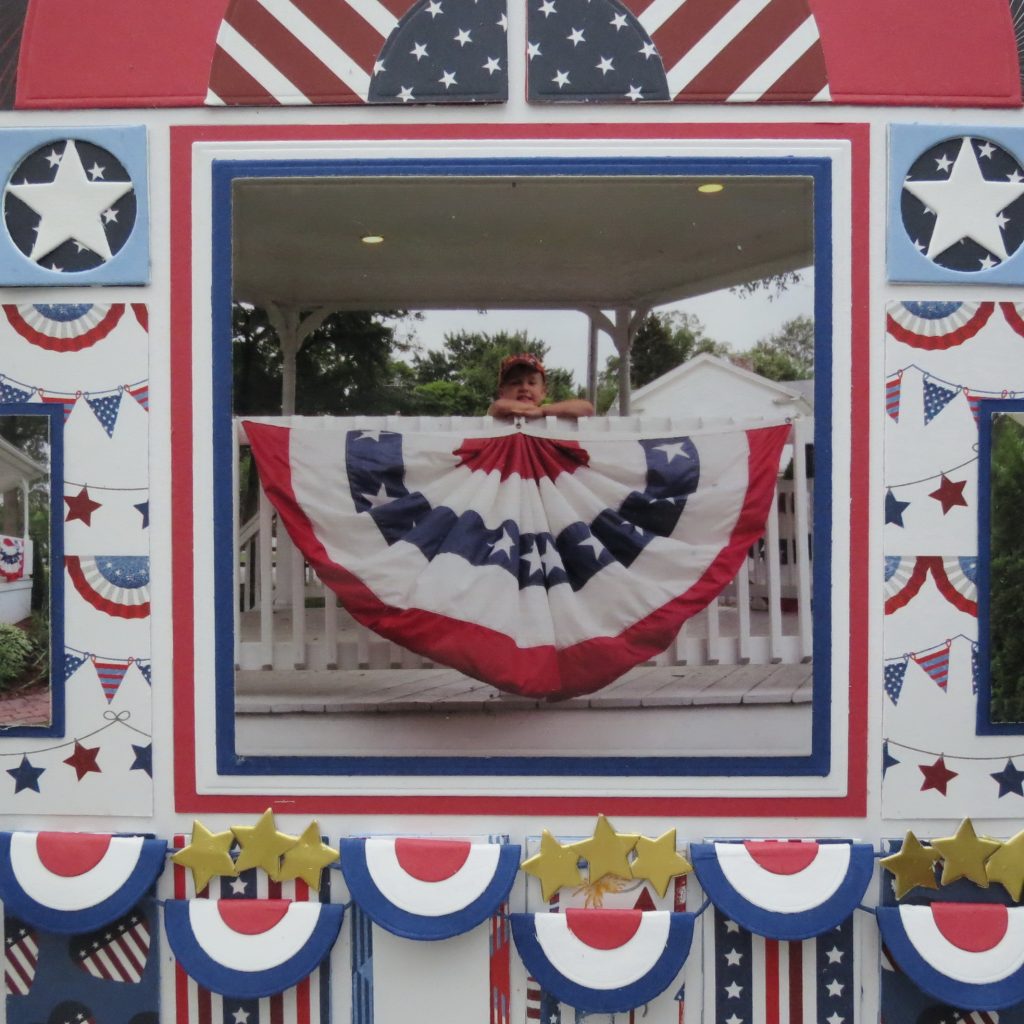
Finally: the main focal photo is triple mounted on red, white and blue cardstock and the layering dies made that easy! This makes it stand out so nicely.
In the center row, I have two 3×3 blocks with patterned paper and two 2×2 navy mats for the slightly smaller photos. The base tile acts as a wider mat, showing off more of the paper pattern.
TIP: Try combining solids and patterns for bold looks on your layouts for your Independence Day Celebrations.
Remember that there are more looks to achieve with the Horizon Dies, so play around, experiment, and have fun!
TIP: Don’t forget to take a look at all the pieces and parts of all your dies and see what else you can create from what you have, who knows what you will be able to make!
Andrea Fisher