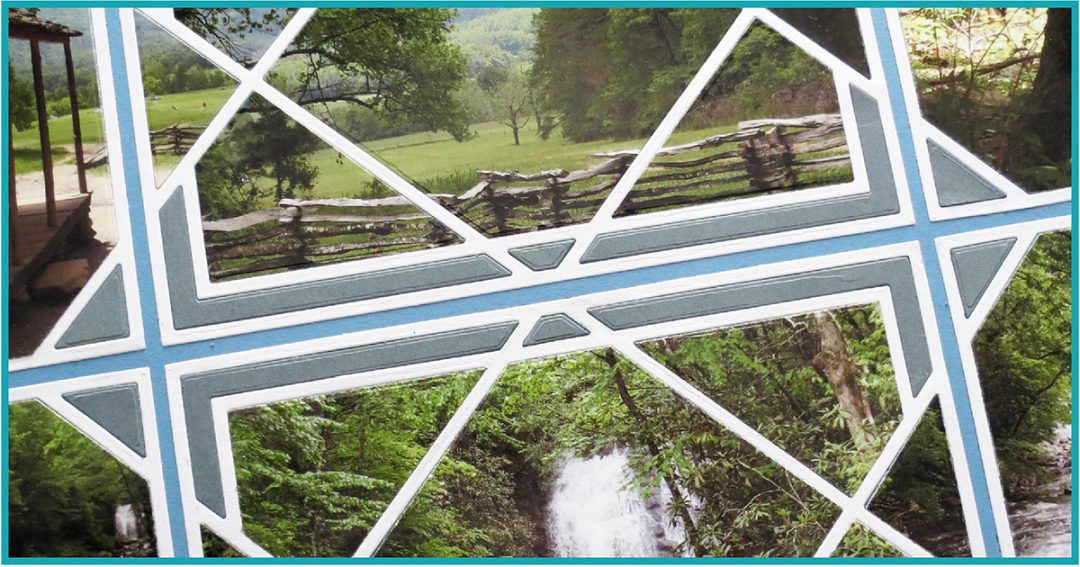
A trip to the Great Smoky Mountain National Park is always an adventure and today the Crisscross dies play a part in that adventure. This is the newest die set to the Mosaic Moments Adventure Collection that often require a little more planning to complete a layout. Hopefully, this layout will show you a manageable way to put a layout together.
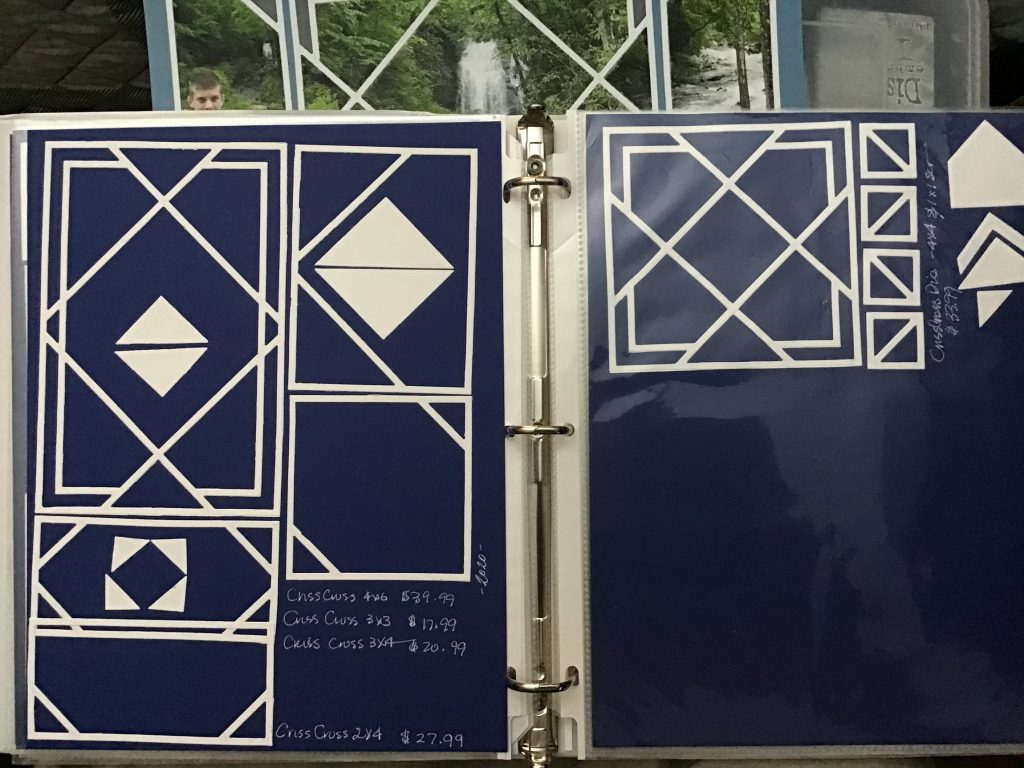
TIP: When new dies arrive I usually do two things, first, cut a sample to record in my die collection book where I keep track of my dies, their names and prices and now, I’ve been adding the year too, so I can at a glance see what dies I have and see how they cut.
TIP: Second a cut sample to keep with the dies to use to play around with when designing a page. This is very helpful to be able to move pieces around the grid before deciding where things will go on the page.

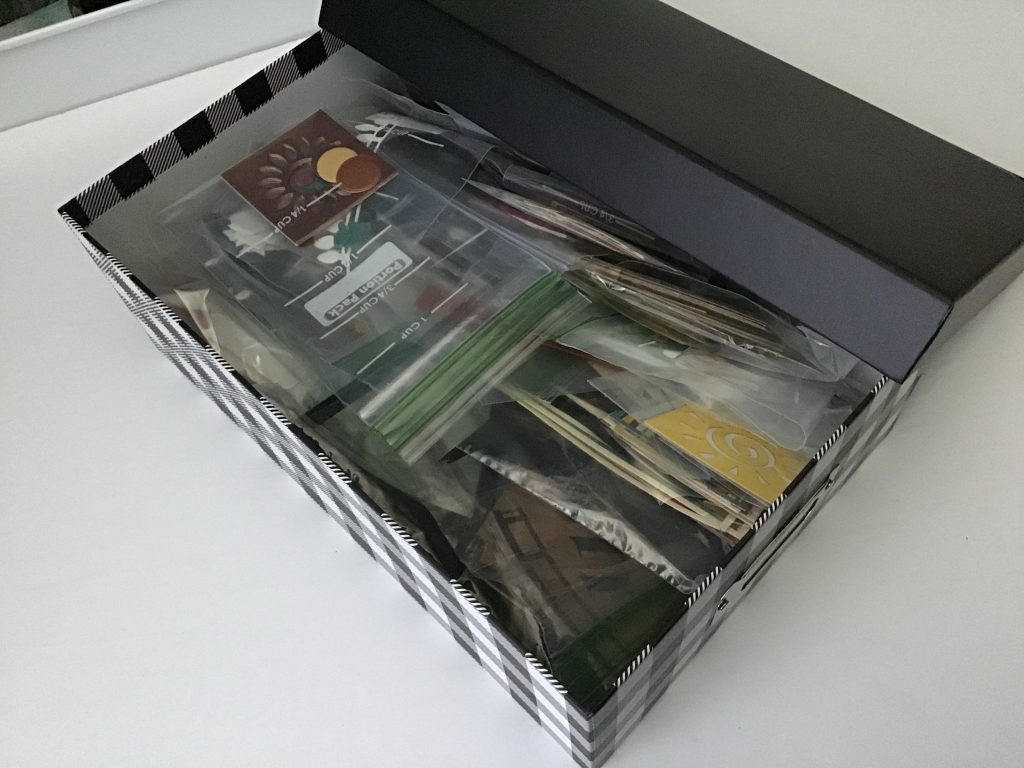
TIP: For those of you that may wonder what I do with the outtakes…some I add to the grands box of papers to create with, but, I do save in a marked baggie so I can see it sections that might fill in another time for a frame, a journal spot or even a mat. Waste not want not.
A benefit of playing with the pieces is often seeing patterns I might have missed overwise. This time it wasn’t just the center diamond shape my placement gave me, but the arrows that appeared in the narrow border sections of the die piece. I thought it was a perfect symbol to include on a page about travel, adventure and exploring.
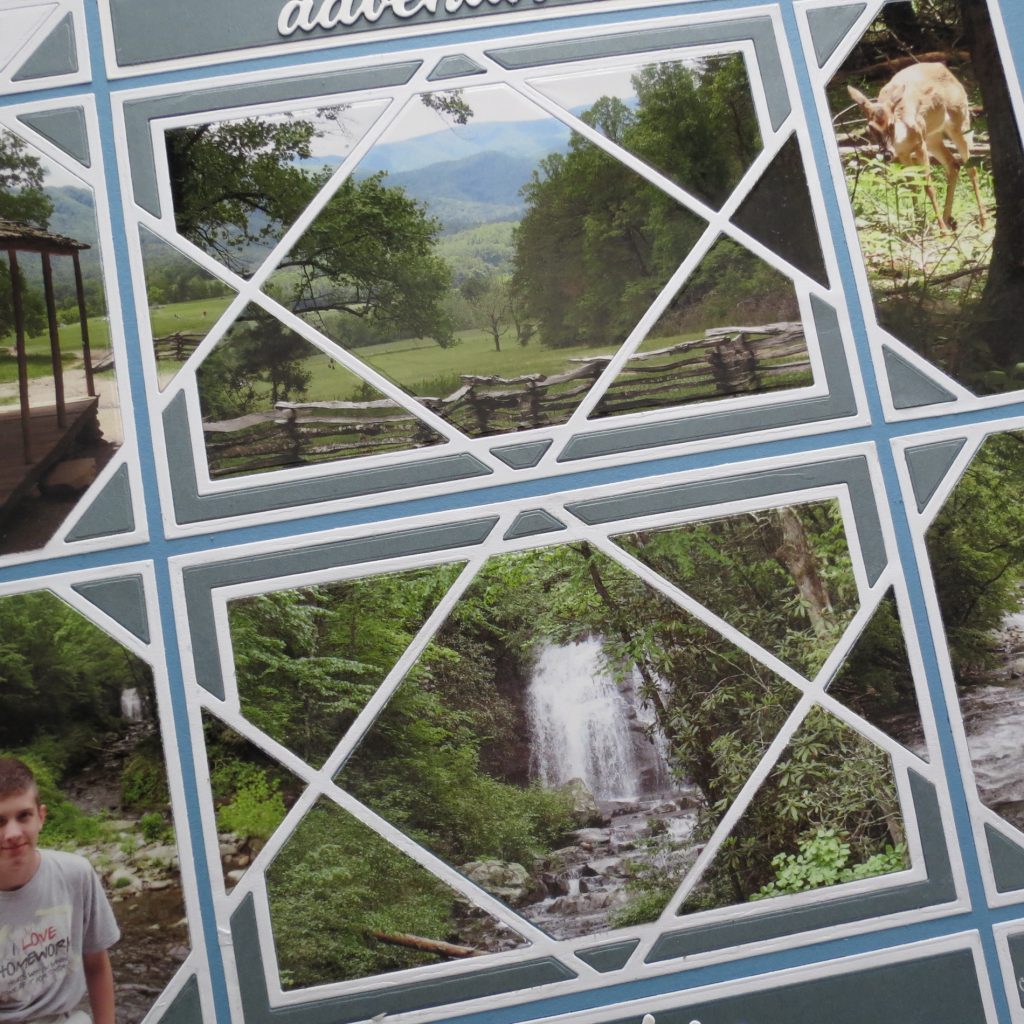
Of course, this particular arrangement is not one of the patterns in the Pattern Gallery, but it is one that works well with these dies from the new die collection.
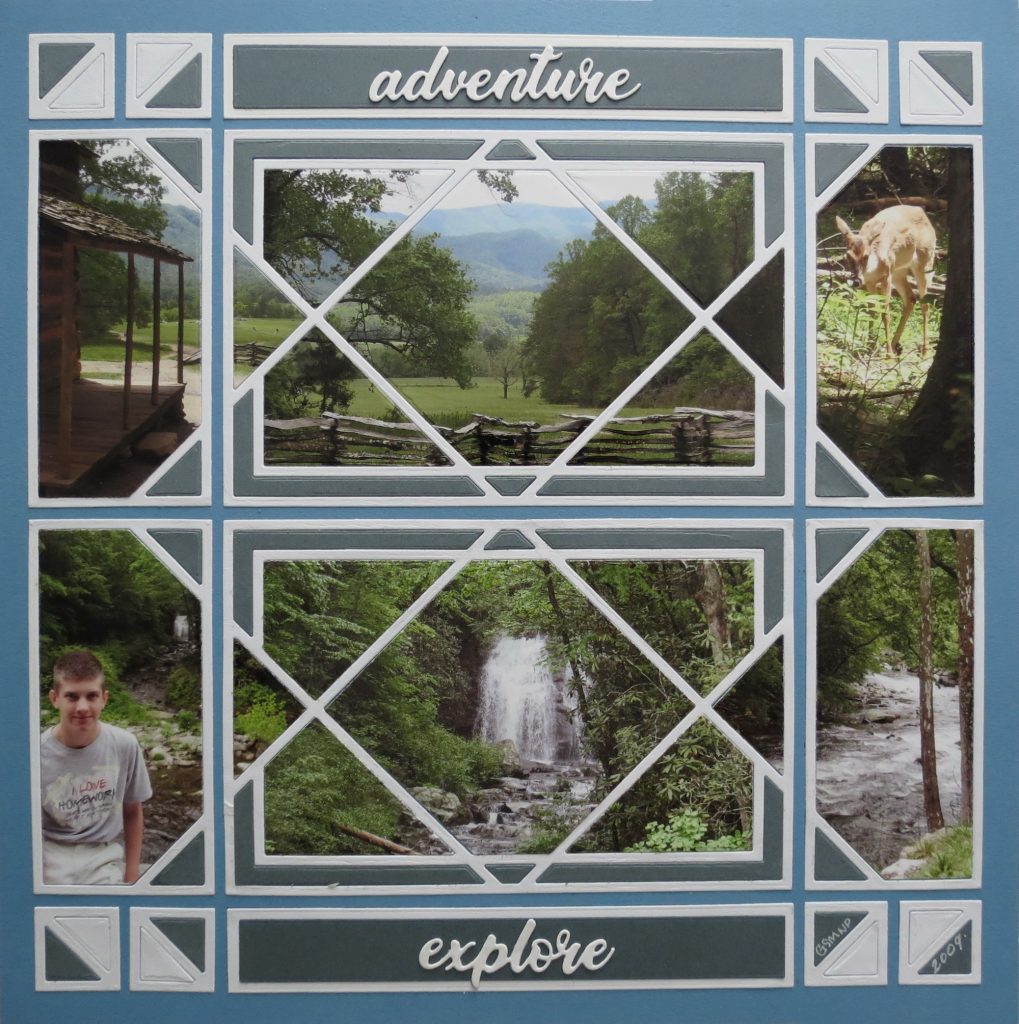
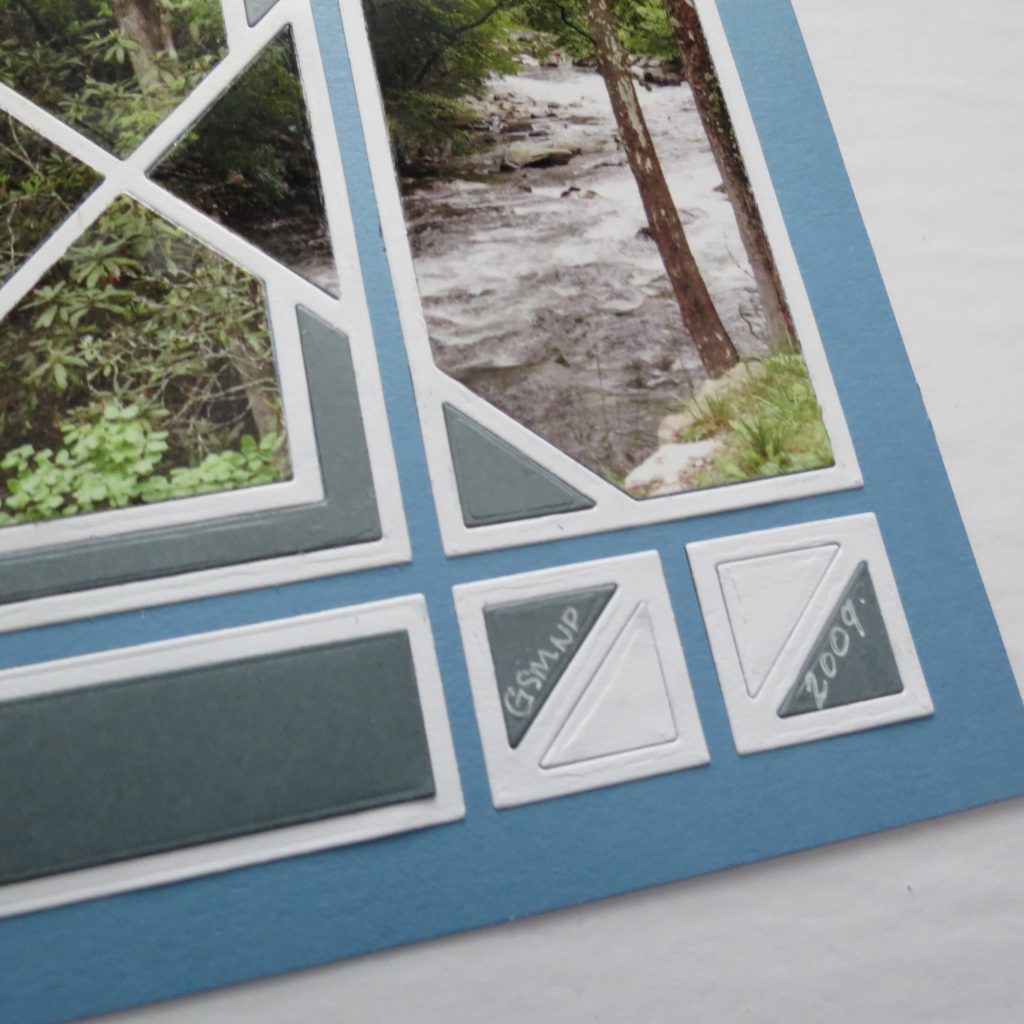
My Mosaic Moments Grid paper is Bermuda Blue. I’ve used white for all the die shape frames and gray cardstock to fill in. I’ve used the Crisscross 4×6, Crisscross 2×4, and the 1” squares strip from the Crisscross 4×4, 1×1” die set.
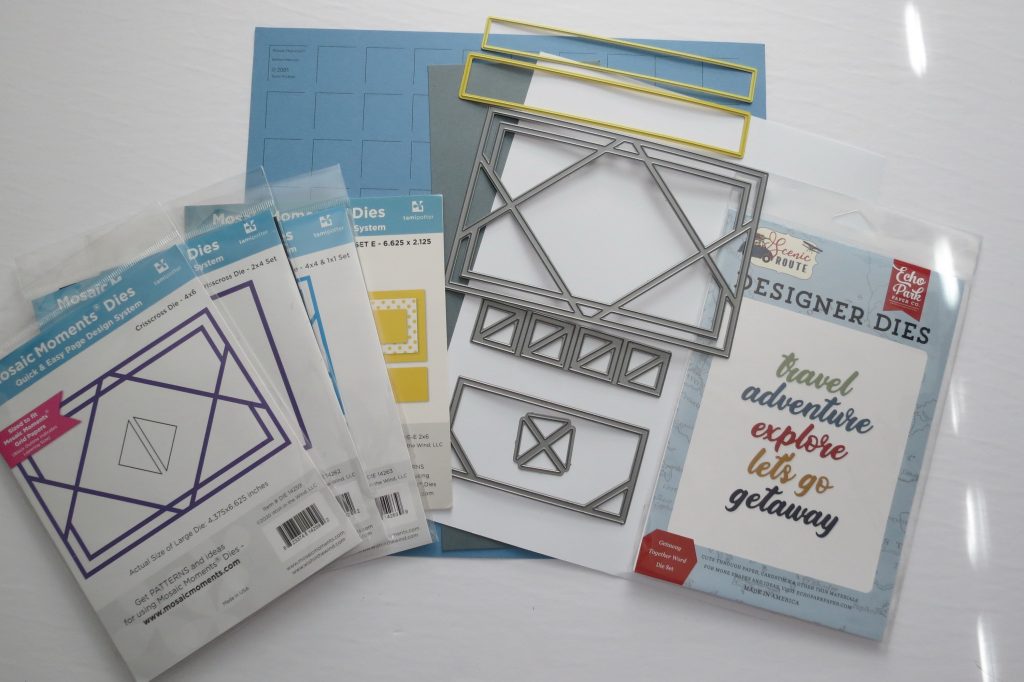
I also included Die Set E and Layering Die Set EL for the top and bottom rows in the sections above and below the Crisscross 4×6. The 1×6 is cut in white and the layering die cut in gray and layered on top. This keep the same look achieved with the other pieces on the page.
Additionally, I’ve die cut two travel words from Echo Parks Scenic Route Collection. I double cut both words I used in gray and white to stack and give a little more prominence on the strip and a bit of a shadow.


In using the 1” squares/triangles I’m able to continue the arrows in the top and bottom rows. In the bottom right I’ve snuck in the date so I can keep track which trip to the Smokies this was and add it to the right album!
Now, choosing the photos to use…this is often the hardest part. Because I had decided on a travel theme, I thought some of the wonderful panoramic photos might work well across the page. In the end I selected a main feature photo each with two photos from the same location as the main one.
I decided to use the whole photo in the 4×6 sections, or almost all! I did remove the outer triangle to replace it with a section from the photos on the outer edges. In the two rows the photos in each are from the same location, just different shots I took. The top row includes a look at the cabin, a look from outside the cabin and the third from in the woods next to the cabin. The bottom row has my son along the roadside with the falls in the back, a close up of the falls and the third the stream along the roadside where we’d stopped to take the pictures.
By using those triangle sections of each of the outside photos it allows them to appear bigger, even though they are cropped to fit the 2×4 die section.
If you’ve been a bit intimidated by some of the more detailed dies that are in our Adventure Collection, hopefully these few ideas will help you to see it doesn’t have to be time consuming and that soon you will take your own adventure with the Crisscross Dies!
Andrea Fisher

