Tips & Ideas for Layering Mosaic Moments Dies
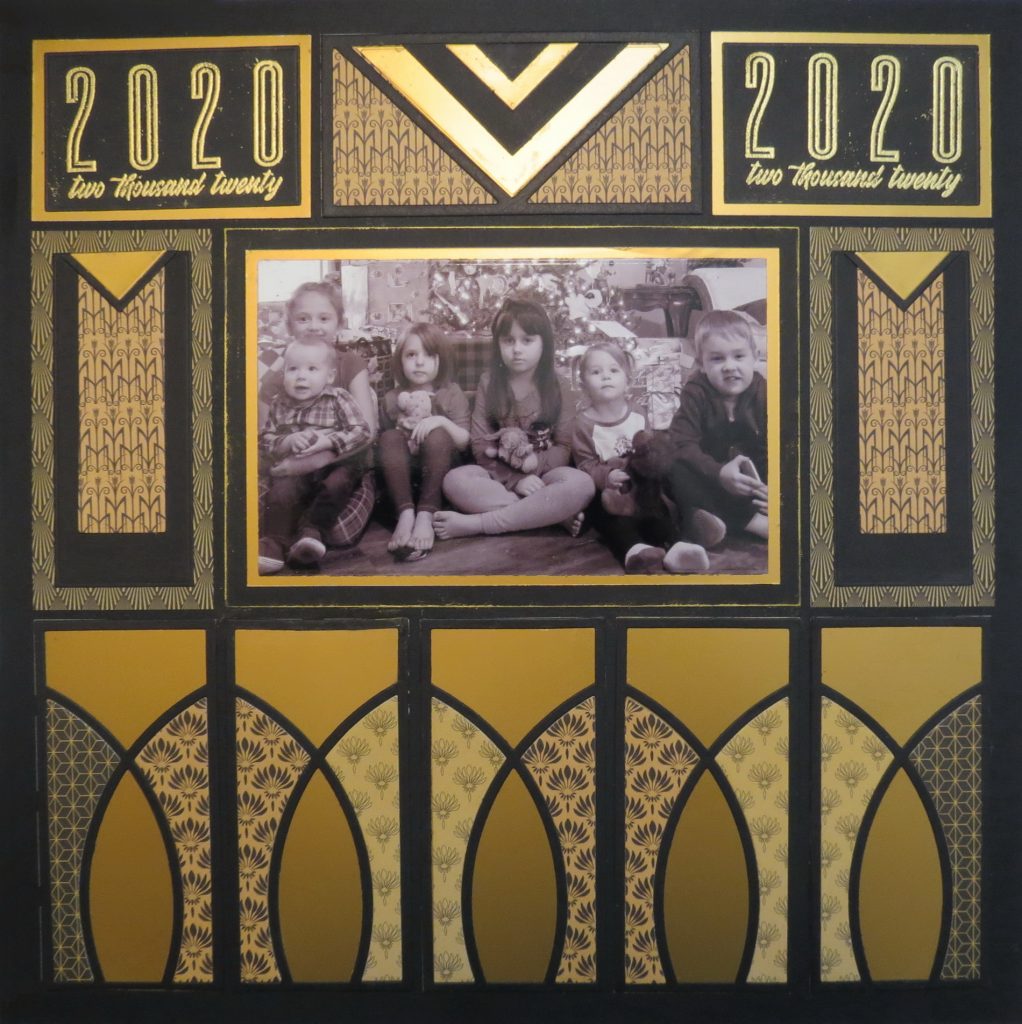
It’s a New Year and a new decade! In the past year, we’ve shown off many ways to use your dies and layering die sets. Today I want to explore a few ideas for layering some of our other Mosaic Moments Dies and to give a nod to the resurgence of Art Deco Styling as we kick off the 20’s in this century!
You may have enjoyed a Retro Roaring Twenties New Year Party this year so I thought it might be nice to see how that might translate into a scrapbook layout. For the past several months I’ve been searching out elements to be able to incorporate papers, stamps and dies into my layouts this year to reflect that nostalgic celebration return to the 1920s in 2020. I discovered a few products I’ll show in this layout.
The first is the Altenew stamp 2020 perfect for a title page for the album for this year. Heat embossed gold image works well with the page and you can expect to see it used additional times throughout the year in different ways.
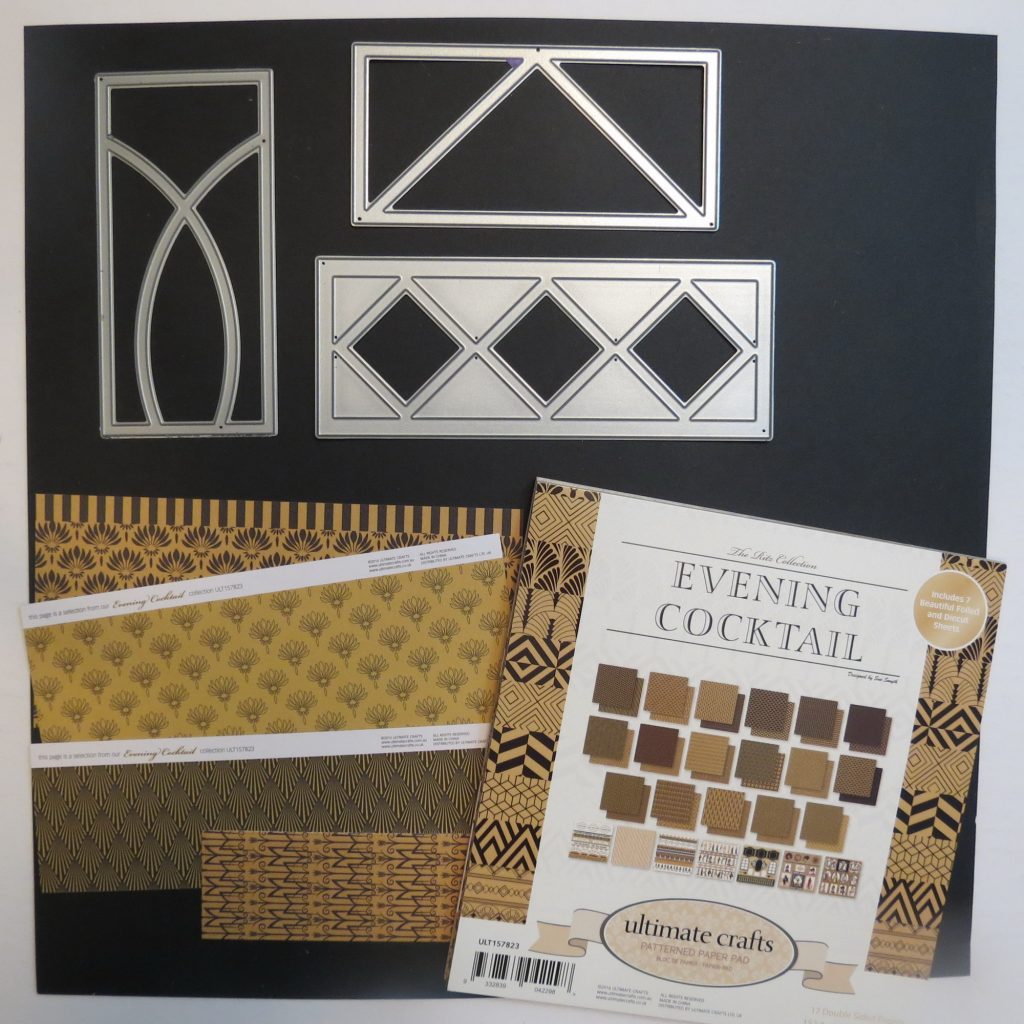
The second is a collection of 6×6 patterned papers by Ultimate Crafts. The Ritz Collection – Evening Cocktail has 17+ sheets of paper, double-sided, no pattern is repeated. It is a huge sampling of options to use.
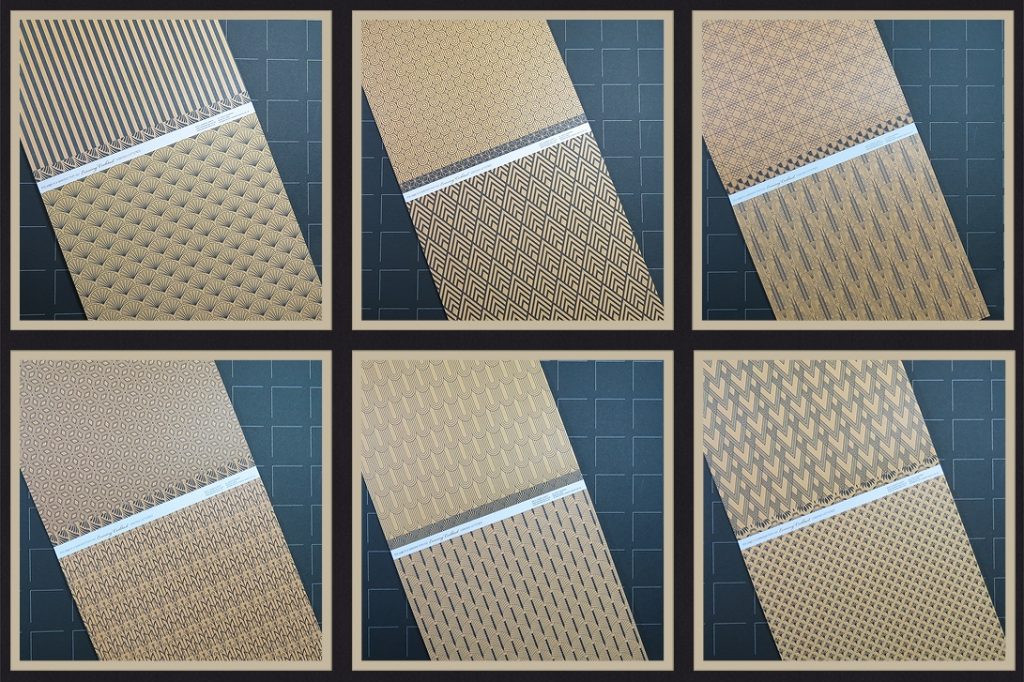
The downside is that no pattern repeats so I might not have been able to use it how I first hoped to, but it challenged me to use several patterns instead. These papers truly inspired me to find how many of our Mosaic Moments dies could fall into the Art Deco style, my plans began with using triangles but the papers nudged me in the direction of the 2×4 from the Clover set and of course even the Basic and Layering Die Sets (B&C) would be great too.
Before I get too far ahead, I really should define what Art Deco Style is if the term is new to you. In the 1920’s Architecture moved from the flowing lines of Art Nouveau to the angular and geometric lines of Art Deco, if you’ve seen the Chrysler Building in New York City, the series of sunbursts that make up the spire are typical design features of Art Deco.
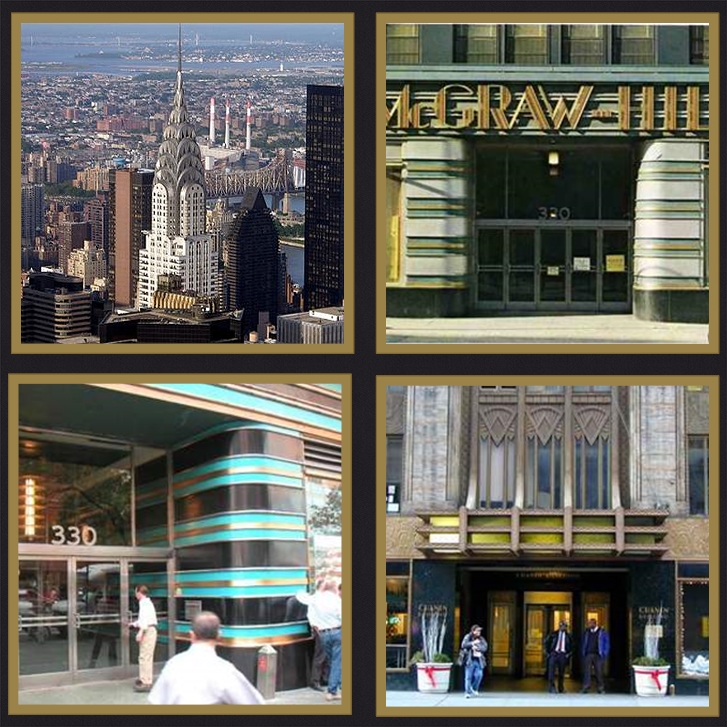
If you research it a bit you will find these characteristics to be considered Art Deco:
• Heavy geometric influences
• Triangular shapes
• Zigzags
• Trapezoidal shapes
• Straight and smooth lines
• Loud, vibrant, and even kitschy colors
• Streamlined and sleek forms
• Sunburst or sunrise motifs
• Chevron patterns
• Stepped forms
• Sweeping curves
So let’s explore that third product, sitting under our noses likely right at your finger-tips…your very own Mosaic Moments Dies! Now, if you look that list over you will see just how many can be created using many of our Mosaic Moments Dies – chevrons, triangles, zigzags, curves, sunbursts and stepped forms.
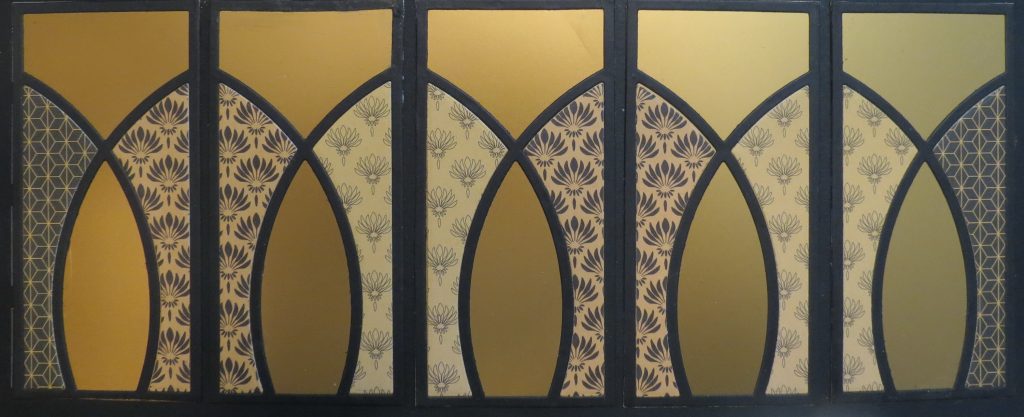
I’m going to begin layering with triangles and also the 2×4 die from the Clover Die Set. One of the pattern papers really reminded me of the 2×4 in the Clover Die Set so I created a border with that die and built from the bottom up on a Black Mosaic Moments Grid Paper. I cut the sections out in black and mounted them on 2×4 gold cardstock. I used the patterned paper to visually join the pieces together by using papers in the outside edges to match creating a peak.
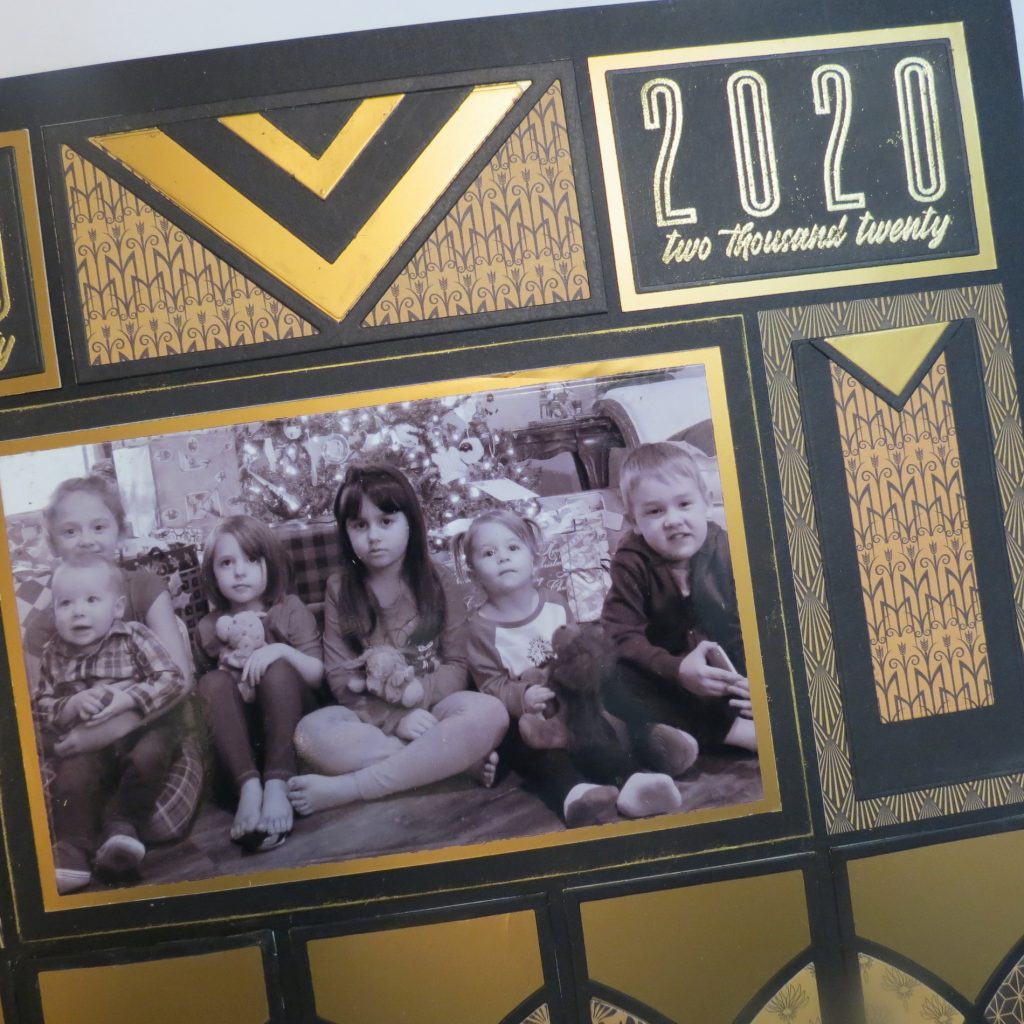
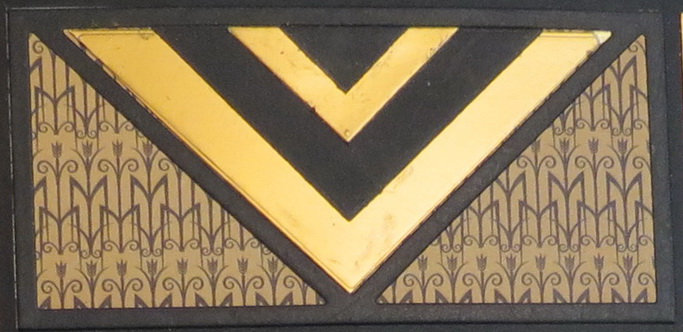
The top row was where I used the 2×4 angles die in black mounted on patterned paper. I cut a second section to get my center triangle in gold. It appears to be the second layer because the die-cut in black frames it giving the appearance of a standalone layer. An outtake from the first die cut in black now becomes the next layer, followed by the triangles from the Triple Diamond Die in Gold and then finishing with black triangles from the corners of the Triple Diamond Die.
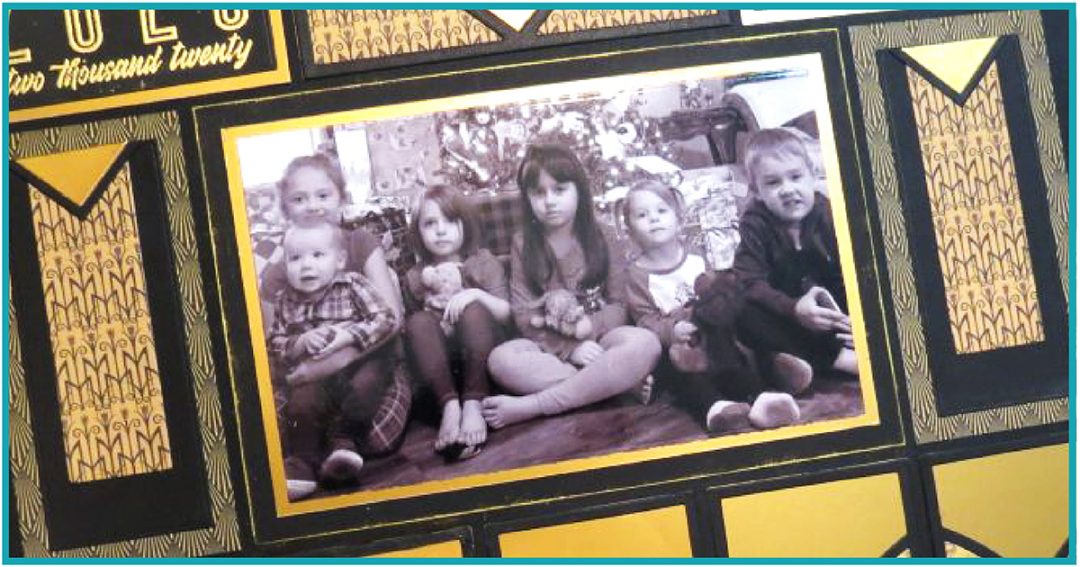
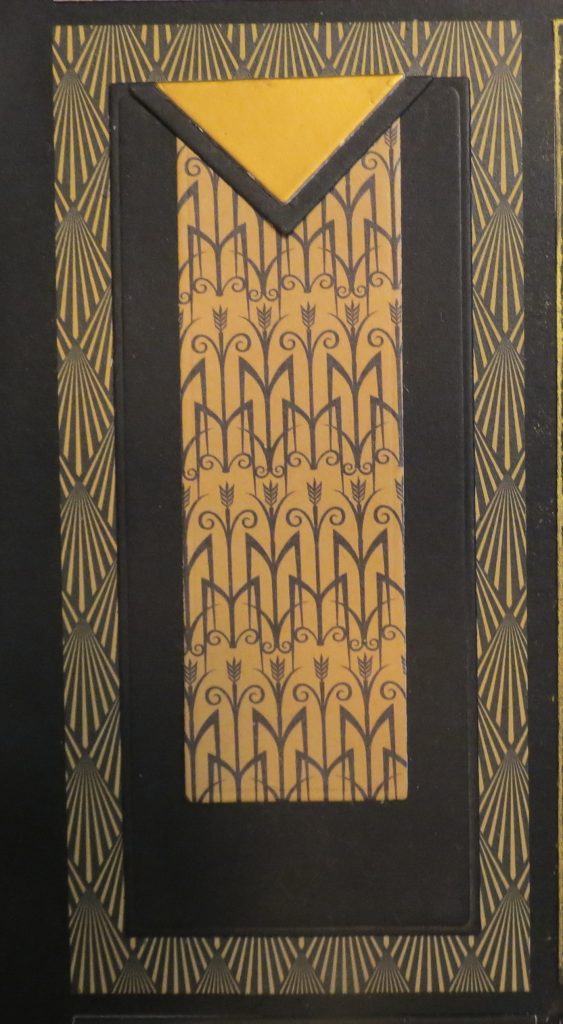
In the Center row, surrounded by all these Art Deco elements I placed my featured photo with the illusion of being triple-layered…when it isn’t. Black card stock is the base 4×6 layer; on its own, it blends into the grid paper. To make it stand out and define the edges a bit more I’ve used gold pigment ink. I’ve also turned my photo to black & white for a classic look that won’t distract with loud colors from the design of the page. The photo is flanked by rectangles using the Basic and Layering Dies. I offset the two smaller layers but still centered them on the 2×4 base papers for a typical setback or stepped look of Art Deco. I topped each with layered triangles.
It had been my intention to use a group photo of the whole family taken on Christmas Day…but I forgot to take one in all the confusion of the day. I did, however, take several of the kids and this one of all of them together. As I was working on printing, cropping and mounting it I became convinced this really was the better choice of photo to represent not just a new year, but a new decade. The youngest in the picture has just turned one year old and the oldest will be eight in about 5 weeks. When this decade comes to a close they will range between 11 and nearly 18, they will grow up in this decade and these amazing little people will be so much more than they are at this moment in time. I remember vividly, my own kids at this very same age range and what we were all going through at the time, and it seems like it’s too soon for this to be just over the horizon. Life is incredibly short.
One last tip as we begin a new decade…make your memories and then, get them all into a layout and be sure to Tell Your Story so those who come after will know who you are and what was important to you. It’s a good time to start, from this point and move forward!
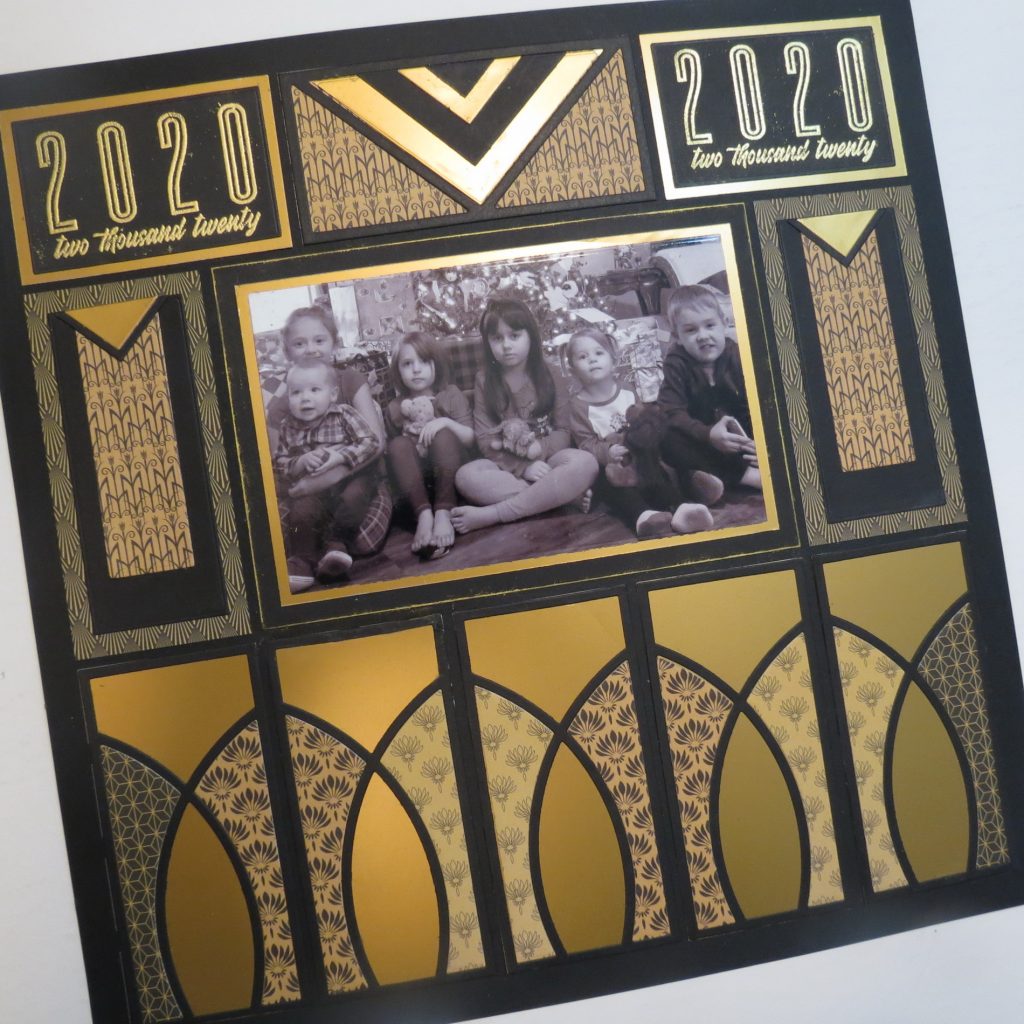
Be sure to take a look at your dies and see which ones you can create layers to build your own design or reflect those Roaring Twenties!
SUPPLIES
- Mosaic Moments 12 x 12 Grid Paper Black
- Mosaic Moments Dies including the Die Sets B & C and Layering Dies BL & CL; Clover Set 2×4, Angles 2×4, Triple Diamond Die
- Cardstock in black and gold
- Patterned Paper from Ultimate Crafts – The Ritz Collection – Evening Cocktail (available from Simon Says Stamp)
- Gold Ink for edging
- Stamp: 2020 from Altenew (available from Altenew, Simon Says Stamp and Scrapbook-dot-com)
Andrea Fisher

