
You have seen Mosaic Moments® page kits, but have you seen what you can do with them? Scroll down for 9 ways to turn page kits into unique layouts.
(All of these examples feature past kits, but you can apply the same tips to any of the Mosaic Moments® page kits.)
Matting Photos
1. Use the Layering Dies
Original Kit
Photos Added
The quickest, and easiest way to create a layout is to simply cut your photos using the Basic Layering Dies Set or the Layering Bundle Dies Set.
This gives you a beautiful mat behind each photo and takes about 10 minutes to complete.
2. Layer Mats
Original Kit
Photos & Extra Mats Added
For more pizazz, add a bit of cardstock and create a second mat for a few of the photos.
Easy Ways to Fit in Photos
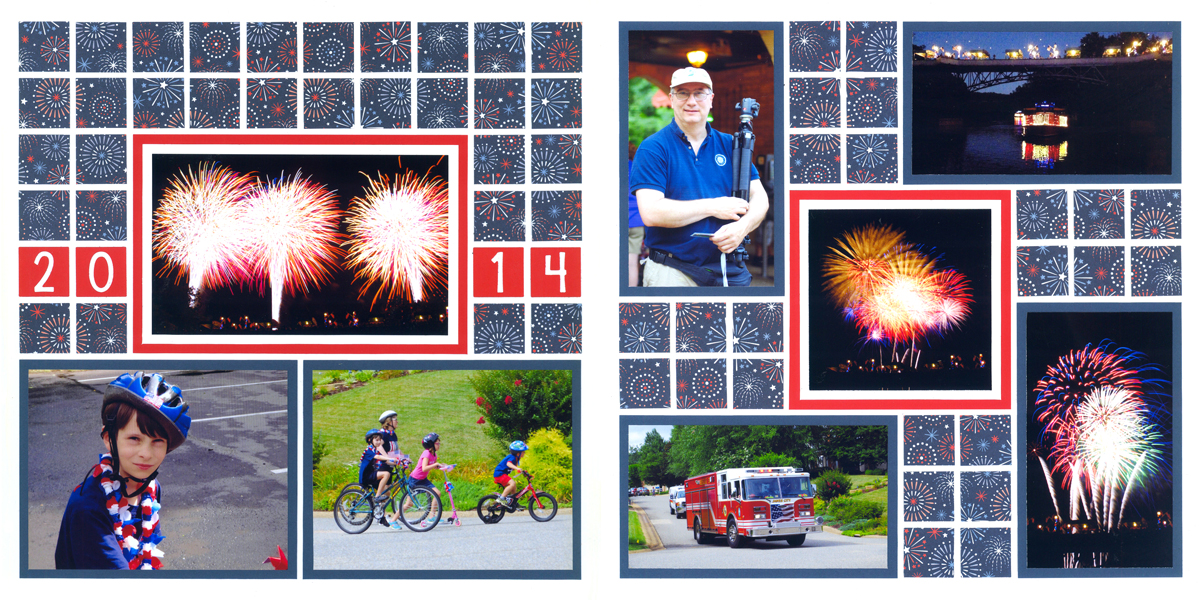
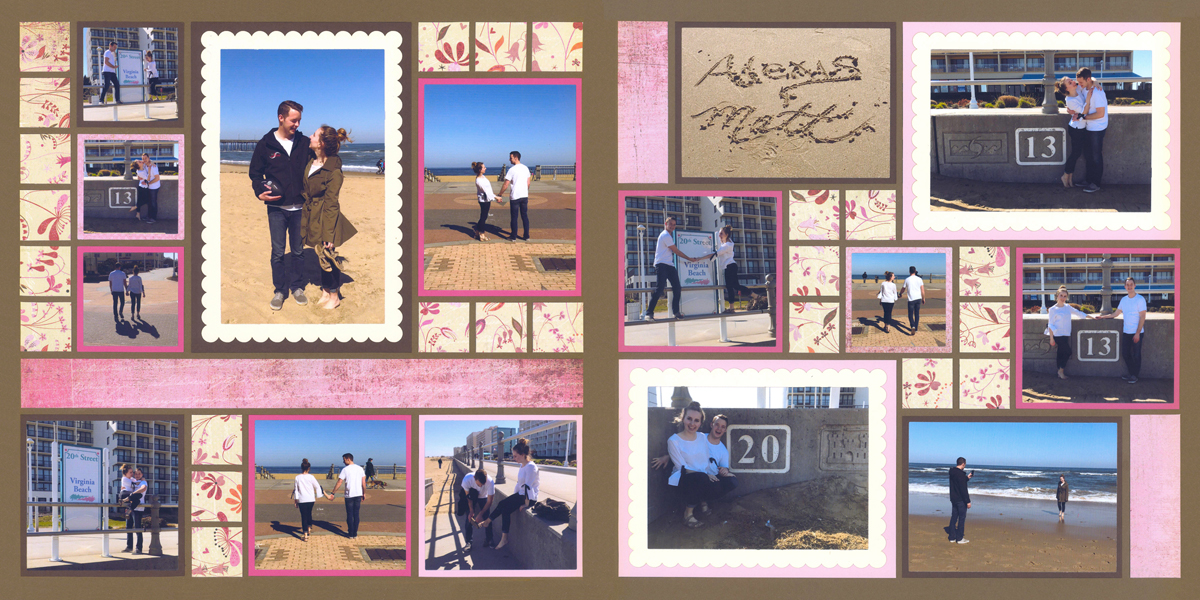
3. Place Photos Over Multiple Blocks
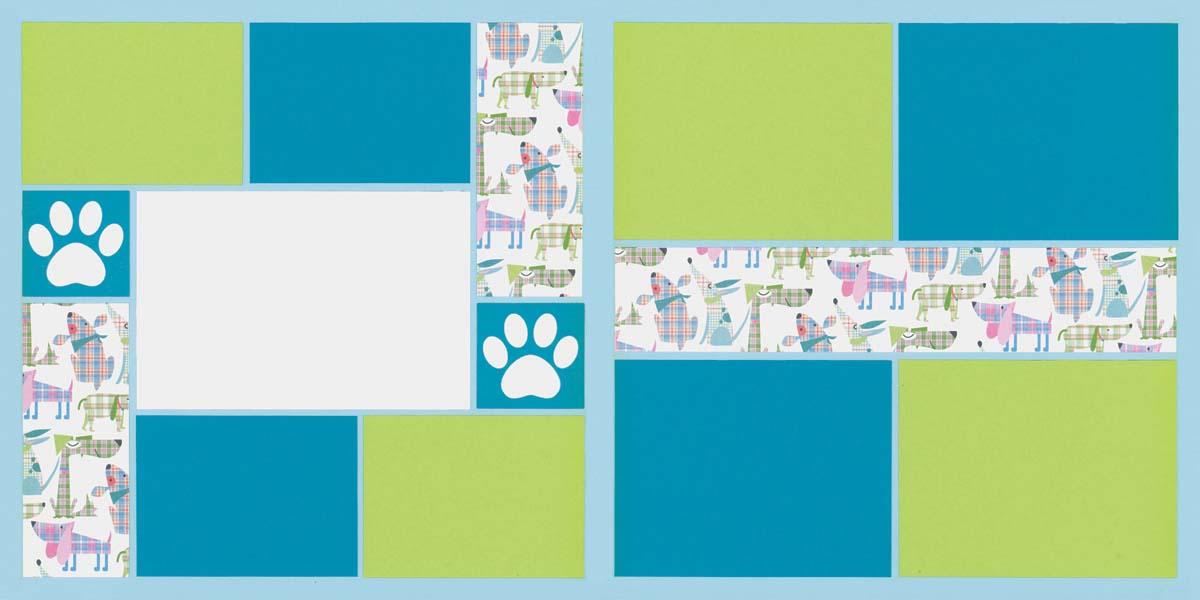
Original Kit
Photos Added
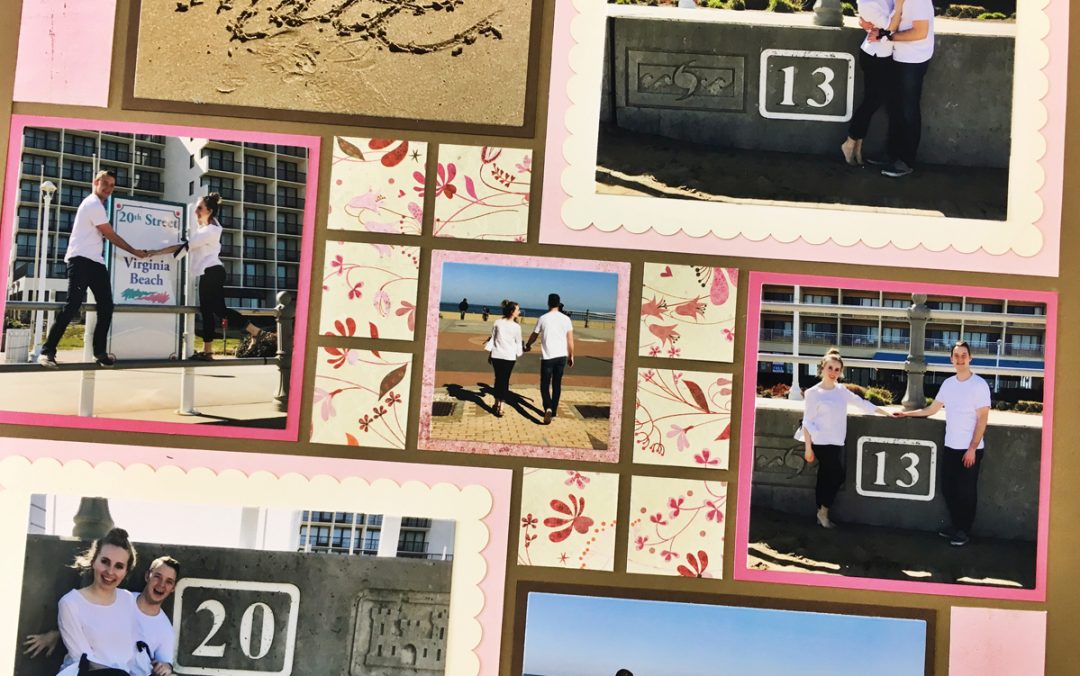
When your photos are a little bigger than the space allowed, cut them to overlap two (or more) spaces.
Here, two photos of the left side overlap two mat spaces. On the right side, another photo overlaps the decorative strip at the top to make it fit.
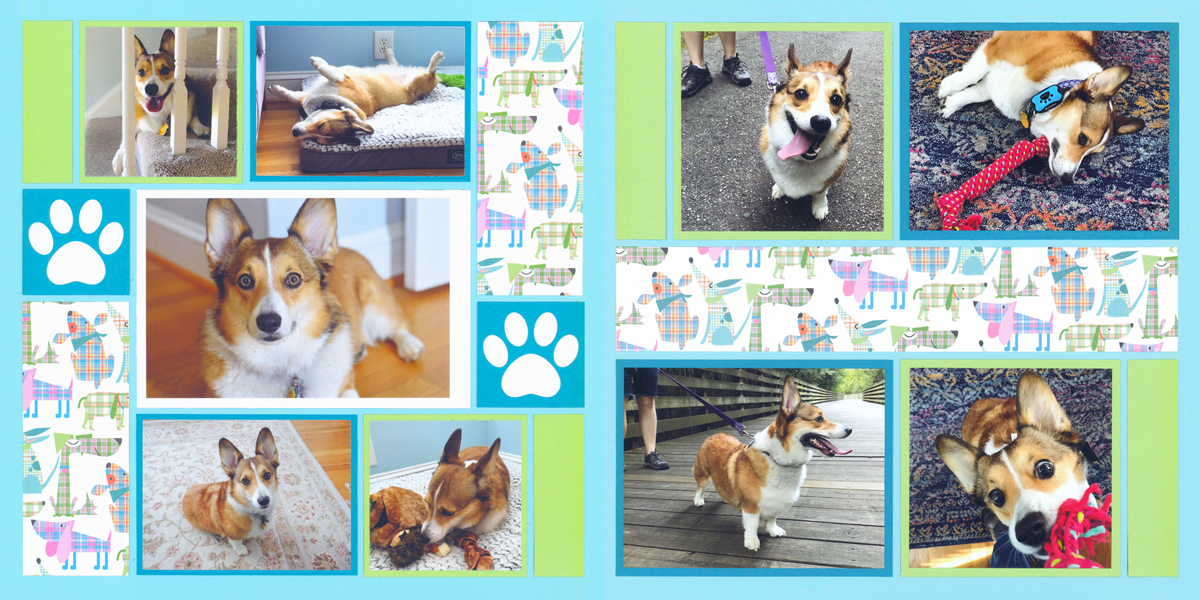
4. Take Out Mats for Extra Photo Space
Original Kit
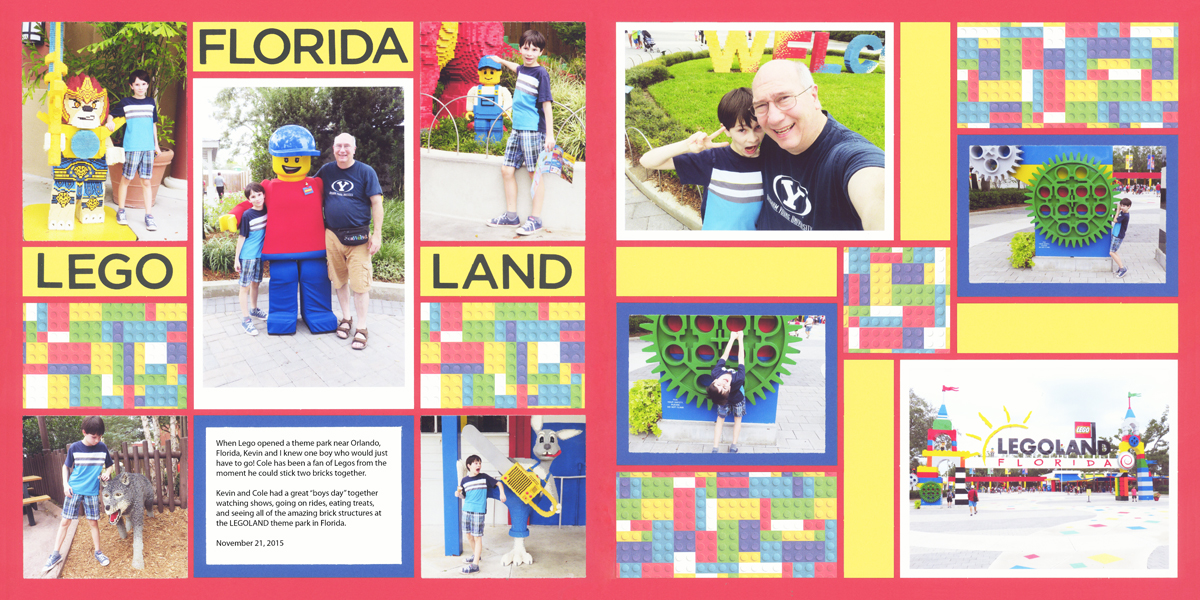
Mats Taken Out (On Left Page)
Remember, you do not have to use the mats.
In this example, cutting the photos to allow for a mat would mean chopping off feet or heads.
Instead, save the mats for a future project and cut the photos to fit the Grid Paper.
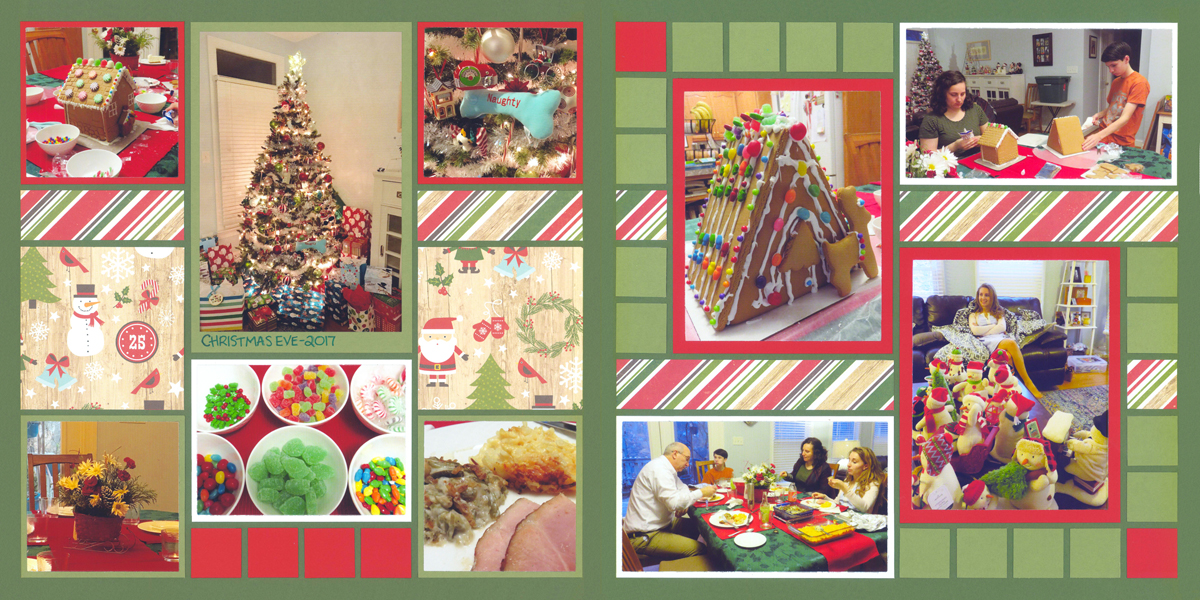
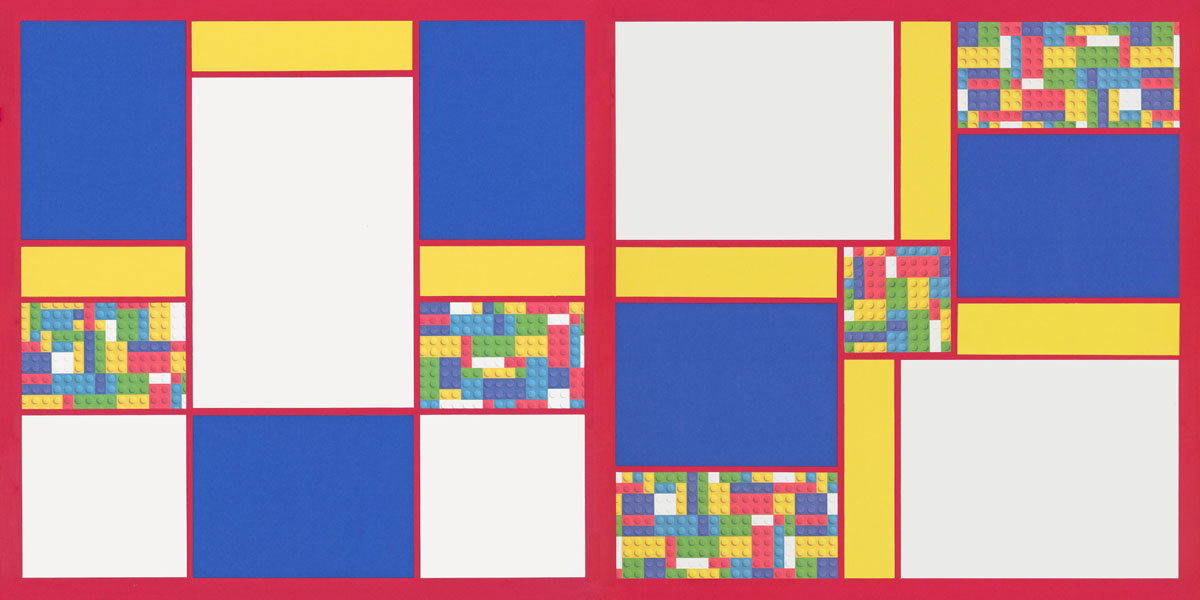
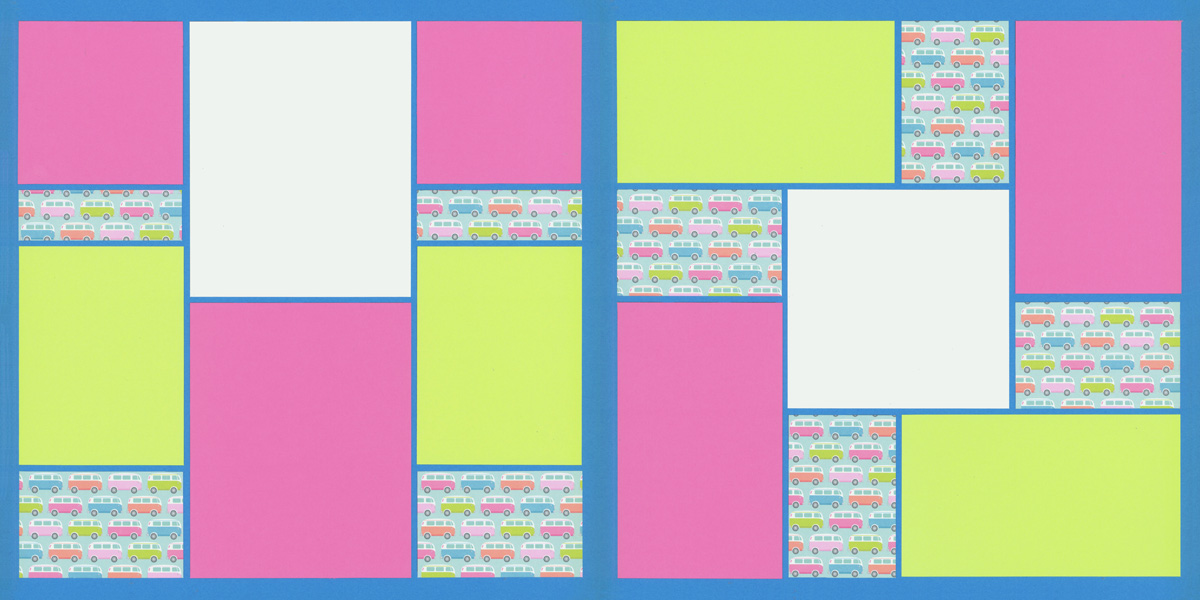
5. Cut Photos to Fill Multiple Blocks
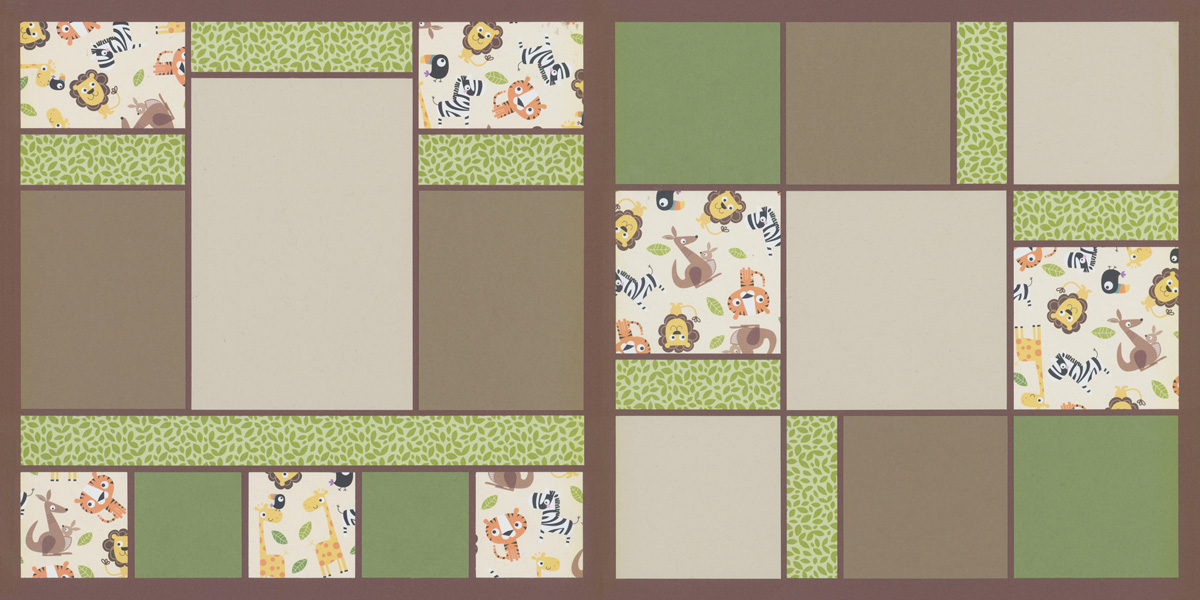
Original Kit
Photos Added
You can also cut your photos to fit on multiple blocks.
Notice the right side of the layout above. Photos on the top left and the bottom right were each cut into two pieces and then cut to fit the mats.
It's a unique effect that really adds to the layout.
Simple Ways to Change the Design
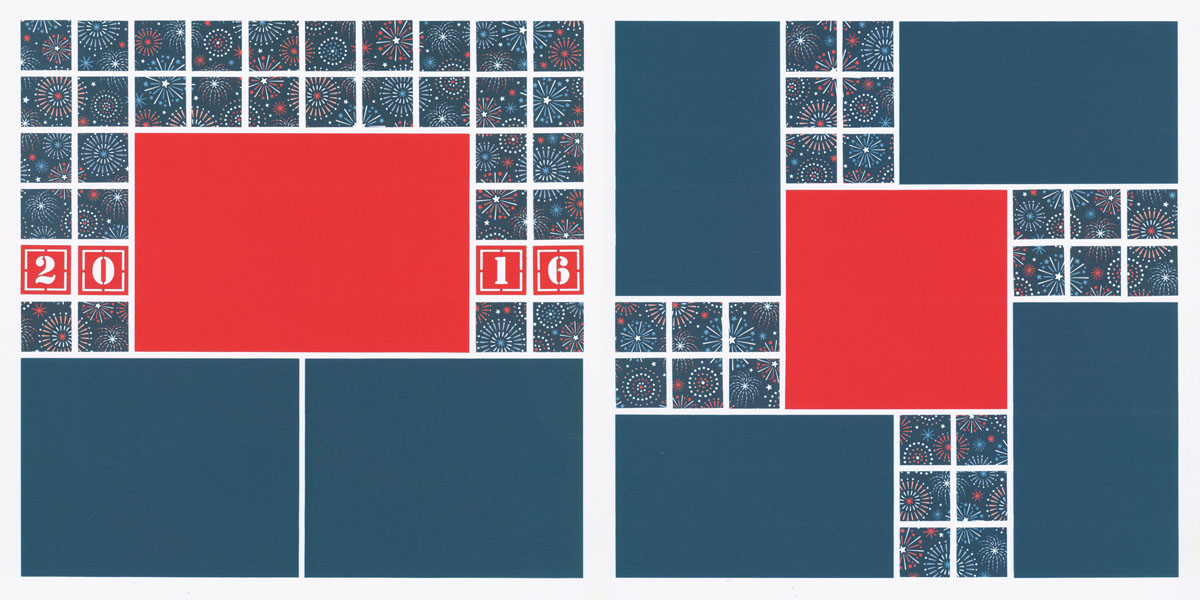
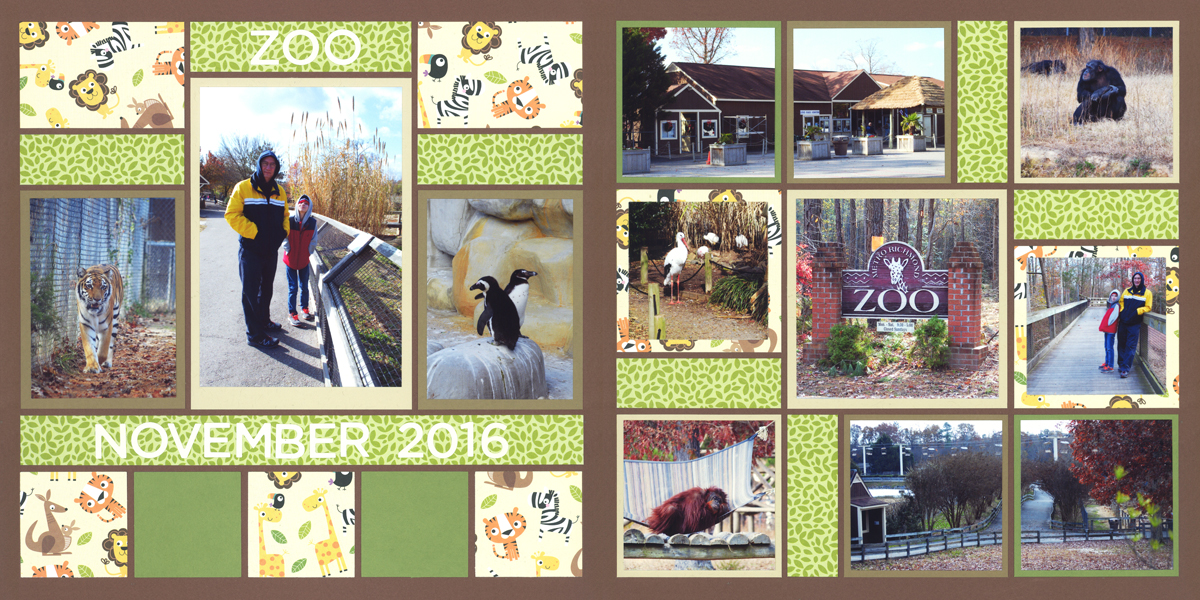
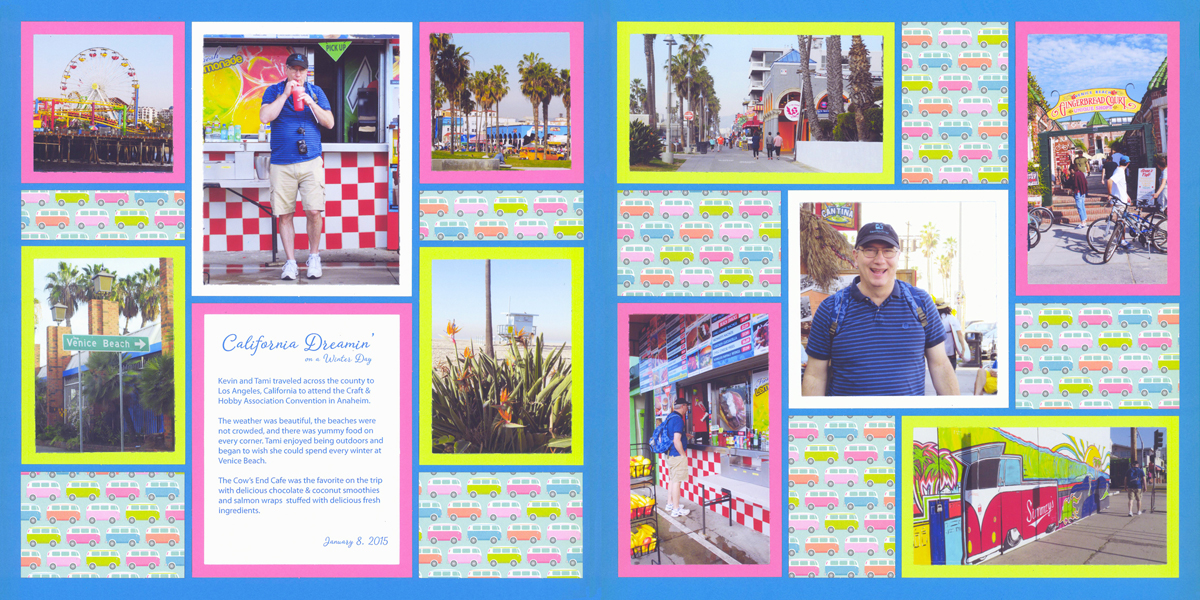
6. Rotate Layout to Change Photo Orientation
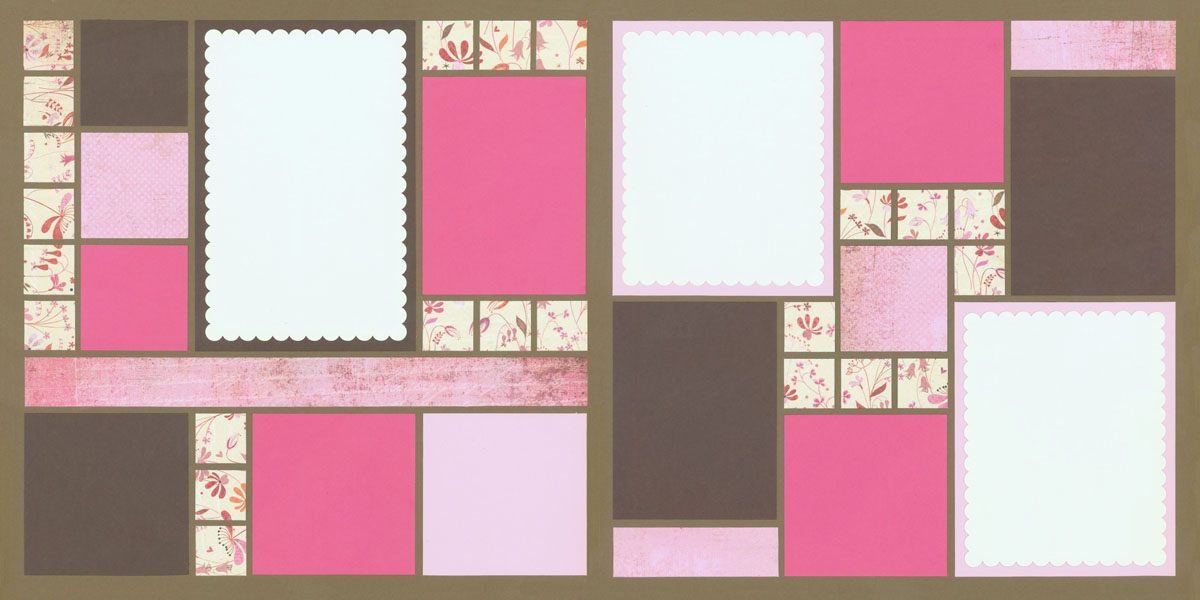
Original Kit
Right Page Rotated to Fit Horizontal Photos
We often find ourselves with photos that do not fit in the space provided.
Here, the right page was rotated so there is space for several horizontal photos. Great trick!
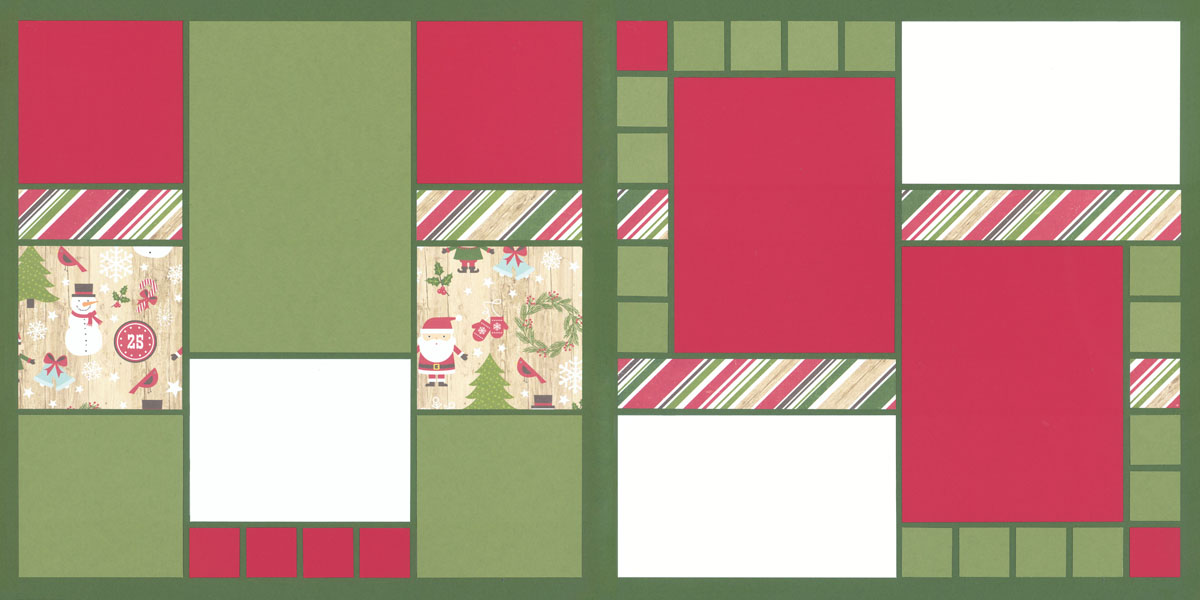
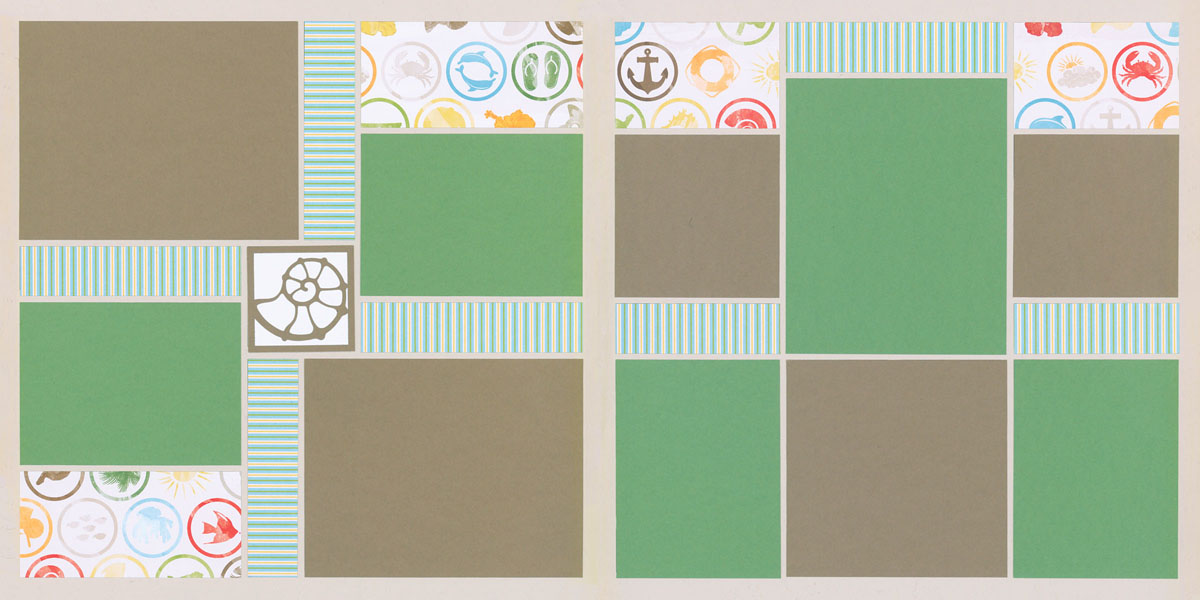
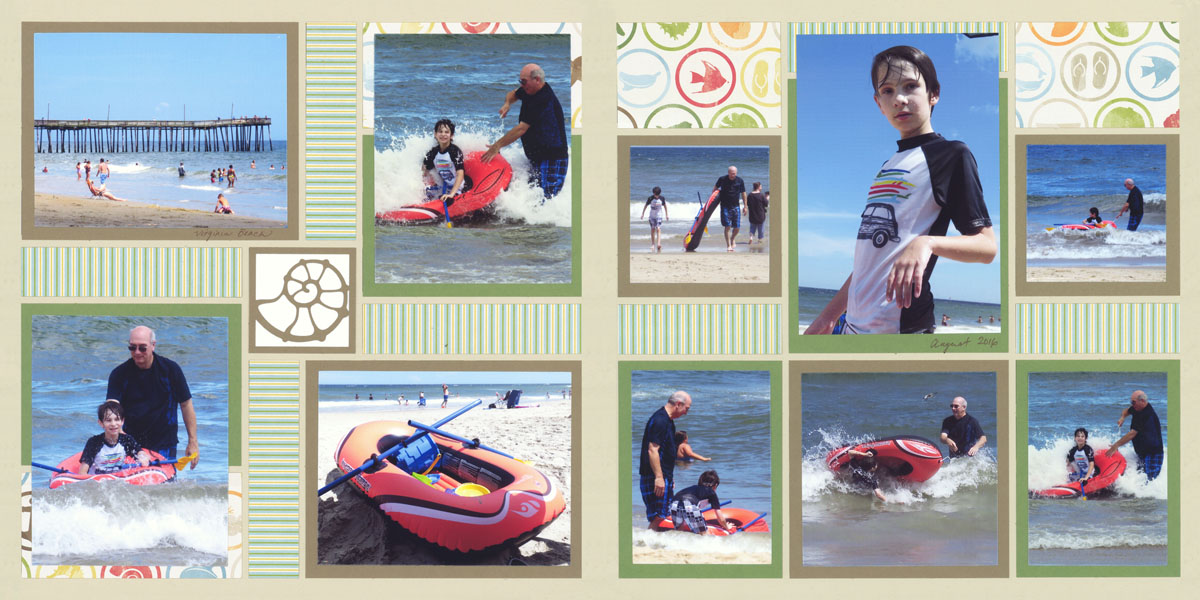
7. Trim Mats
Original Kit
Green Mats Trimmed Into Squares & Strips
What happens when your photos aren't large enough?
Try using the Mosaic Moments® Cutting Mat to trim the mats.
Here, some of the mats were cut to allow for a square photo and a 1" strip of cardstock. Amazing!
Adding Fillers
8. Add a Journaling Block
Original Kit
Photos & Journaling Added
You will notice that Mosaic Moments® Page Kits do not have designated places for journaling. But that is not a problem.
Simply select one of the photo mats and add journaling in place of a photo. You can even type it on the computer if you wish and use the dies to cut it to fit.
9. Add Dies or Embellishments

Original Kit
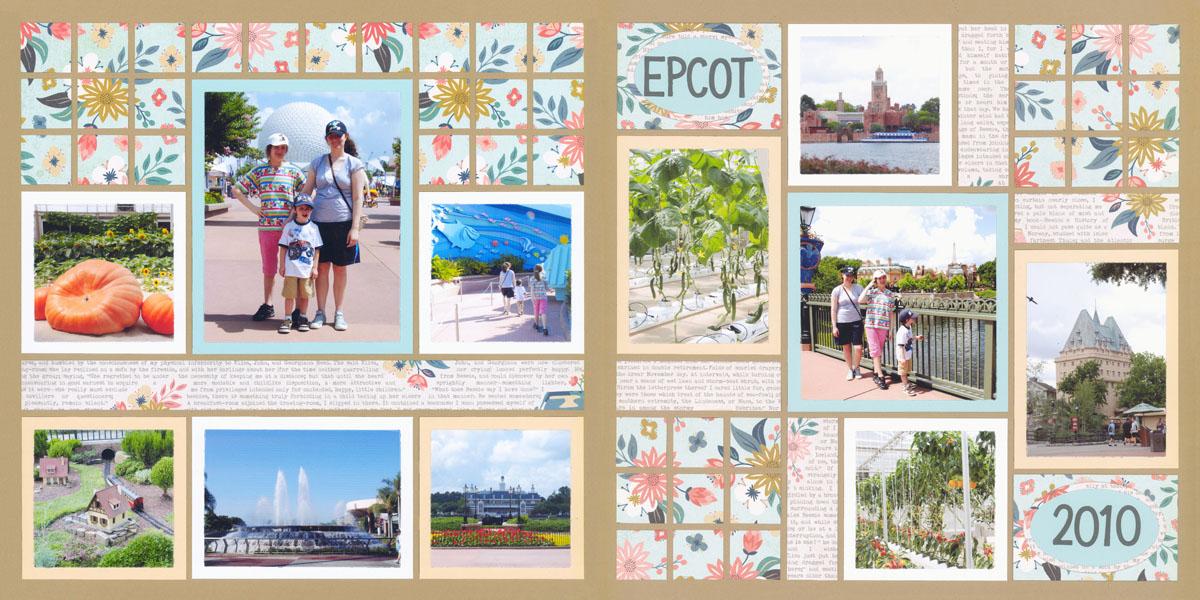
Photos & Die Cuts Added
If you do not have enough photos to fit, you can always create title and date boxes with additional dies.
Here, ovals and the words Epcot and 2010 were added to fill in the extra space.