

Article By Candy Spiegel
Holidays are a wonderful time for capturing beautiful moments. Everything is decorated, holiday lights and fires help to light up the evenings, and, there could be a beautiful winter wonderland outdoors. But, getting that perfect shot can be a challenge. Here are some tips to help you get the best photos this holiday season, as well as some layouts featuring those amazing pictures.
Carry a Camera
Be sure to always have a camera at hand for whatever moments the holidays bring. That might simply mean keeping your phone charged and within reach, or it may mean carrying a small camera bag with you everywhere you go. Keep your tripod and other equipment that doesn’t mind the cold in your vehicle during the holiday season, so you are ready for anything.
You may drop in on a friend in the midst of a baking session, see an amazing outdoor display on the road, or pick up the kids from the sitters only to discover they have been playing dress up. Whatever happens, if your camera is with you, you can quickly capture the moment.
Be Ready
Know the Camera
Take a few minutes to read the page or two in your camera’s instruction manual about built-in settings. Many cameras offer settings for low-light conditions, like while lighting the menorah or holiday candles, or for taking pictures at an indoor party. Likewise, some have settings to compensate for the glare of the snow or other challenging scenes. Learn which ones will come in handy and be prepared to use them.
If you are using a DSLR camera, do a bit of research and brush up on some of the manual settings on your camera
And, if you are relying on your phone to photograph, do a bit of online research. Many have the option to click on what you want in focus (just click on the part of the picture to focus on) and to adjust the lighting when taking the photo (this often comes up on the side or bottom when you click on the screen and slides to make the photo darker or lighter). Learn how to turn off the flash or take motion shots, too. Newer models have a portrait mode and night shot settings you may find useful, as well.
Regardless of the type of camera, take some practice photos and download them to your computer so you can see how the really look. Many times they will look fine on the screen or display, but will come out too dark or blurry. Practice and write down the working formula so you are ready when it matters.
Pay Attention to the Lighting
Tip: If possible make sure to take your Christmas day photos in natural lighting

Turn Off the Flash
Photo taken with Flash
Snap the Details
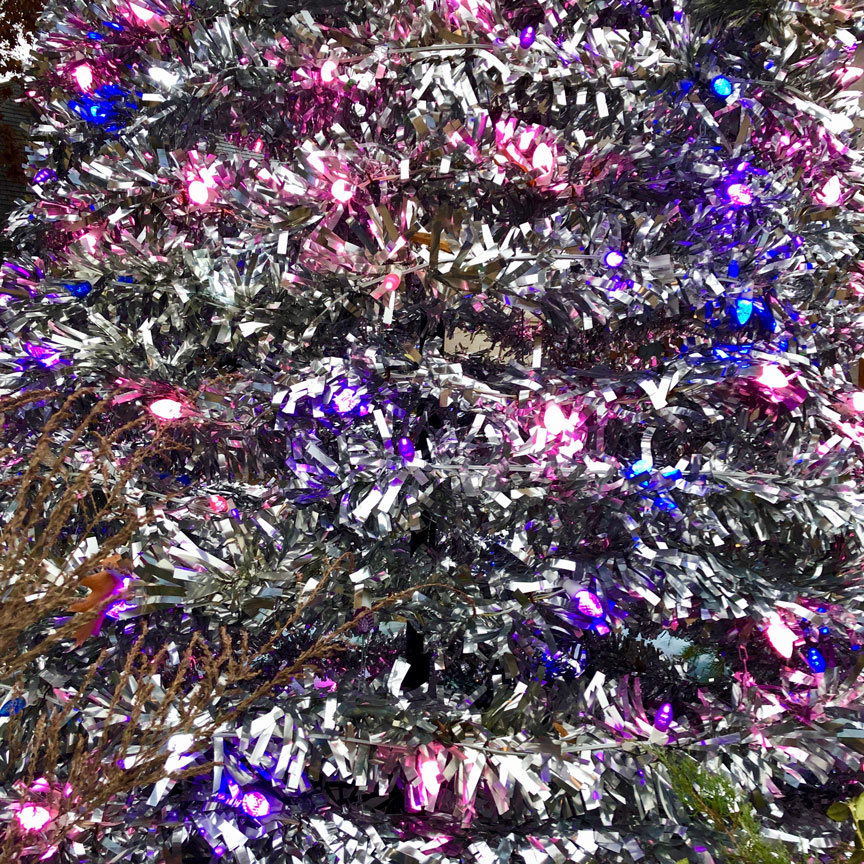
Christmas Lights at Daytime
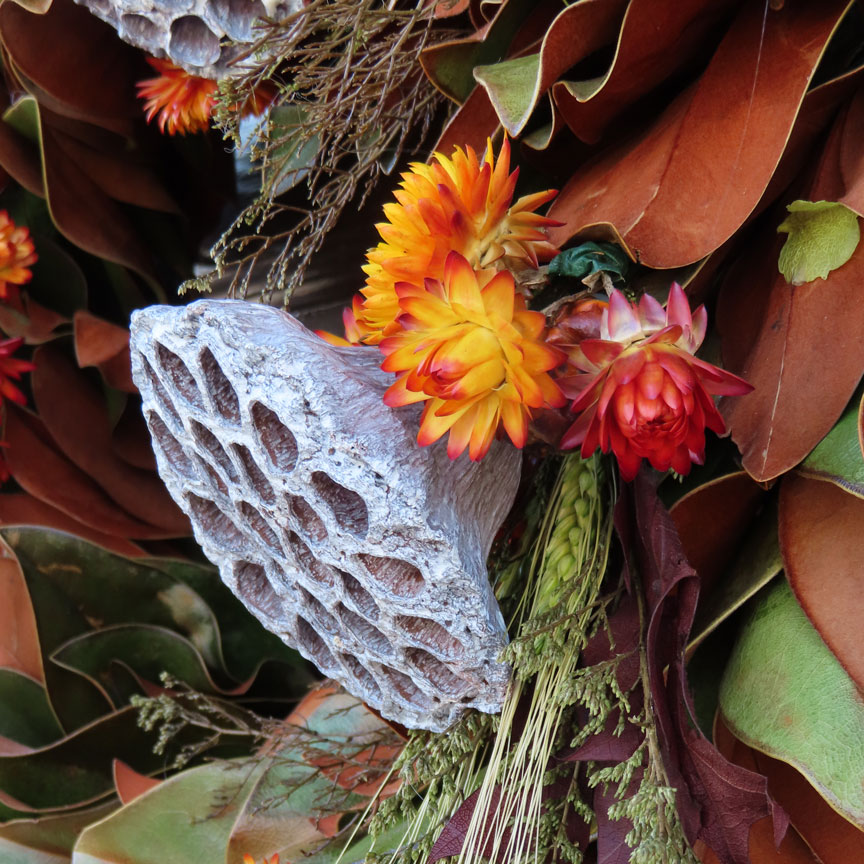
Close up of Wreath

Christmas Cookies

Ornaments on a Tree
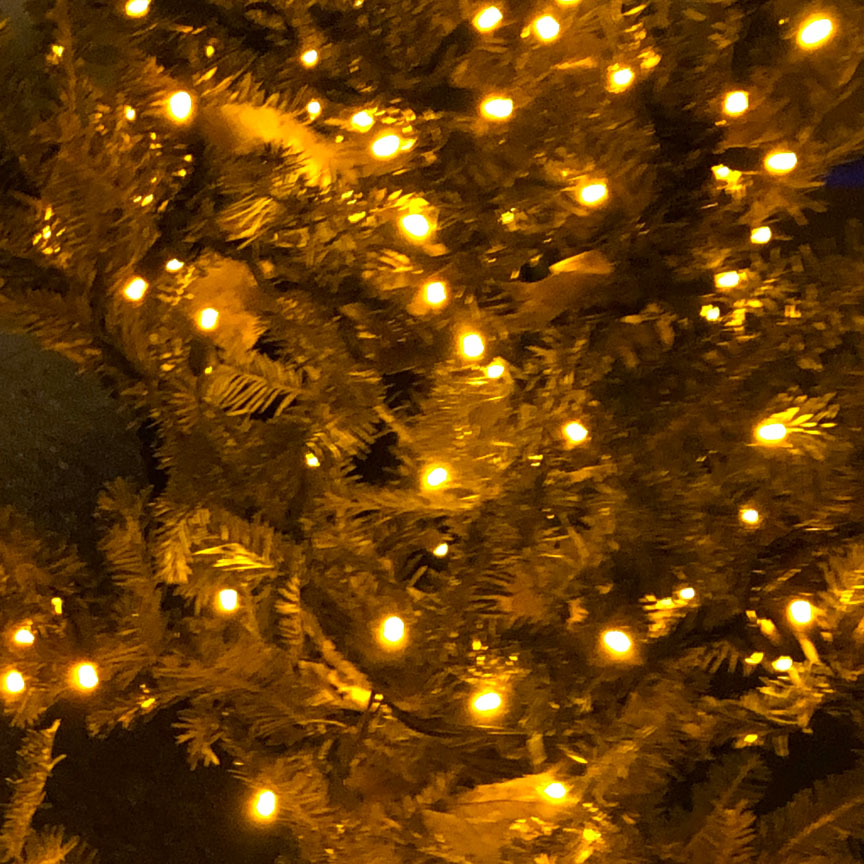
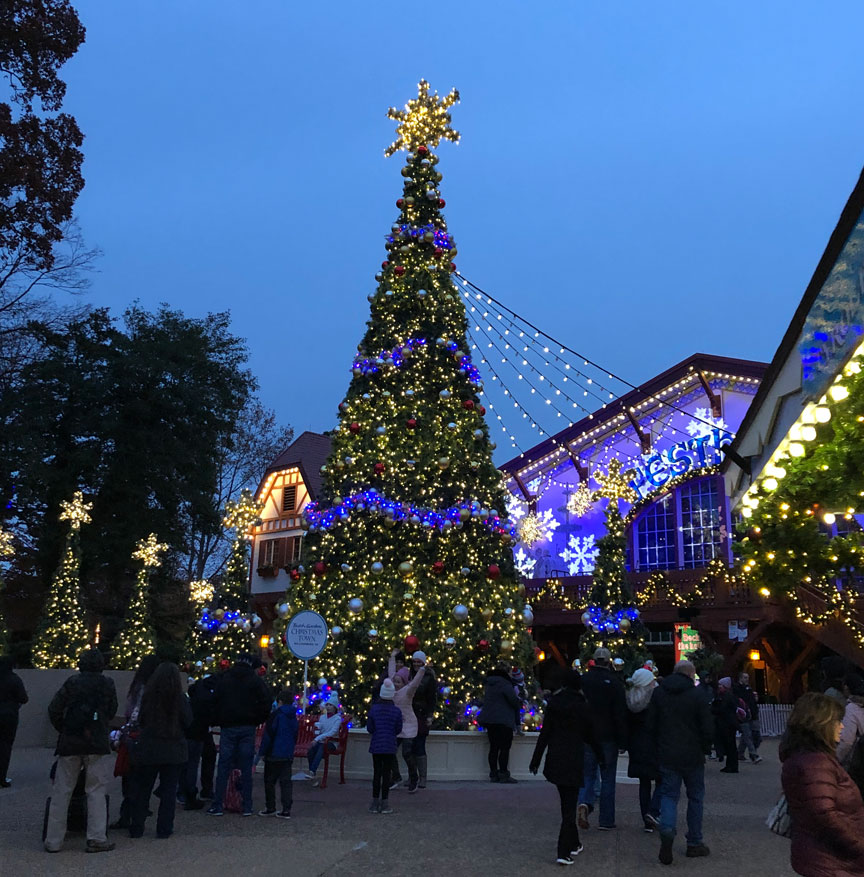
Christmas Lights after Dark

Poinsettias