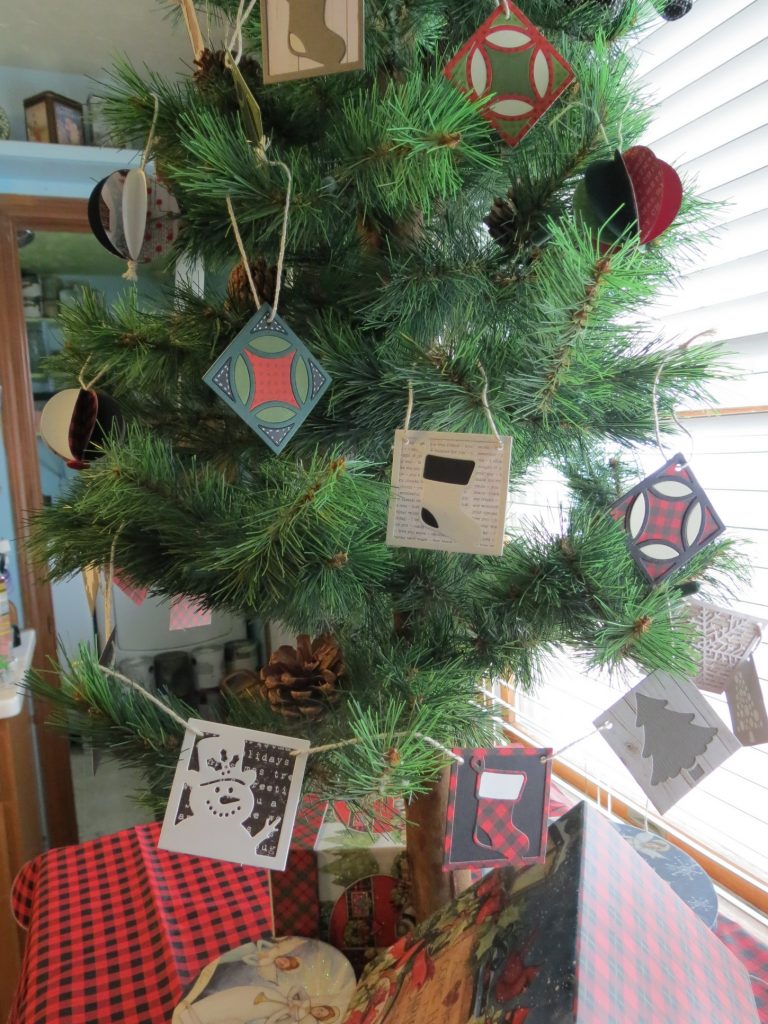
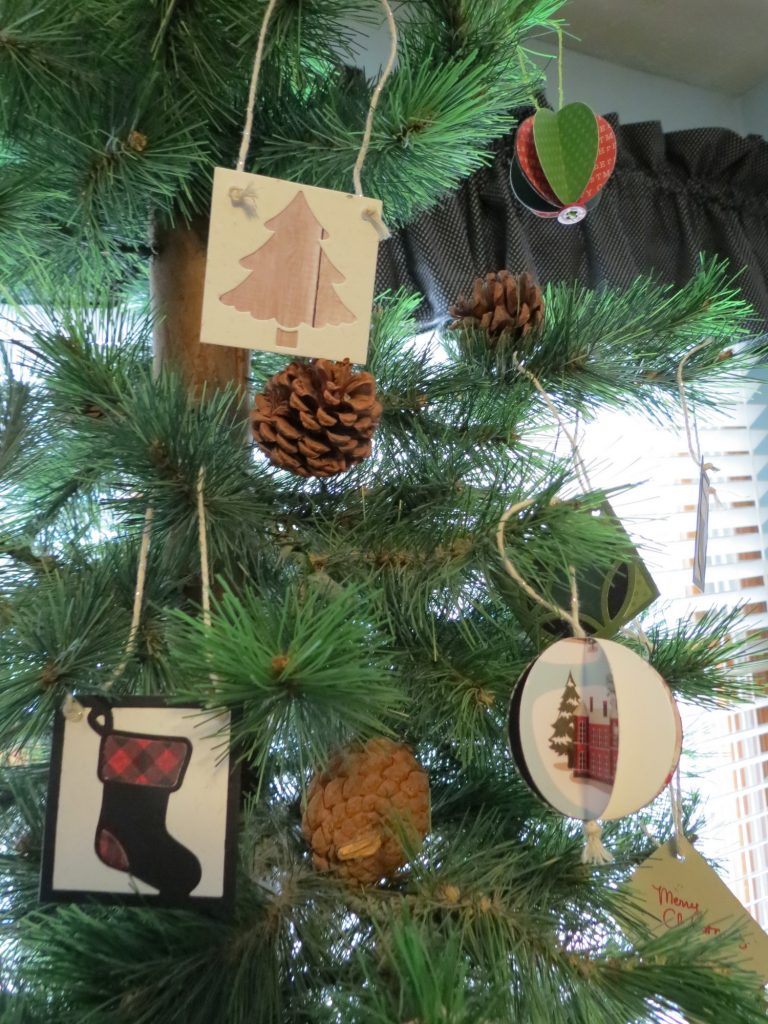
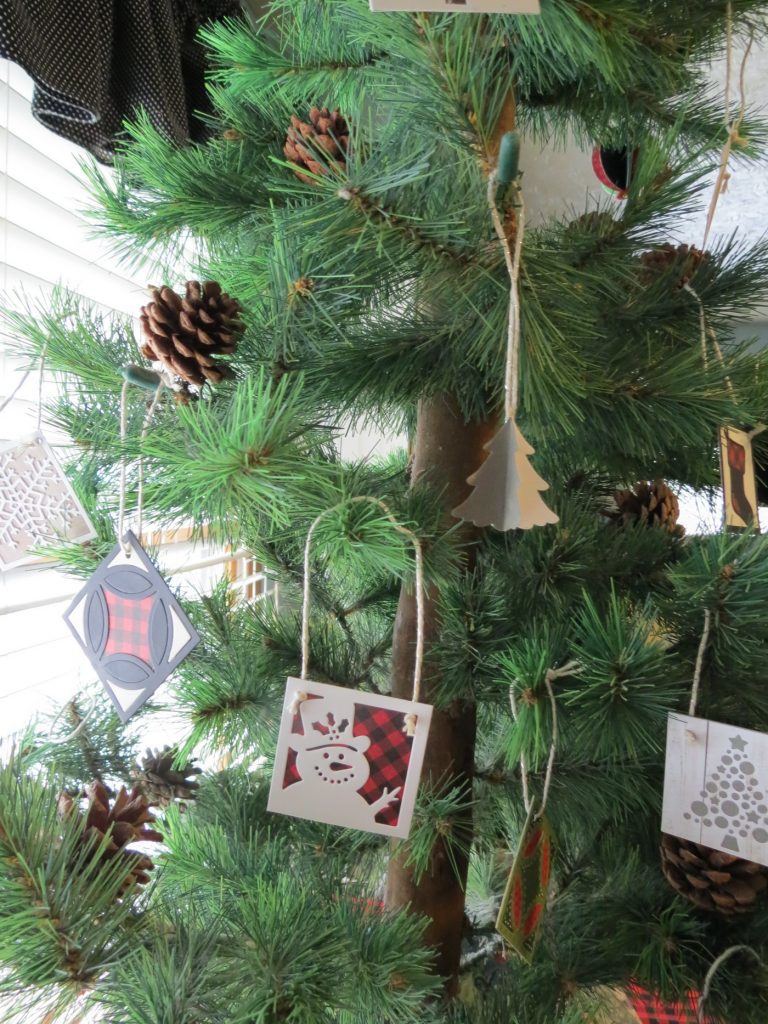
I’m featuring some of the various Mosaic Moments Christmas dies that can be used in your Christmas layouts but I’m going to do something outside of the box to take the dies off the grid! It’s time to dress things up with a few ornaments!
With Christmas only days away now, you may find yourself in need of a few last minute gifts or even a few new ornaments in the latest trendy color schemes.
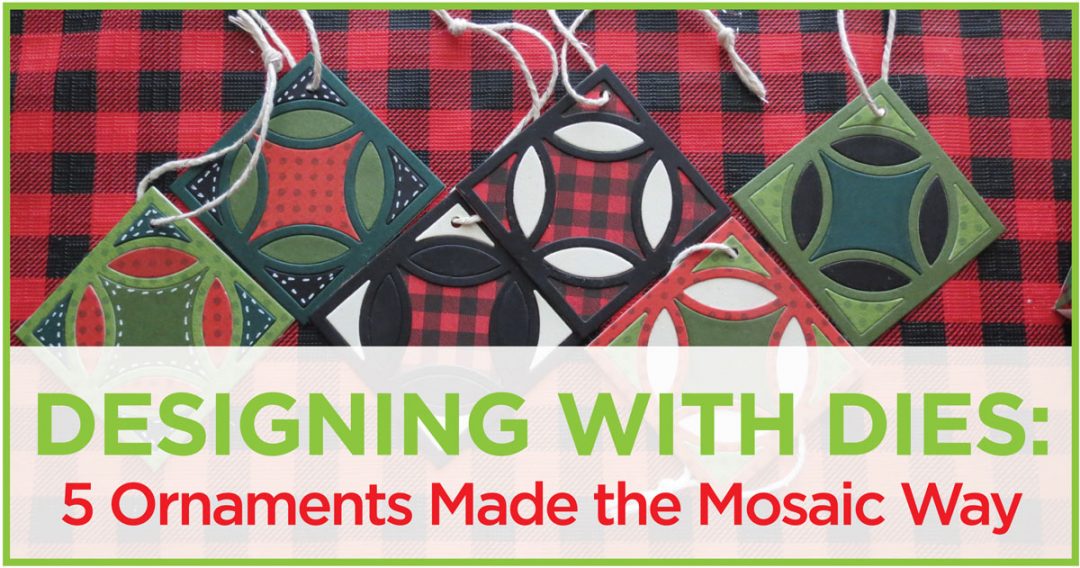
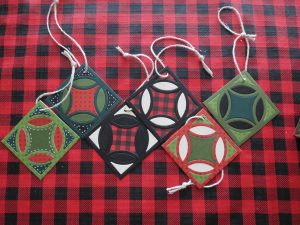
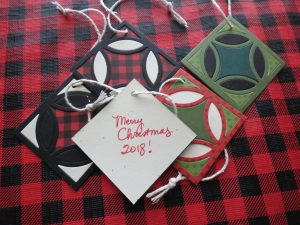
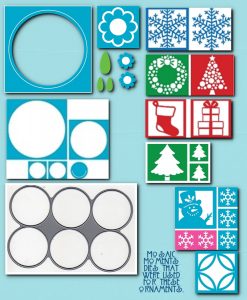
- The first die isn’t even a Christmas die, but the results can be spectacular depending on how elaborate you want to take it. The Diamond Ring Die is a basic design that can go from rustic to glam just by the choices of papers you use.
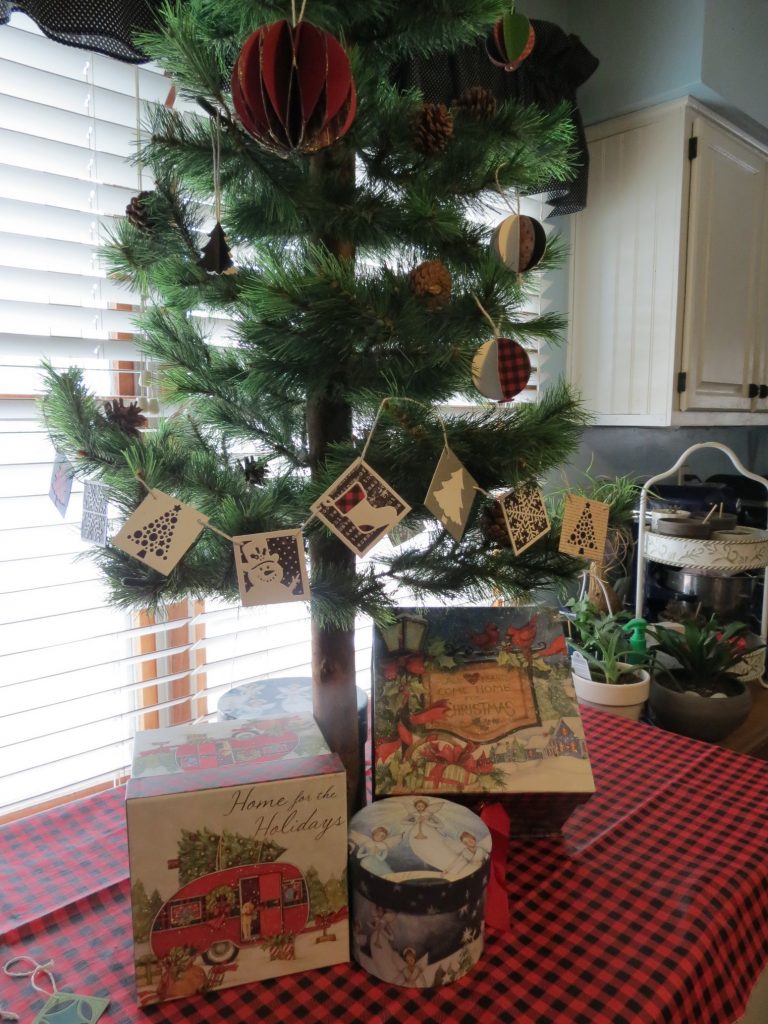
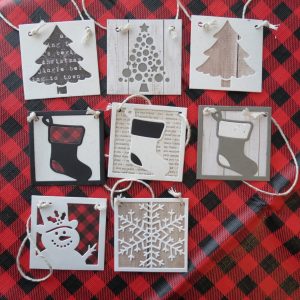
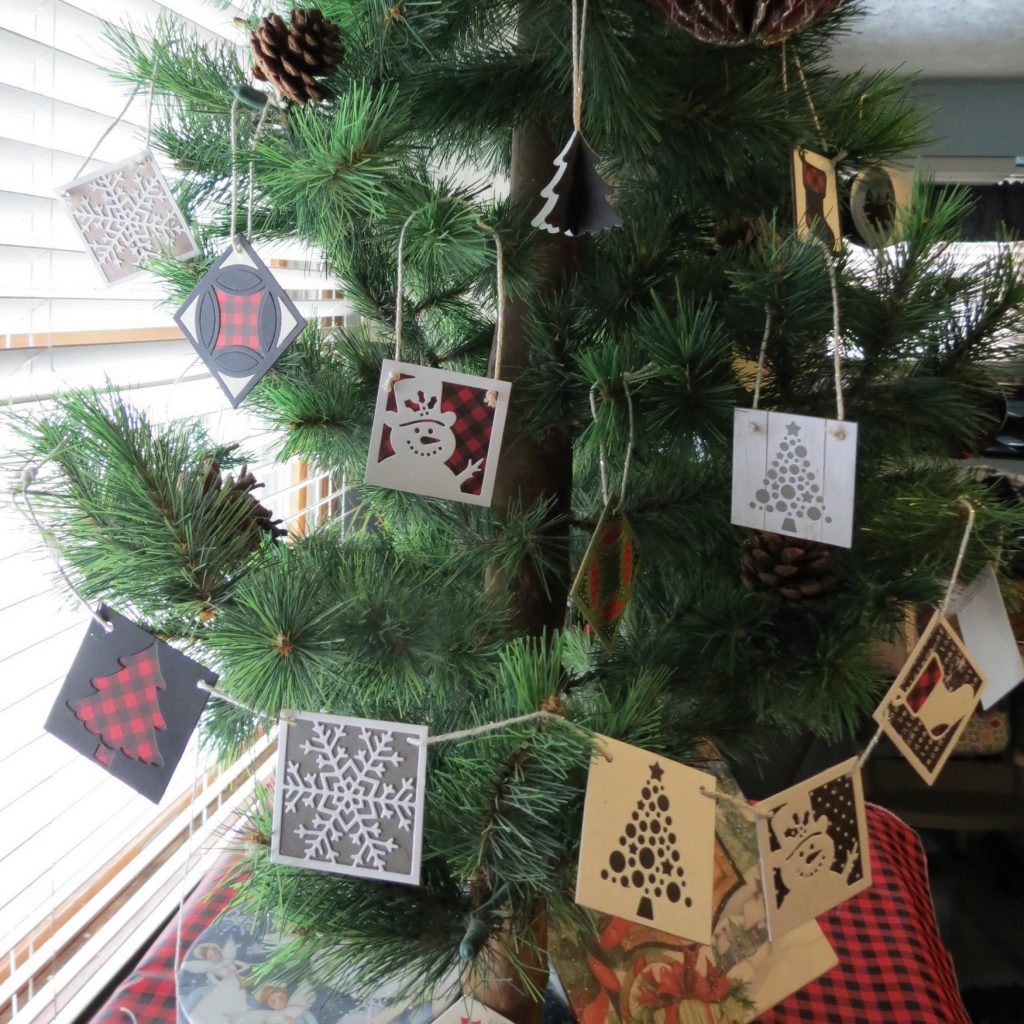
- The second application is with these 2×2 dies:
- Snowflake set 1,
- the tree from the Deck the Halls set;
- the Fir Tree;
- the Stocking from the Stocking Stuffers Set;
- Mr. Snow from the Mr. Snow and Flakes set.
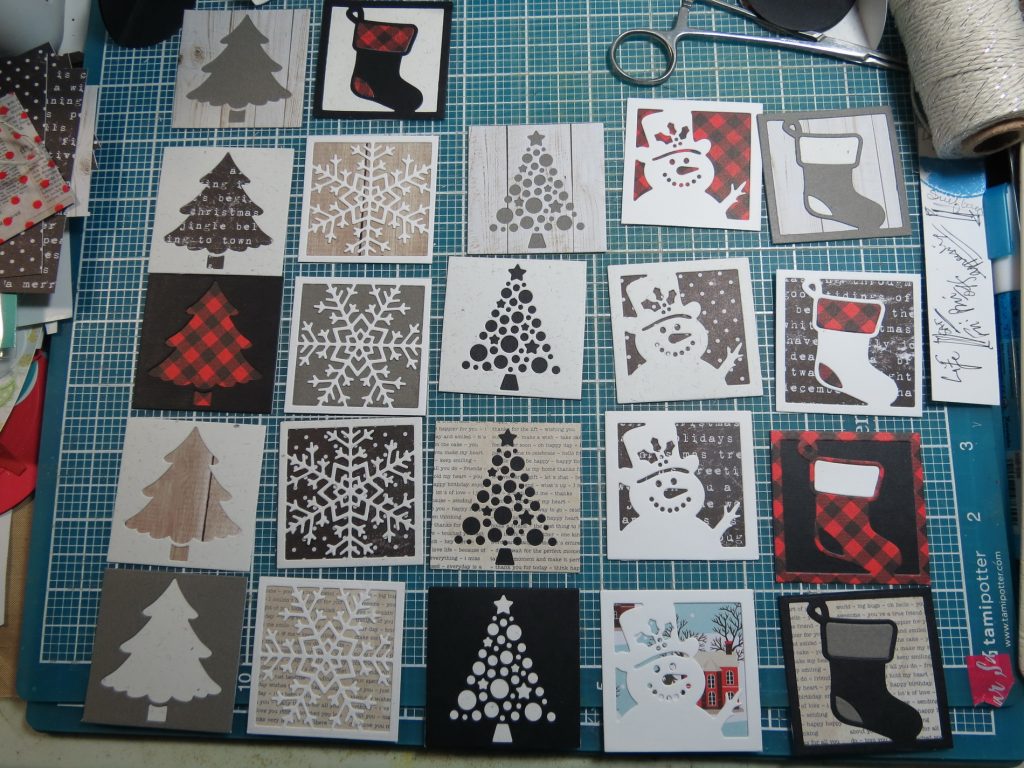
Mosaic Moments Designing with Dies Christmas Ornaments Rustic and Farmhouse style is on trend for decorating this year
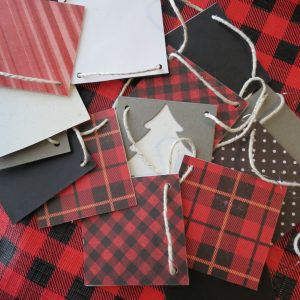
These dies have been cut out in a wood grain paper, a plaid, a vintage paper, a newsprint, a Buffalo Print, gray, light gray, black, white. These are the colors often used in the Farmhouse or Rustic styles. 2×2 backing papers for each were also cut, glued and adhered. A punch in each corner is where I will attach a bit of twine for either a holder or a place to string the twine for a garland.
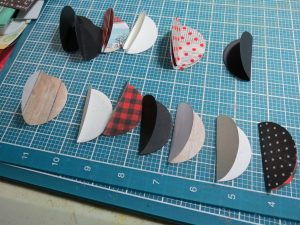
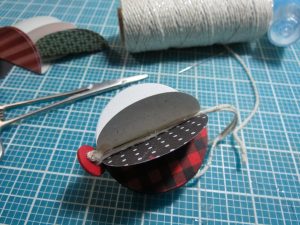
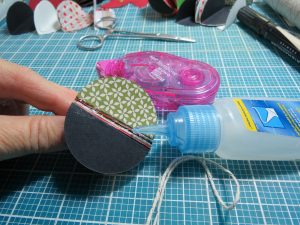
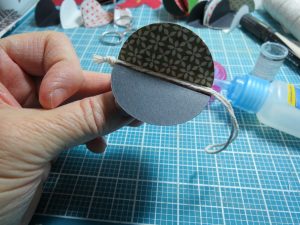
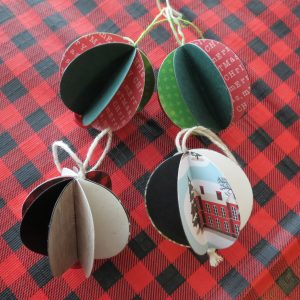
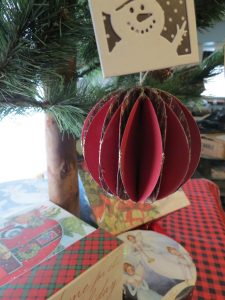
- The third ornament is made with the 2×2 Circle Tiles or the Circle Grid dies I cut several from different papers and then folded each in half and then glued six of them back to back to back. Before attaching the last two sides together I inserted a length of twine to hang the ornament. I embedded the twine in the spine, or knotted it and let it extend below the bottom or attached a button at the base. If you are adventurous you can attach beads or gems to hang from the base.
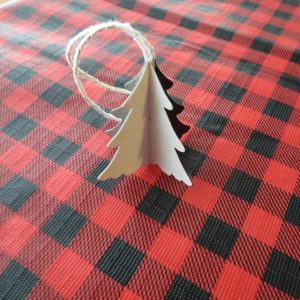
- Another quick ornament is to use the outtakes from the Fir Tree Die, fold and layer back to back for a 3-D tree to hang on your tree.
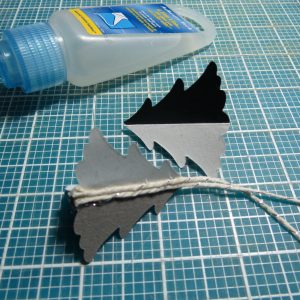
Mosaic Moments Designing with Dies Christmas Ornaments the Fir Tree die outtakes folded and assembled. I used four pieces here, but any amount would work.
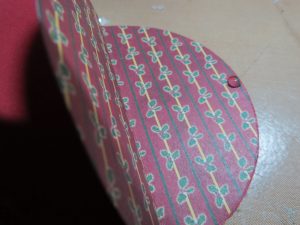
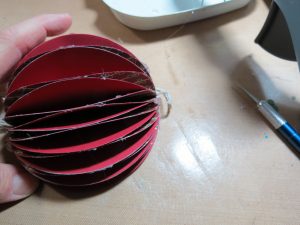
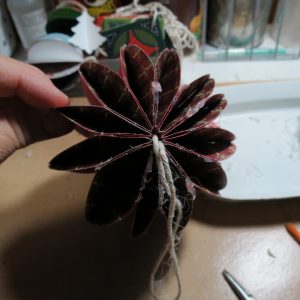
- Finally using the 3×3 Circle Frame die and cutting out 24 circles, 12 in red and 12 in Christmas print paper I repeated the same fold in half and back to back to back process of the previous 2×2 ornaments.
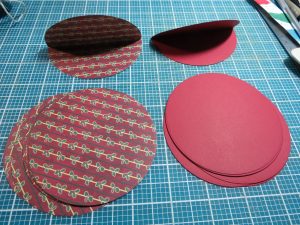
Mosaic Moments Designing with Dies Christmas Ornaments Cut equal amounts of circles in solid and pattern I used 24, but more would work well too.
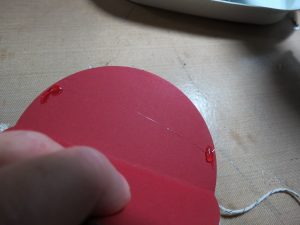
To create a lovely vintage style honeycomb ornament, I glued at the center edge of my print, and two spots on the solids, midway between the center and the top.
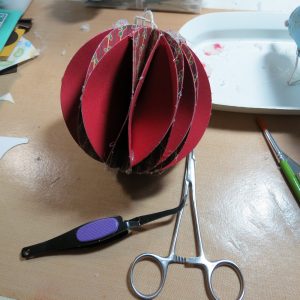
Mosaic Moments Designing with Dies Christmas Ornaments I used my tweezers and clamp to hold the glue spots to set.
I’ve seen these made with glue dots, but I did not find them to hold very well. A lot has to do with the weight of your papers.
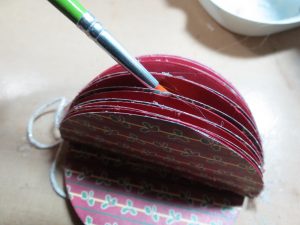
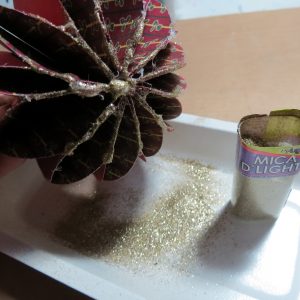
Using hot glue can get a bit messy, so I used a paintbrush to sweep out the glue threads, a clamp and tweezers to hold the glued are in place to hold until it sets, and an X-acto knife to trim away the blobs that escape!
To finish the ornament off I added glue to the messy spots on top and bottom and at the glued edge and then sprinkled glitter to add a bit of sparkle
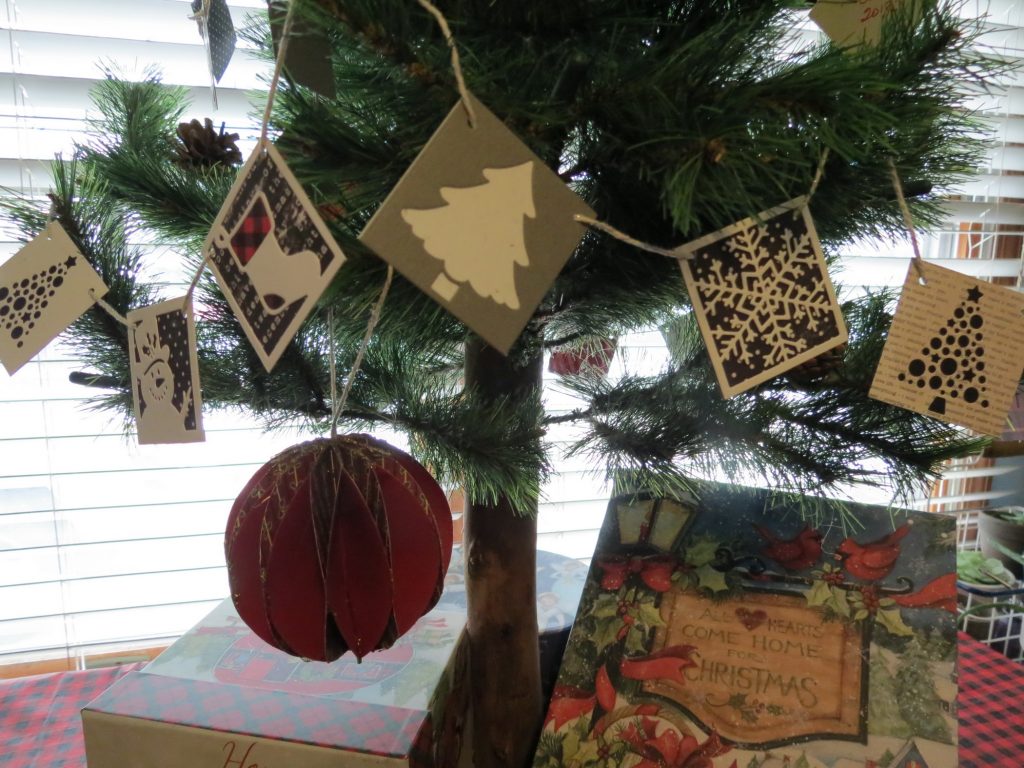
Mosaic Moments Designing with Dies Christmas Ornaments strung together to form an adjustable garland for your tree
Mosaic Moments Designing with Dies Christmas Ornaments Using double sided papers add color and choices for your garland
Be sure to check into the possibilities for ornaments that your dies can create and make it a Mosaic Moments Christmas!
Merry Christmas!
Andrea Fisher

