
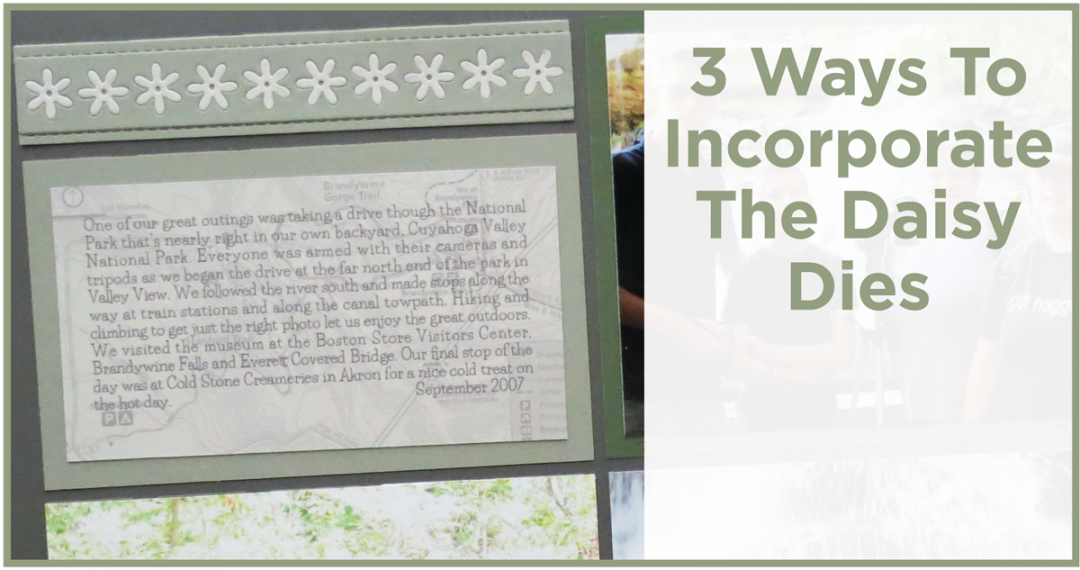
Normally, I’d show you one pattern from the gallery and do a little tweaking for a new look. This time I have two patterns for you. One will show off the new dies, the Layering Ribbon die and the Daisy Row Set dies. Both are column patterns.
Mosaic Moments Refresher Course Patterns #217 and #134 Daisy Rows and Layering Ribbon Dies
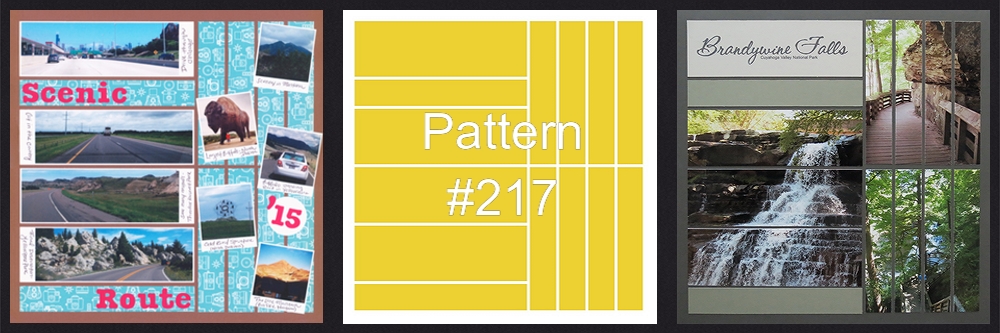
The first pattern makeover is Pattern #217
Mosaic Moments Pattern Refresher Course Pattern #217
The original pattern used four 2×6 spaces for individual photos. In the refreshed layout one photo fills three of those spots and a title in the fourth. Two additional photos are stripped to fill the pattern spots. I did consider doing one full page stripped photo, but I really wanted the first oversized spot to stand out, and I had plenty of other photos I could include.
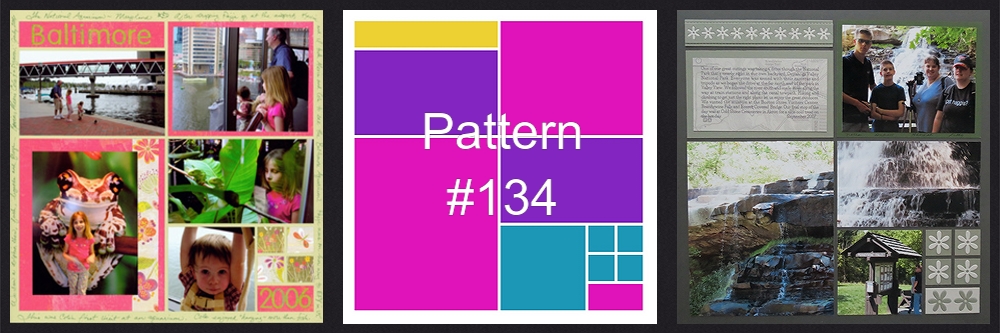
The second Pattern is #134
Mosaic Moments Pattern Refresher Course Pattern #134
The original page was full of photos. A patterned paper provided a lovely mat in the large 5×6 spot.
The refresher included the featured dies in several spots and a full sized photo in the large 5×6 spot. Also included was a journal block with a technique for dressing it up that I’ll explain a little later.
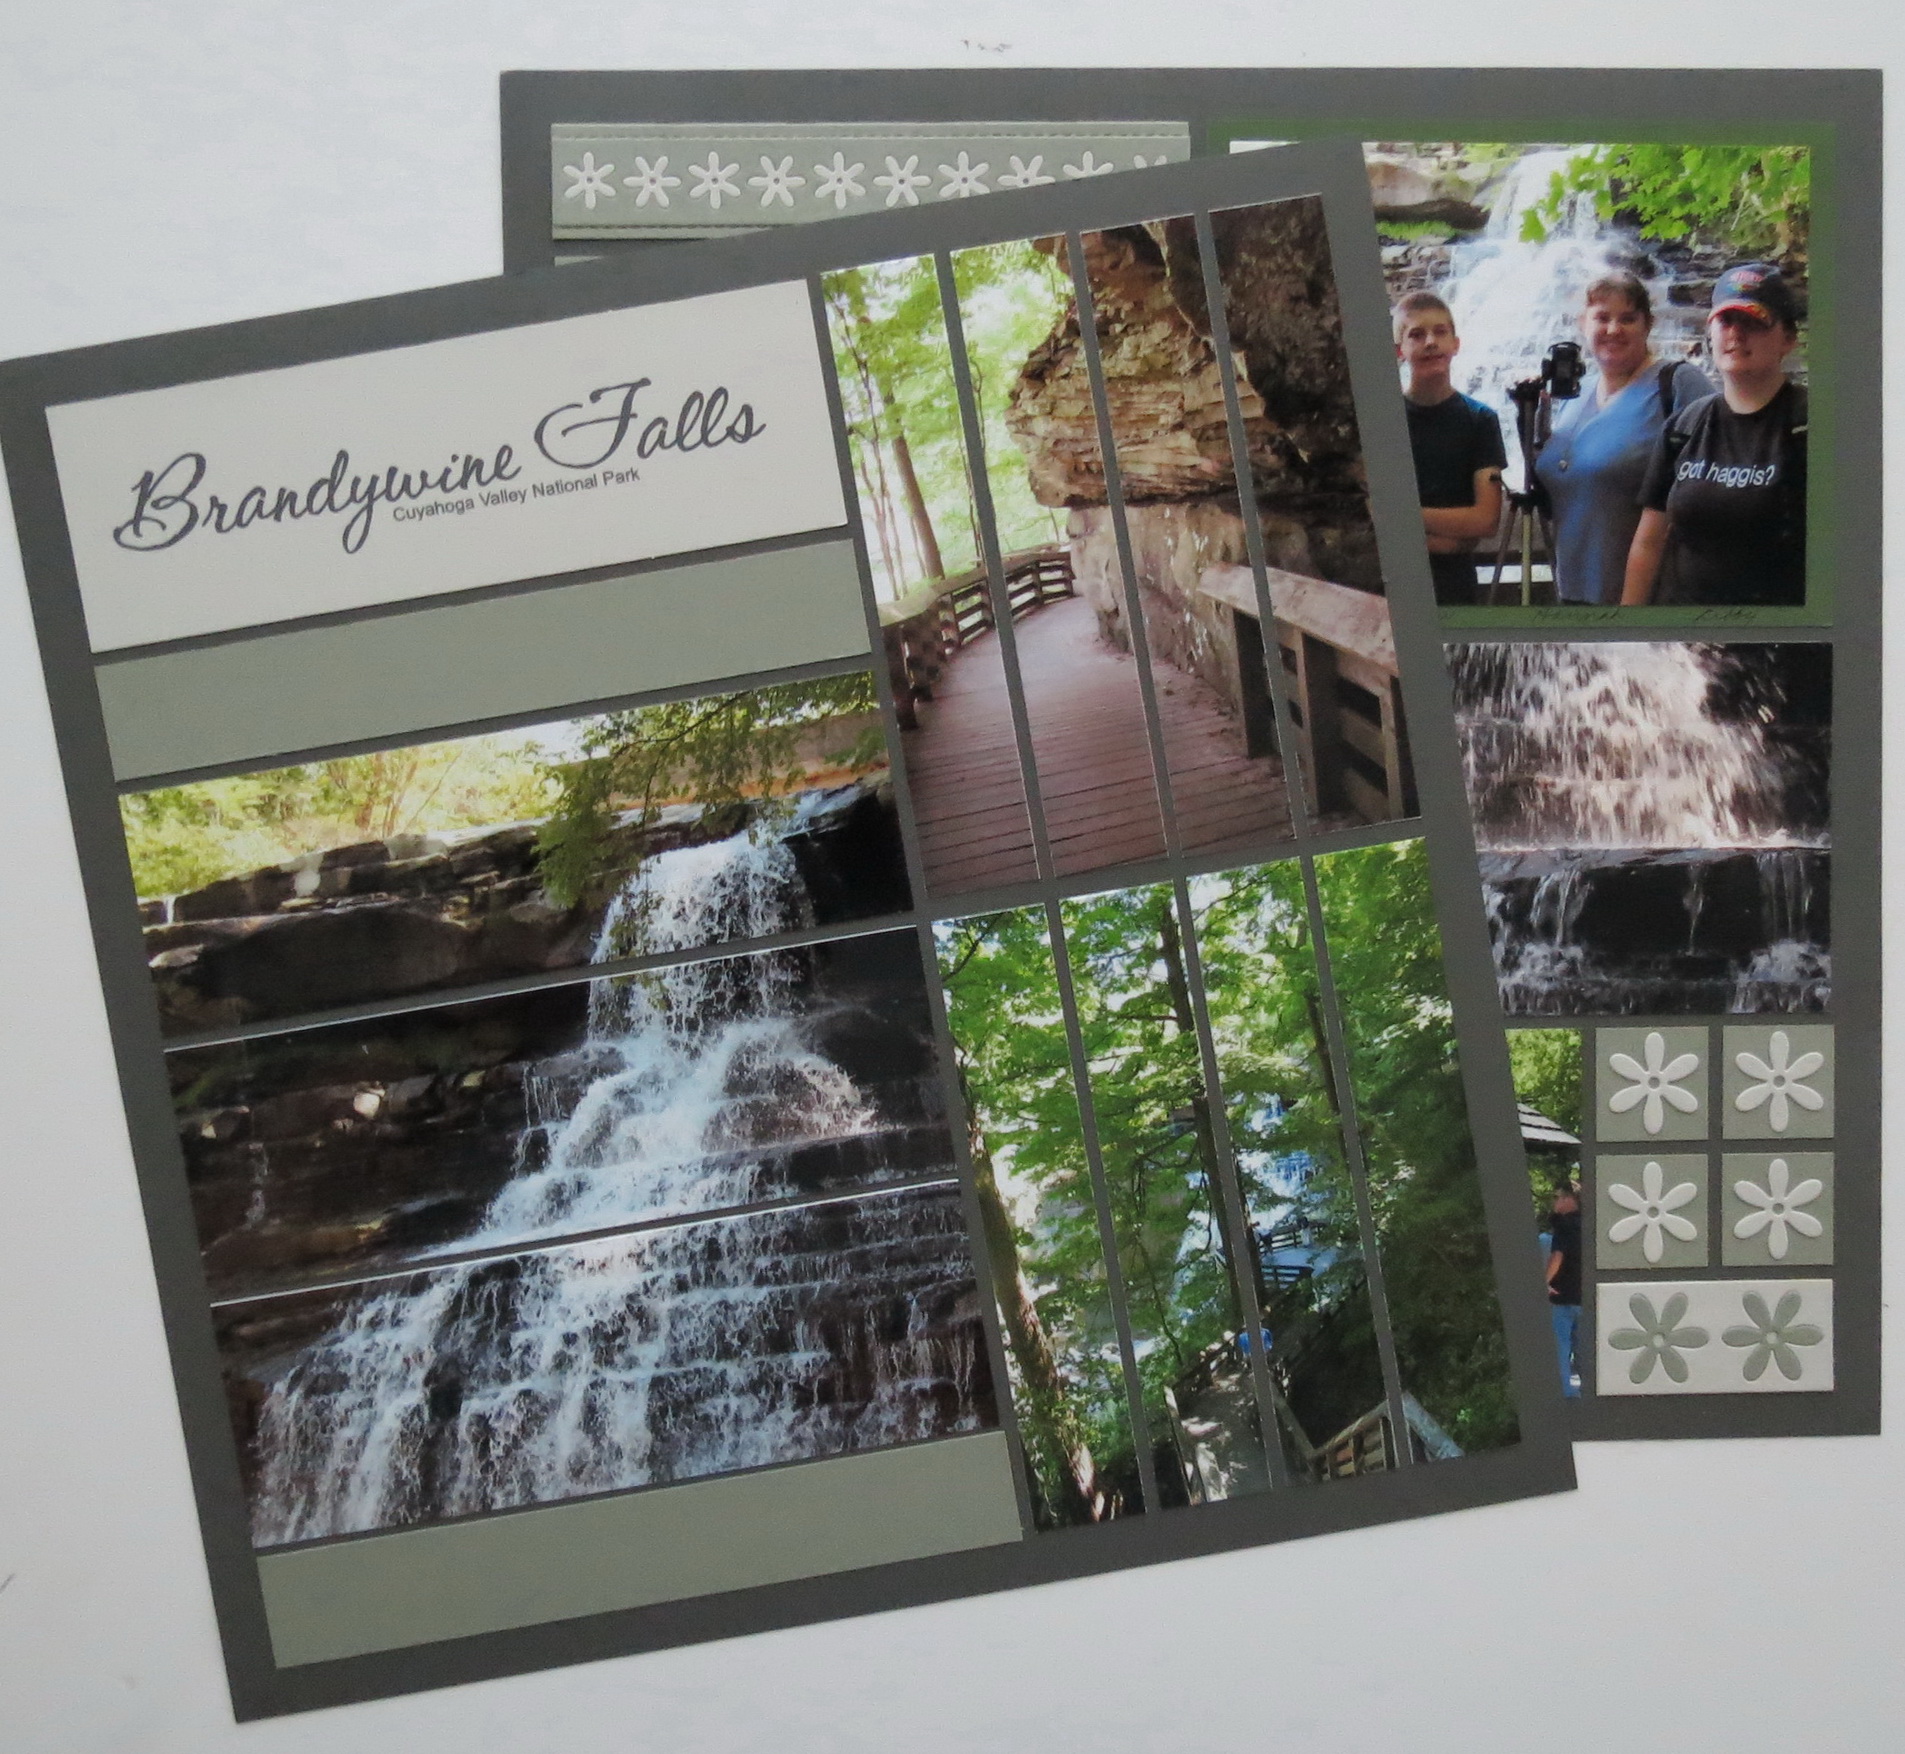
To change up the look on both pages I’ve used oversized photos. When you have dramatic photos it’s nice to show them off.
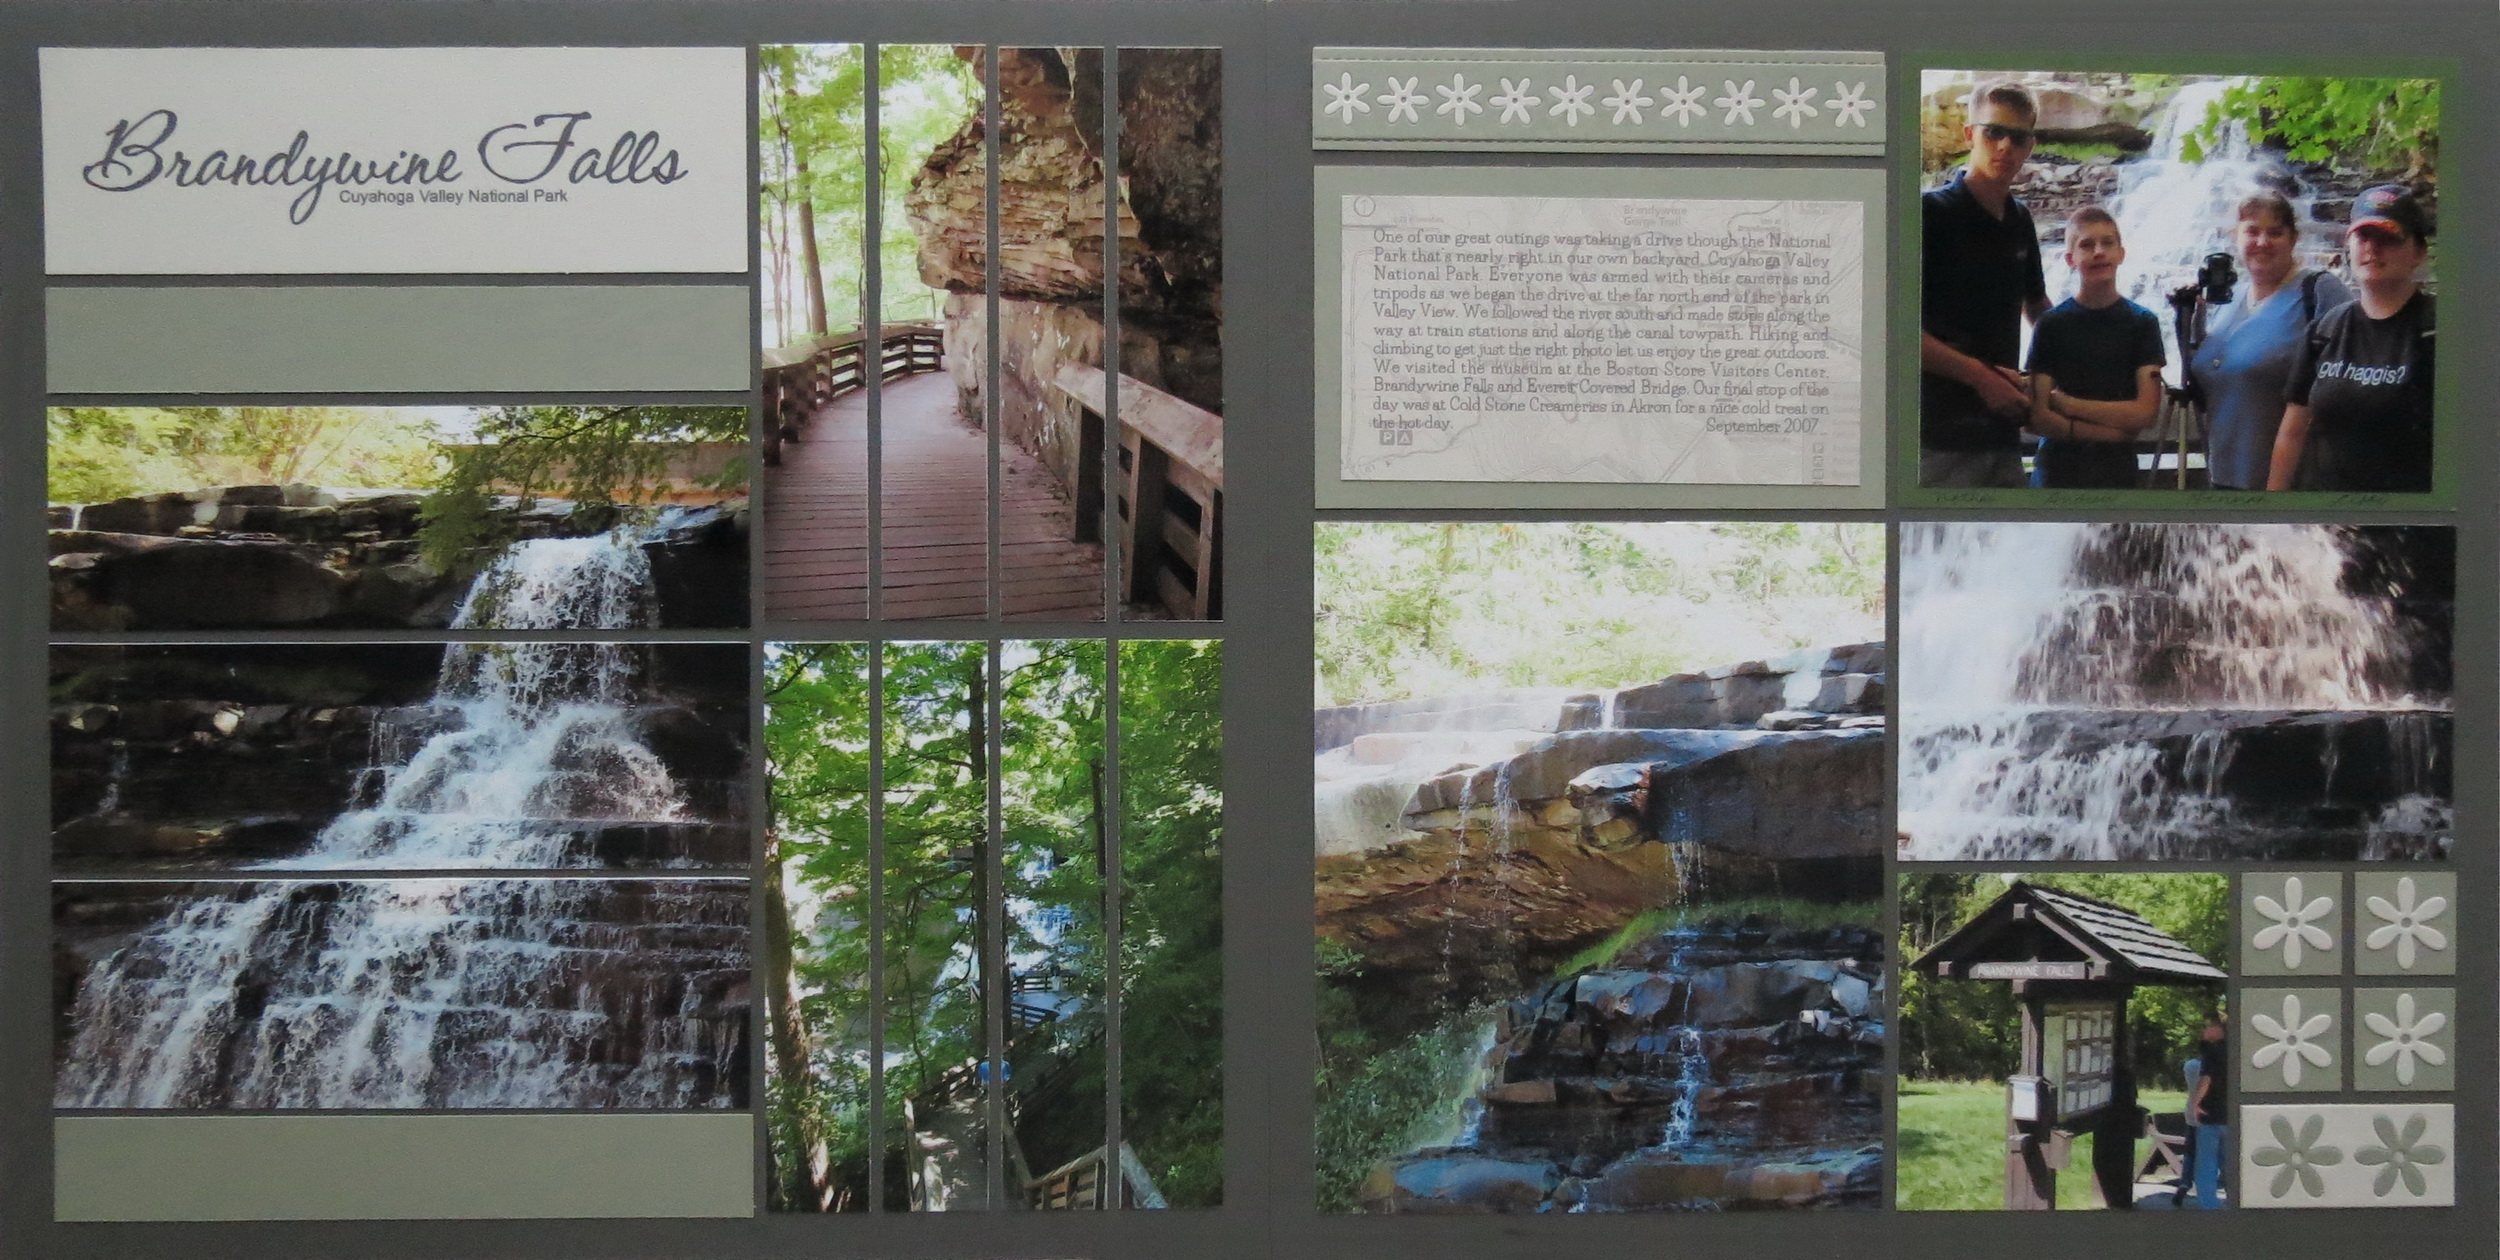
For the double page layout I’ve used greens and greys as accent colors for the Graphite Grey Grid Paper. The colors were just right for a monochromatic feel and the outdoor photos from Cuyahoga Valley National Park.

Mosaic Moments Refresher Course featuring Graphite Grey Grid Paper, Daisy Rows and Layering Ribbon Dies
Page One has the title.
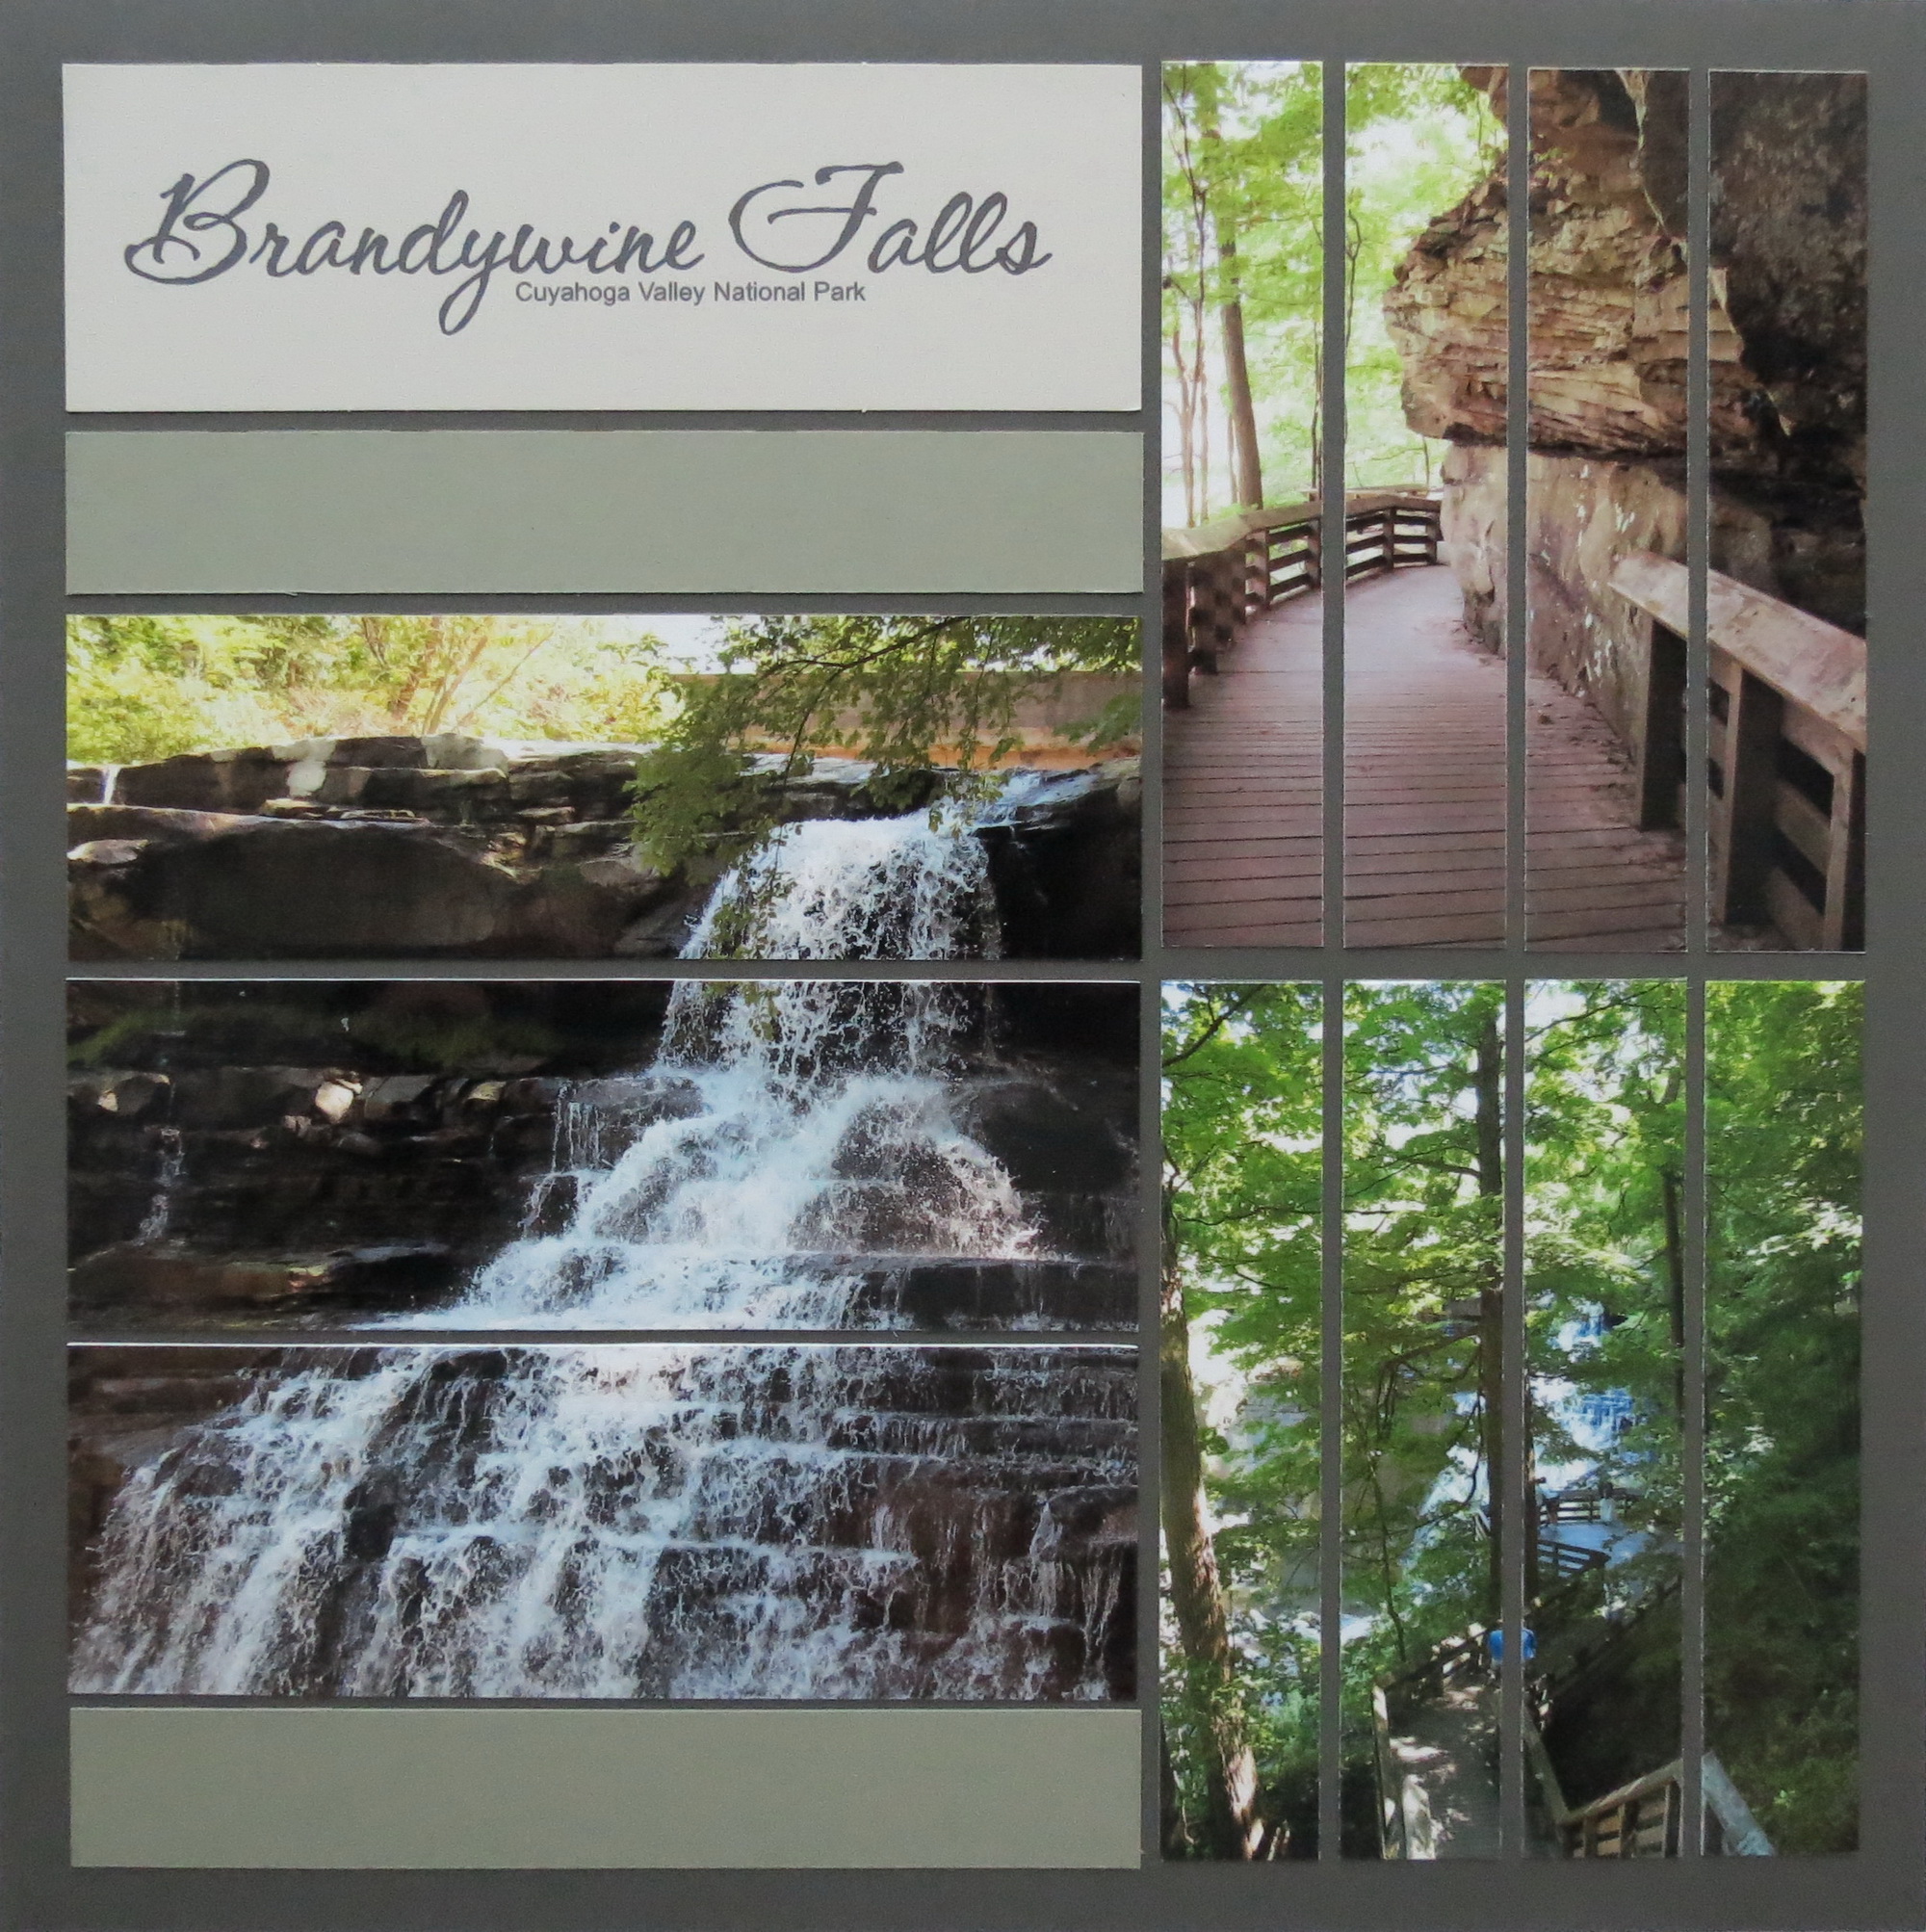
Mosaic Moments Refresher Course Graphite Grey Grids and Pattern #217
Page two includes journaling and all of the dies. The daisies on the ribbon and on the 1×2 tile are embedded, while the single flowers are mounted on top of the 1” tiles.
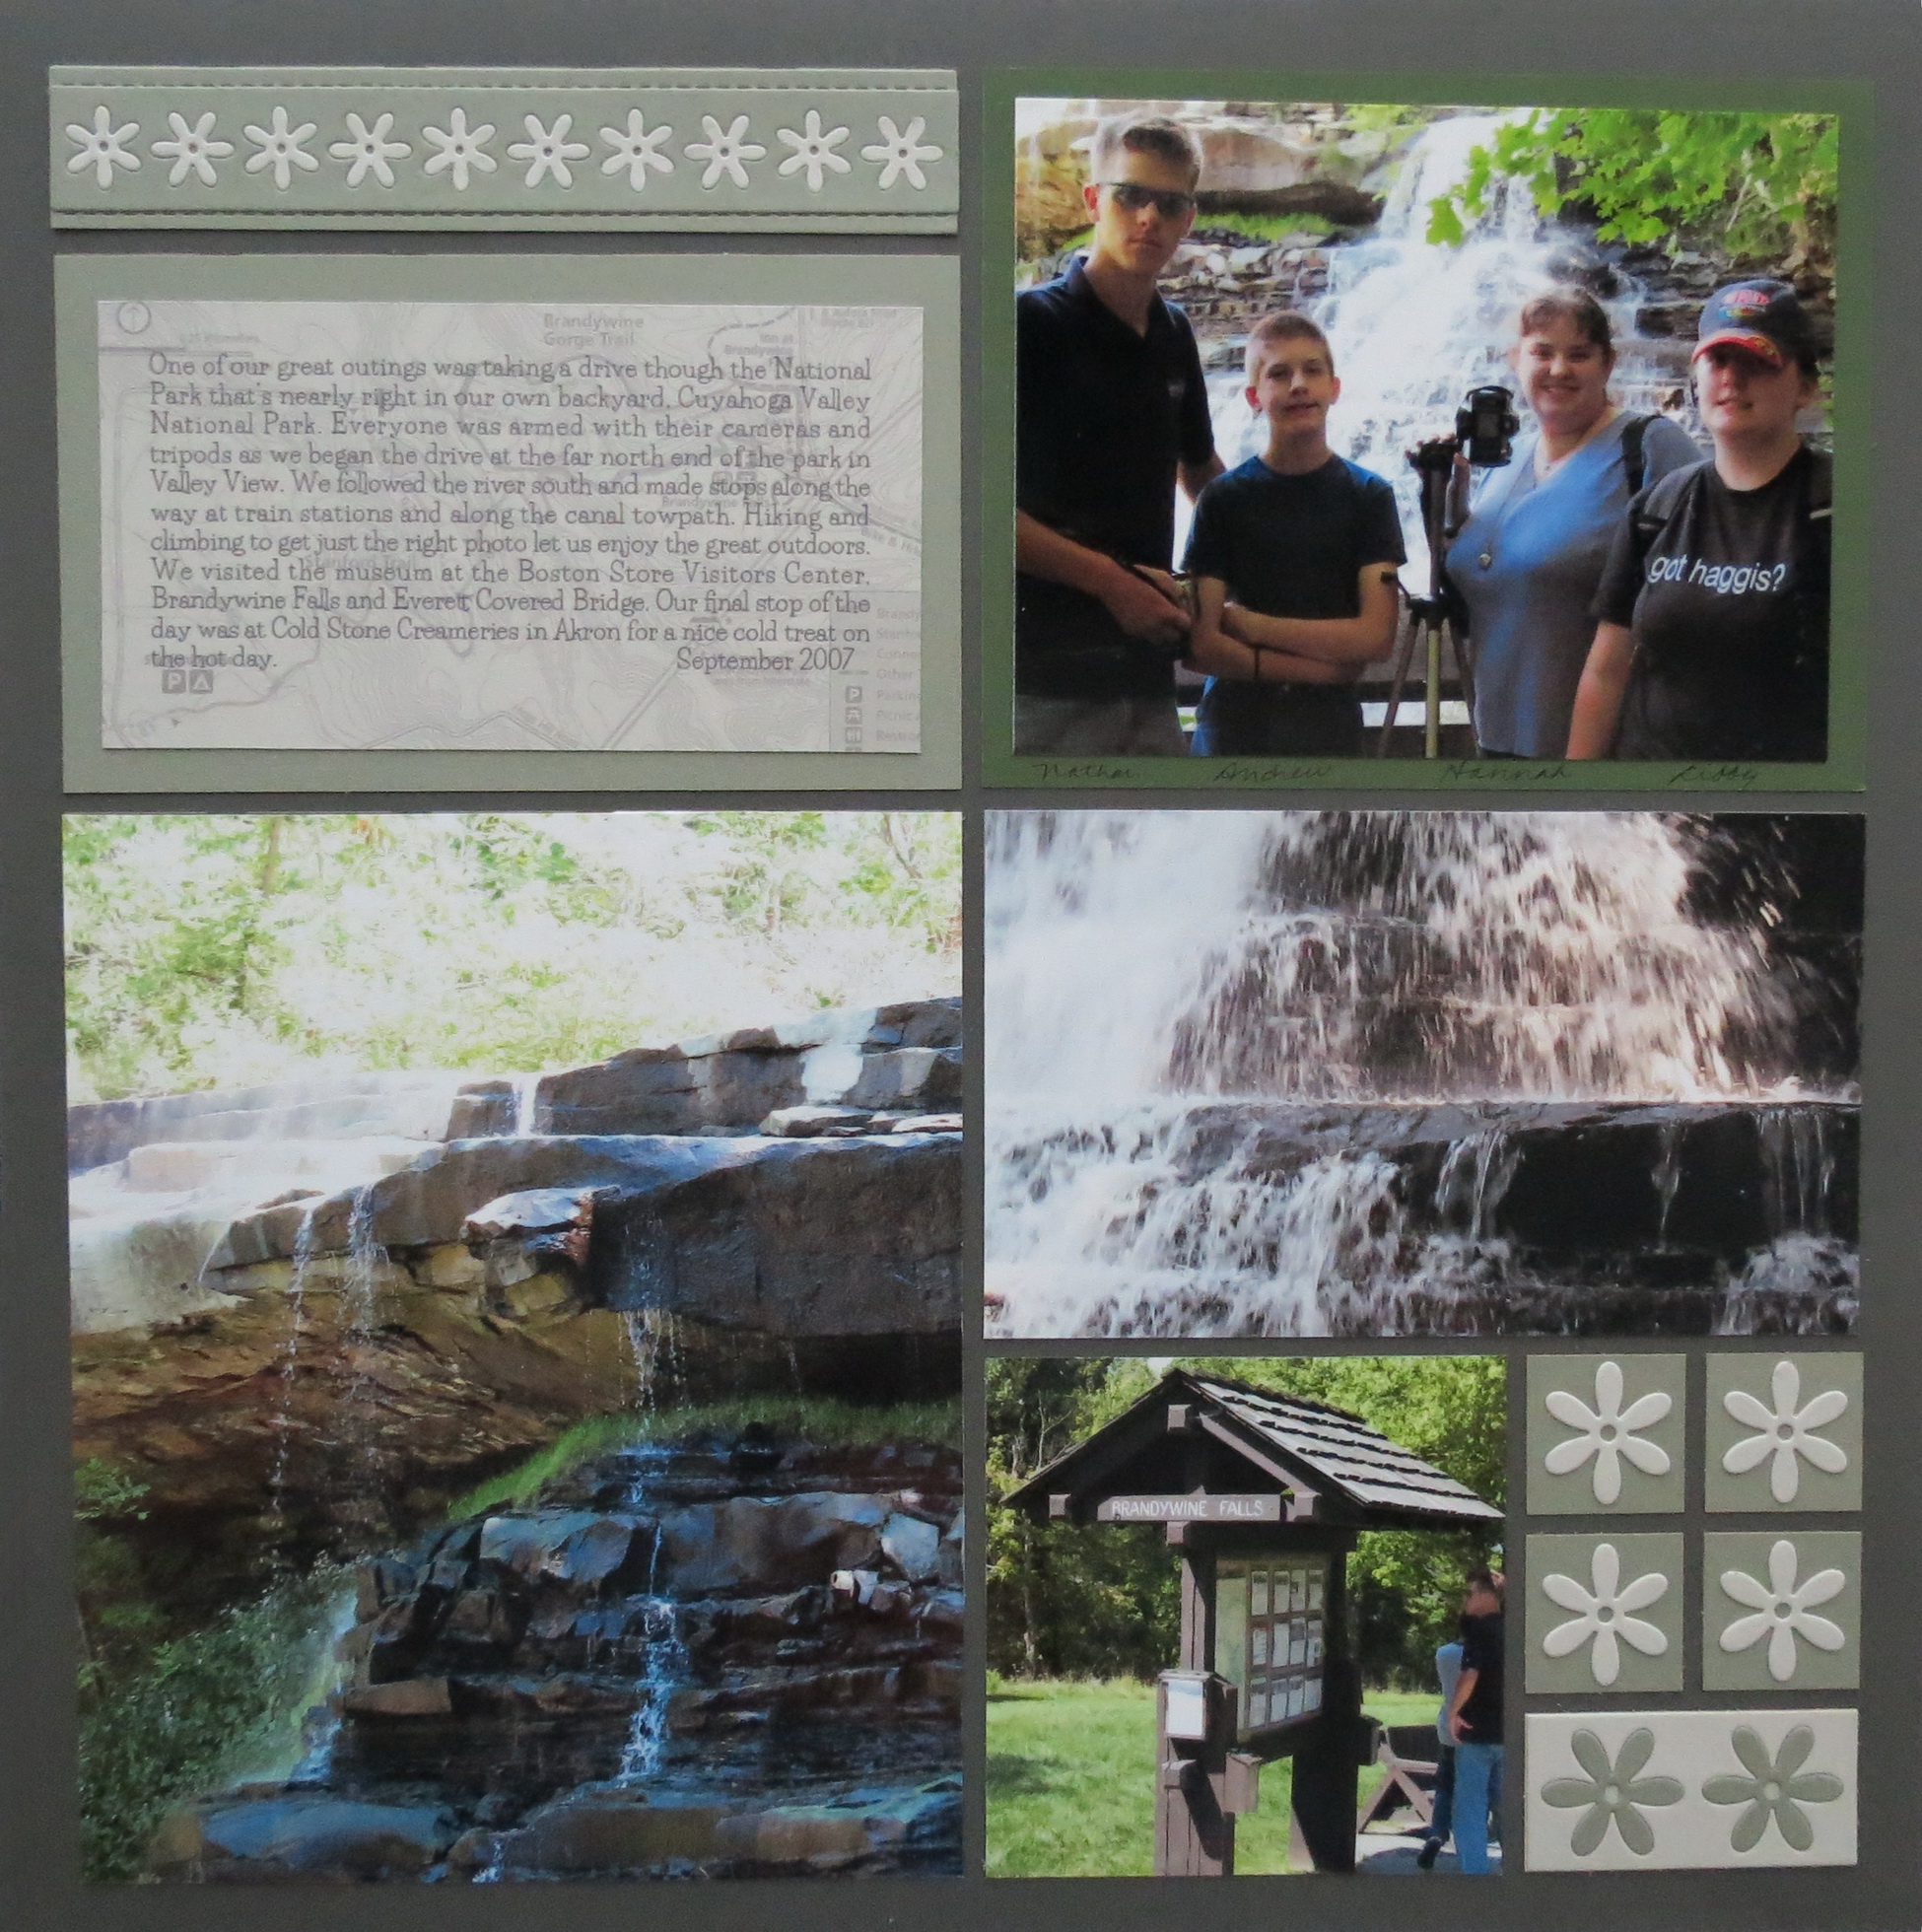
Mosaic Moments Refresher Course Graphite Grey Grids and Pattern #134
TIP:
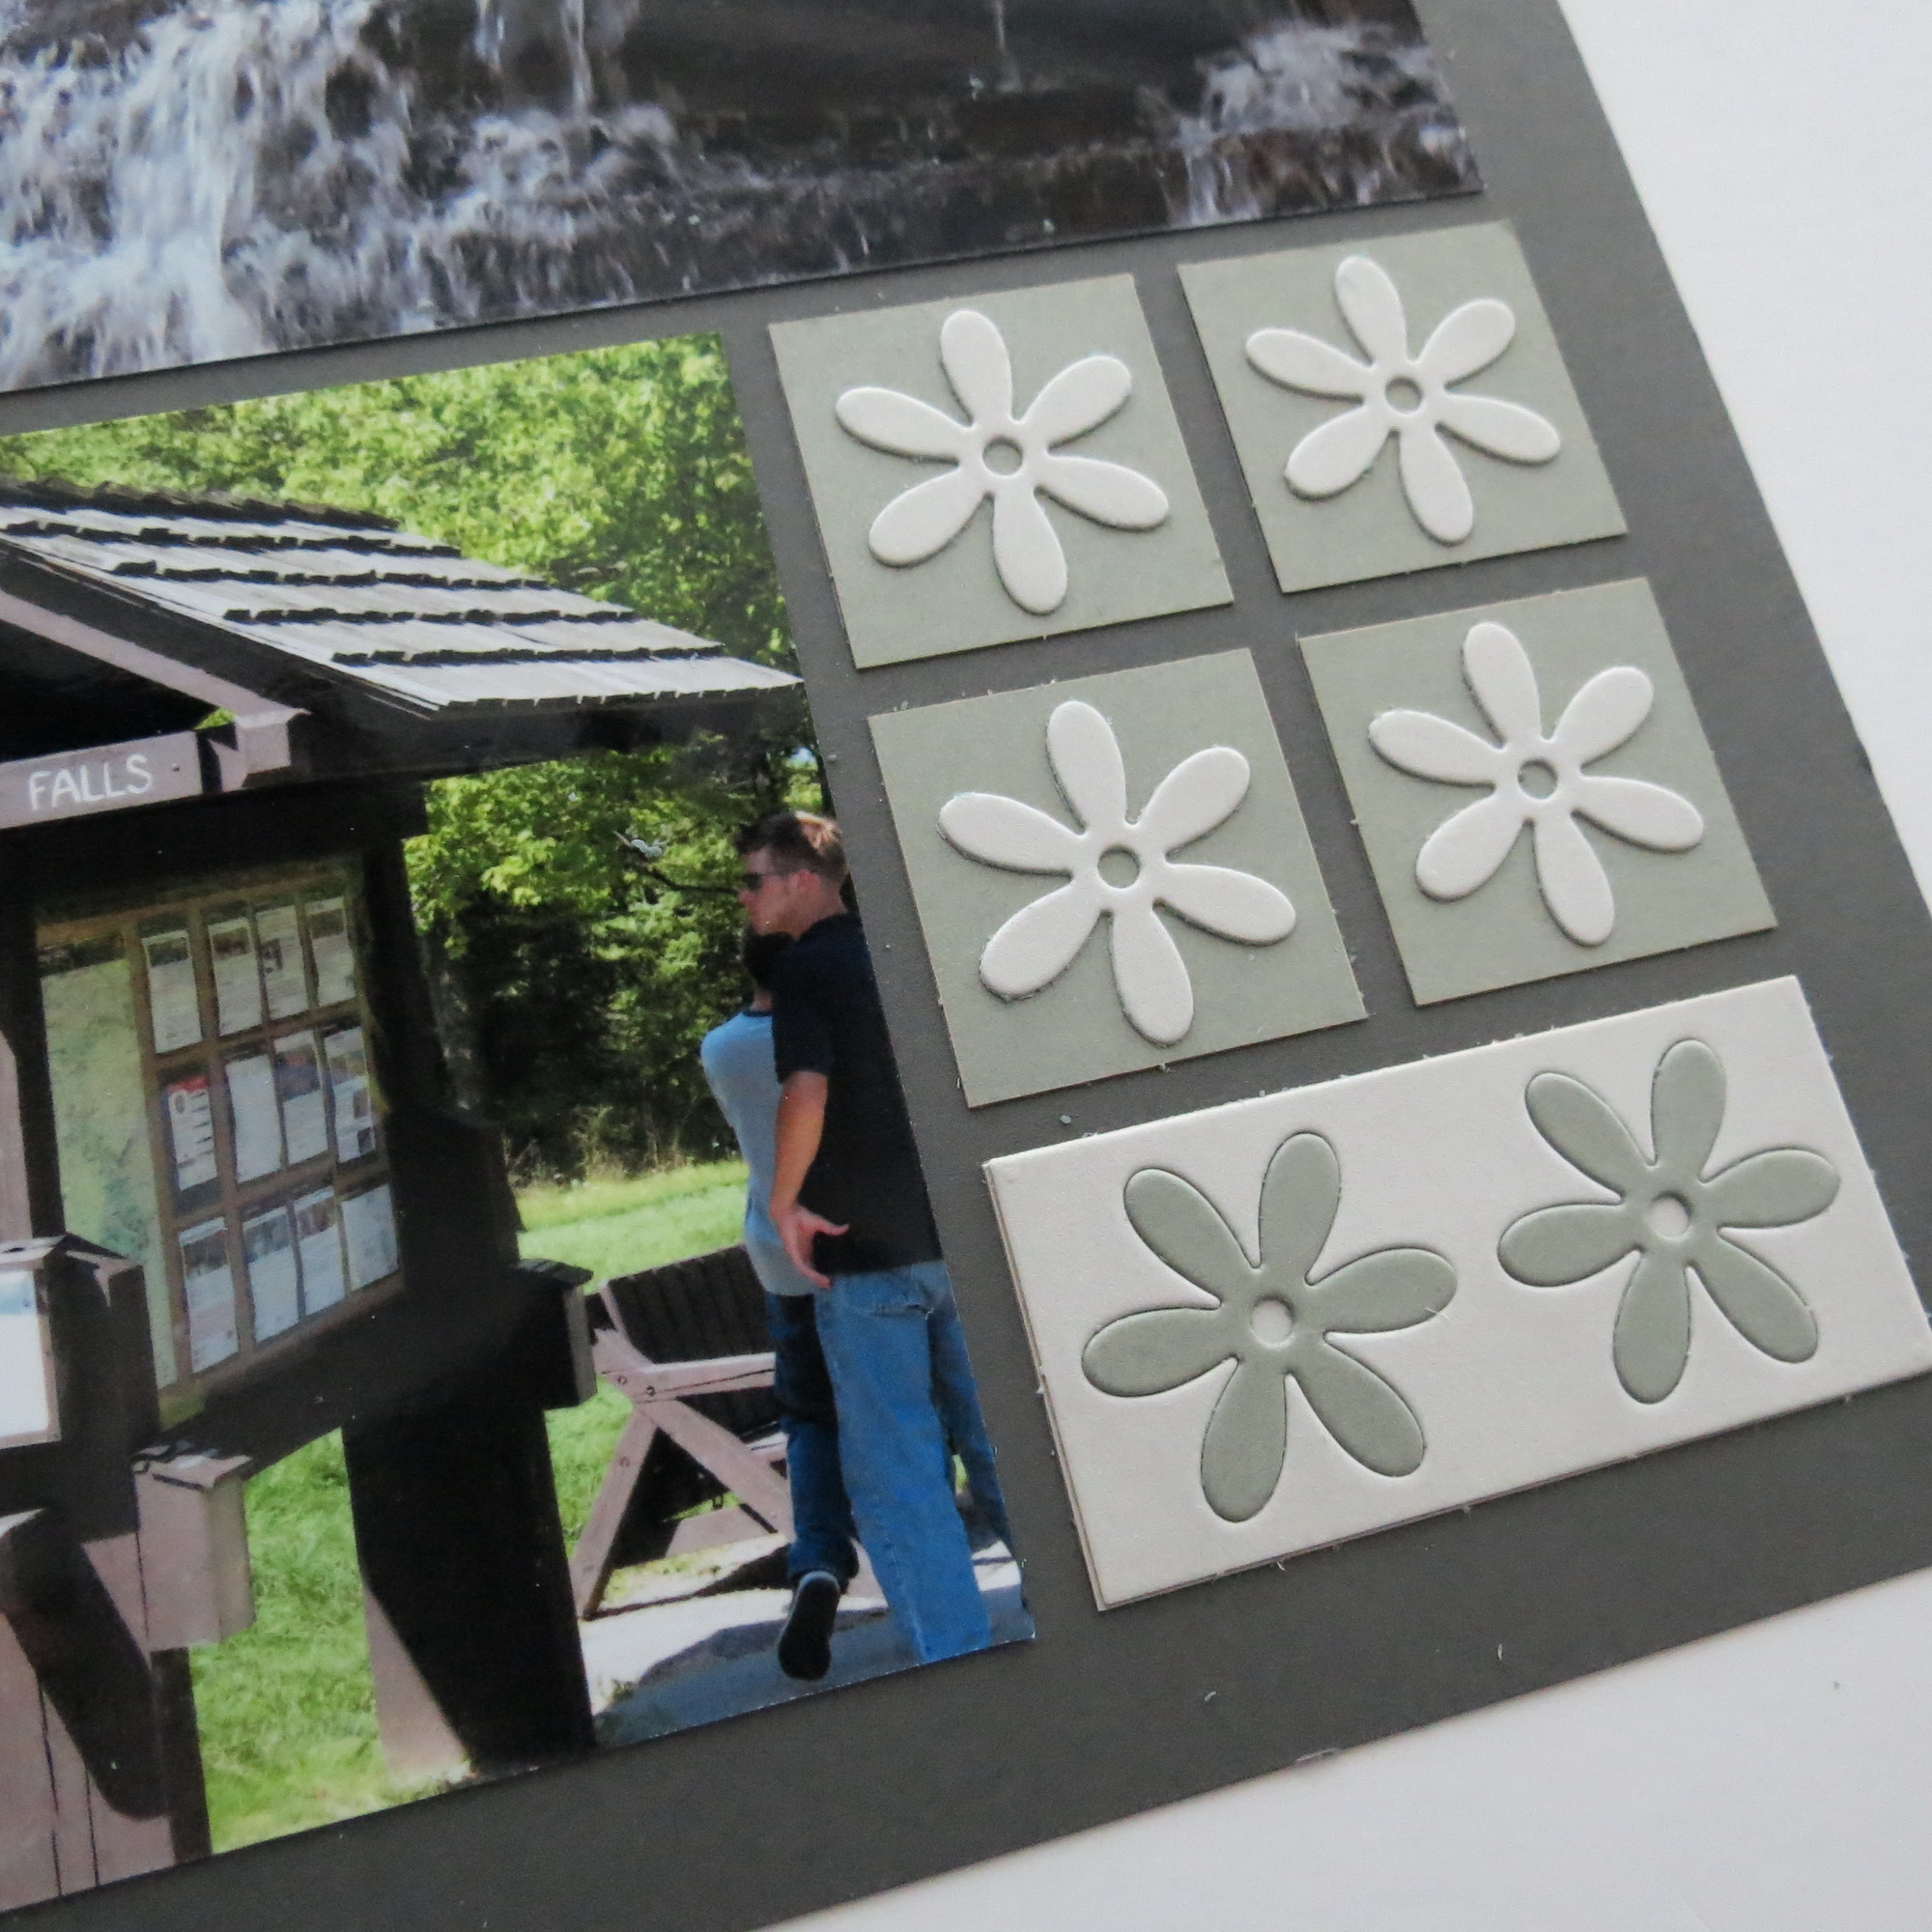
To center the single daisies on the 1” tiles I applied the adhesive to the back of the daisy, fit it into the 1” tile negative space and laid the tile down on top of the tile below. Rubbing the daisy to set in place I then removed the outside 1” square that has no adhesive, leaving the daisy behind, perfectly centered.
Mosaic Moments Daisy Row Set Dies
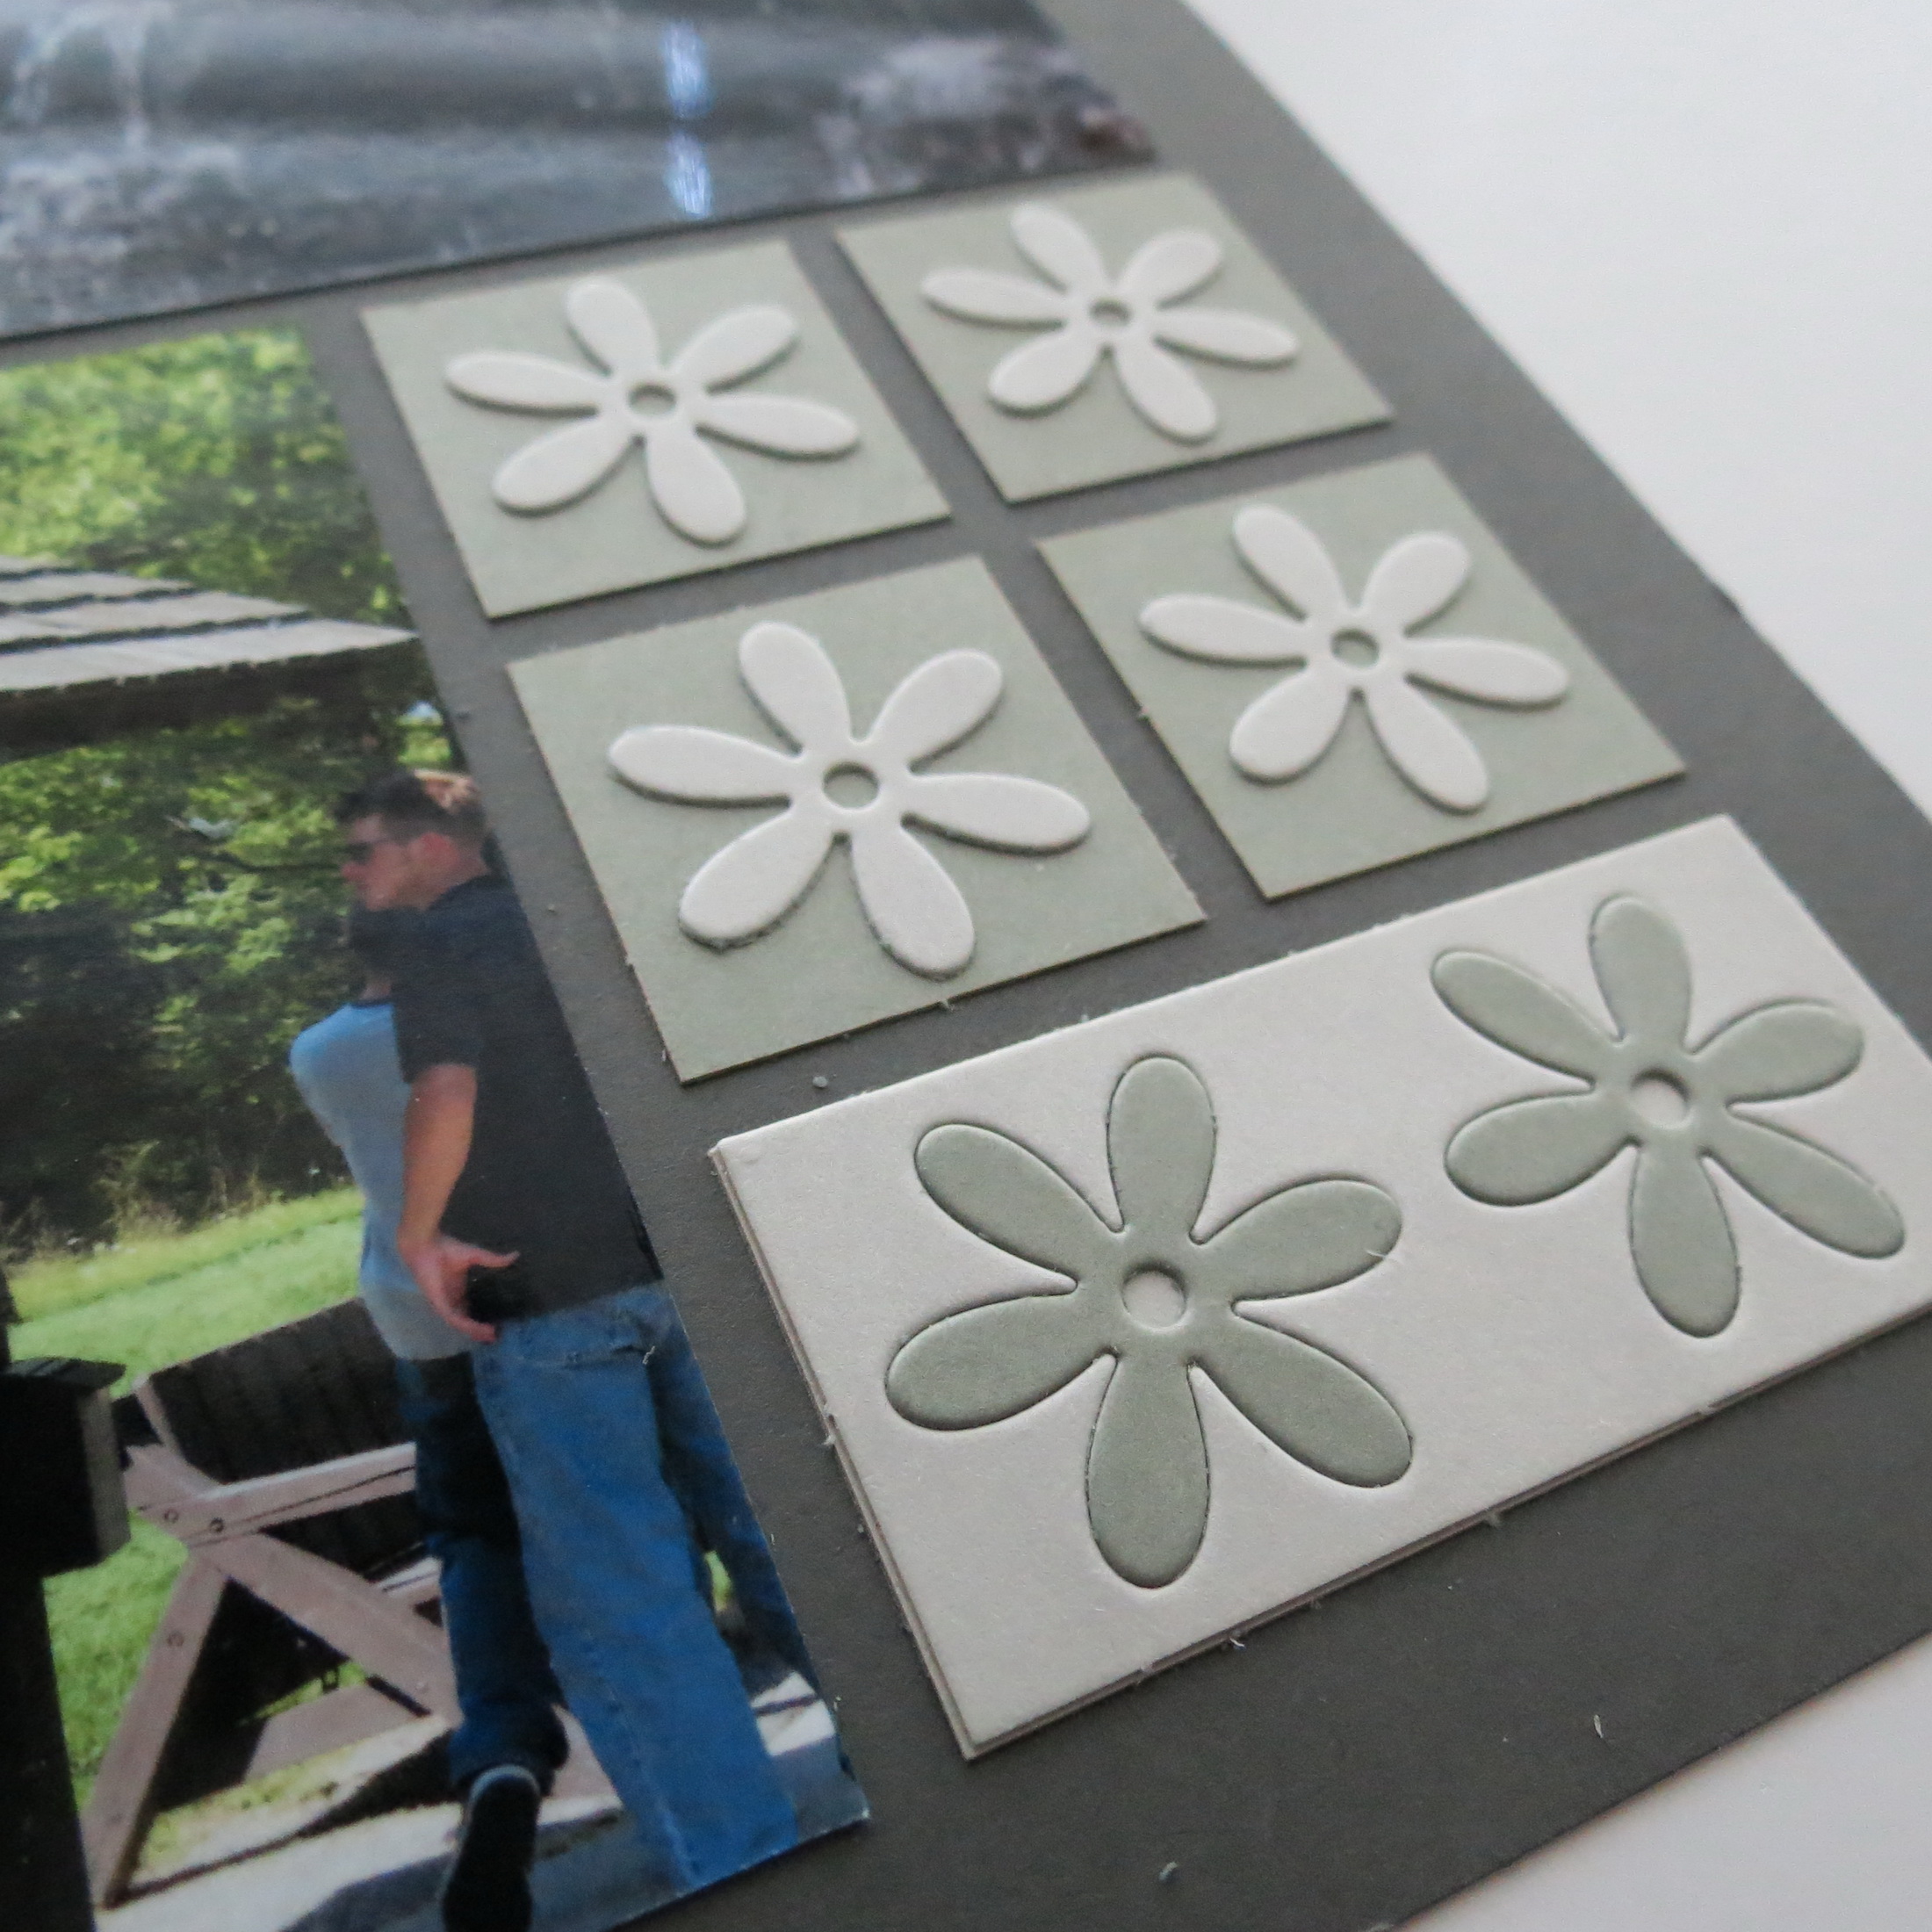
Mosaic Moments Daisy Rows Set Dies one mounted, one embedded
TECHNIQUE ONE:
Mosaic Moments Refresher Course journal block with map Layered Ribbon die
The Layered Ribbon die technique used here is a double layer of one color for the base ribbon piece topped with the same color to cut the flower strip of the ribbon die and then inset with the light grey flowers. A subtle texture effect is achieved that stays with the overall color scheme.
TECHNIQUE TWO:
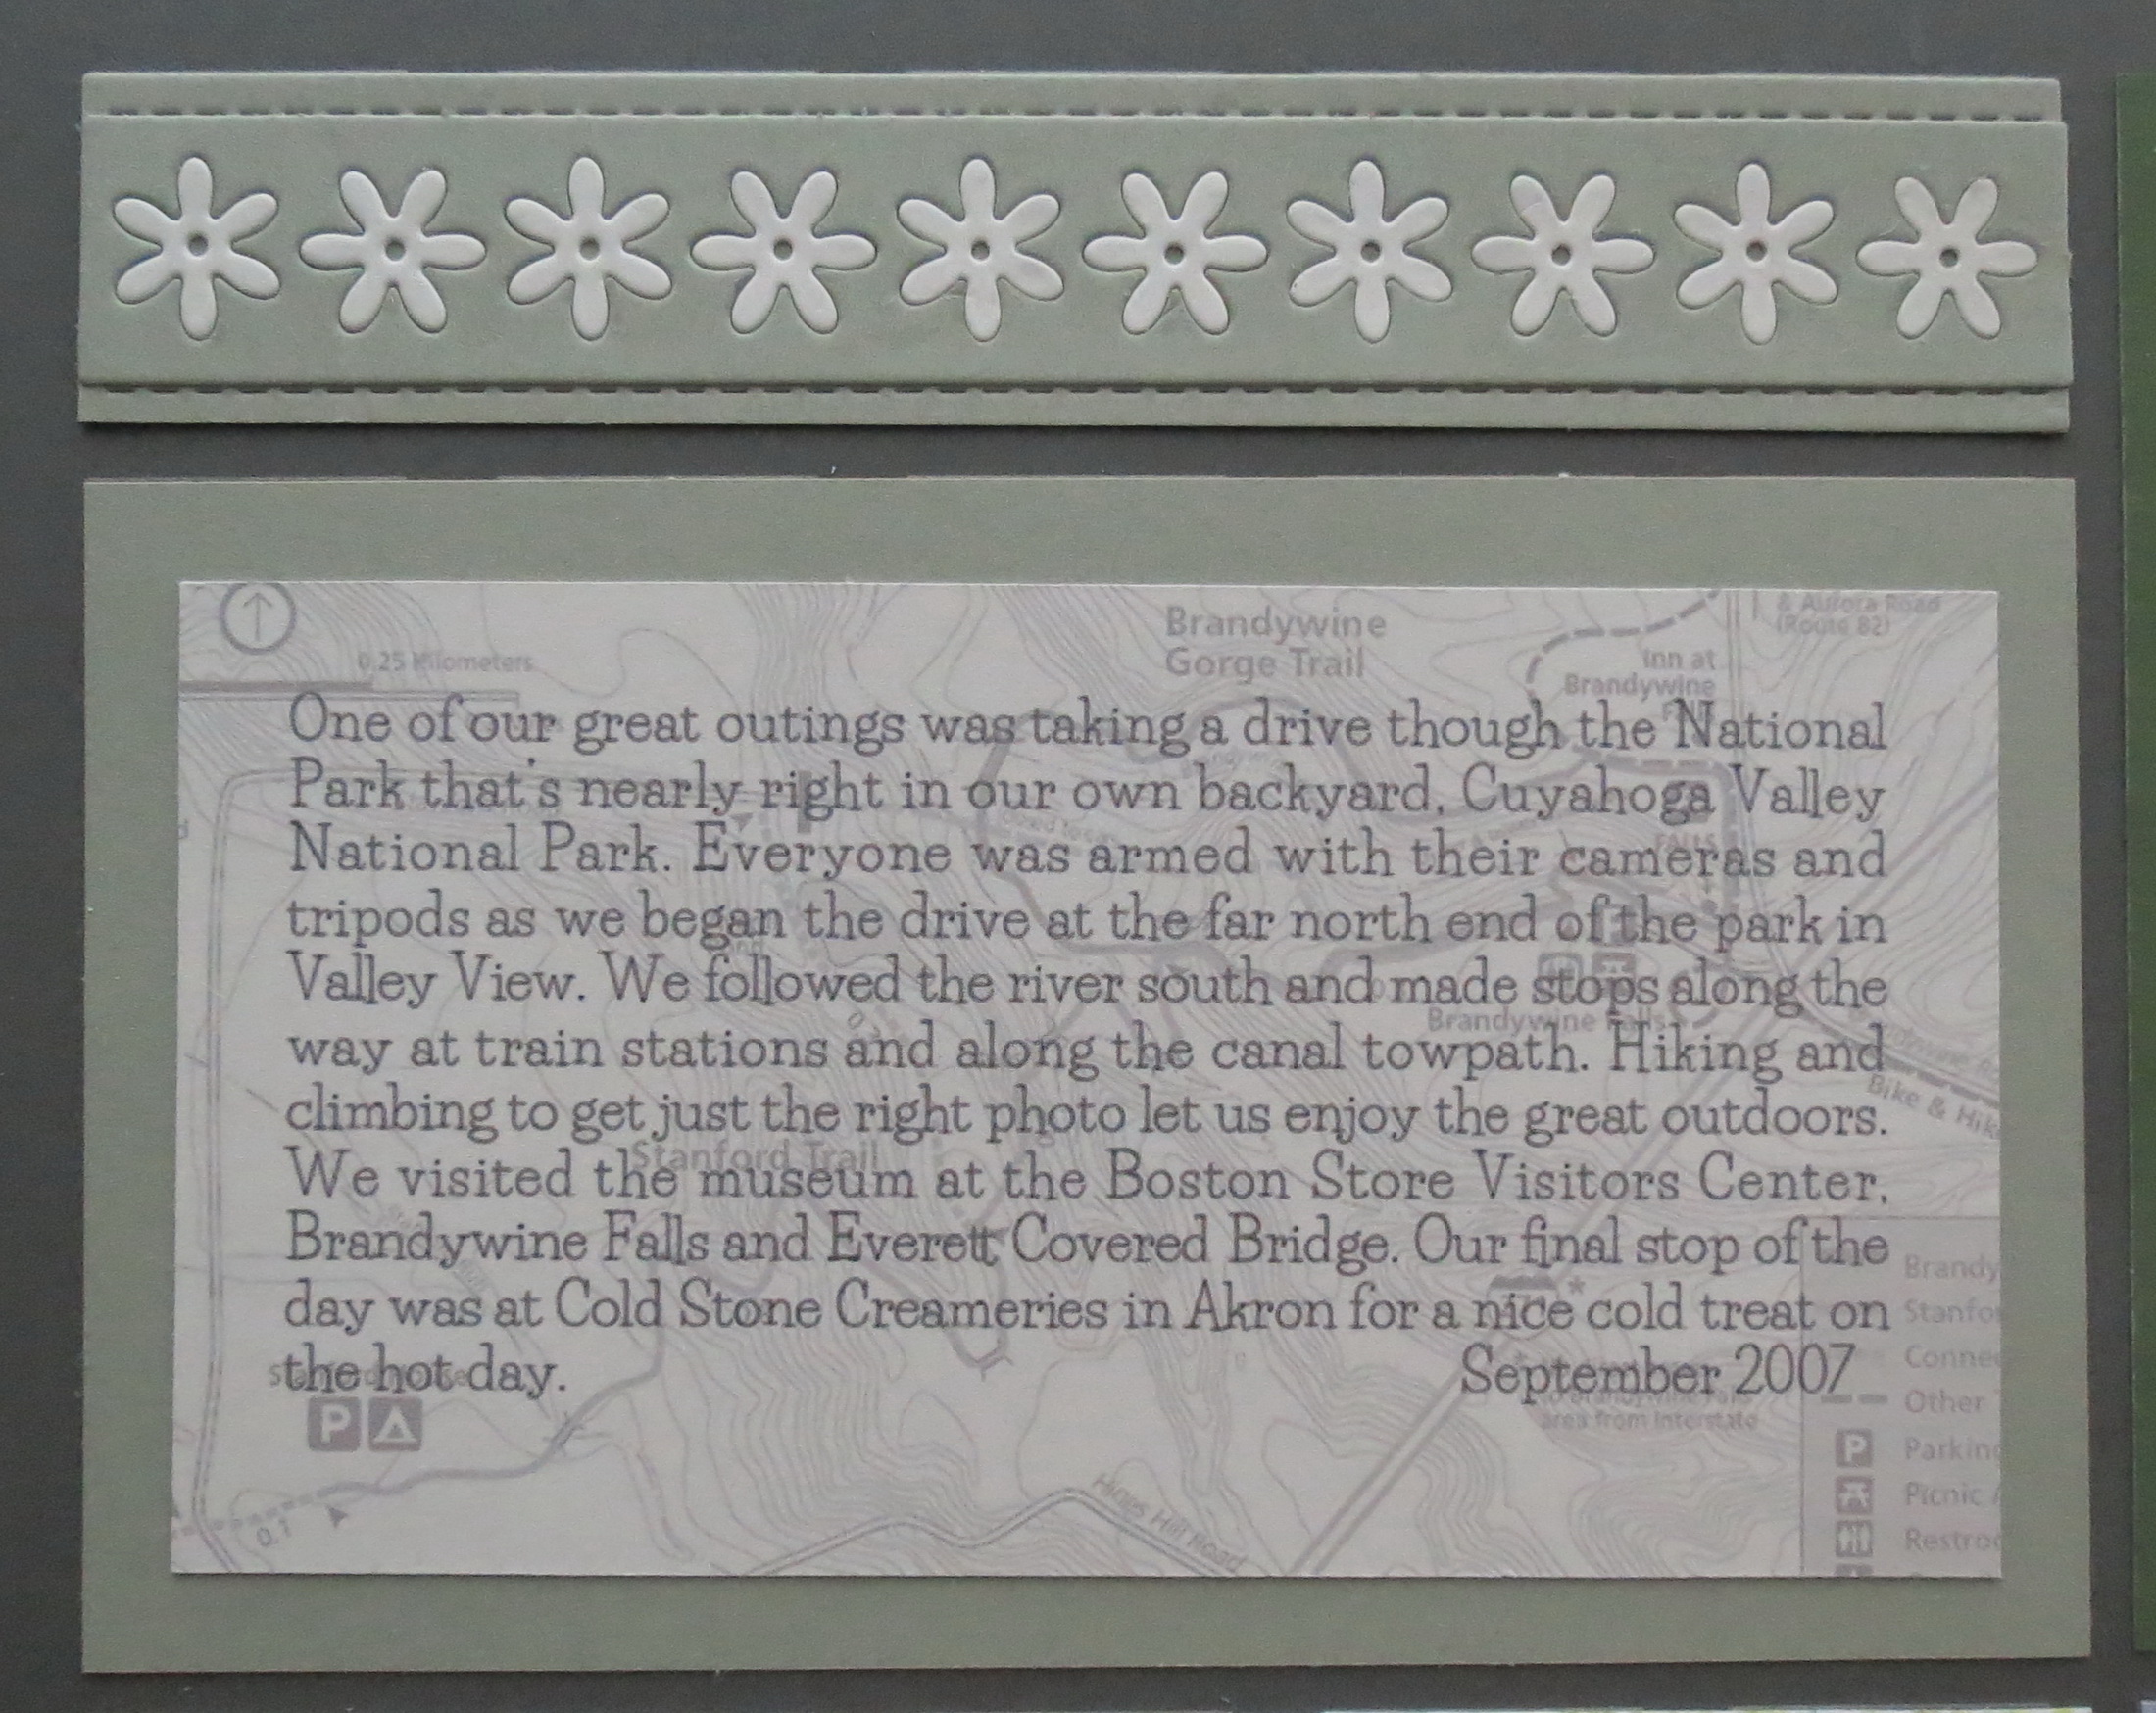
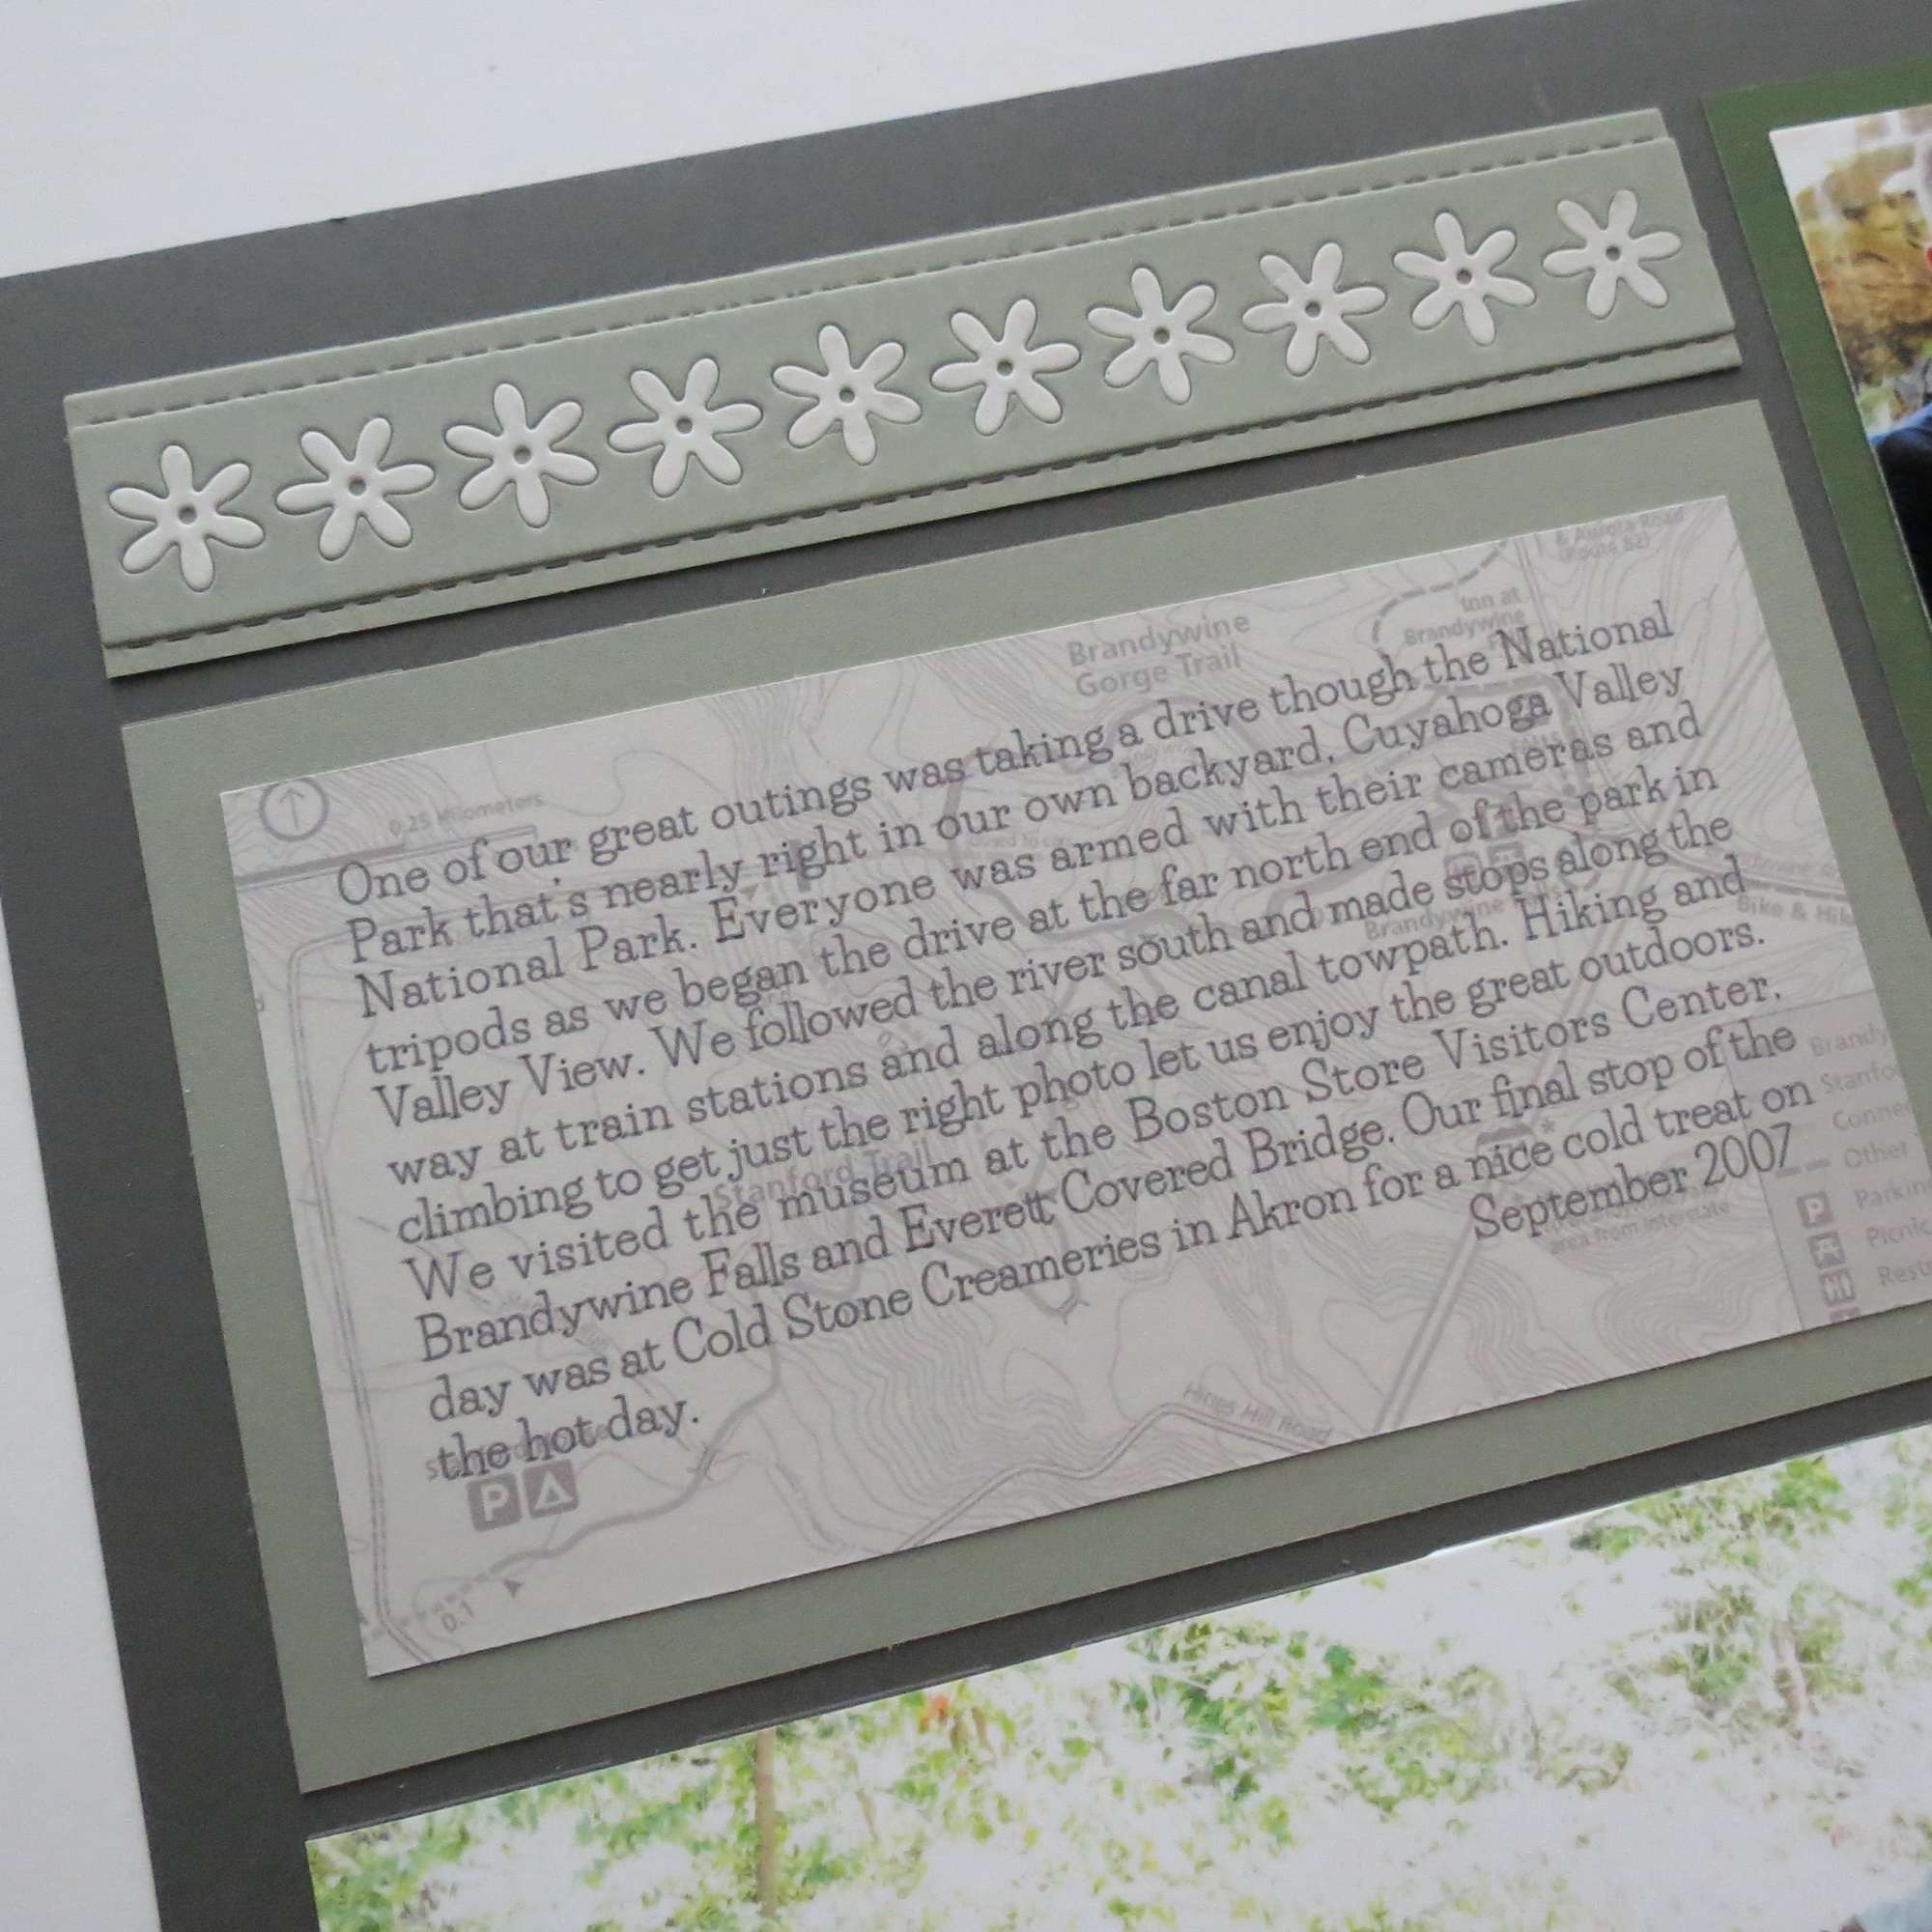
Mosaic Moments Refresher Course Technique 2 Journal block with map
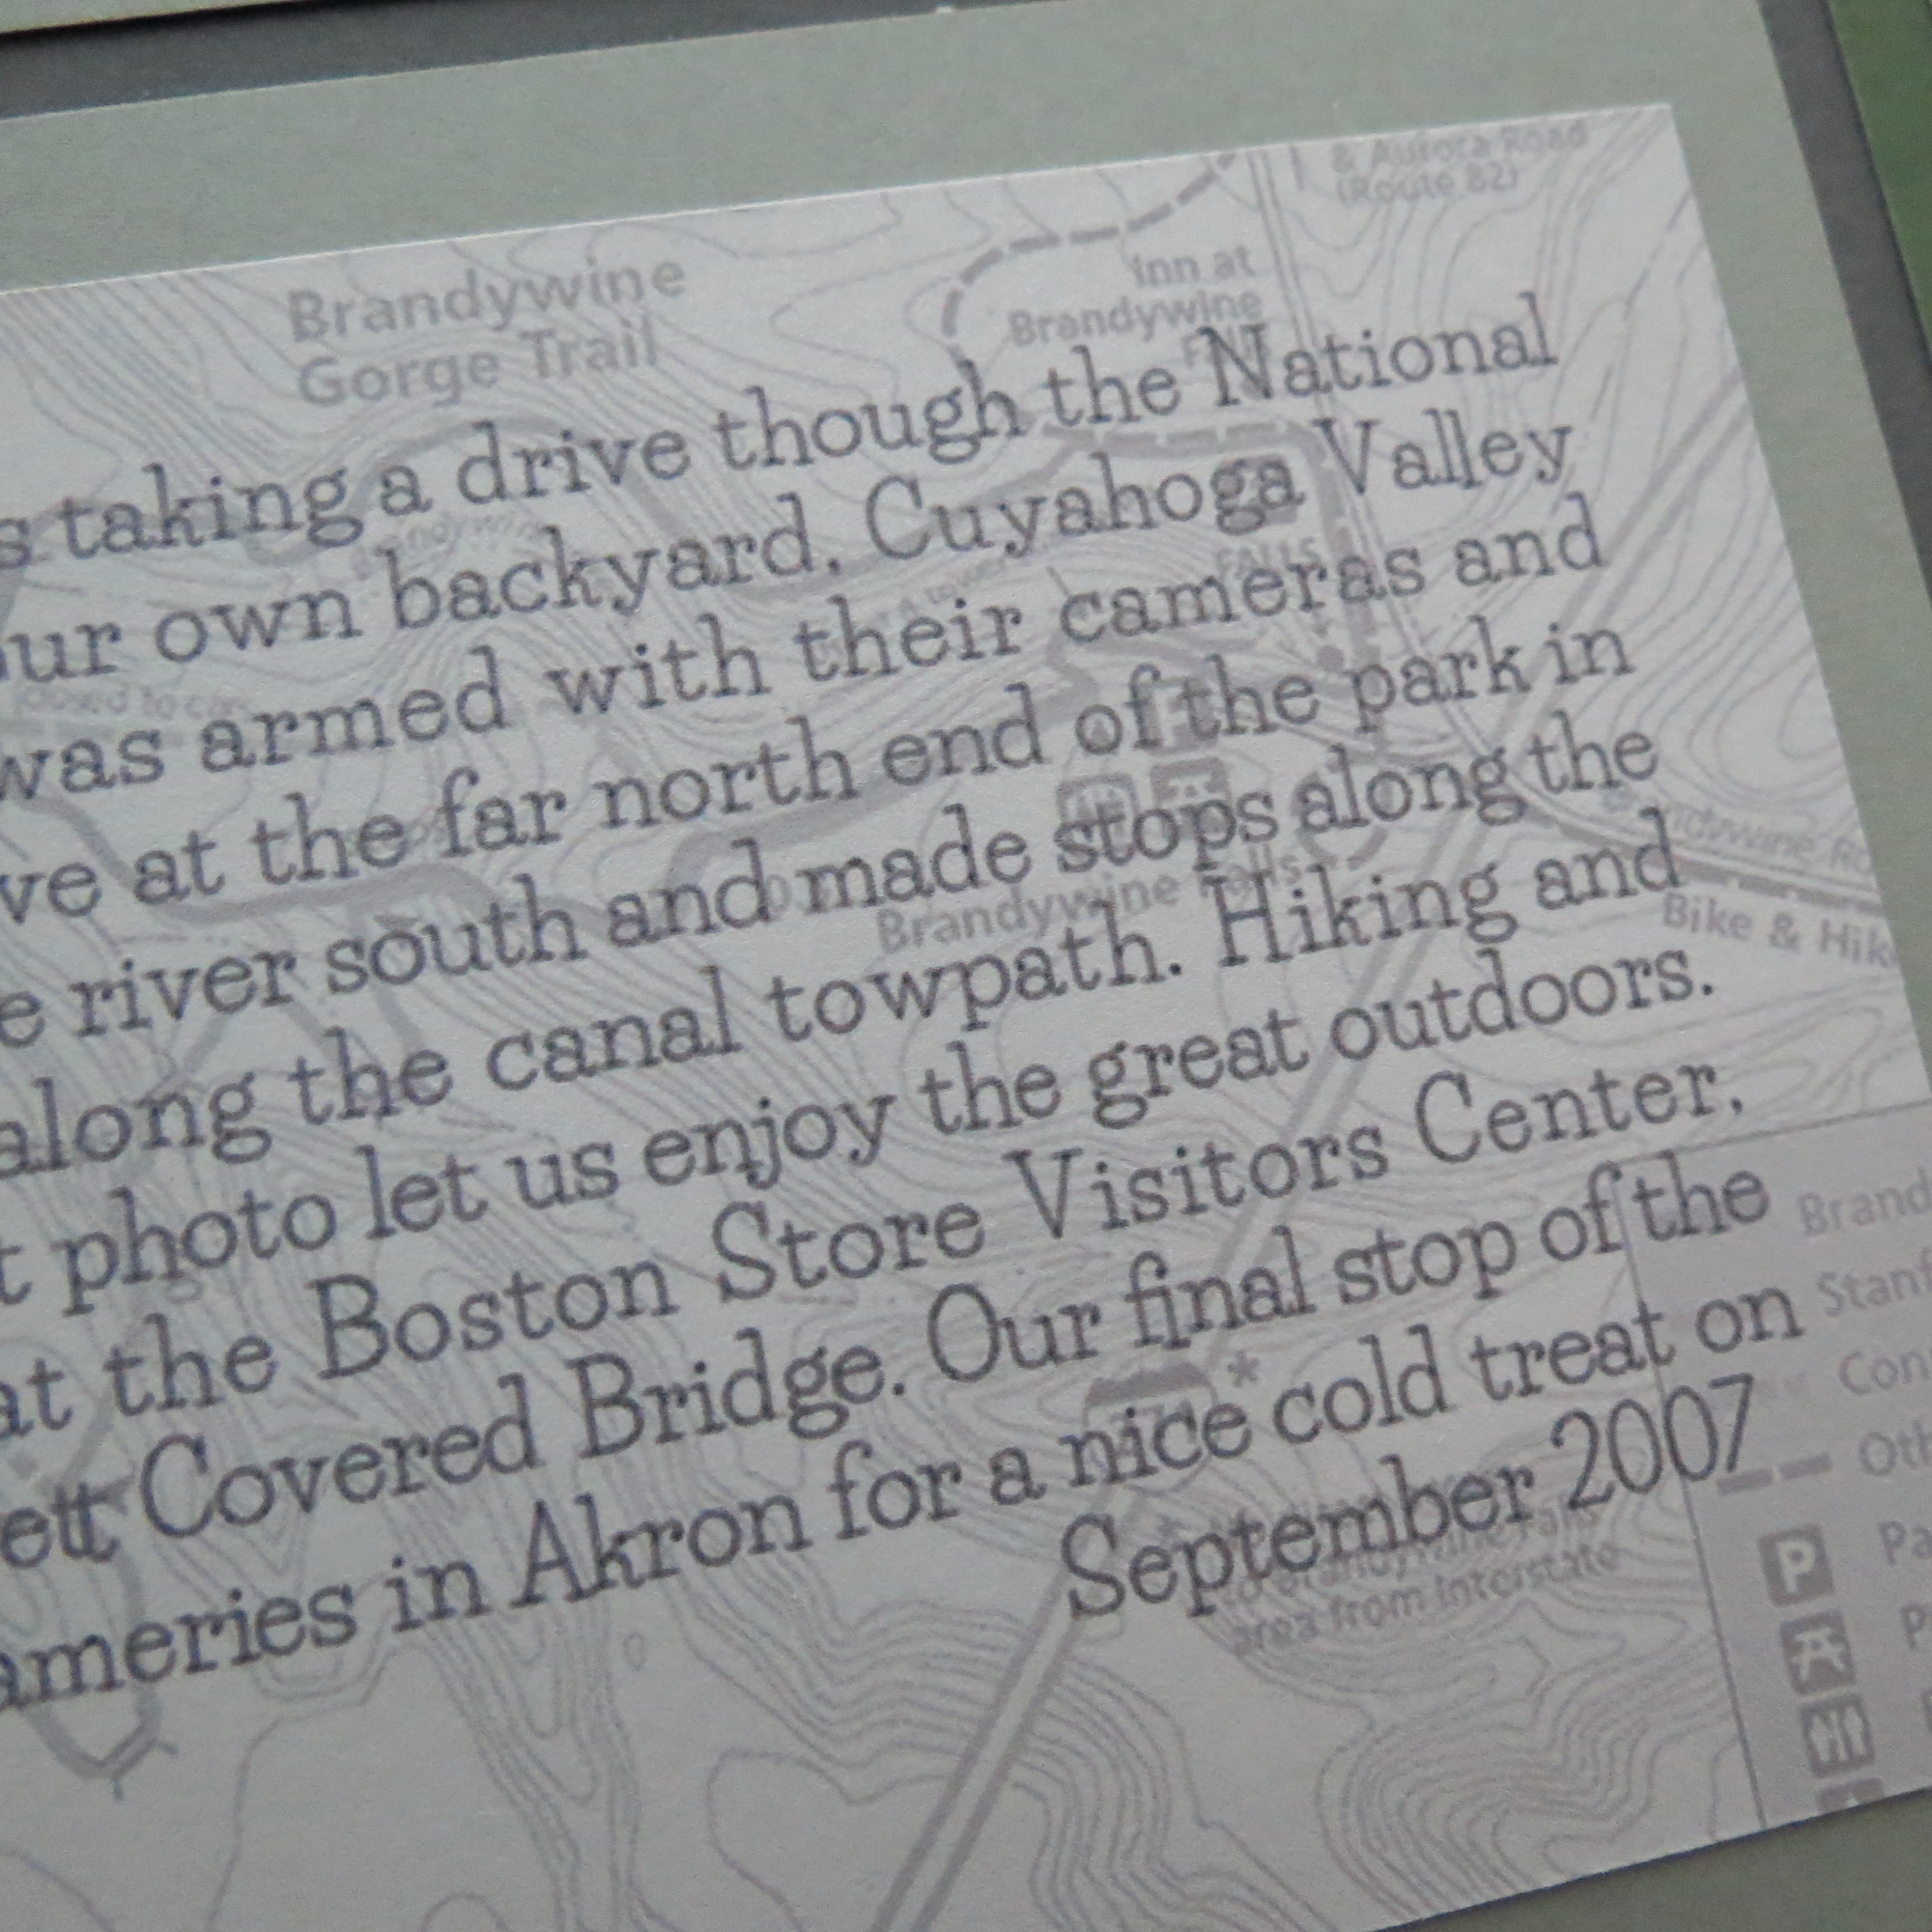
Mosaic Moments Refresher Course Technique 2 Journal block with map
What I did to make this journal block stand out was to take a copy of the park’s map and turn it to black & white. Then once placed in the journal block I reduced the opacity so it made a nice background for the story. Next, print, cut and mount!
I think you’ll like the richness of the Graphite Grey for your layouts so be sure to try it. If you have photos from trips to any of our National Parks it is a good choice as it compliments them nicely. Think about your great summer getaways and see how many ways you can incorporate these tips & ideas.
Mosaic Moments Refresher Course Graphite Grey Grids and Patterns #217 and #134
Andrea Fisher

Mosaic Moments Refresher Course Patterns #217 and #134 Daisy Rows and Layering Ribbon Dies