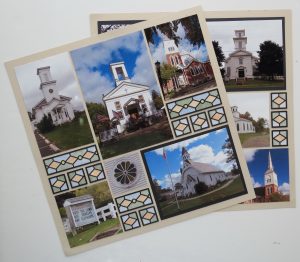
Featuring Mosaic Moments Beach Grid Paper and the Canterbury Border Dies
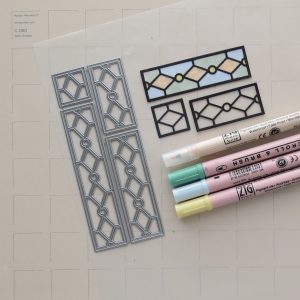
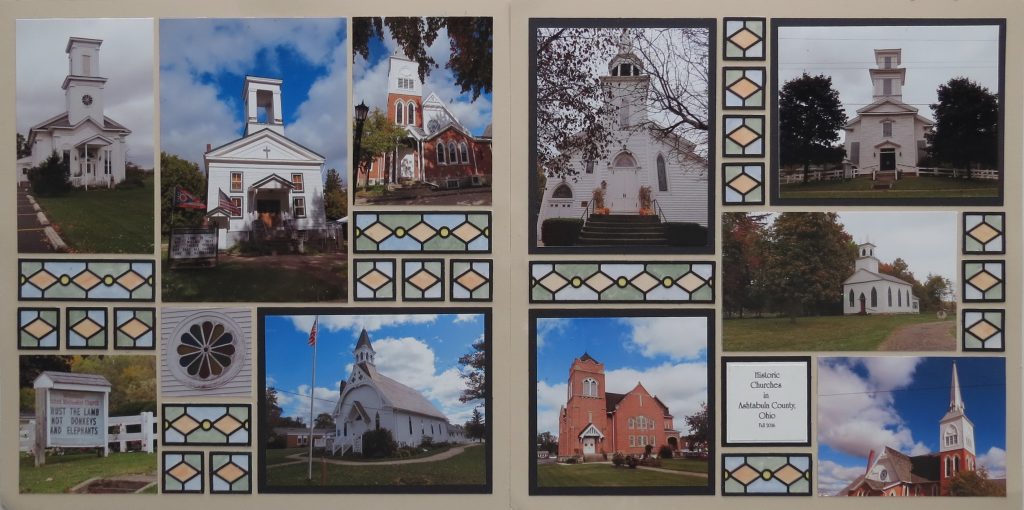
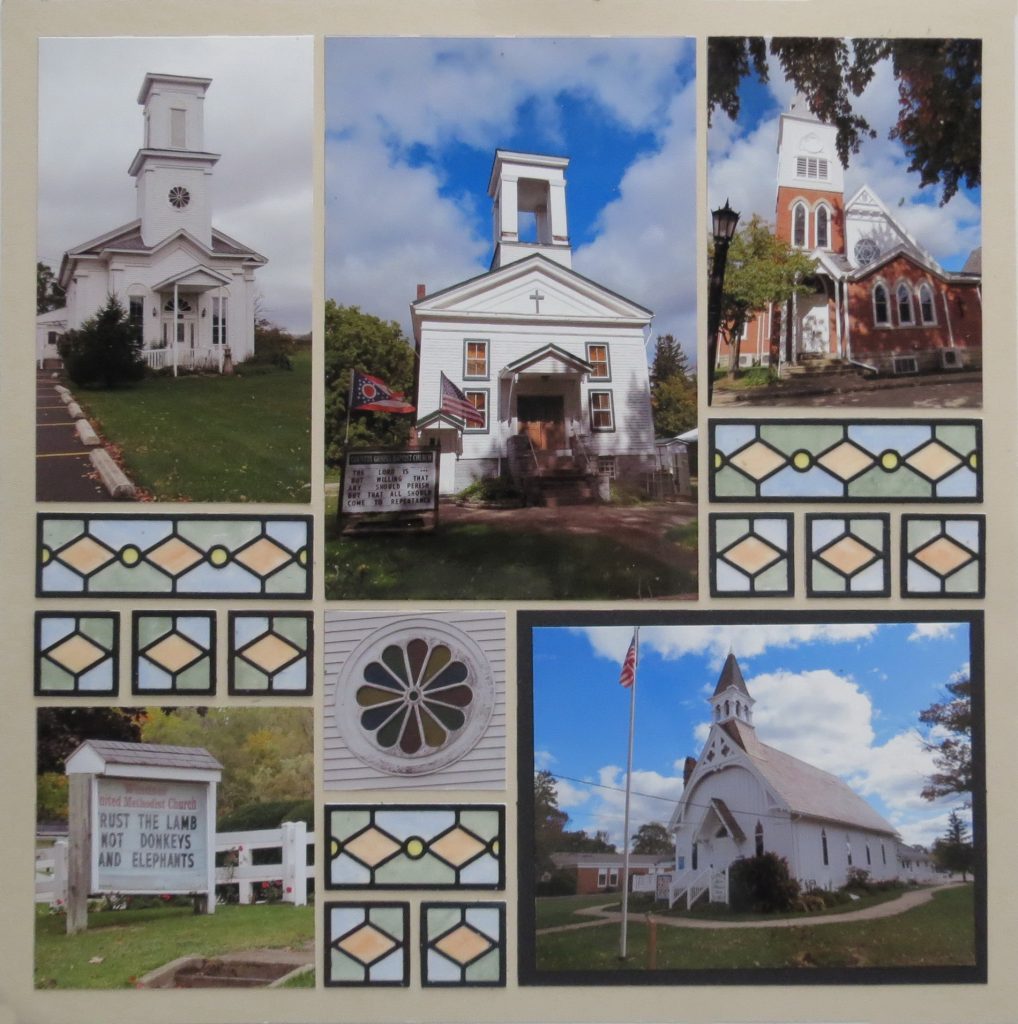
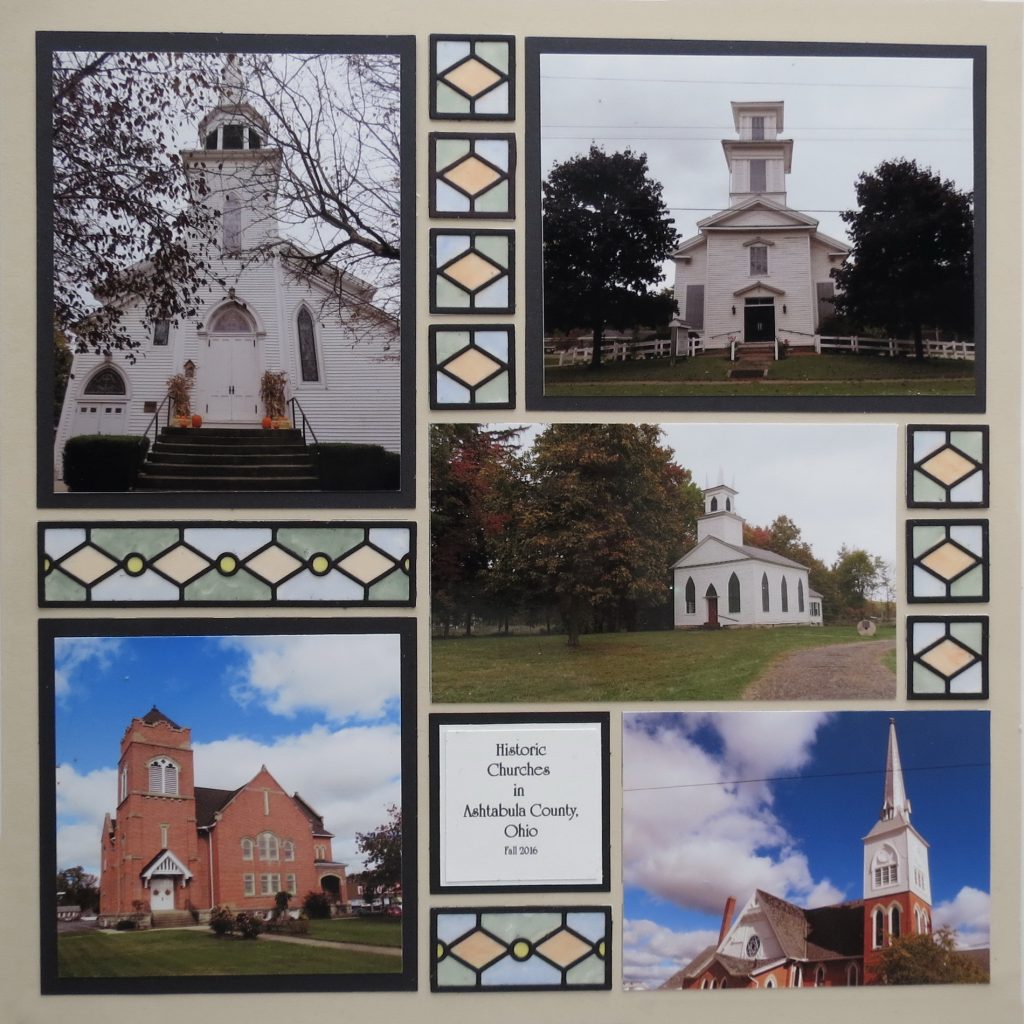
A drive through Ashtabula County yielded several different photo ops and today some of the historic churches were the perfect choice to show off the Canterbury Border set dies. This new die set is a four piece set of 1×1, 1×2, 1×3 and 1×4 strip pieces.
This layout will use the Canterbury Border Set Dies, Beach Mosaic Moments Grid Paper, Vellum, Black and White Cardstock and Zig Markers.
TIPS & TECHNIQUE
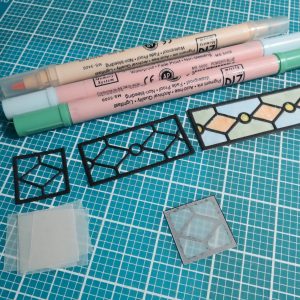
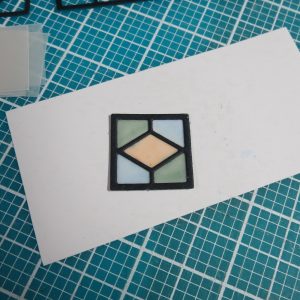
Each of the die sections are cut out of black cardstock. Sections to back each die are cut out of vellum and white cardstock. The vellum is attached to the back of the die cut.
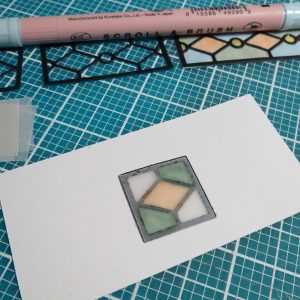
Using Zig markers I colored each section on the backside of the vellum. This diffuses the colors and works for the look you want. Don’t worry if it looks streaky it adds to the look of stained glass.
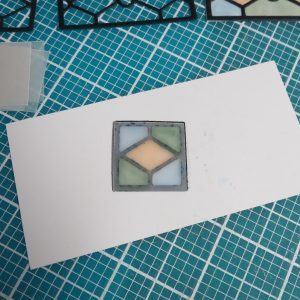
Mosaic Moments Canterbury Border Die Set All Zig colors on the backside of the vellum for diffused color
Once they dry, mount them on a white tile and adhere to the grid. I stayed with the same colors for each of the stained glass sections but you could chose to include a variety of color combos.
I tried liquid acrylic on some of the spaces and you can get an antique wavy glass look. I warn you it will warp the vellum for a while, but don’t panic it will settle down as it dries and you might just like it.
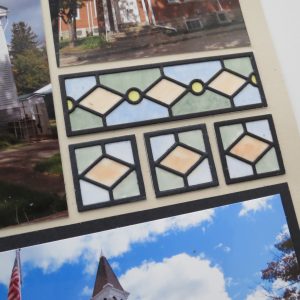
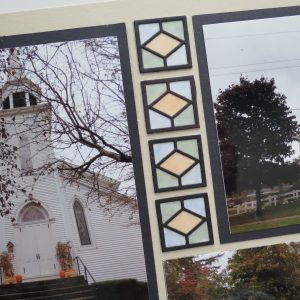
Using both the 1″ square Canterbury Border die and the 1×3 border section keeping the colors matching
Patterns #112 and #125, both puzzle patterns were used for this layout.
I did make a few changes to the patterns to accommodate the large photo I wanted to keep in one piece and turned two single squares into one 1×2 so that it would match the other page.
Most of the photos were cut to fit the grid, but the few that were too small and in need of a mat, black cardstock was used to tie in with the die cuts.
I think you’ll find the Canterbury Border Set Dies a great way to add design and color to your layouts something that works well for our layouts neutral colors of Beach and Black.
Andrea Fisher

