When you are ready to begin creating scrapbook layouts with the Mosaic Moments® system, you may find yourself at a loss of where to start.
The first thing you need is grid paper. Designed exclusively for Mosaic Moments®, this cardstock becomes the base of your layout. Thin lines are marked at regular intervals to keep everything straight and evenly spaced. And the dies fit perfectly on the grid.
Of course, you also need photos. With advancing technology, we have become better photographers, often zooming in on our subjects. When we print these photos as 4x6, they do not always fit in some of the specialty dies or smaller spaces.
But, that doesn't mean we cannot benefit from creating scrapbook pages with Mosaic Moments®. There are a plethora of page patterns and dies and that work beautifully with 4x6 photos. And, those pages tend to be quicker to finish as well.
So, we have gathered 12 different layouts that work well with larger photos so you can begin your Mosaic Moments® journey.
Focus on the Photos
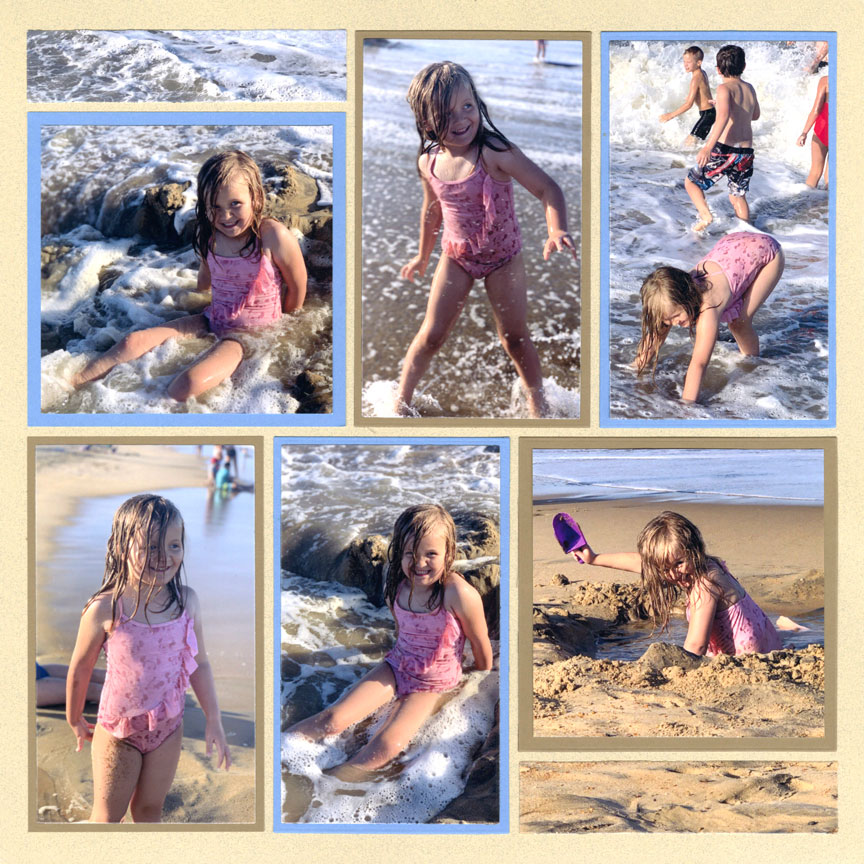
"Splash N Dig" by Danielle Lawson - Pattern #531
When you have beautiful photos, little else is required.
For this layout, Danielle simply matted her photos in soft colors and called it done.
Notice how the square photos have a thicker mat? These were done using the Basic Bundle. The photos with the thinner mat are created with a combination of the Basic Bundle and the Layering Die Set.
Go Mat-Less
Photos do not always need to be matted.
For this one, Jodi placed a mat under the center photo, but she simply cut out the others and placed them directly on the grid paper. This is a great option if your photo subjects cannot fit the layering die sizes.
If your main subjects are too large to fit into the smaller spaces, use a photo of a subject such as flowers. These type of photos are easier to crop small.
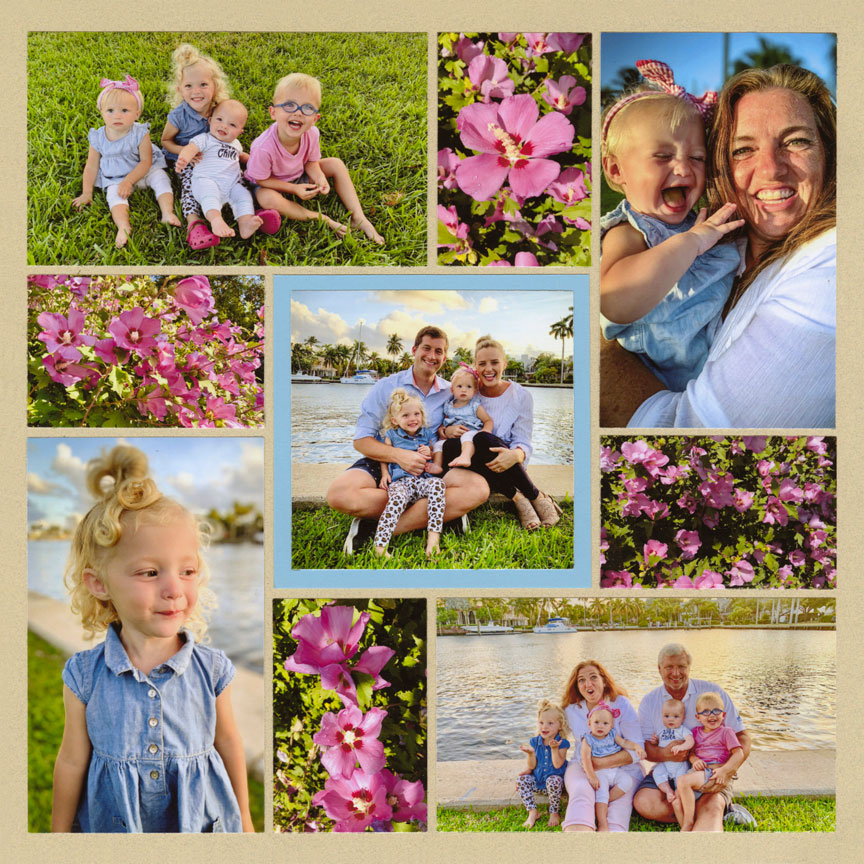
"Tropical Days" by Jodi Benson - Pattern #103
Include Pattern Paper
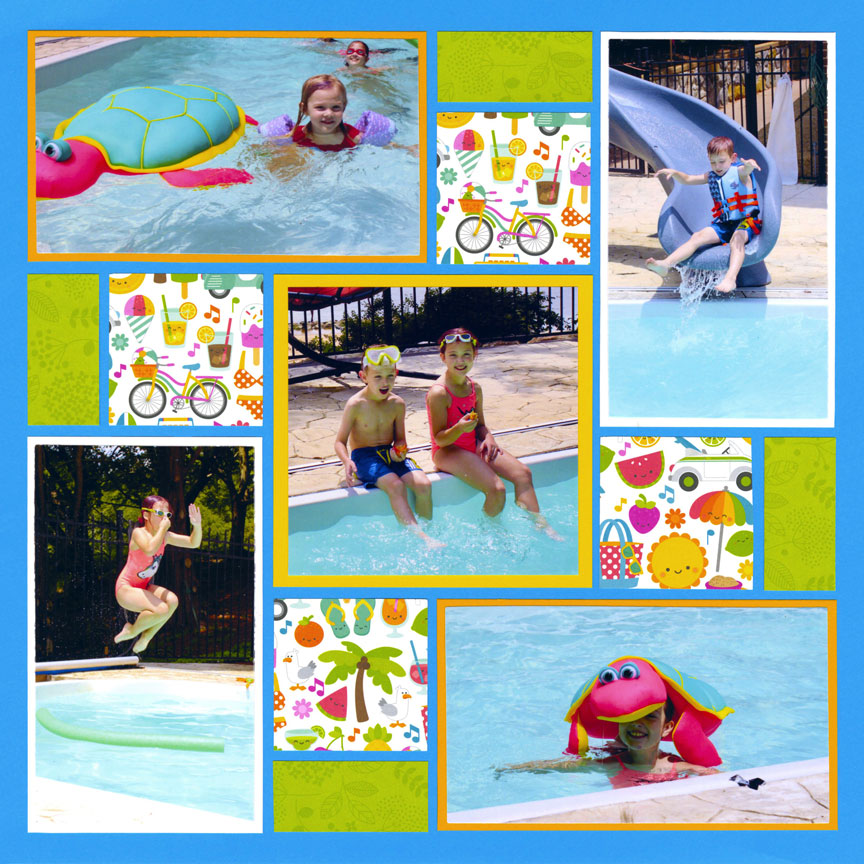
"Summer Fun" by Lauren Jones - Pattern #356 (slightly adjusted)
We love pattern paper and incorporating it into our layouts is a fun way to add to the theme or set the mood of our page.
Notice that Lauren placed her photos in the larger design spots. Since she did not have any to fit the small spaces, she used pattern paper instead.
Add a Decorative Die
There are numerous border dies that can be added to your layouts, like Paije did here. It is those extra touches that take scrapbook layouts from good to great.
Pattern 335 is a fabulous choice if you mostly have vertical photos. To keep this layout from being too dull, Paije included pattern paper and of course the border die makes it pop!
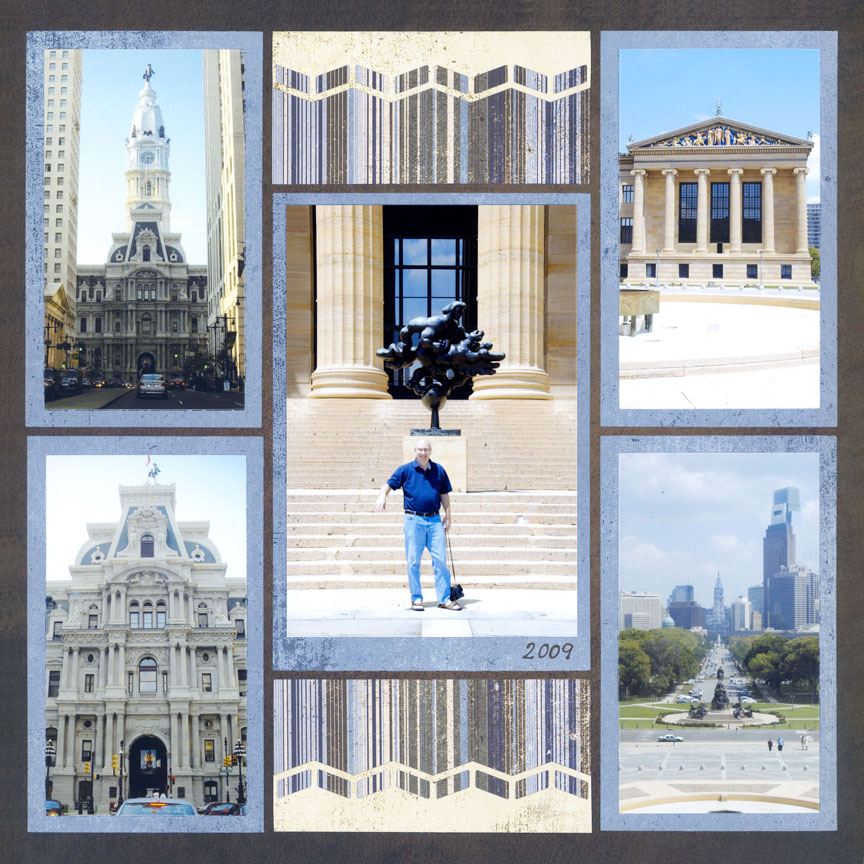
"Trip to Philly" by Paije Potter - Pattern #335
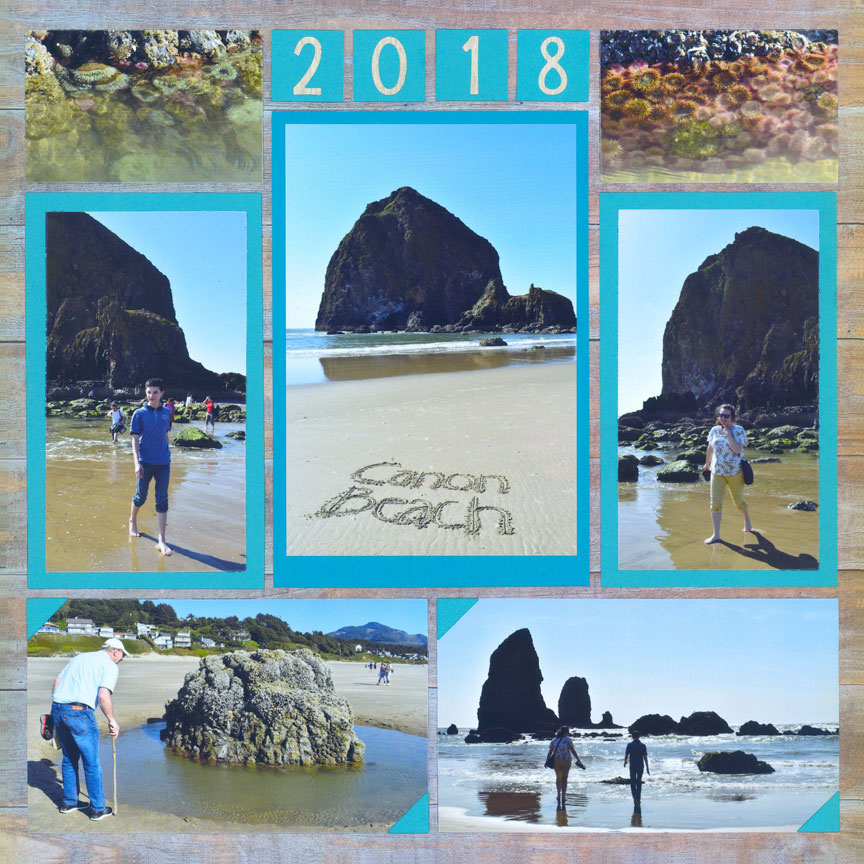
No Cropping Required
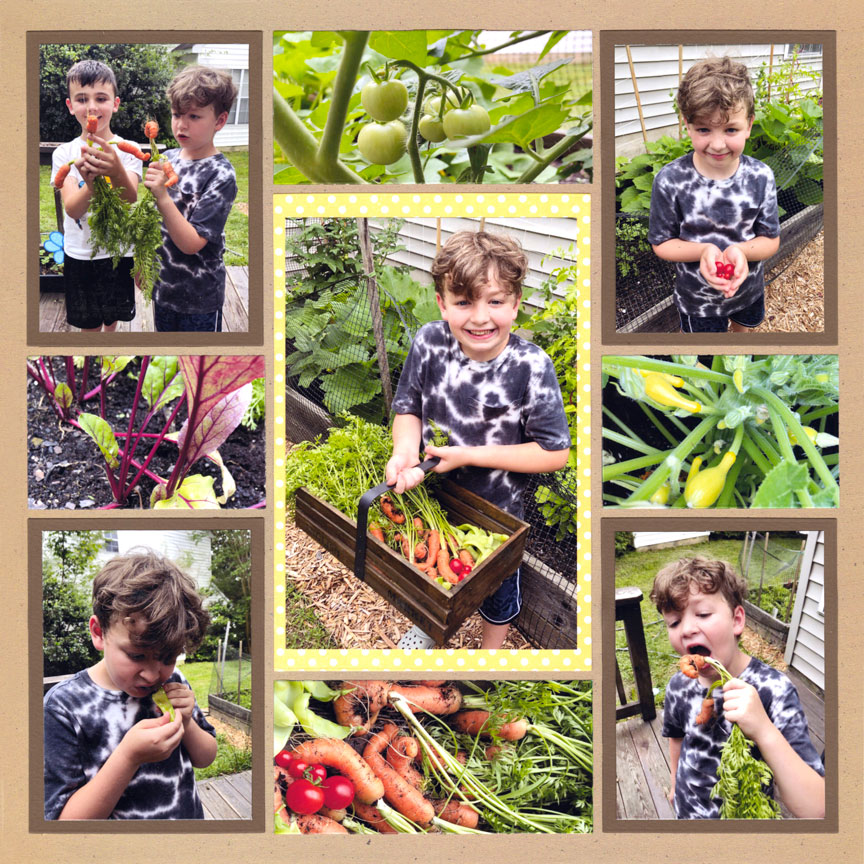
"First Harvest" by Danielle Lawson - Pattern #581
Photos printed at 4x6 do not perfectly fit the grid. They must always be trimmed down a bit.
However, when you do not want to trim the photo at all, you can place it on a larger photo mat, like Danielle did with the center photo on this layout.
It doesn't fit perfectly, but you can center it like she did here. Or, you can scoot the photo to one edge or the other and add journaling or stamp a decorative border on the larger side. See the "Go Off the Grid" layout below.
Accent with Photos
You can also fill in those small spaces on the layout with close-up photos of things in the area.
Here, Paije used pictures of flowers at the top of her scrapbook page. But, you could also do tires, graphiti, brick walls, fish, and well, just about anything else.
Tip: Don't have a lot of photos like the blossoms shown? Take a look at the background behind your subjects, such as a tree or a building. Using a photo program, crop that section and blow it up to fit a 4x6 photo. Easy way to get a detail shot for your layout!
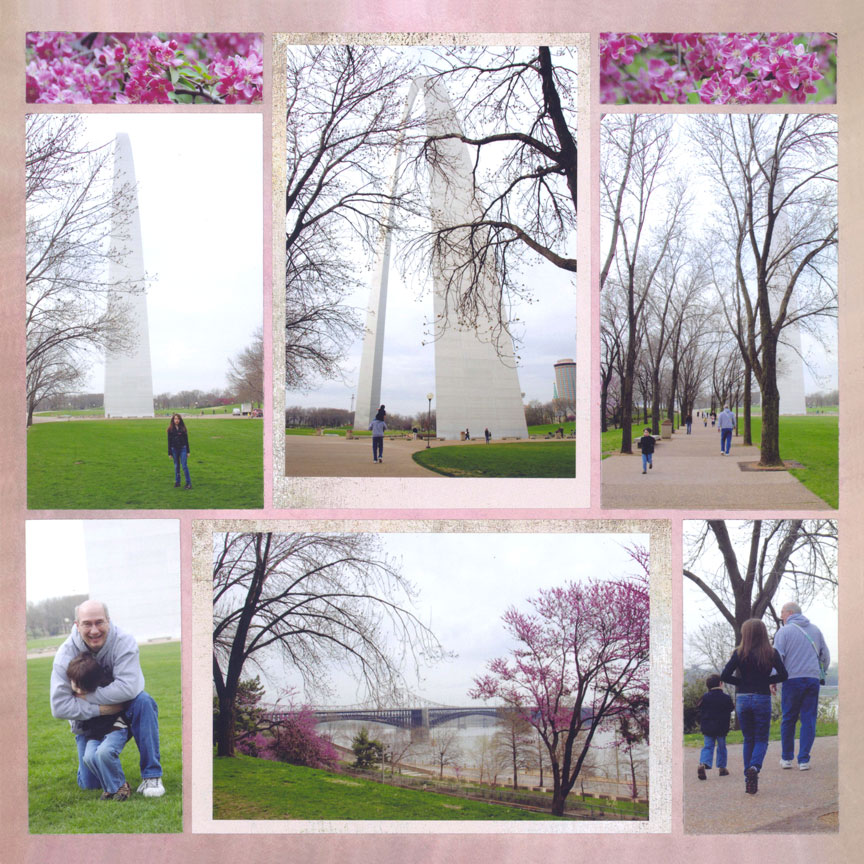
"Gateway Arch" by Paije Potter - Pattern #200
Add Numbers
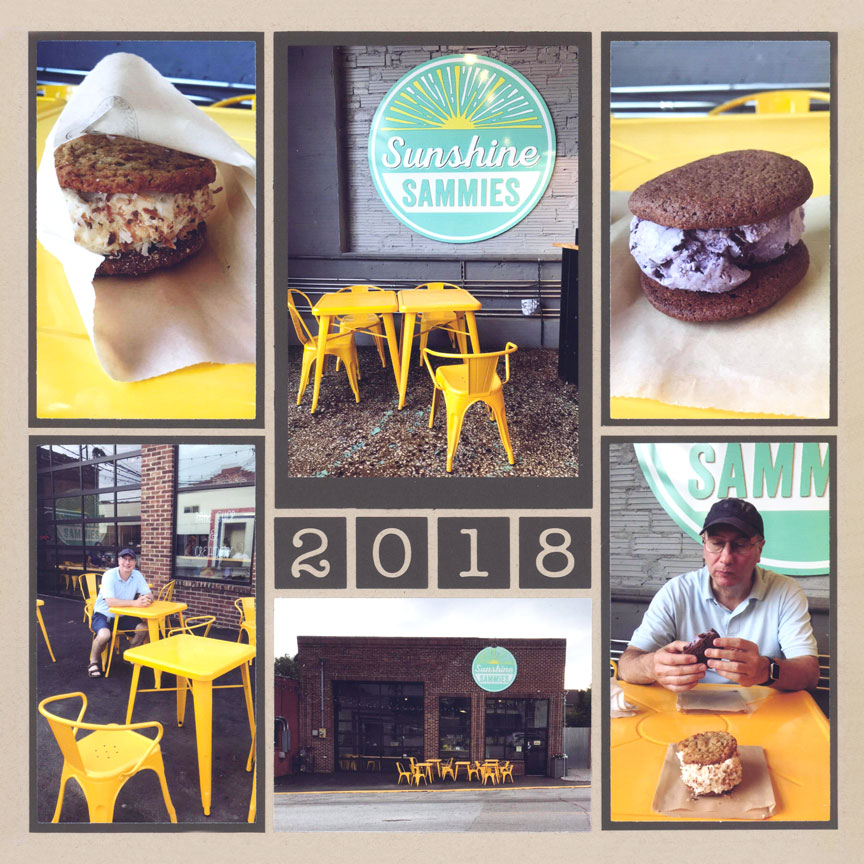
"Sunshine Sammies" by Paije Potter - Pattern #424
Many of the Mosaic Moments® alphabet and number sets can be used multiple ways.
Here, Paije used the square background for the numbers, letting the grid paper show through.
But, some of the sets also work as stand-alone digits so you can add them on top of a larger block, if desired.
Create a Frame
We love how Tami framed this layout with pattern paper. It provides a whimsical border while allowing the photos to really shine.
You could also use border dies to make a frame around the layout.
What's nice about this pattern is you only need four photos that can be cropped into squares. Notice how each of the portraits fit the space very well. Whether most of your photos are vertical or horizontal, it's likely your subjects could fit a large square space on the grid.
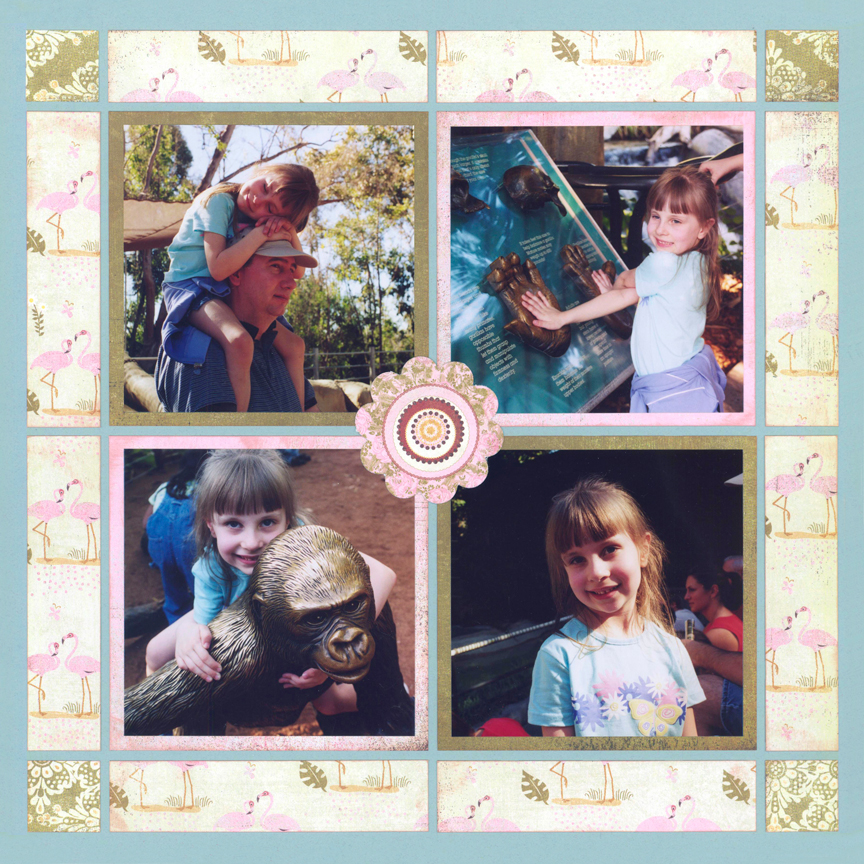
"Alexis at the Zoo" by Tami Potter - Pattern #102
Keep Everyone Looking In
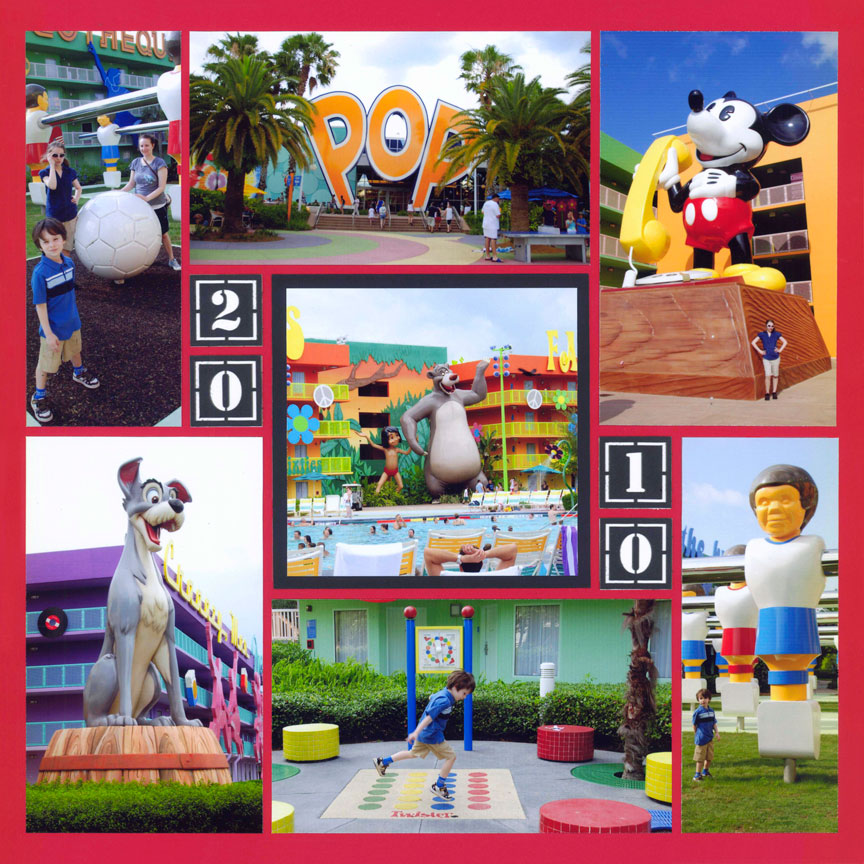
"Pop Century" by Tami Potter - Pattern #143
One of our beginner tips is this: If possible, keep all of your characters, or the subjects of your photographs, looking into the center of your layout.
Notice how Tami did this on her layout. It makes for a pleasing layout and encourages the viewer to check out the photos in the center.
Any 1x1 inch spaces on the grid can easily be filled with our dies, such as the Numbers 1 set here. Or they could be filled with pattern paper scraps.
Make a Pinwheel
Pinwheels are fun patterns to work with and since they include both horizontal and vertical photos, they tend to easily fit our pages.
For this one, Tami built the page around the Squirrel Cornerstone, but any 2x2 die or Cornerstone would work in its place.
If you are looking for a pattern that will fit multiple 4x6 photos, this one is your go-to! Pinwheel patterns are what we often use for the second layout for a two page spread.
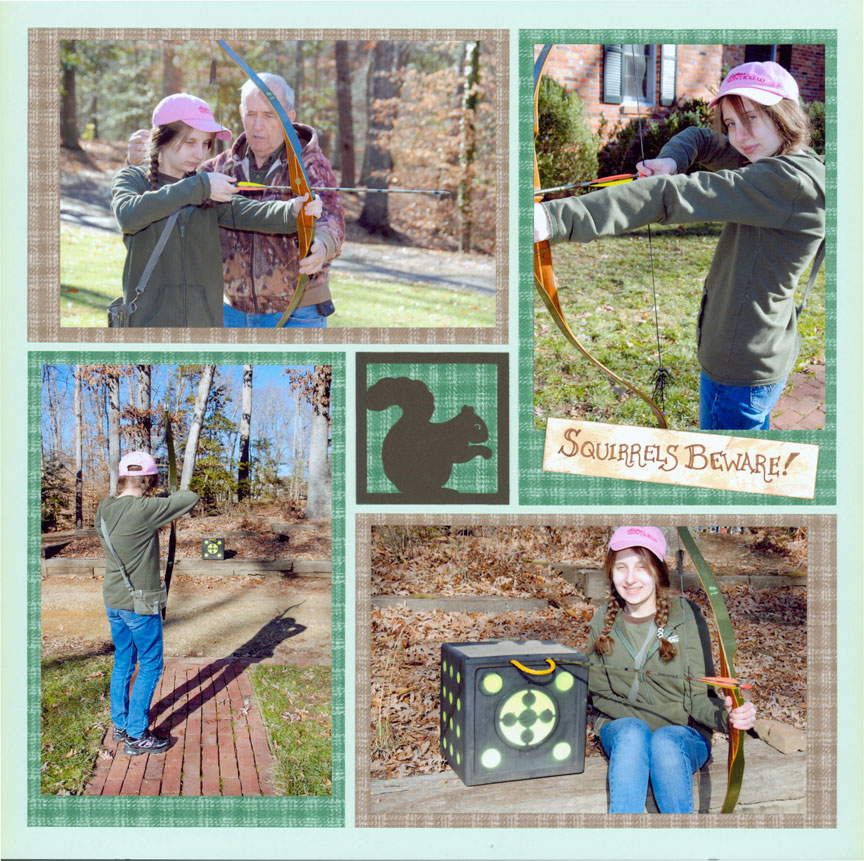
"Squirrels Beware" by Tami Potter - Pattern #228
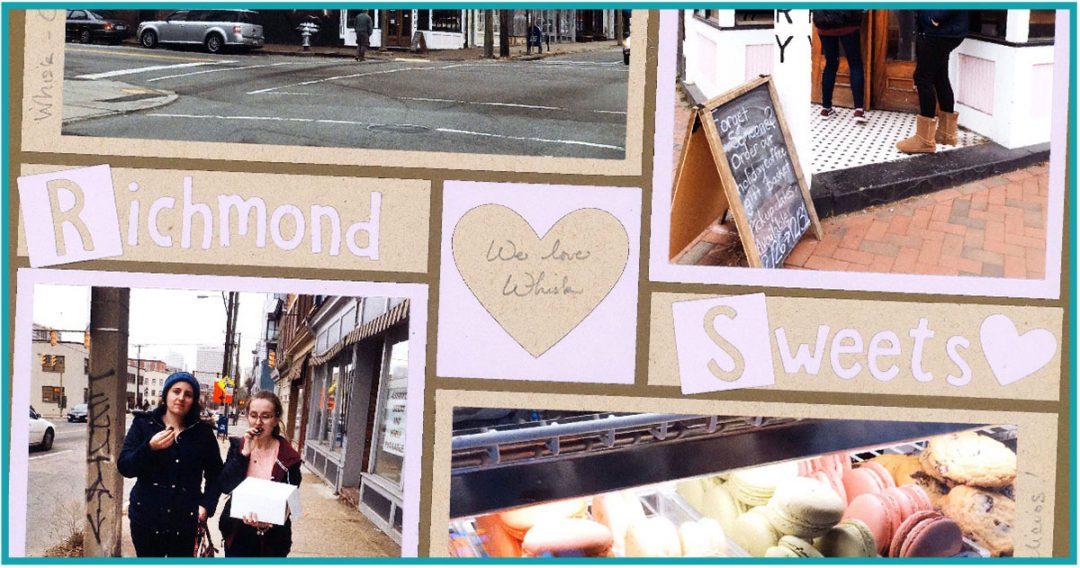
Go Off the Grid

"Richmond Sweets" by Tami Potter - Pattern #369
The only rule when working with the Mosaic Moments® system for creating scrapbook pages is that all of the grid lines must be covered. After that, you can do whatever you choose.
We love how Tami went a bit off the grid here, placing the capital letters a little off kilter. It's fun to experiment and do what works for you.
This pattern is similar to the one above and fits larger photos. Use this option if you would like to add a title.
Add Corners
For just a little hint of color, try adding photo corners to some of your photos or other elements on your layout.
Here, Paije added photo corners to two of her pictures. Her photos were a little too tight for the layering dies so she added corners instead of using mats. She only placed them on two of the corners, but you could certainly do all four. It adds a finished-art sort of look to the layout.