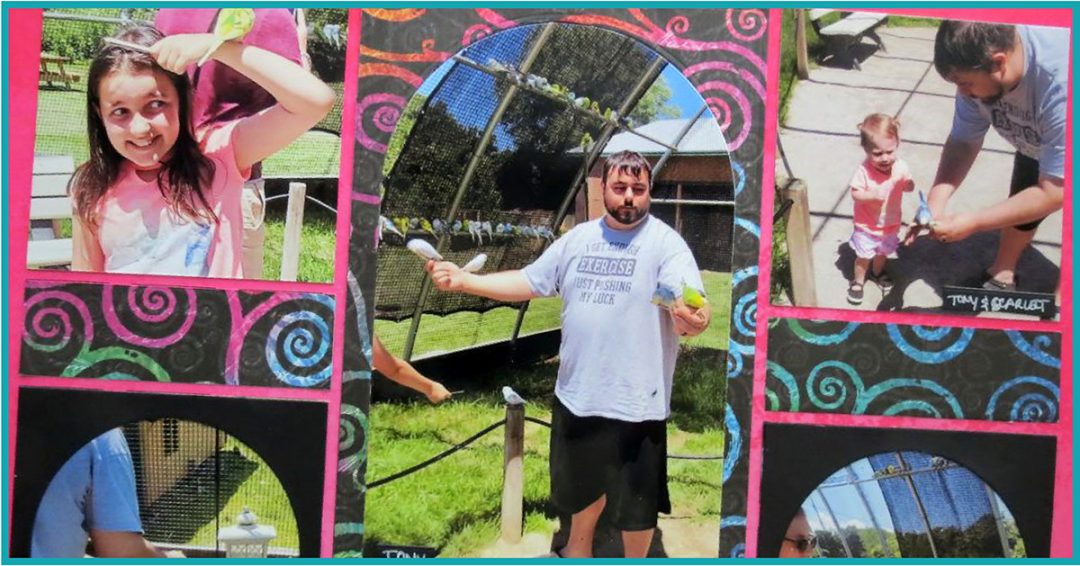
African Safari, Port Clinton
What I love about the Arch Dies is that they make a perfect frame for formal occasions like weddings, but they can be perfect for summer fun activities and travel, too. Let me take you on a wild adventure with bolds, brights and blends for showcasing two arch dies from Mosaic Moments with the grandkids and their cousin’s trip to African Safari: Part 1 – The Birds!
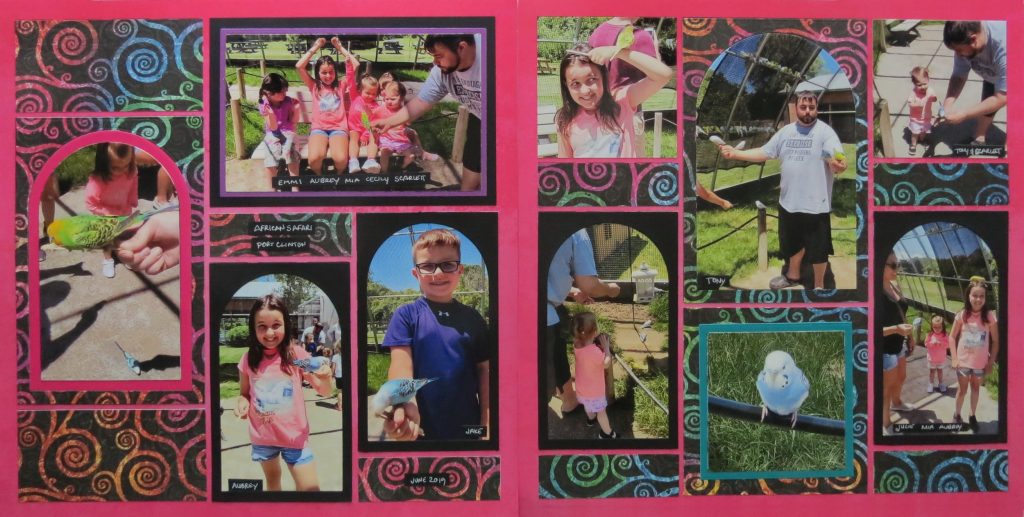
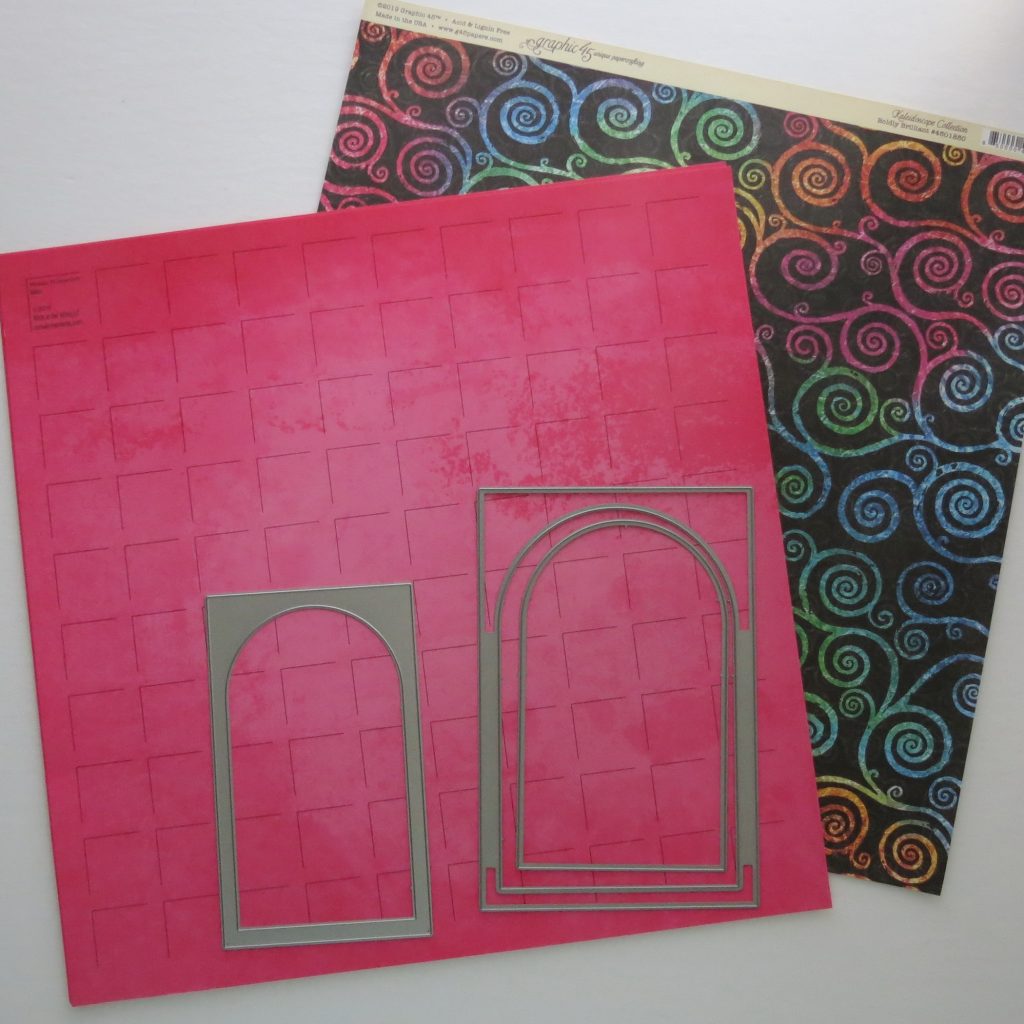
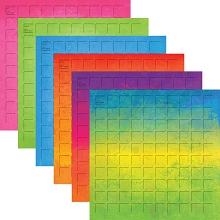
I’m building the page on a bright pink blend, “Bikini”, from the Summer Collection of Mosaic Moments Grid Papers and paired it with “Boldly Brilliant” from Graphic 45’s Kaleidoscope Collection. Solid black cardstock for the 3×5 Arch frames and the 4×6 horizontal photo and then bold brights from the Best Occasions Primary Pack (Walmart) for the inner layer of the 4×6 Arch and mats for a few of the other photos round out my materials.

Two patterns that worked well together for the amount of vertical and horizontal photos I had and then a few that could be improved by squaring them off were a puzzle pattern #139 and a columns pattern #420. Each pattern also included several 1×3 sections just right for the pattern paper and my minimalist tagging/journaling. Because this is the first of several vacation layouts I will reserve spots on other pages or a title page to introduce the whole trip narrative. This is enough to introduce the players.
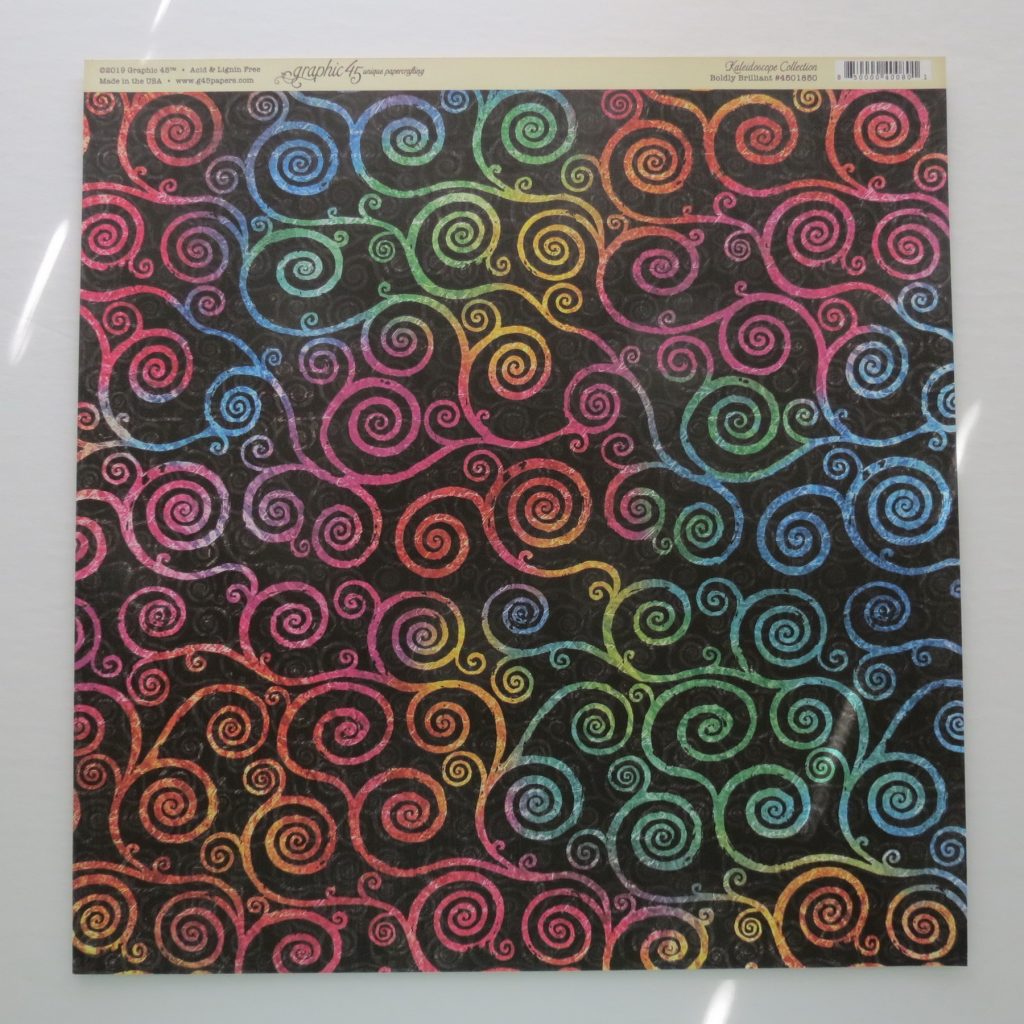
I have used one sheet of the patterned paper to cover all the spots I want it to on both pages, and even have a bit left over that may be added to another page in the album.
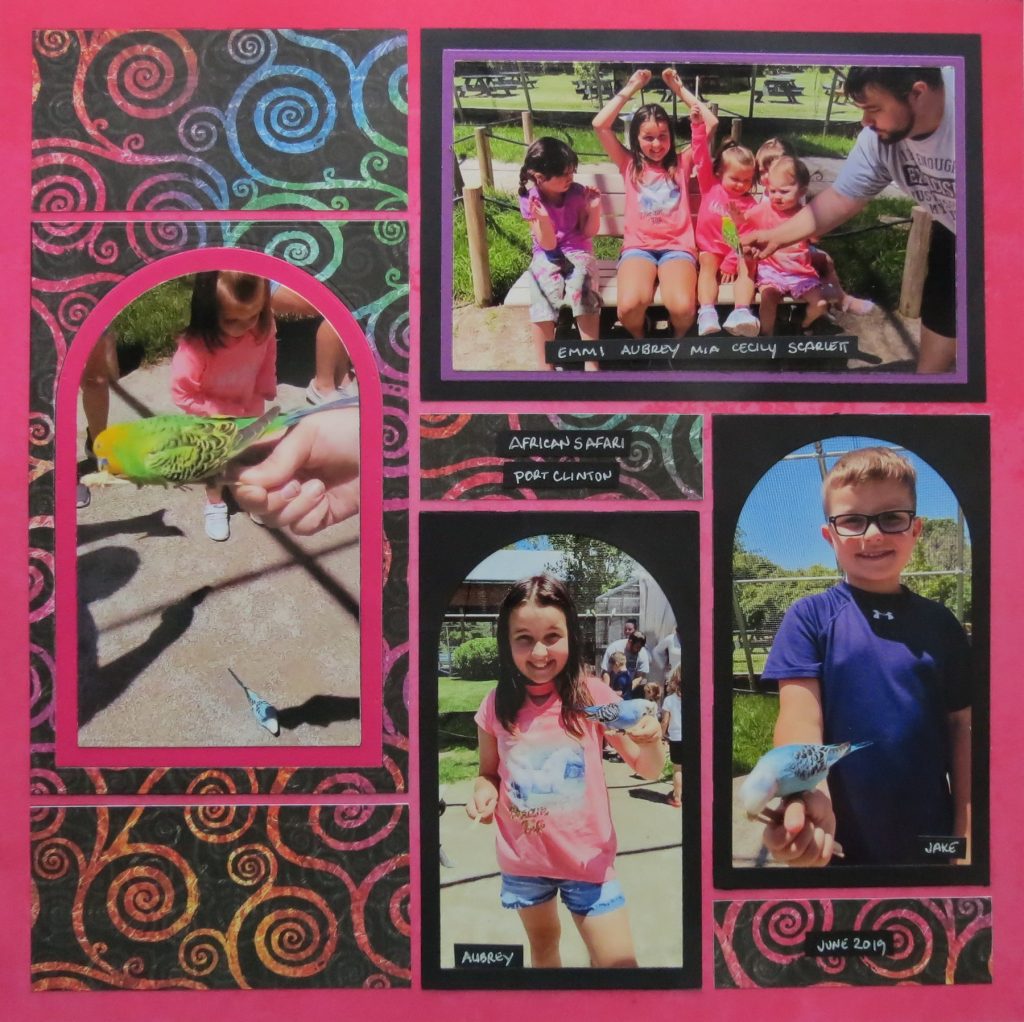
I began by cutting two 4.375” columns. The first column was then cut into 2.125”, 6.625” and 2.125”. This will be for the left-hand column on page one (Pattern #139) and the pattern will flow continuously top to bottom.
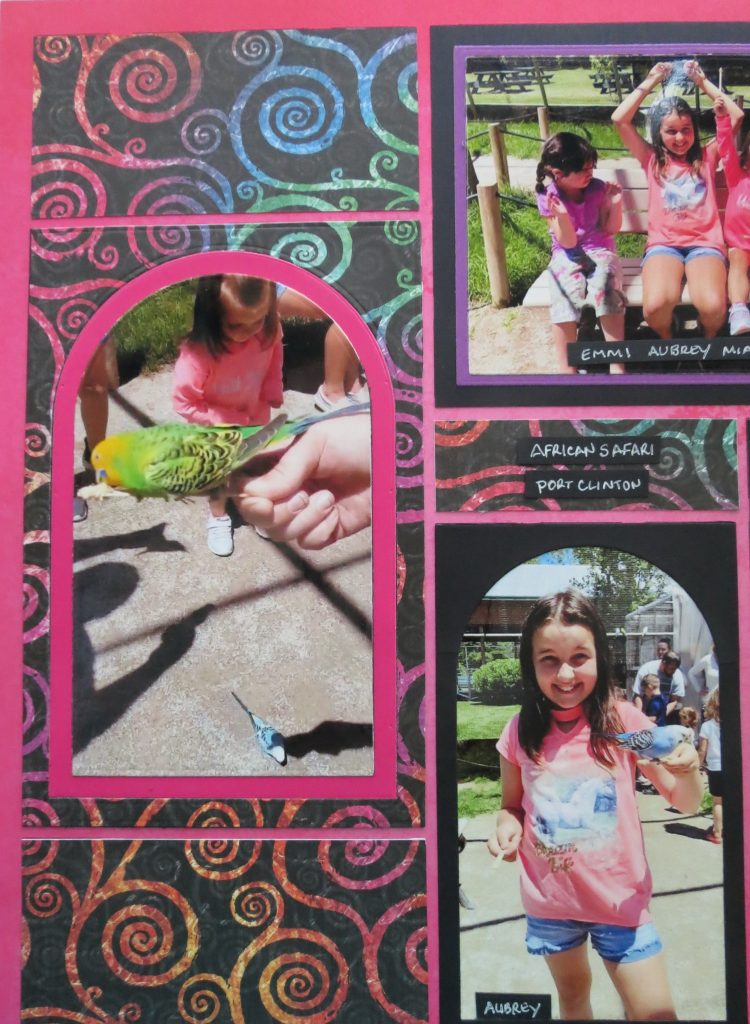
The larger section I cut with the 4×6 arch die and used a 4×6 block base to attach the section to in order to keep the shape from stretching or twisting out of shape and make it easier to mount onto the grid paper. Another cut from a bright pink fills the space and the photo is cropped using the smallest layering die. From the patterned paper center of both arch sections, I used that to cut the 1×3 blocks for the spots on both pages.
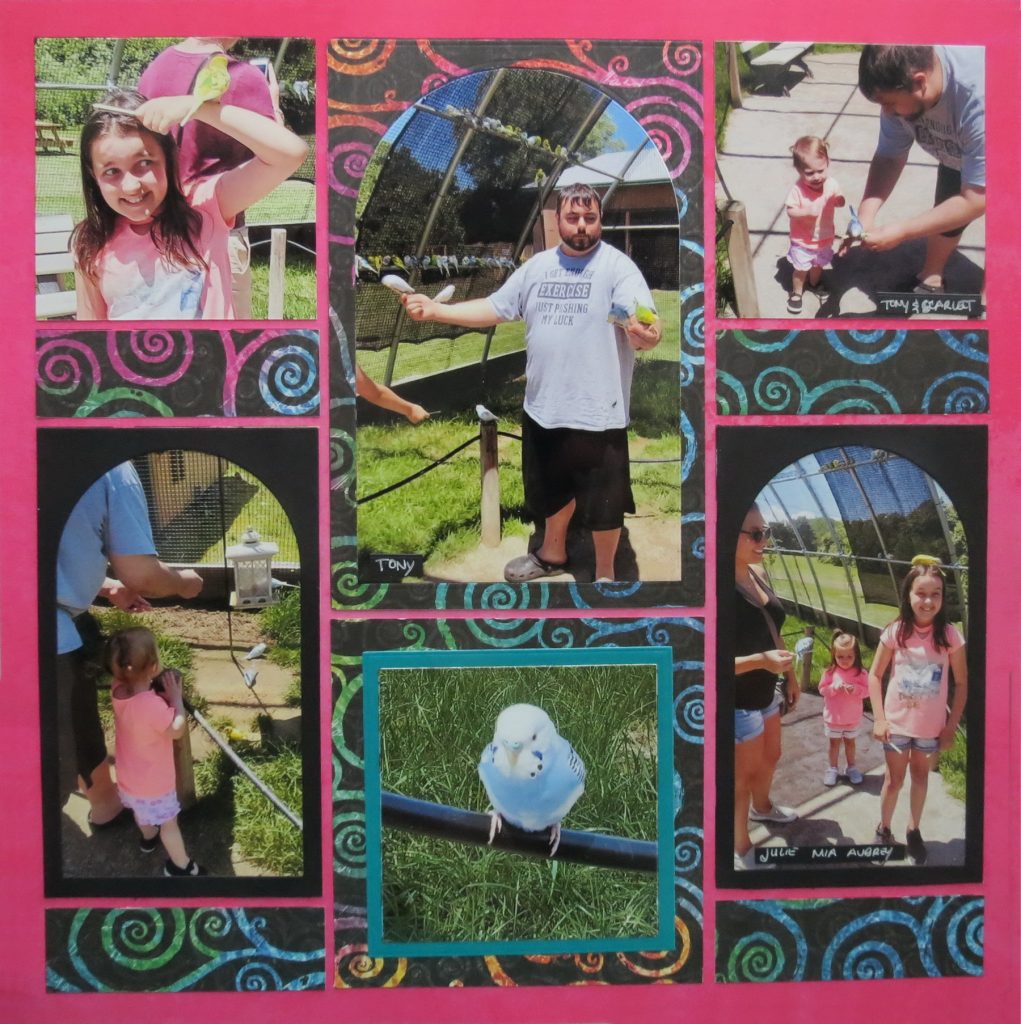
The second strip of patterned paper will be placed in the center column of Pattern #420 and here I will fill the arch with the photo and not use a layer. I’ve only made two cuts for this 6.625” and then 4.375”.
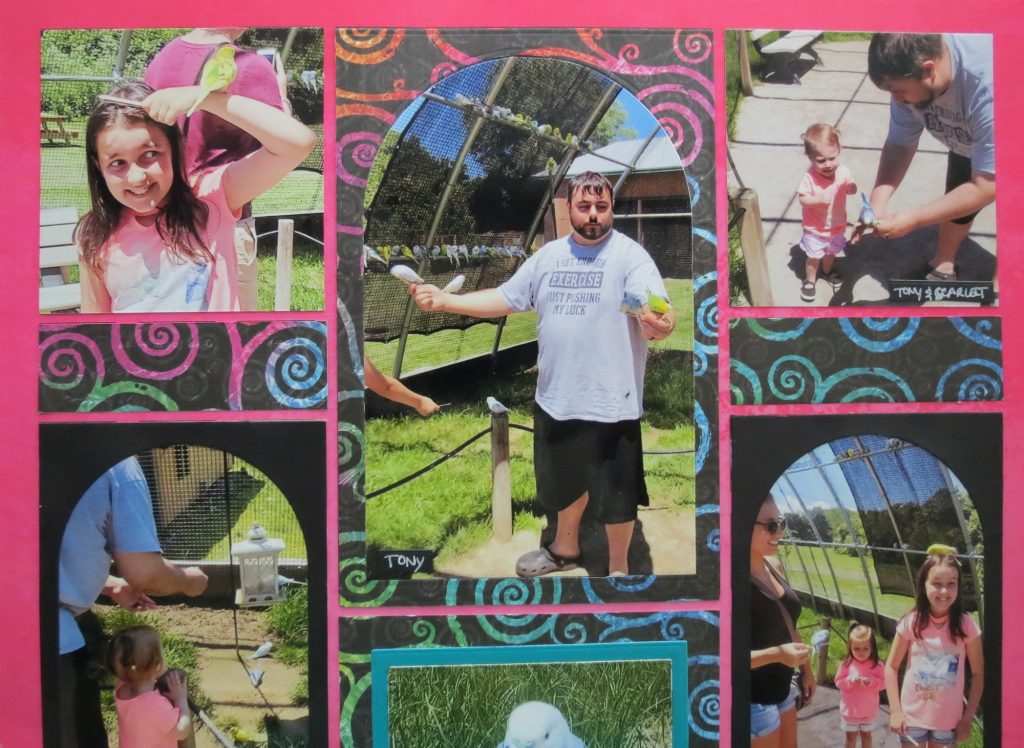
The 4×4 block below this arch continues the pattern but with a wider border to stay closer in size to the Arch die’s border. I did need to trim my photo down to accomplish that and then I decided a pop of color mat would help to separate the colors of the paper and the photo drawing attention to that photo with the mat.
I’ve used narrow black strips to tag the photos with names and attach directly to the photos; a white gel pen makes this easy to see. I planned on adding a touch of journaling to one of the 2×4 blocks on the first page, but switched to narrow strips of black with white lettering in the 1×3 blocks and allow the paper’s pattern to really stand out.
I think what I loved the most about using the Arch Dies for this page was how the arch blended smoothly into the arched cage in the photos that they were in interacting with the birds. Talk about great opportunities to use the Arch dies!!
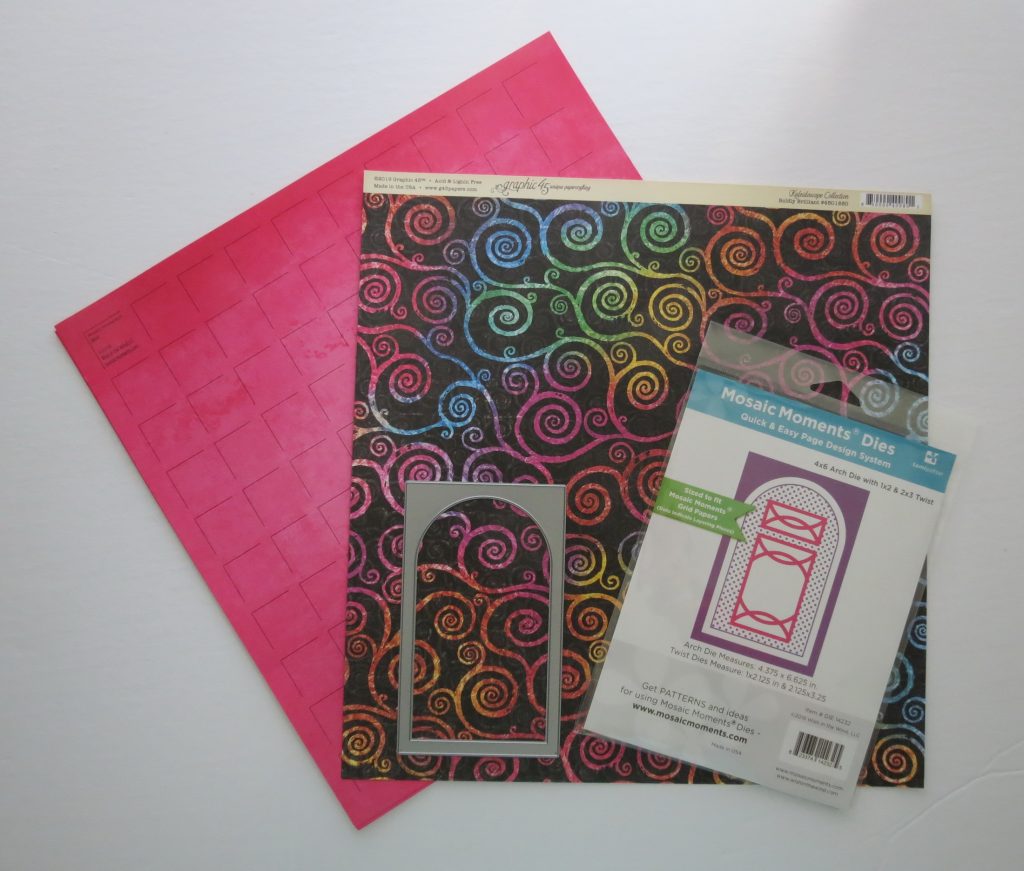
The pattern paper I’ve used really pops off of the Bikini Grid Paper. The colors in it work nicely in picking up a lot of the colors form the kids clothing. The black Arches and mats help to keep it from being too busy. While the color layer mats join the colors of all together and help to focus on the subject.
I hope you are trying your Arch Dies out and seeing what fun ways you can dress up your pages. Be sure to break out those summer colors of grid paper for a little bit of “wow” for all your summer activities.
Andrea Allan Fisher

