

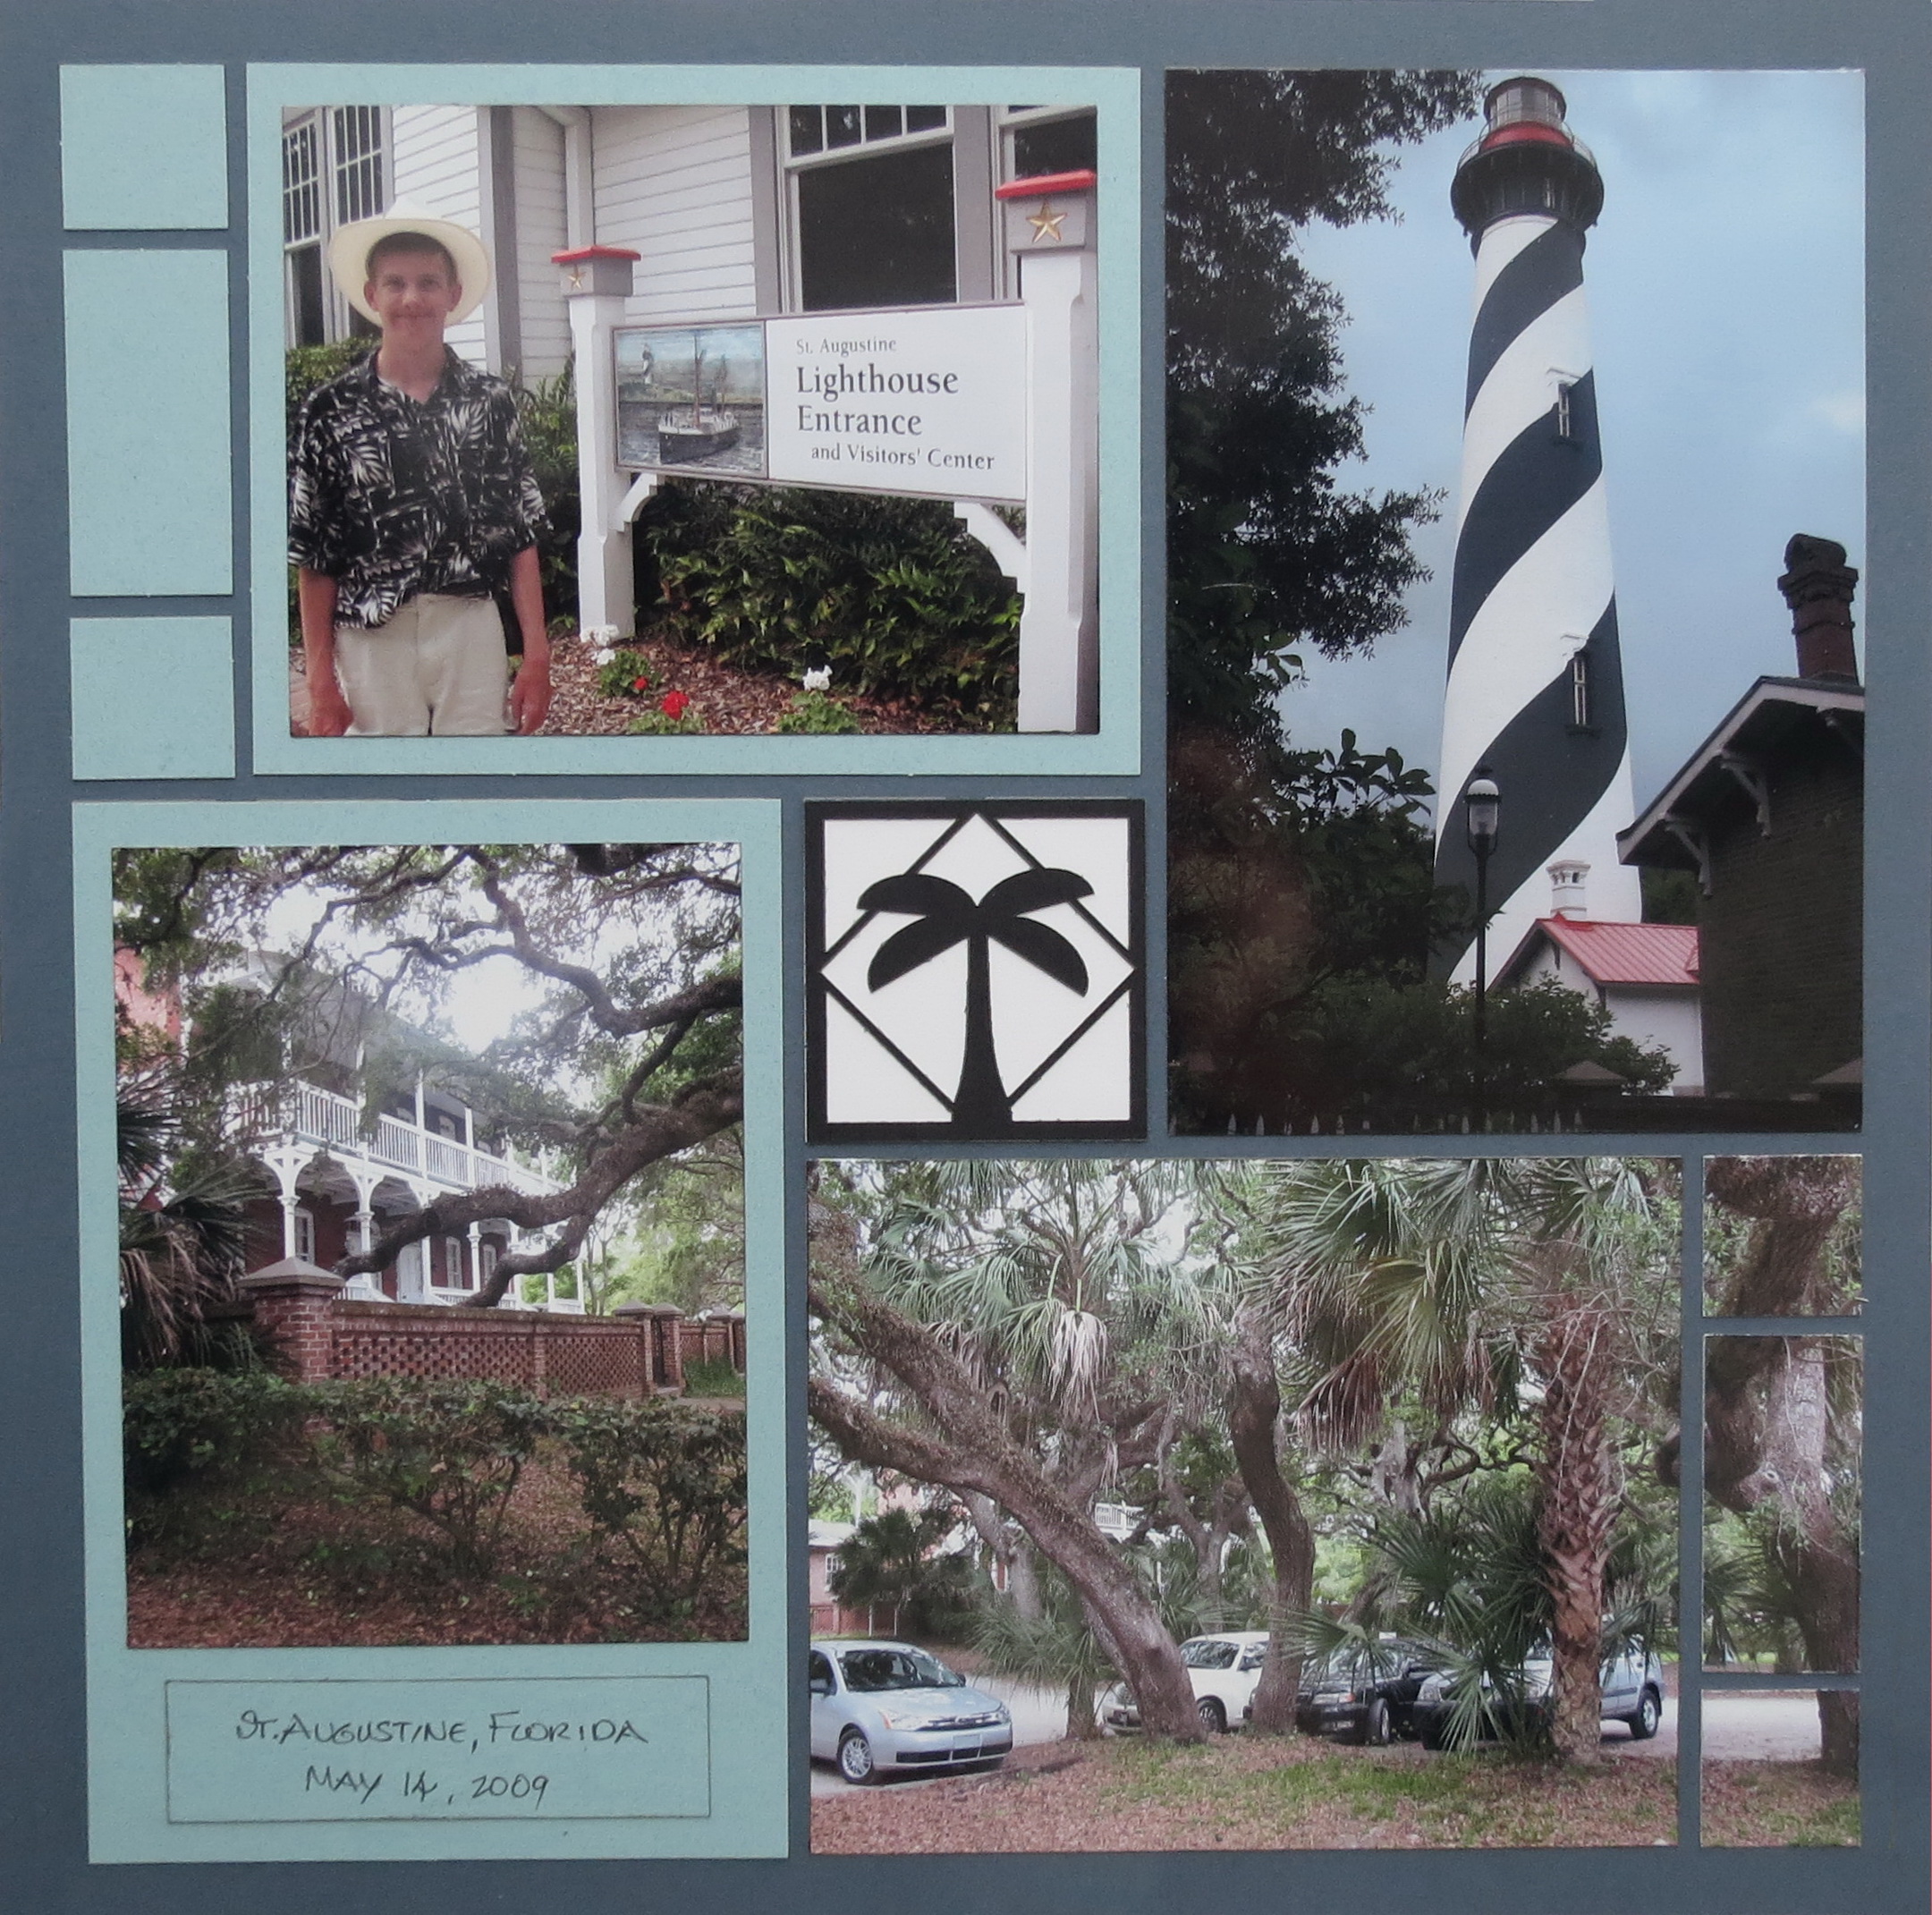
Double Pinwheel Layout: Tips for Fitting Photos to the Grid
This week a pair of pinwheel patterns from our Pattern Gallery will help to show a few tips on using larger pattern areas and fitting odd sized photos to fit into the grids.
Supplies:
- Mosaic Moments Grid paper: 12×12 Storm
- Paper Tiles are Robins Egg
- Palm Tree Corner Stone Tile
- Patterns #117 and #103
- The dies being used in the patterns are from Dies Sets A, B and C.
Some printing services will give you photos printed as a 4”x 6”; the photo is cropped to make the smaller digital photo fit into the 4” x 6” format and may account for what you remembered shooting and how it actually prints out.
Examples:
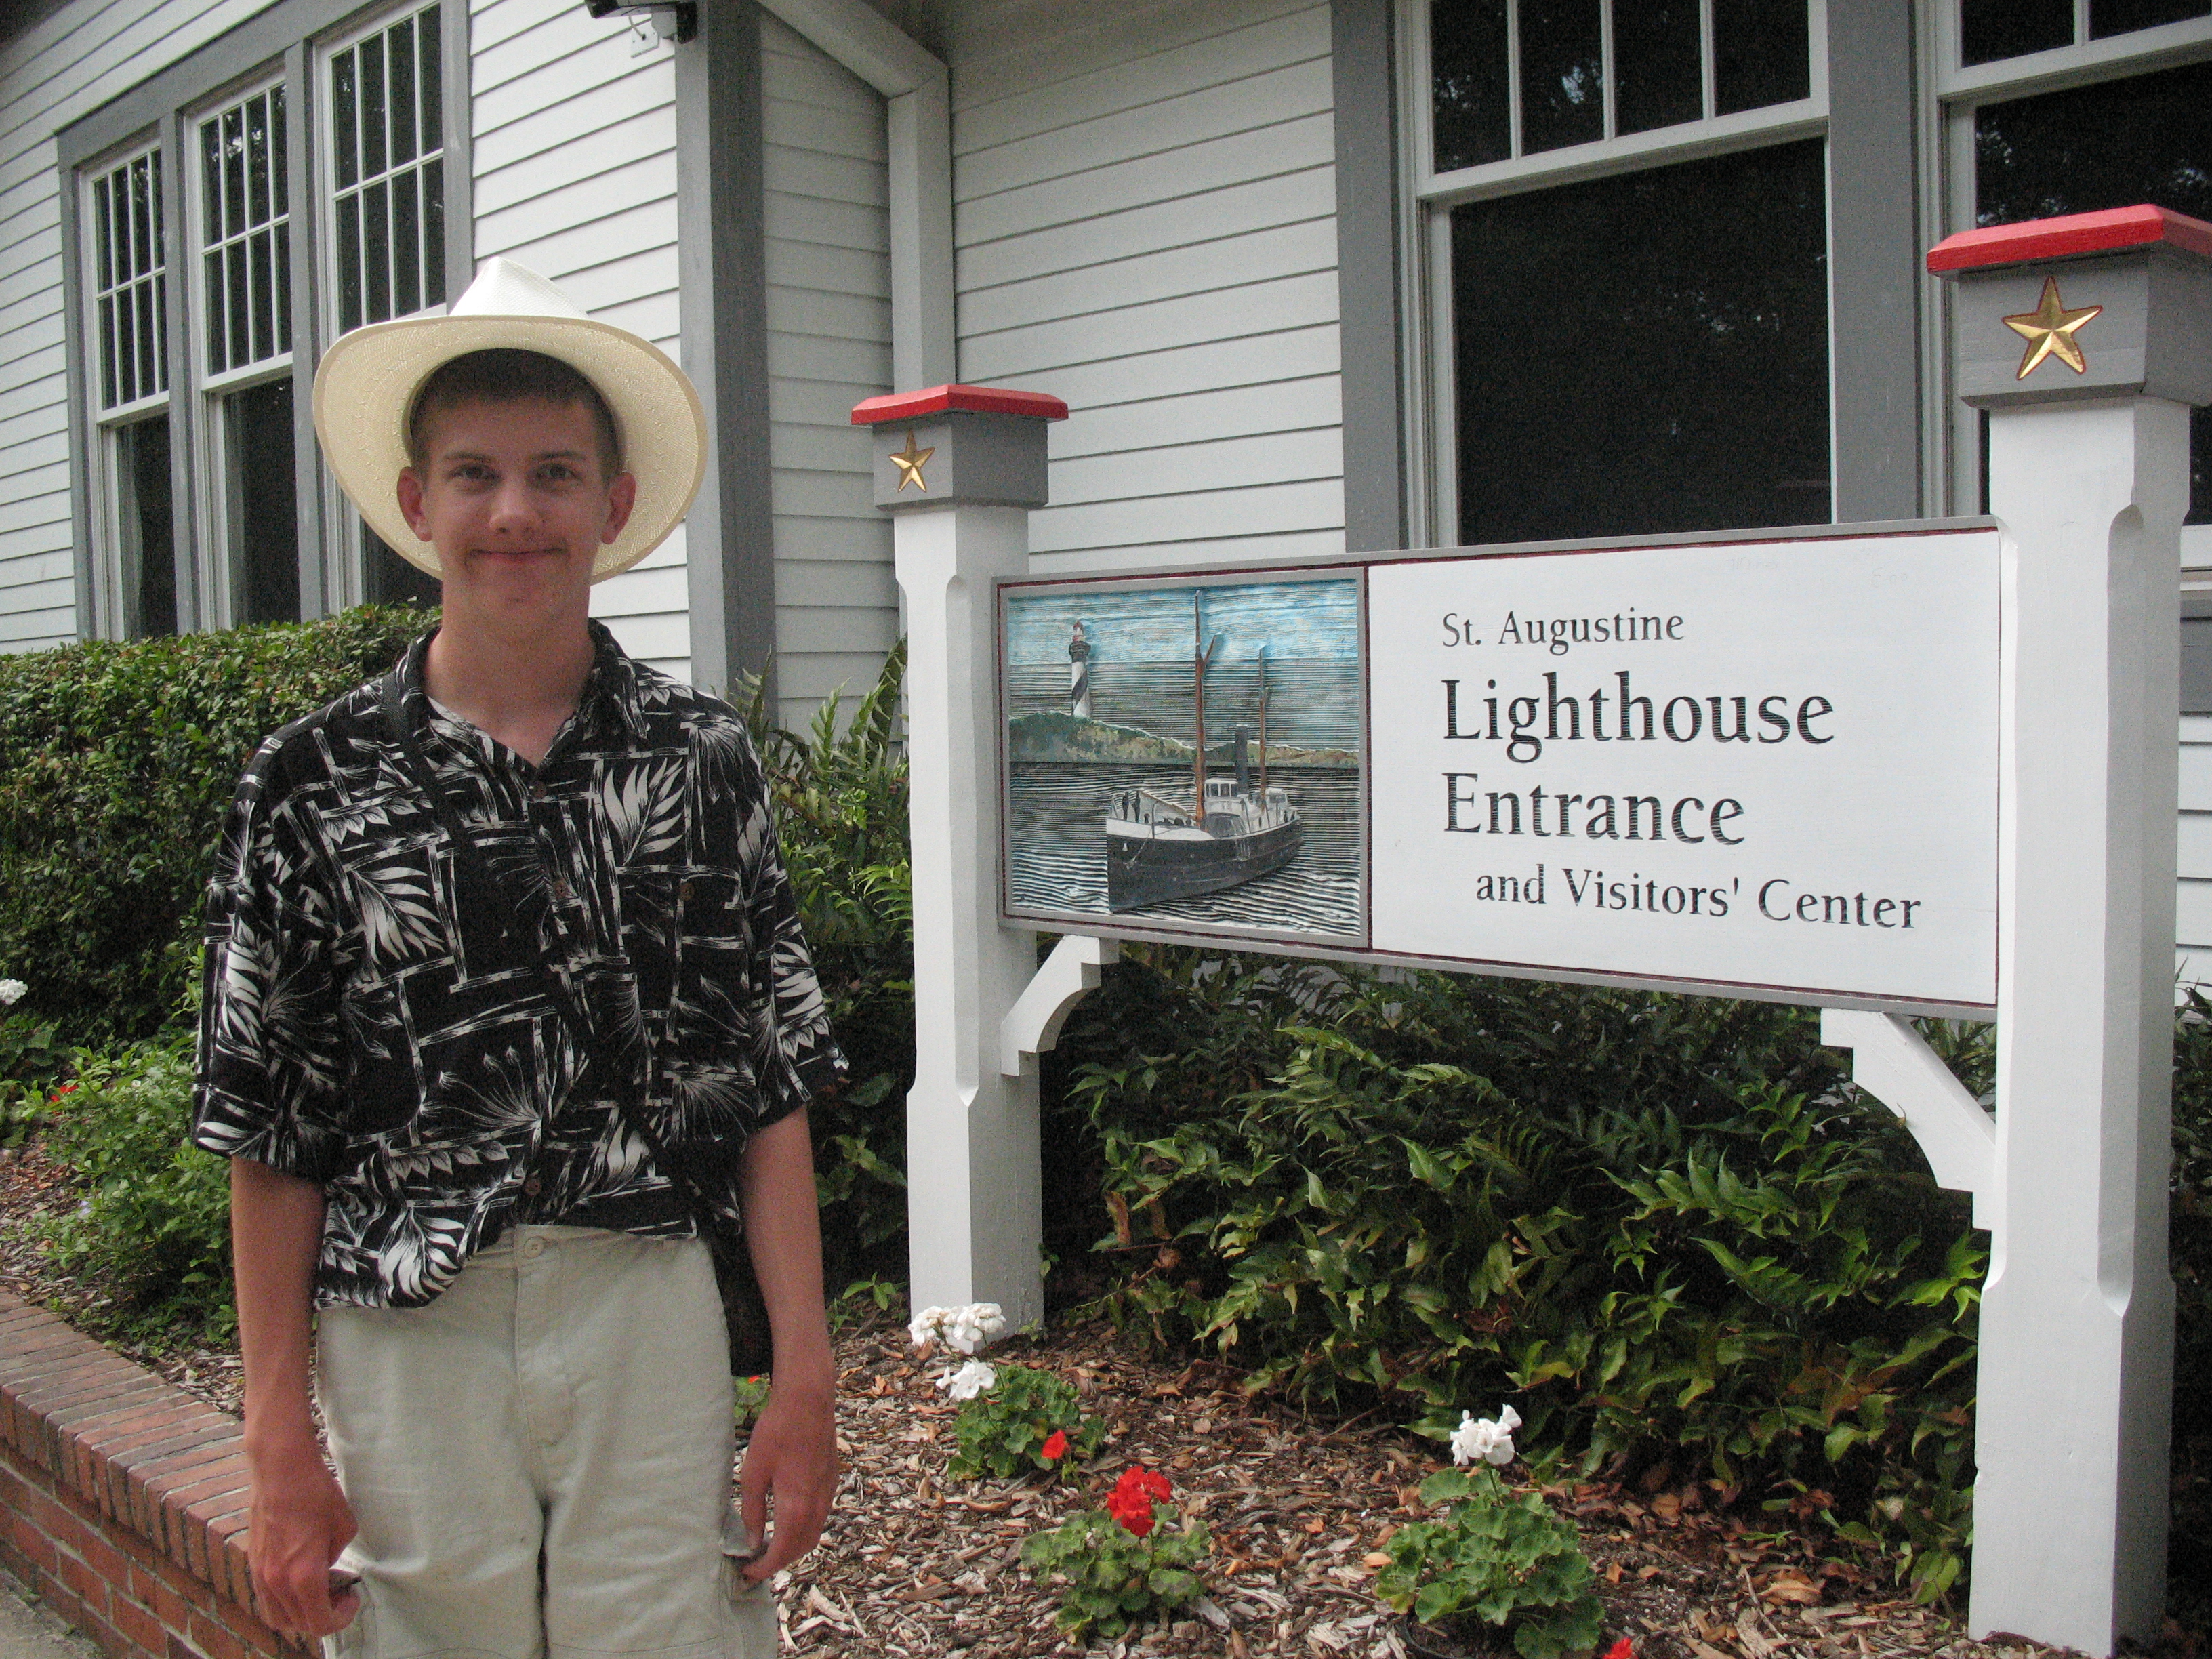
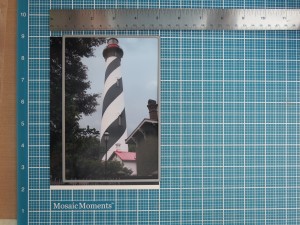
Tips for Fitting Photos to Grid. True digital size. This is what your camera takes.
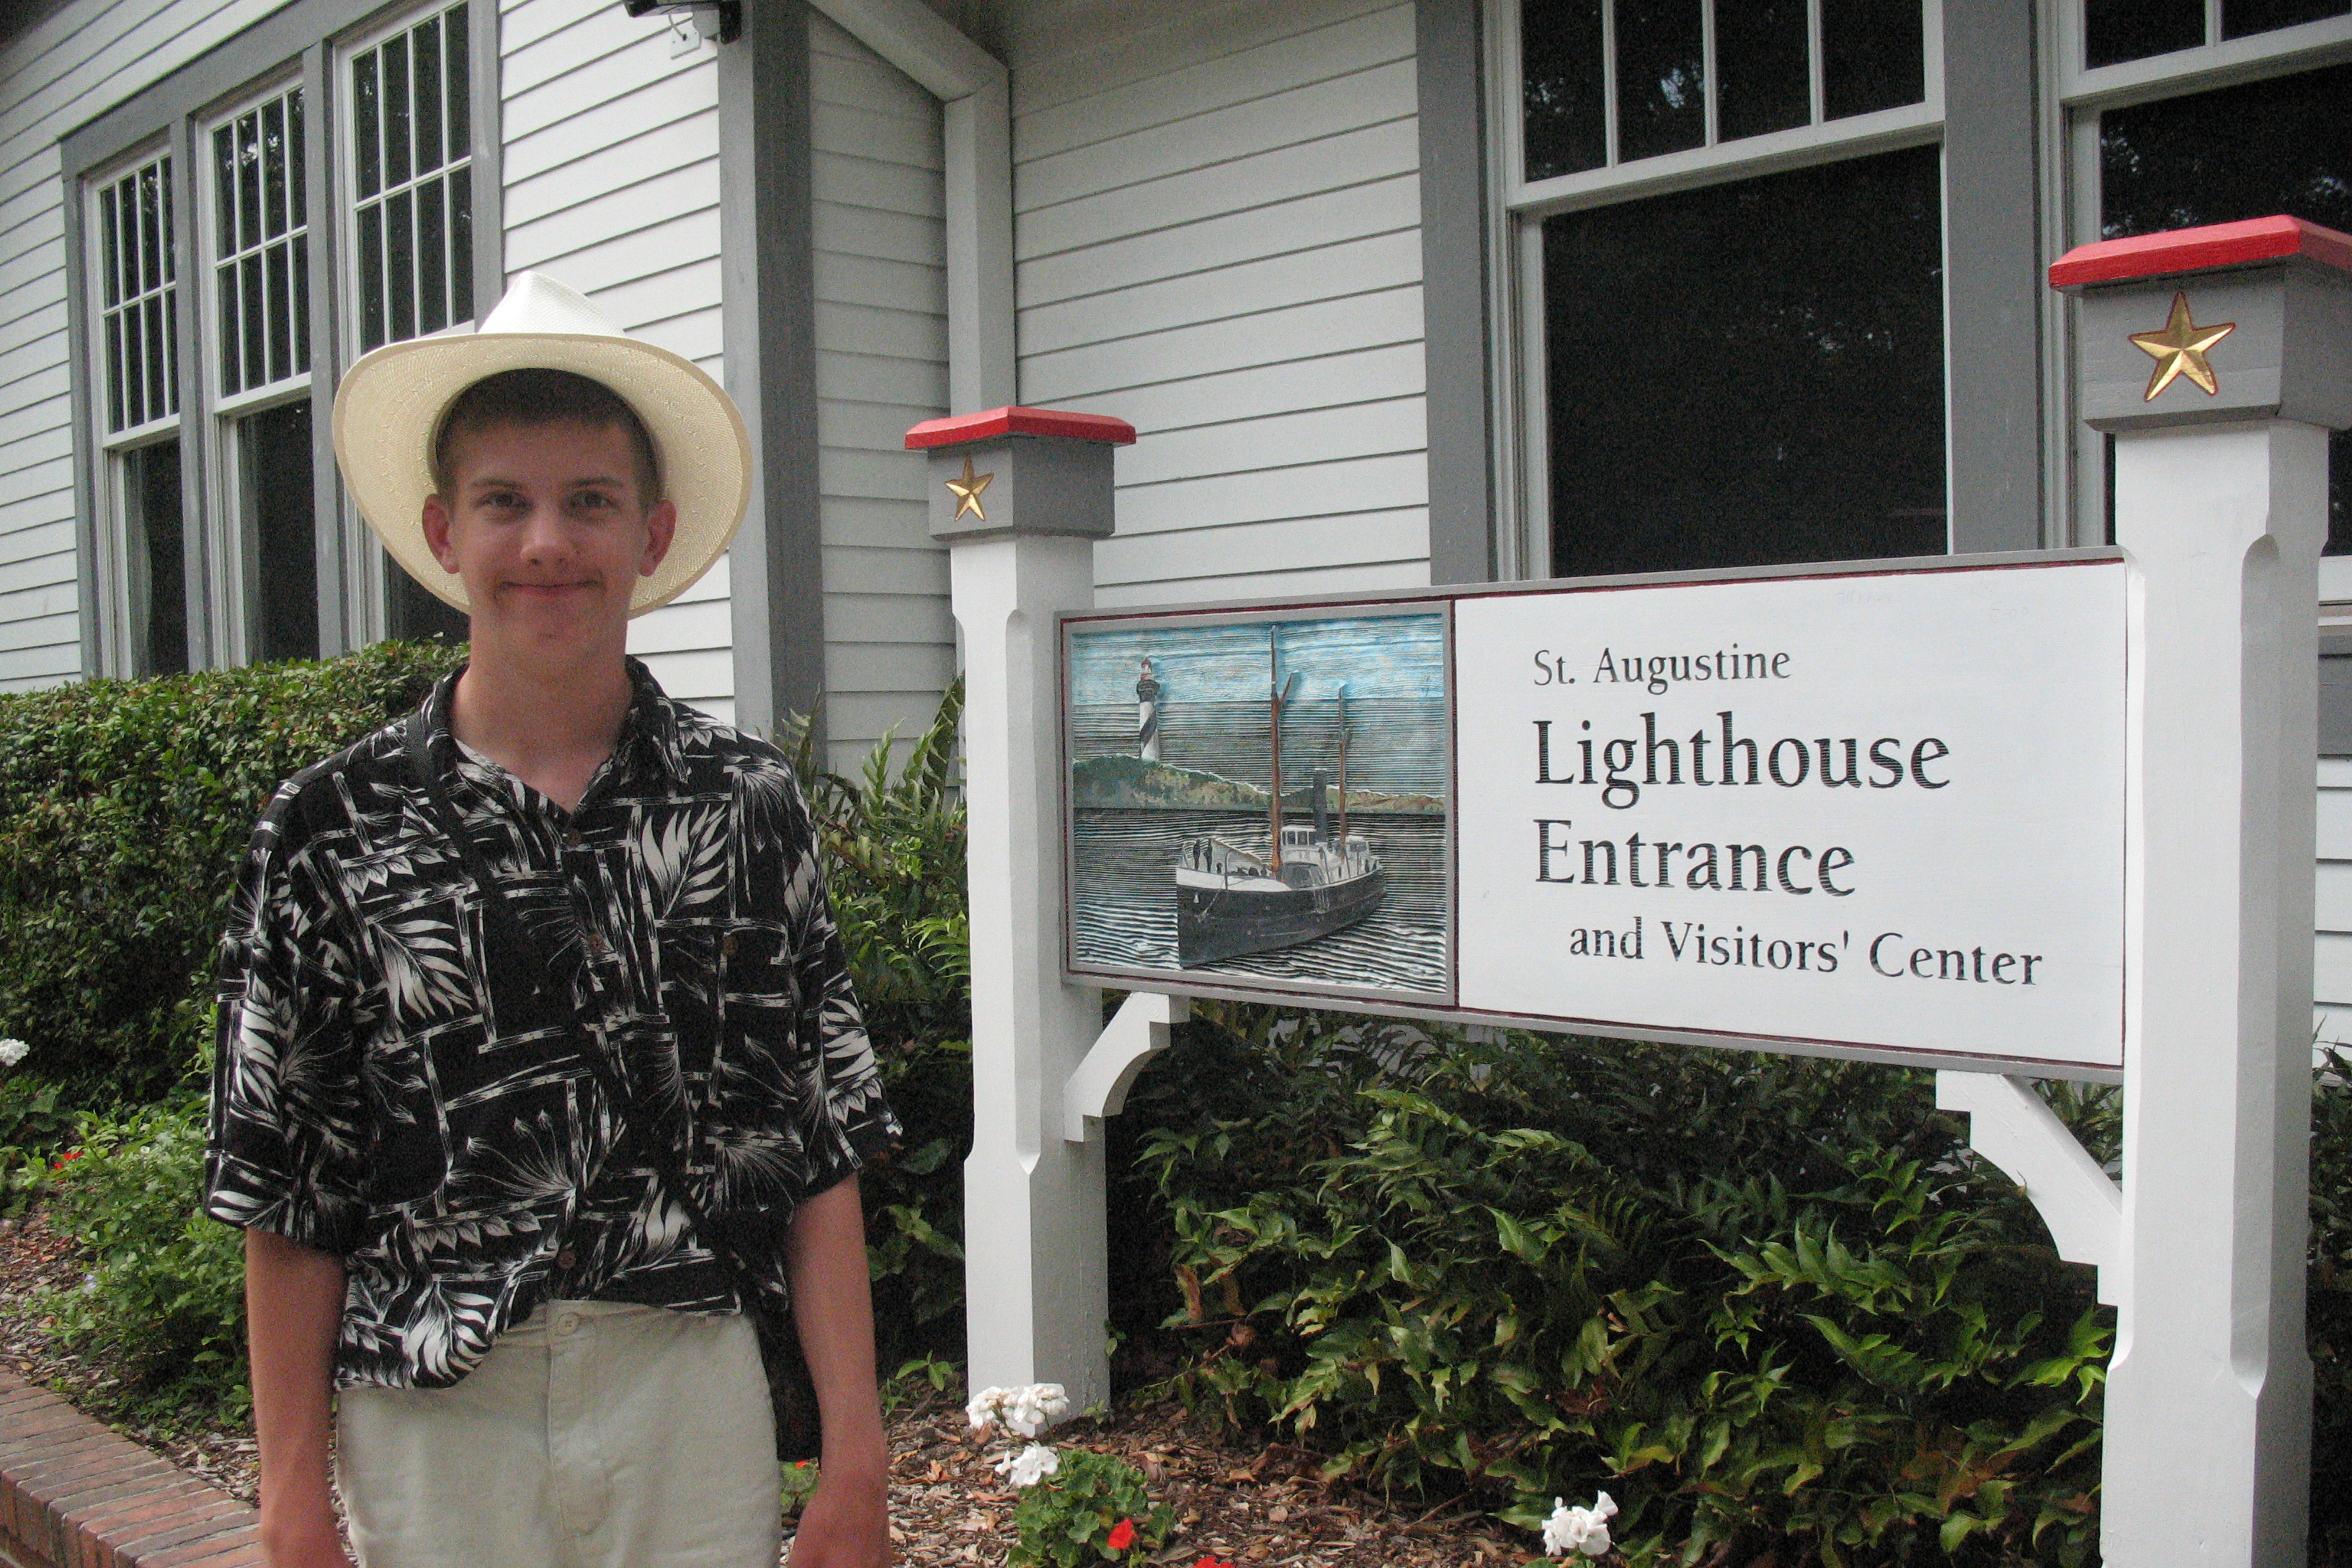
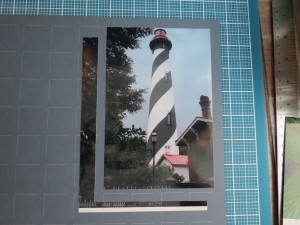
Tips for Fitting Photos to Grid. This is a 4″ x 6″ photo as it is printed from your printing service. Notice the bottom edge of the photo that has been cropped to fit 4×6 format.
Some printing services will let you choose what to crop from your photos before ordering. Others have an option to print a true digital photo at 4” x 5.5” and get the full photo.
Some printing services’ prints are just slightly less than 6” making it hard to do a full mosaic if one column is an 1/8” short. If you print them yourself you will be sure of the size and control the cropping yourself.
Maybe you are like me and still have a lot of 3.5” x 5” photos from years ago that you want to scrap; it was a size I liked so I could get more photos on a page. These will work wonderfully for a 3×4 block of Die Set C.
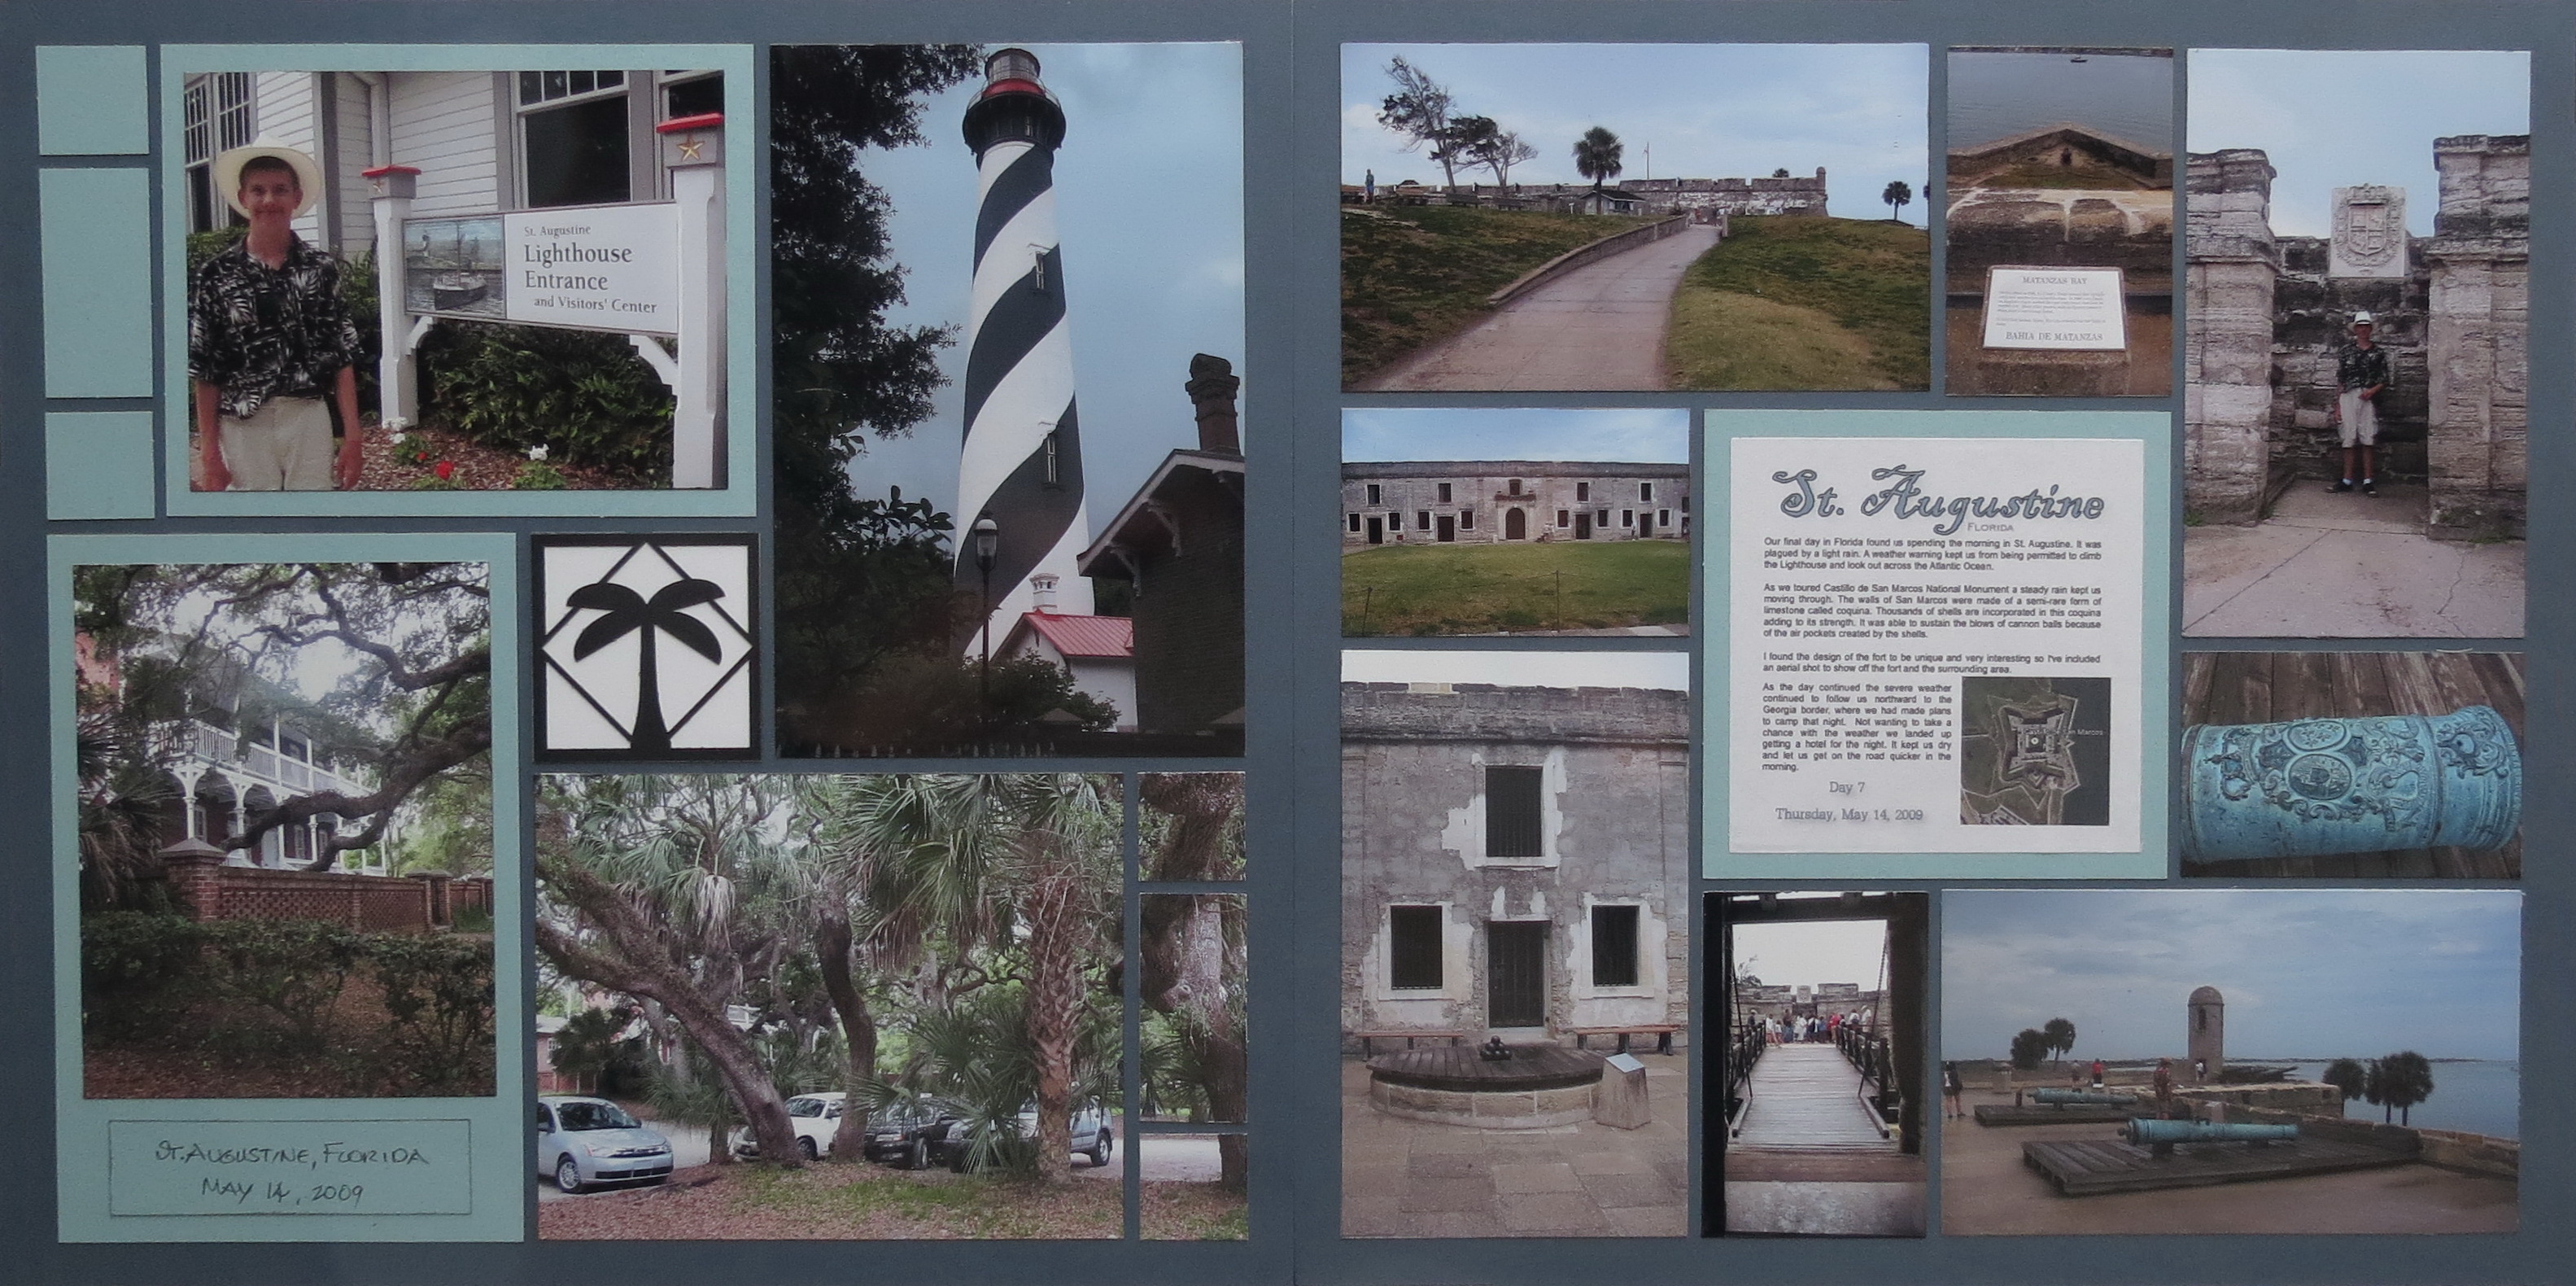
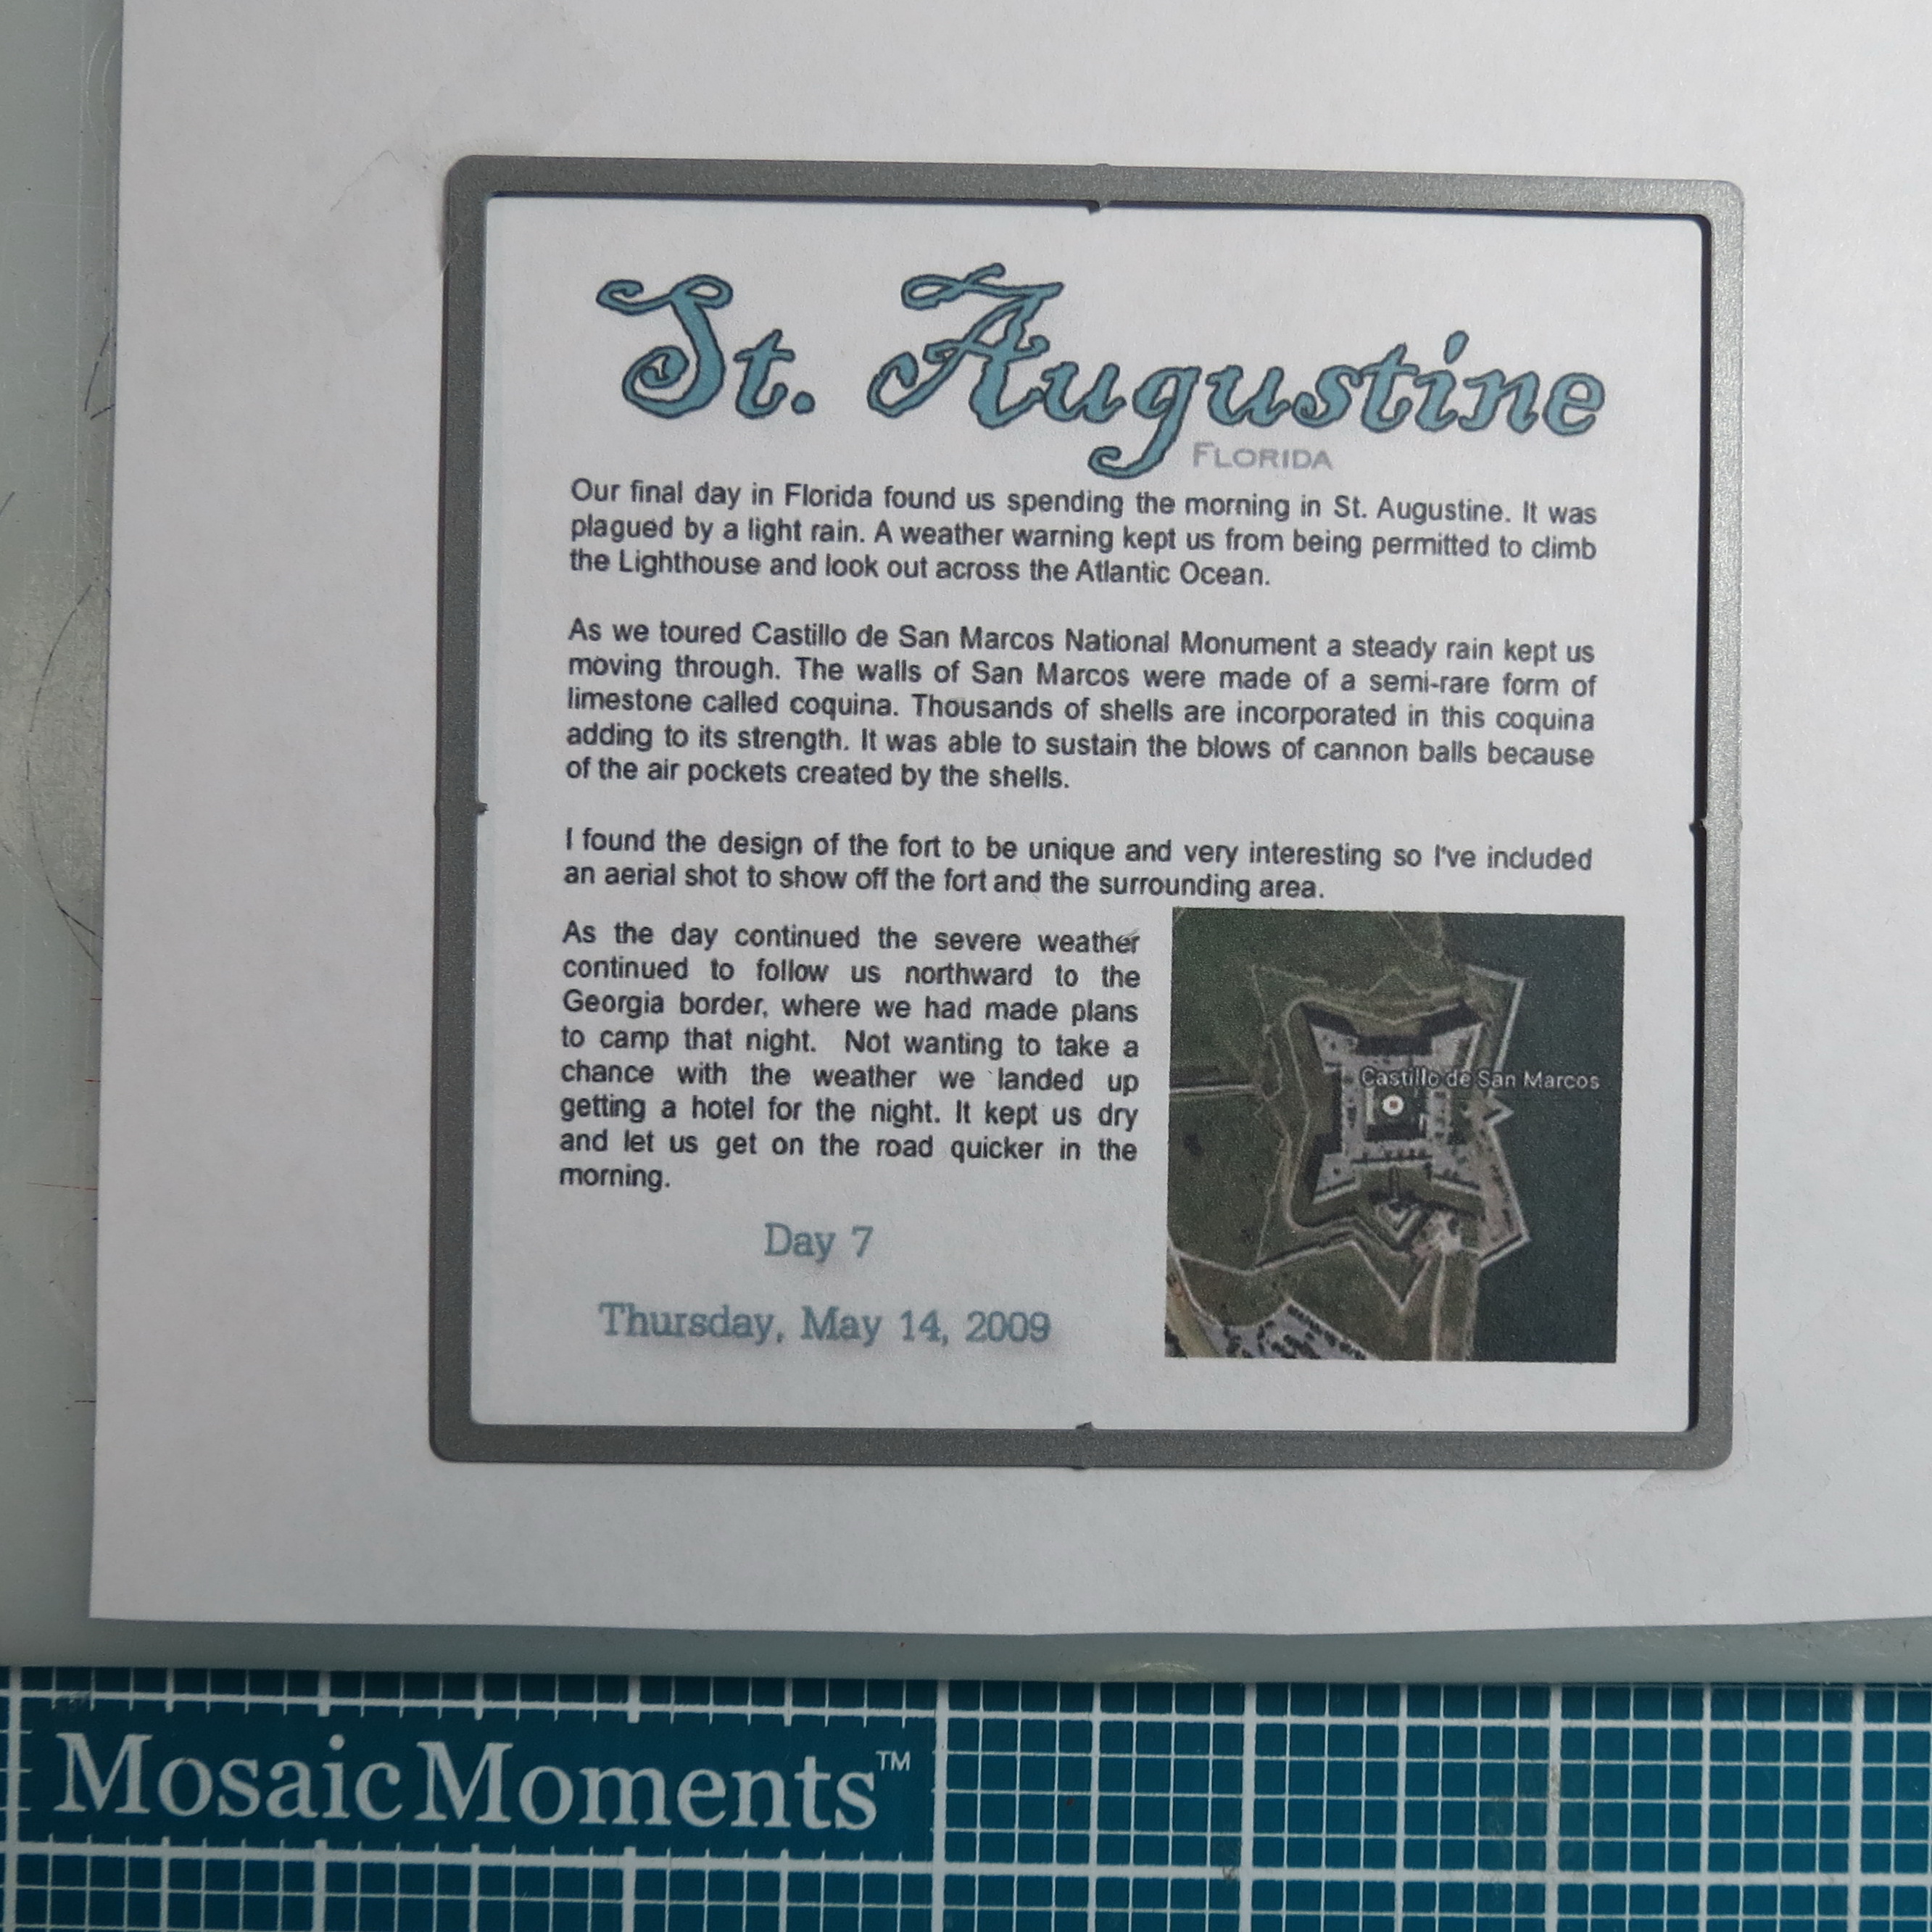
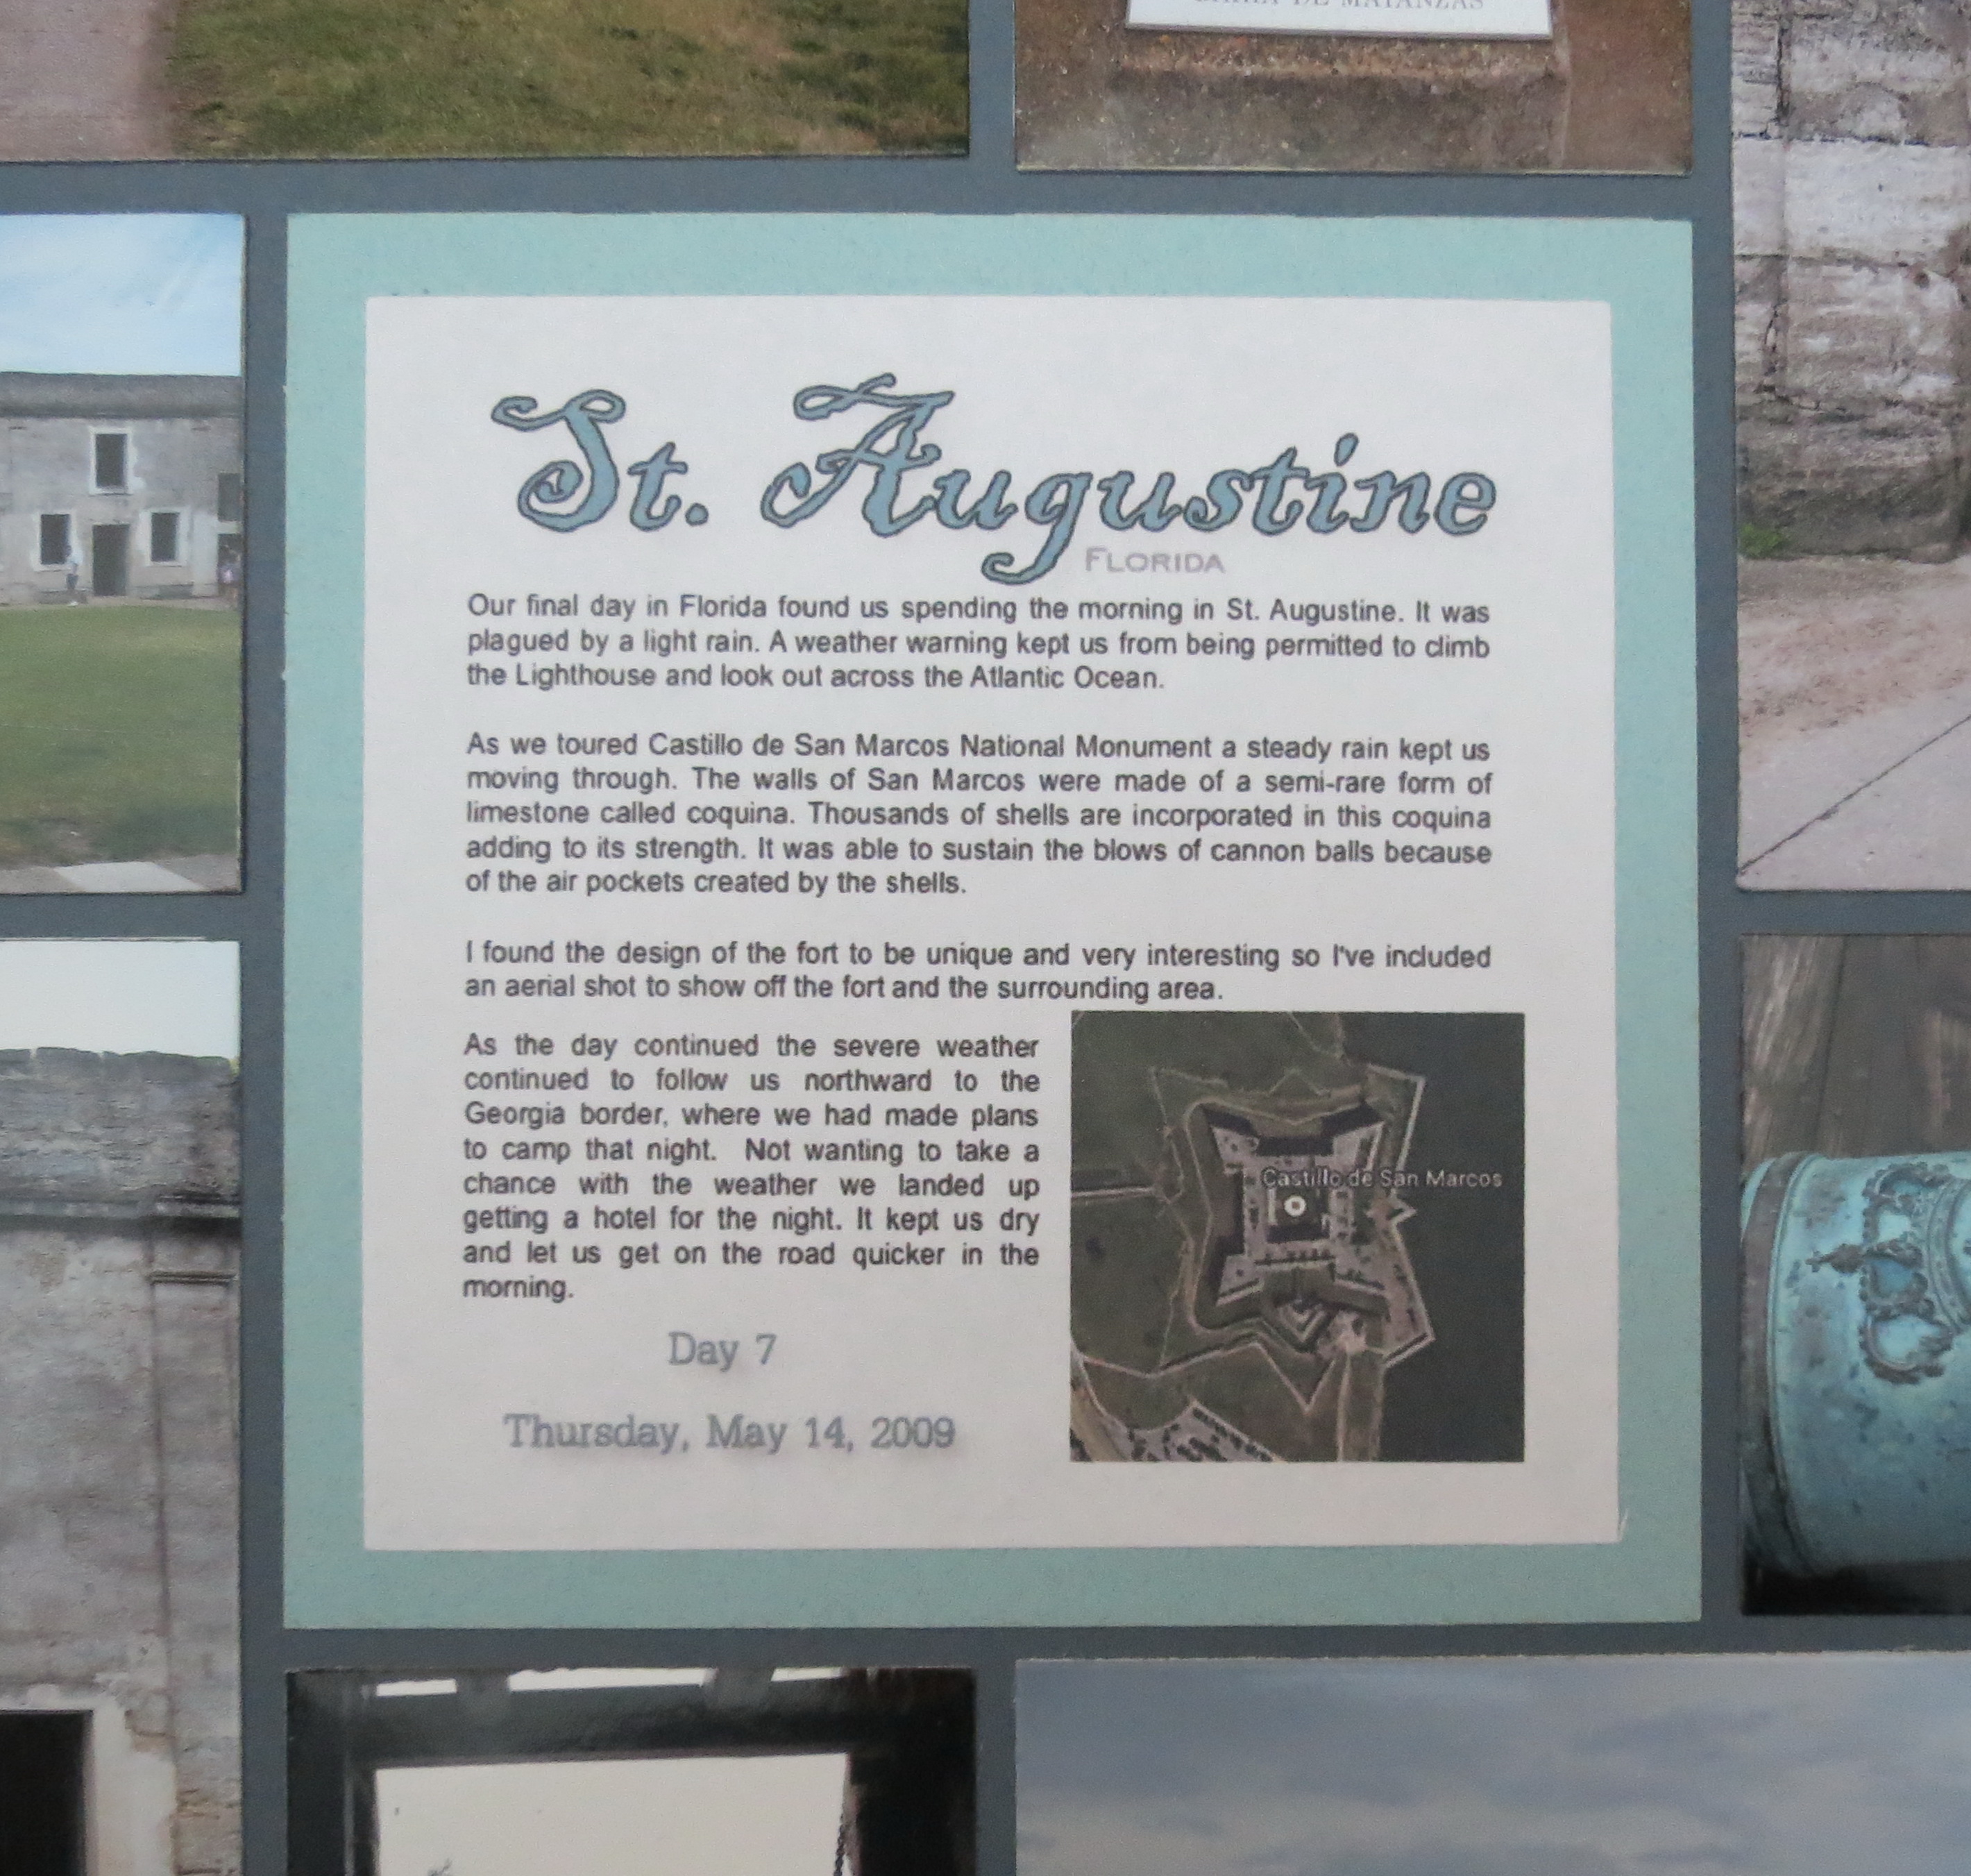
Tips for Fitting photos to the grid. Patterns #117 and #103
In these two pinwheel patterns we have odd sized spaces to fill. However, there are other ways to fill these spots so let’s see a few.

Tips for fitting photos to the grid Pattern #117
Tips for fitting photos to the grid Palm Tree CornerStone Tile
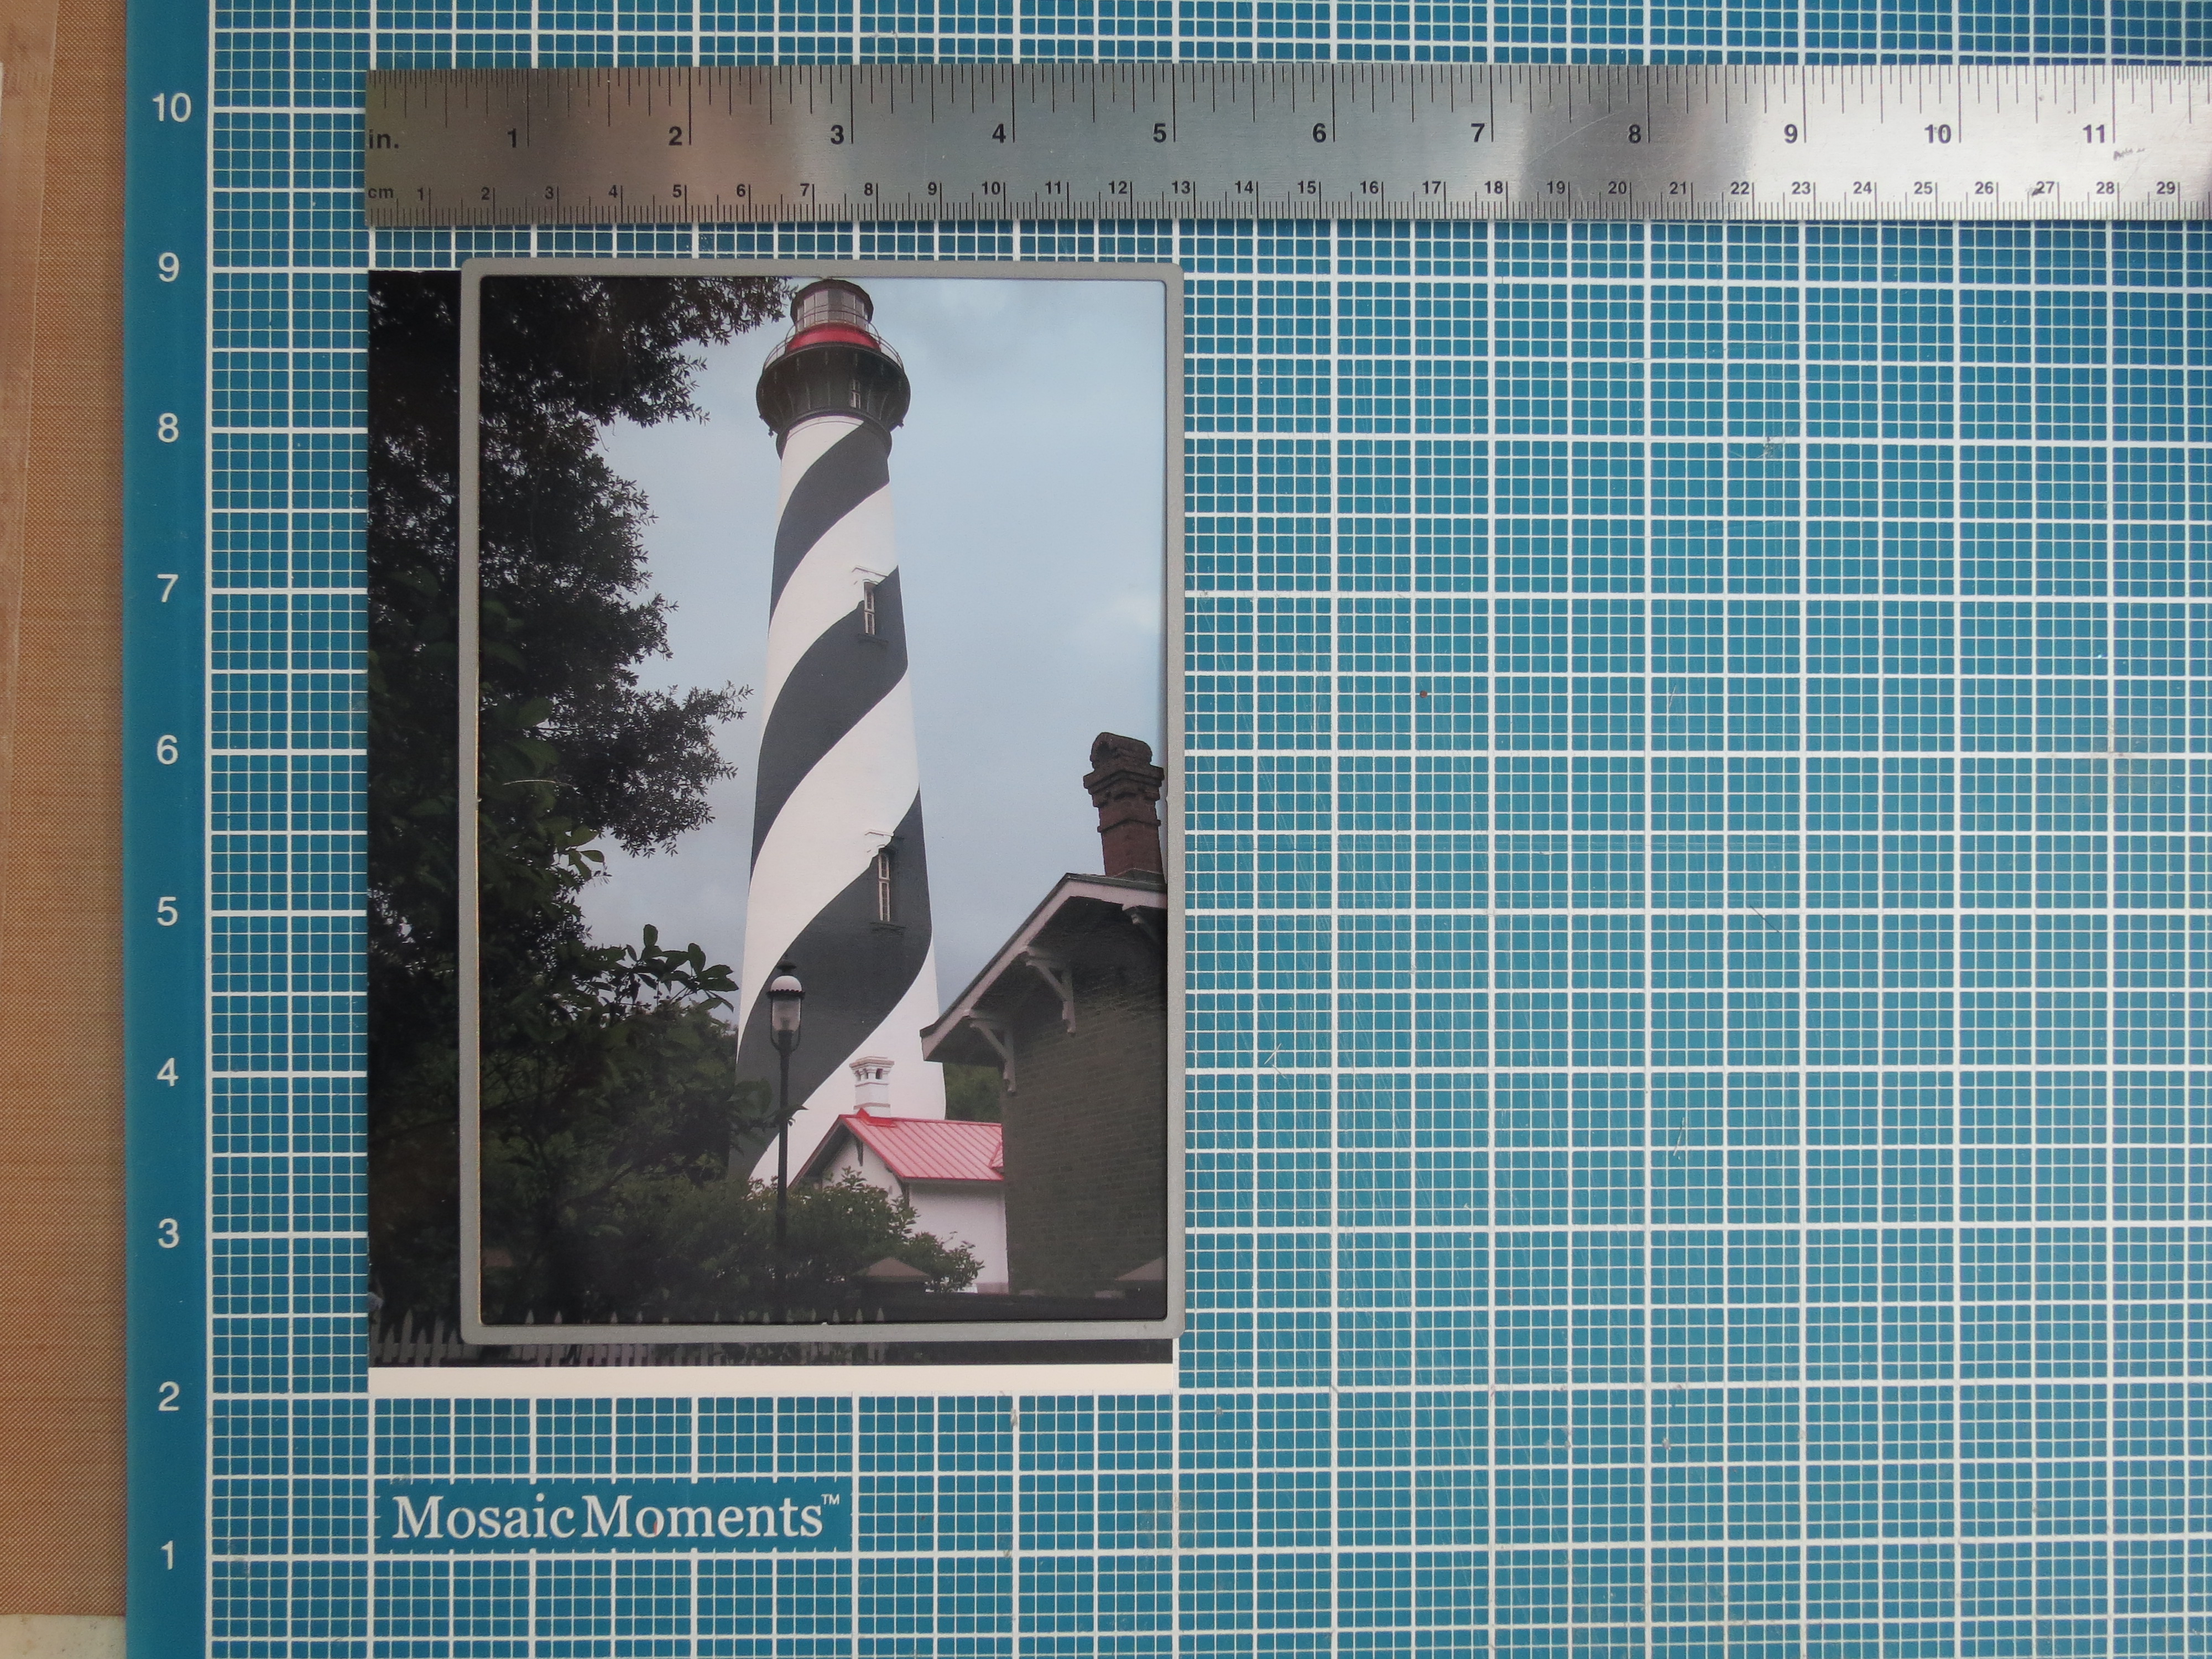
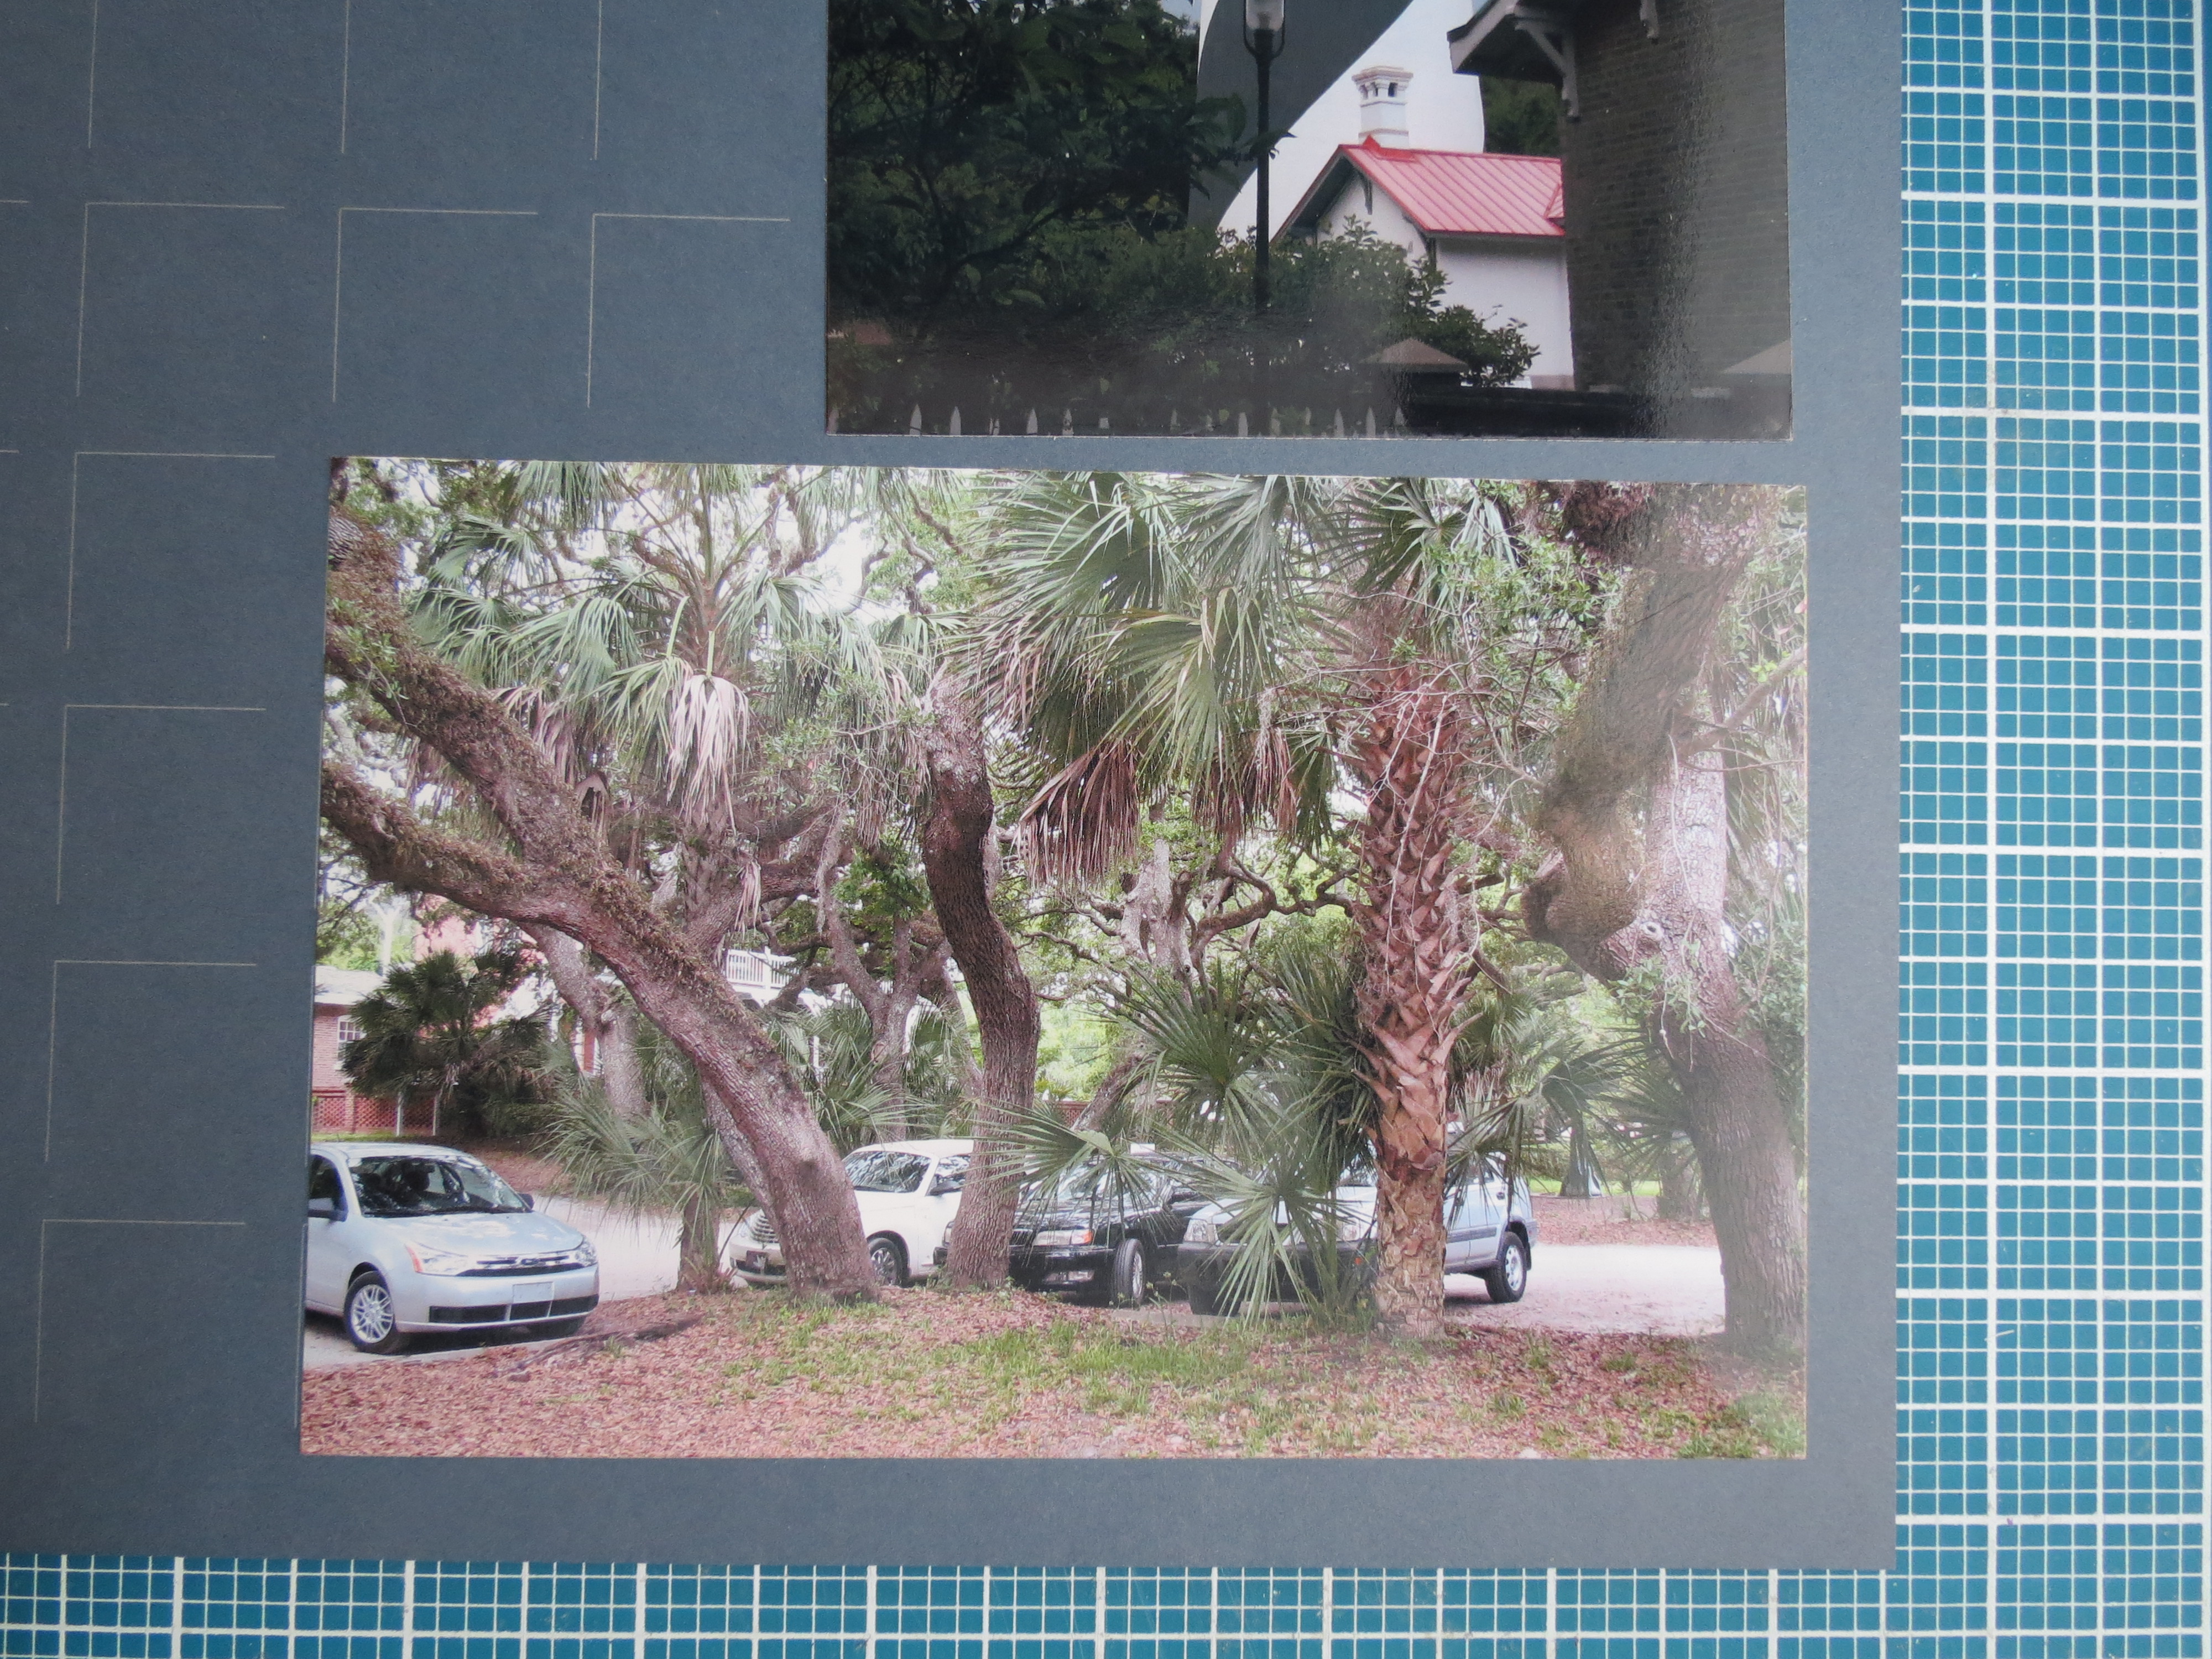
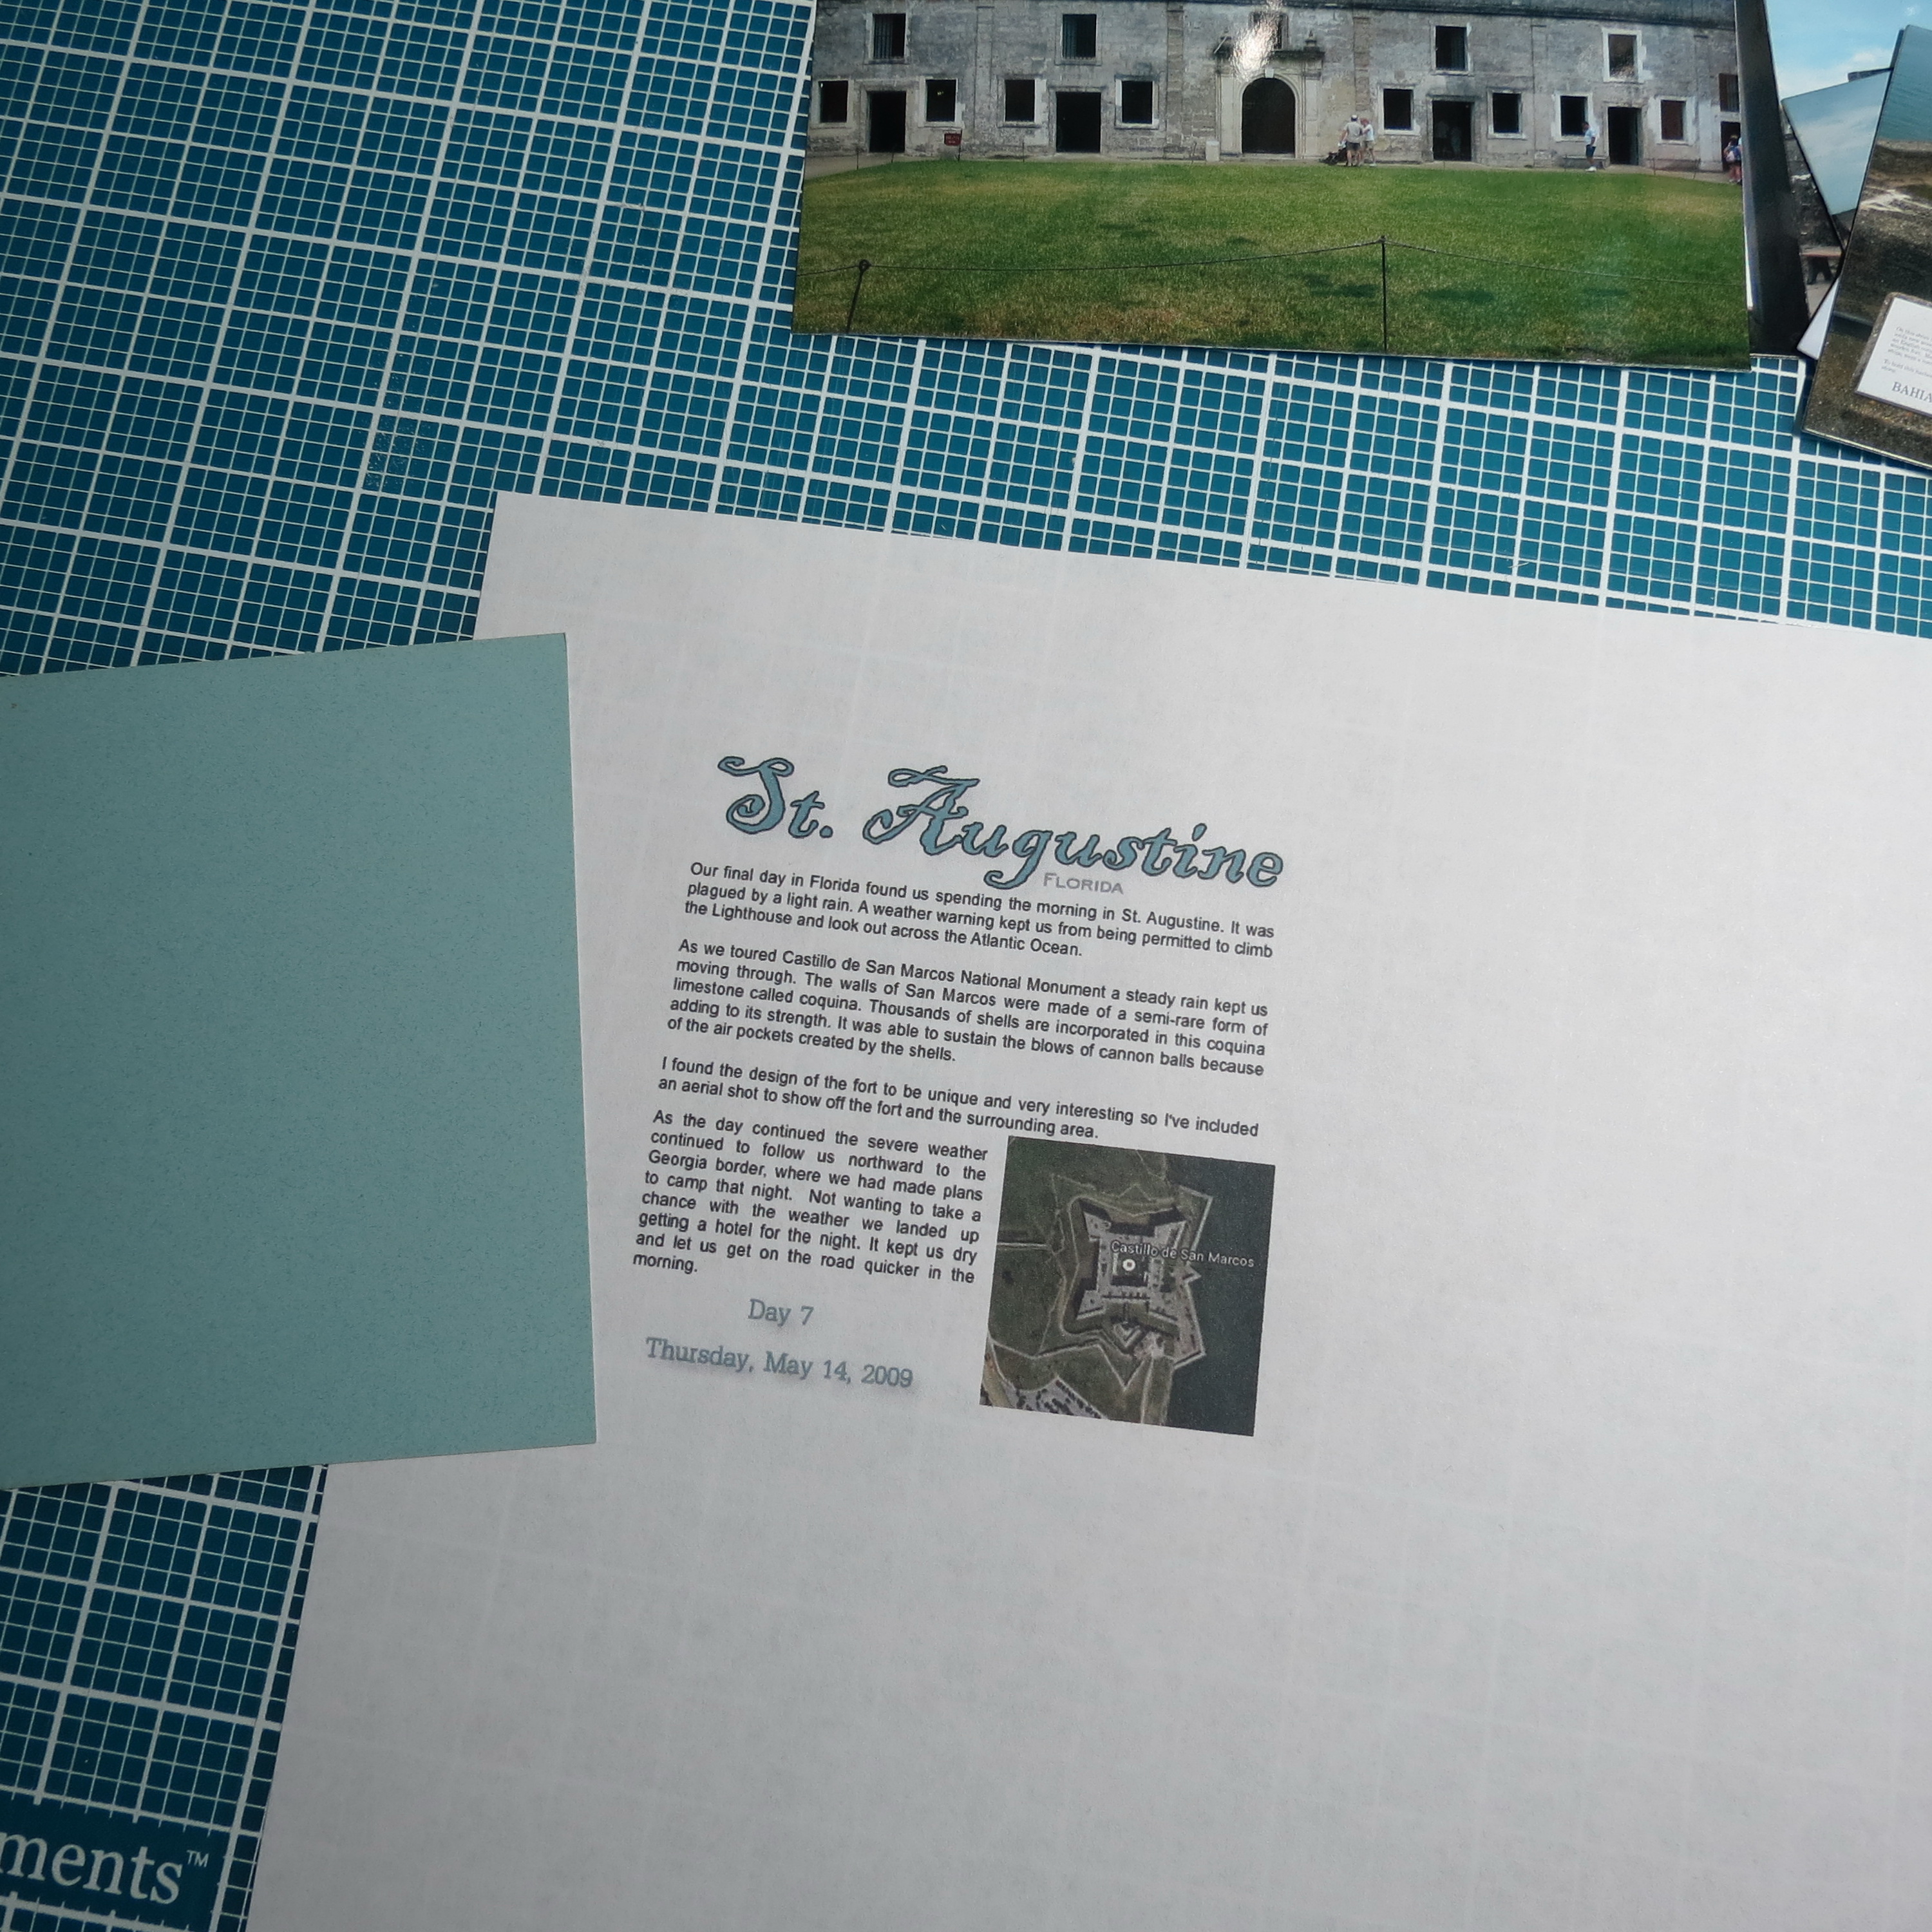
- Let’s consider Pattern #117. There are two main shapes. The first in purple from Set B covers 4×6 blocks and measures 4 3/8” x 6 5/8” (or 4.375”x 6.625”). The only way to cover this space without a mat is to use a 5”x 7” photo. Use the largest die in the B set. It is a perfect way to highlight a favorite photo or a more significant photo on the page.
Tips for fitting photos to the grid 5×7 Photo and die to cut
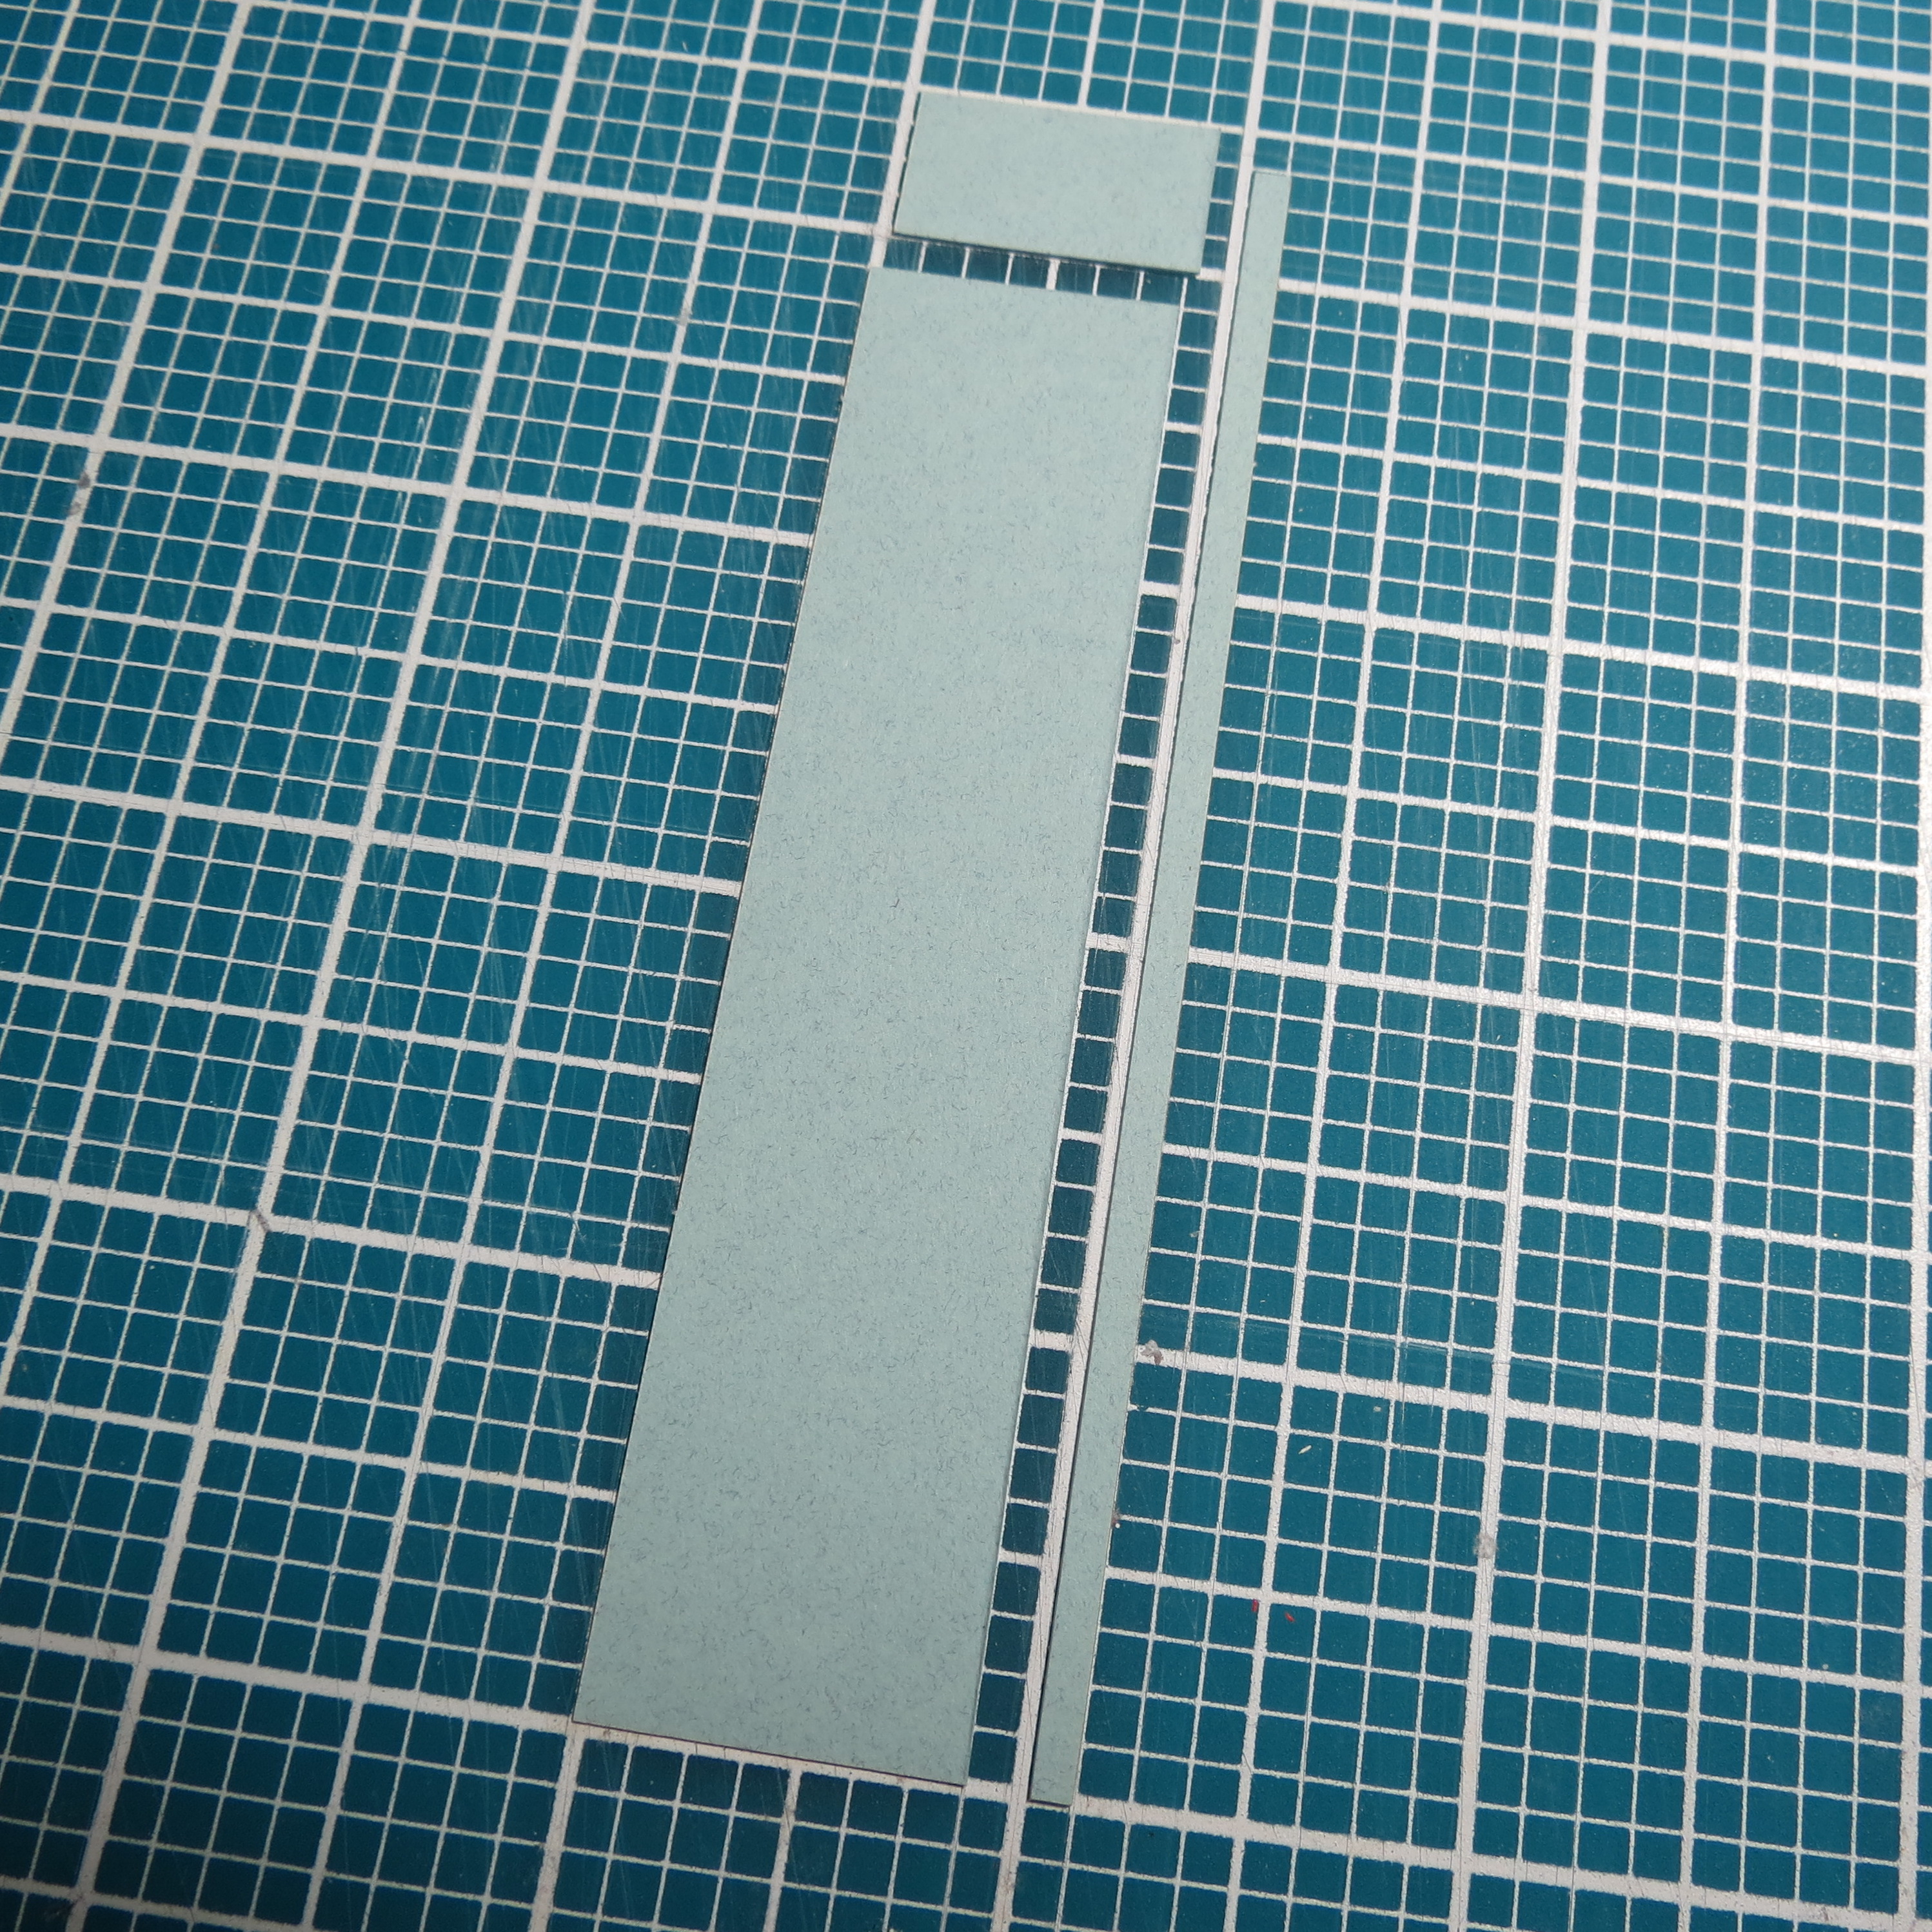
Tips for fitting photos to the grid remnant after the cut is made

Tips for fitting photos to the grid Placed in the 4×6 Block
- Mats are always a nice easy solution and provide a border around the photos. Using a 4×6 Paper Tile block and a photo printed at true digital 4×5.5 or 4×6 you will use the second layering die from Set C to trim the photo. This uses the nearly the full photo. Mounted on a 4×6 tile block this leaves a nice spot to include a journal block. Take a 1×4 tile block and trim 1/8” off the long side and ½” off of the short end you will have a block you can center below the photo.


Fitting Photos to the Gird. Trimming a 1″ x 4 3/8″ paper tile to fit space under photo.
Fitting Photos to the Grid. Adding a journal block to the paper tile.
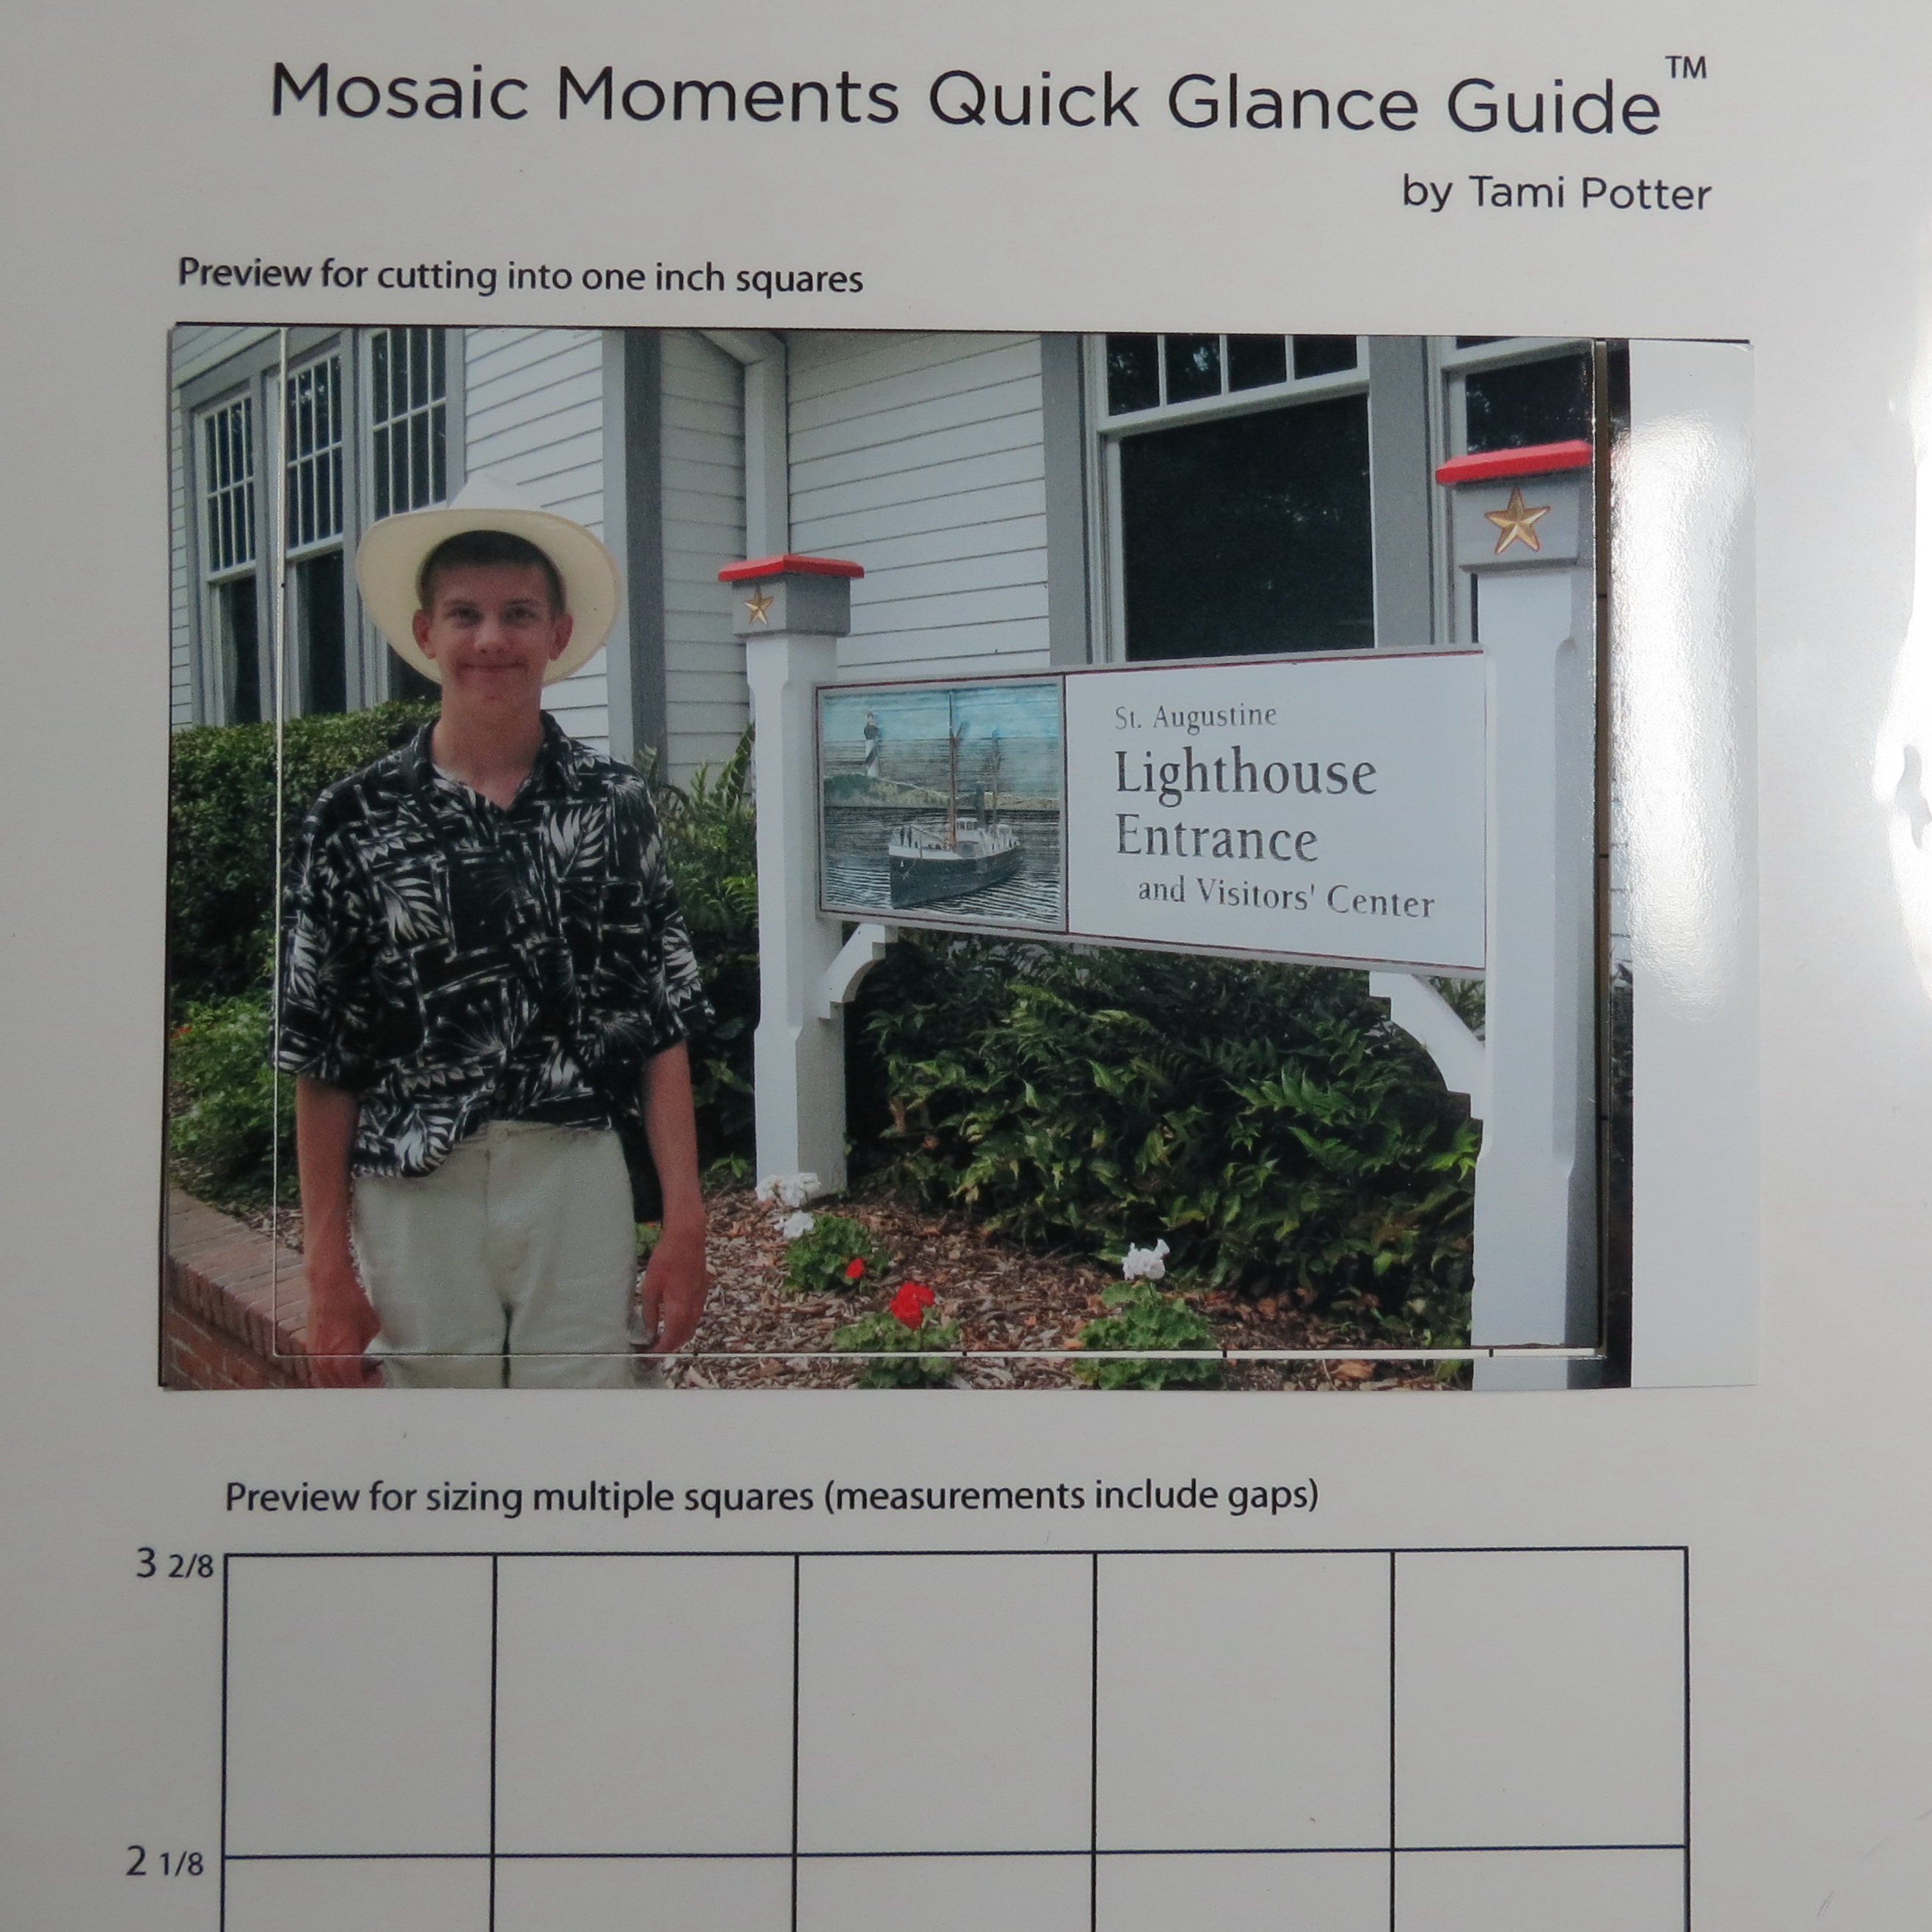
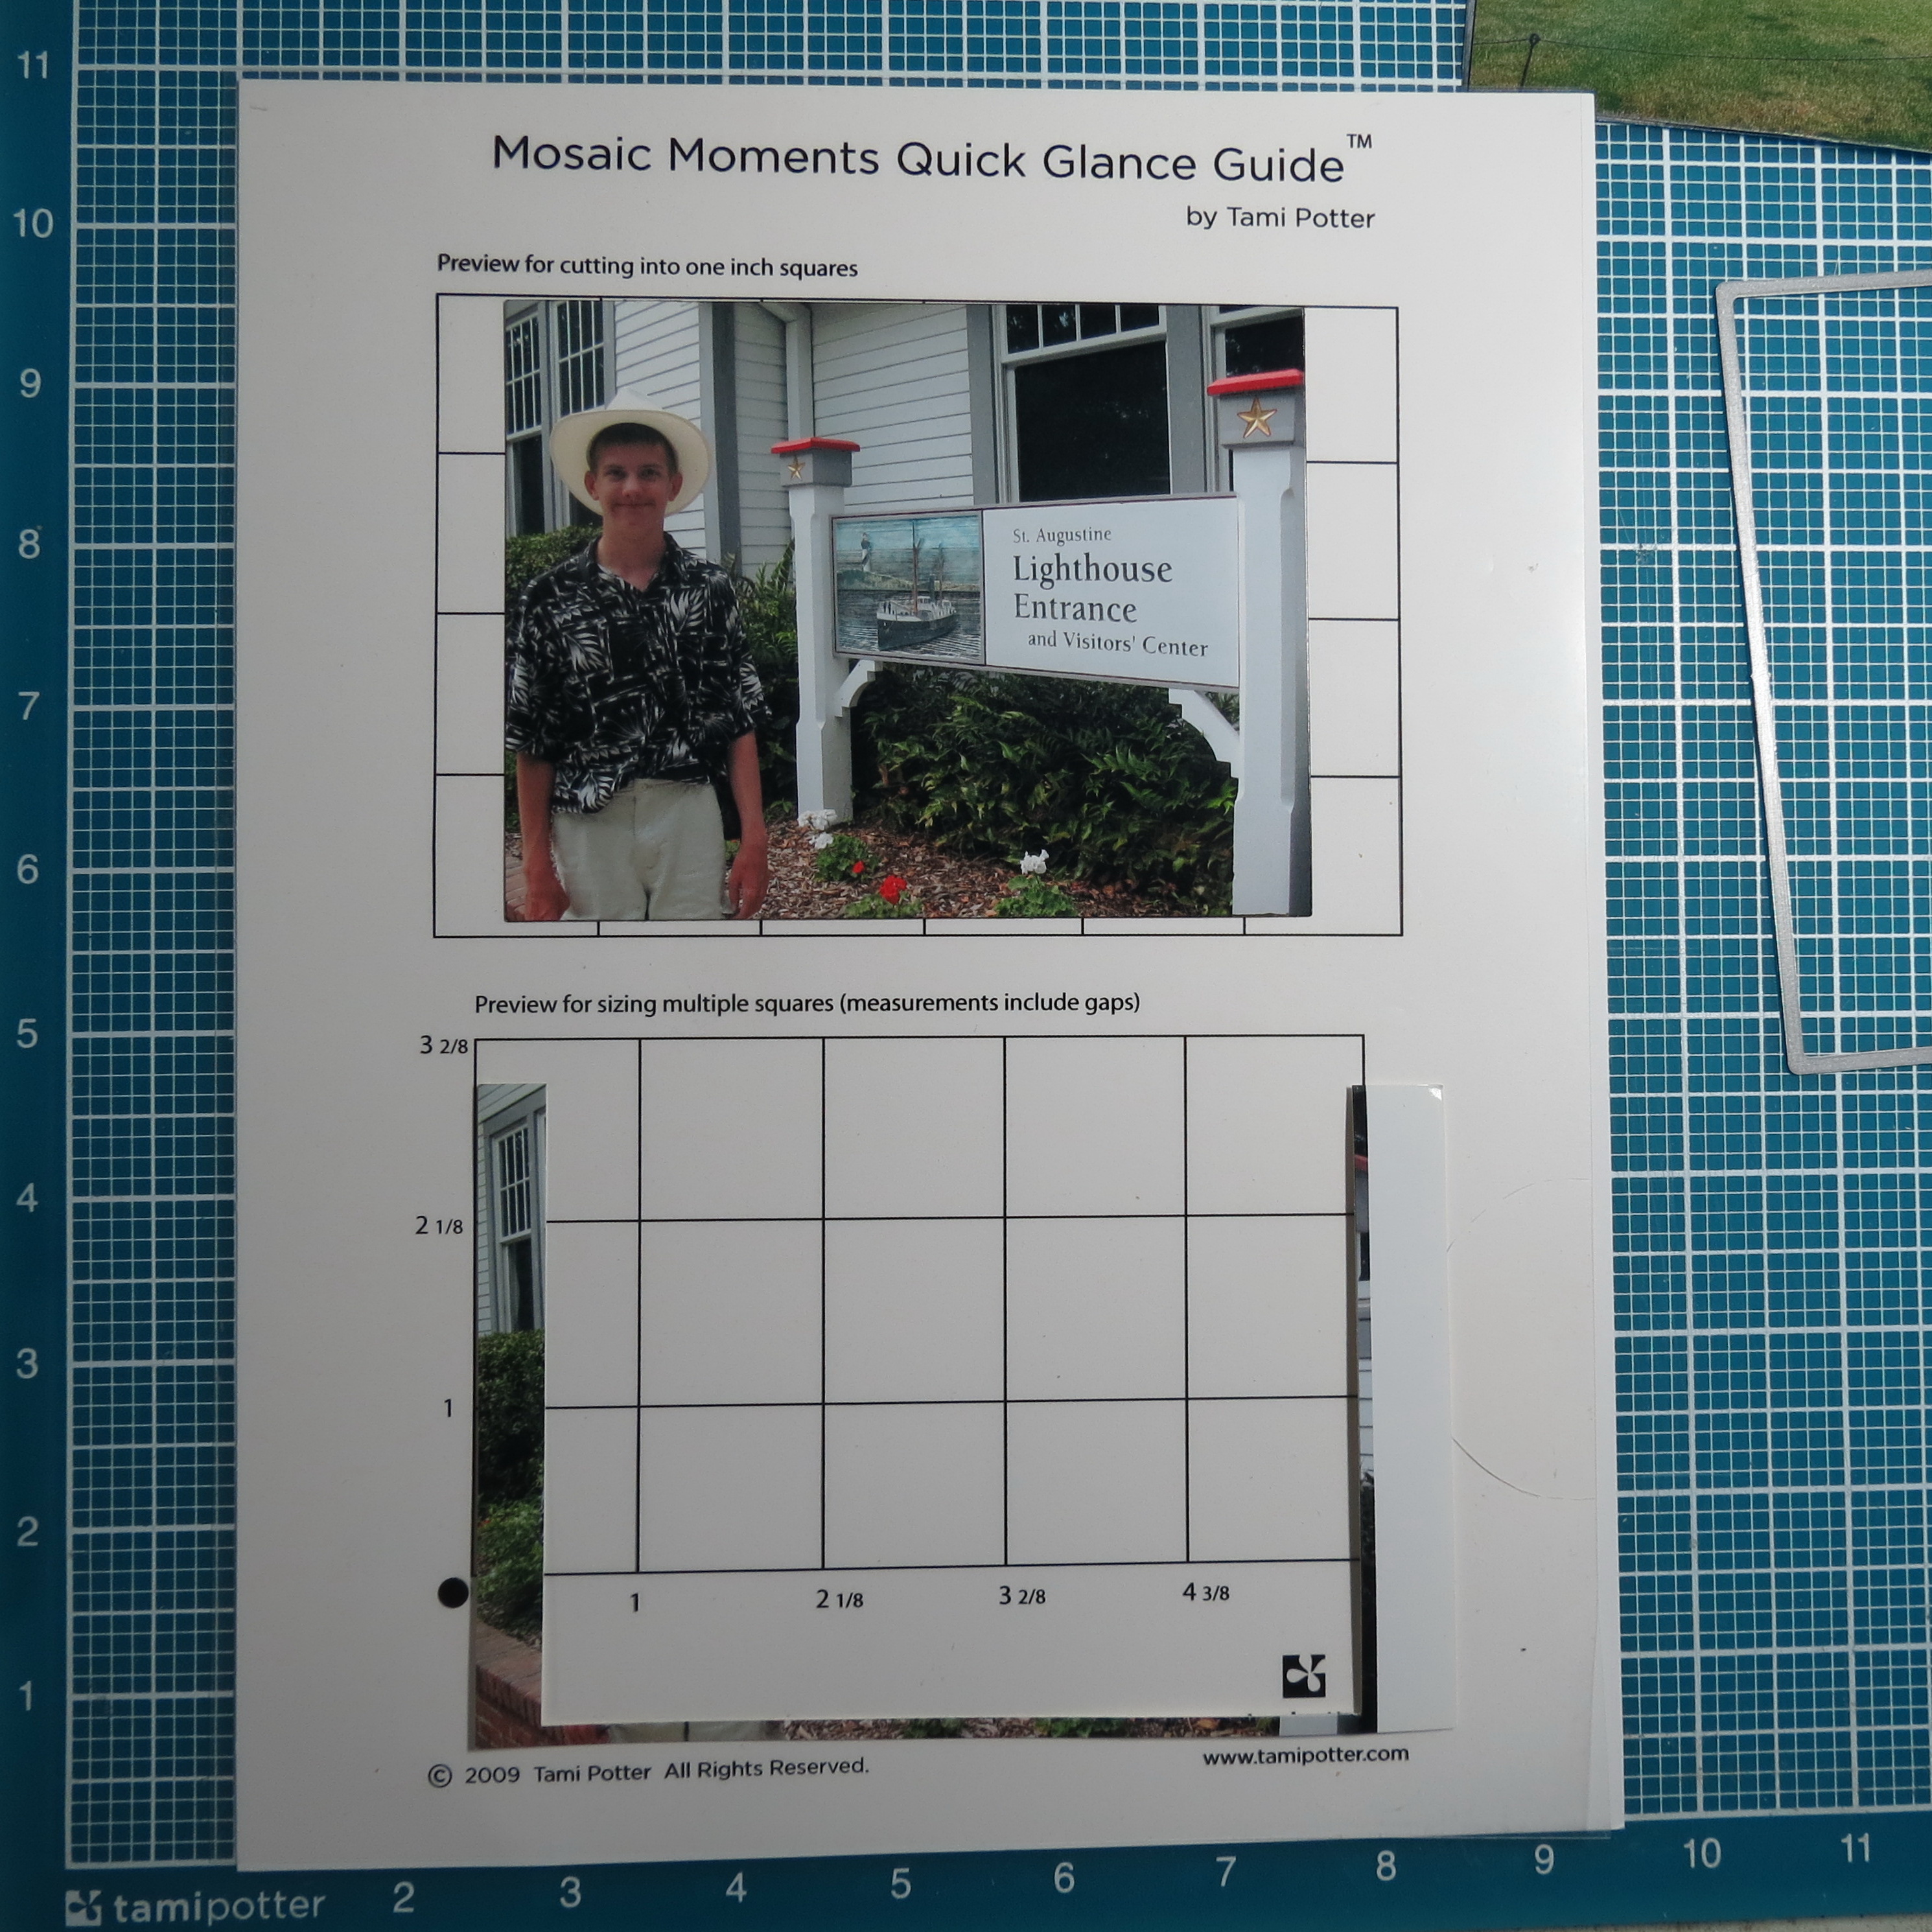
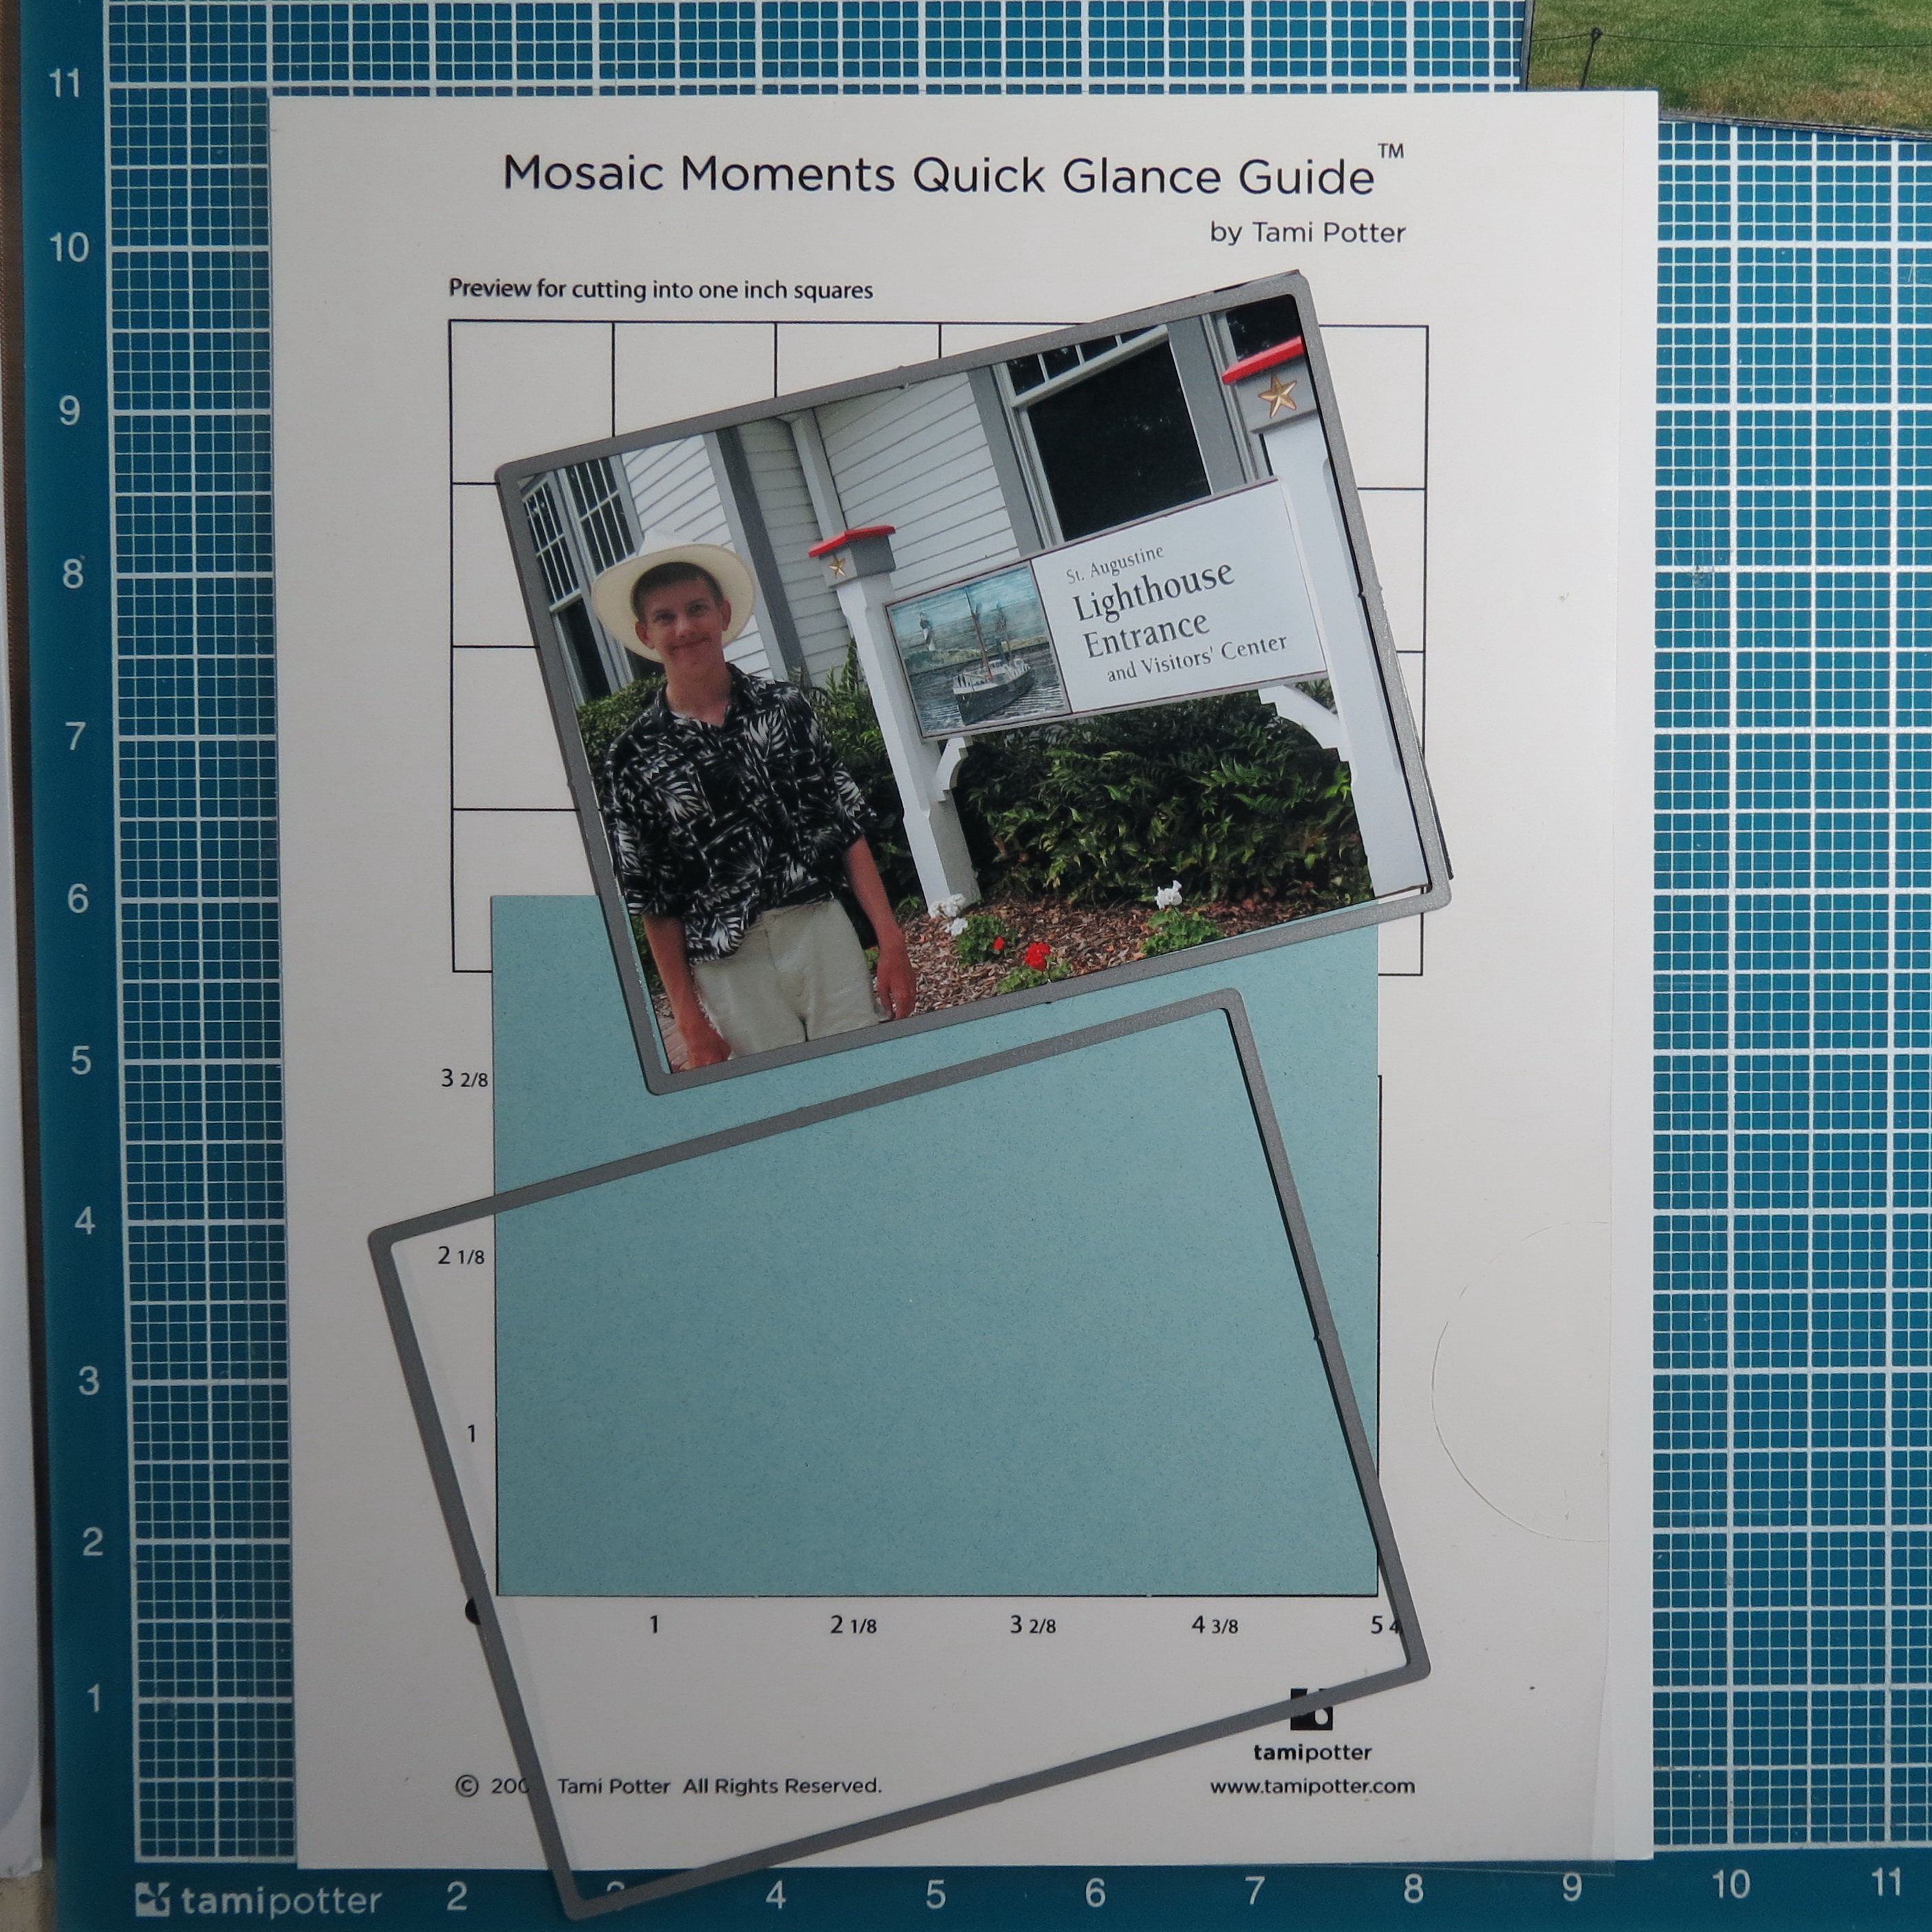
The Mosaic Moments Quick Glance Guide is helpful for determining where to make your cuts if you aren’t using the Die Sets.
Tips for Fitting photos to the grid original photo printed at true digital 4″ x 5.5″.
Fitting photos to the grid The area trimmed from the photo using Dies to sit on top of a 4×6 Paper Tile
Tips for Fitting photos to the Grid Dies will cut both the paper tile base if you want to customize with your own color and trim your photo to neatly fit on top of the paper tile base.
Keep a copy of these dimensions at hand while you work on trimming your photos. Quick Grid Guide helps you to know the measurements you need to cut your photos to fit the grid when using the Mosaic Moments Grid Mat and Craft knife to trim.

Tips for fitting Photos to the Grid. Quick Grid Guide helps you to know the measurements.
Use a 5”x7” photo to cover lower right hand corner of Pattern #117. Trim the photo using the largest die in Set B. Then trim from the right hand side 1 1/8” to fill the spots on the right hand side of the pattern. Trim another 1/8” off of the right then trim the photo to fit the sections 1“-2 1/8”-1”.
Tips for fitting photos to the grid. 5″ x 7″ photo trimmed to fit the entire section.
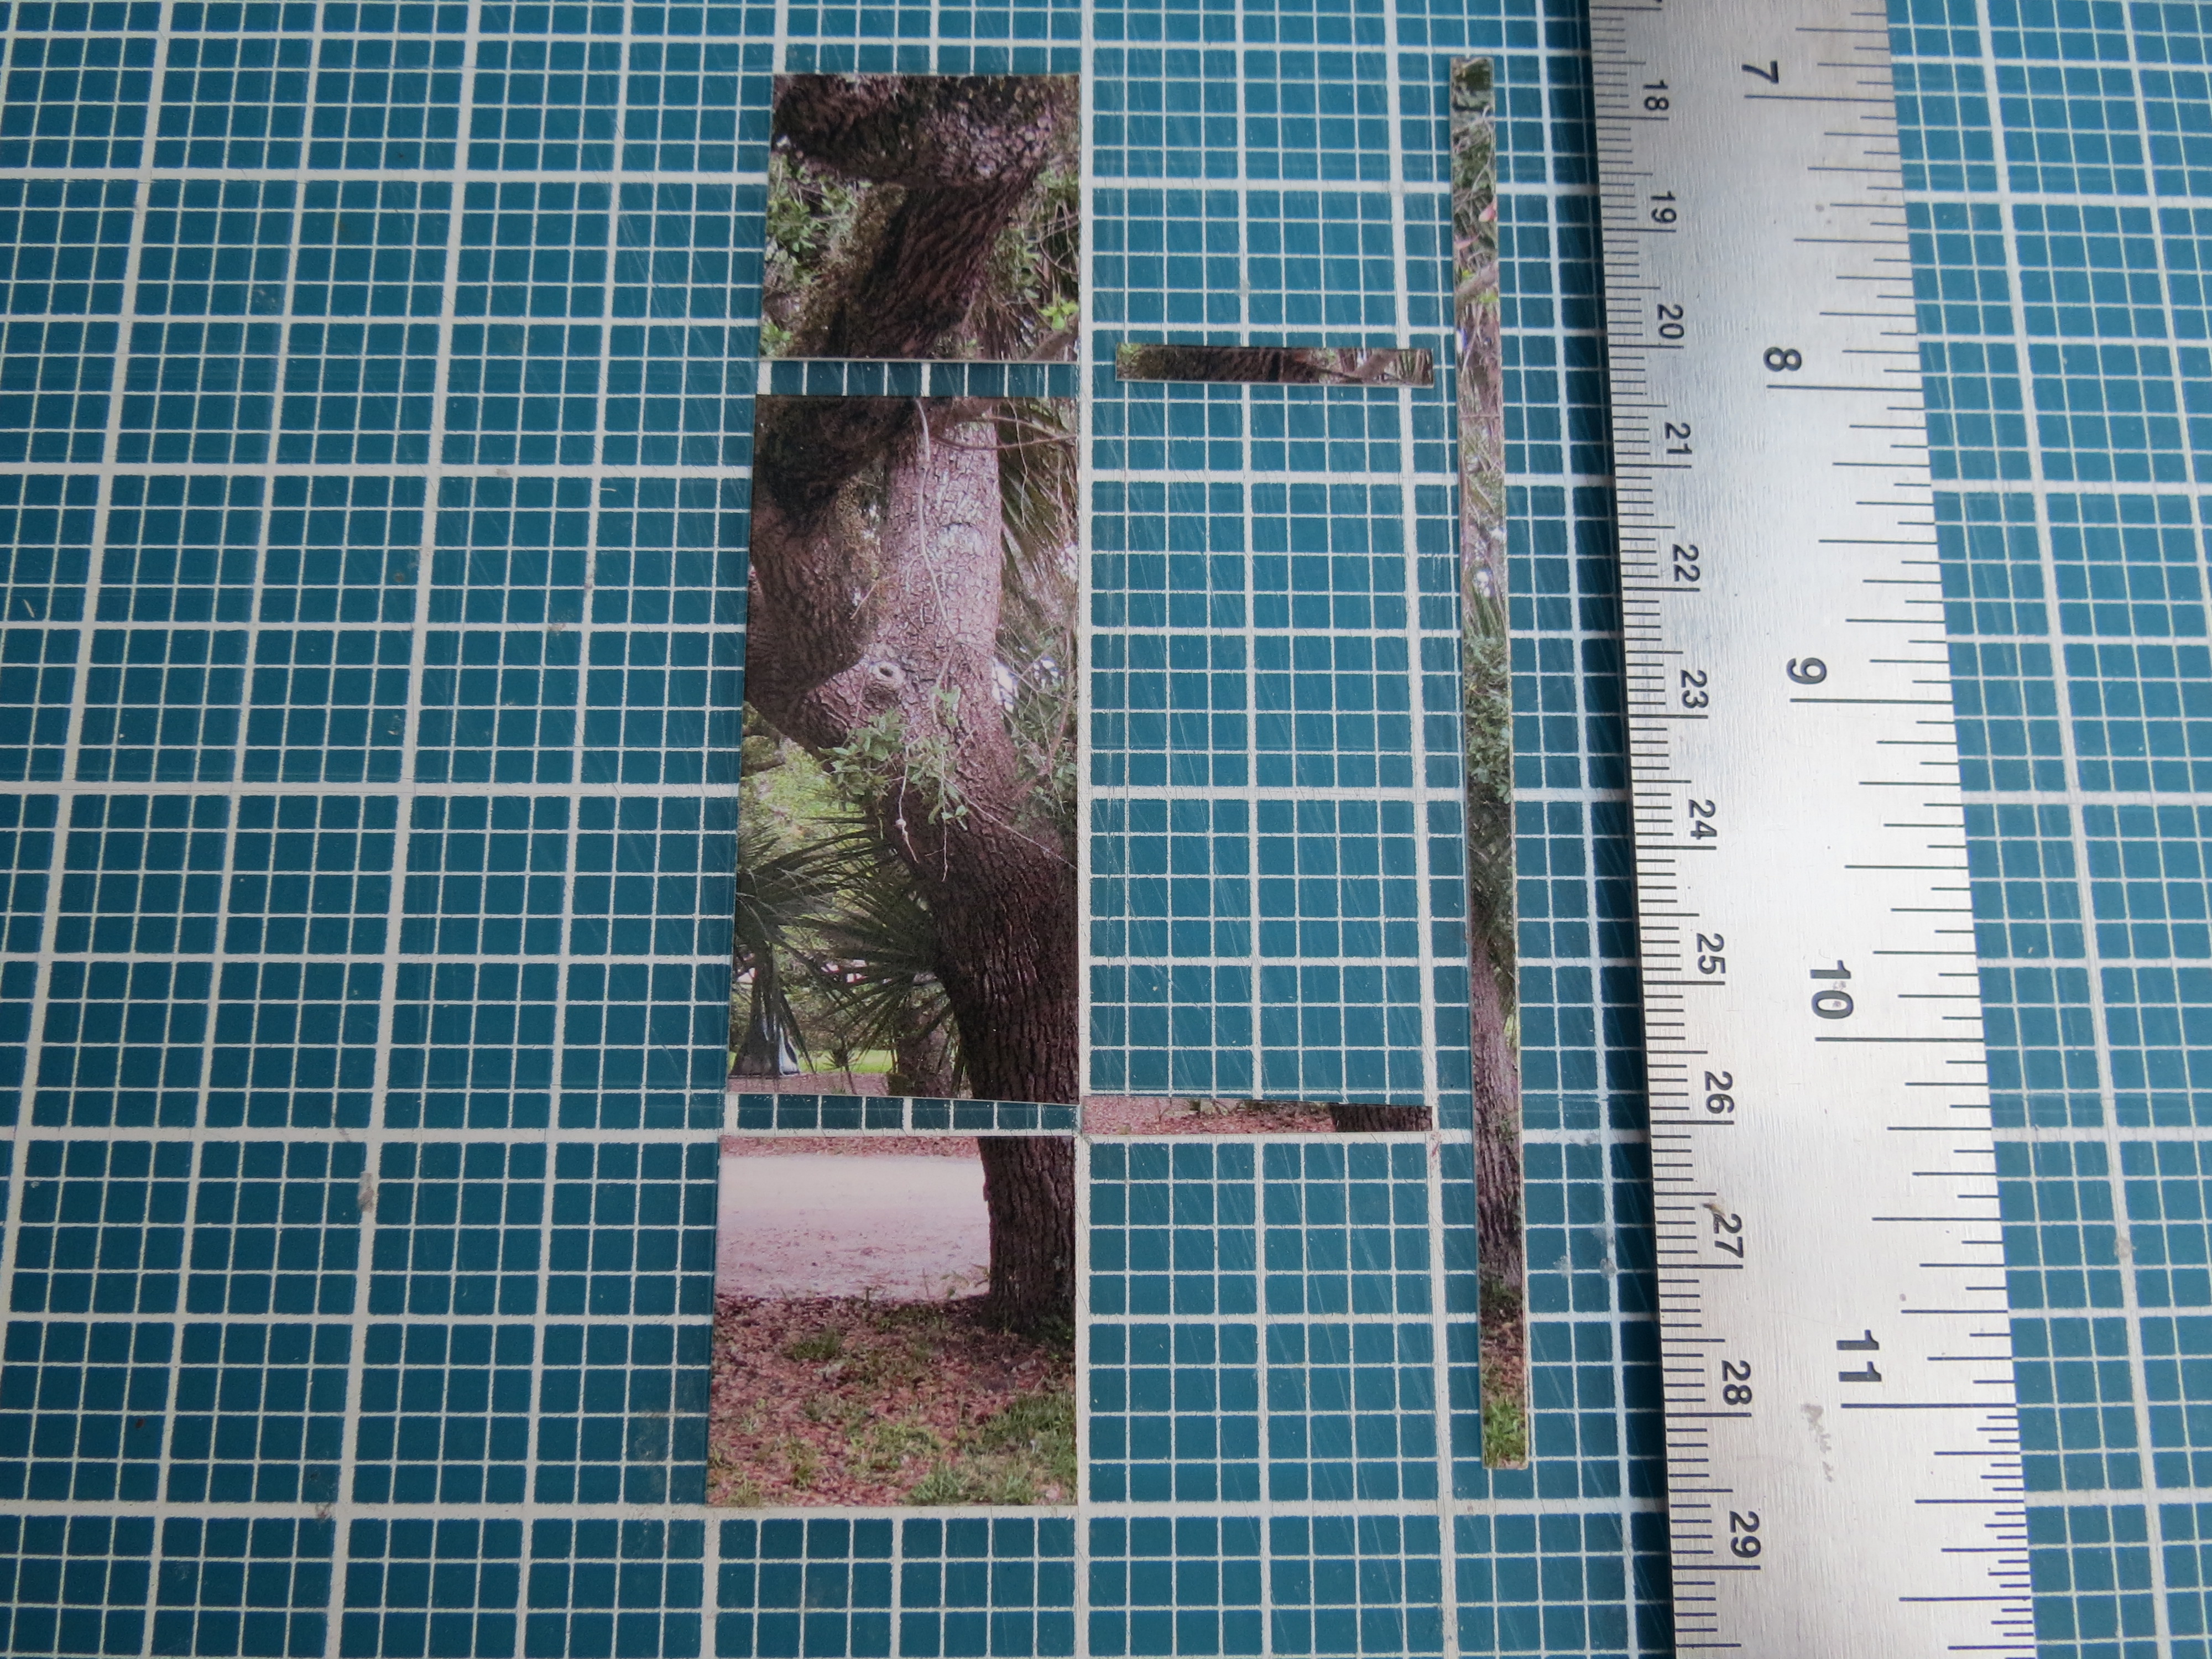
Tips for fitting photos to the grid. Next trim to fit the pattern. Showing the trim away from the photo.
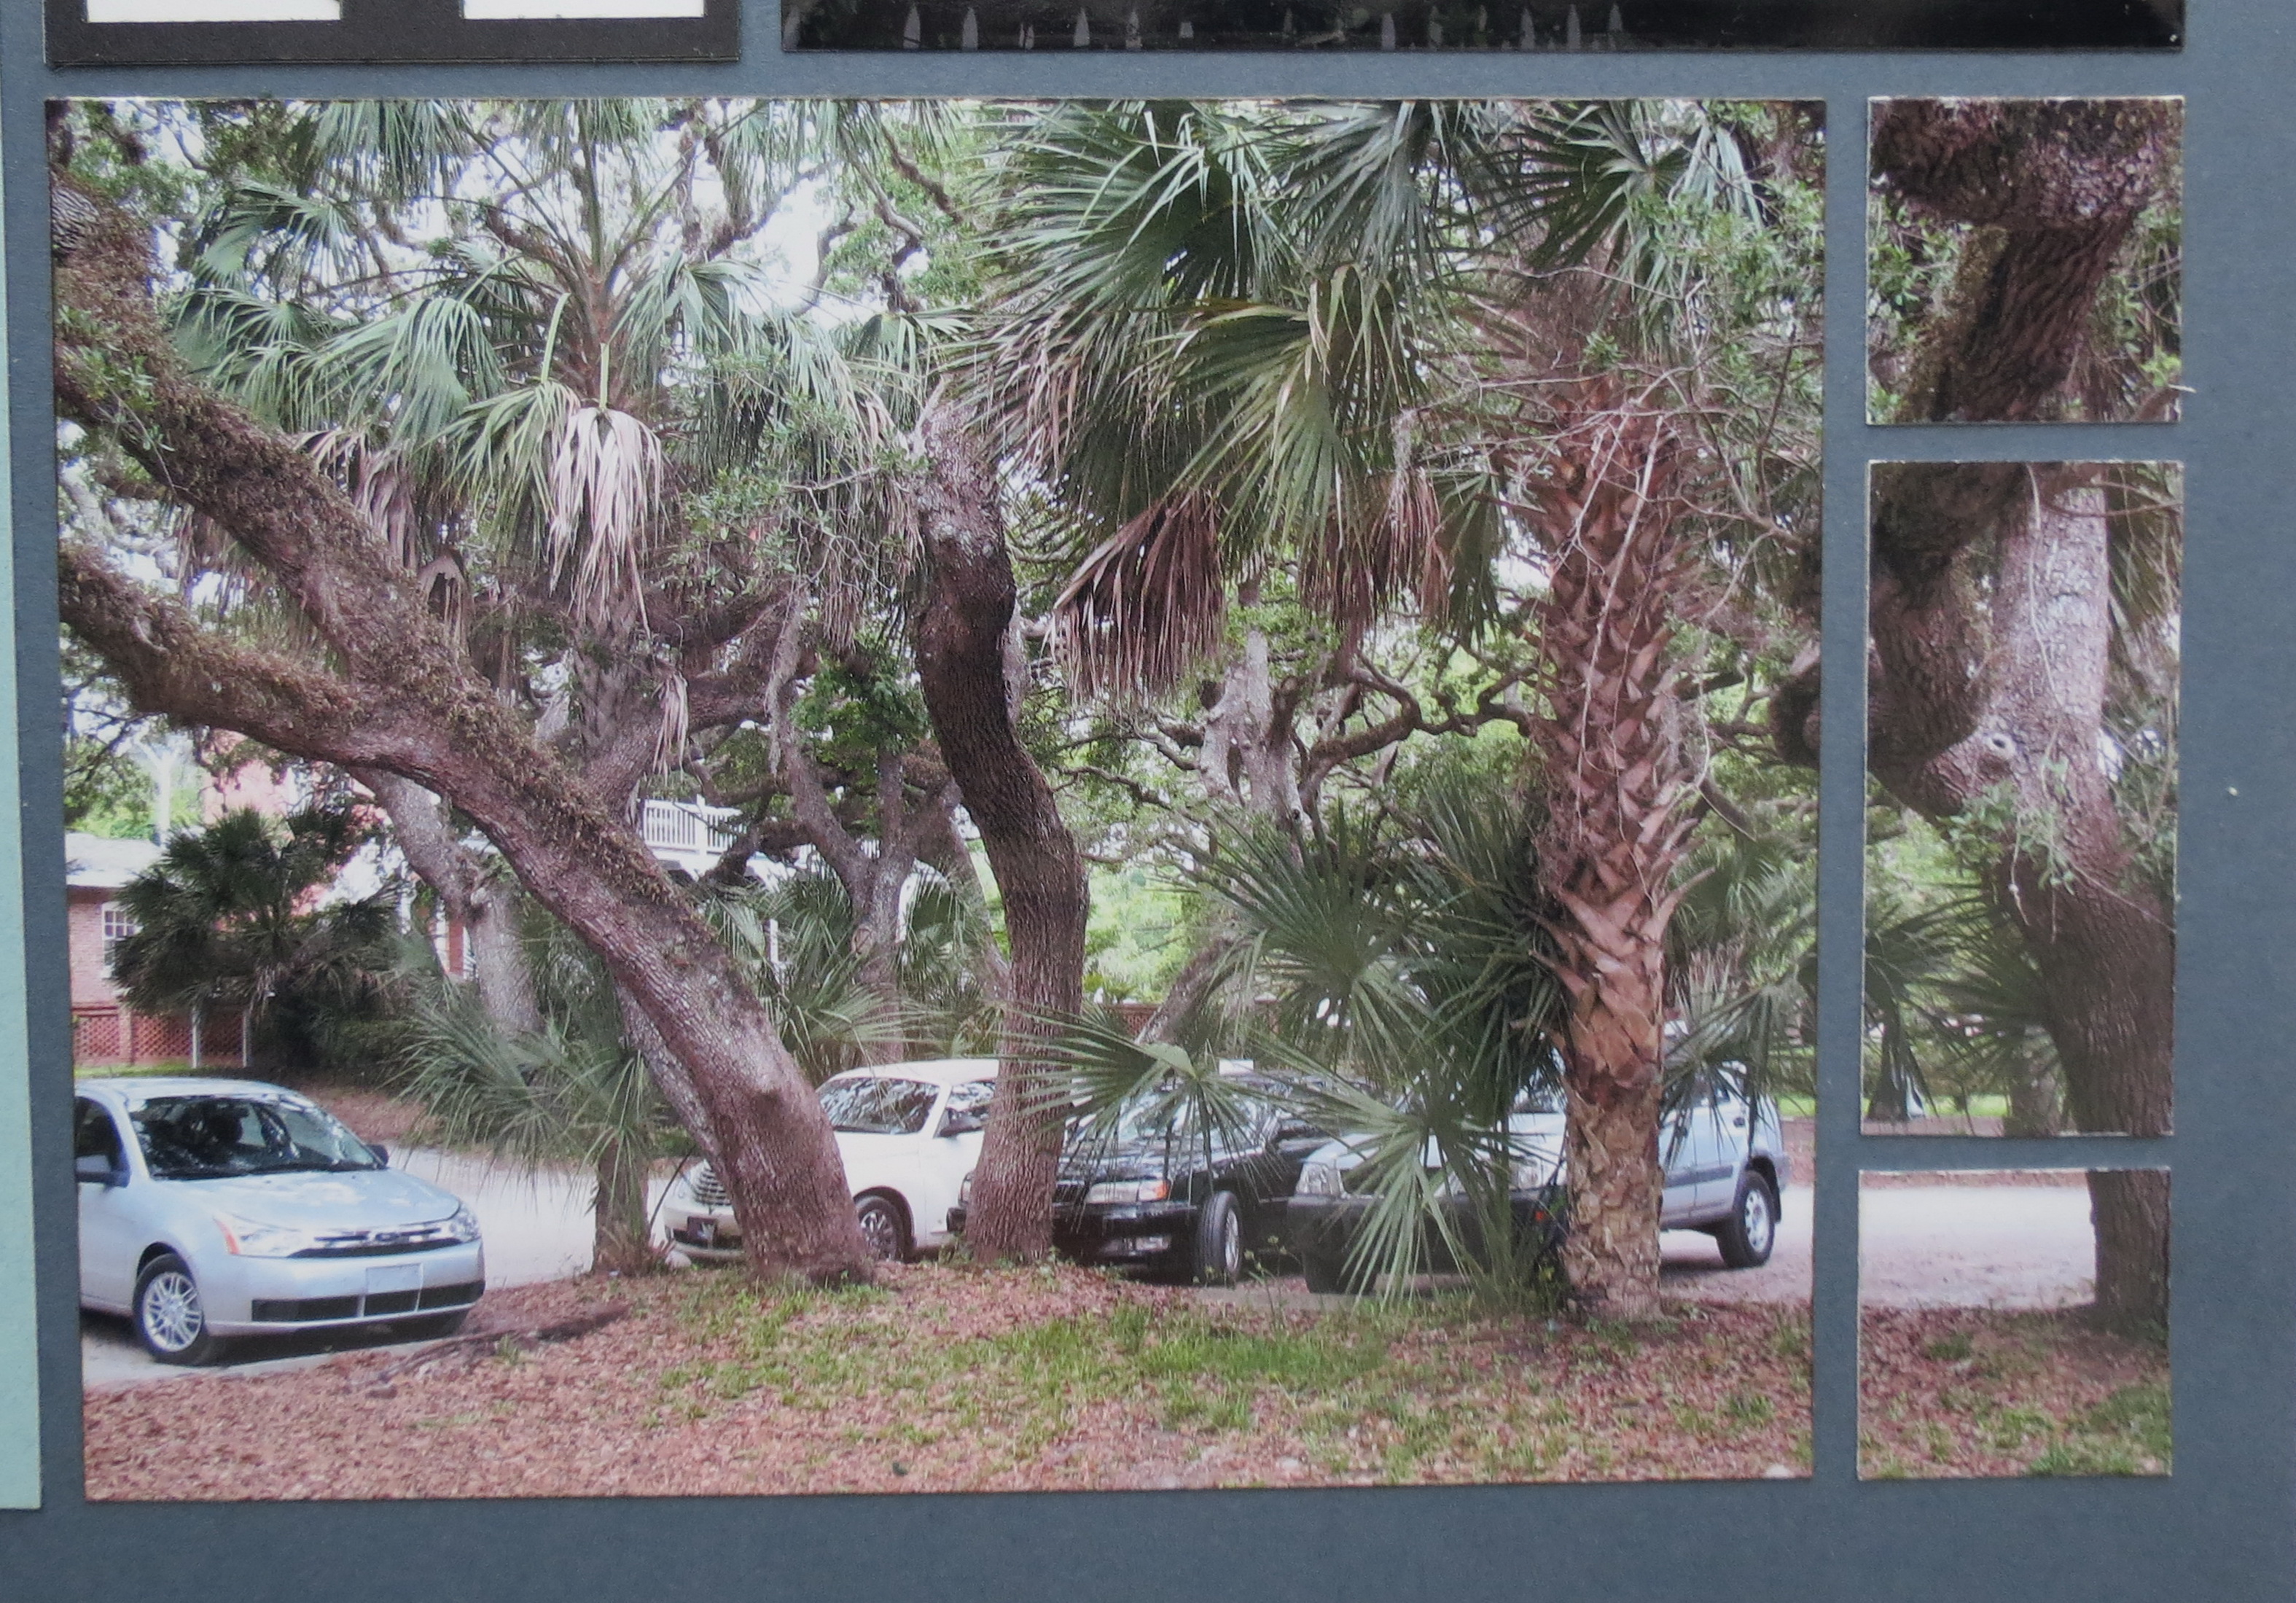
Tips for fitting photos to the grid. A 5″x 7″ photo trimmed to fit a 4×5 block and 2-1″ and 1- 1″x 2.25″ spaces.
TIP:
For those of you frustrated that your photos aren’t being printed at a full 4” x 6” and they don’t quite fit the grid, these are easy fixes. Here’s what you can do:
- Trim to fit the 4×5 block using the layering die from Set C which fits on a 4×5 Paper Tile block. If cutting by hand the dimensions will be 5” x 3 7/8” (or 5” x 3.875”).
- Chose a pattern where 3×5 blocks are featured like Pattern #103, the second pinwheel pattern. The purple area from Die Set B covers 3 x 5 blocks or an area of 3 ¼” x 5 ½”. Your photo can easily be trimmed without losing a lot of the picture, and no mats are necessary.

Pattern #103 Tips for Fitting Photos to the Grid

Tips for Fitting photos to the Grid.

Fitting photos to the Grid. The photo trimmed in the diagram shows the small amount you lose. Fits nicely into 3×5 block size of pattern #103.
Fitting Photos to the Grid. Die shows how you can frame your photo to trim to fit the grid.
Where Die Set A was called for in each layout I used Paper Tiles, hand trimmed the sections or used a Palm Tree CornerStone Tile.
The Title Block in the center of Pattern #103 was created in WORD, printed and then a Square Die from Set A was used to center and cut the title out and finally mounted on the Robin’s Egg 4×4 Paper Tile. The Dies allow you to be able to print out once and then center and cut, instead of running the Paper Tiles through the printer! I love the ease of making a Title or journaling block this way using the dies!
Tips for fitting photos to the grid: Create in WORD, print and then use Square Dies to center title and trim. Mount on center block.
Tips for fitting photos to the grid Center journal/title in the die then cut.
Tips for fitting photos to the grid
I encourage you to use the Pattern Gallery to find layouts that will suit all your photos or find one to adapt to suit you. I hope these tips for fitting photos to the grid has given you a few new ideas you can wait to try and I hope you’ll share them with us on Facebook or Journella!
Andrea Fisher
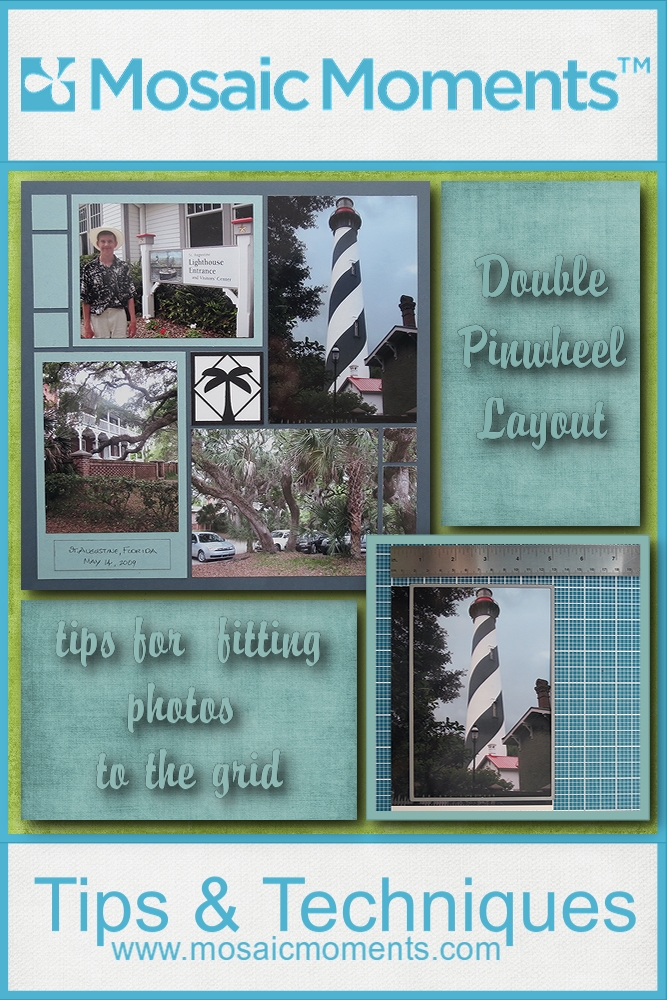
Double Pinwheel Layout: Tips for fitting photos to the grid