
Going to get back to the Mosaic Style roots this week with my layouts. While all the fancy dies are nice and fun to use, sometimes it’s good to go old school and create a Mosaic Style Layout.
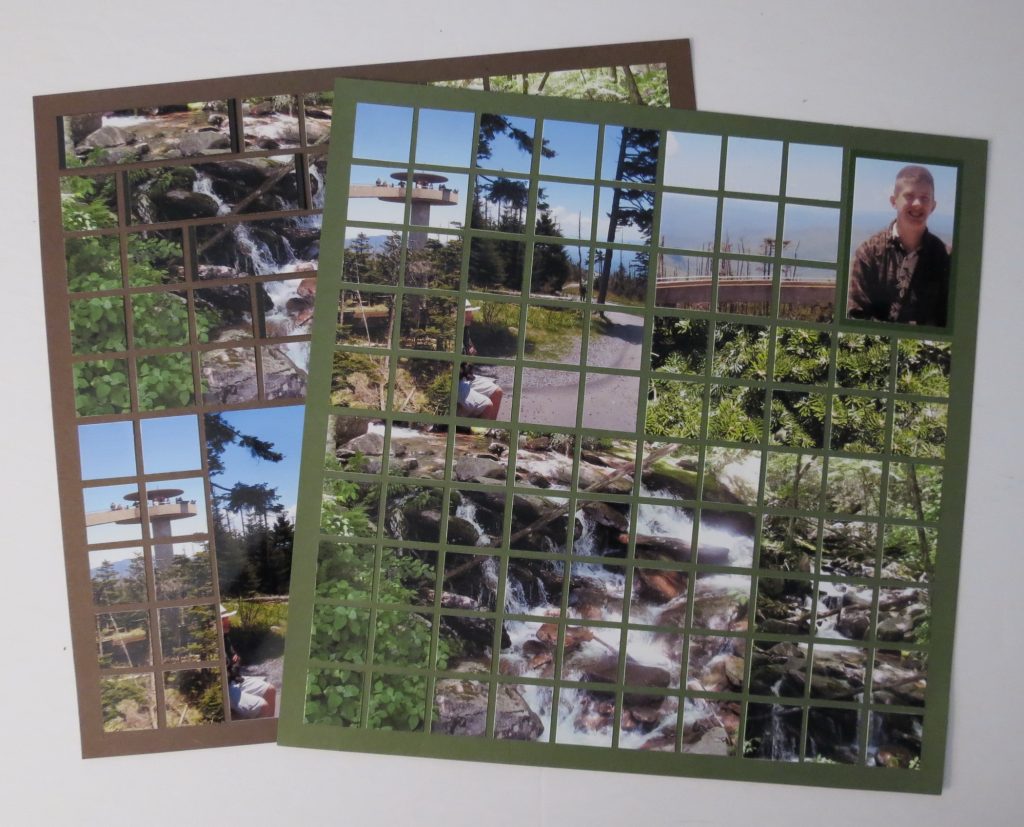
Version 1
The pattern I began with is Pattern #135 a Mosaic Style pattern and it’s one of my favorites. It’s a good pattern to include list type journaling. It is also partly mosaic with some spots for whole photos, too. It’s a good in between pattern having a little of both!
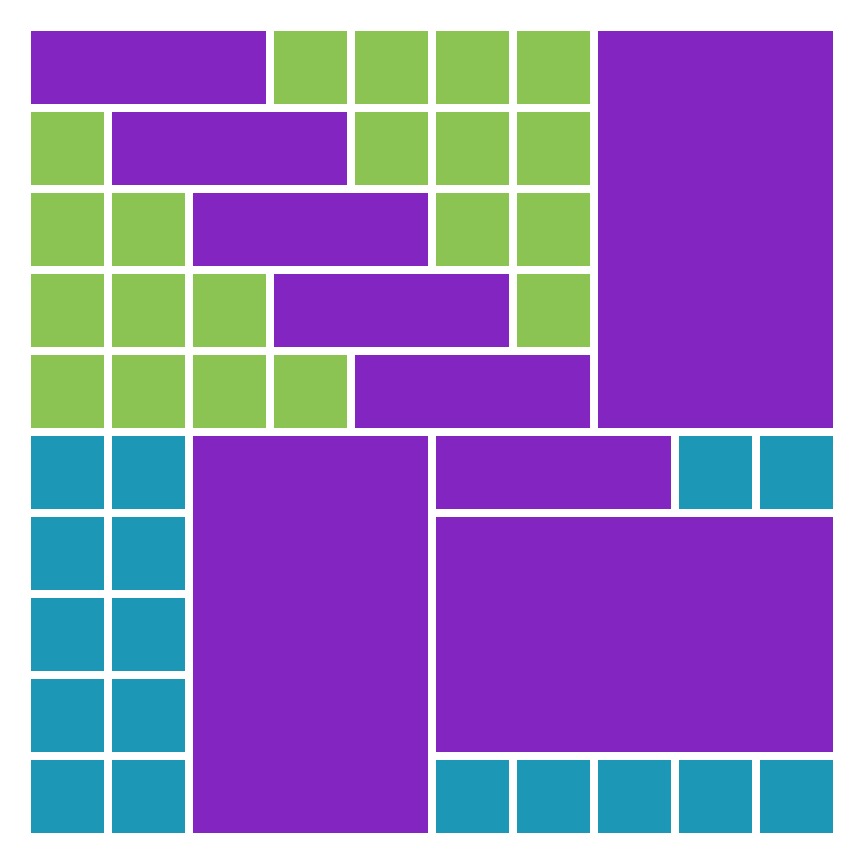

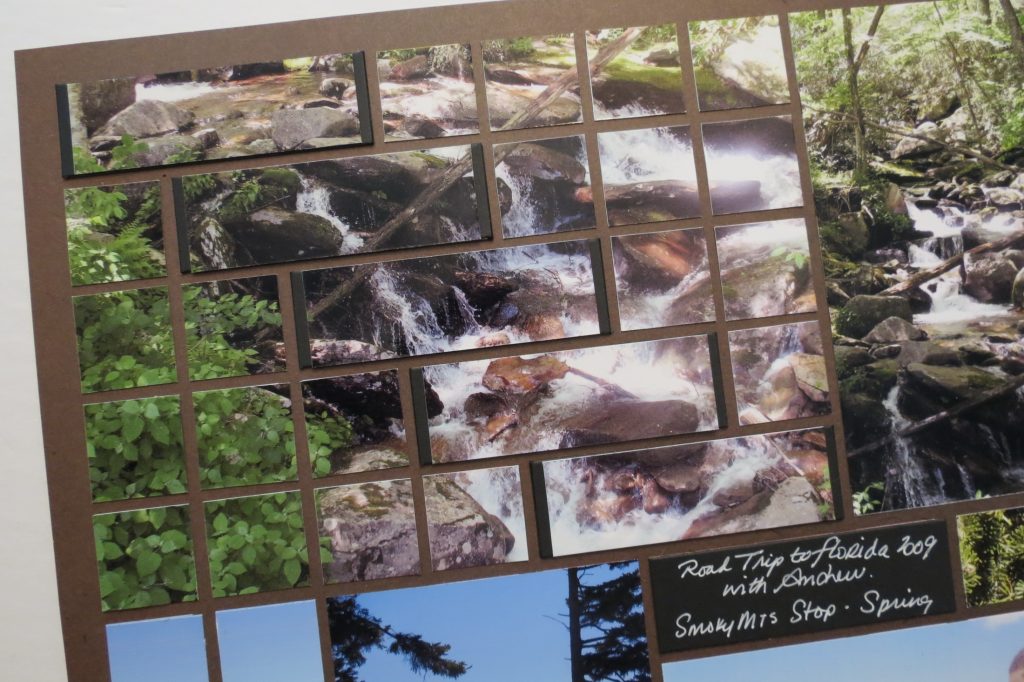
This time I was trying to see how I could try something new with the mosaic section. I was considering to use one photo divided on each side of the stairstep 1×3 sections. Then I realized I could try a 5×7 photo in this spot. I wanted something that would move in the same direction in a downward flow, so it was off to my photos of trips to the Smoky Mountains and the waterfall photos in search of something perfect.
For this layout I chose the Dawson Grid paper from the Yukon Territories Collection. It will provide a nice dark contrast for the photos.
Let’s skip to just the last step of working with the 5×7 for the mosaic section. The image printed to 5”x7” is tacked to my Double-sided Craft Mat. I cut 5-1” rows (across) and then begin to cut the columns (down) one row at a time.
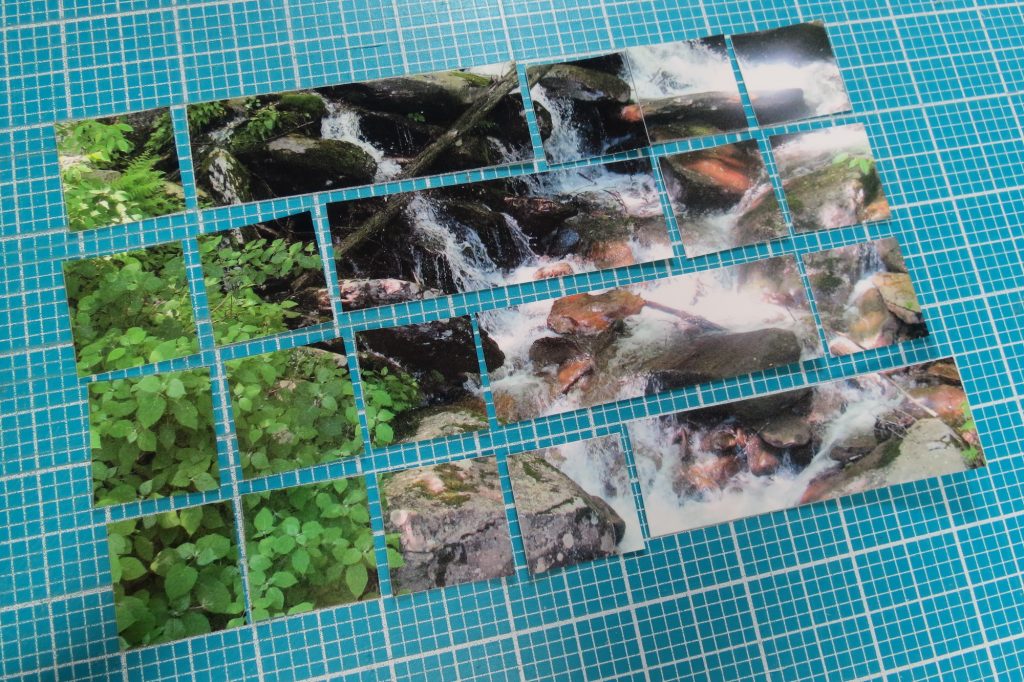
I found it easier to cut out the 1” squares on the left-side then the 1“squares on the right-side leaving all the 1”x3” photo sections. Now these will not fit the 1 x 3.25” section on the pattern, but I decided to triple stack cardstock cut to fit the grid to provide for the photo sections to be mounted to fit into the spot. (I used the 1×3.25” Strip Die to get these pieces quick and easy.) It leaves a small 1/8” strip of color before and after the photo strip. It also gives a little height to this falls section and sets it apart. I’m not sure it works, but it was one way to try something new and use a full 5×7 photo. It may grow on me.
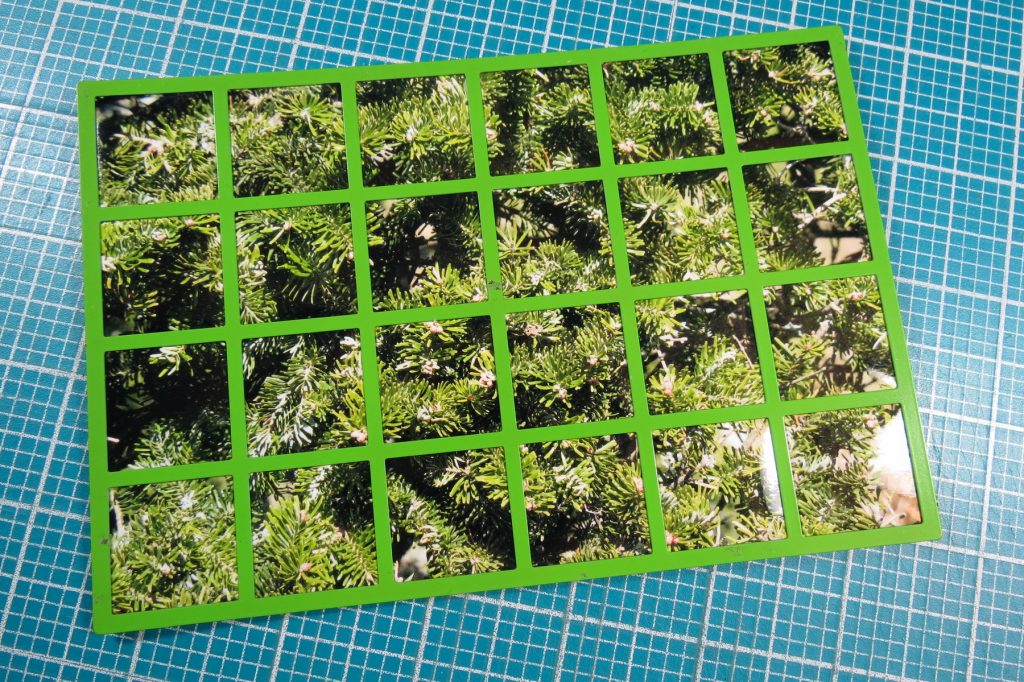
I had one photo that I wanted to use as filler on both pages so I printed it and cut it out into 1” squares using the 4×6-1” Grid die, enough for both pages. Everything else was cut with the Basic Mosaic Grid System Tools, the Double-sided Craft Mat, the Cork Backed Metal Ruler, an X-Acto knife (sharp blades necessary) and dot adhesive (this time it’s Scotch brand).
Version 2
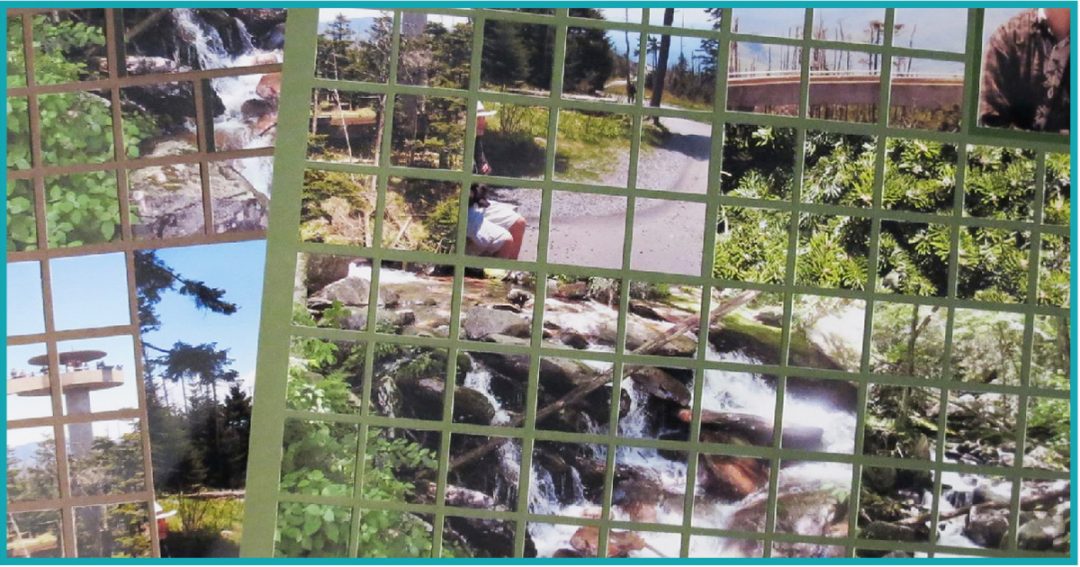
The second Mosaic Style pattern is Pattern #160 and it is a full mosaic. This time the Grid paper choice is Cedar from the Trailblazer Collection.
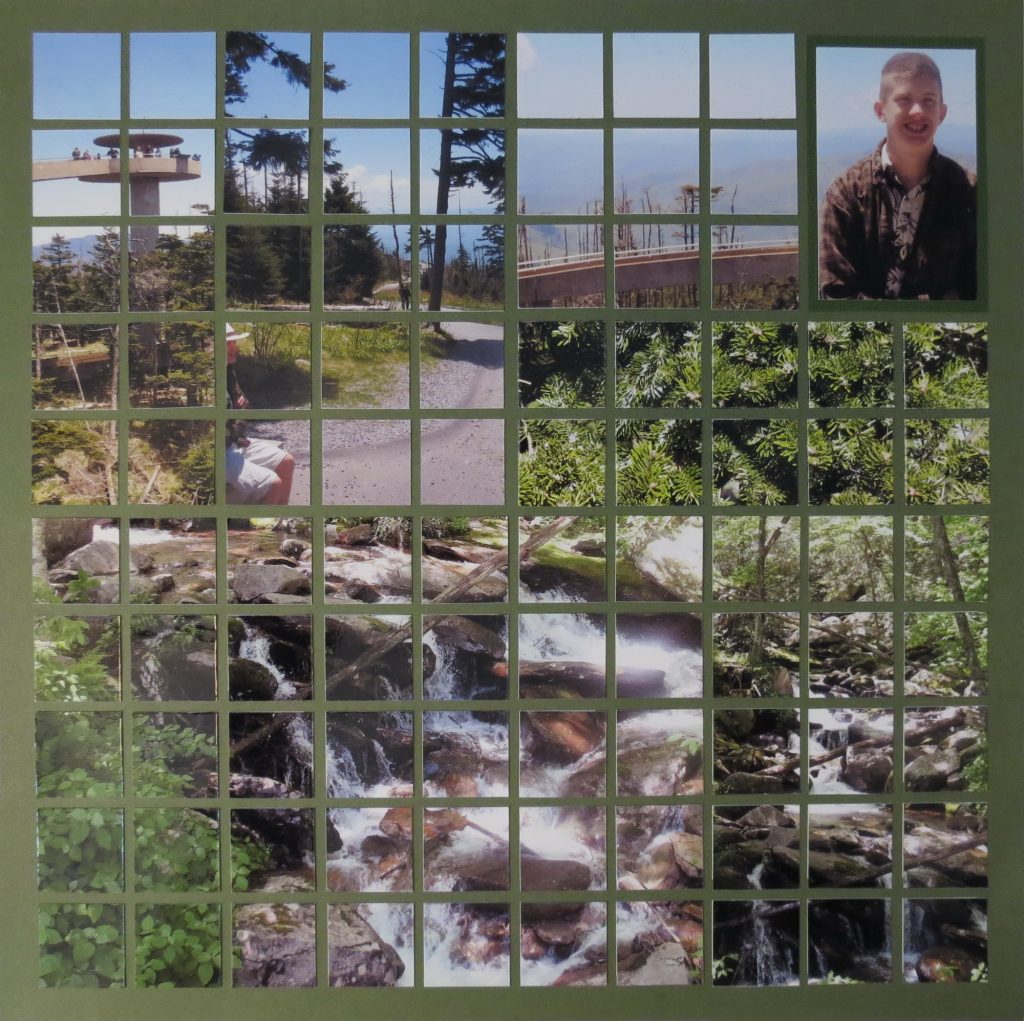
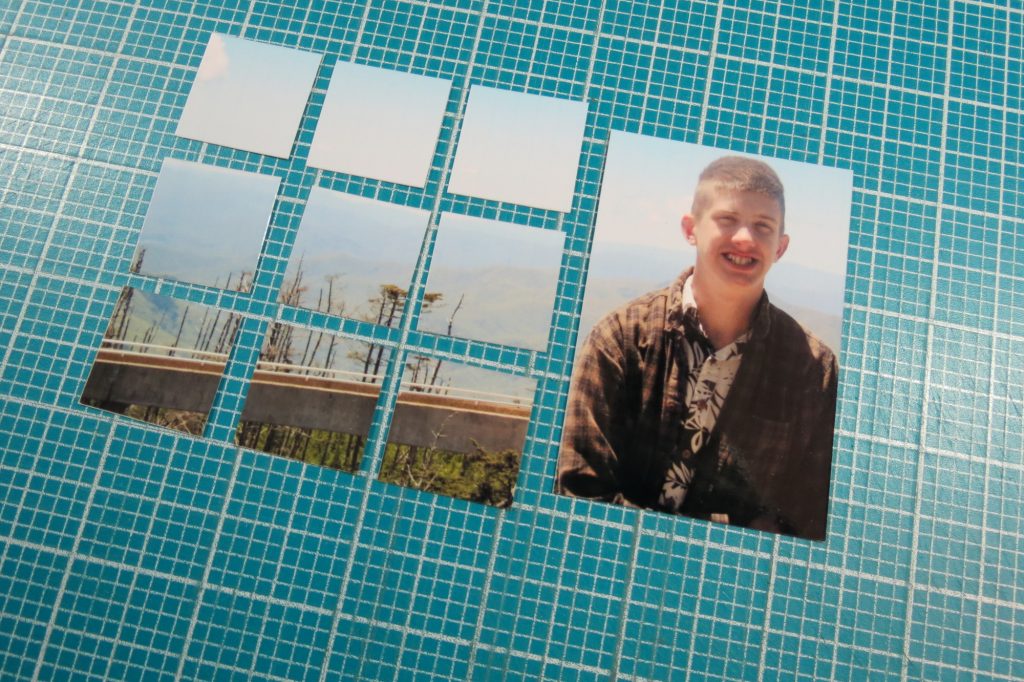
In this one, I’ve used the same photos with only a few changes. I changed my sky photos to the top and waterfall ones to the bottom. That feels better to me placing the ground and sky in the proper order. All photos but one is cut into 1” squares and placed on the grid. The one photo that remains has a picture of my son, Andrew, that I will not cut it all into squares. I do a division that gives me one 3×3 section in 1” squares and then trimmed his photo portion to fit on a green mat (2.125”x 3.25” — tip: use the back side of the Double-sided Craft Mat for a quick cut). The skyline continues from one side to the other keeping the picture unified and across the top of the grid, sky shows.
Now, I didn’t take a lot of time to try matching things up to work smoothly together, but I could have, I just took several photos from the same place, different stages of the climb up to the observation tower to document the climb. Waterfalls and mountain photos from one of my favorite places. Why not take the plunge too? Just grab a few photos and try out a few new techniques? You will find that with some practice, you can be quite proficient with an X-Acto knife and cork-backed metal ruler on your craft mat, give it a try!
Andrea Fisher