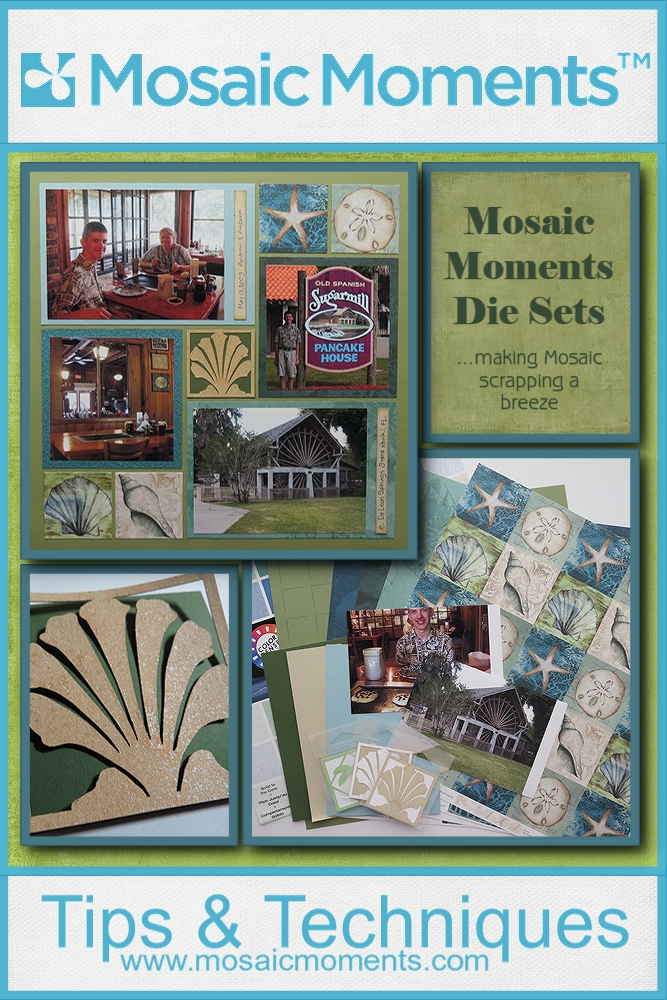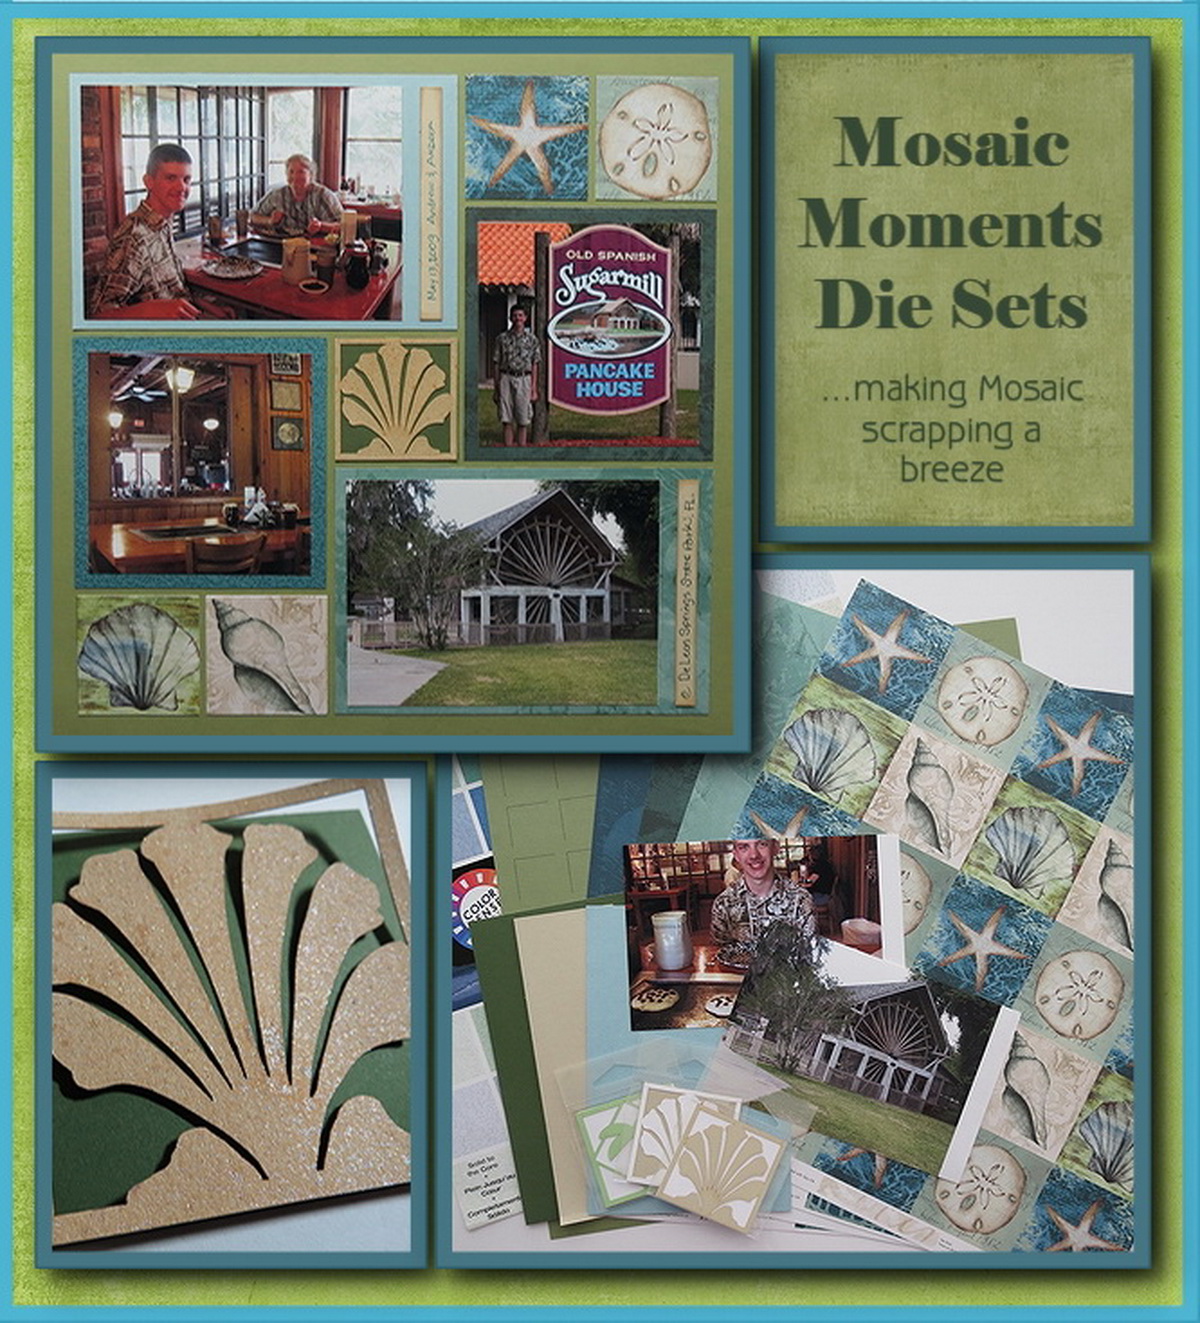
Mosaic Moments Die Sets…making scrapping a breeze!
Mosaic Moments Die Sets make putting this double page layout a breeze!!
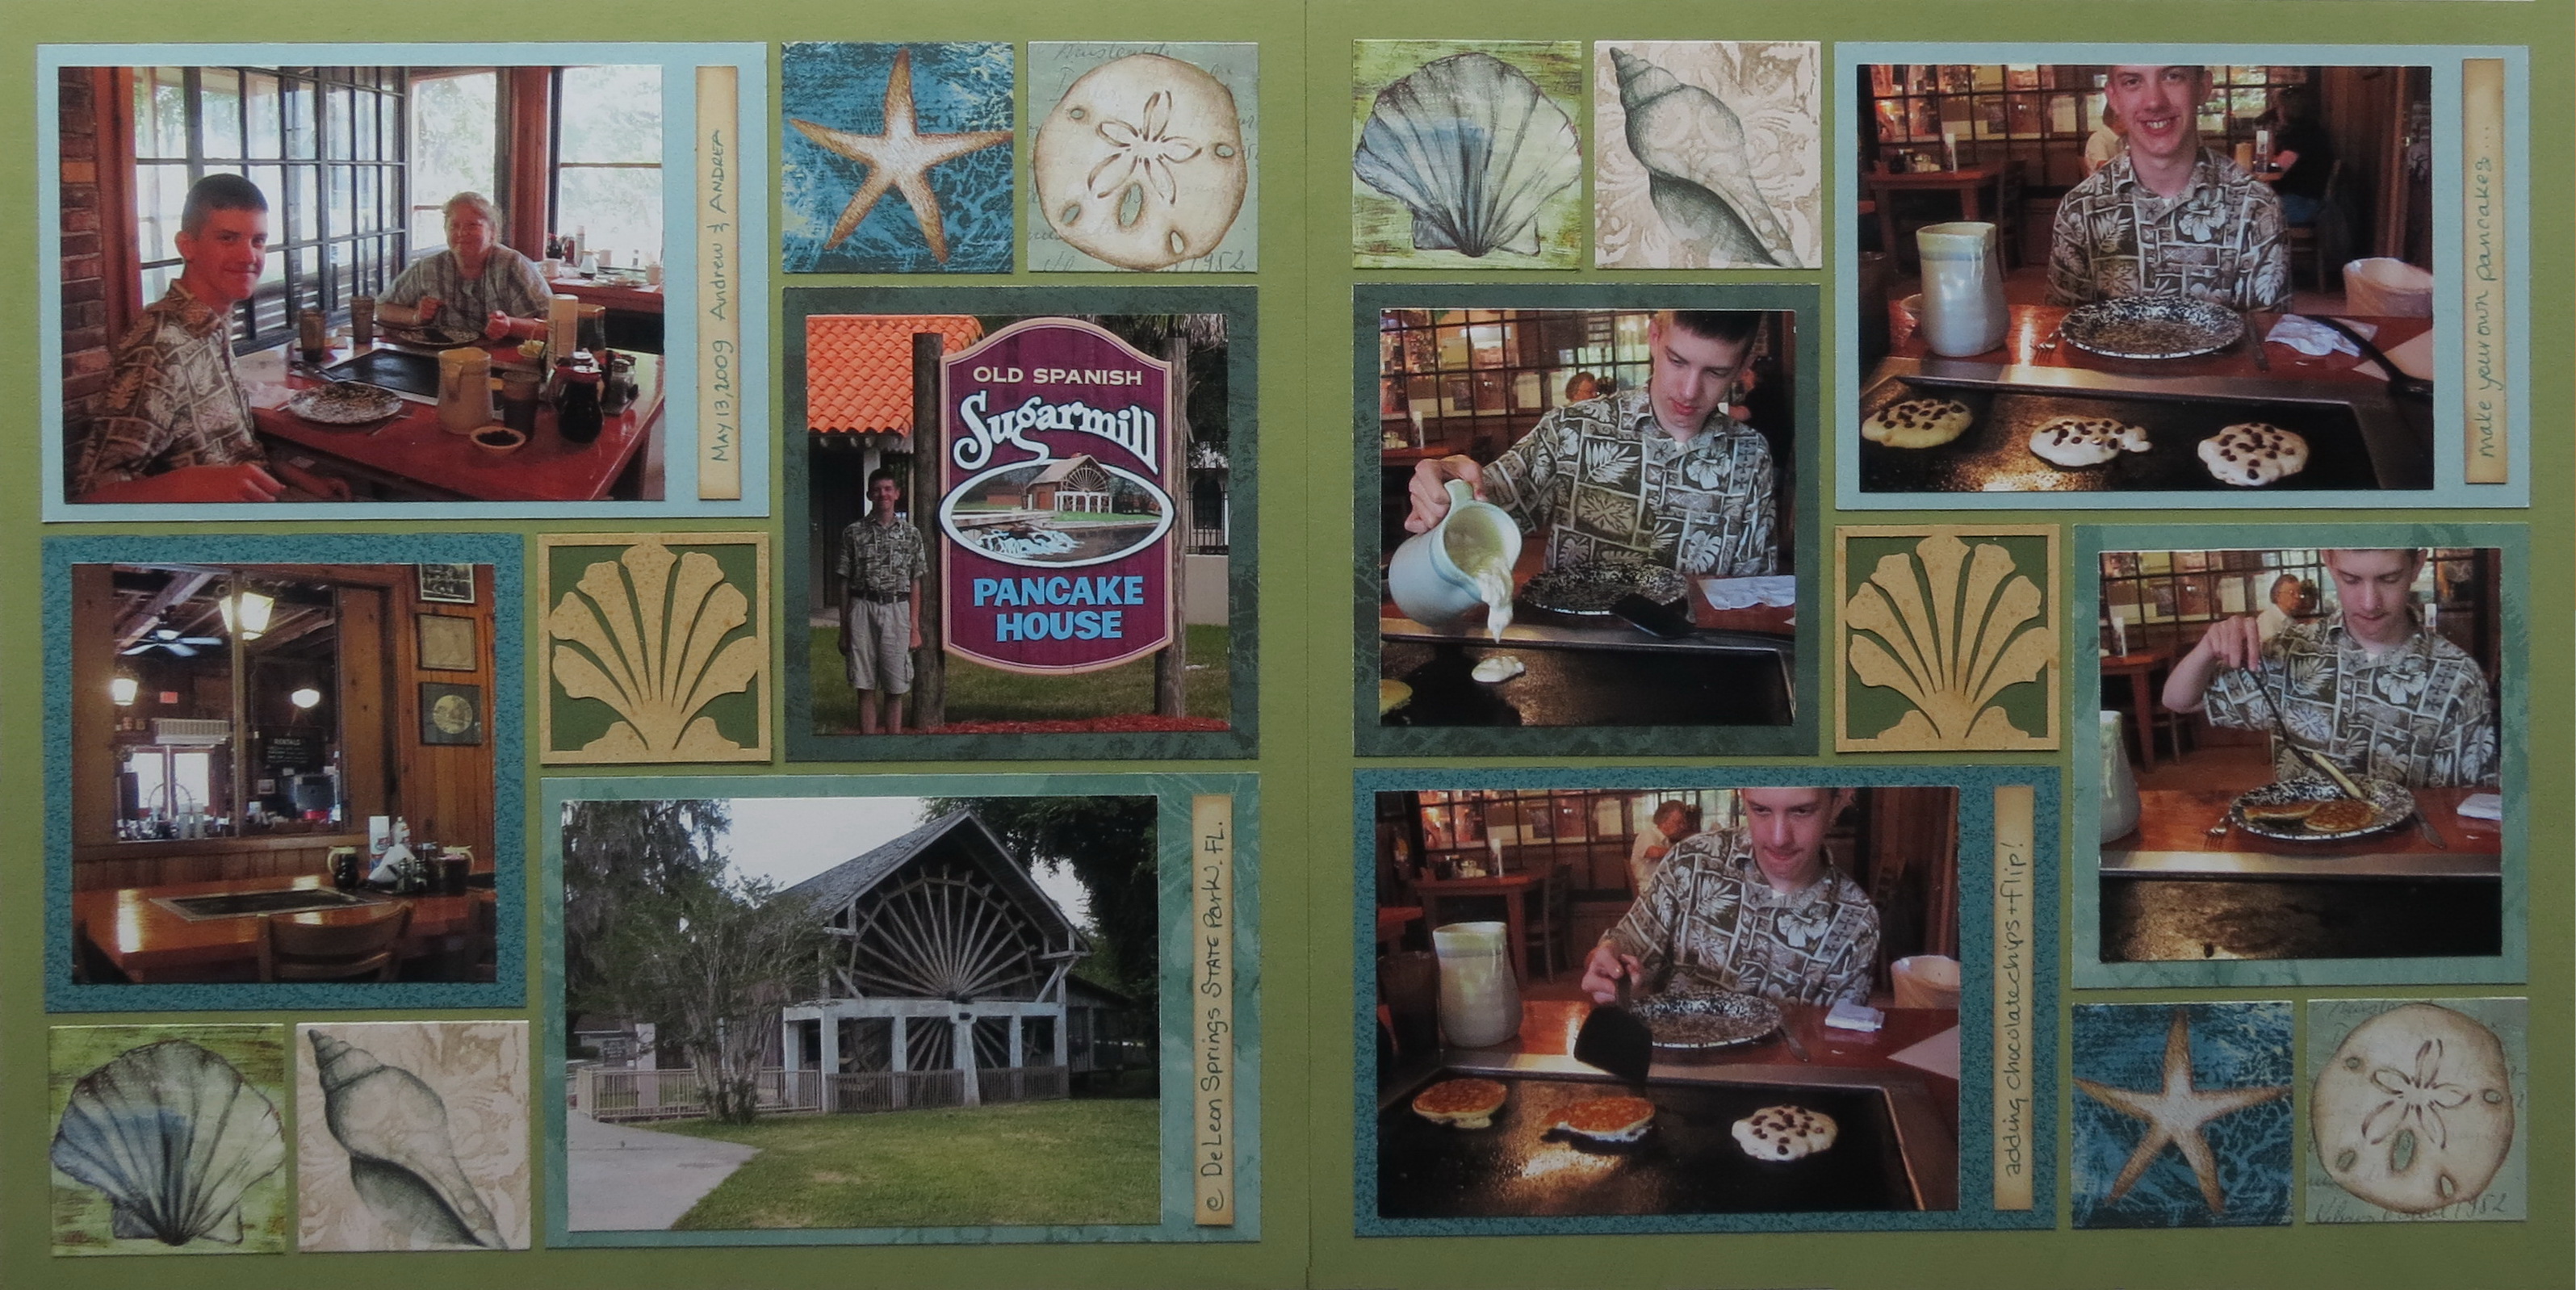
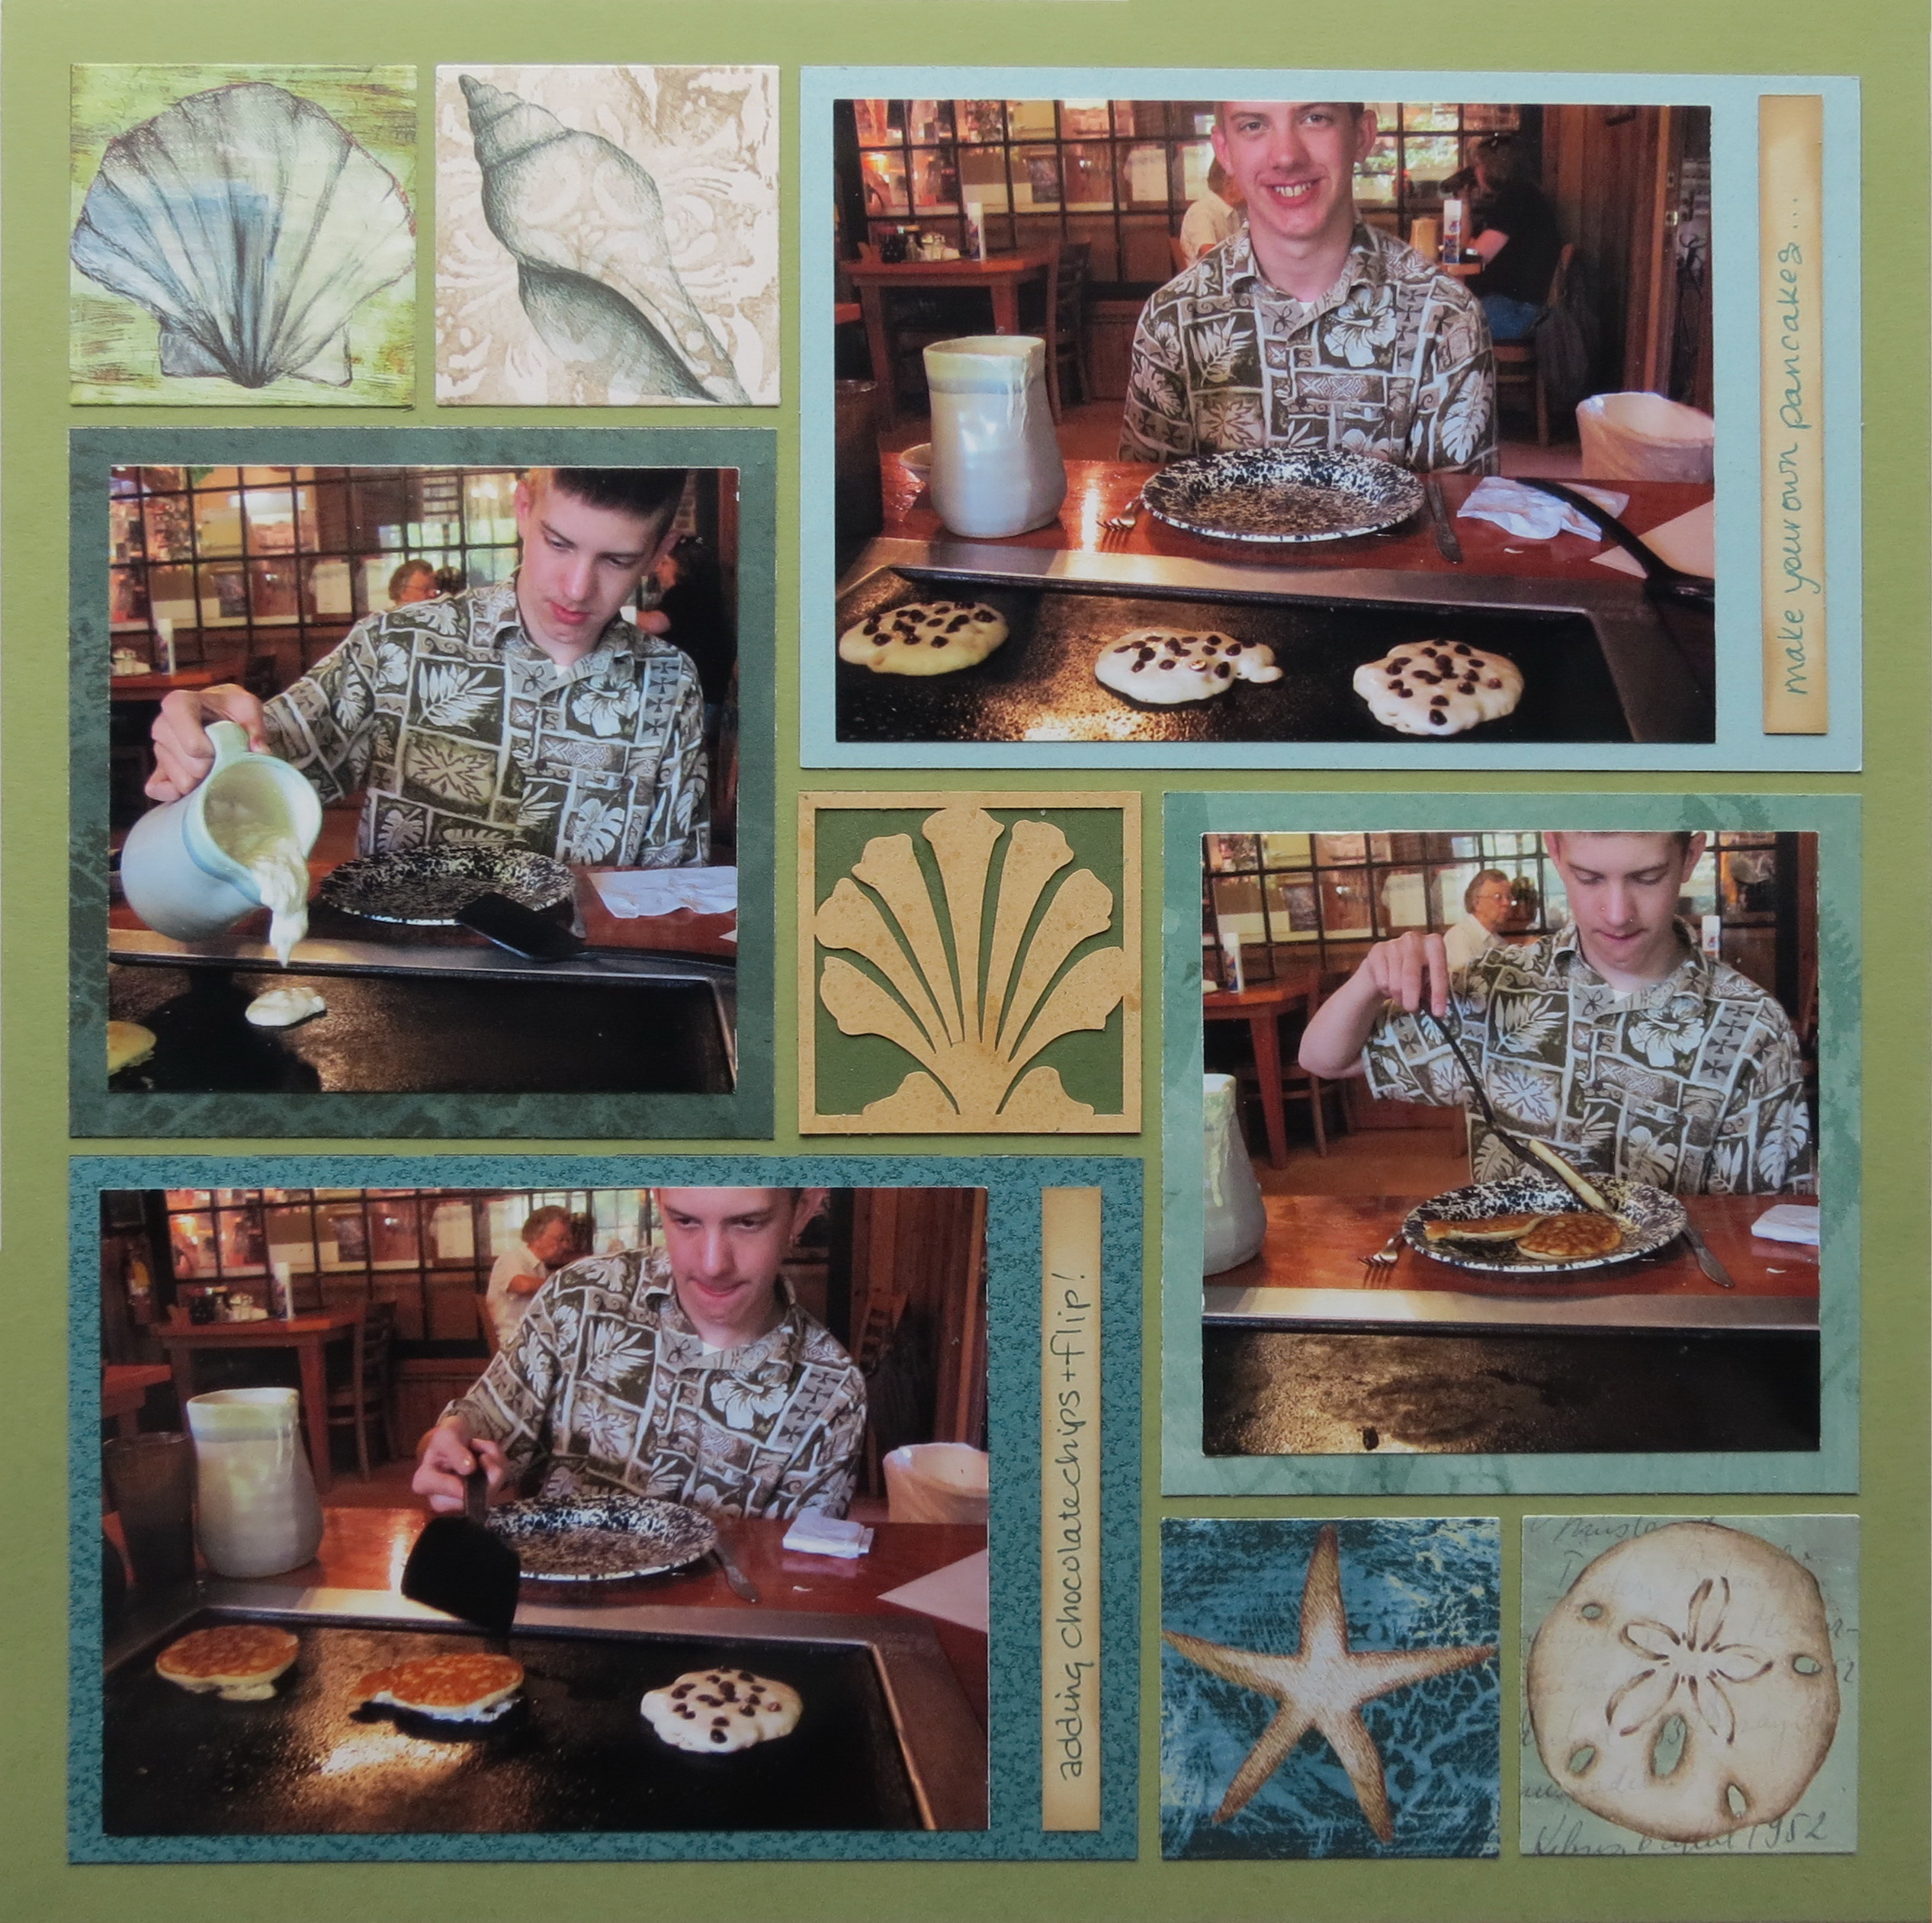
This double layout uses Pattern #163, a mirror image of the pattern and utilizes two of our new Die Sets, A & B. If you haven’t transitioned to the new dies yet, I hope you will be able to catch a glimpse of how versatile they can be and how quick and easy they make preparing your pages. This pattern is a series of squares in 2×2 and 4×4 and large rectangles 4×6 block size.

I began with:
• a 12×12 Mosaic Moments Grid in Dark Spring Green
• 1 Seashell Cornerstone in Shell
• 2- 4×6 Robin’s Egg Paper Tiles
• 2-Deep Spring Green Paper Tiles
• 1-2×4 Sand Paper Tile to use for journal tiles
• Creamy Brown Color Box Chalk for journal edges
• 3 coordinated patterned papers from Creative Imaginations by Christine Adolph
• Mosaic Moments Die Sets A & B
• Photos
• Pattern #163, a pinwheel pattern
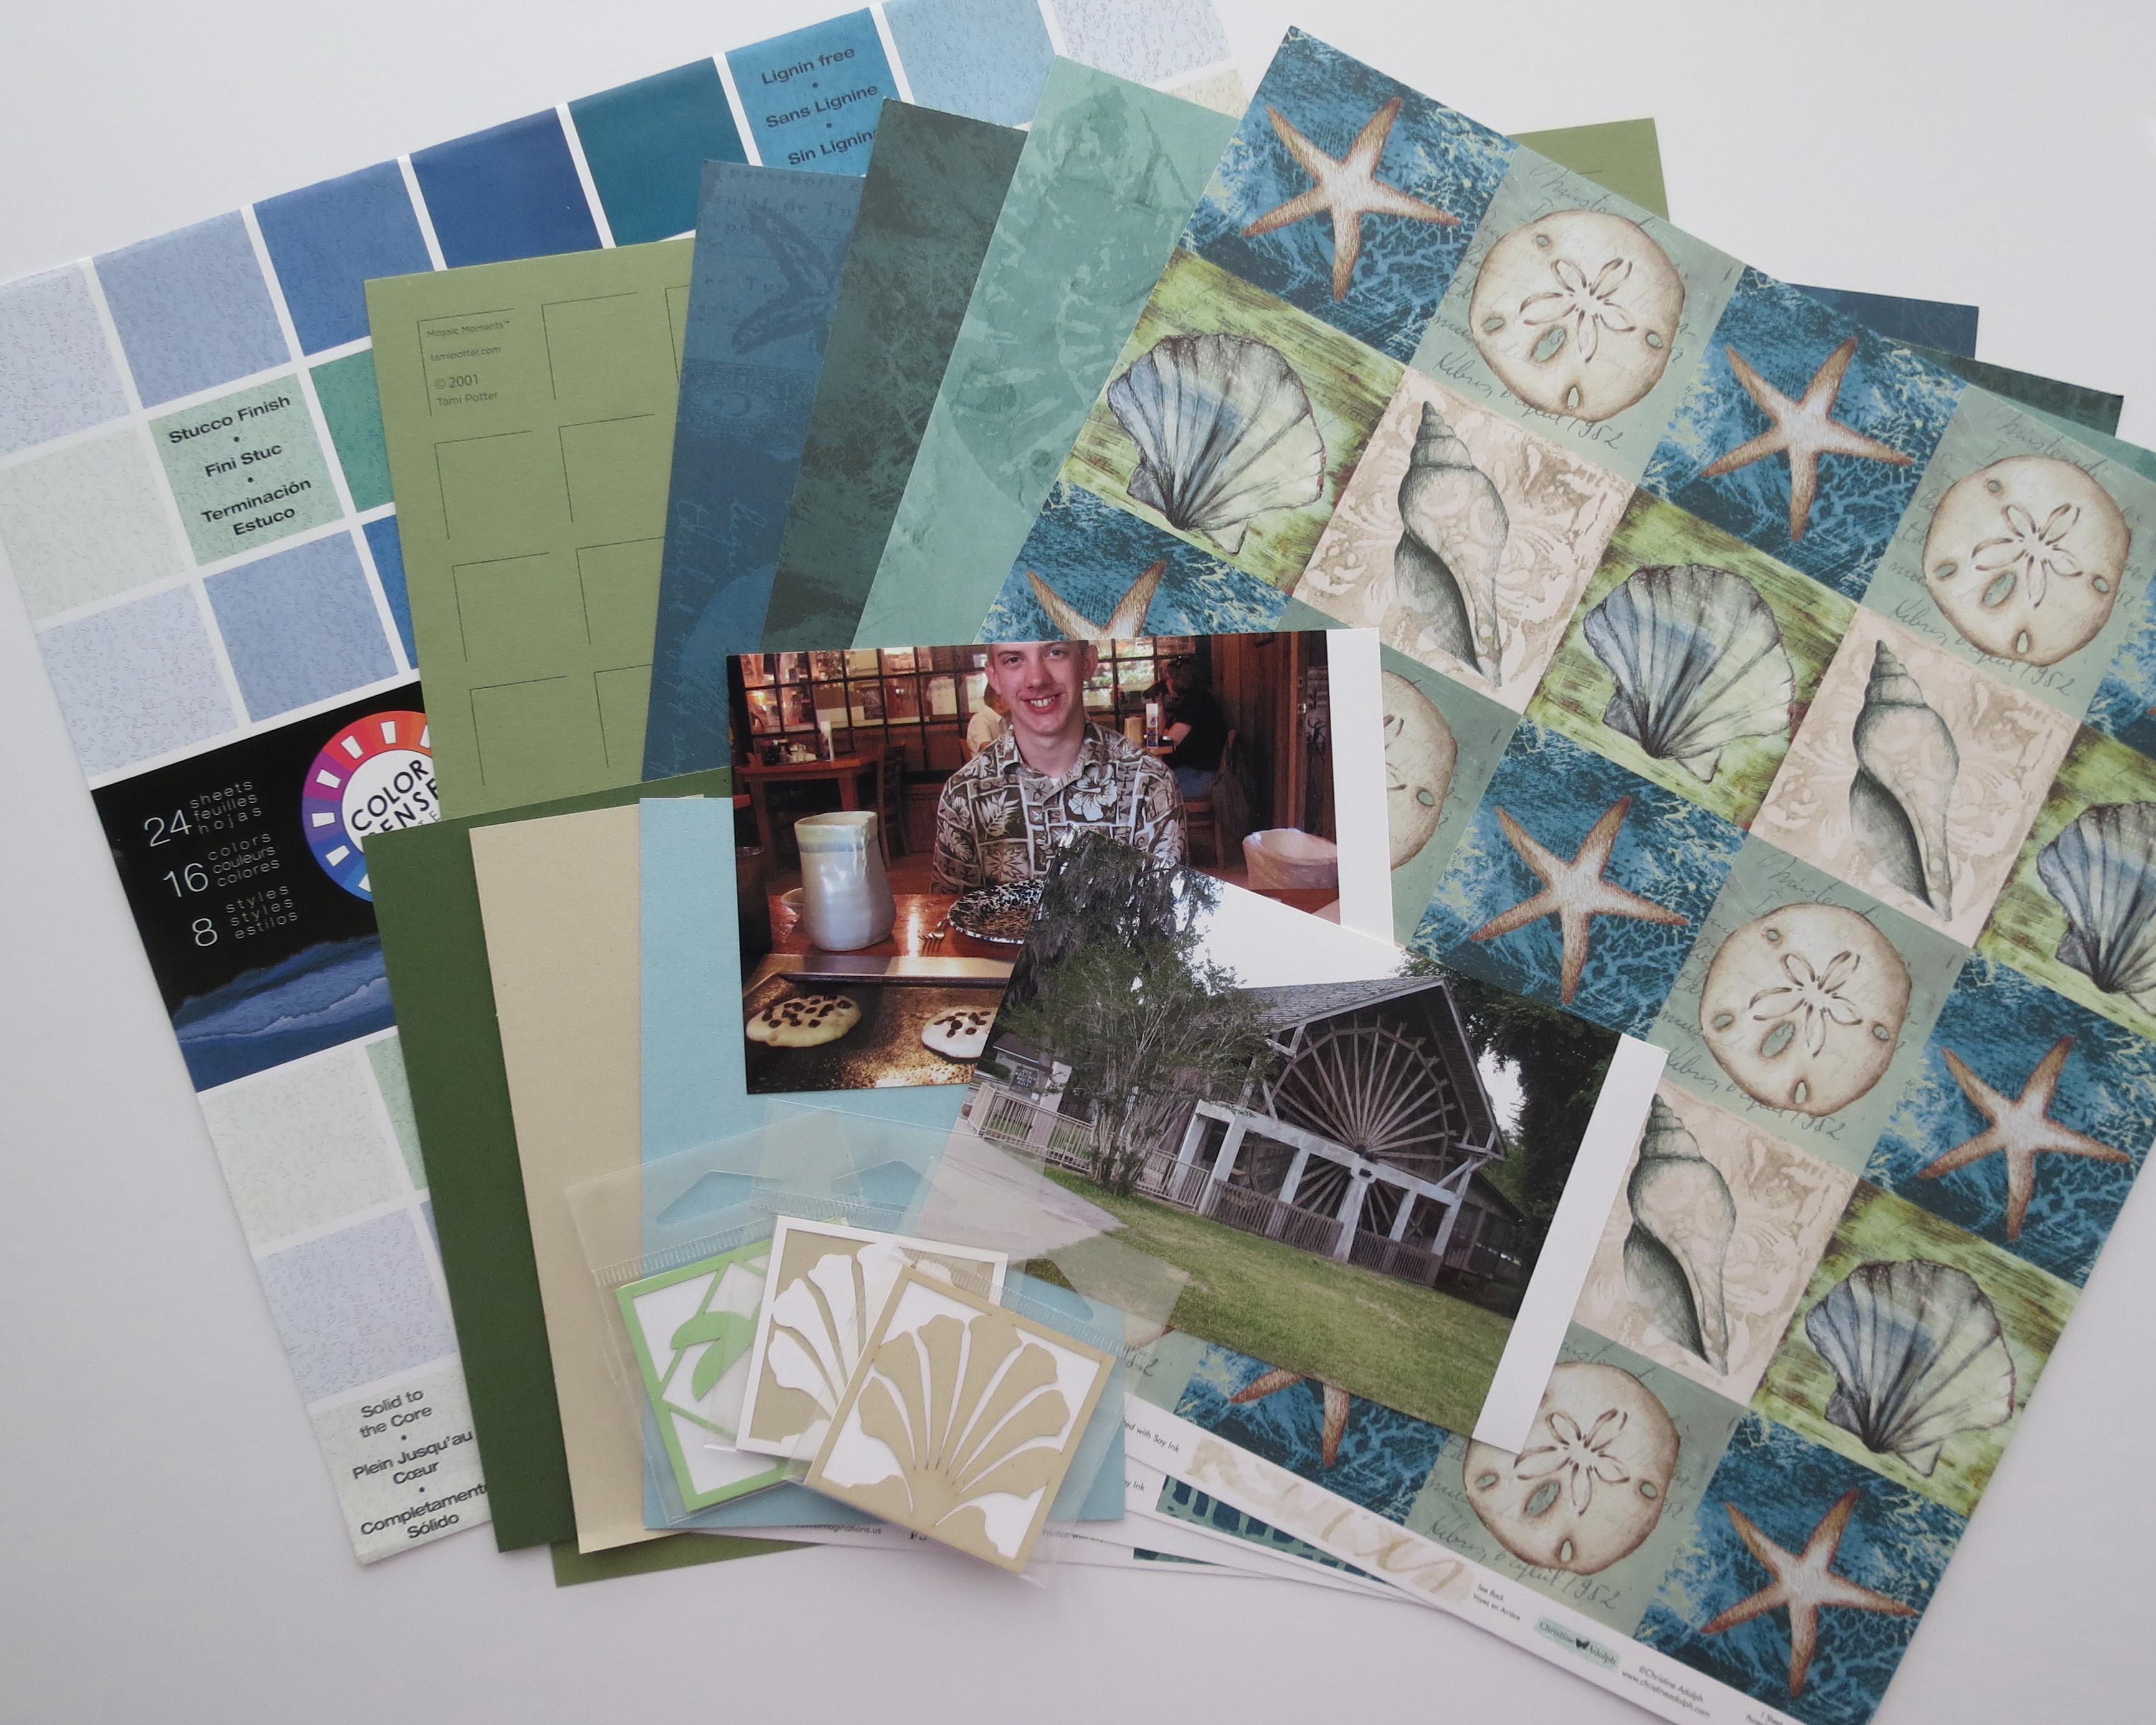
Mosaic Moments Die Sets supplies gathered
When you purchase one of our Paper Tiles sets they come with 55 pieces including one 4×6 block. Unless you have multiple sets of the color or colors that you want to use, you will be short a mat or three for this layout. I have used two Robin’s Egg 4×6 tiles, but I also created two more from the pattern papers I chose to coordinate with the 12×12 Deep Spring Green Mosaic Moments Grid Paper. Think of the possibilities you’ll have to choose your own colors, your own patterned papers and as many as you need for your project!
Because you can’t run a full 12”x 12” sheet through your cutting machine, it will have to be trimmed so it will fit. Using Die Sets A&B each strip gave me one 4×6 and one 4×4 block to use on the page. Then from a strip of textured cardstock, using the new Set A square dies, two additional 4×4’s for the remaining spaces were cut.

Mosaic Moments Die Sets variety of papers and cardstocks when you use our Dies! Page one tells us who, where and when on journal strips.
One of the patterned papers I selected from my paper stash to use was a full page of squares with sea shells. The colors complimented the photos, the grid paper and the theme fit the place the photos were taken, Florida, rather than what is going on in the photos, unless you want to count my son’s Hawaiian shirt.
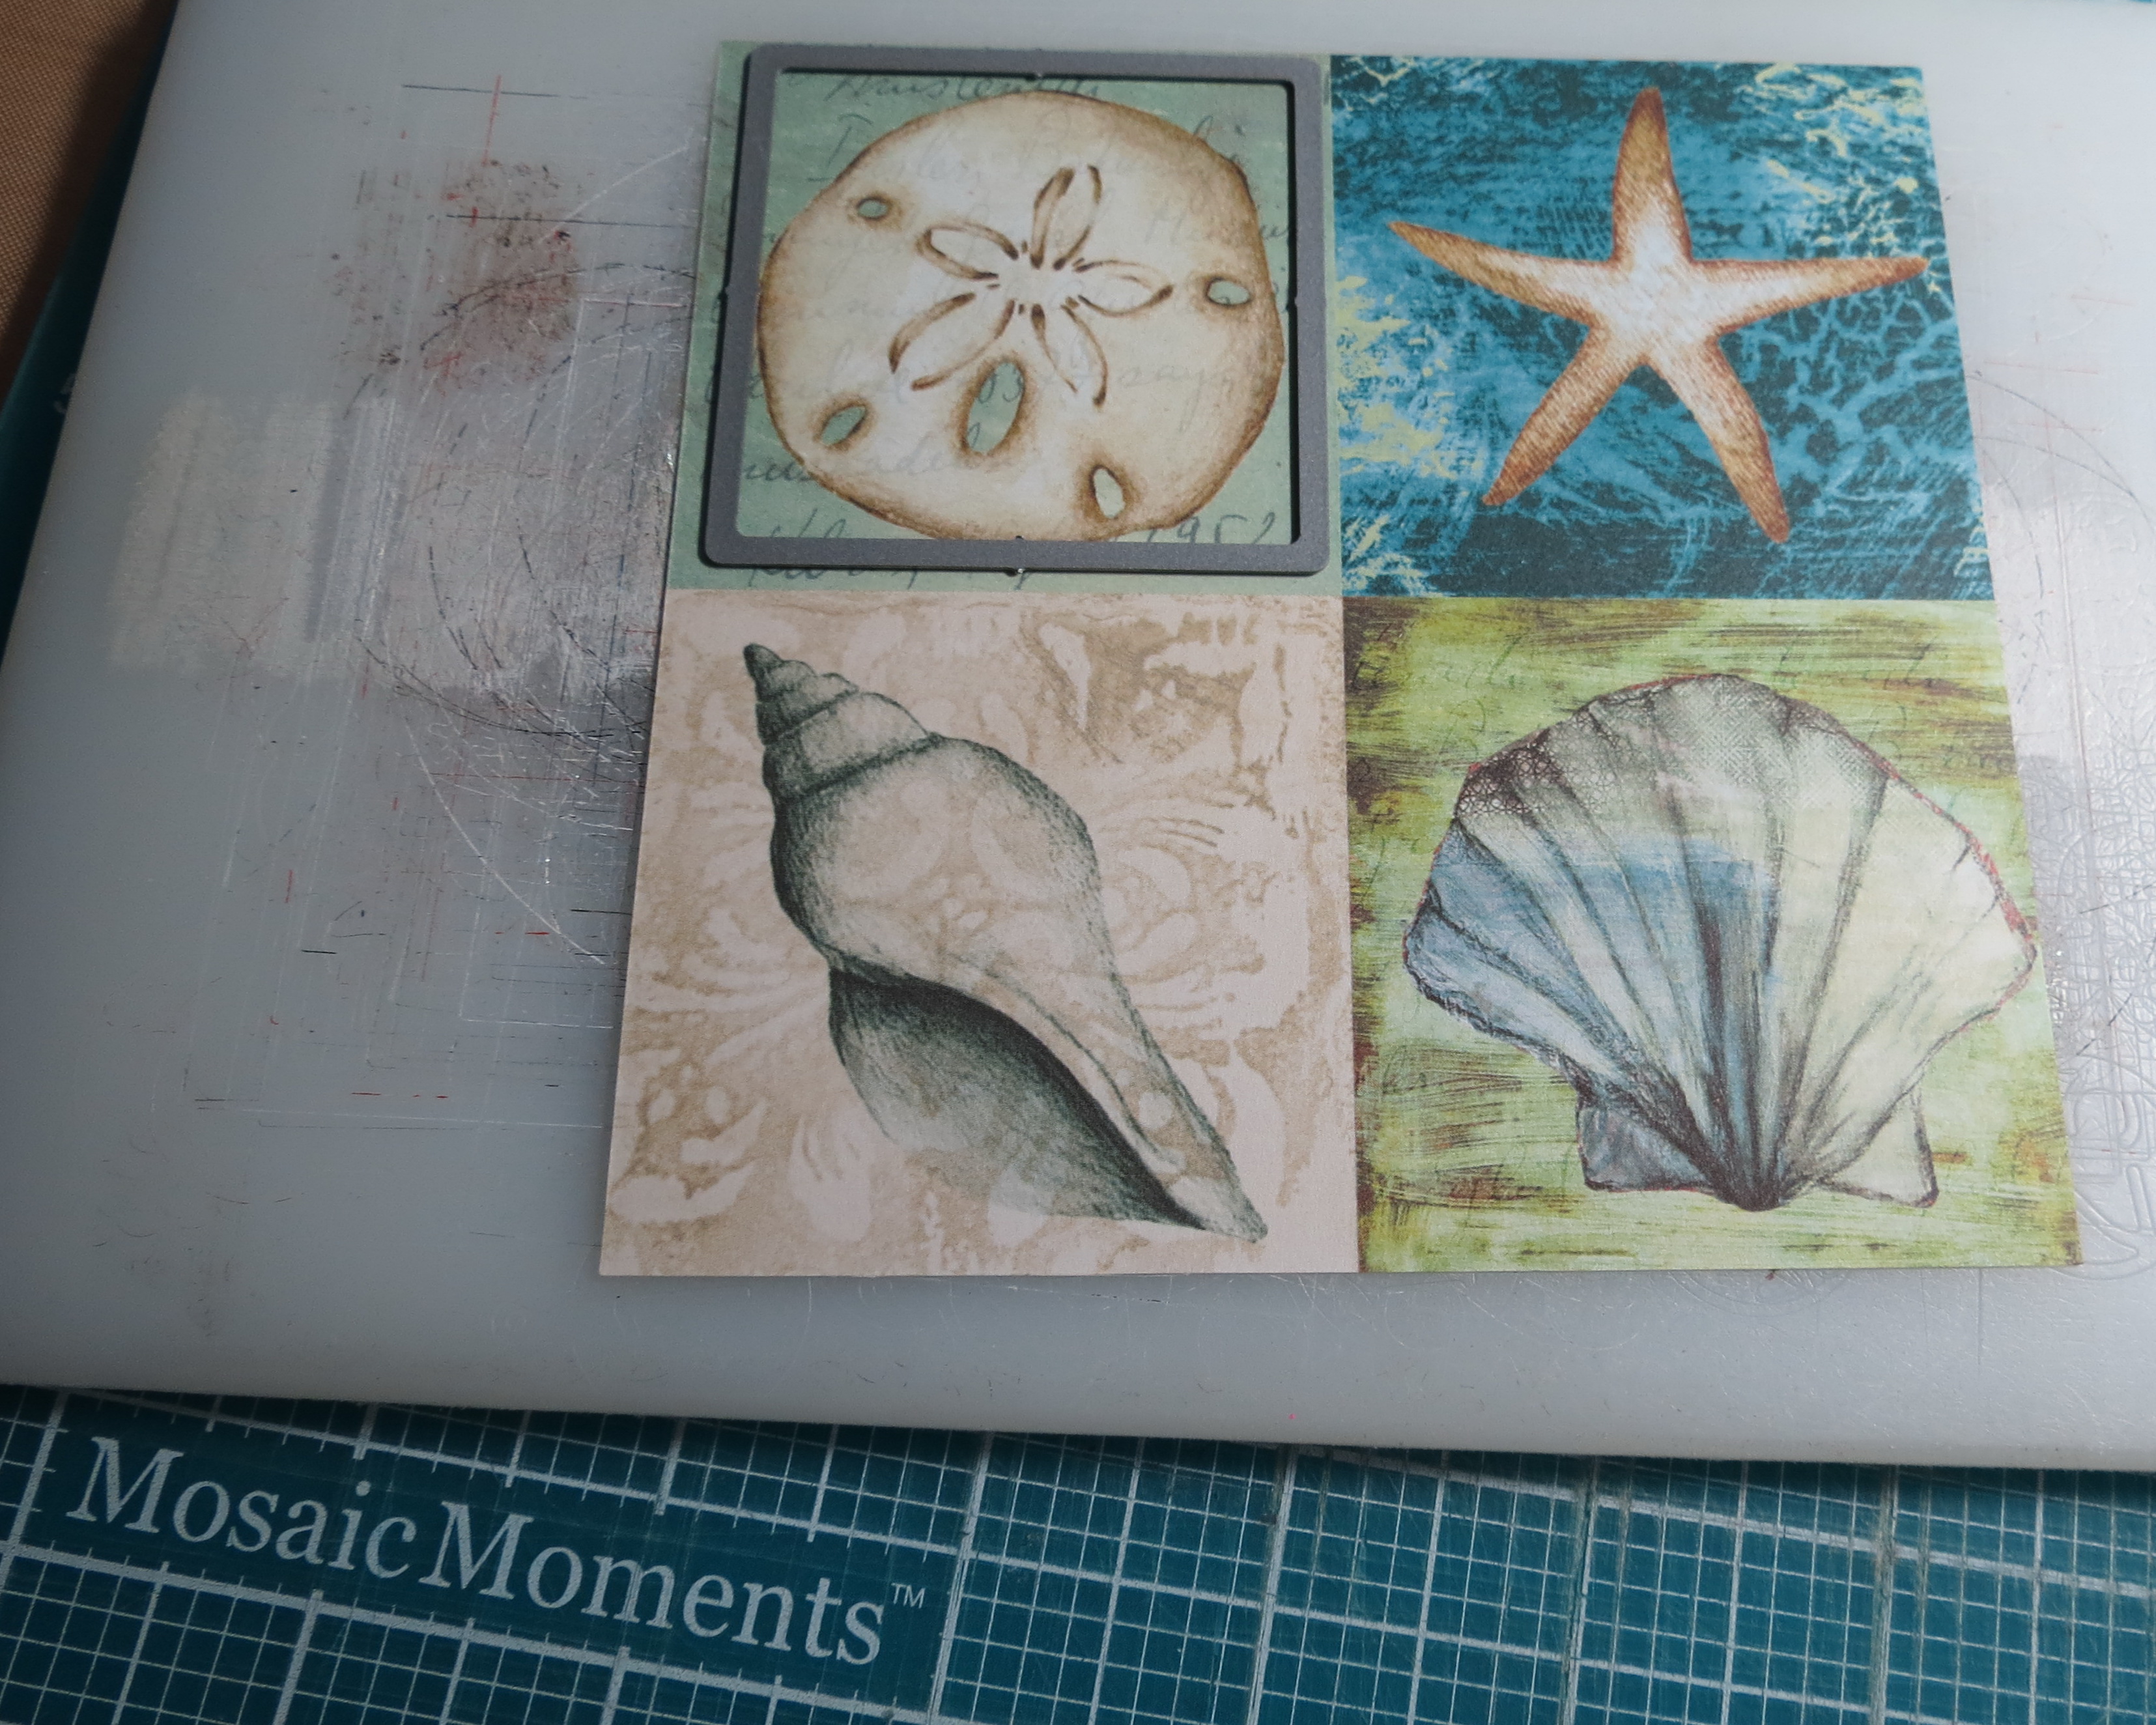
Mosaic Moments Die Sets using Set A Square to cut embellishment tile
Each square on this paper is about 2.5”square and after cutting two rows off of the paper to a manageable size the 2.125” Square Die from Set A made everything simple. I was able to center the shell image using the die as a frame and in no time flat, I had 8-2×2 blocks to fill most of my squares in record time. Think about how easy it becomes to frame each of your photos just the way you want them and cut with the new dies in a single stroke!
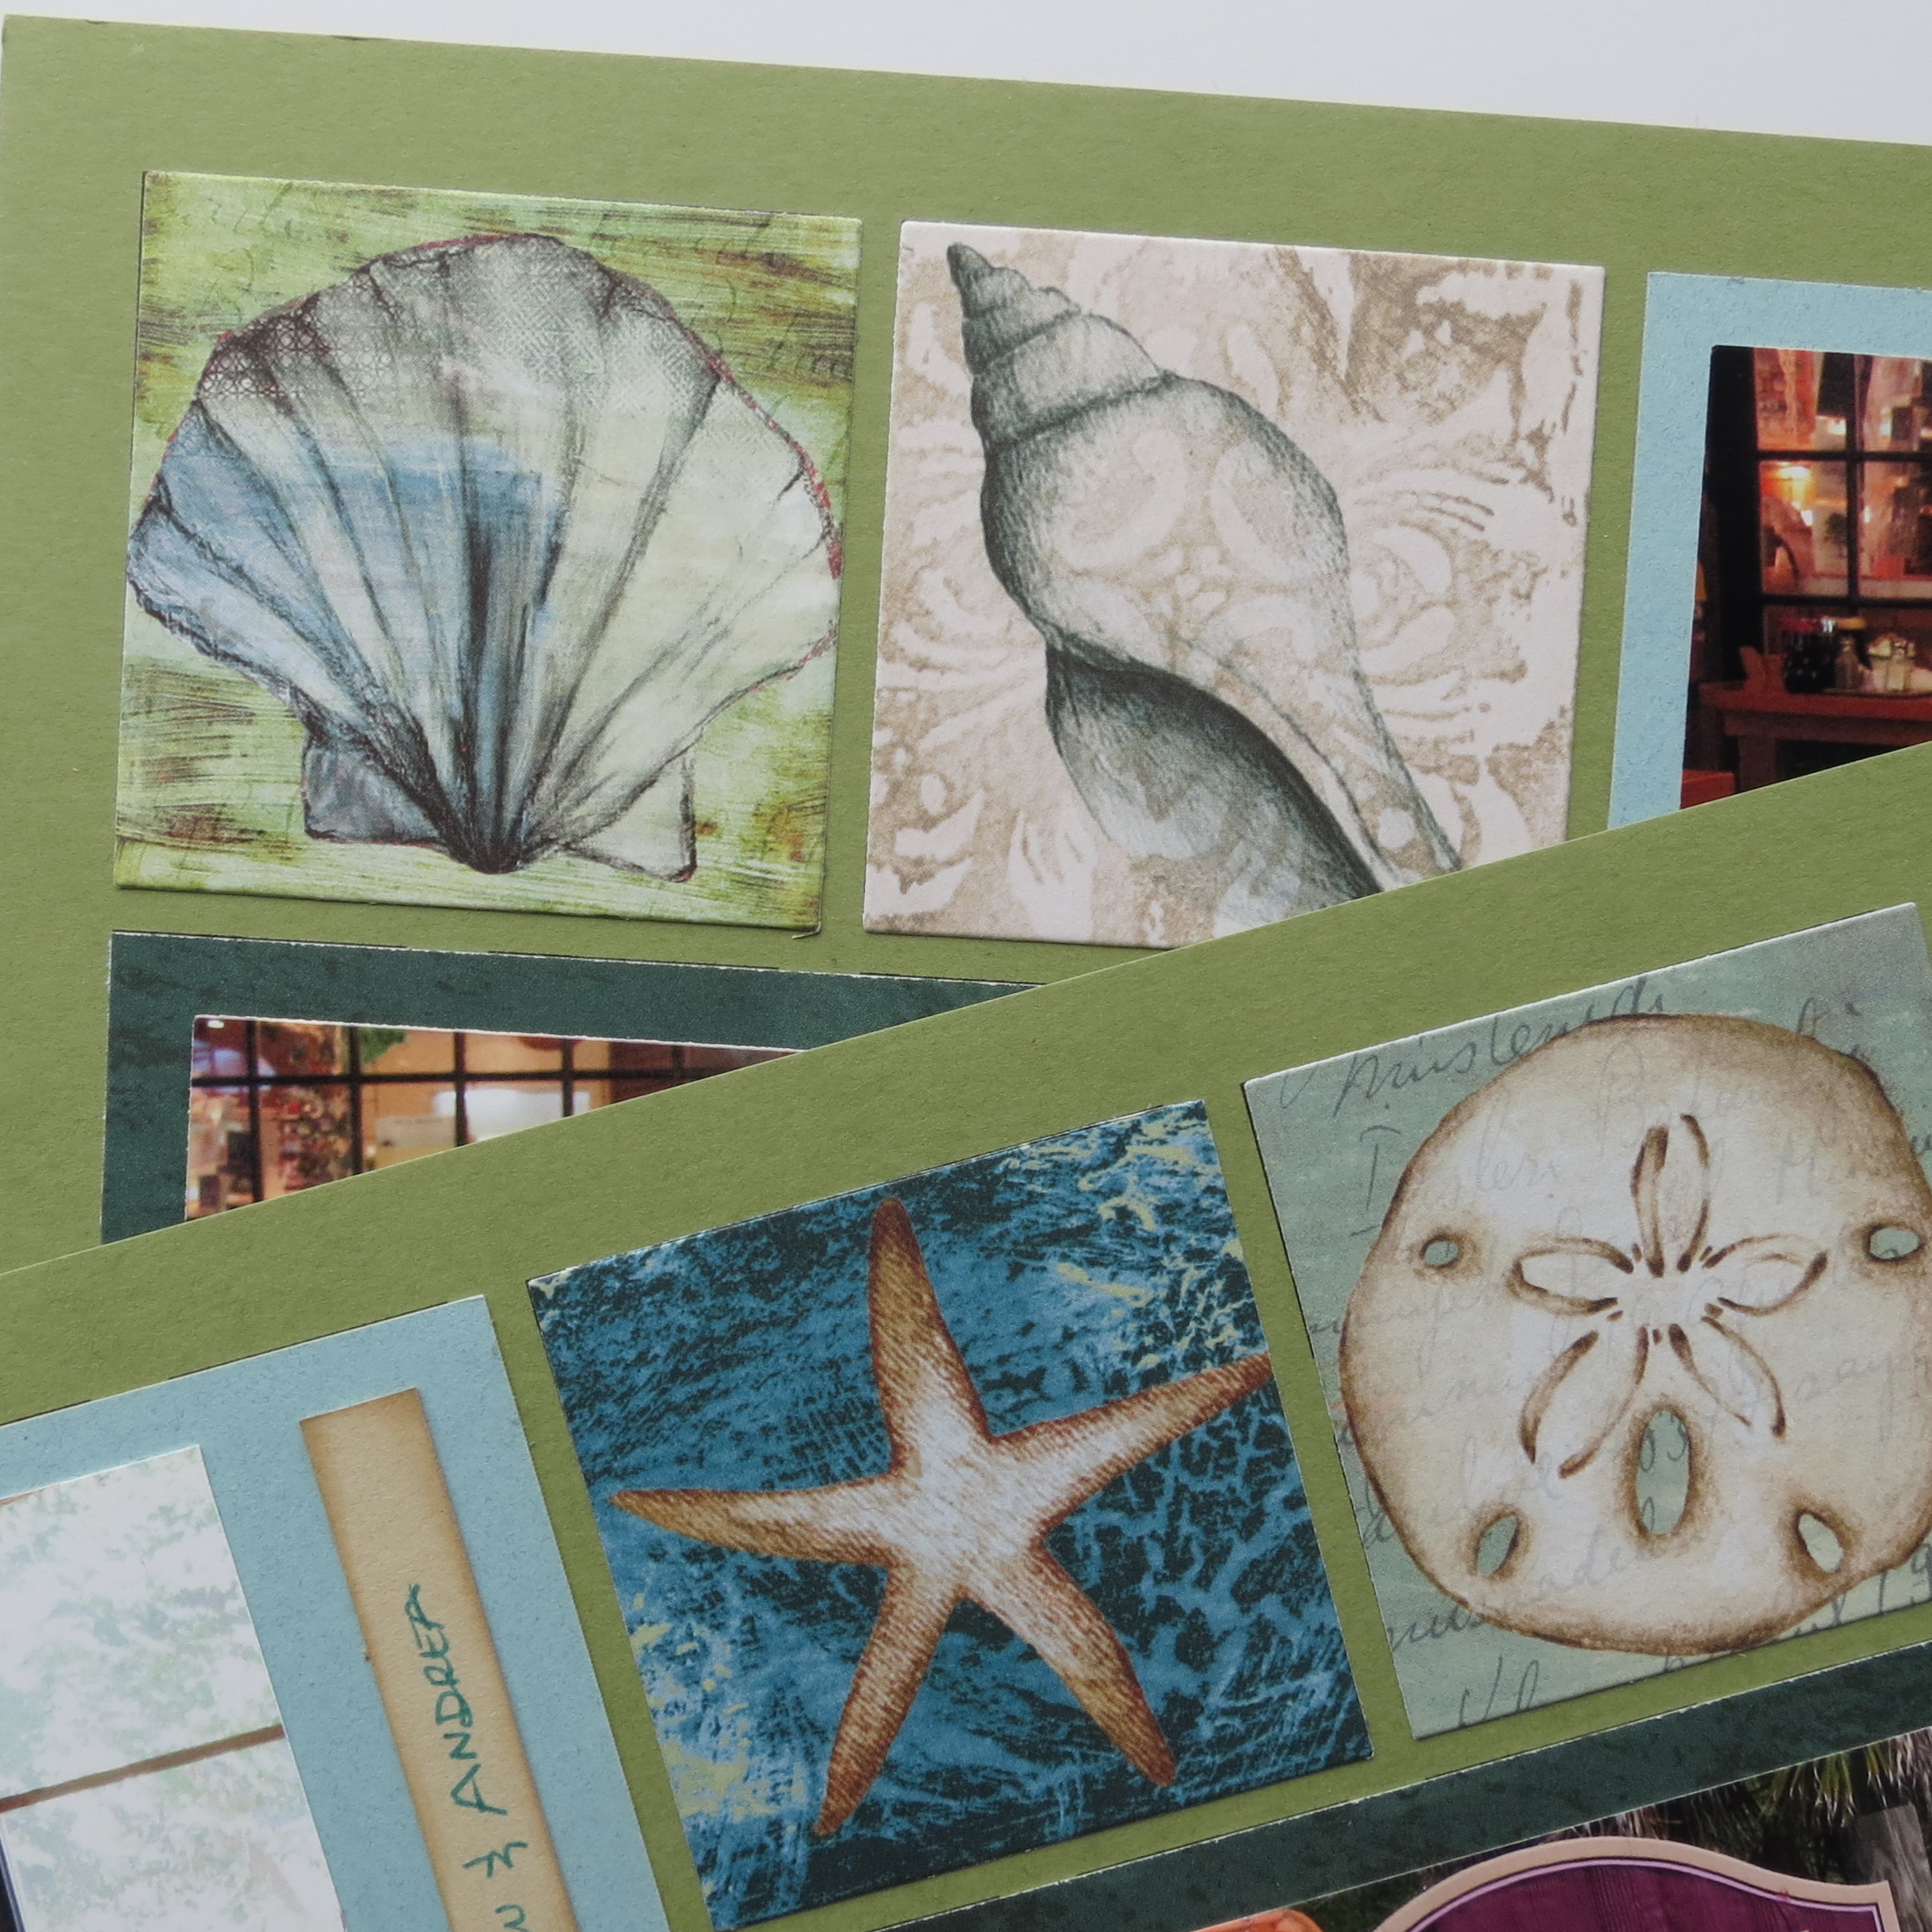
Mosaic Moments Die Sets cut squares on the page
For the 4×4 squares all the photos were cut using the layering dies from the set. This gives a precise, uniform border around each photo. You will also appreciate the ability to frame the portion of your photo that you want to feature without mathematical calculations!
Now, let’s talk about the 4×6 block. This block’s actual measurements are 4 3/8” x 6 5/8” or (4.375”x 6.625”) to fit the space on the grid paper. As such, it exceeds the size of most prints now being printed. Unless you print a 5×7 and use the large die to make it work for you, you will use your 4×6” print and mount it on a mat you’ve cut with the large 4×6 die, leaving a wider border on one end. This is a great place to add an embellishment!
My photos will print at a true digital size of 4” x 5.5” unless I crop to fit the 4×6 size and then print. I prefer to do my own cropping to get just what I want printed, but for this application trimming the excess ½” of white paper off before mounting gave me just what I wanted, a wider border. The right side is just shy of an inch, and provides a nice spot to center a 3/8” journal strip.
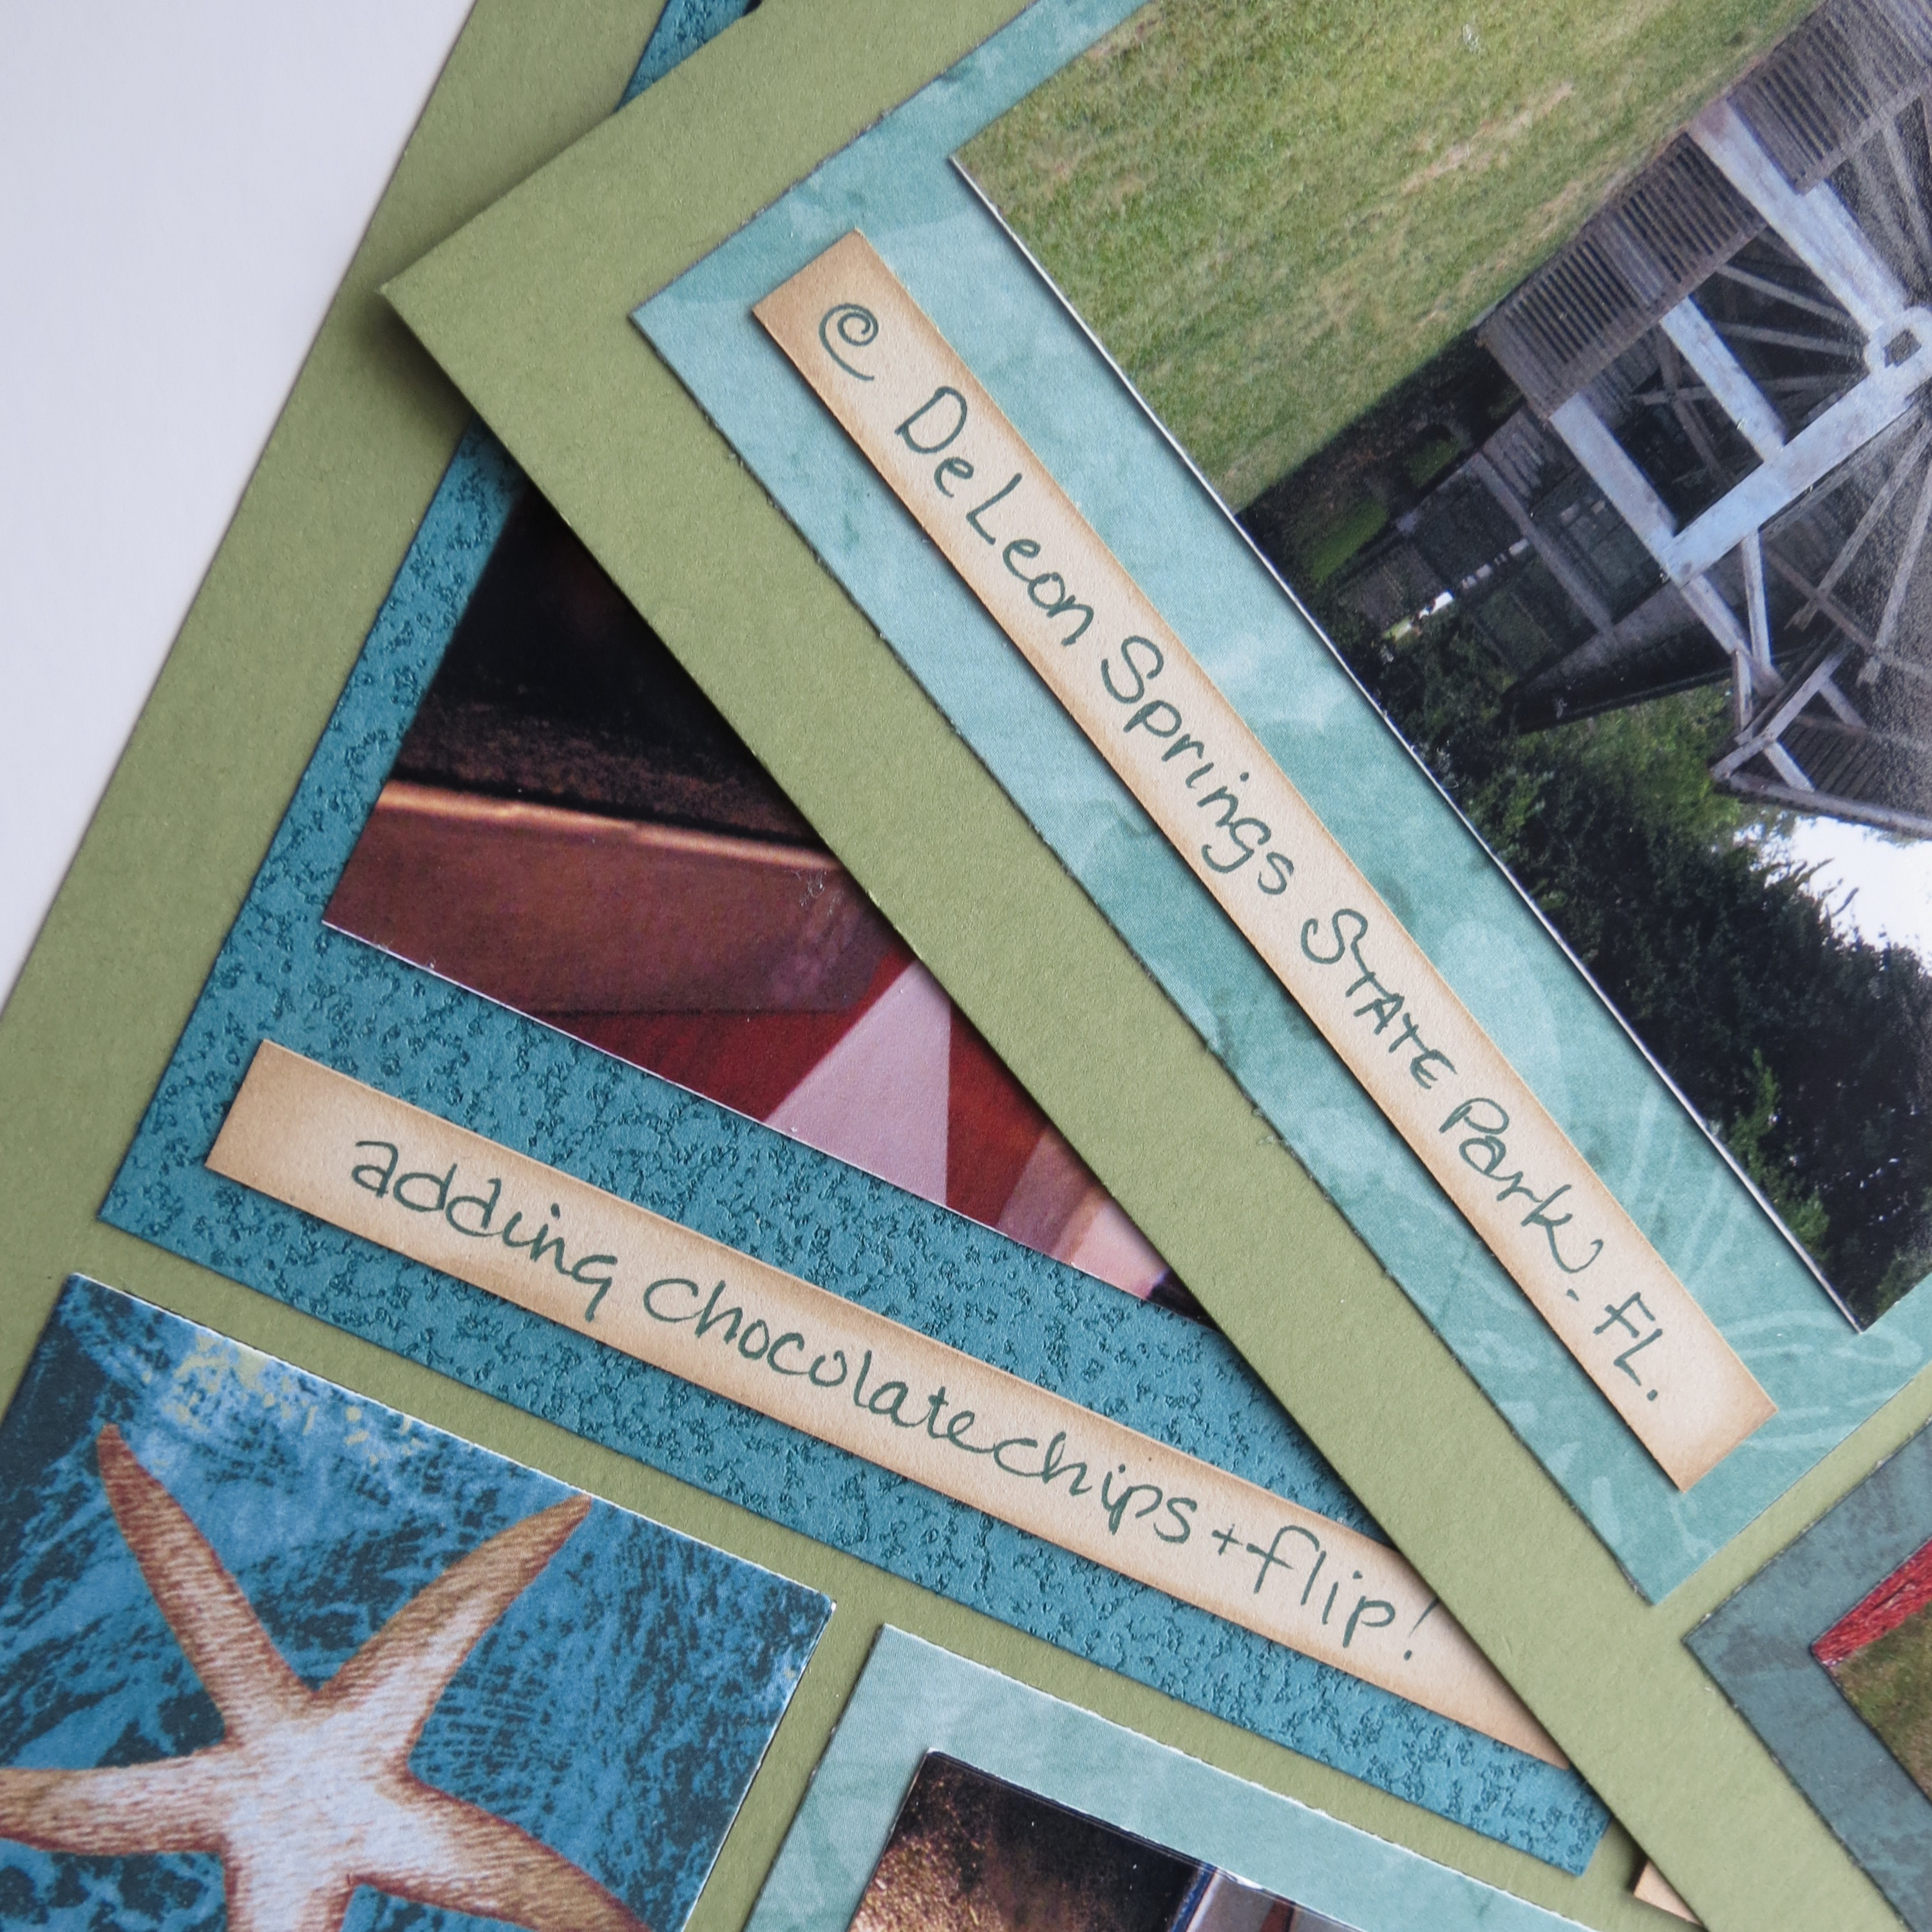
Mosaic Moments Die Sets narrow journal strips centered on wider end of mat
Mosaic Moments Die Sets page two tells us the what with the photos and journaling on the strips
The center of each page is filled with a Seashell Cornerstone in “shell.” I replaced the white background tile with a Deep Spring Green 2×2 Paper Tile. I wanted a little shimmer to add to the shell so out came the Tattered Angels Crushed Shells Glimmer Mist. It could have used a bit more spray as it really soaked in and maybe another shade would have been more dramatic, but I’m happy with the subtle glimmer effect.
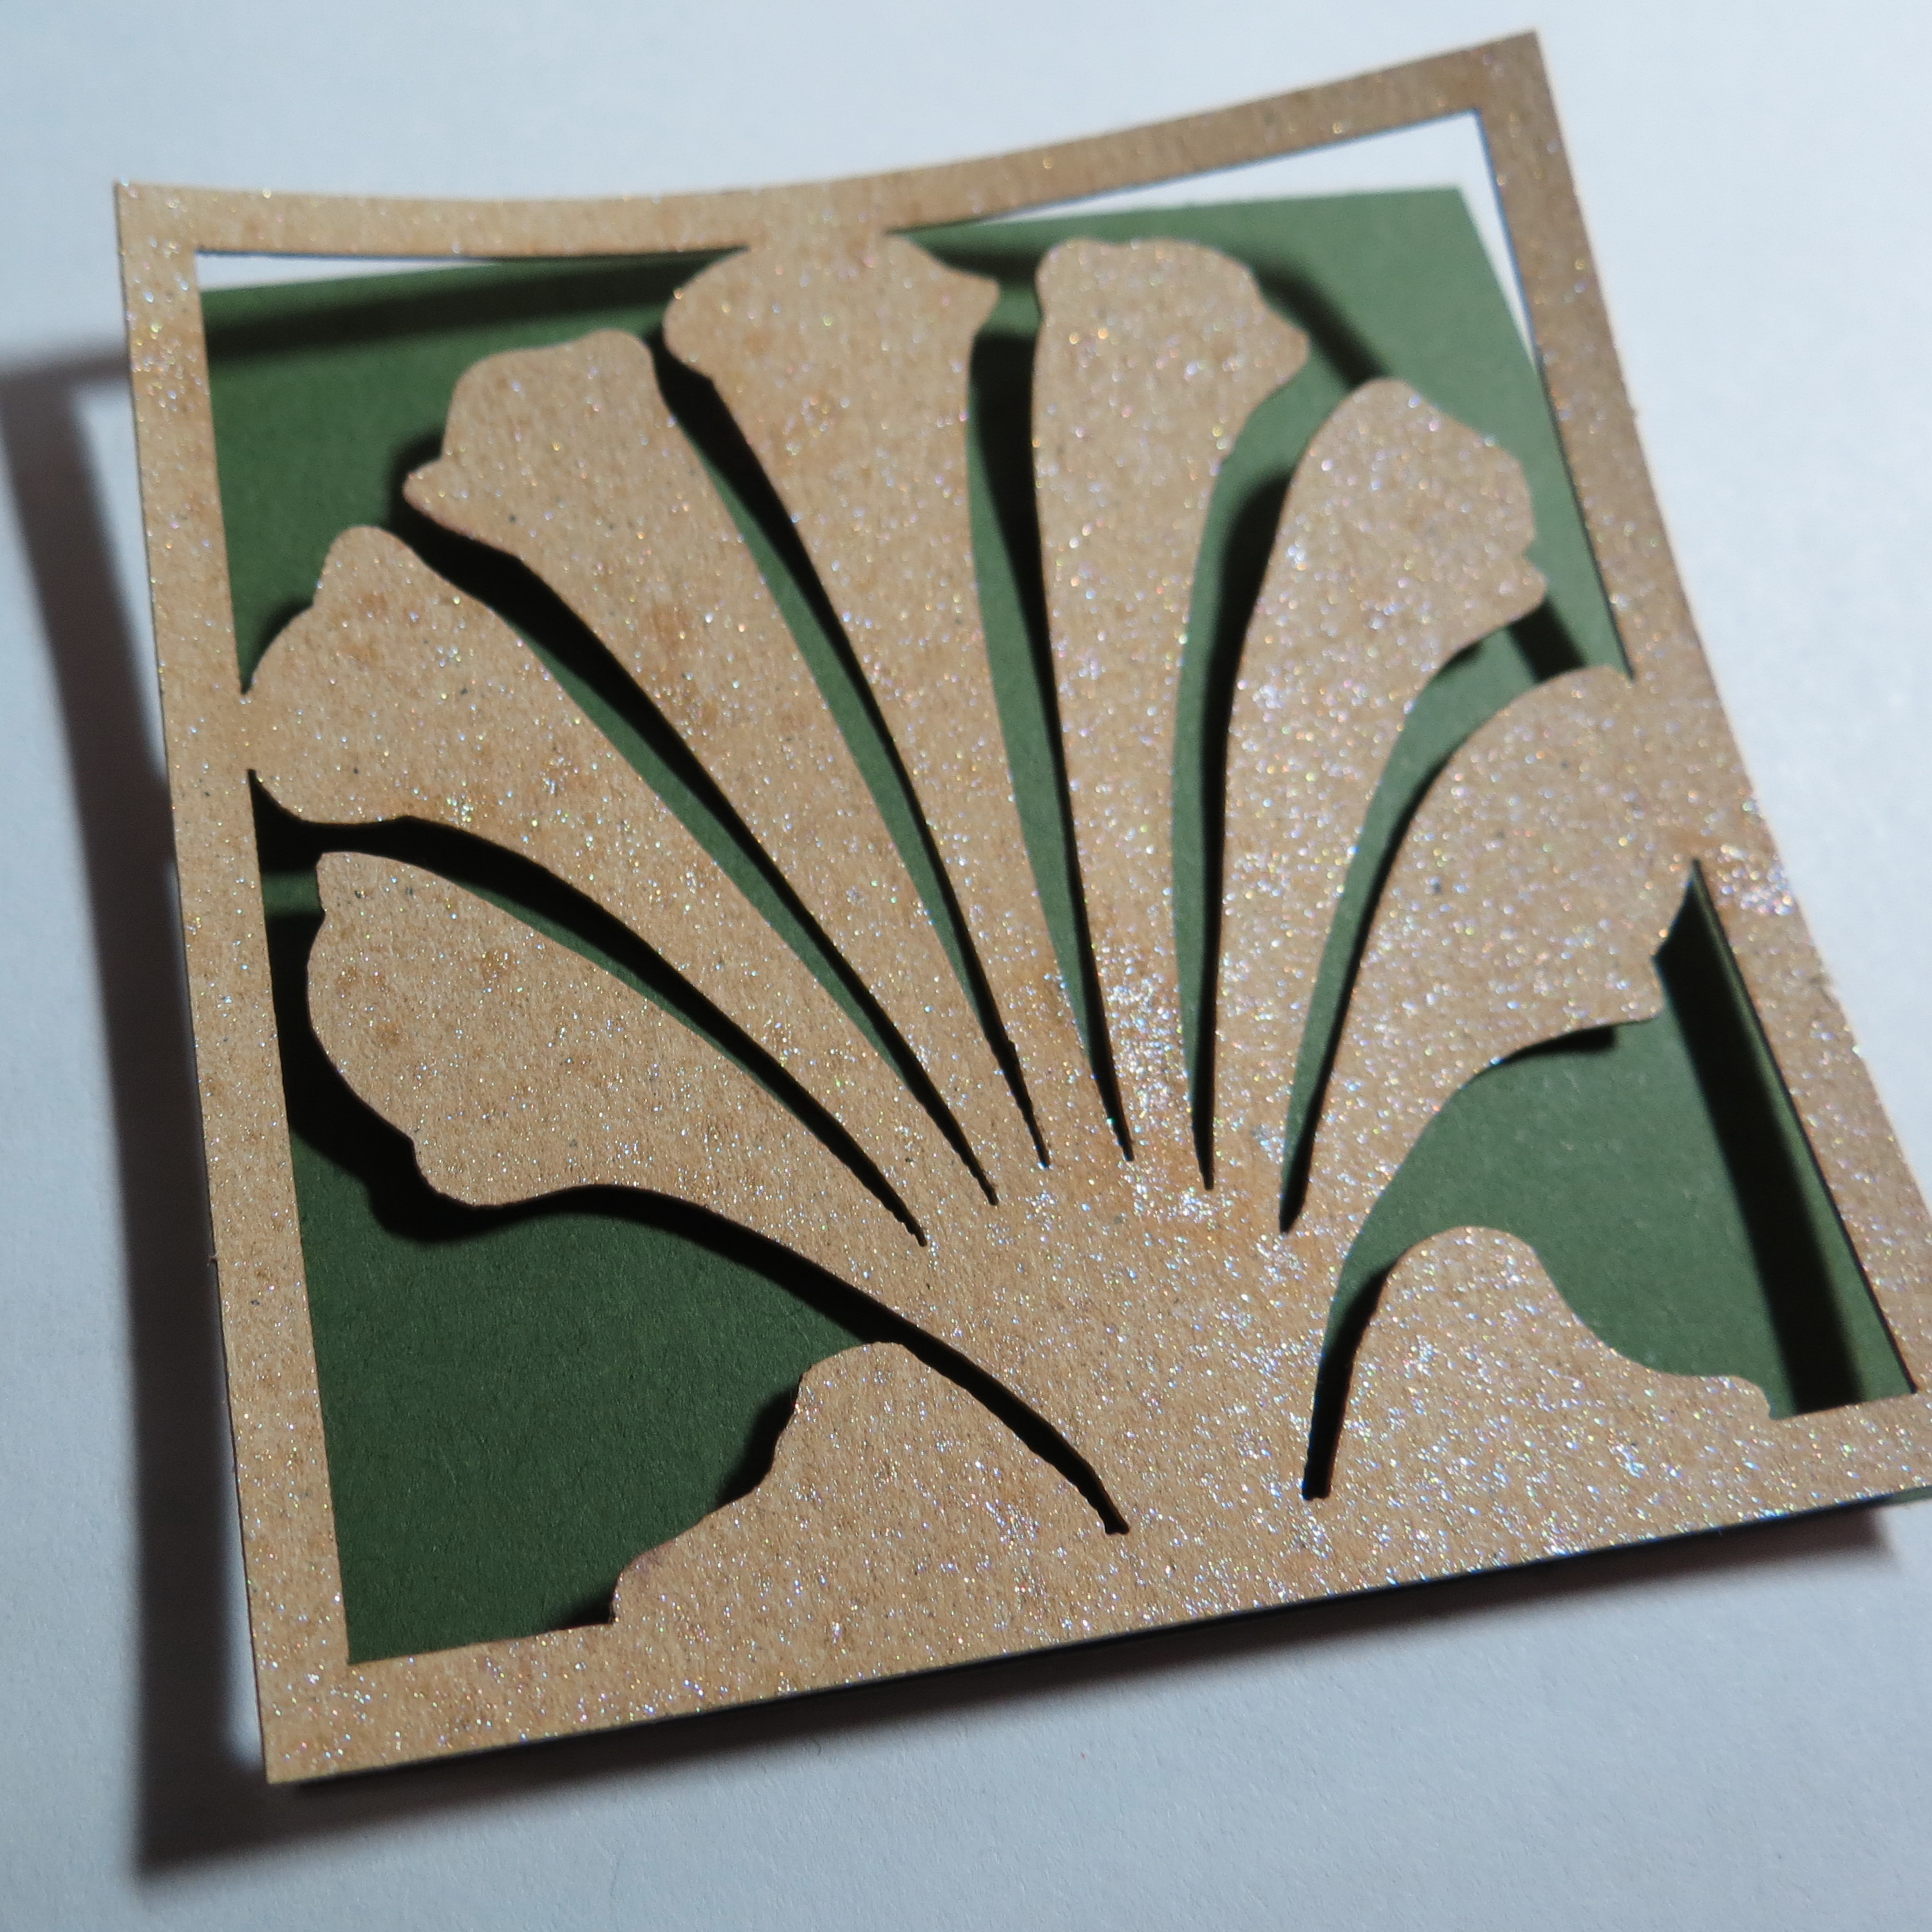
Mosaic Moments Die Sets Corner Stone Tile Replace background tile, use glimmer mist for sparkle
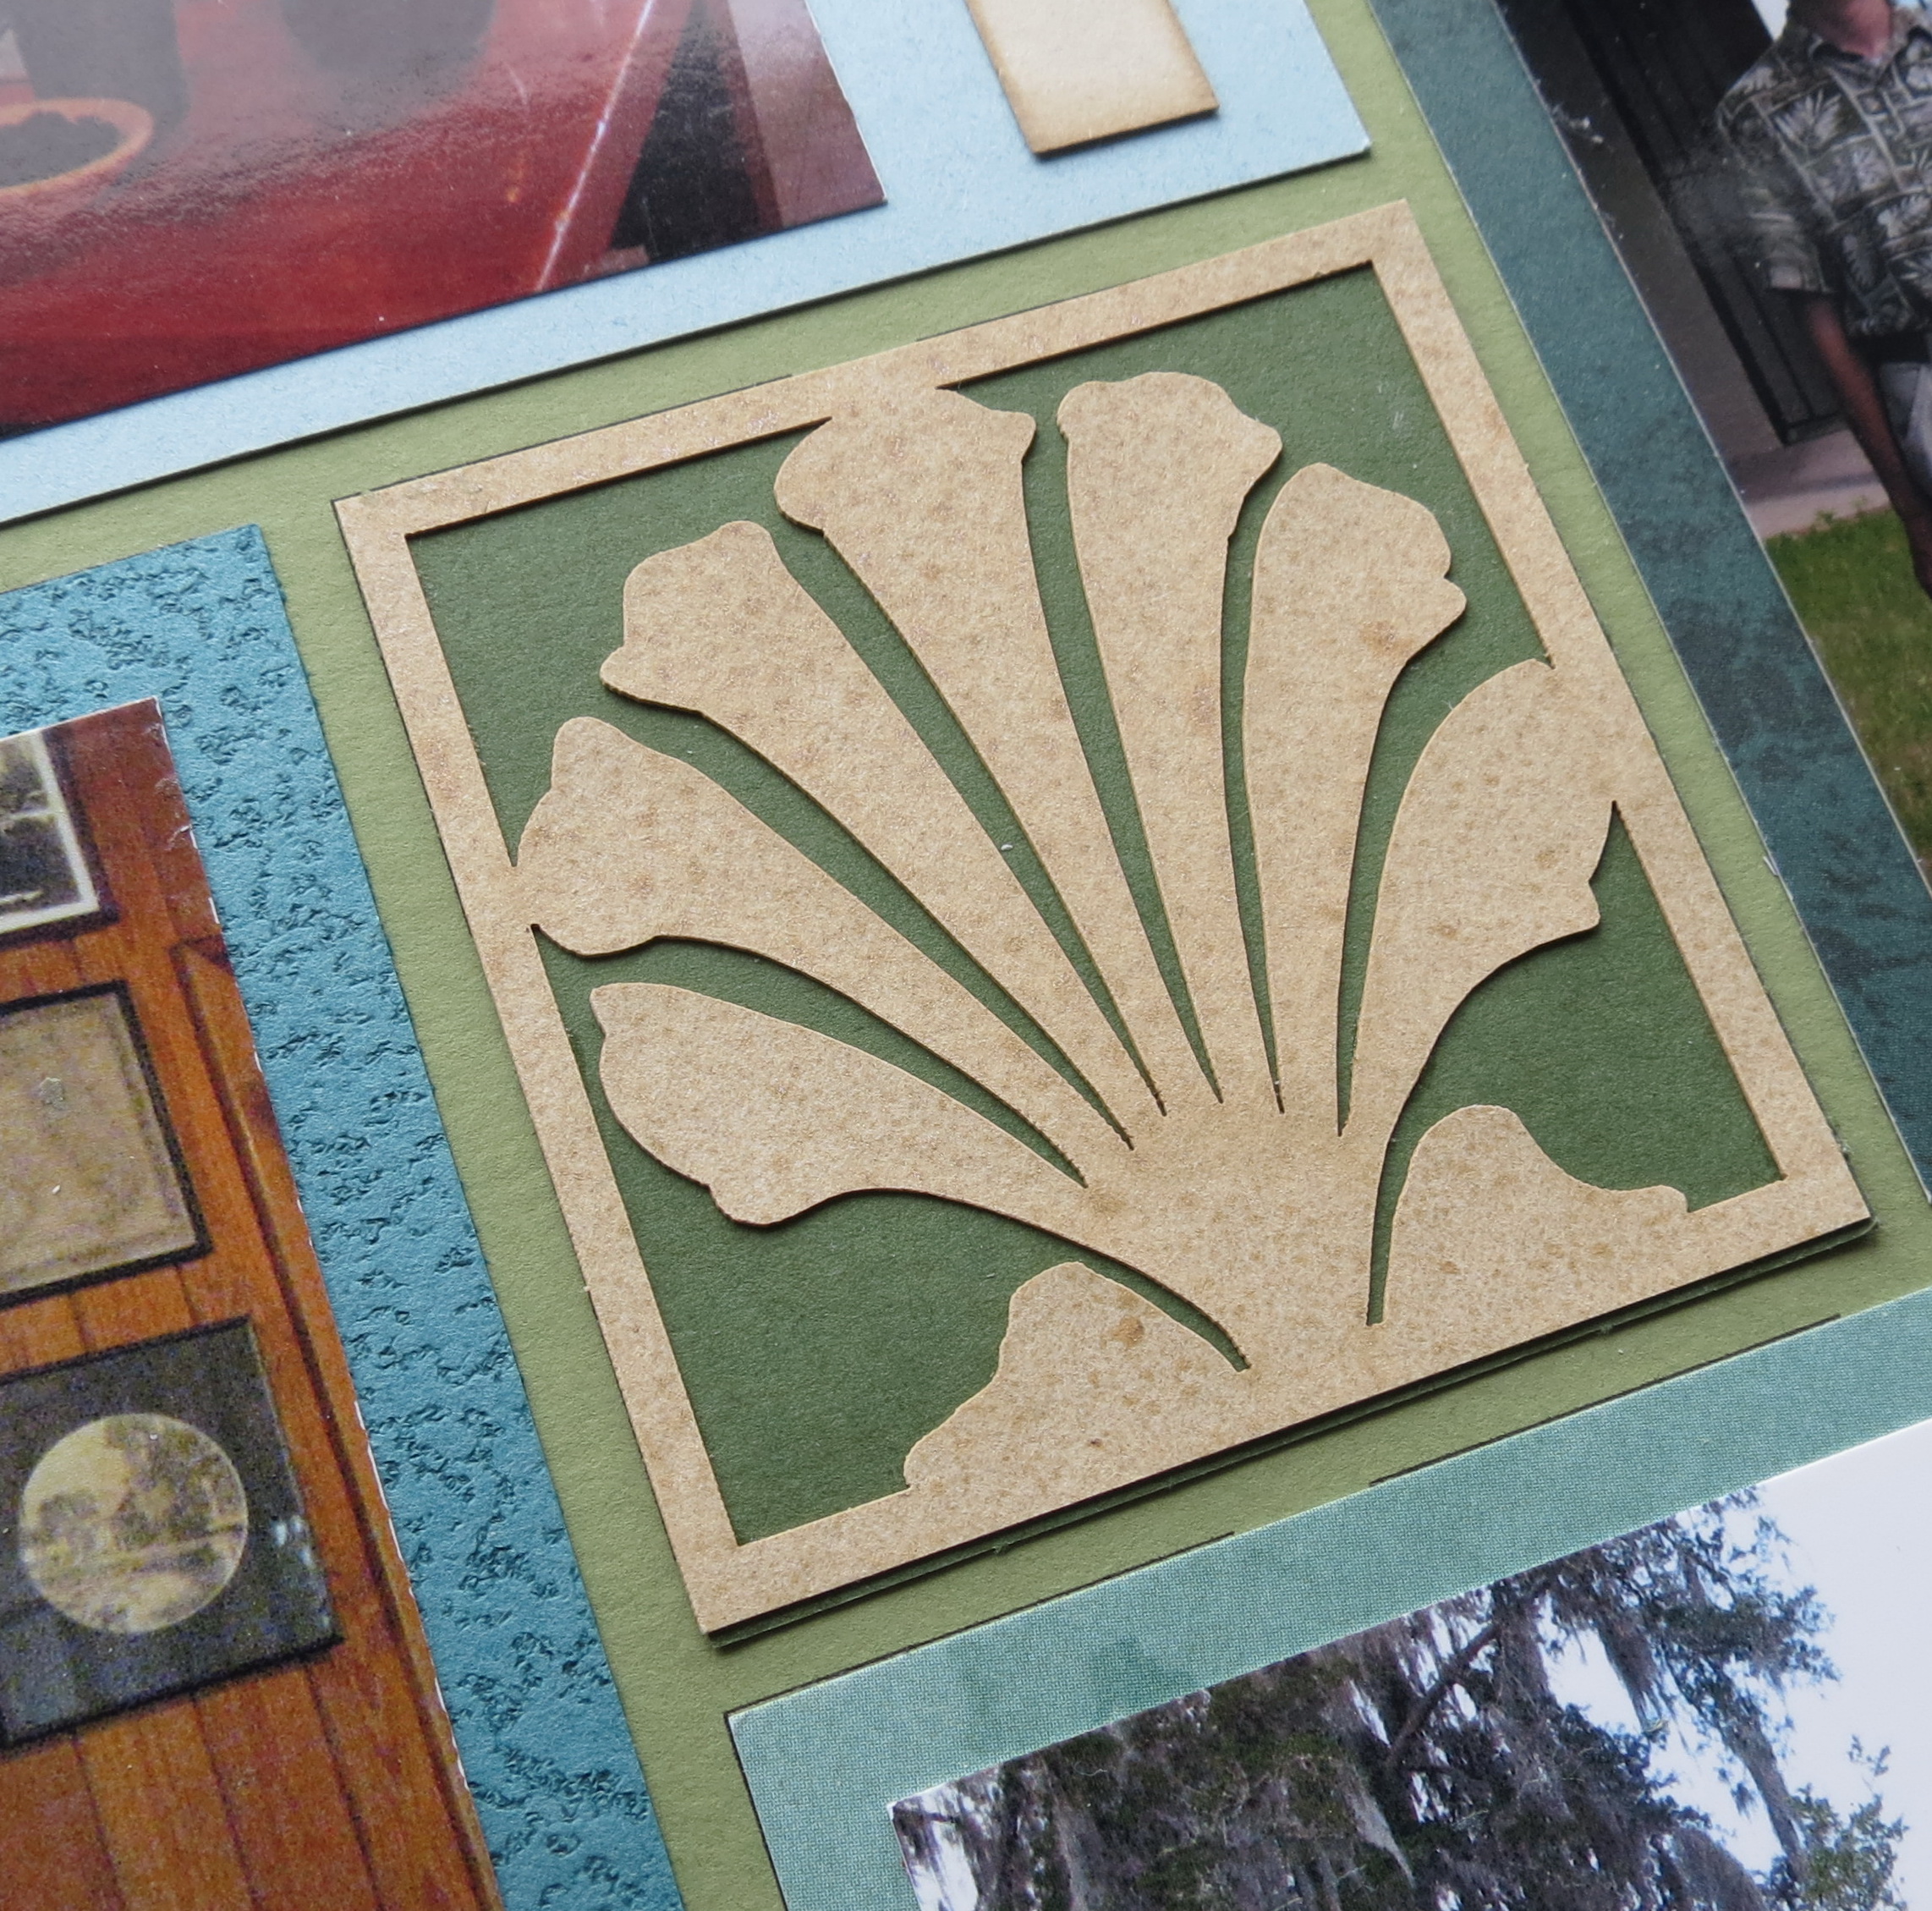
Mosaic Moments Die Sets Corner Stone Tile with glimmer mist, textured cardstock, patterned papers
This page was so enjoyable to put together because the dies really streamlined the cutting. If you haven’t tried them yet, I hope you will!
Andrea Fisher