

"Desert Garden" by Paije - Pattern #381
A mat is the colored, or patterned, paper behind the photo that draws attention to picture or makes it stand out from the background.
Scroll down for 10 additional photo matting ideas.
1. Combine a Mat
Every photo does not have to have its own individual mat.
Here, the two photos at the top right share a single mat.
It's a nice effect that helps simplify the layout.
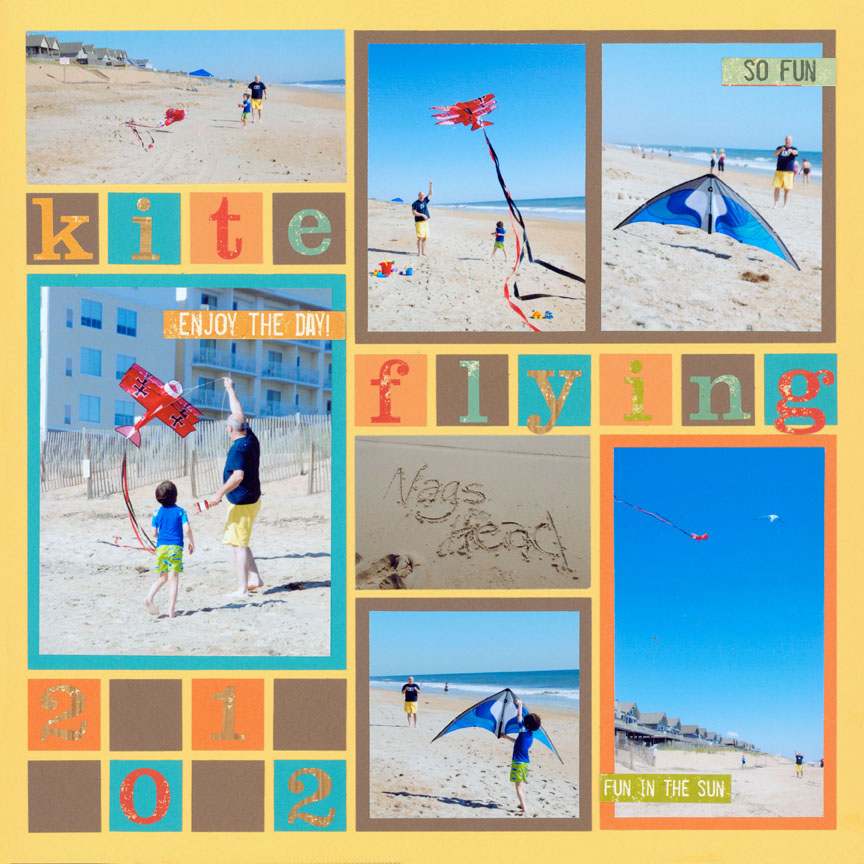
"Kite Flying" by Paije - Pattern #223
2. Make it Bigger

"Snow Day" by Tami Potter - Pattern #272
Matting the photo allows you to make it as large as you wish.
Here, a small photo is turned into a large photo by matting it with red, snowflake paper.
Adding a thinner mat in light blue to both the photo and the patterned paper add a sophisticated, polished look.
3. Add a Corner
Add extra pizazz to your layout by adding a few corners to your photo mats.
Corners can help tie in patterned paper, as shown on this layout, or add another color or texture to your page.

"Pacific Coast" by Paije - Pattern #394
4. Overlap the Elements
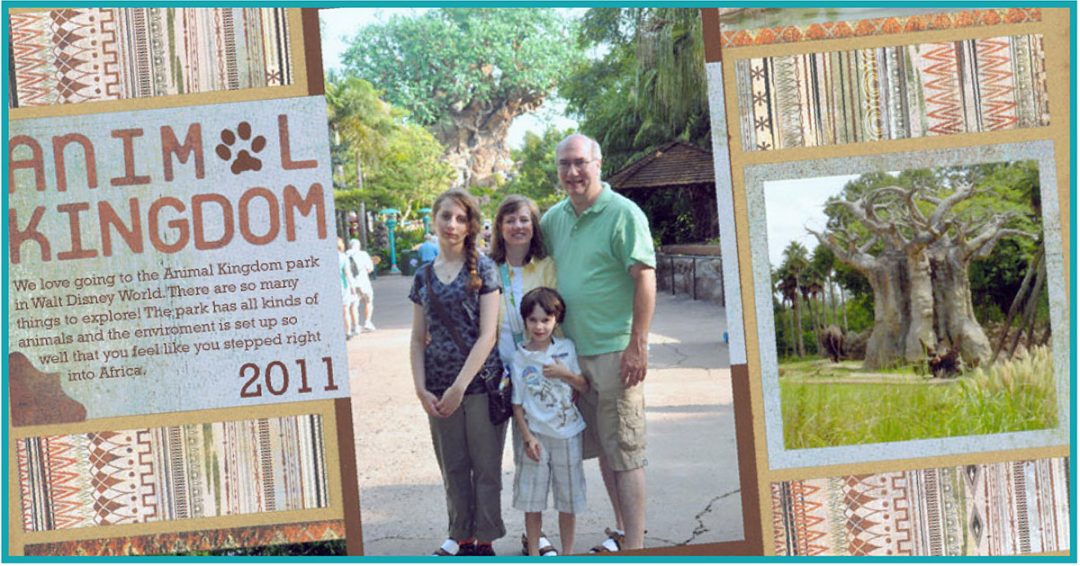
"Animal Kingdom" by Paije
Yes, it is OK to cover the Grid Gutters. Here, Paije layered the title strip over the photo mat, but behind the photo. That tiny sliver of blue that shows on the right side of the focal photo helps to tie it all together.
To carry on with her overlapping design, she allowed the focal photo to cover the corners of two of the of the photos, as well.
5. Distress It
Create a one-of-a-kind photo mat by ripping, sanding, inking, crumbling or otherwise distressing the edges of the photo mats.
Look how fun this page turned out with two of the mats sneaking right into the borders.
By the way, if you rip your mat a little short, it's not a problem. Just lay a dark mat behind and no one will notice ... check out the bottom right corner of the picture at the top right ...
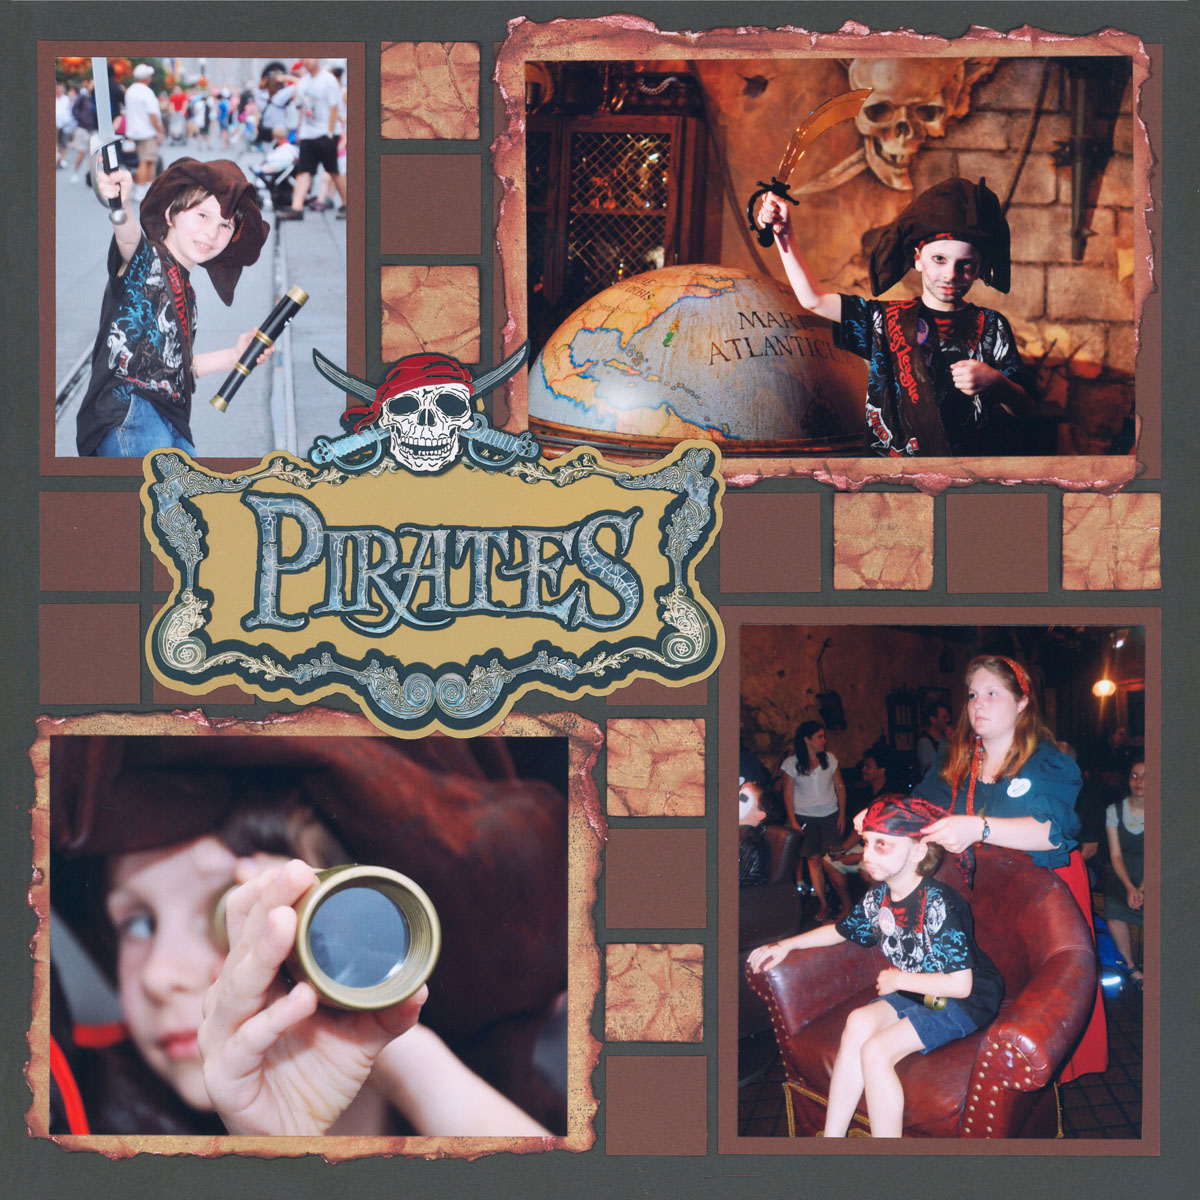
"Pirate Cole" by Paije & Tami Potter
6. Layer it
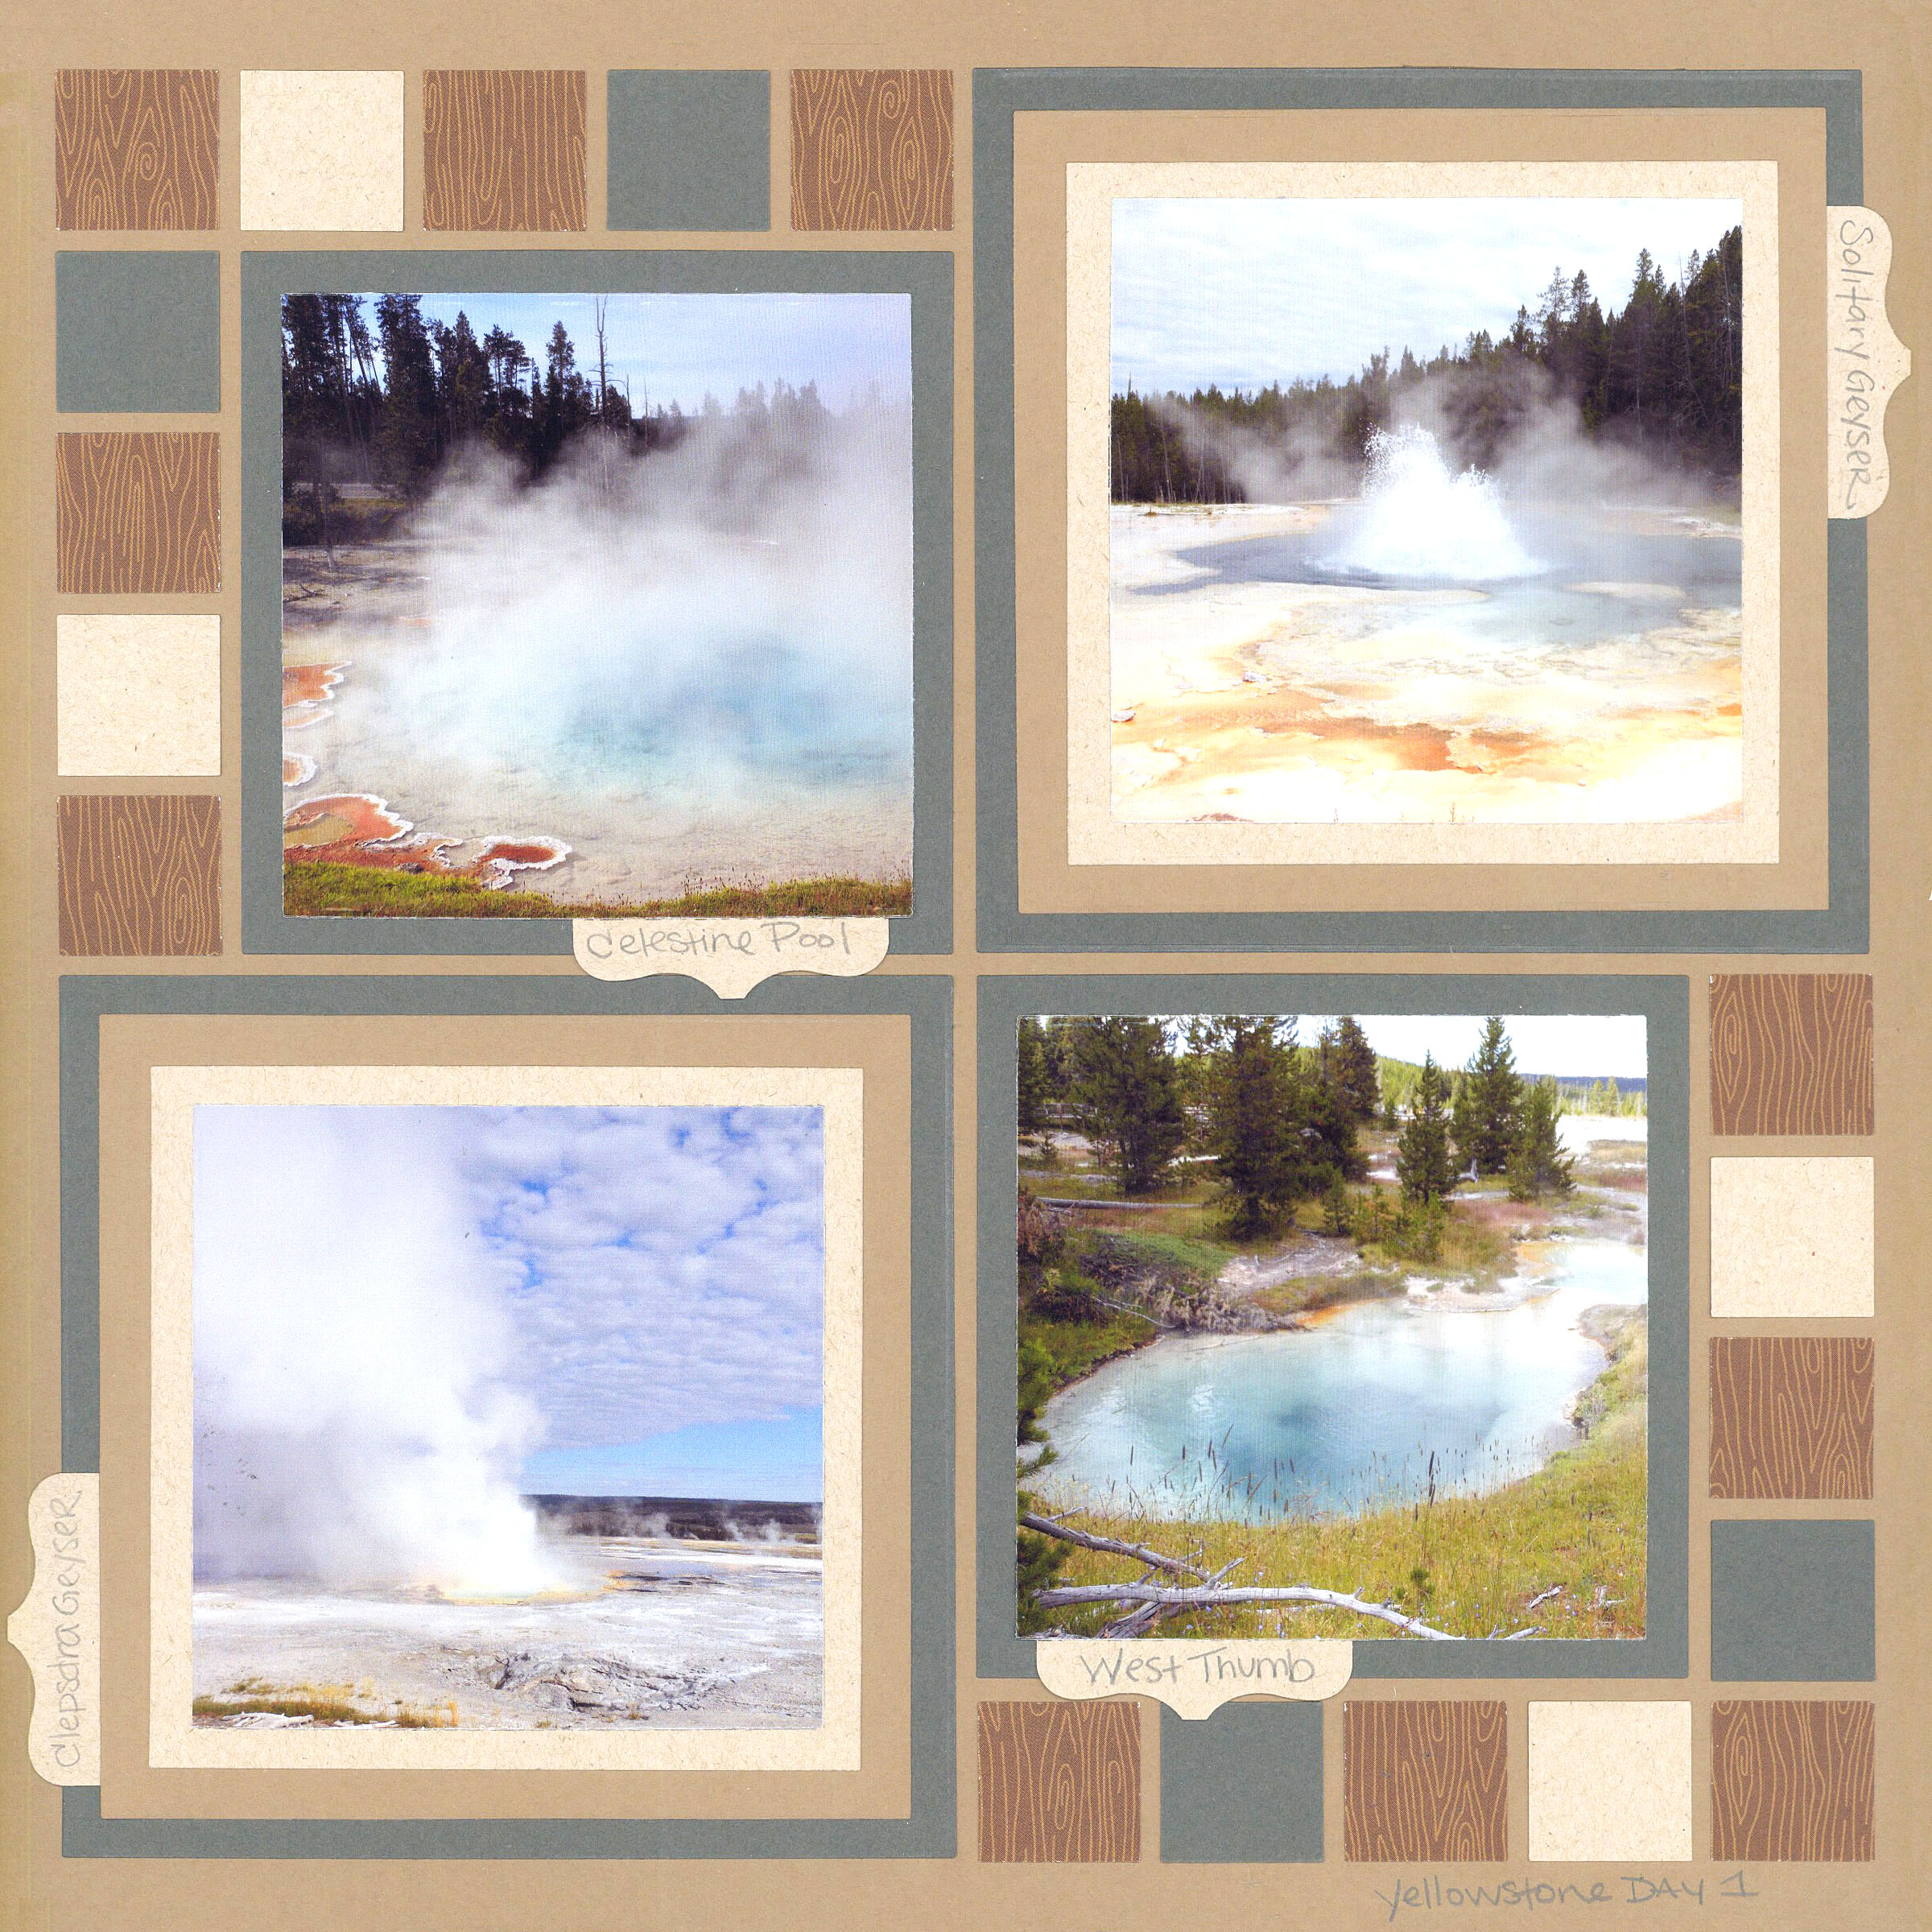
"Geysers of YellowStone" by Paije - Pattern #144
Using multiple layers of matting is another way to make small photos larger. It also adds a professional look and helps tie in all of the colors of your page.
This technique is simple with the Basic Nesting Dies Set from Mosaic Moments™. Start with the size die to fill the space on your grid and cut the cardstock to fit.
Then choose each smaller die, cutting from the desired color of cardstock until all of your mats are complete.
Finally, cut the photo from the next smaller die and mount it all together. Easy!
7. Emboss the Mats
Add texture by running your mat through an embossing folder and your die-cutting machine. (Follow your manufactures instructions ... you may need to buy an accessory or two.)
Then, add a little ink, chalk or paint to make the design pop.
It's a beautiful technique that adds a lot of depth and design to your layout.
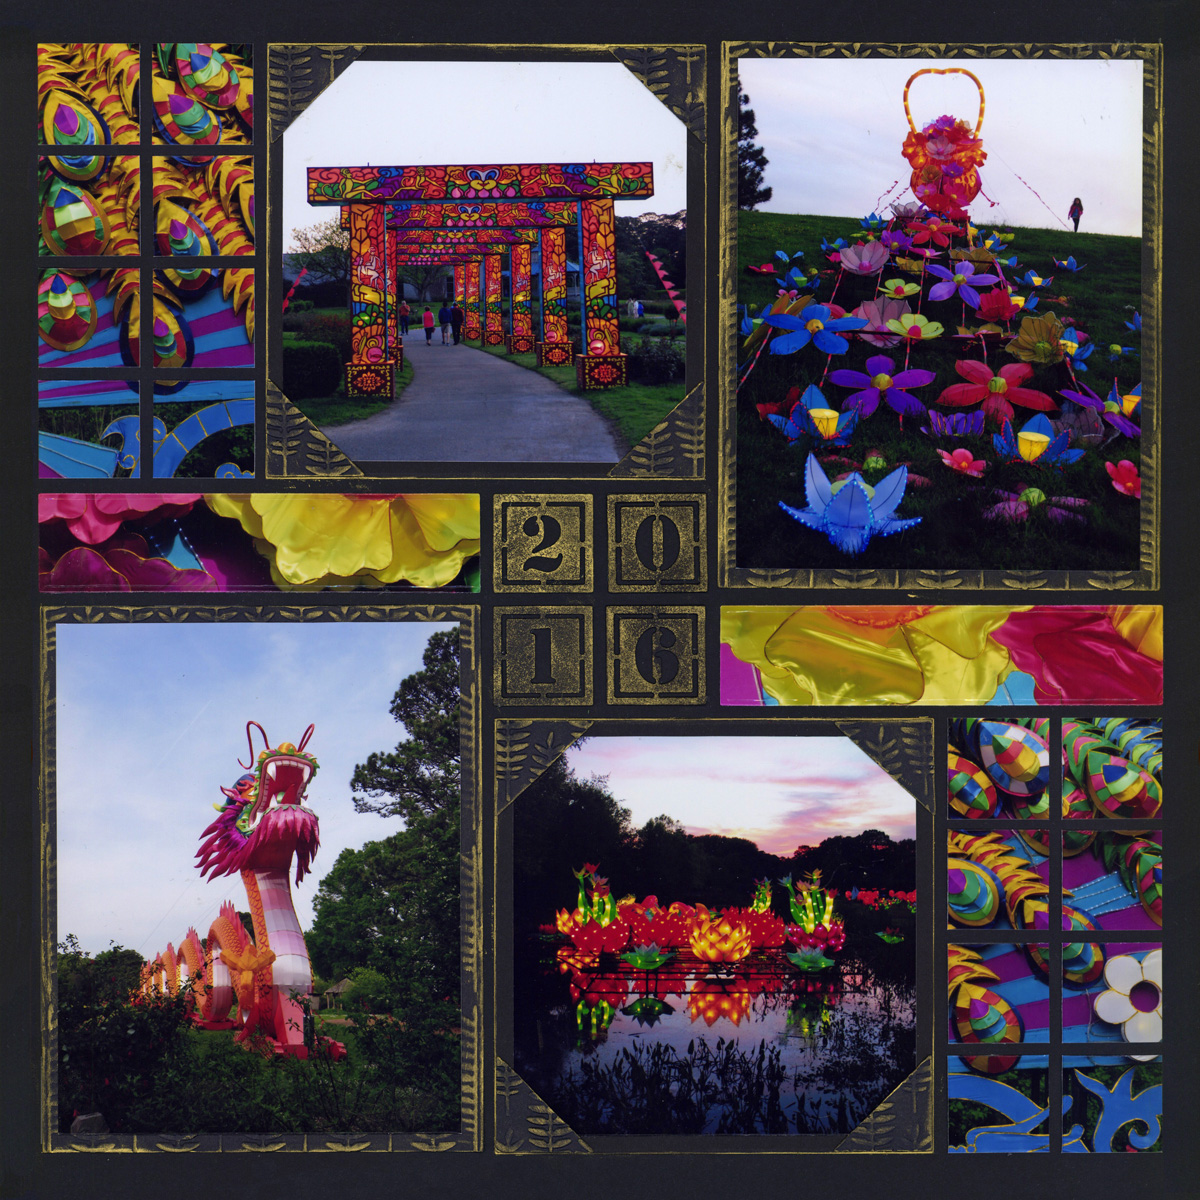
"Lantern Festival Norfolk" by Paije - Pattern #317
8. Add Scallops & Dots
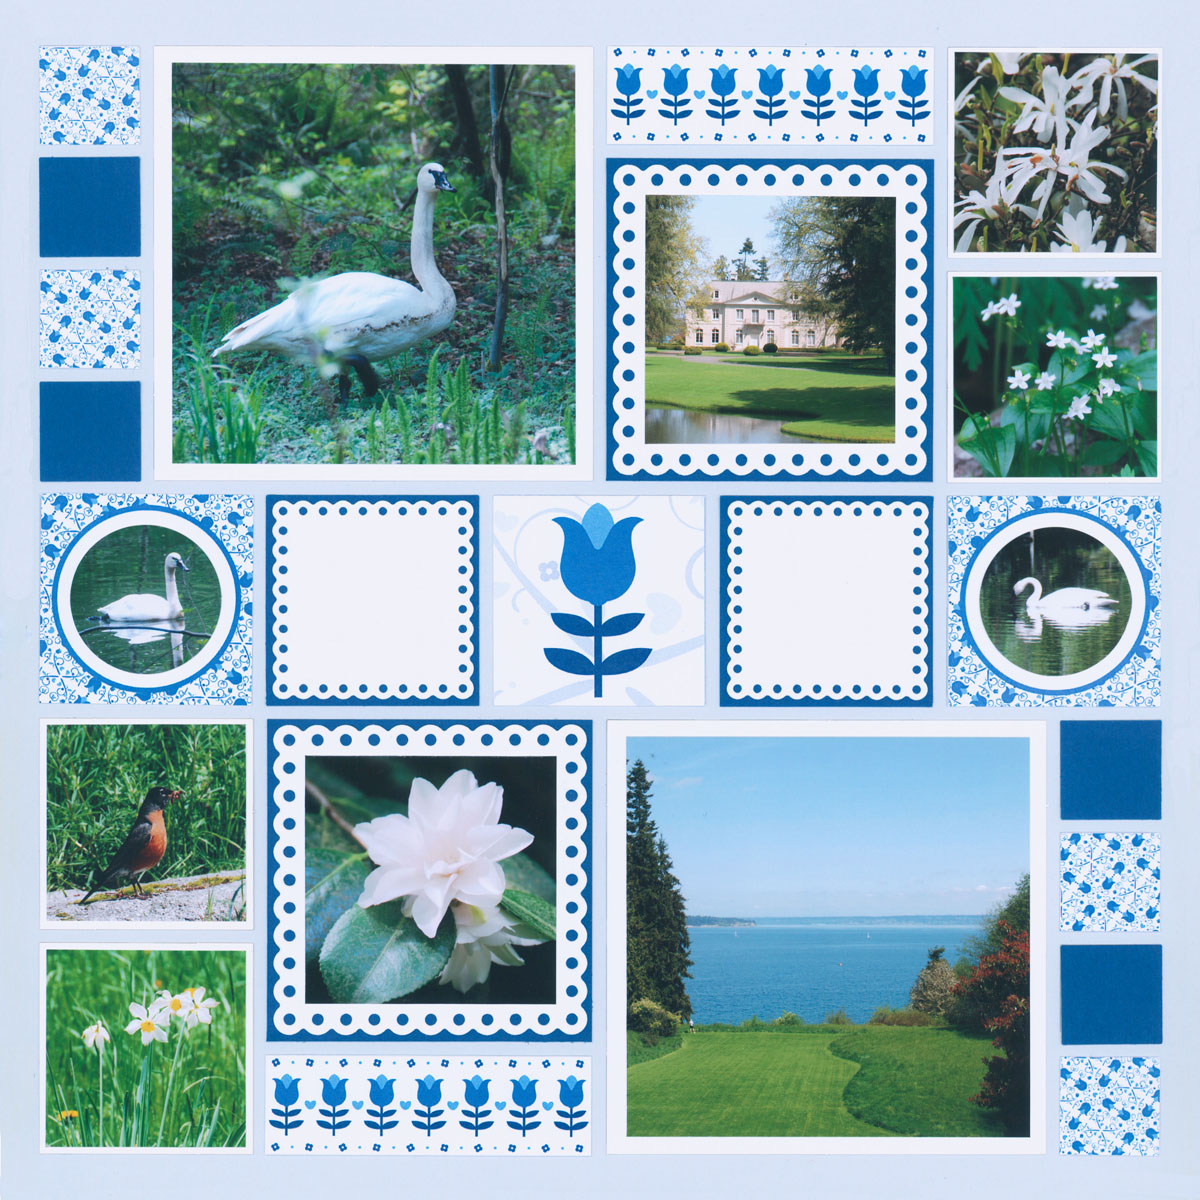
"Bloedel Reserve Gardens" by Paije - Pattern #175
The Scallop Dot Mats and Scallop Dot Frame dies allow you to add a lacy edge behind your photos.
Use the matching size Basic Die to add a solid background behind the dots to cover the Grid Lines.
These are perfect for girly and wedding pages, as well.
9. Sew a Border
Yes, you can use your sewing machine to sew through paper and create stitches on your mats -- although paper dulls your needle so be sure to change it before sewing fabric again.
If that's not your thing, try a rubber stamp or even draw on your stitches with a marker.
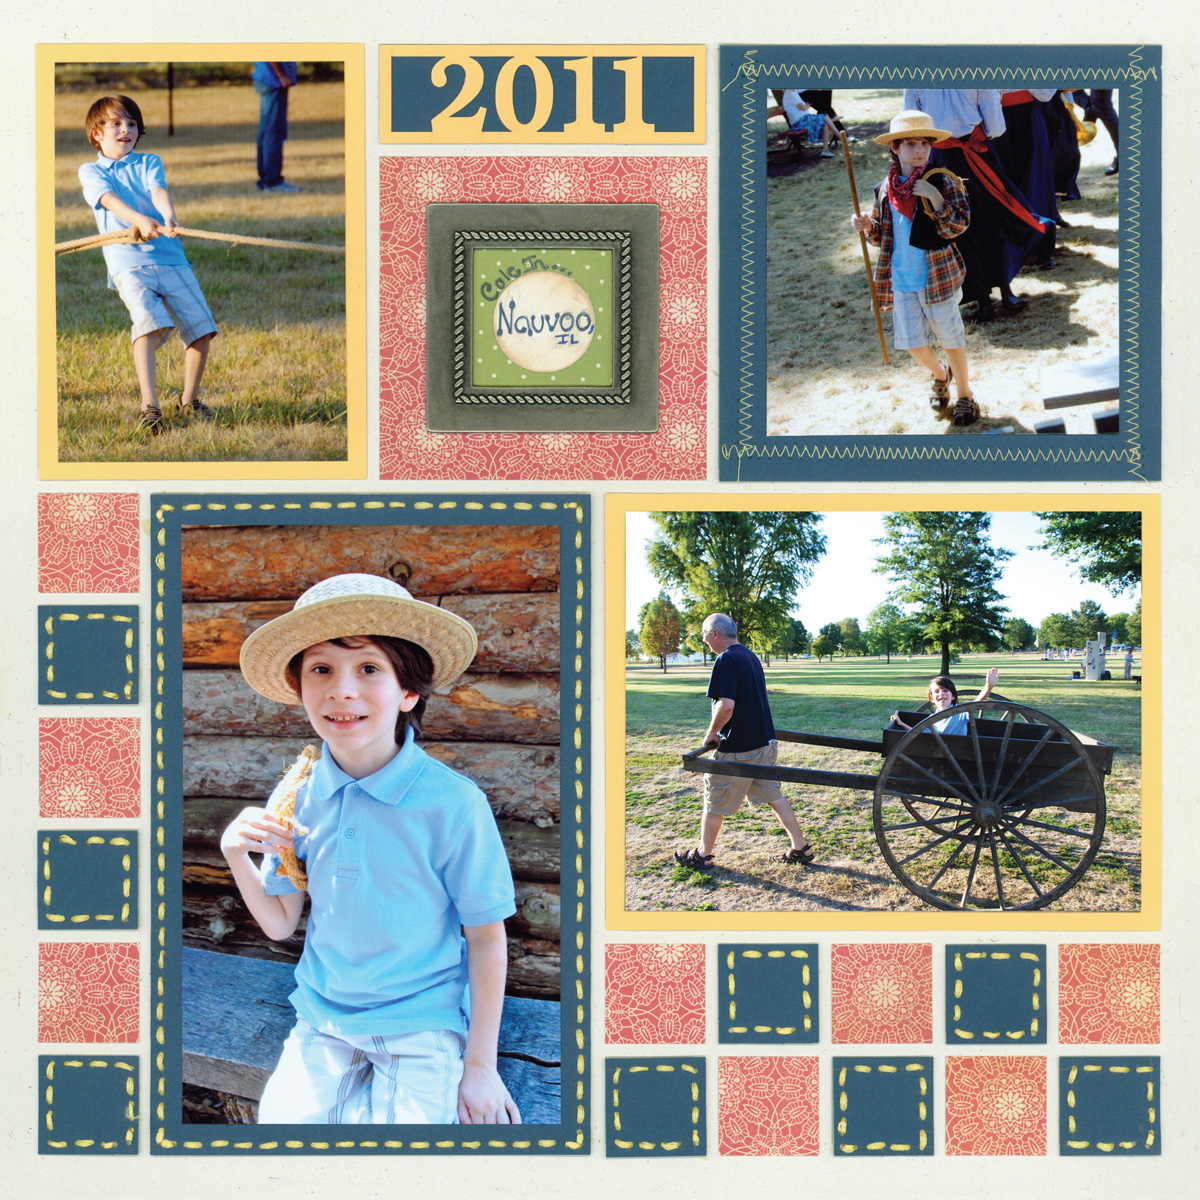
"Cole in Nauvoo" by Paije - Pattern #132
10. Decorative Border Dies

"Alexis in Wonderland" by Tami Potter - Pattern #378
Decorative border dies are fun to add at the bottom, or side, of a photo. They come in all different patterns and a few different lengths.
Quick Tip: If you've tried to mat a 4x6 photo, you've noticed that it doesn't work perfectly on the Grid. The 6-inch side of the photo is a little short. Our solution is to push it to one side (so the mat is even on three sides) and then add a decorative border to the bottom, like you see here. Beautiful!