
There are so many different ways that these two new dies can be used in a layout to scrap the corners and I’m sure you will discover many on your own. I’m bringing one more for you to try out.

I began by cutting several colors of the dies to play around with to determine ways to arrange the pieces on the grid. In the end I have chosen to use a modified version of Pattern #332.

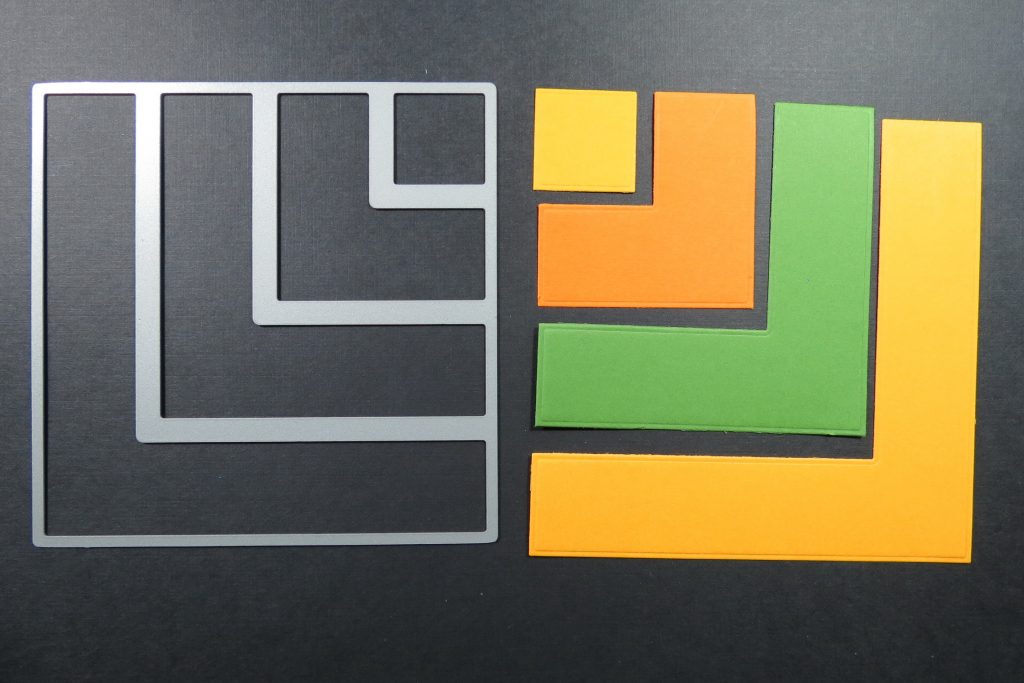
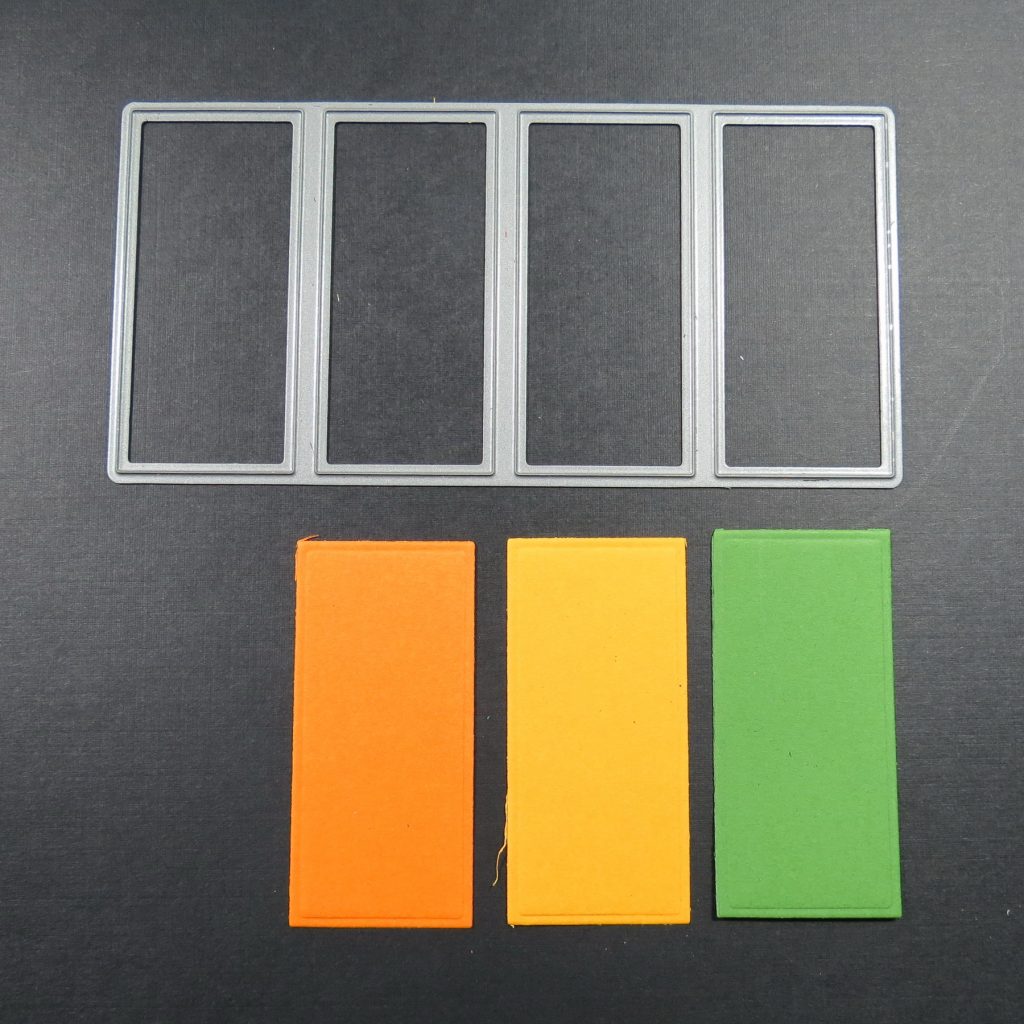
By using patterned paper on the layout I could cut the die out fully, something I couldn’t do with a 4×6 photo. I matched three cardstocks to the patterned paper and cut each color in the Corner Strip Die and the Corner Connector die.
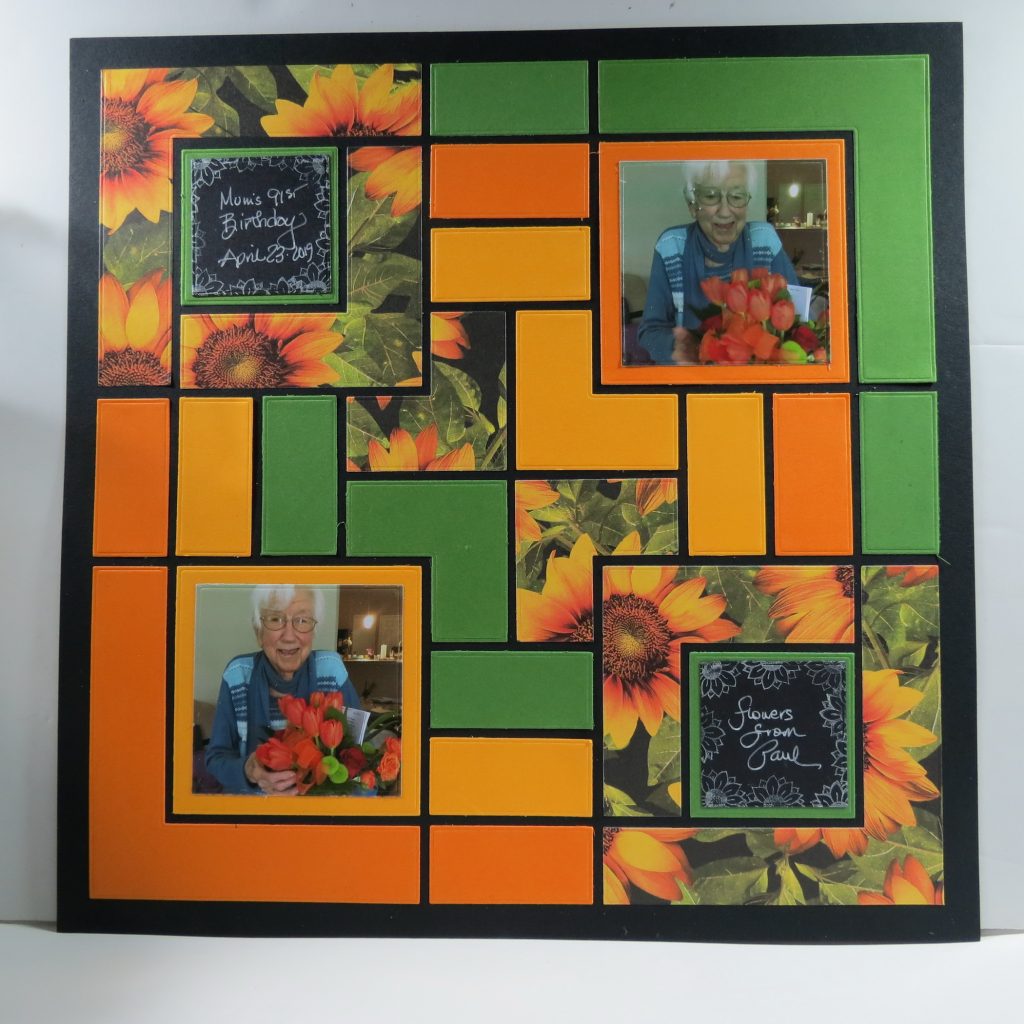
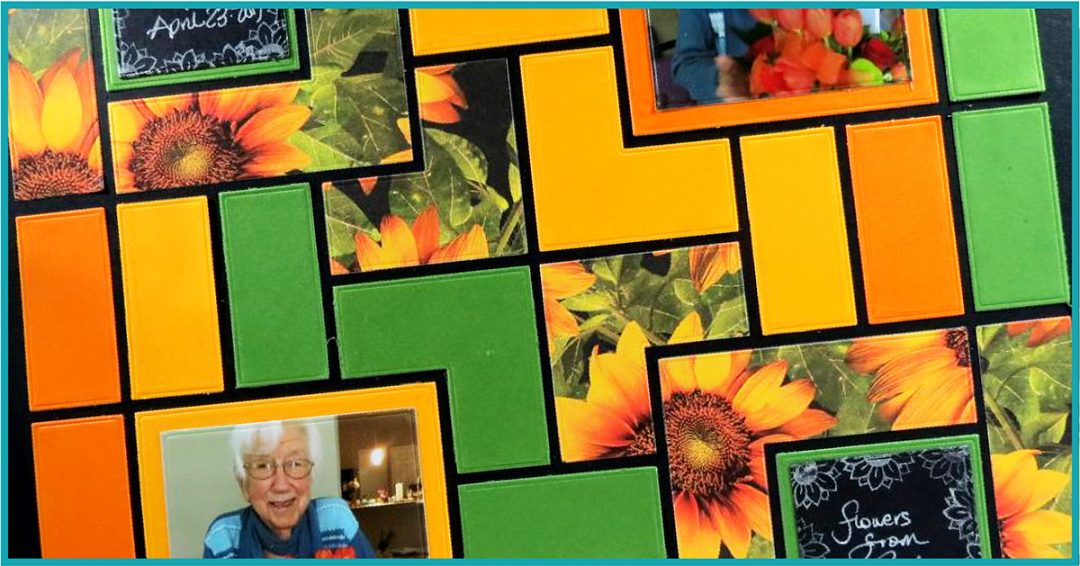
My patterned paper is arranged in the top left and bottom right corners of the Black Mosaic Moments Grid Paper in a quilt like pattern. Instead of the four cuts being in a row I rearranged the pieces to form a square frame with a center square, eliminated the smallest 1” square entirely and then added the remaining “L” section outside of the square on the lower side, which is the center of the page.
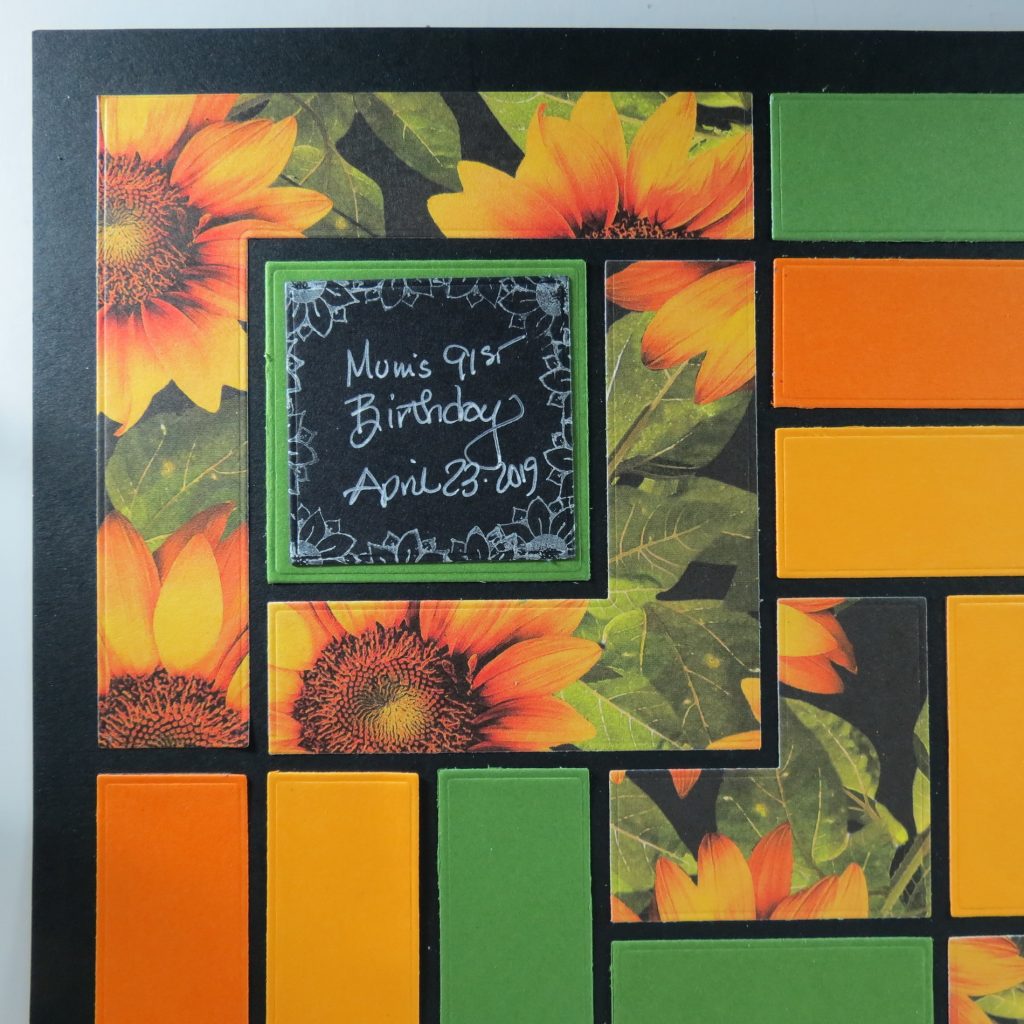
This leaves the center open for a 2×2 square to place a title (in the top) and journaling (in the bottom).
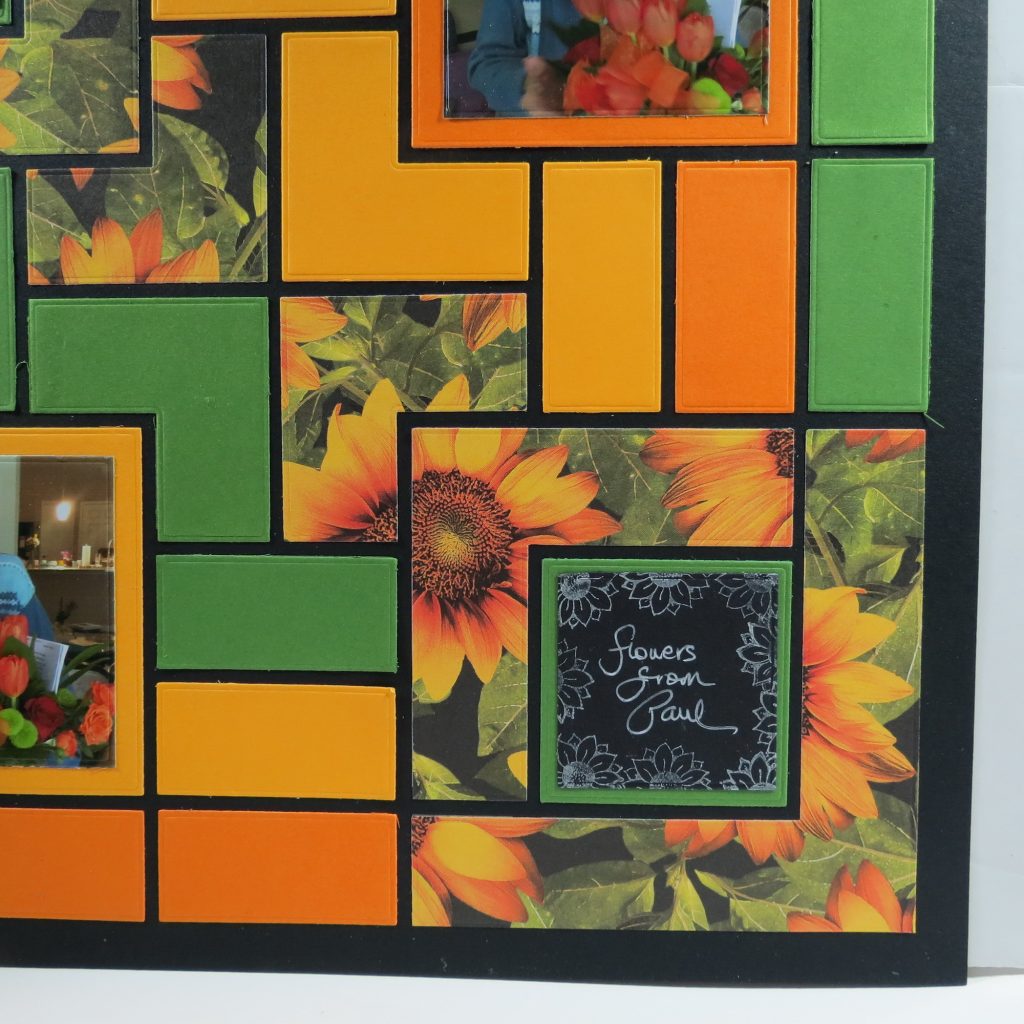
I’ve layered black cardstock on top of green 2×2’s with the AL layering die. I had a sunflower rubber stamp that I used with white ink to create a border on the black squares, a white gel pen records names, date, and event.
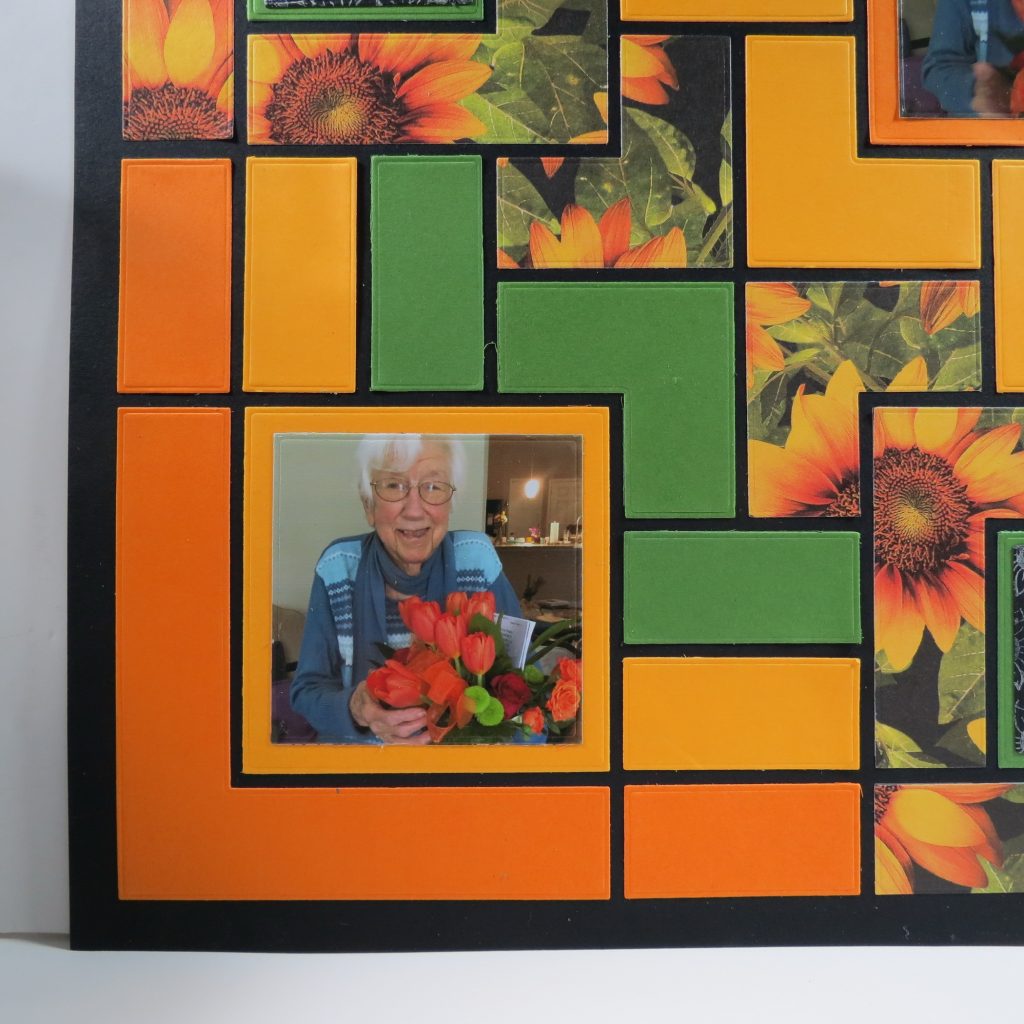
In the other two corners I’ve kept only the largest “L” section and eliminated the other piece so that I could get a 3×3 square mat to mount my photos upon. I kept the smallest “L” to set in the center of the page.
By using the patterned paper as a huge part of my design I’m getting to show what the die can do with something large enough to cut the full die. In this layout I may only have created four spots to feature photos, but I also like all the color it brings to the page.
My arrangement is in a way that is true to a quilt pattern. Here’s what it would look like as a part of a quilt.
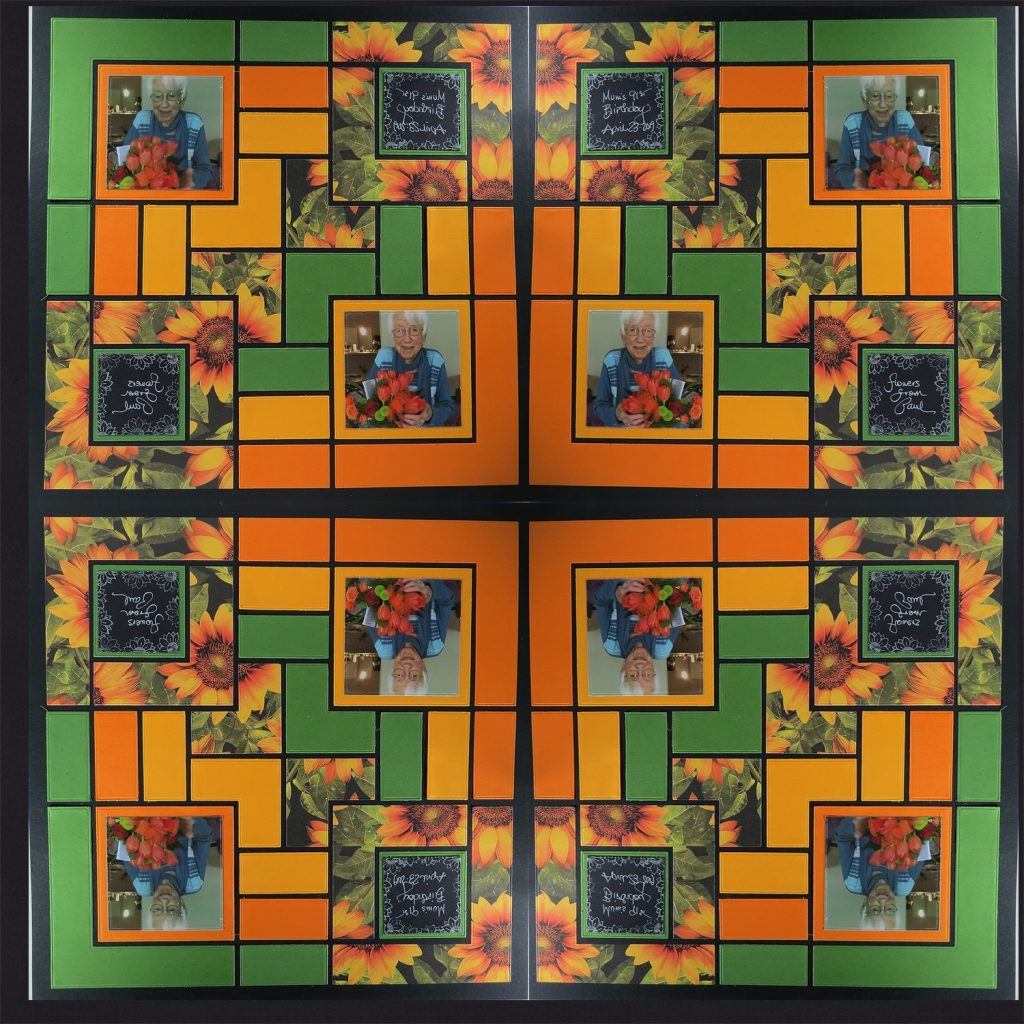
Have fun as you play around with the pieces and find new ways to arrange your photos and fill the grid!
Andrea Fisher