
Great Expectations Numbering Your Days
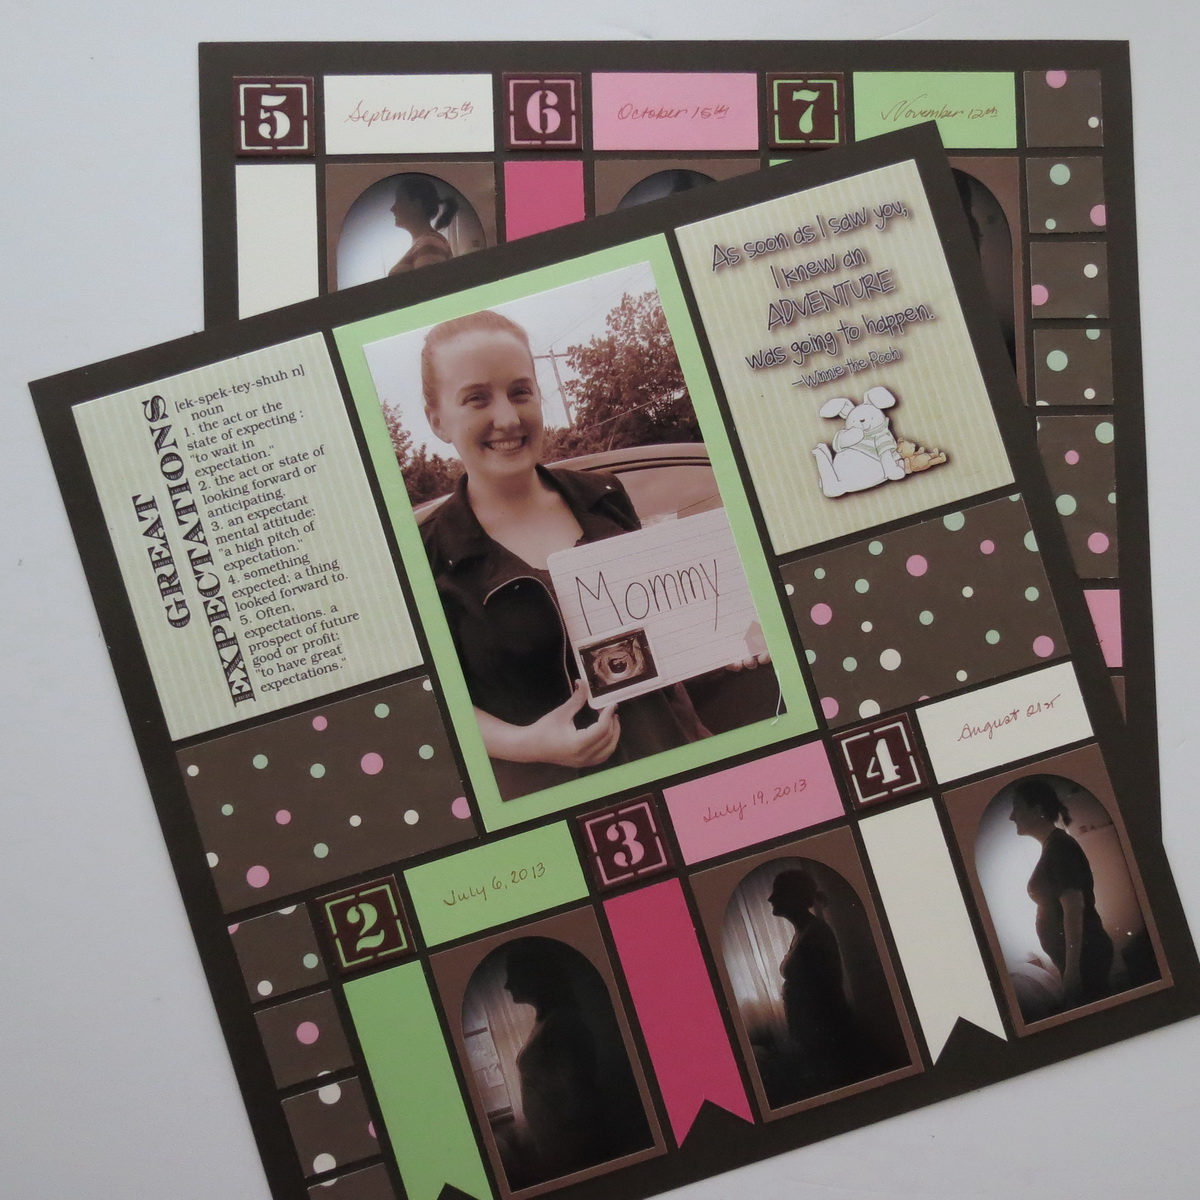
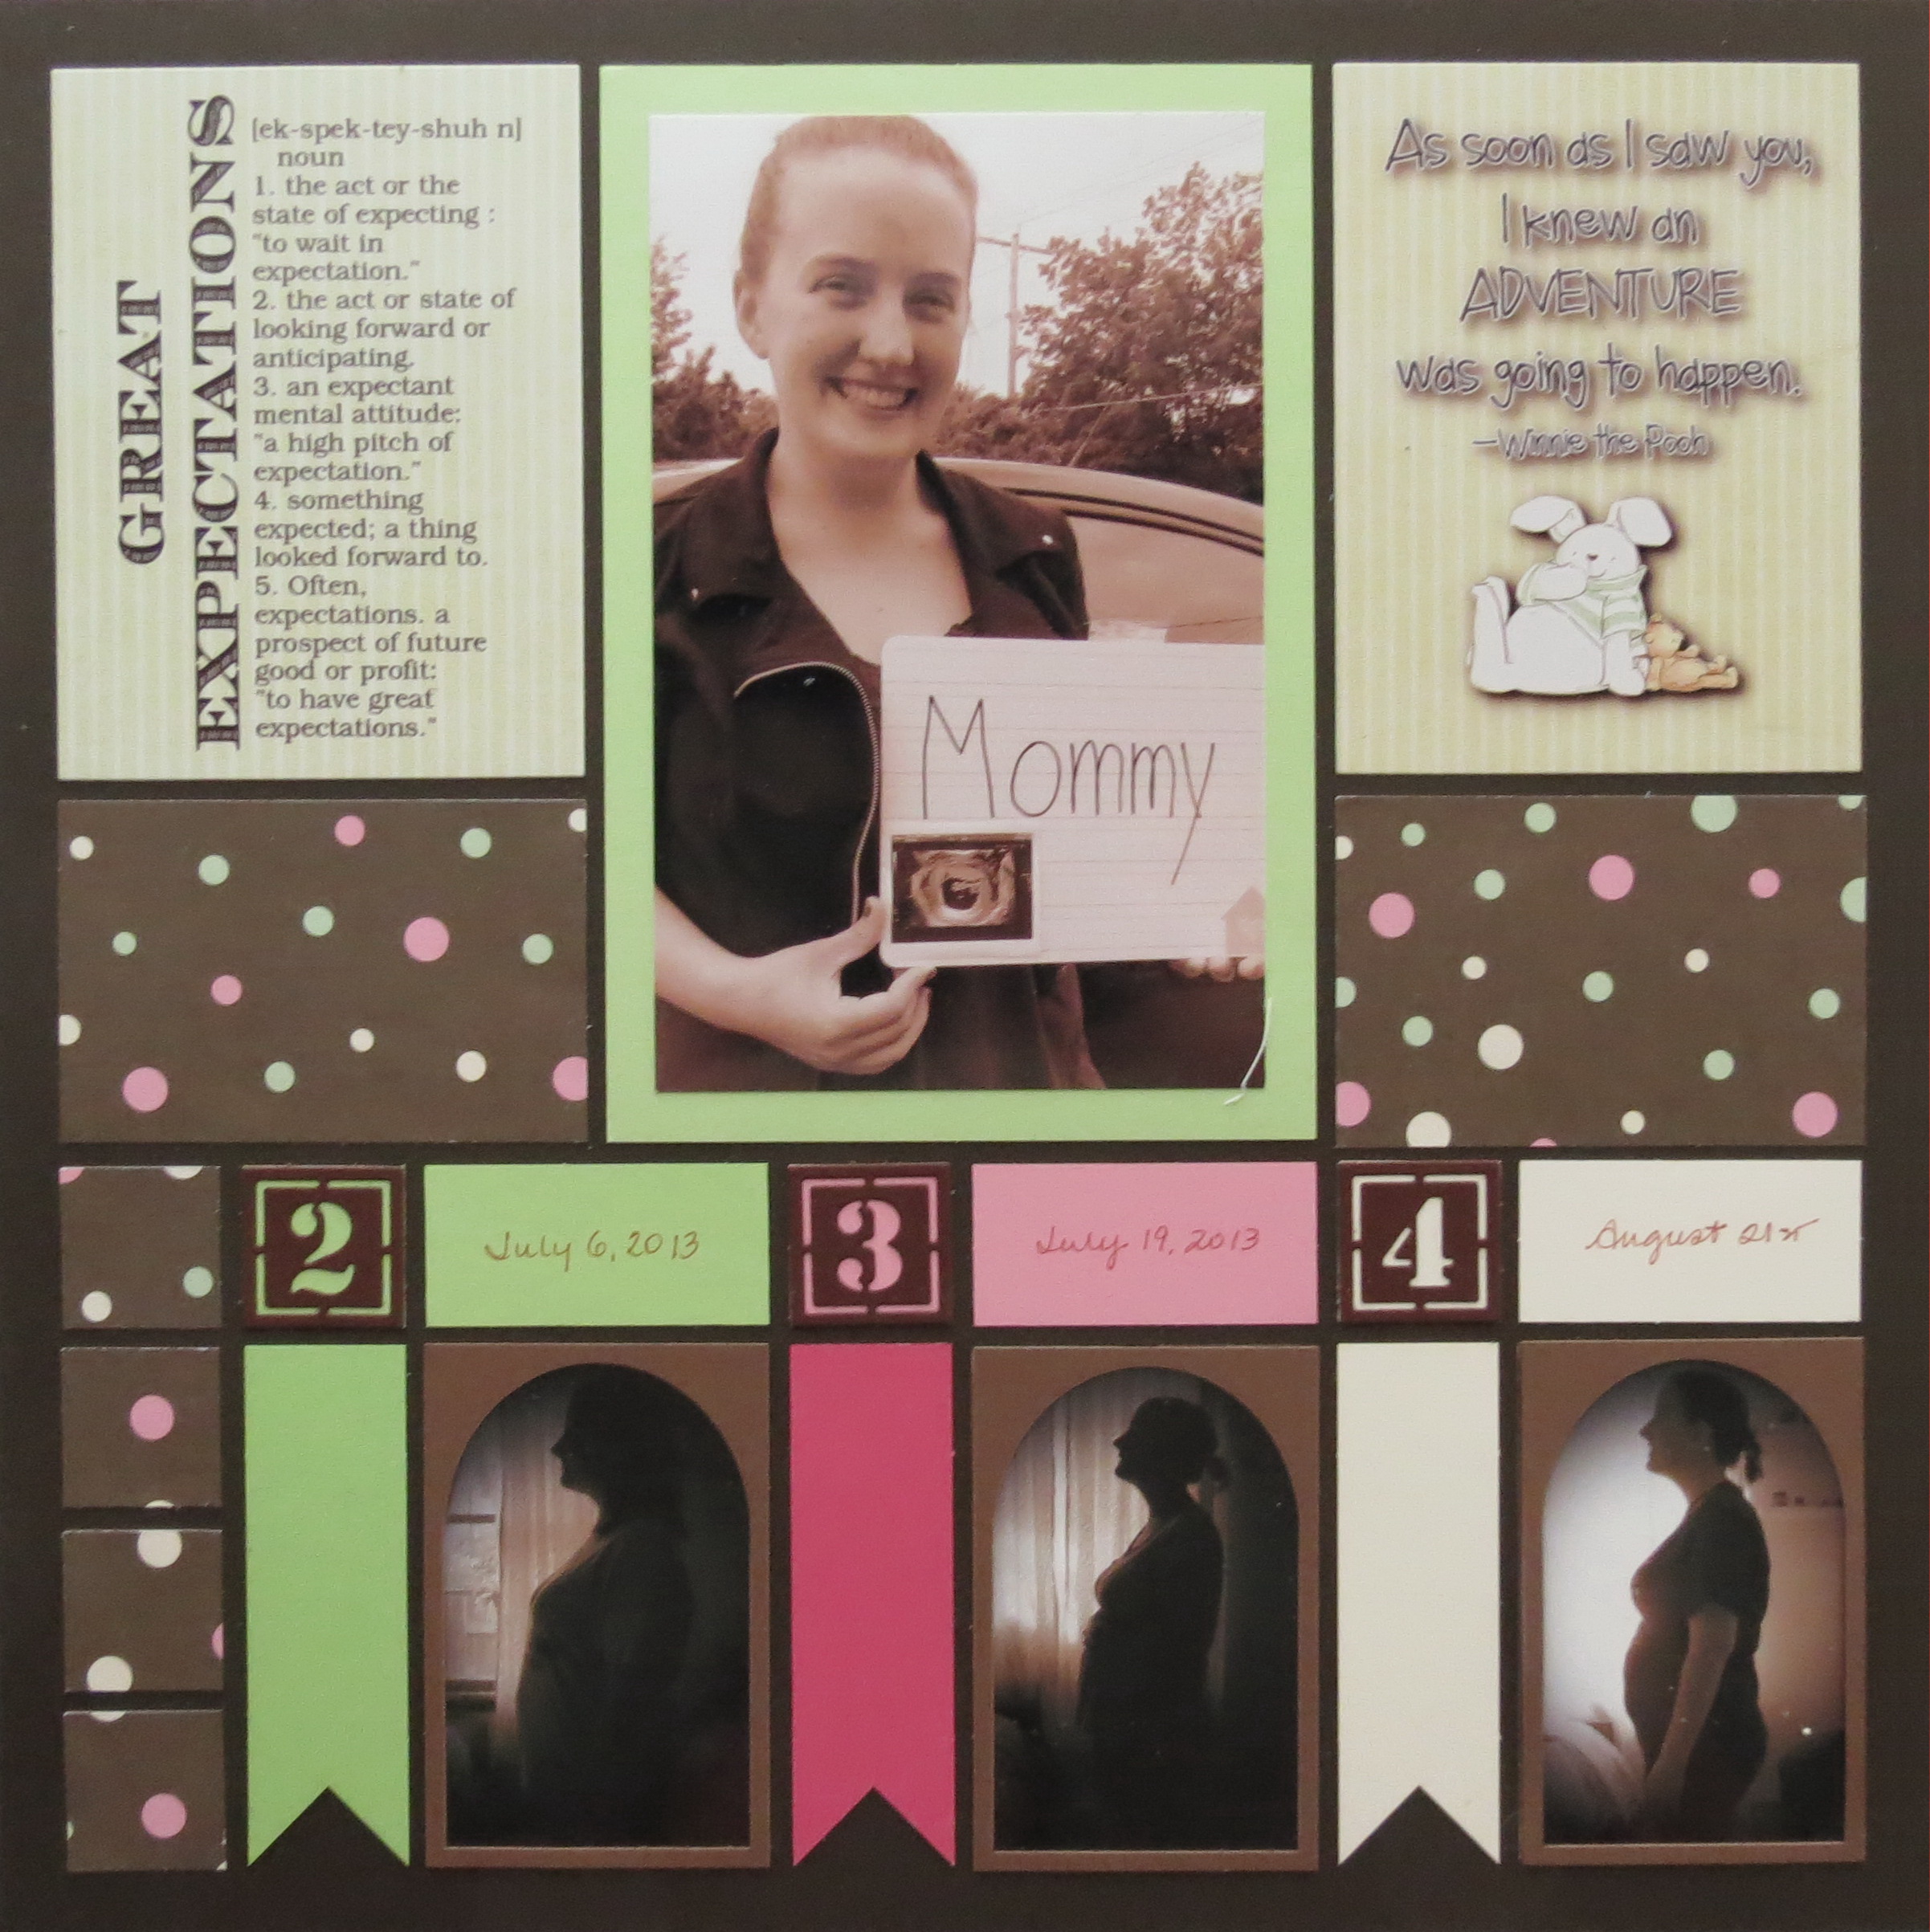
One of the exciting events in life is the addition of a baby to a family. There are so many cute ideas for the new parents to remember the months leading up to baby’s arrival, and today’s layout is one way. I really liked the idea of a silhouette portrait of my youngest daughter, Libby, taken once a month to watch the progression of her pregnancy. They were truly Great Expectations!

Great Expectations: without Arch Tiles
I’d like to show a few of our new products in action. You may have snapped them up in our recent big sale and are looking for ideas on how to incorporate them into your layouts, so hopefully we accomplish that today.
Here’s what we’ll cover:
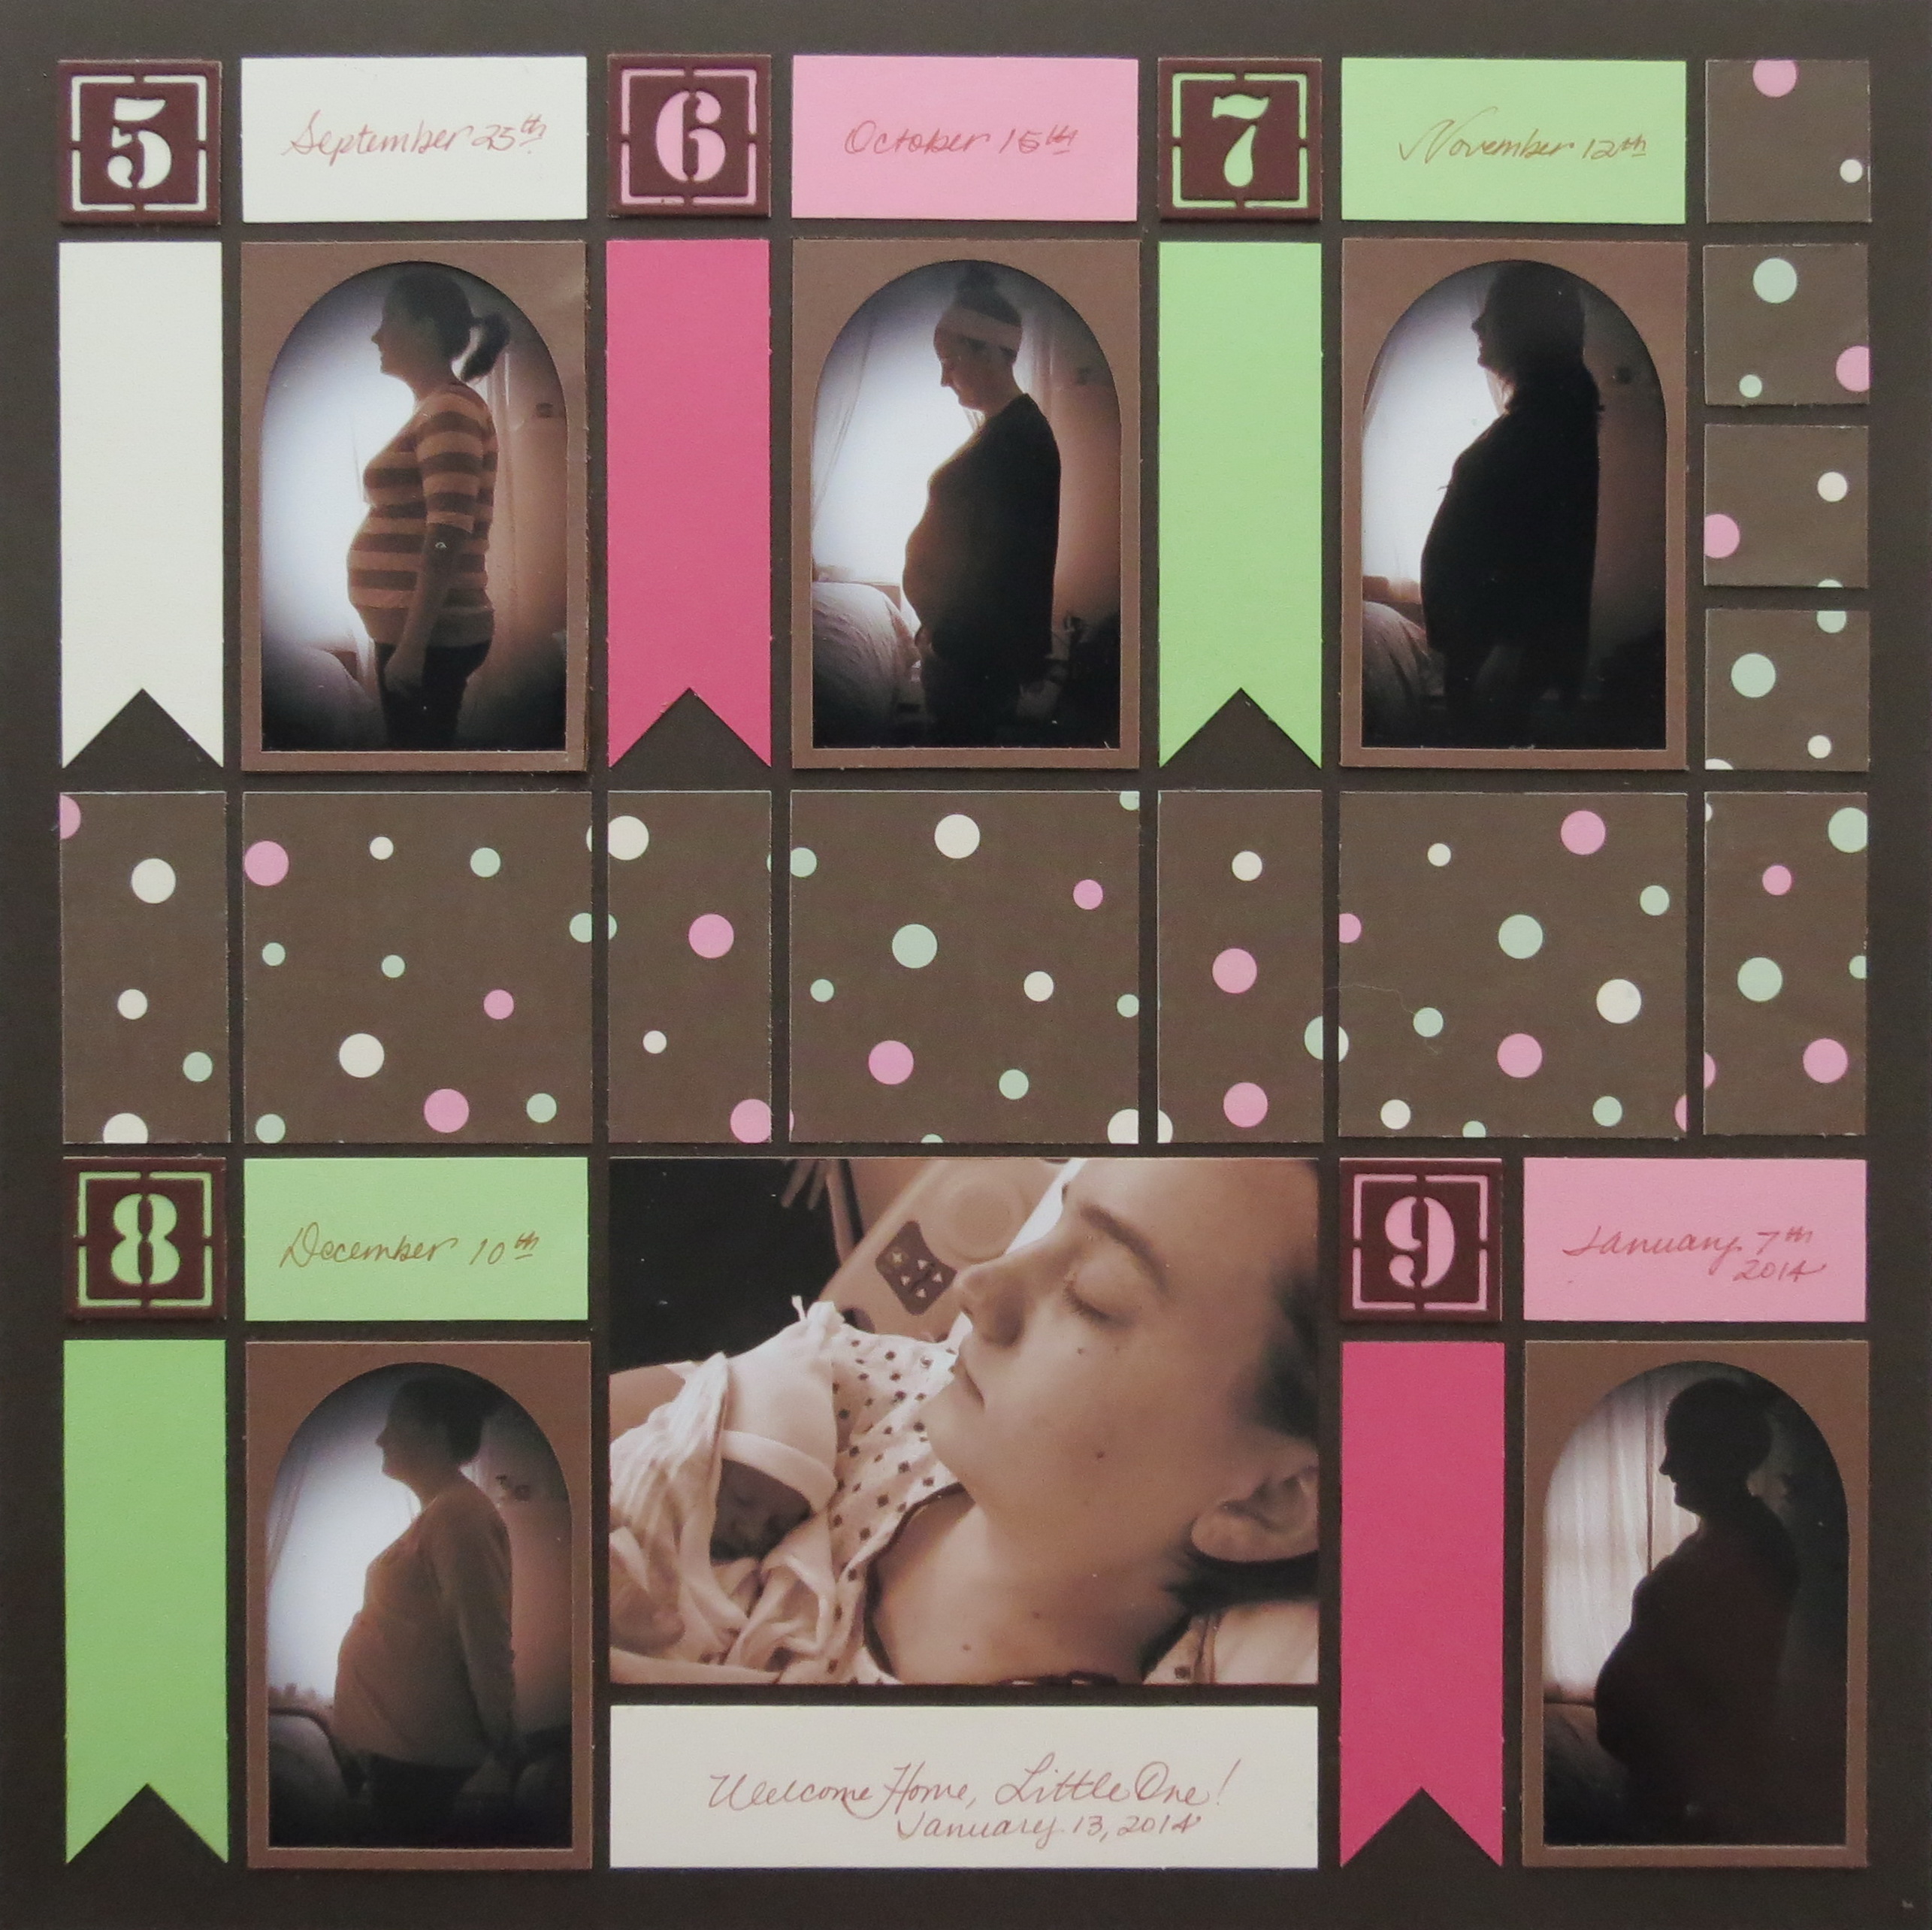
- Stencil Number Die was used to create the numbers necessary to identify each photo counting off the months.
- Die Set C was used to trim photos for the 2×3 sections and the 3×4 die used for the title and word art blocks.
- Arch Tiles were used to frame each silhouette photo.
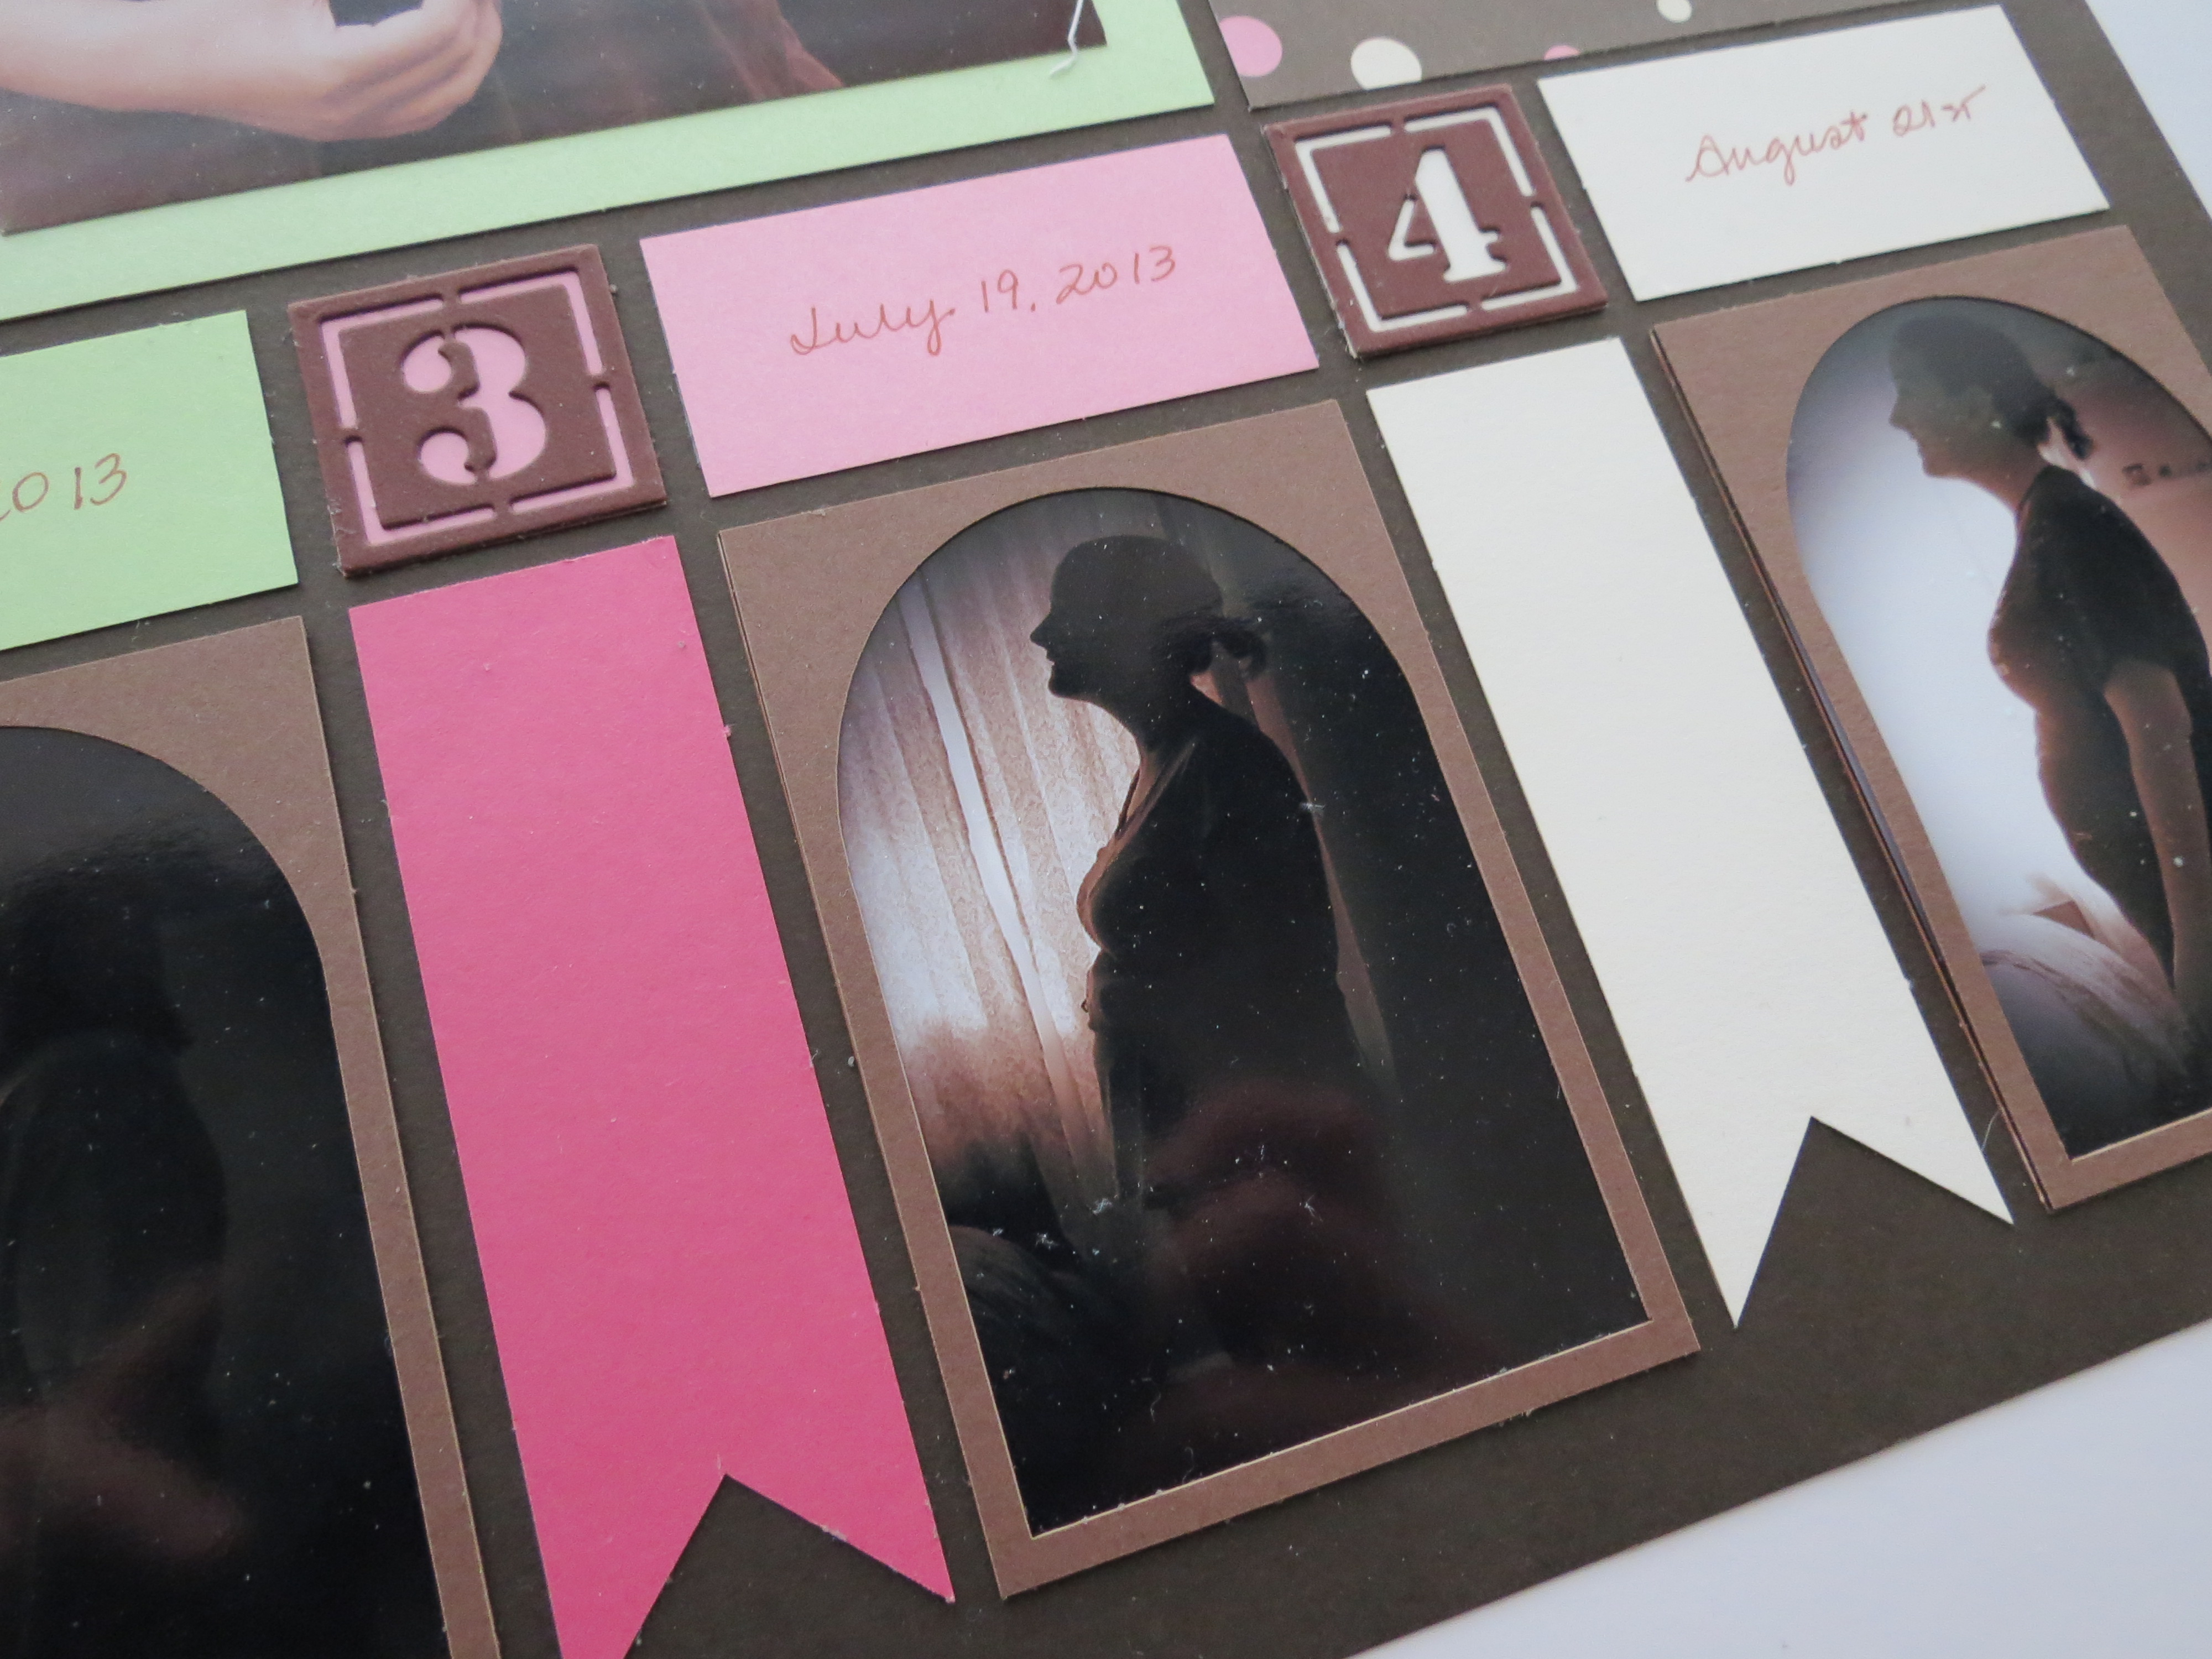
- Banner Tiles drop from each numbered die in Deep Pretty Pink, Apple Crush and Ivory.
- Paper Tiles in Apple Crush, Dark Pretty Pink and Ivory for the date labels.
- Stick It! was used to apply a layer of adhesive to each of the number tiles.
- Hybrid Scrapping Creating your own embellishments like custom titles and word art blocks with digital kits and MM Dies.
- Patterned Paper Incorporating your favorite papers into your layout.
Great Expectations: New Mosaic Moments Products
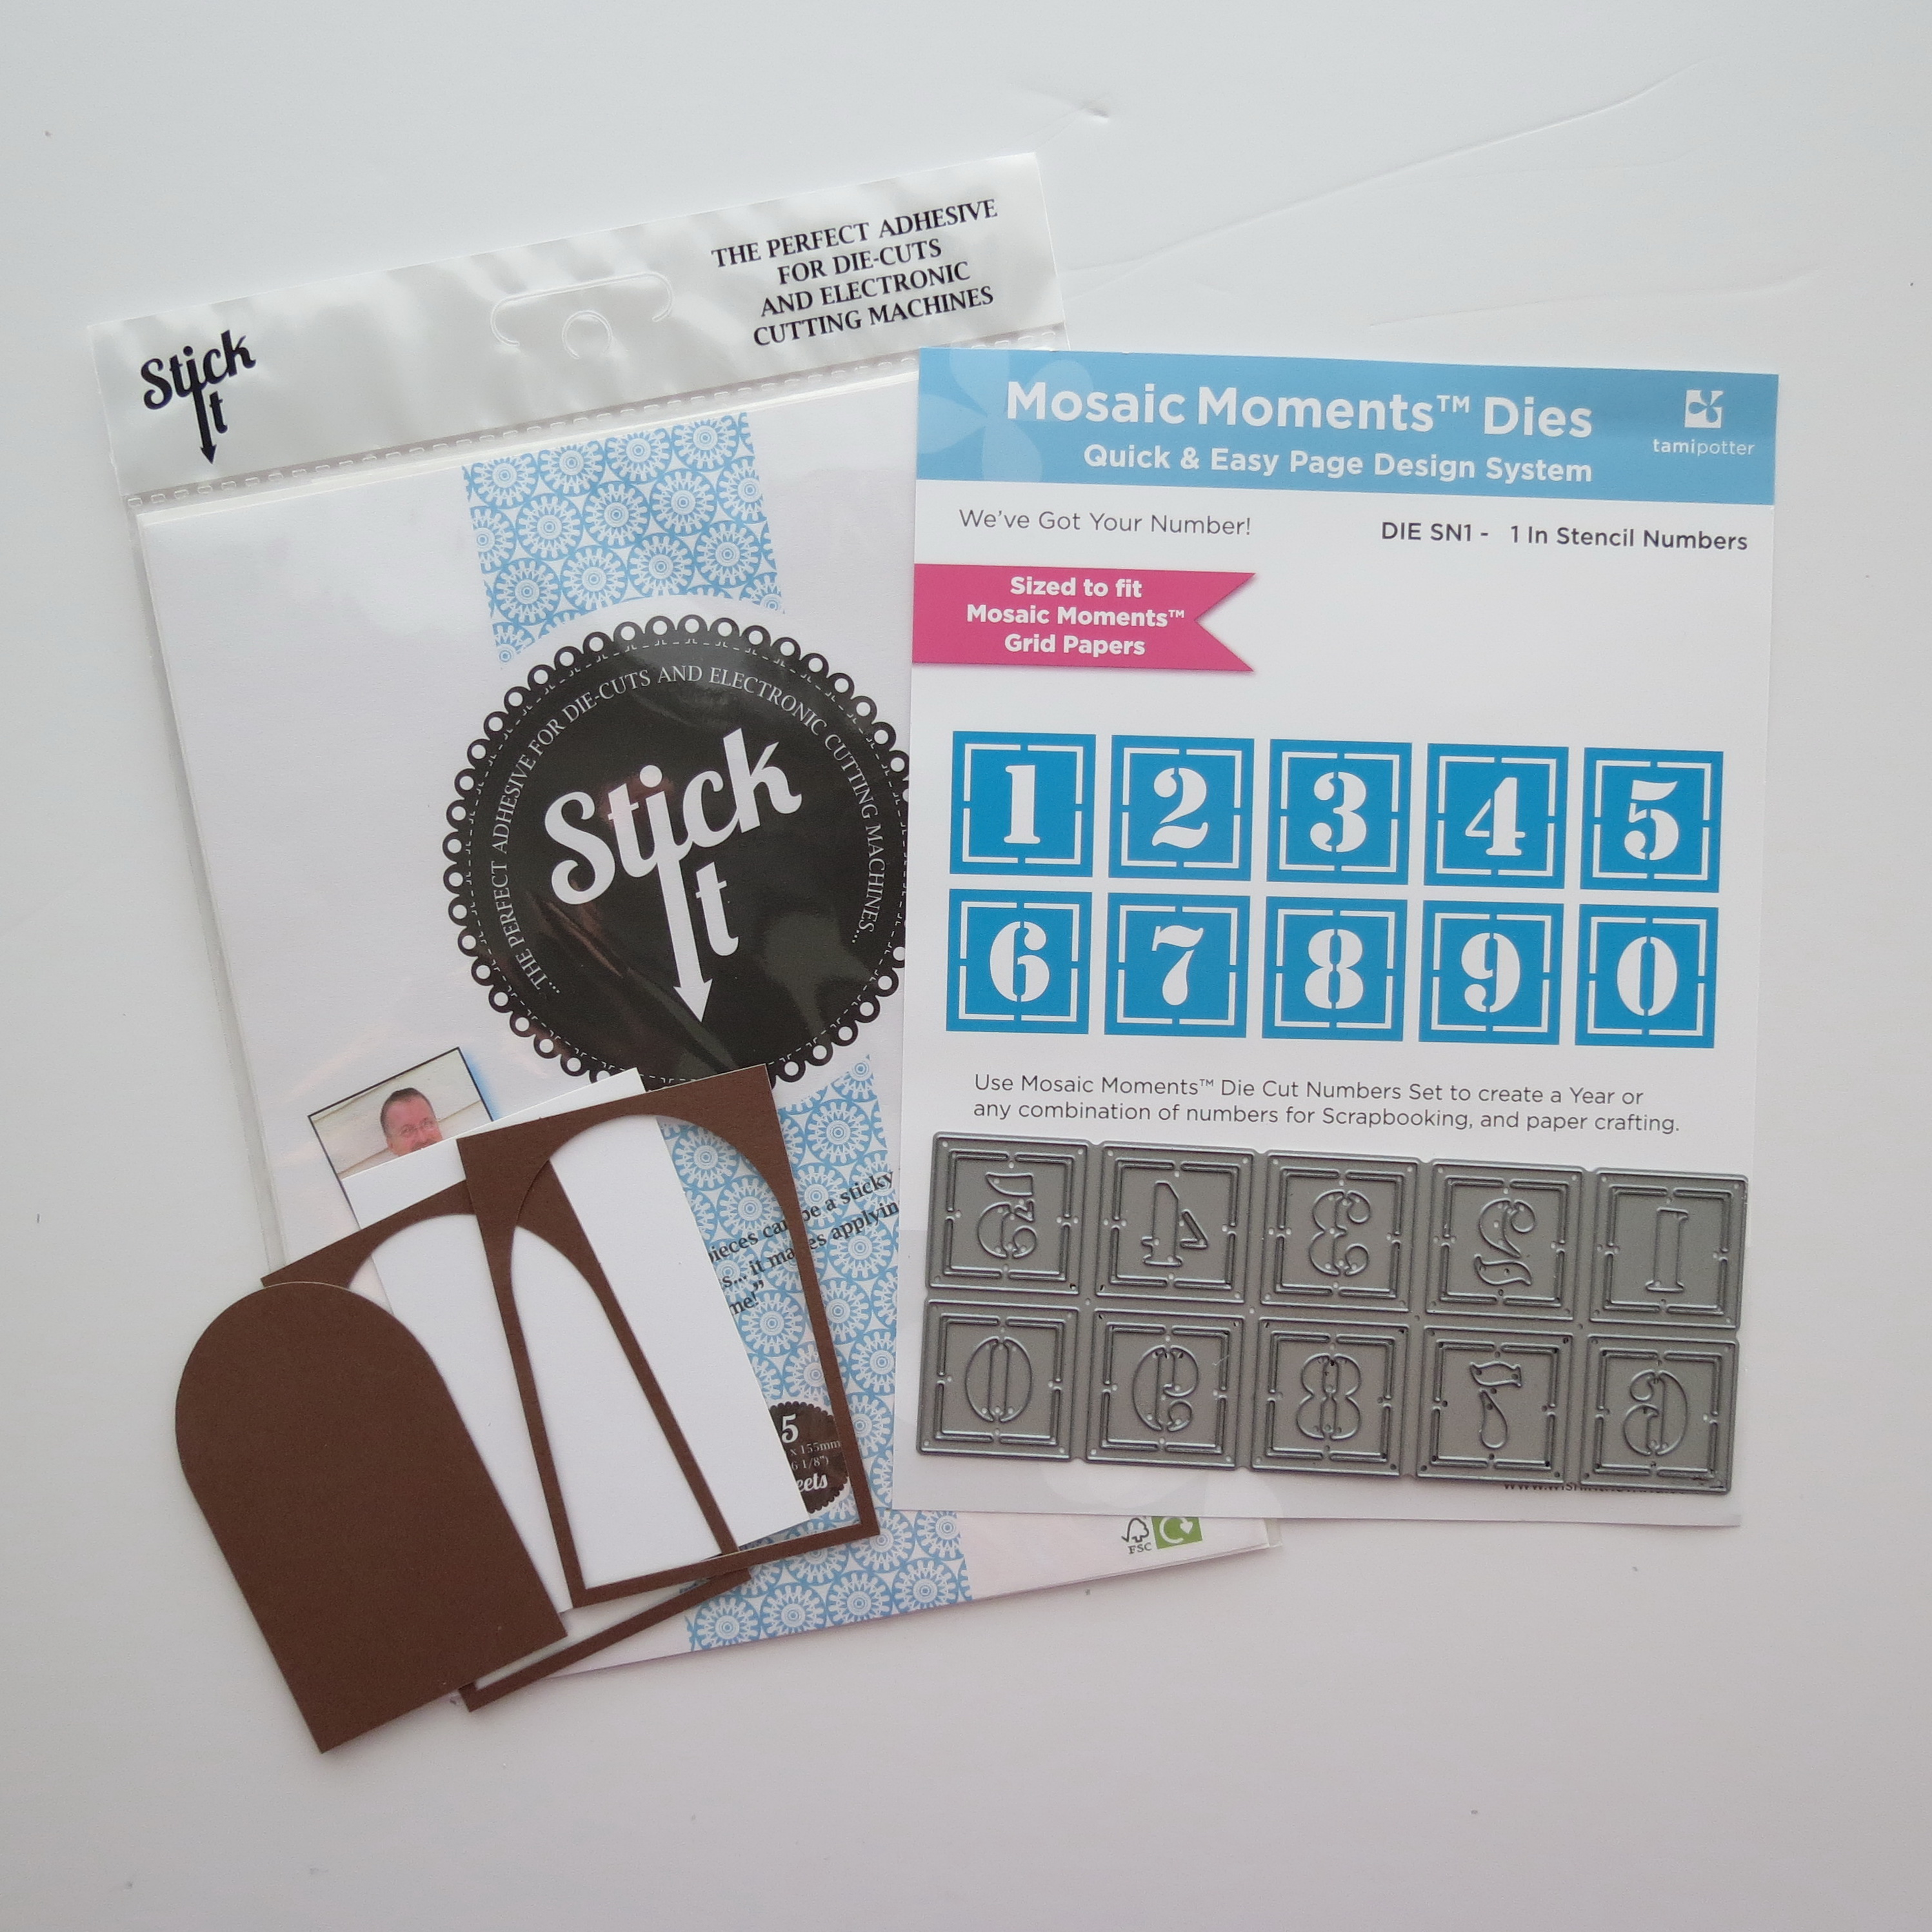
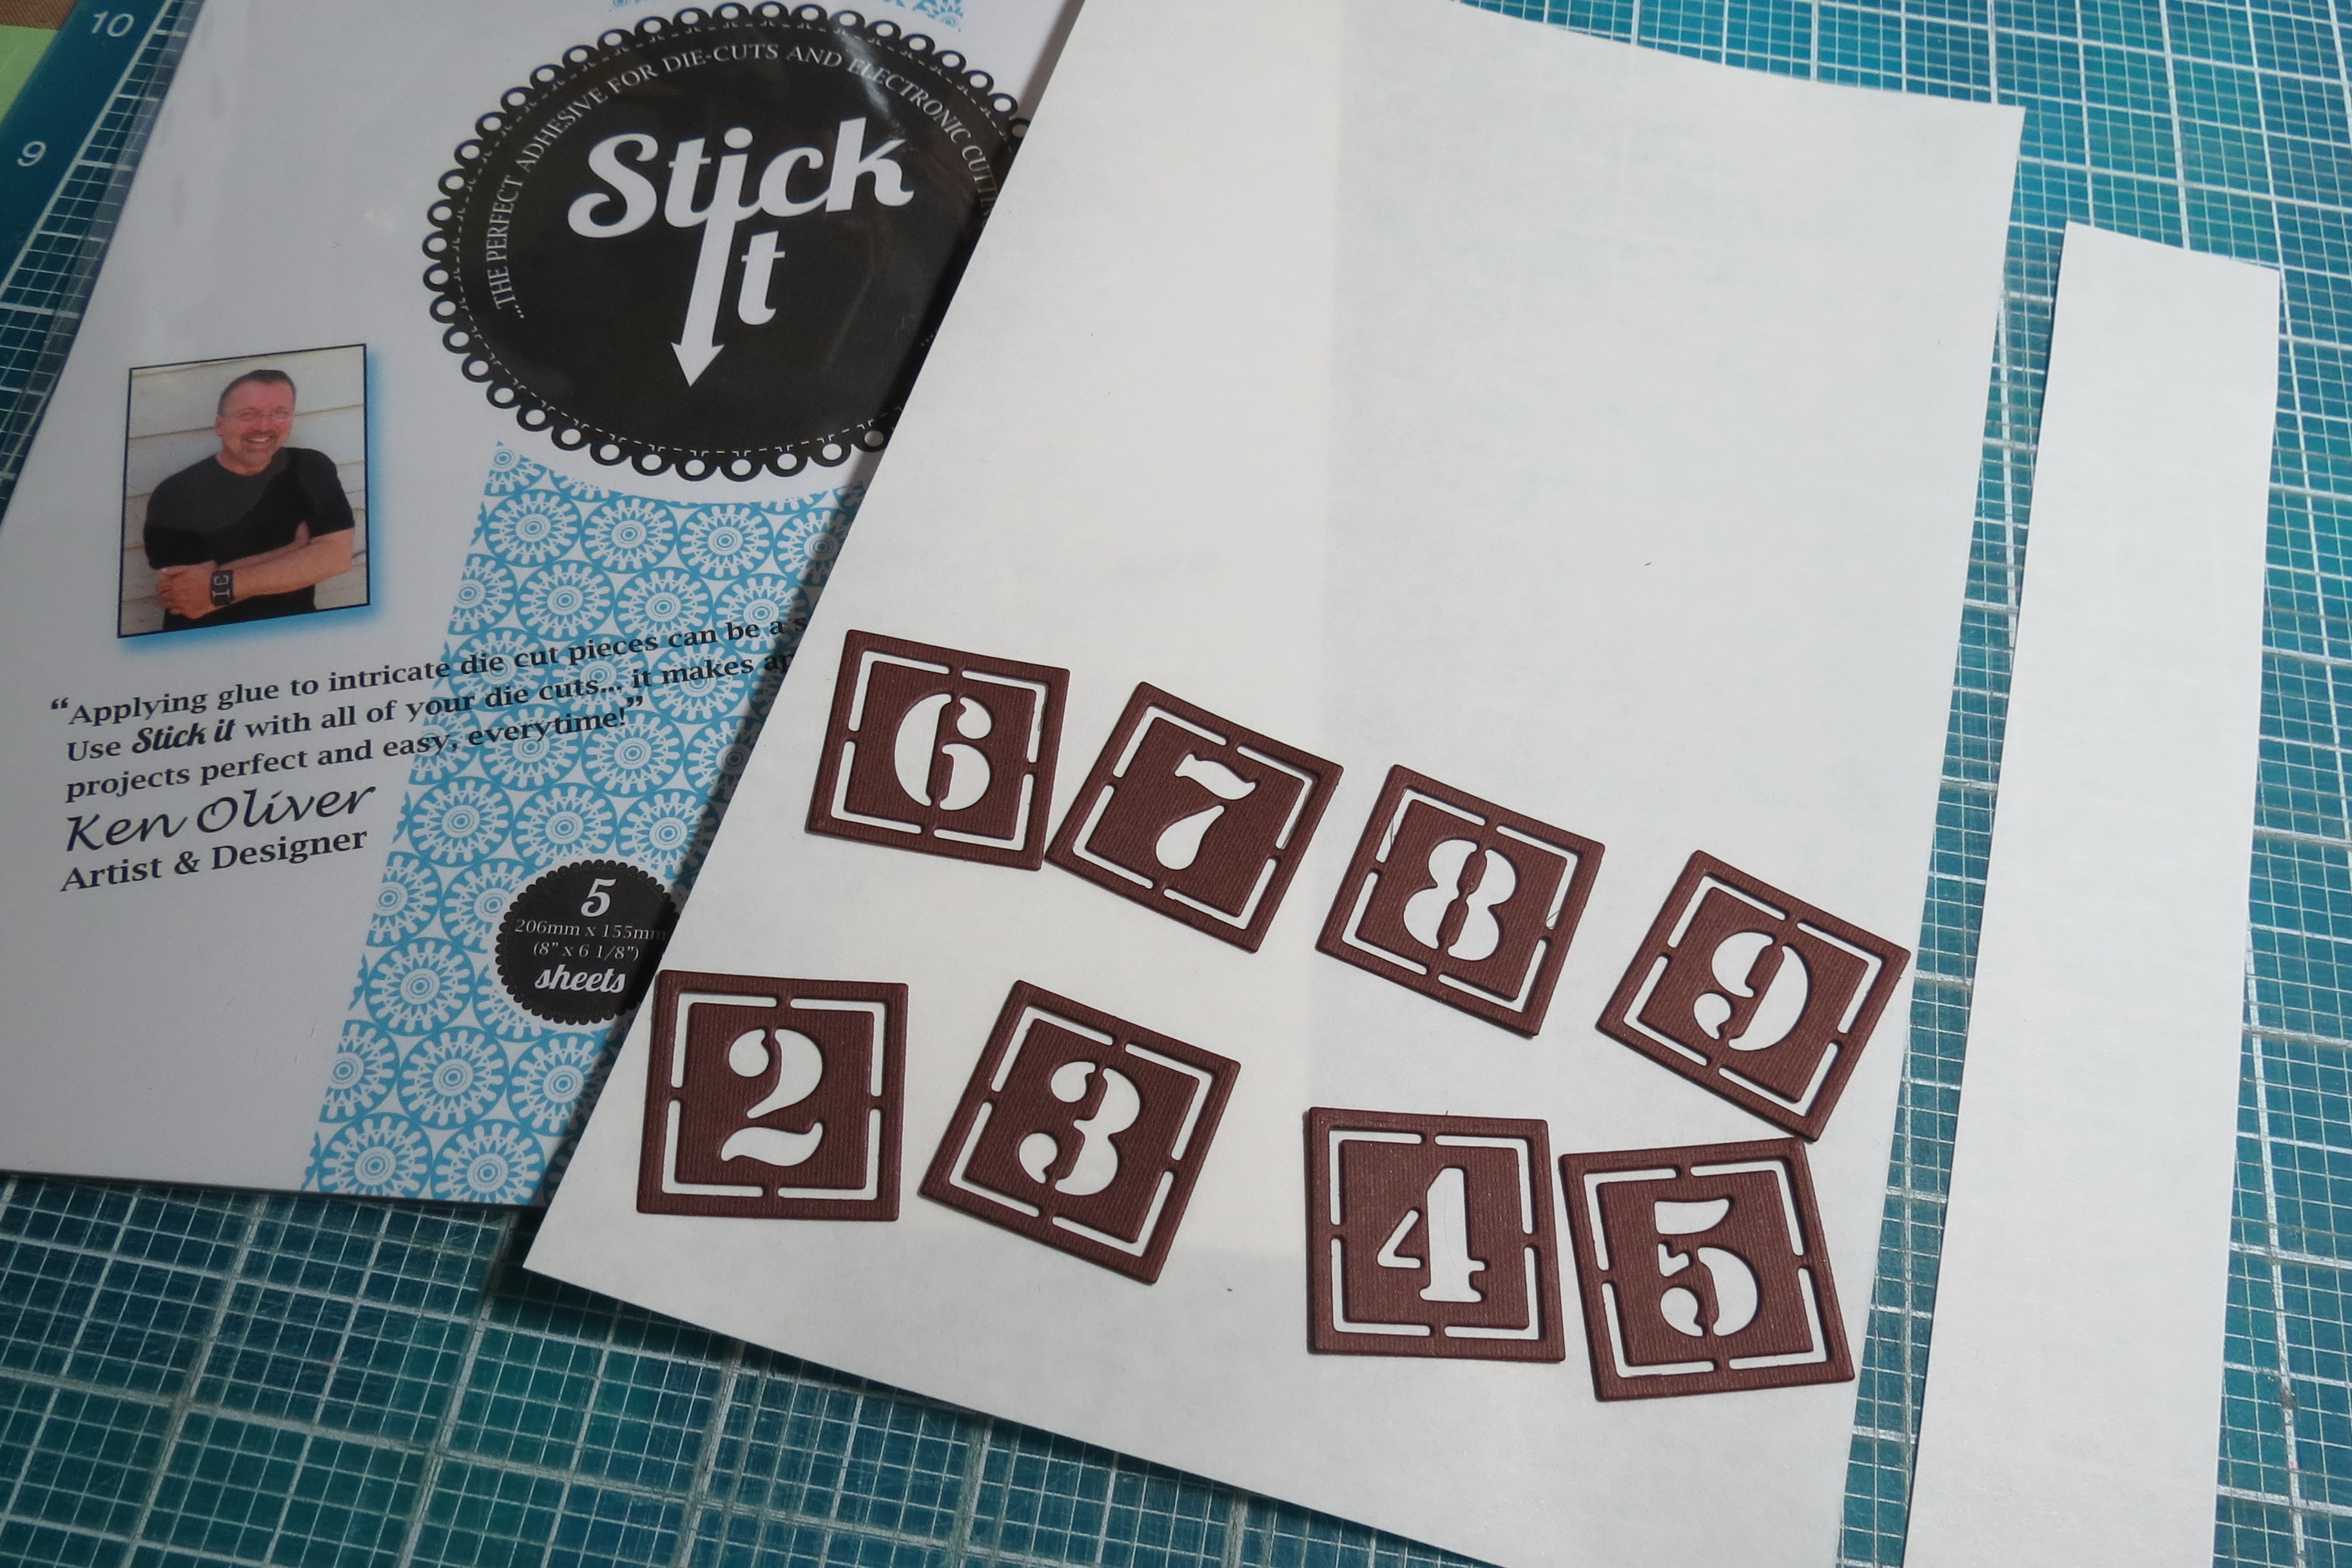
I’m featuring our Stencil Number Die, one of the newest dies that you will love being able to customize the color to match or compliment your layouts.
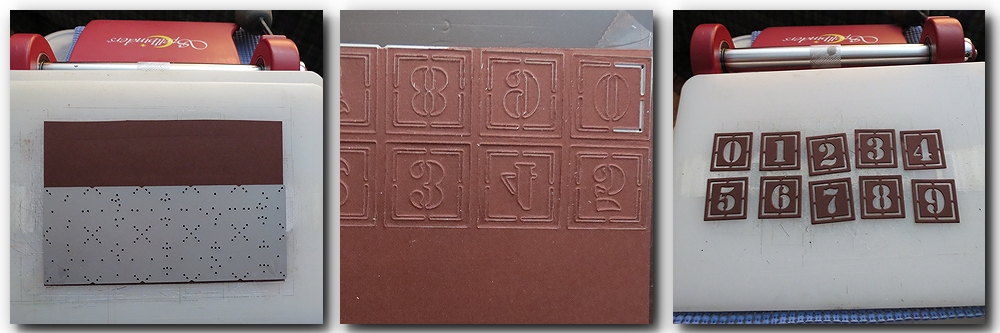
Following the theme for this page, marking off each month of Libby’s pregnancy, being able to use the new Stencil Number Die was perfect. I chose another shade of brown from a stash of ½ sheet cardstock I keep handy for card making. This size fit the cutting machine and the die very well. Each number was backed with a paper tile to match the banner below it, while an additional tile was reserved for the date of the photo. Any leftover numbers were saved in a snack size bag, labeled and stored with other CornerStone tiles for future use.
Great Expectations: Using the new Stencil Number Die
Great Expectations: Banner Tiles, Arch Tiles, Stencil Number Tiles, Paper Tiles
Once you have the right combination of shims to cut for your machine, do run it through repeatedly. I found that for both cutting machines I was trying this out on, my Spellbinders Wizard model and my daughter’s Cuttlebug, it took several passes before I was getting the perfect cut. Persevere!
Once broken in I still recommend 2-3 times through to achieve the “just falling off” the die results.
STICK IT!
These small Stencil Numbers with their intricate cuts are just right for using the Stick It! adhesive sheets that Tami has recently stocked in the snap-n-crop store. If you’ve used a Xyron machine you are familiar with its overall coverage with adhesive to countless items. However, small items are difficult to run through, even on the smaller machines. That’s where this new product will stand out. Each package has 5 edge to edge sheets of adhesive approximately 6” x 8”.
I trimmed a strip from one sheet just slightly larger than my 1” tiles and then peeled a portion back exposing the adhesive. I placed a few of the tiles at a time down on the sticky side of the sheet. Once all tiles were in place, I rubbed off the excess between the cut out spots and then rubbed to make a good connection between the tile and adhesive. Finally, I peeled them up to place them on each 1” tile easily completing the process.
Great Expectations: Stick It! Adhesive and Stencil Number Tiles
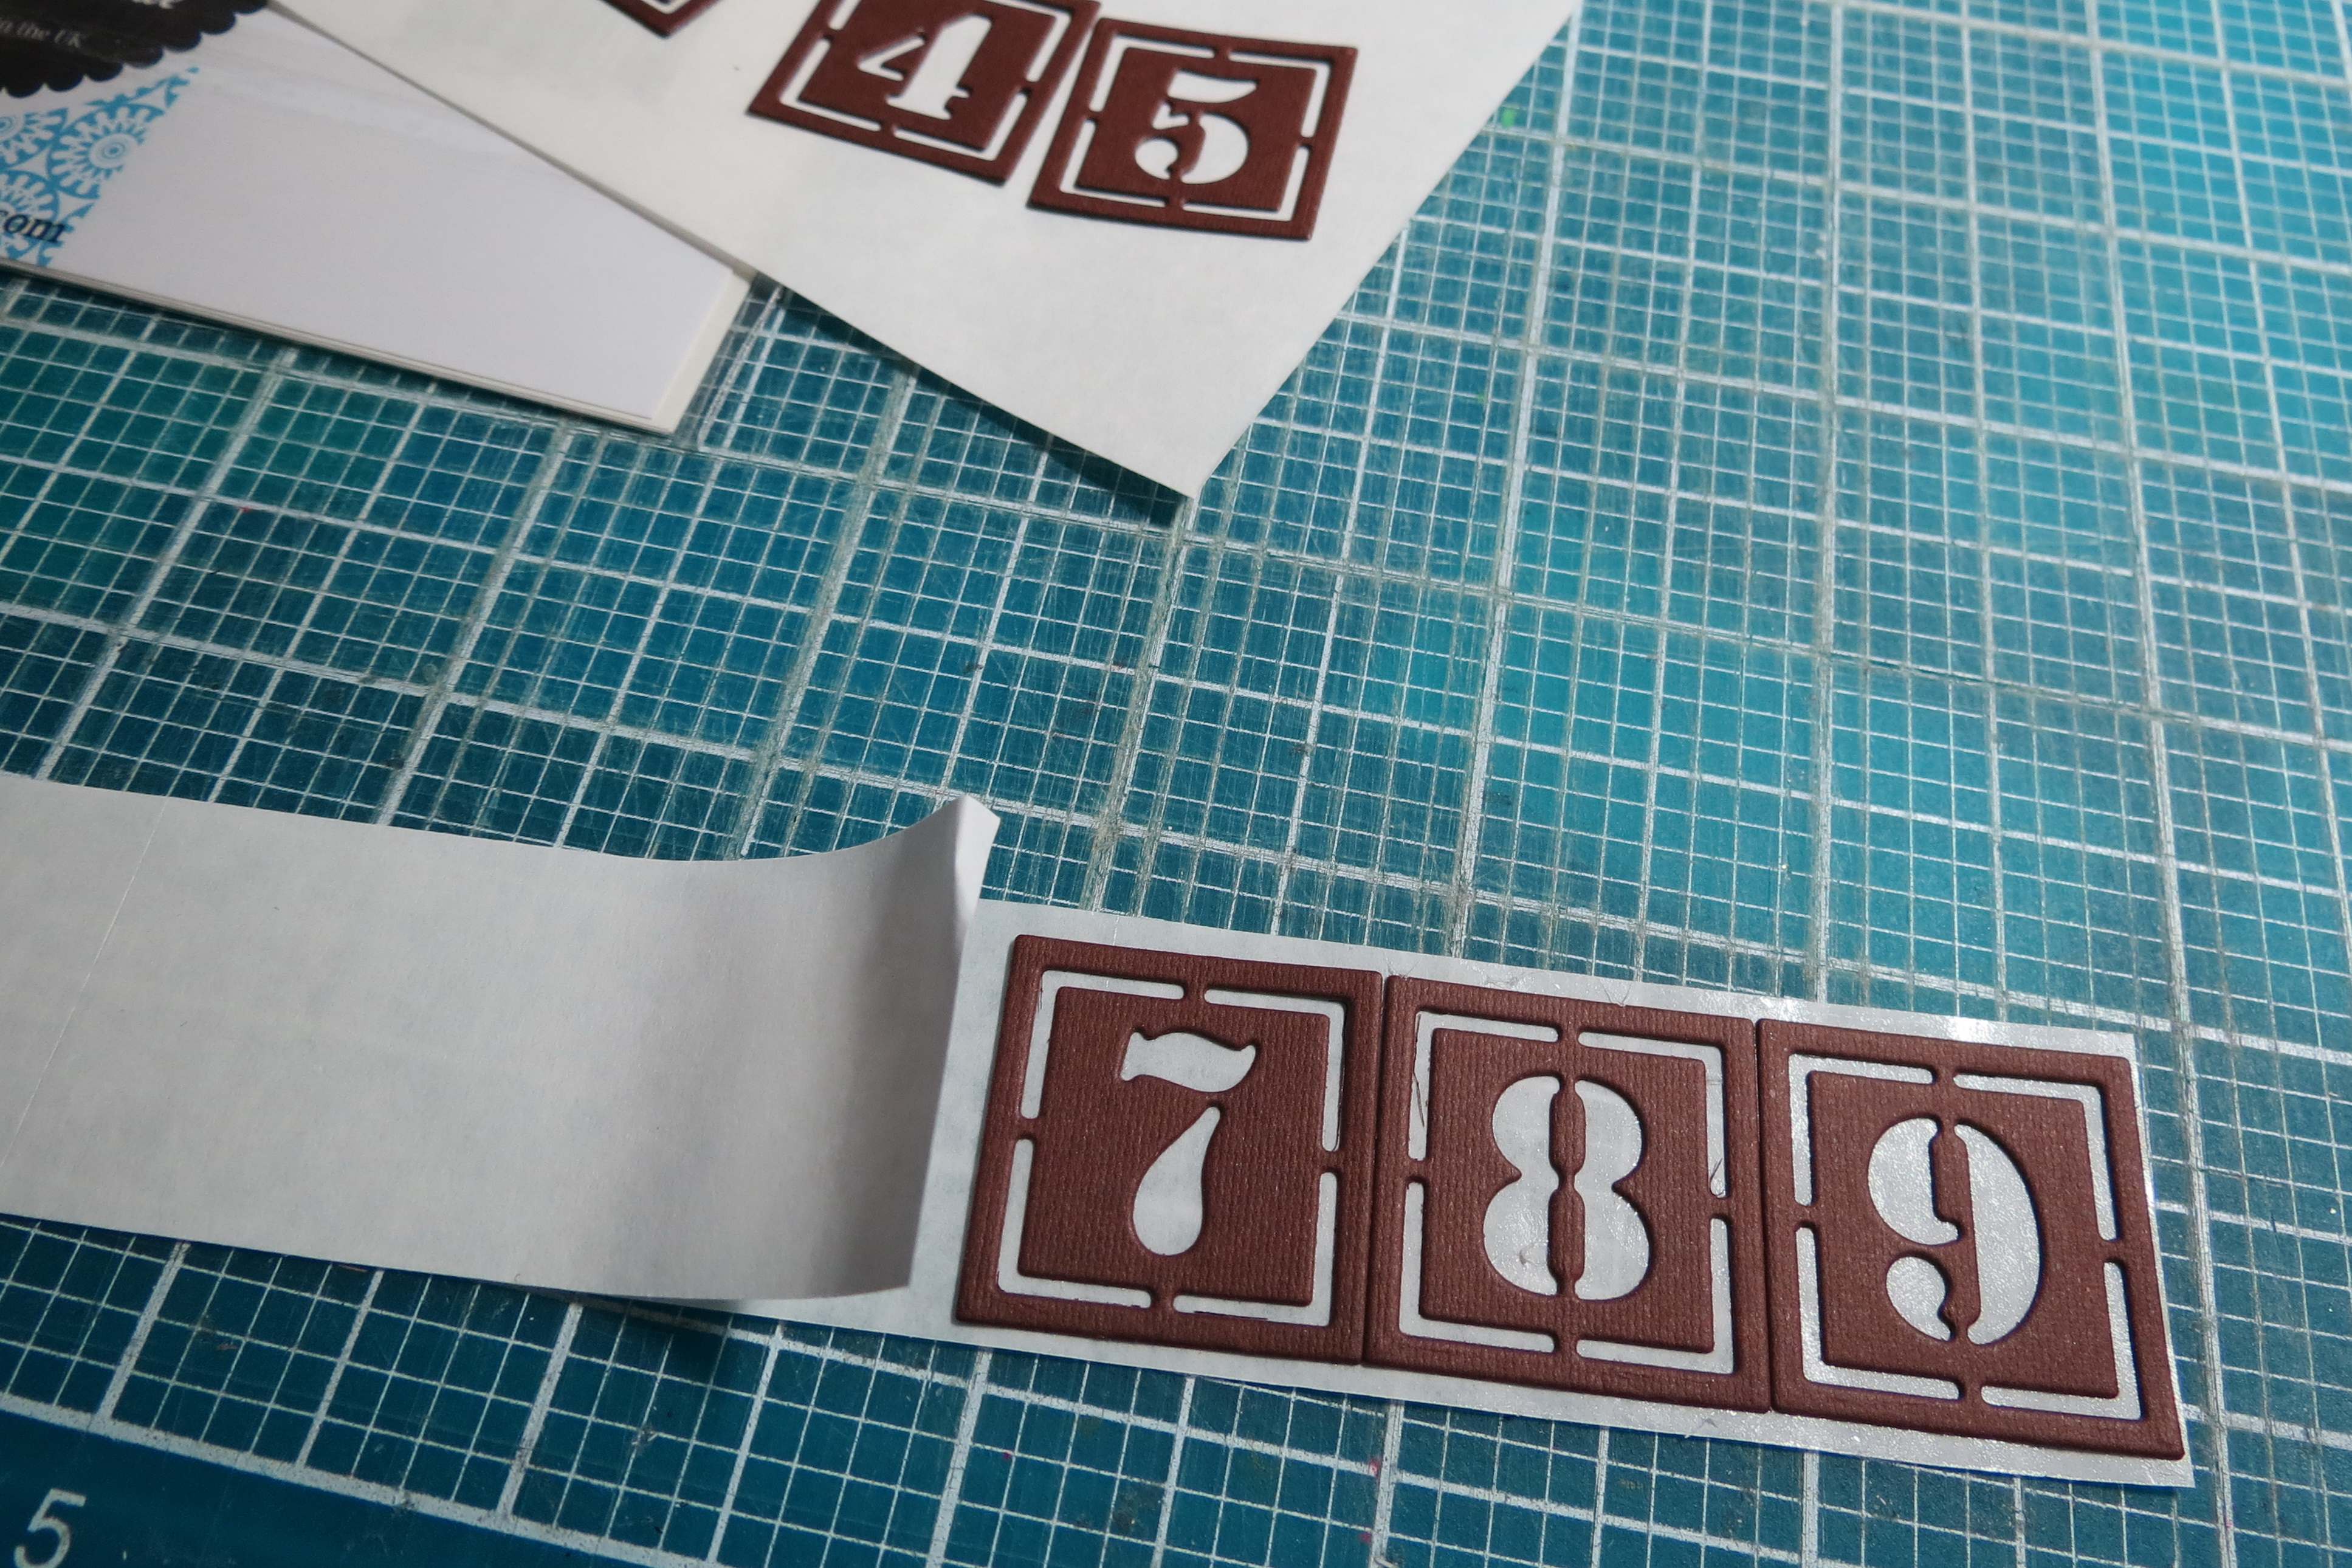
Great Expectations: Stencil Number Dies being placed on Stick It! Adhesive

Great Expectations: Stick It! a perfect way to get total coverage on intricate Stencil Number Dies
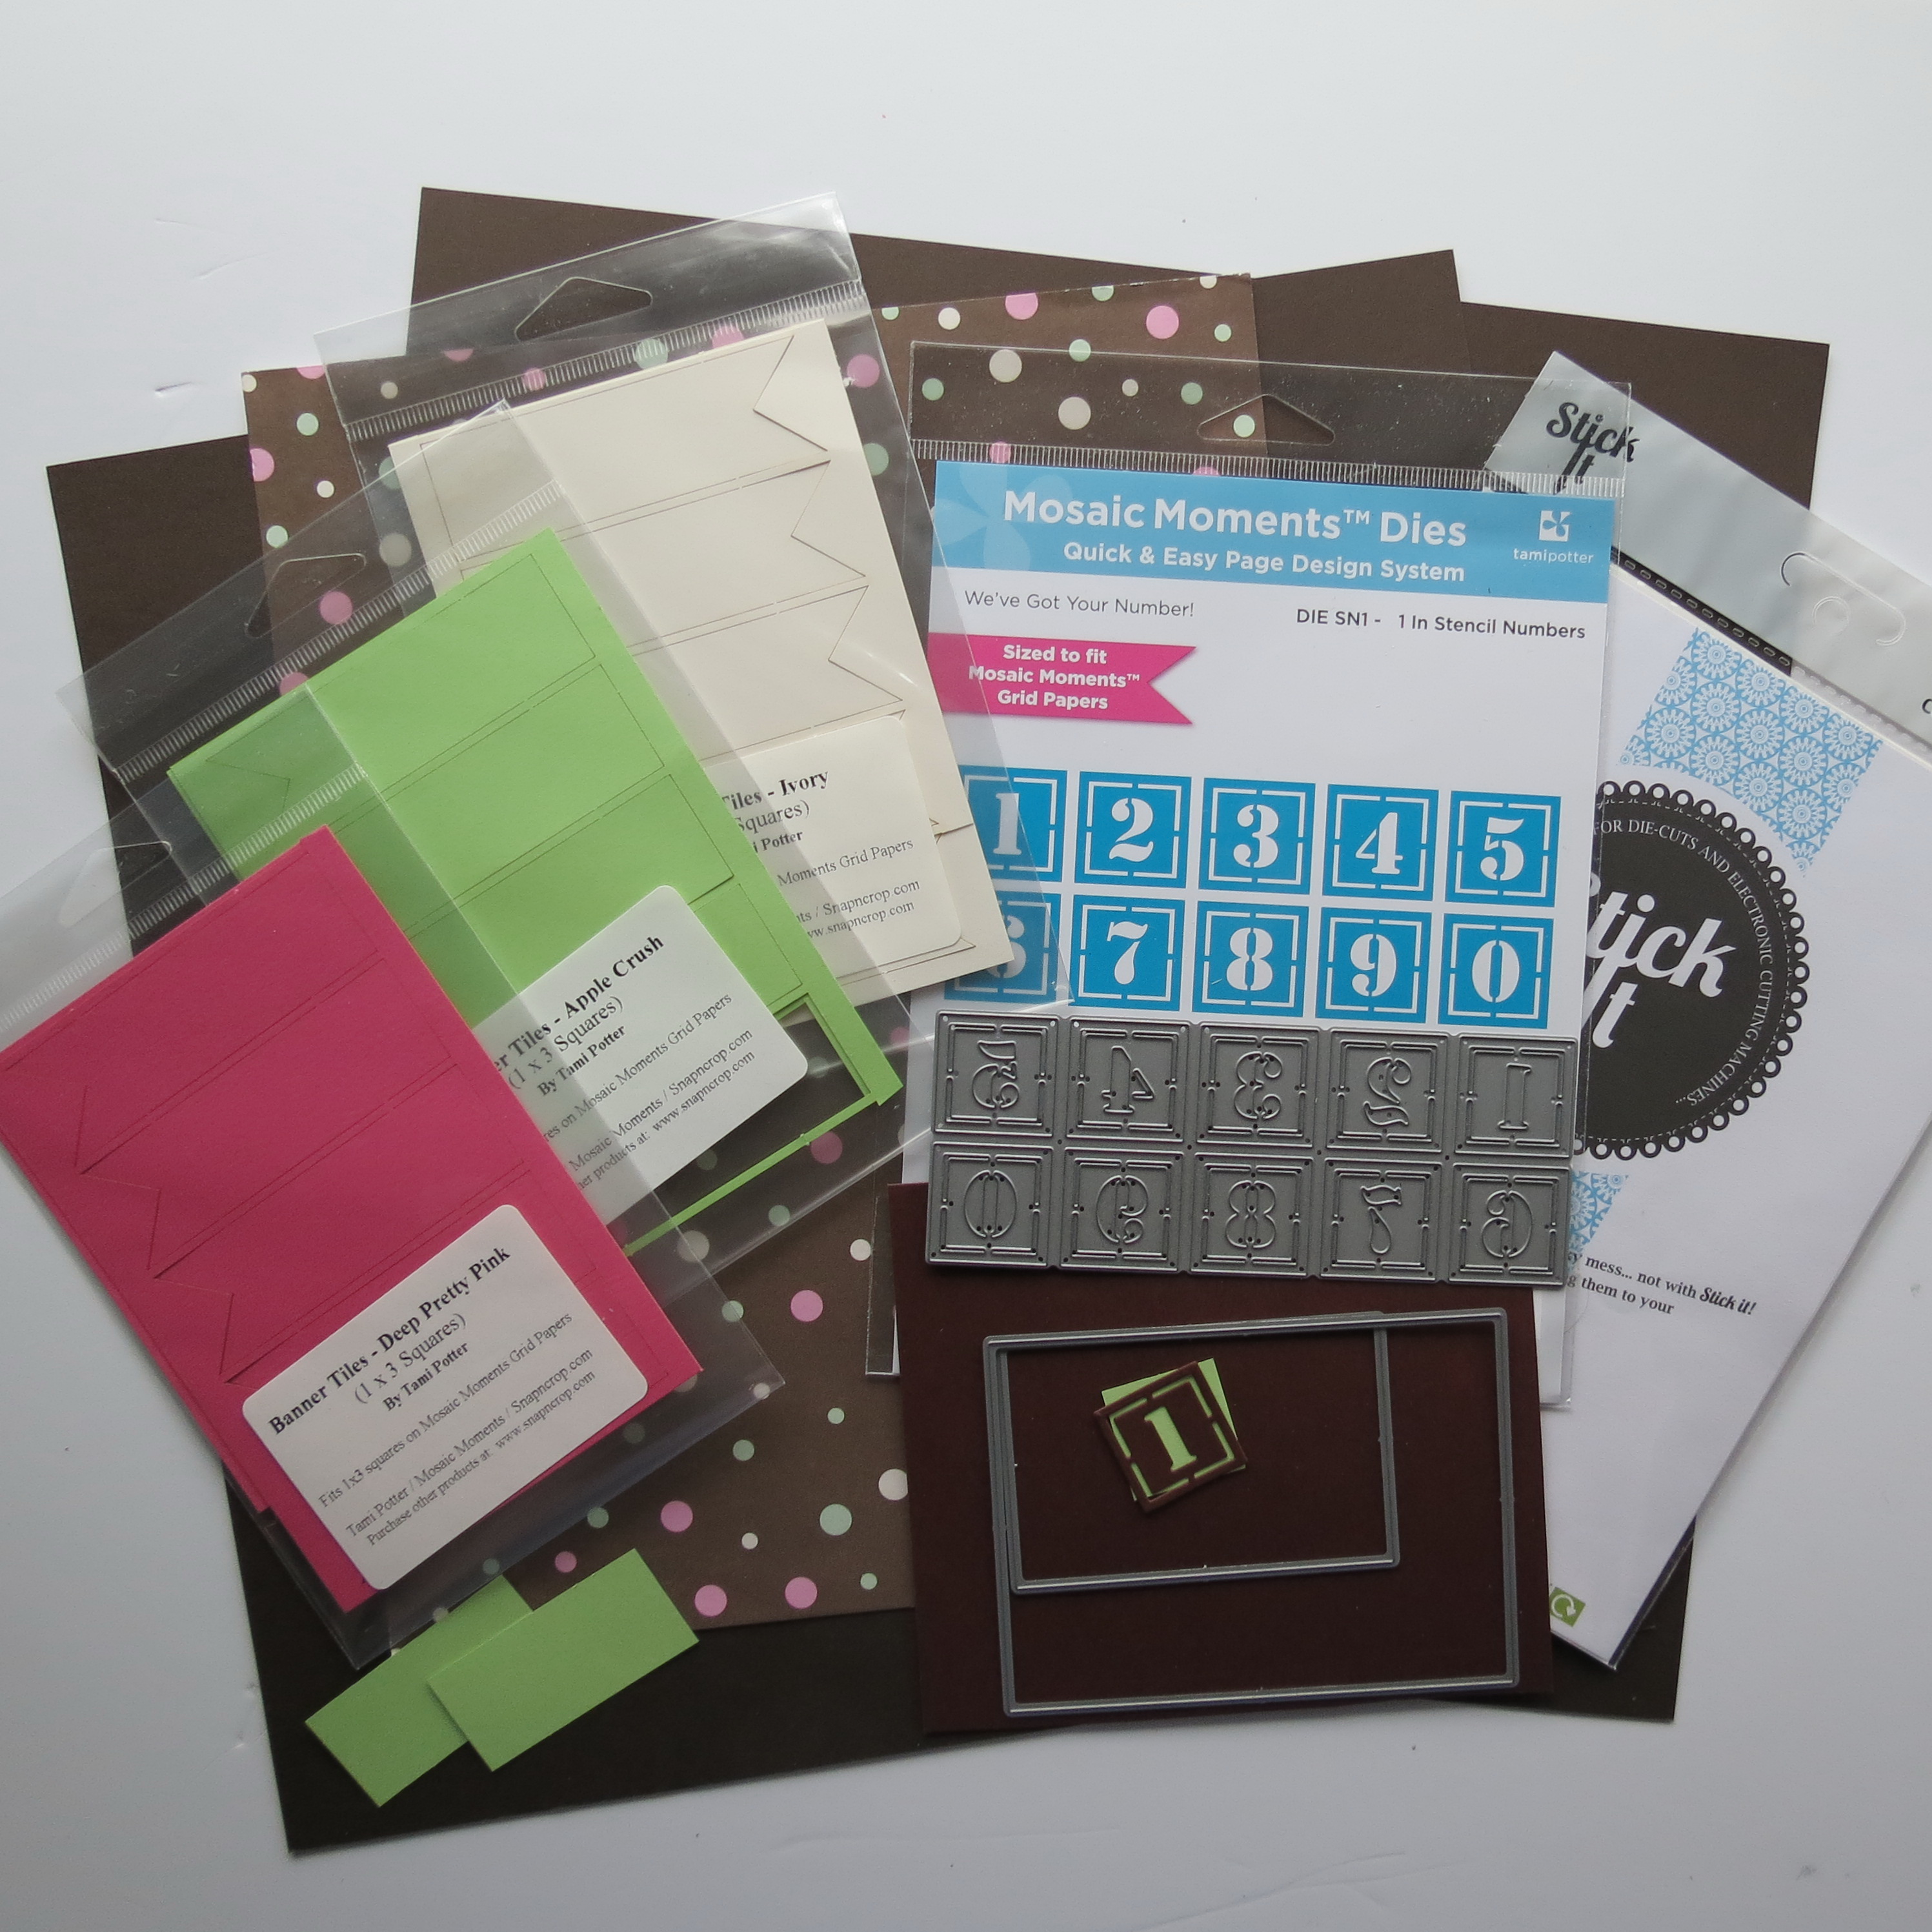
Great Expectations: Supplies used: Die Set C, Stencil Number Die, Banner Tiles, Paper Tiles, Mosaic moments Grid Paper, patterned paper.
The patterned paper was the basis of the color palette chosen even picking up colors from the dots. I chose 12” x 12” Cocoa Mosaic Moments Grid Paper, Apple Crush, Dark Pretty Pink and Ivory Paper Tiles, and Ivory, Deep Pretty Pink, and Apple Crush Banner Tiles.
The Banner Tiles appear to drop from each number tile. The rich Cocoa Grid Paper was selected as it enhanced the feel created with the sepia toned photos.
Patterned paper was incorporated into the design as a band of color across the middle of the pages. I was using an 8.5” x 11” paper, so it fell short by 1/8” to use the full width which, I could have used anyway, but it’s one of those things that would have bothered me no end, so because on page one I was breaking the band up with a larger photo in the center, I also segmented the strip on the page two band following the pattern of the photos on the top row. I found it easier and quicker to cut strips with my craft mat and X-Acto knife and then each section keeping the pattern lined up as it runs across the page.
DIE SET C
The patterns in the Pattern Gallery are designed to simplify your scrapbooking experience with our Grid Paper. They are also presented showing you which of the die sets will help you to achieve the results with the greatest ease. However, it doesn’t mean you cannot use your own ideas and that’s what I’ve done this time. I had eight photos in a series that I wanted to use so I built the page around them.
These photos were better suited to 2×3 block size to get them all in and it was the right size to be able to use the Arch Tiles too. Additionally, I used two larger photos, one announcing the pregnancy with her ultrasound and the other to celebrate the arrival of our bundle of joy.
I turned all the photos into sepia shades before printing for an overall unifying feel and to assist me to get that silhouette look. I also applied a vignette shadow to draw the focus to the changes occurring to Libby as her baby grew each month and away from the distracting elements in the room at the outer edges of the photo. Die Set C made centering and trimming all the photos to size a snap.
Great Expectations: Hybrid Scrapping blocks for title and journal card.
If you aren’t familiar with Hybrid scrapping it is a combination of traditional scrapping using the materials you would normally use to create your Mosaic Moments layouts plus the addition of digital elements from kits purchased online and downloaded to your computer and then printed to fit your layout. This layout does just that.
Great Expectations: Hybrid Scrapbooking Title Block.
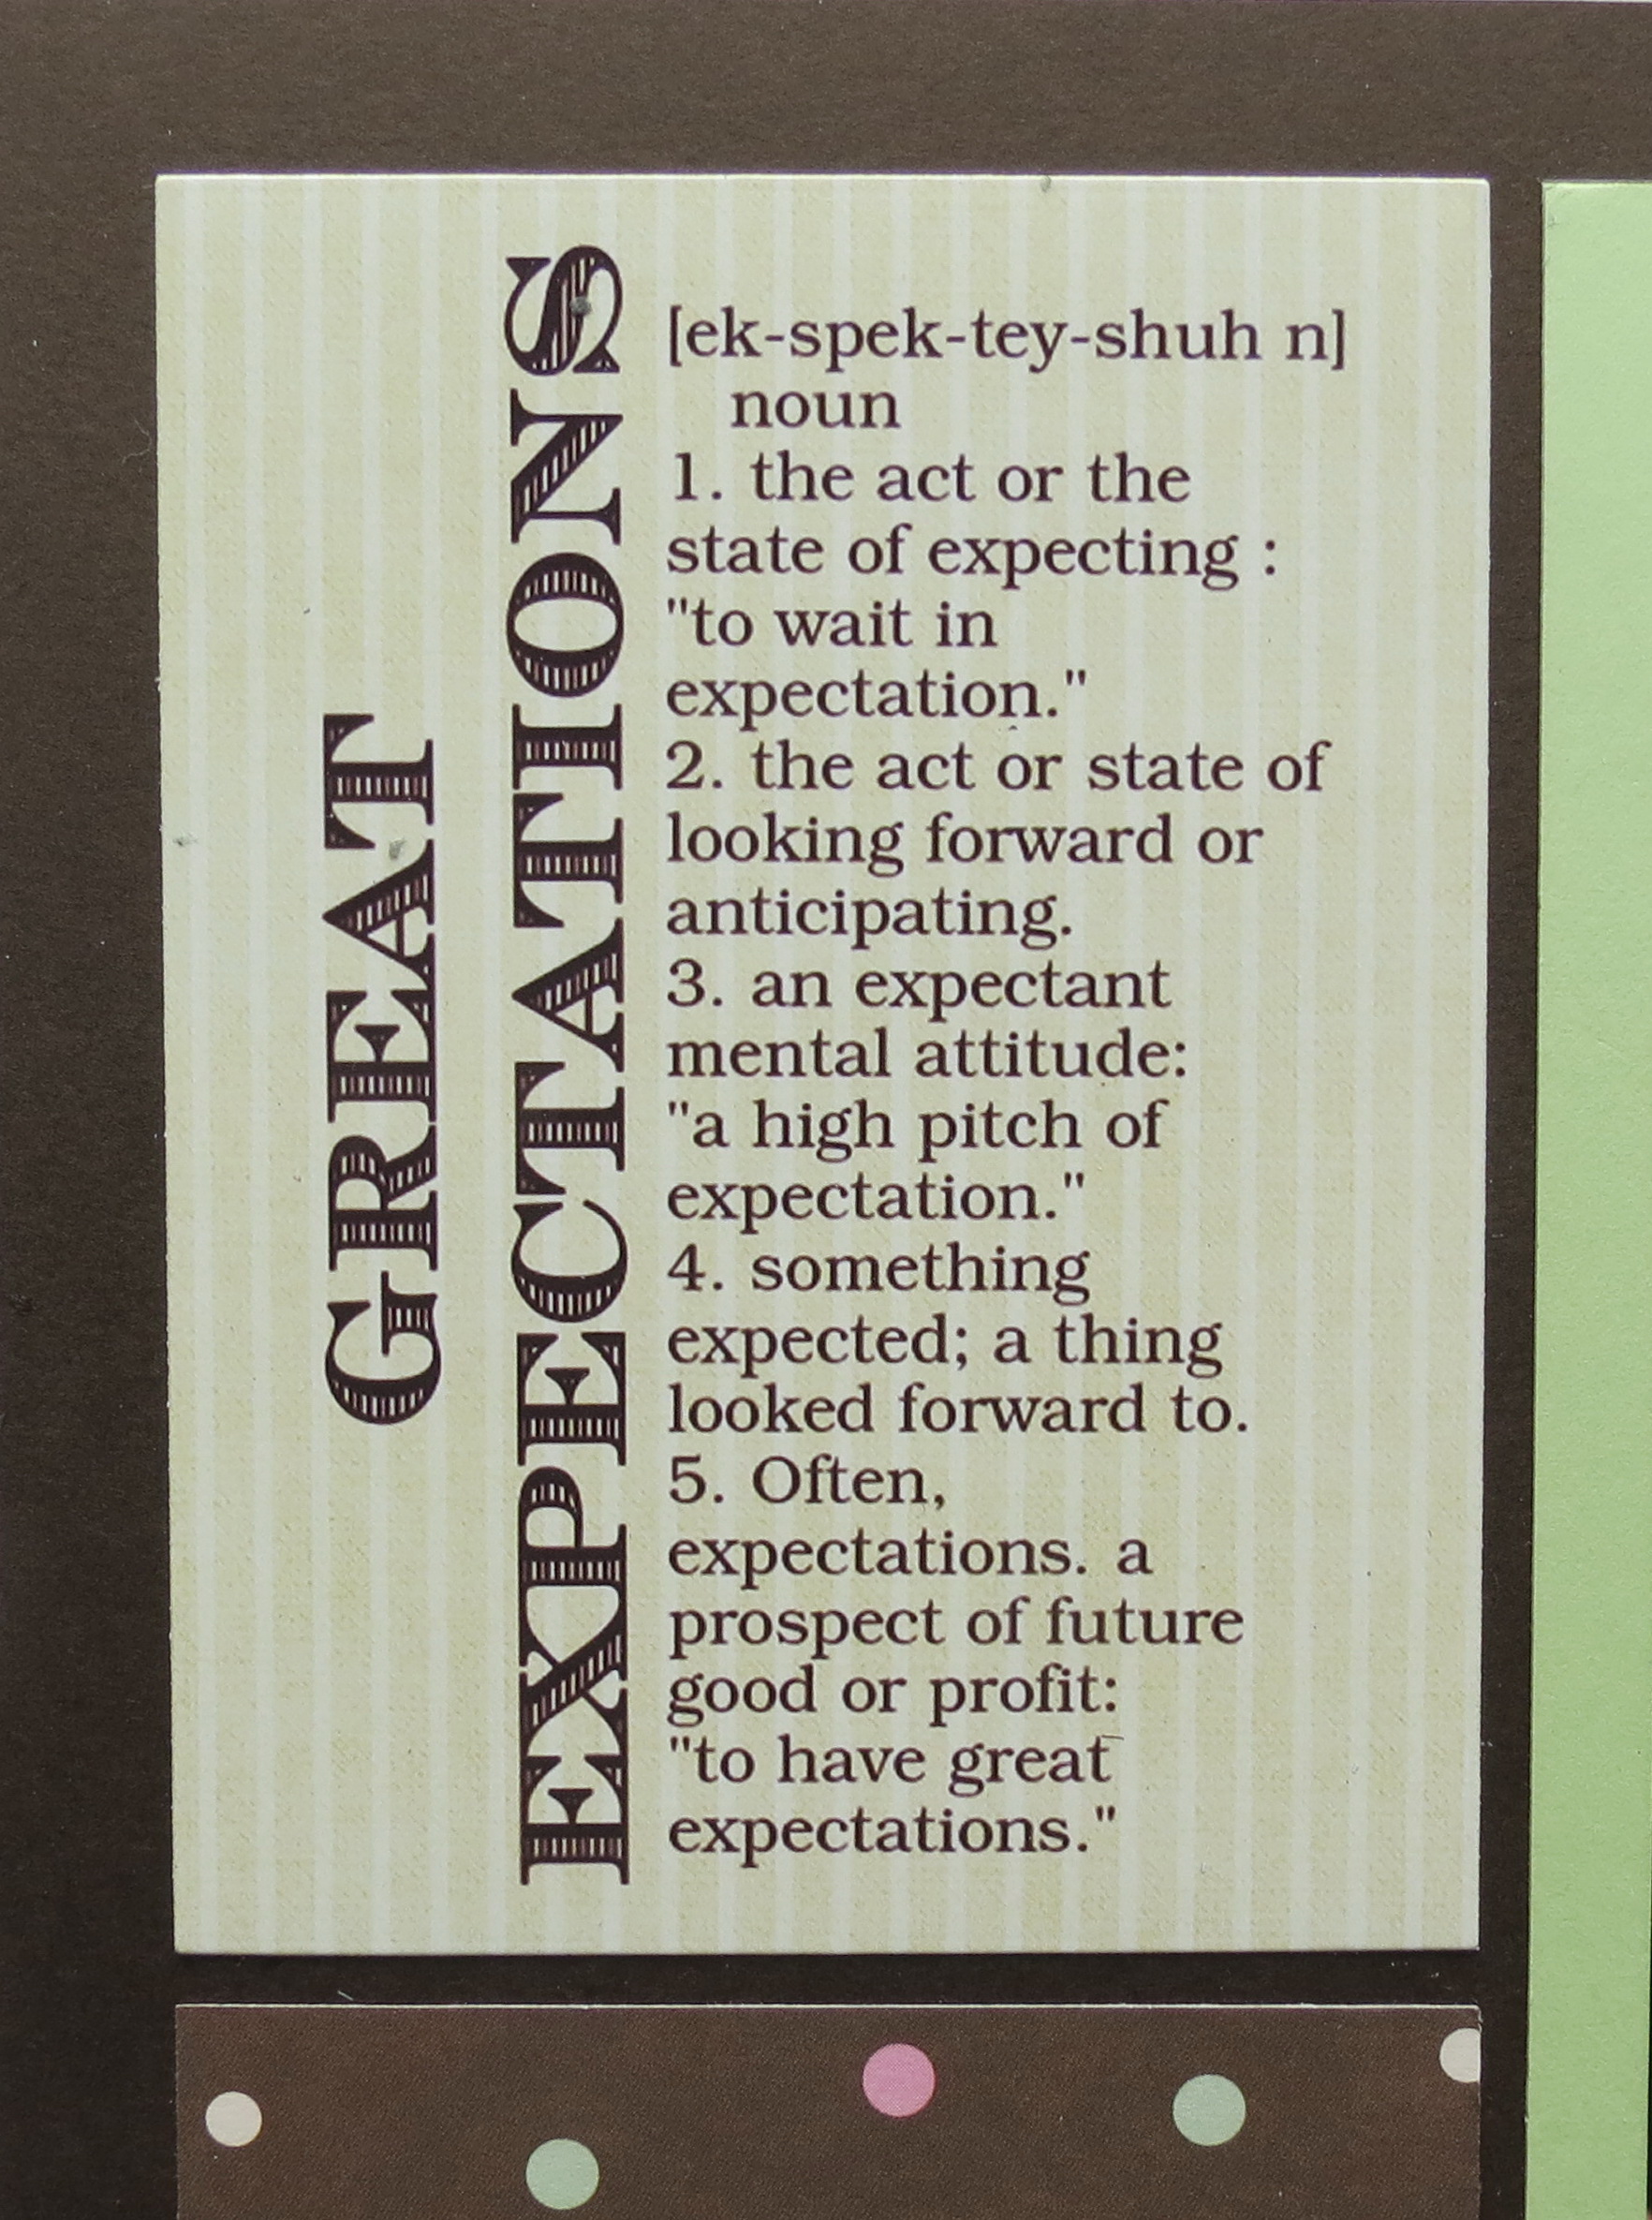
Now, I had all my photos that I wanted to use in place and I had two remaining spots to fill. One was intended for the title, but I wasn’t sure what to place in the remaining block. The title fit the page better on its side and in the “Campbell” font it gave me the look I wanted. Adding a definition block next to the title filled out the section so well. My background was a patterned paper from a digital kit that I thought helped bring an ivory element into the layout for balance.

Great Expectations: Hybrid Scrapbooking elements
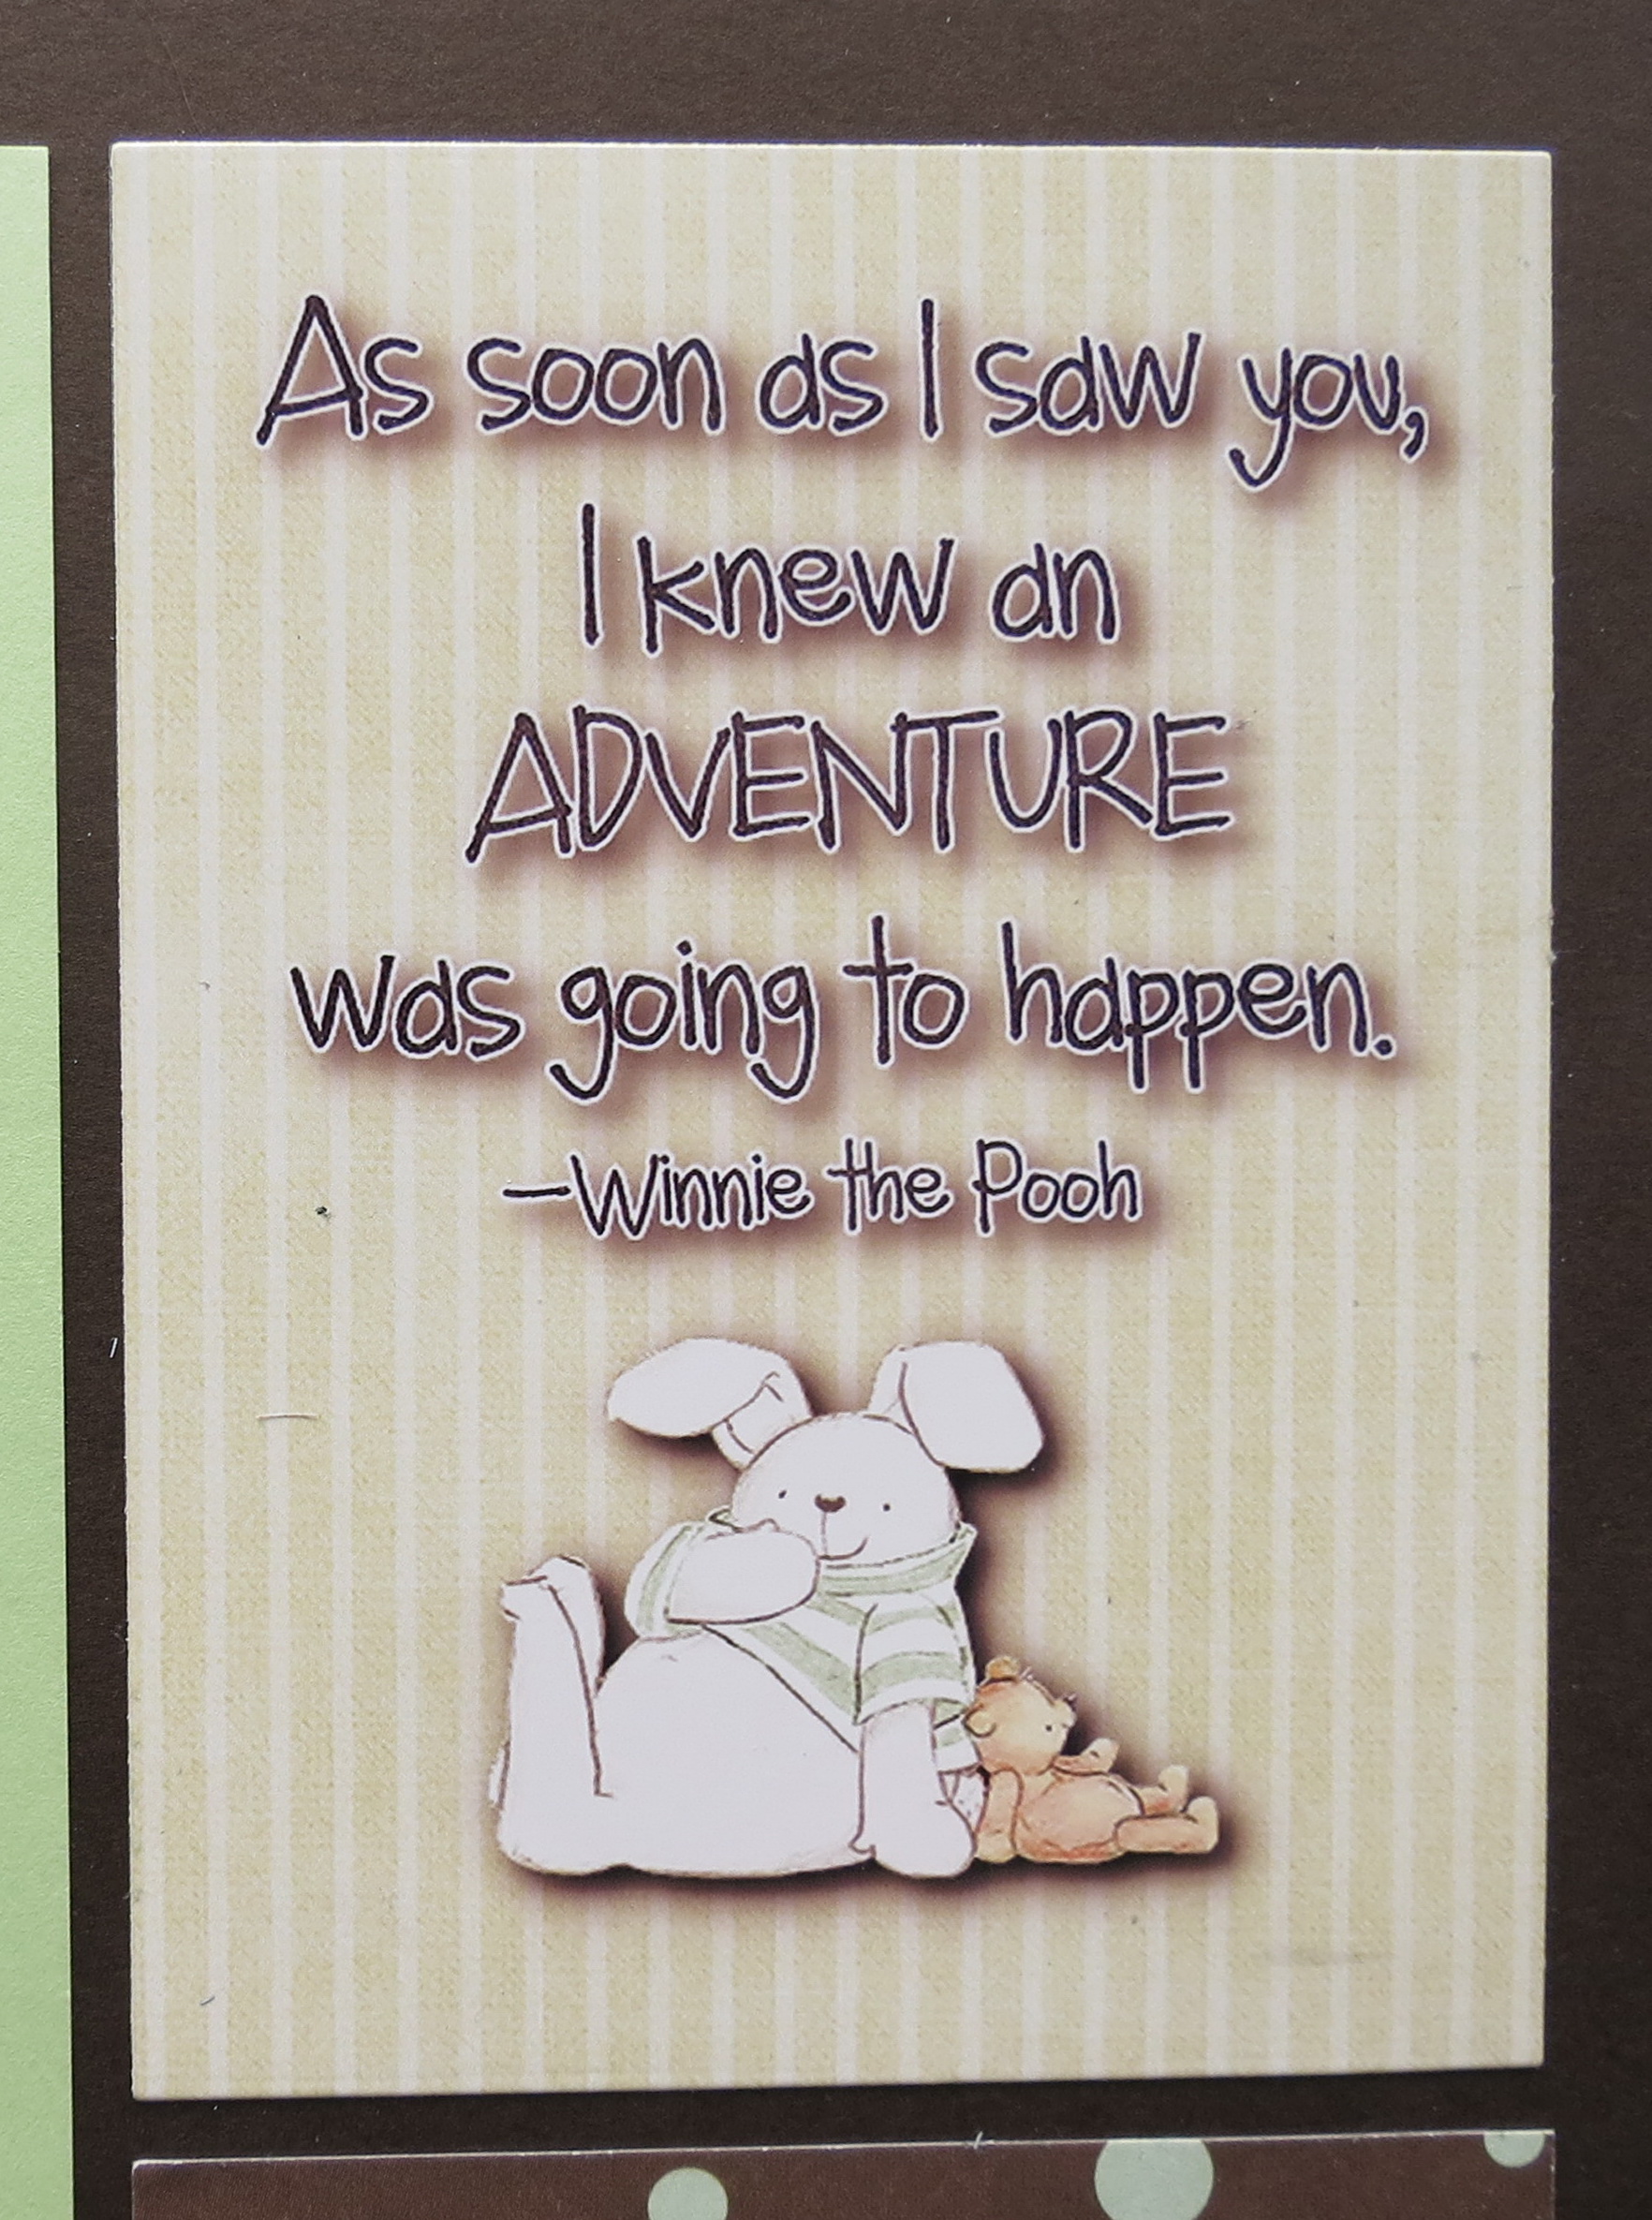
Creating the word art block is just another way for you to incorporate your digital scrapping products for a hybrid-scrapping project. Both of these blocks were created to print as 4” x 6” photos on photo paper and the Die Set C made cutting to size so very quick and easy. For this second block I chose the same background paper, a word art quote and one of the coordinating images for a nice little block that fit in theme and color perfectly.
Great Expectations: Hybrid Scrapbooking created using Little Dreamers digital kit by Kimeric Kreations
This process I’ve just described is only one of many ways you could use Mosaic Moments Grids to create your own “pocket-style” scrapbook page. No longer a slave to a certain style of page protector all the sections can be made with your photos, your own word art you’ve designed, or from a kit as I did here, along with your choices in patterned papers and layout. Using the Die Sets will make things so much quicker too! Oh, the possibilities! You really need to try it out!!
ARCH TILES
Great Expectations: Layout with the Arch Tiles incorporated.
Finally, I have one more product to mention. In the beginning, I planned to use the new arch tiles, but never pulled them out to work with and so I had all the photos taken, edited before I realized what I forgot! So, back we went to the drawing board as they say and the Arch Tiles in Chocolate Milk were applied. I did compare the Cocoa Arch Tiles that would have matched the base grid paper but the photo seemed to blend in too much with the grid. Using the Chocolate Milk they stood out and gave a nice “through the window” effect. I’m showing you both layouts for you to compare and see how an Arch Tile may enhance your pages, be sure to try them out!!
Great Expectations: Patterned paper blocks, Arch Tiles, Stencil Number Dies, Banner Tiles
The coming of a new baby is just one way to number your days and make use of the new Stencil Number Die. You can create countdowns, create lists, and add dates and do it all in your own custom colors. Give it a try!
Andrea Fisher
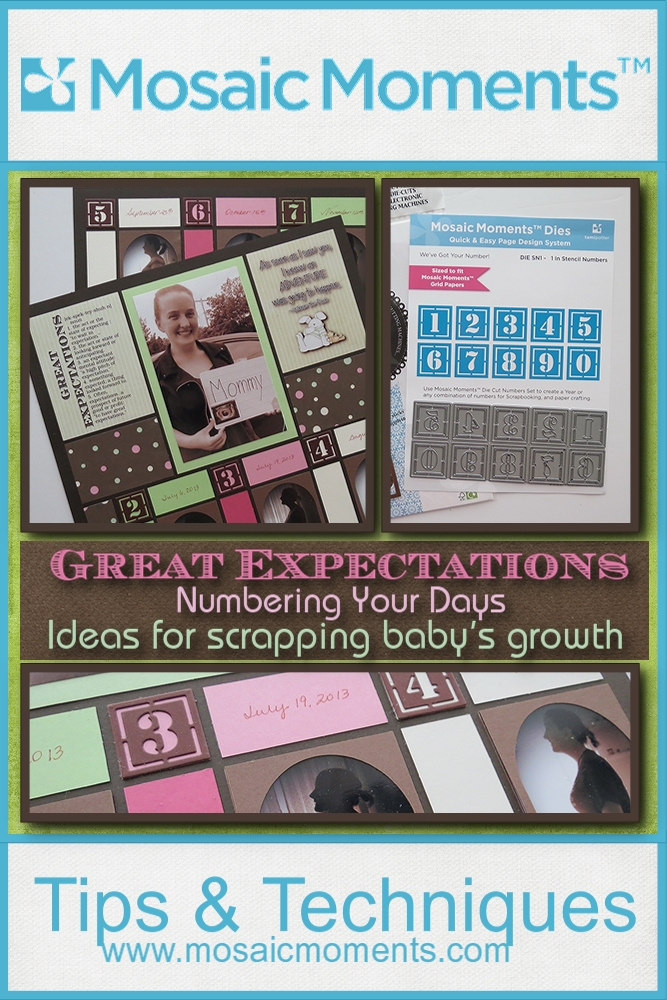
Great Exectations: Numbering Your Days ideas for scrapping your baby’s growth! Featuring Mosaic Moments Grid Papers, Dies, Paper Tiles, Banner Tiles and Hybrid Scrapbooking.