
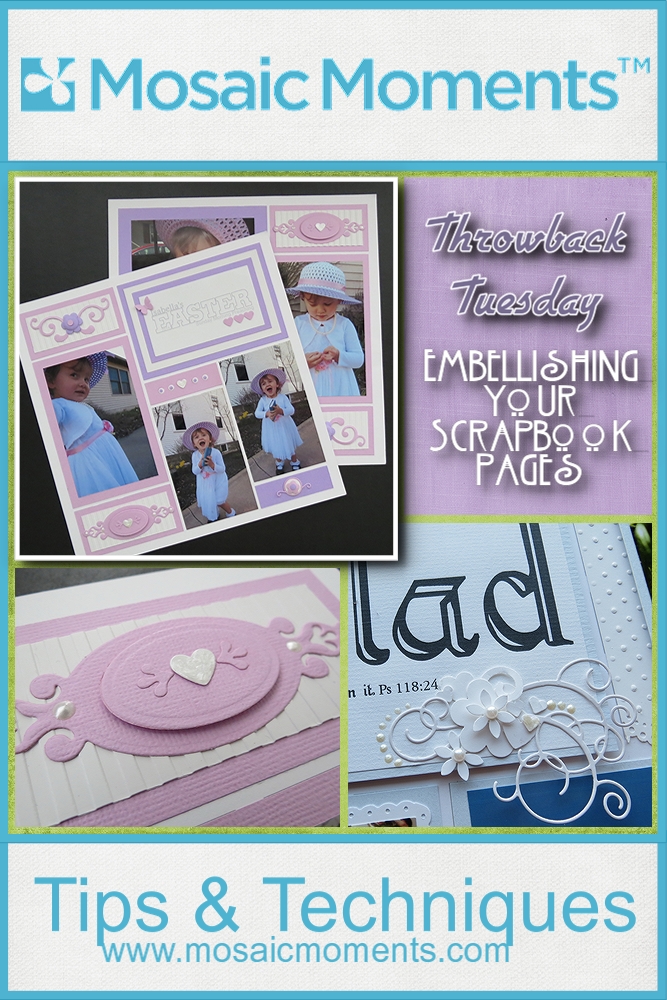
Throwback Tuesday: Embellishing Your Scrapbook Pages
Let’s go from Pollyanna to Isabella…and from a dress to a hat.
It’s Throwback Tuesday and we’re going to be taking a look at my Design Team layout from our Classic Disney Inspiration Challenge and come up with a few new ideas to redo it. The original challenge was to choose a Classic Disney movie and create a layout that was inspired by the movie. You can see the full story HERE on Journella.
Throwback Tuesday: Classic Disney Challenge: Pollyanna: Be Glad
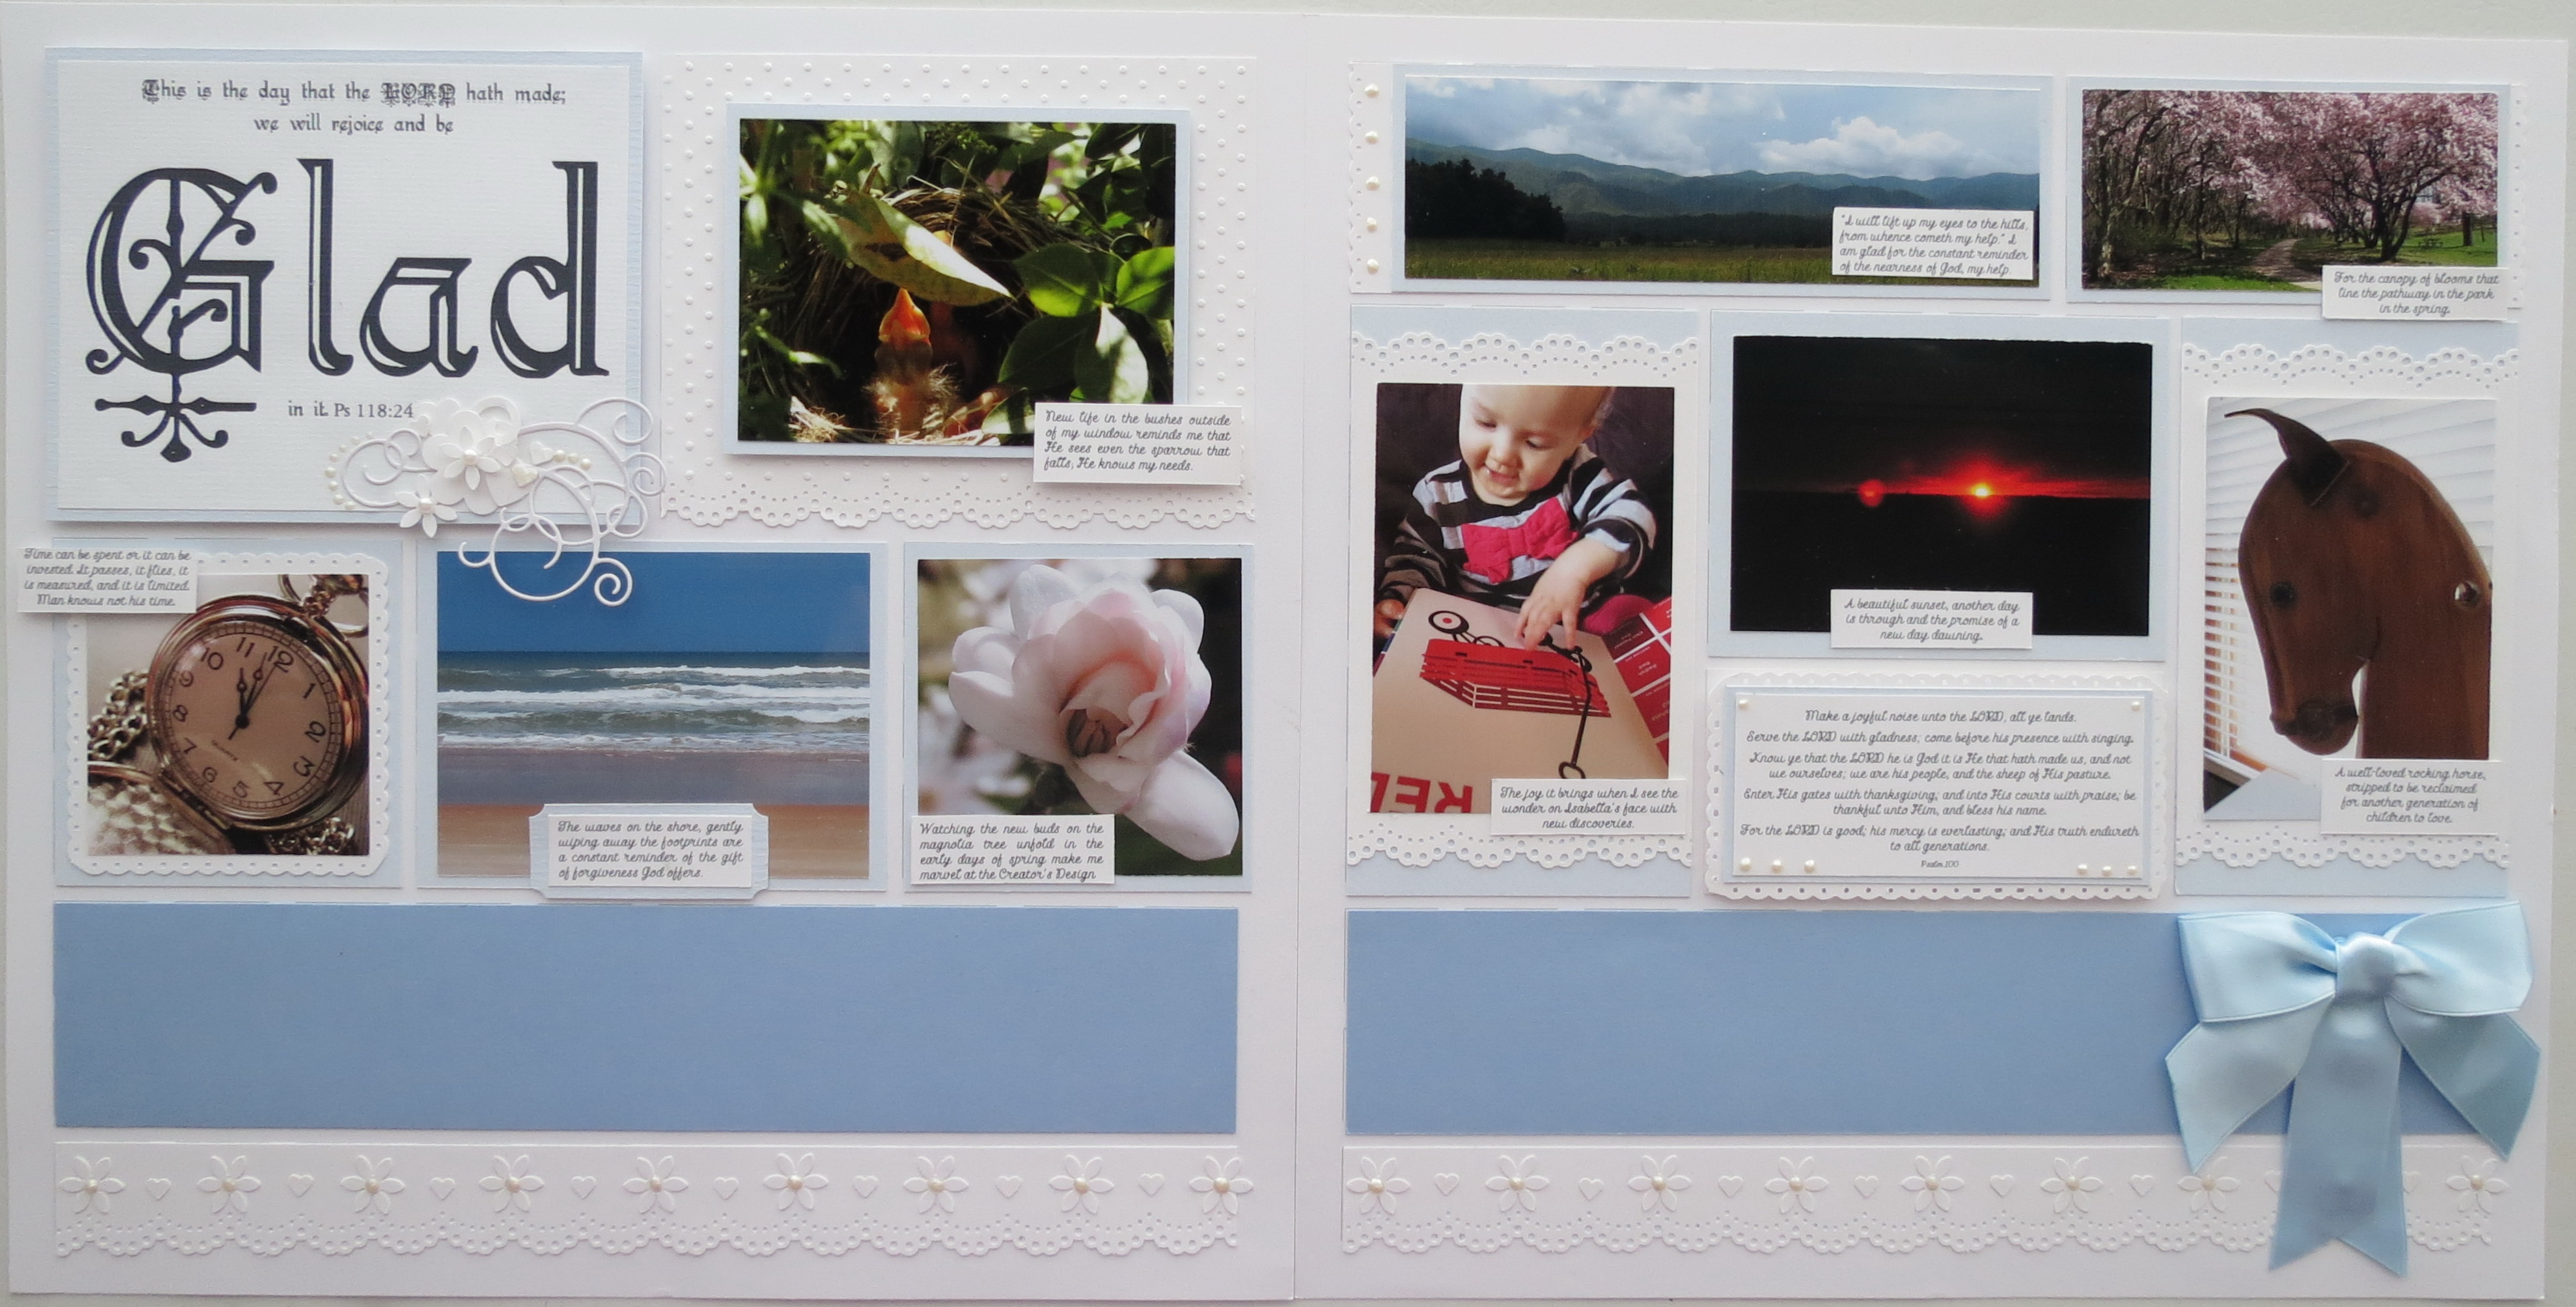
My choice was one of my favorites, Pollyanna. I took two elements, her Glad Game for my theme and her iconic white dress with the blue sash for my color palette. The layout was presented on two 12×12 white Mosaic Moments Grid Papers with pale blue cardstock, pearlized blue cardstock, embossed white papers and paper lace, ribbon, die cuts and punched embellishments.
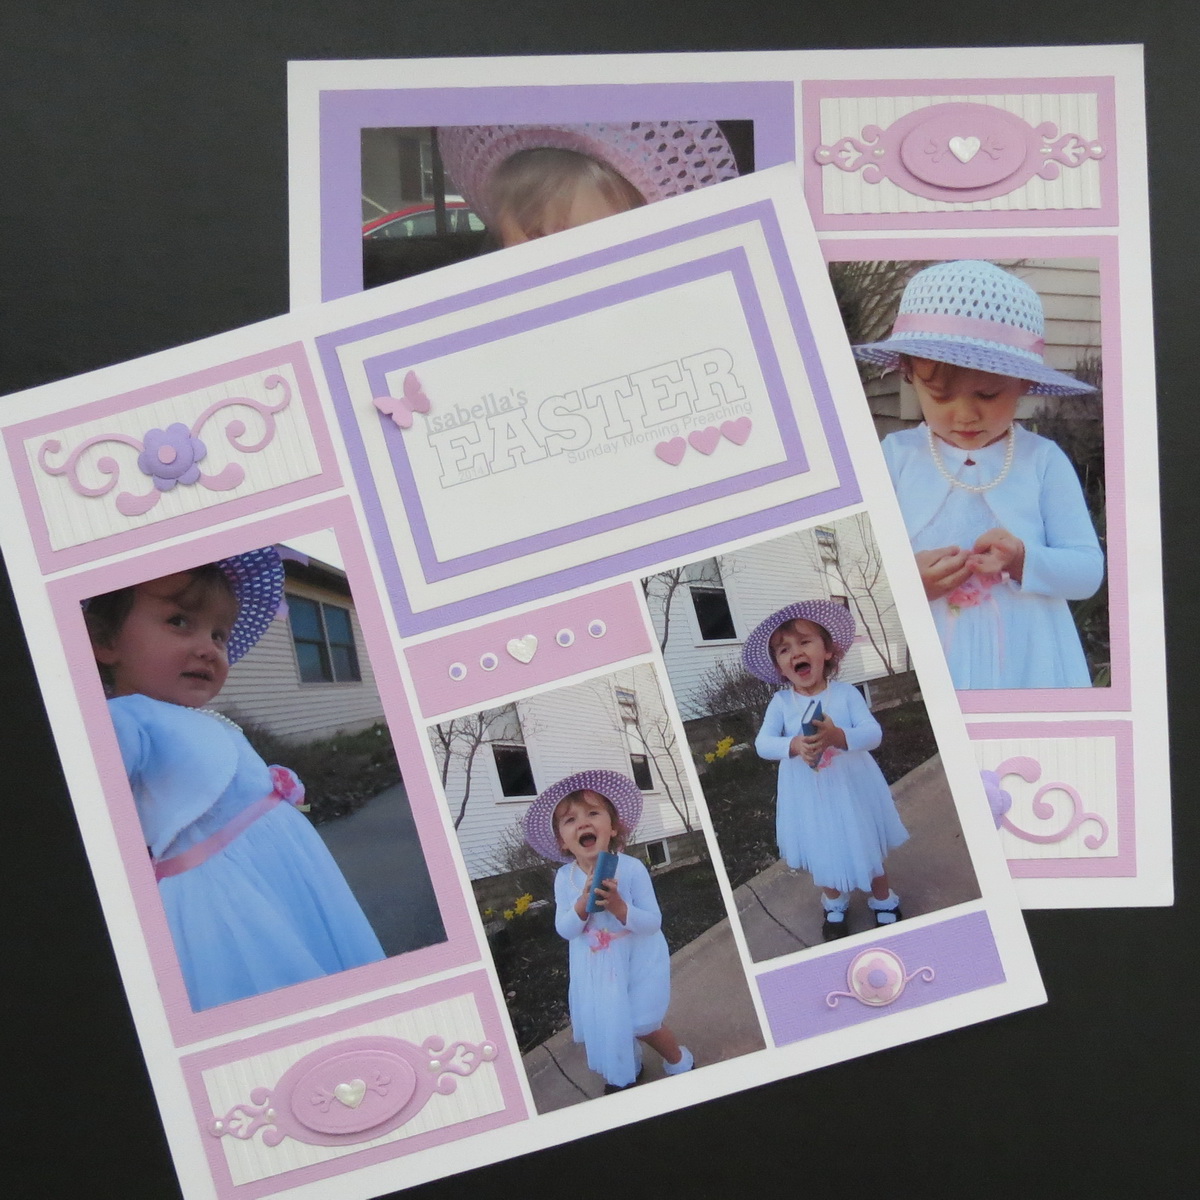
This time I again began with two 12 x 12 white Mosaic Moments Grid Papers. I pulled colors from her white hat with the lavender brim and pink ribbon. The pastel cardstock was added for tiles and mats for photos and the title block. Additional dies, punches, embossing folder and liquid pearls to embellish the page are used again just as I did in the first layout.
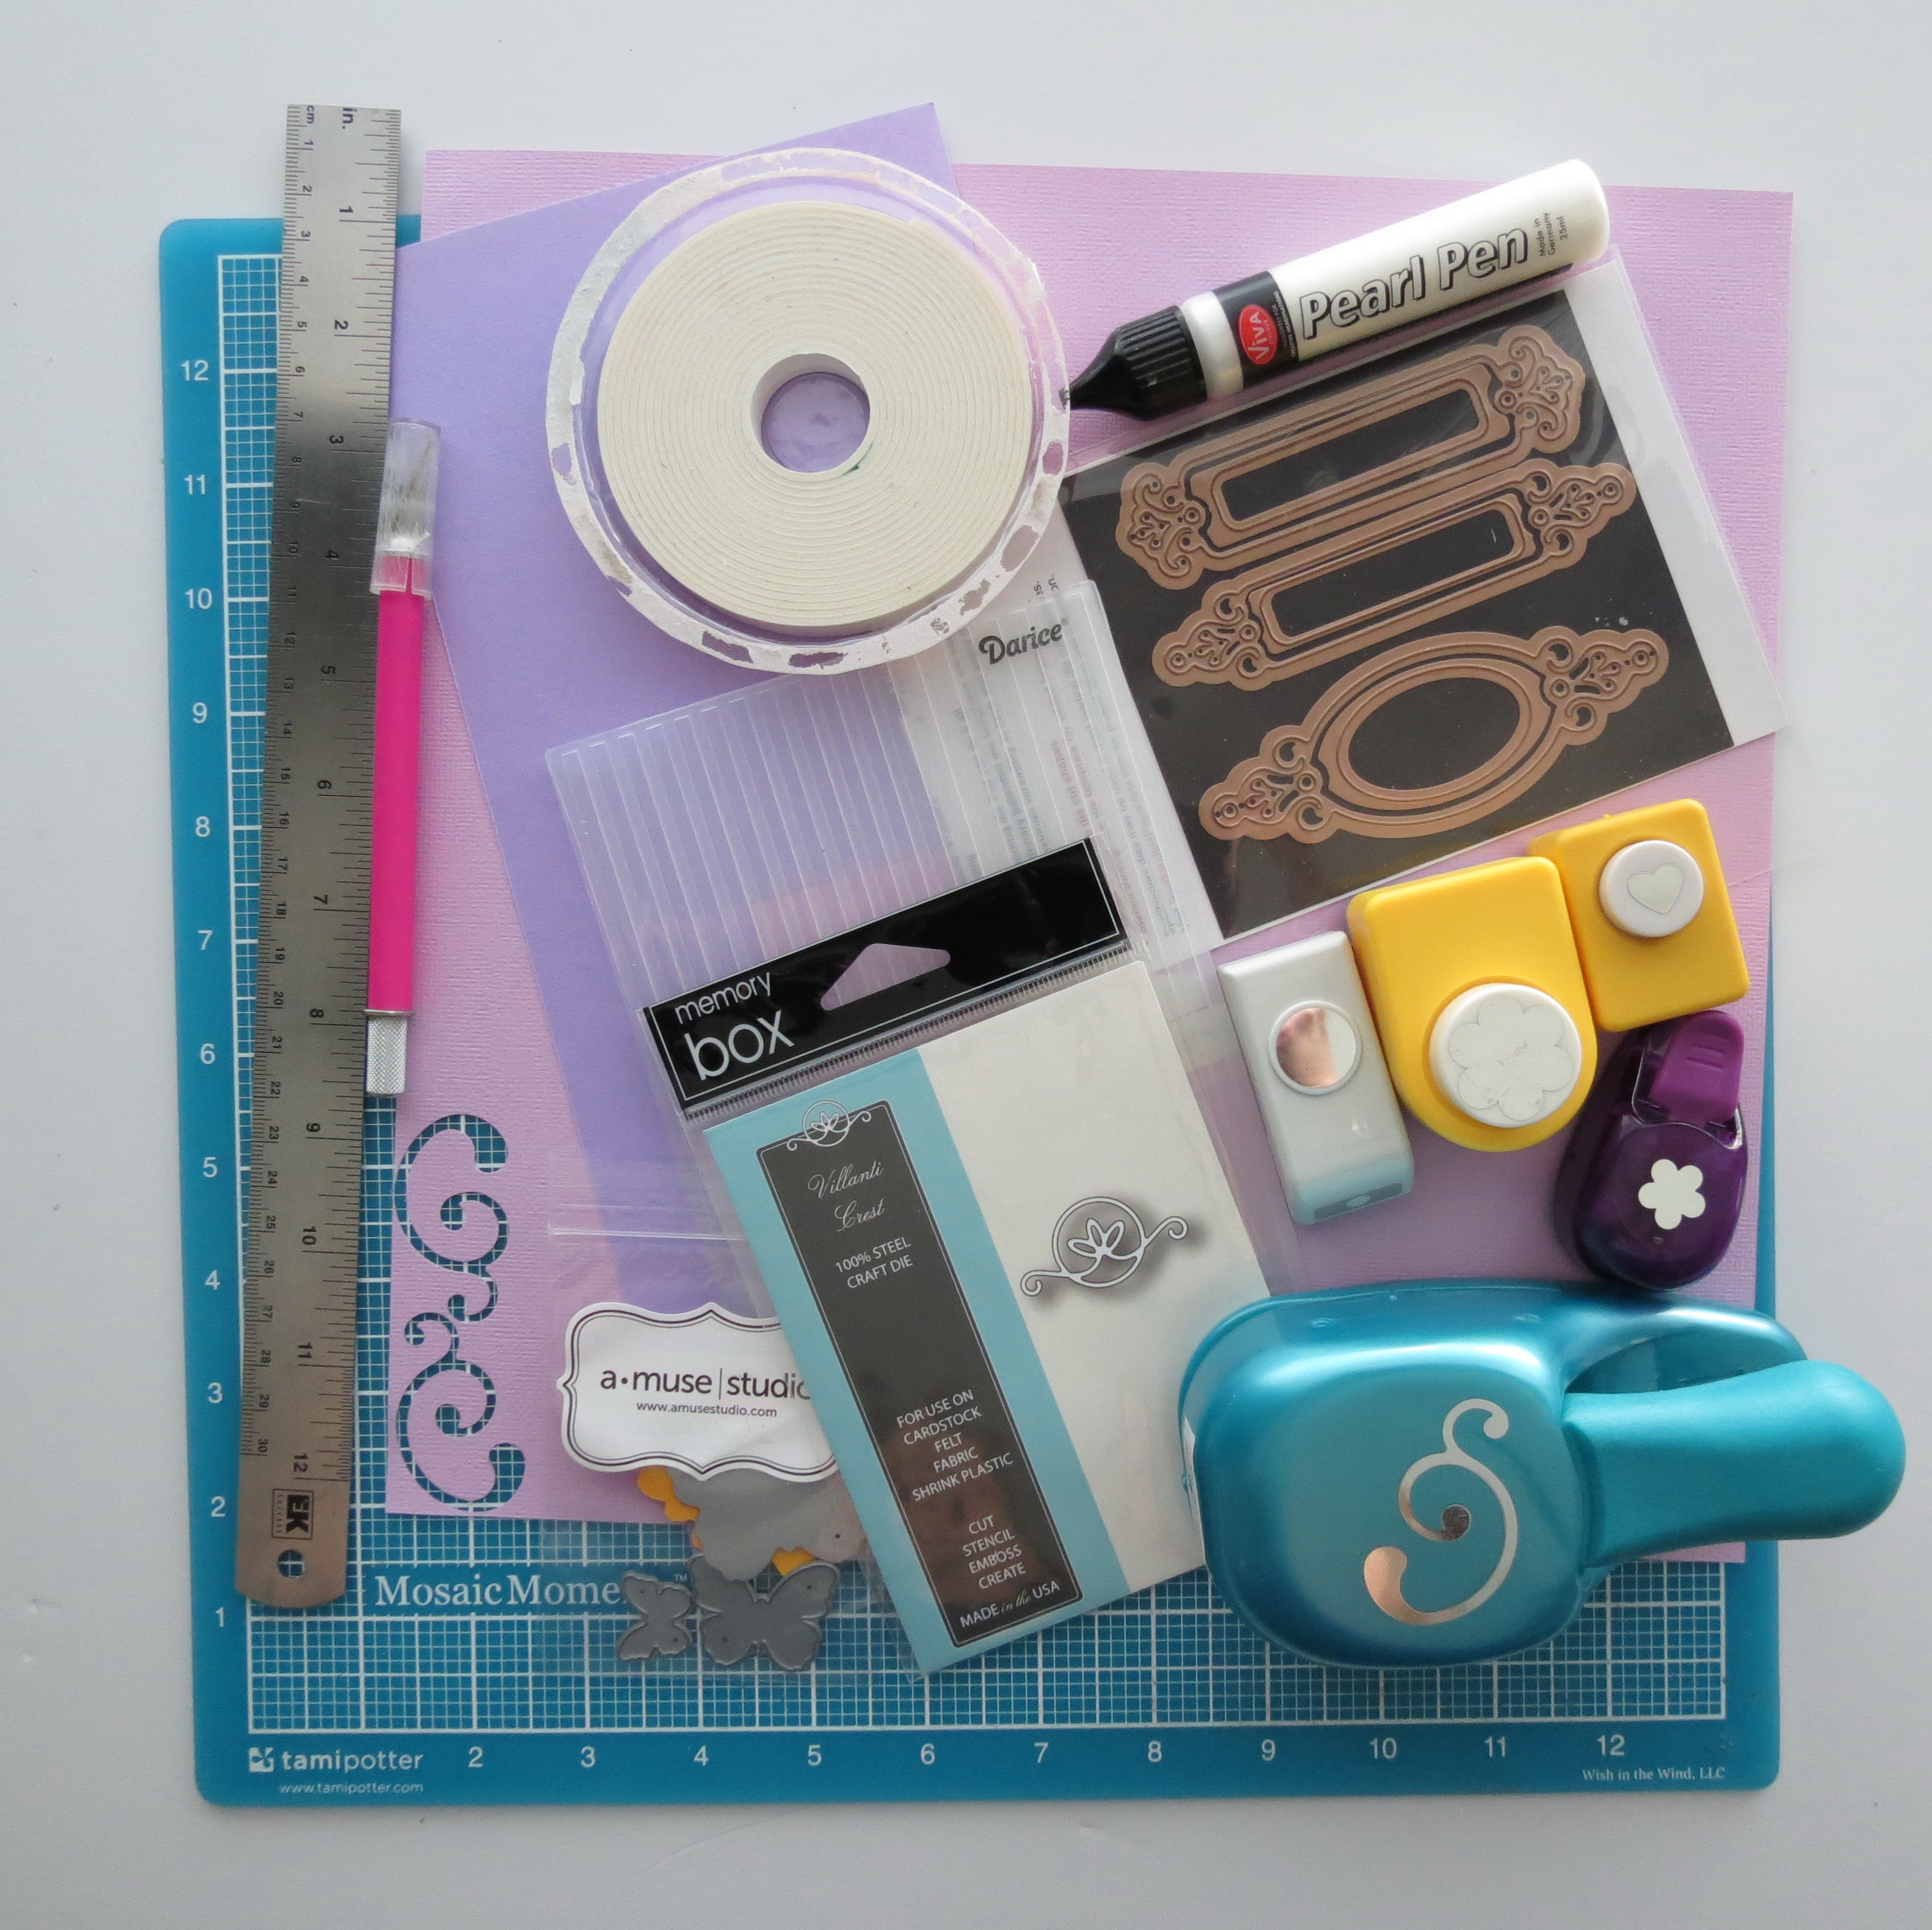
Embellishing your Scrapbook Pages: supplies used.
Now, I know some may feel working on white is so limiting, but I hope I can show you one of many ways to spruce the page up and add interest and color to your white grid. I’d like you to begin to see the white grids as empty canvas’ ready for your personal touch!
In the original I used the Glad Game of Pollyanna for the theme and to connect each photo. My photos reflected things for which I am glad and grateful to God for.
This time the focus is on one in particular that I’m glad for and for her enthusiasm for telling the Easter story, my then 2 year old granddaughter, Isabella. These were taken last Easter, as she preached for all she was worth with her small New Testament in hand. “My Story Girl” was fun to watch and trying to capture a few of those moments and put them into this layout was my goal.
Embellishing Your Scrapbook Pages: Easter Layout
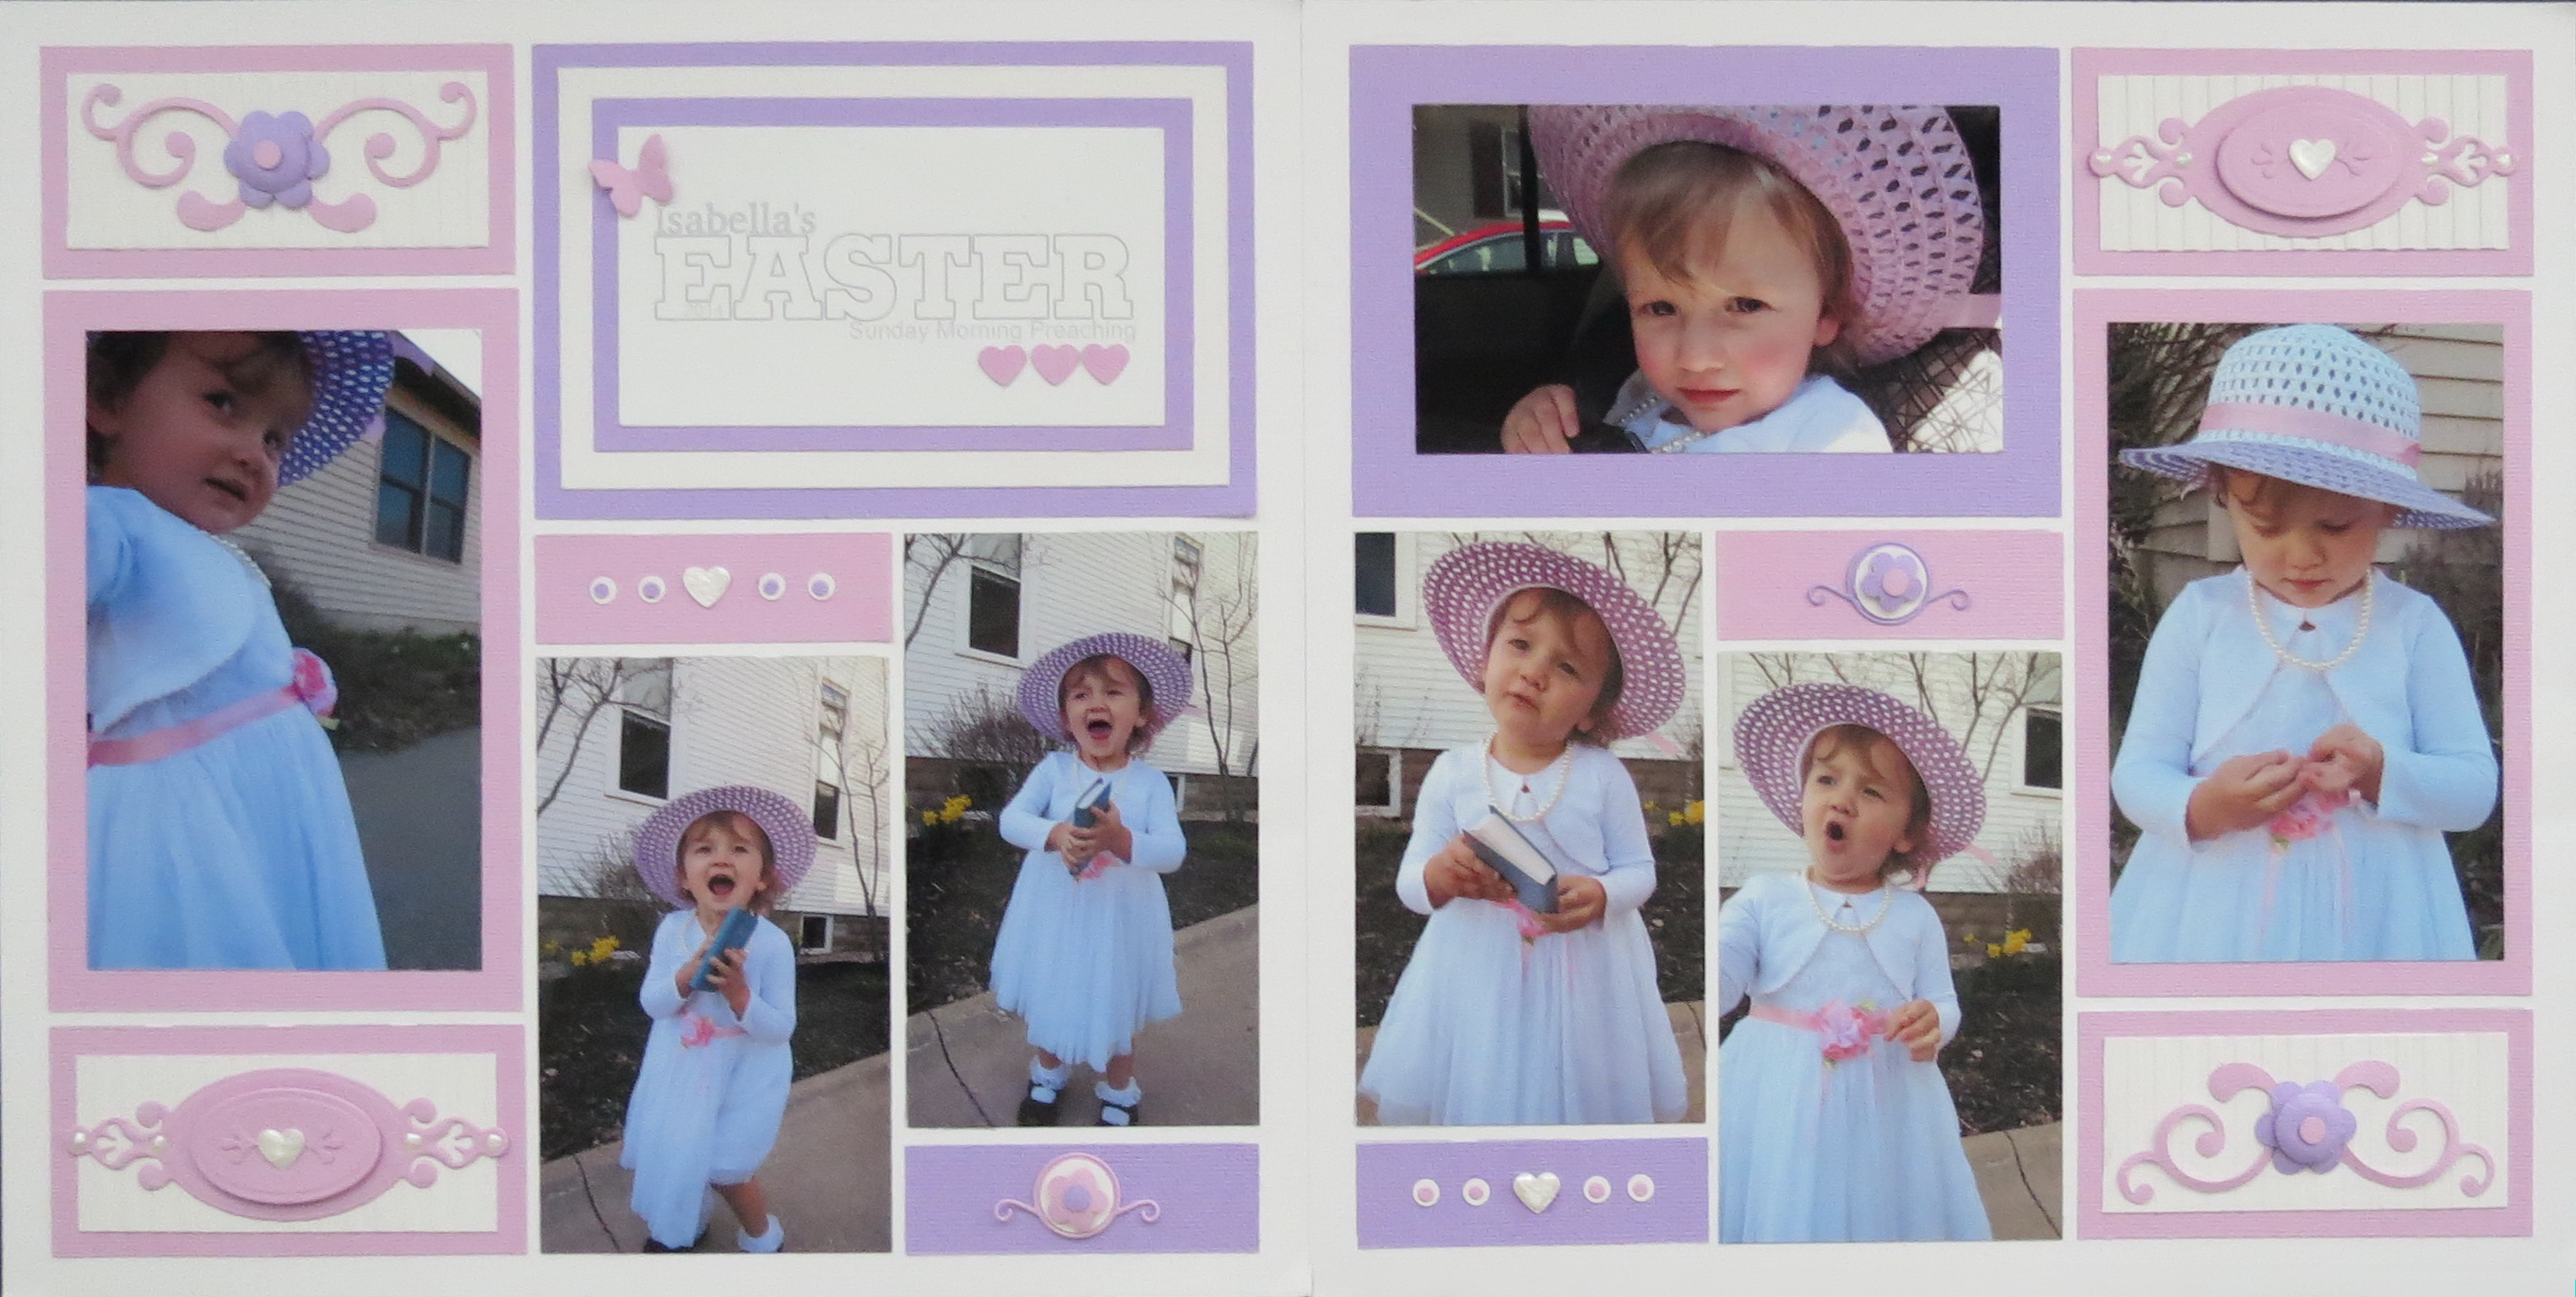
This time the pattern chosen is #139 a puzzle pattern and the flip image of the pattern for the second page of the layout. I have used the pattern to display a series of four photos in a row between the two pages that highlighted the antics outside of church Easter Sunday morning. The design is fairly simple and repeats on the flip side, flipped.

Embellishing your Scrapbook Pages: From the Pattern Gallery #139

Mosaic Moments Die Set B
Die Set B was the only set needed to cut all the spots for this pattern! The photos in the mini-series are cut to fit the space while the remaining photos are mounted on pastel cardstock mats with varying sized borders, utilizing both the block size and layered dies.
In the original I used Swiss dot embossed mats, scalloped edges, paper lace trim with punched flowers, hearts and scroll work, pearlized paper and liquid pearls.

Embellishing Your Scrapbook Pages: Throwback Tuesday detail of embellishments.
This time the embossing folder is a ribbed pinstripe pattern and I have used punched scrolls, flowers, dots and hearts with die cut labels and scroll emblems for the embellishments.
The punched swirls are given dimension by running an embossing tool on the backside to soften them up instead of remaining flat against the page. Foam mounting tape is also used for a little lift under the small flowers.
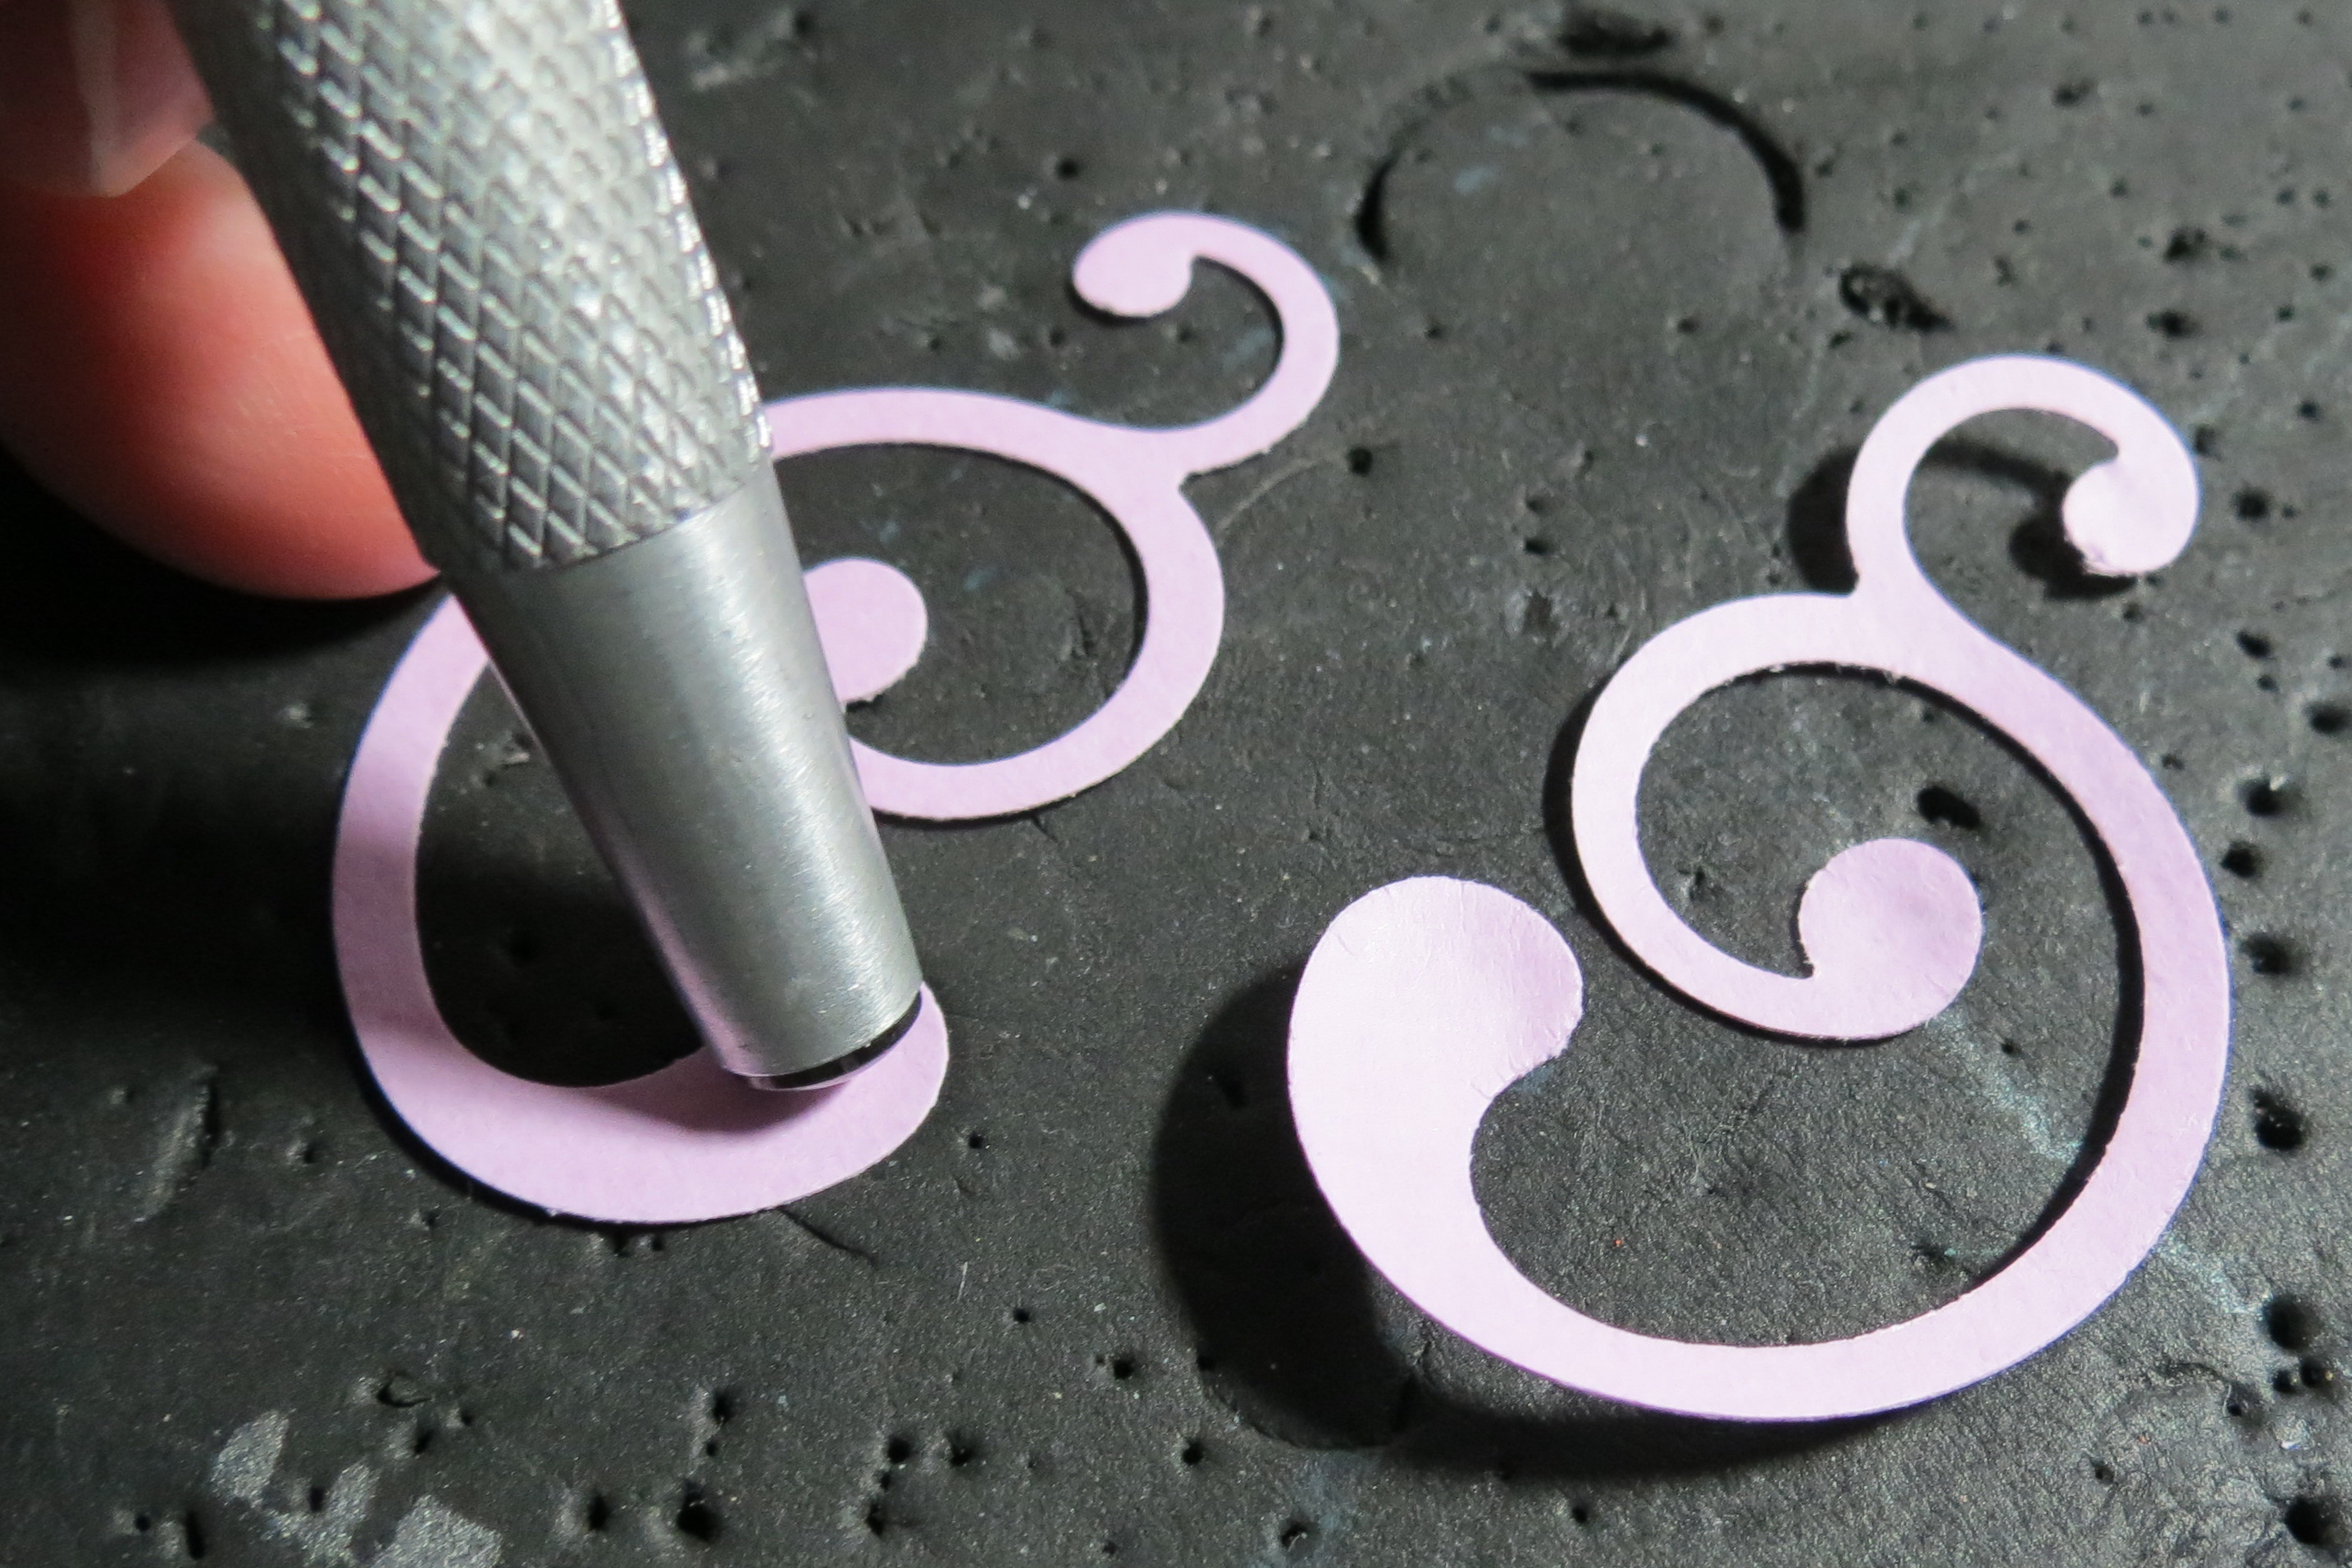
Embellishing Your Scrapbook Pages: Using embossing tool on backside of punched swirl to create dimension.
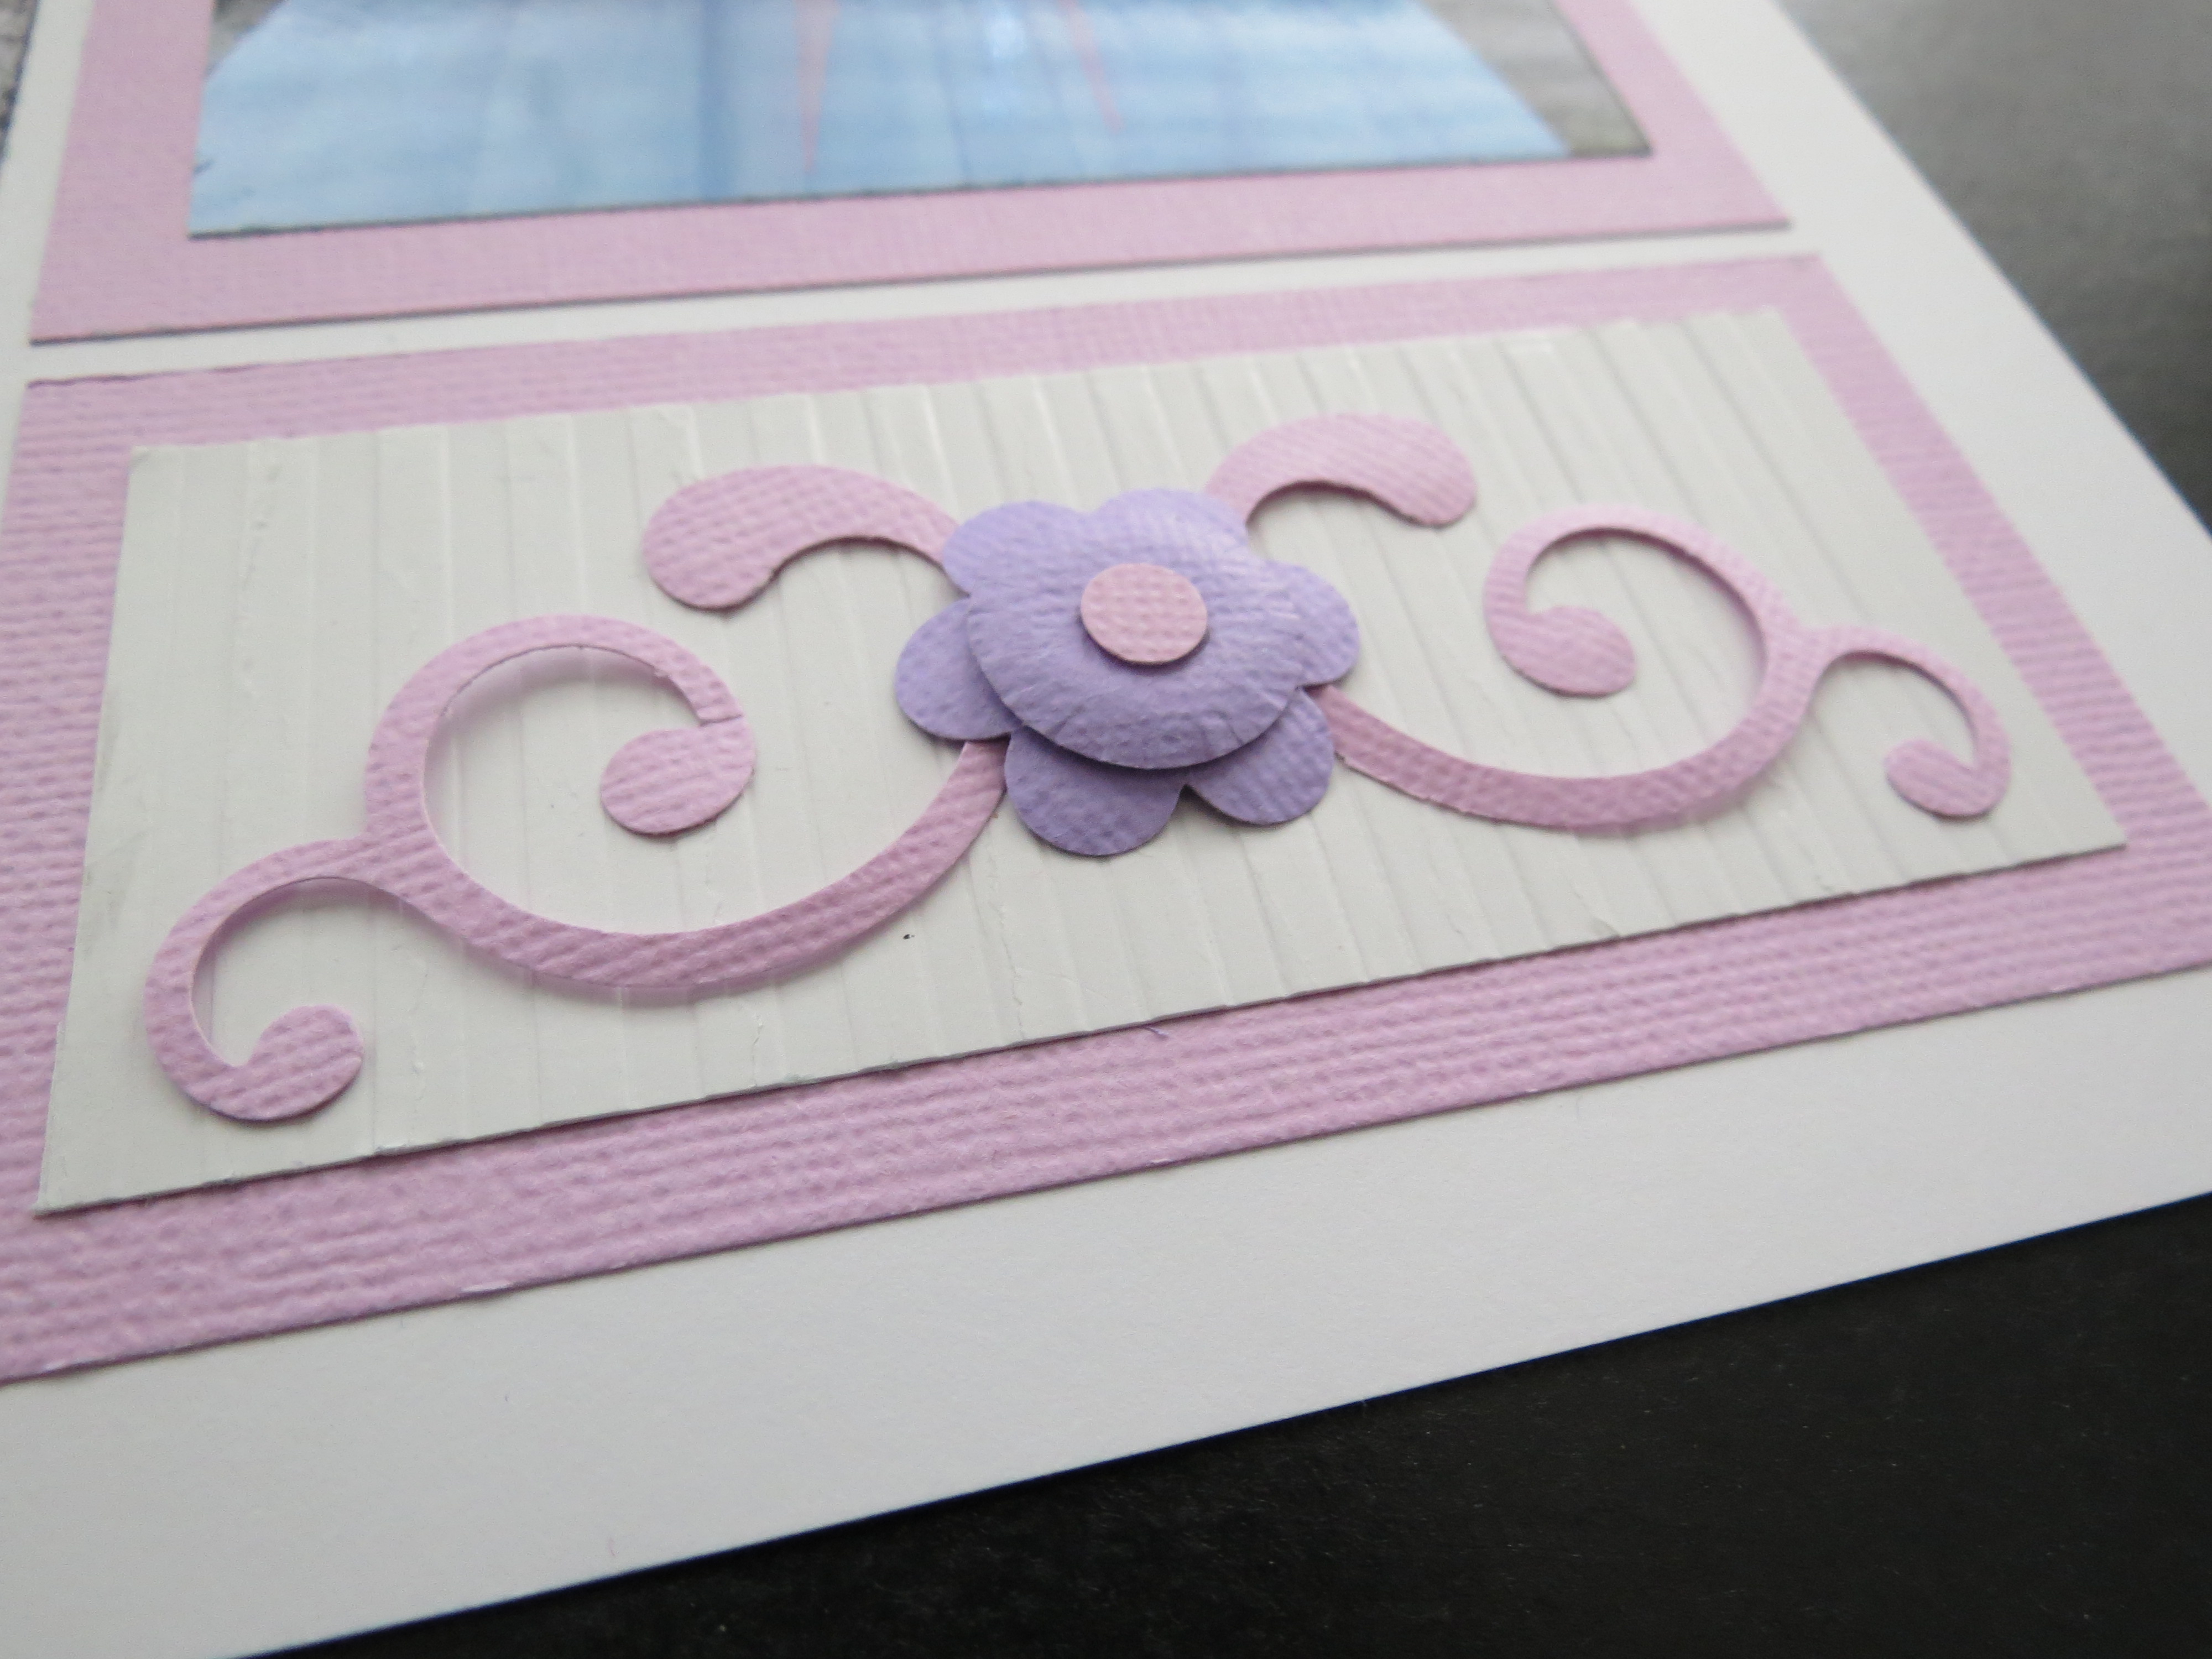
Embellishing Your Scrapbook Pages: putting it all together. Notice the dimension in the scroll work.
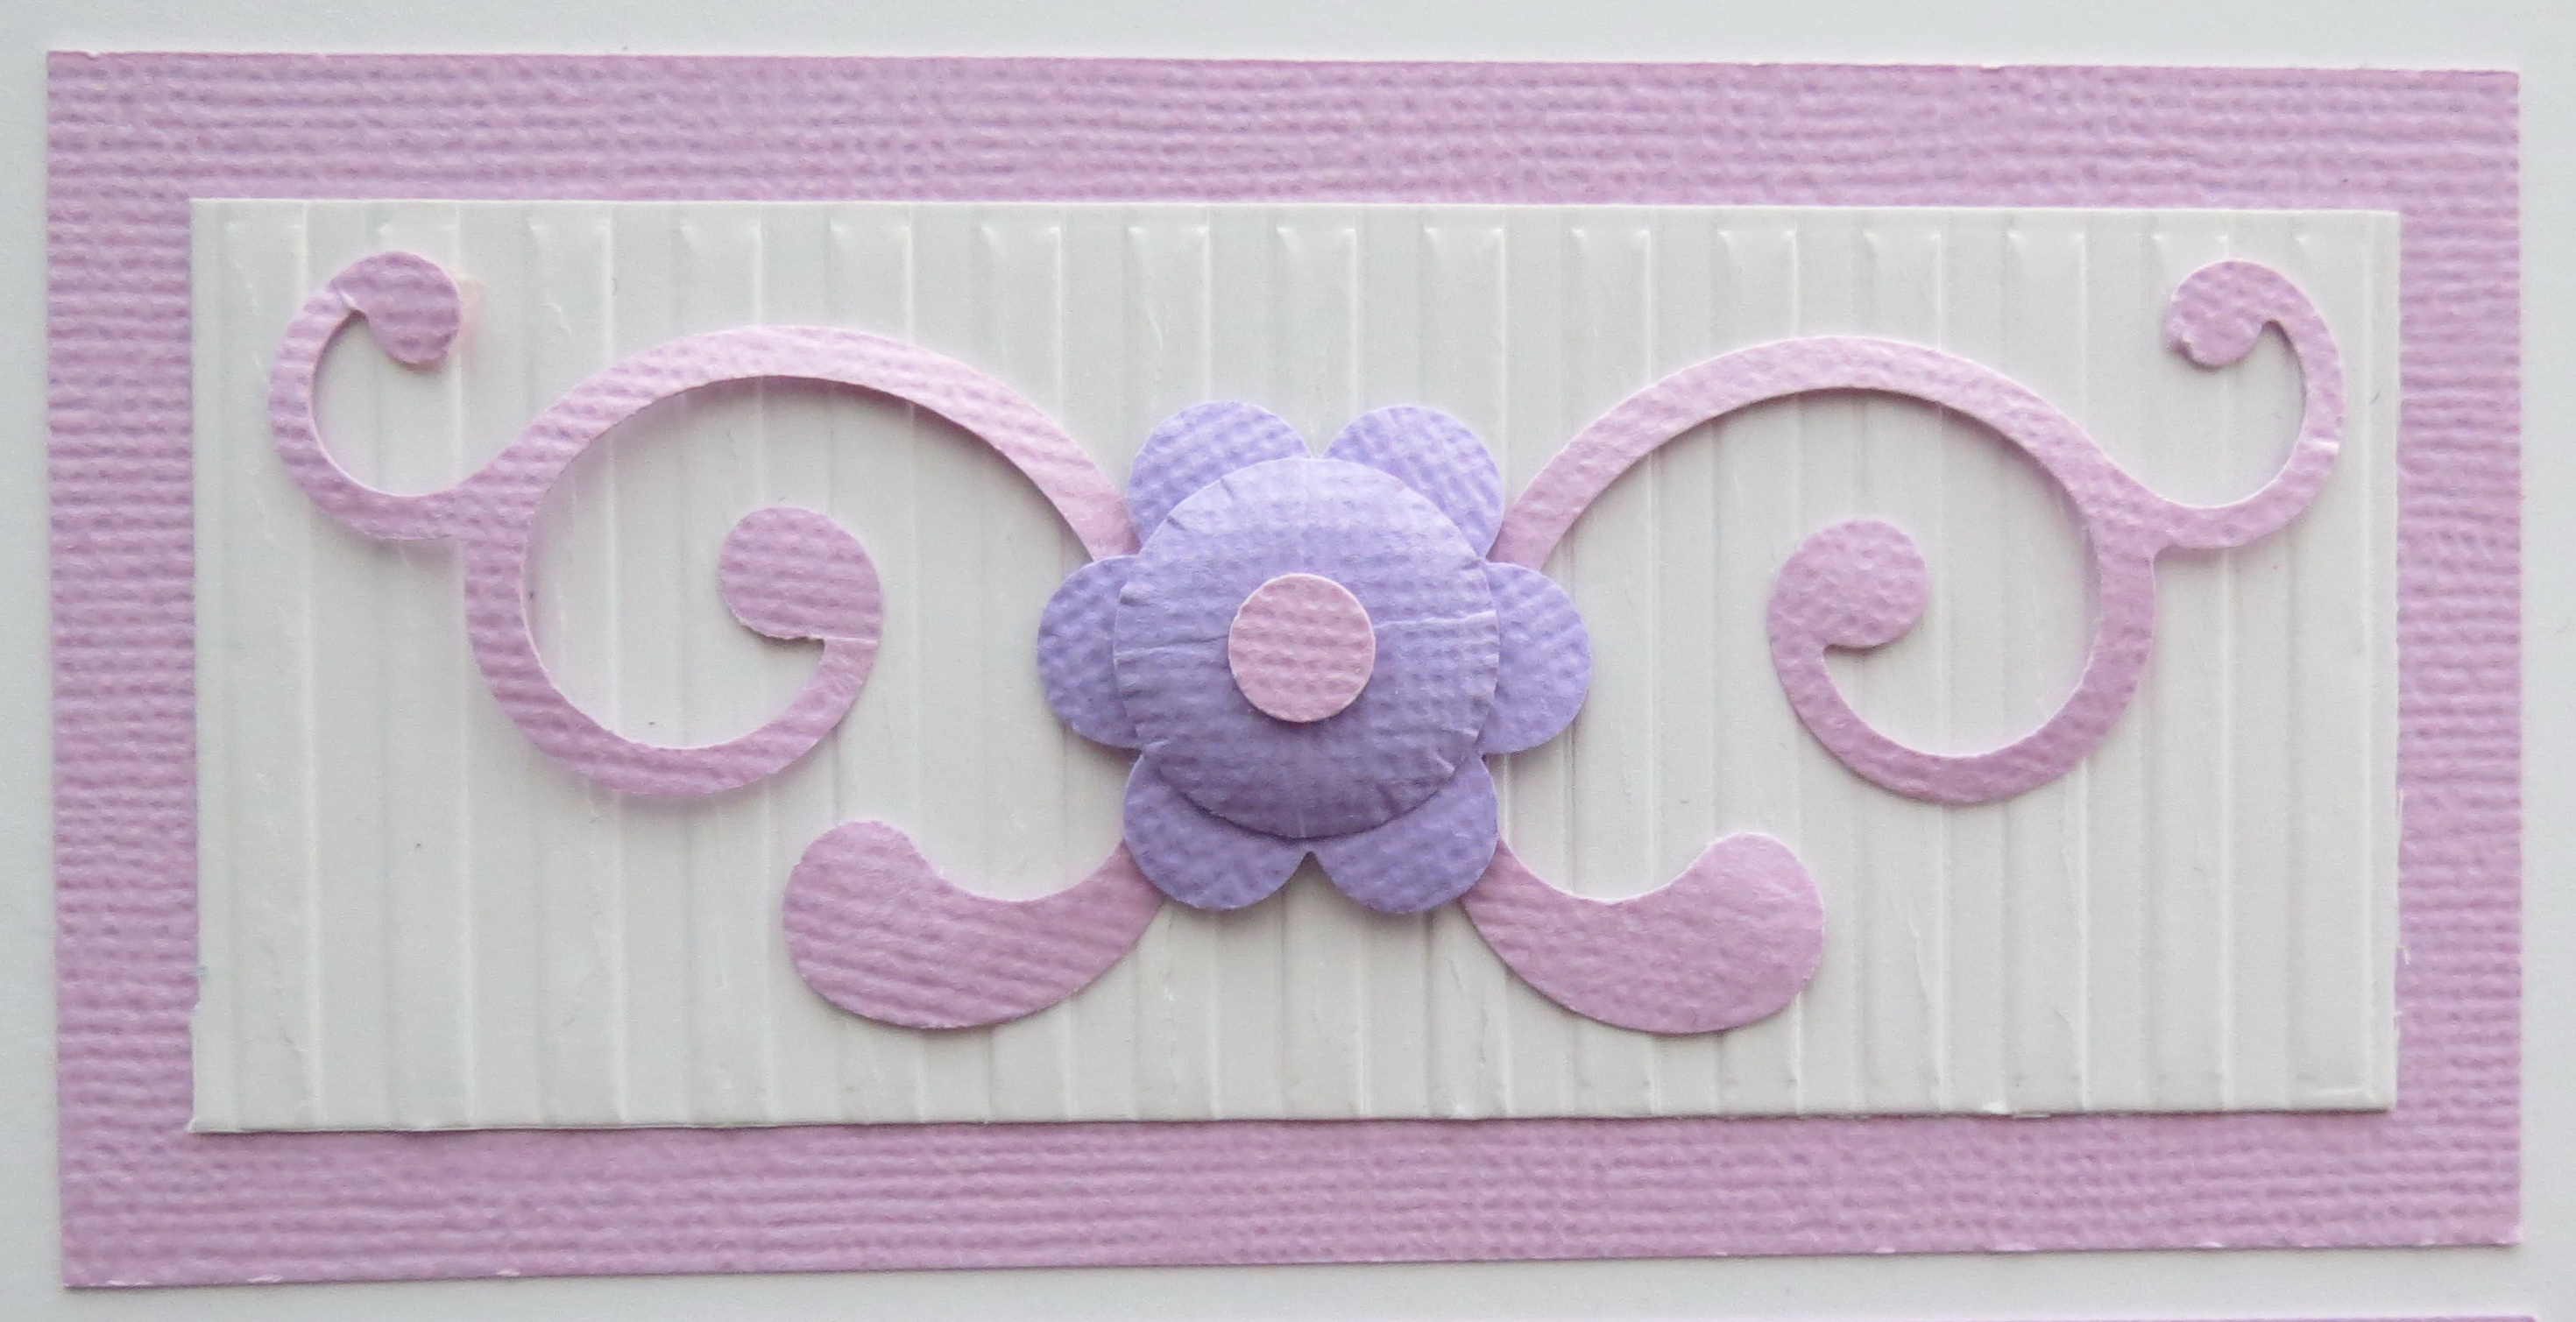
Embellishing Your Scrapbook Pages

Embellishing Your Scrapbook Pages: Die for scrollwork, circles and flower punches, foam mounting tape for lift.
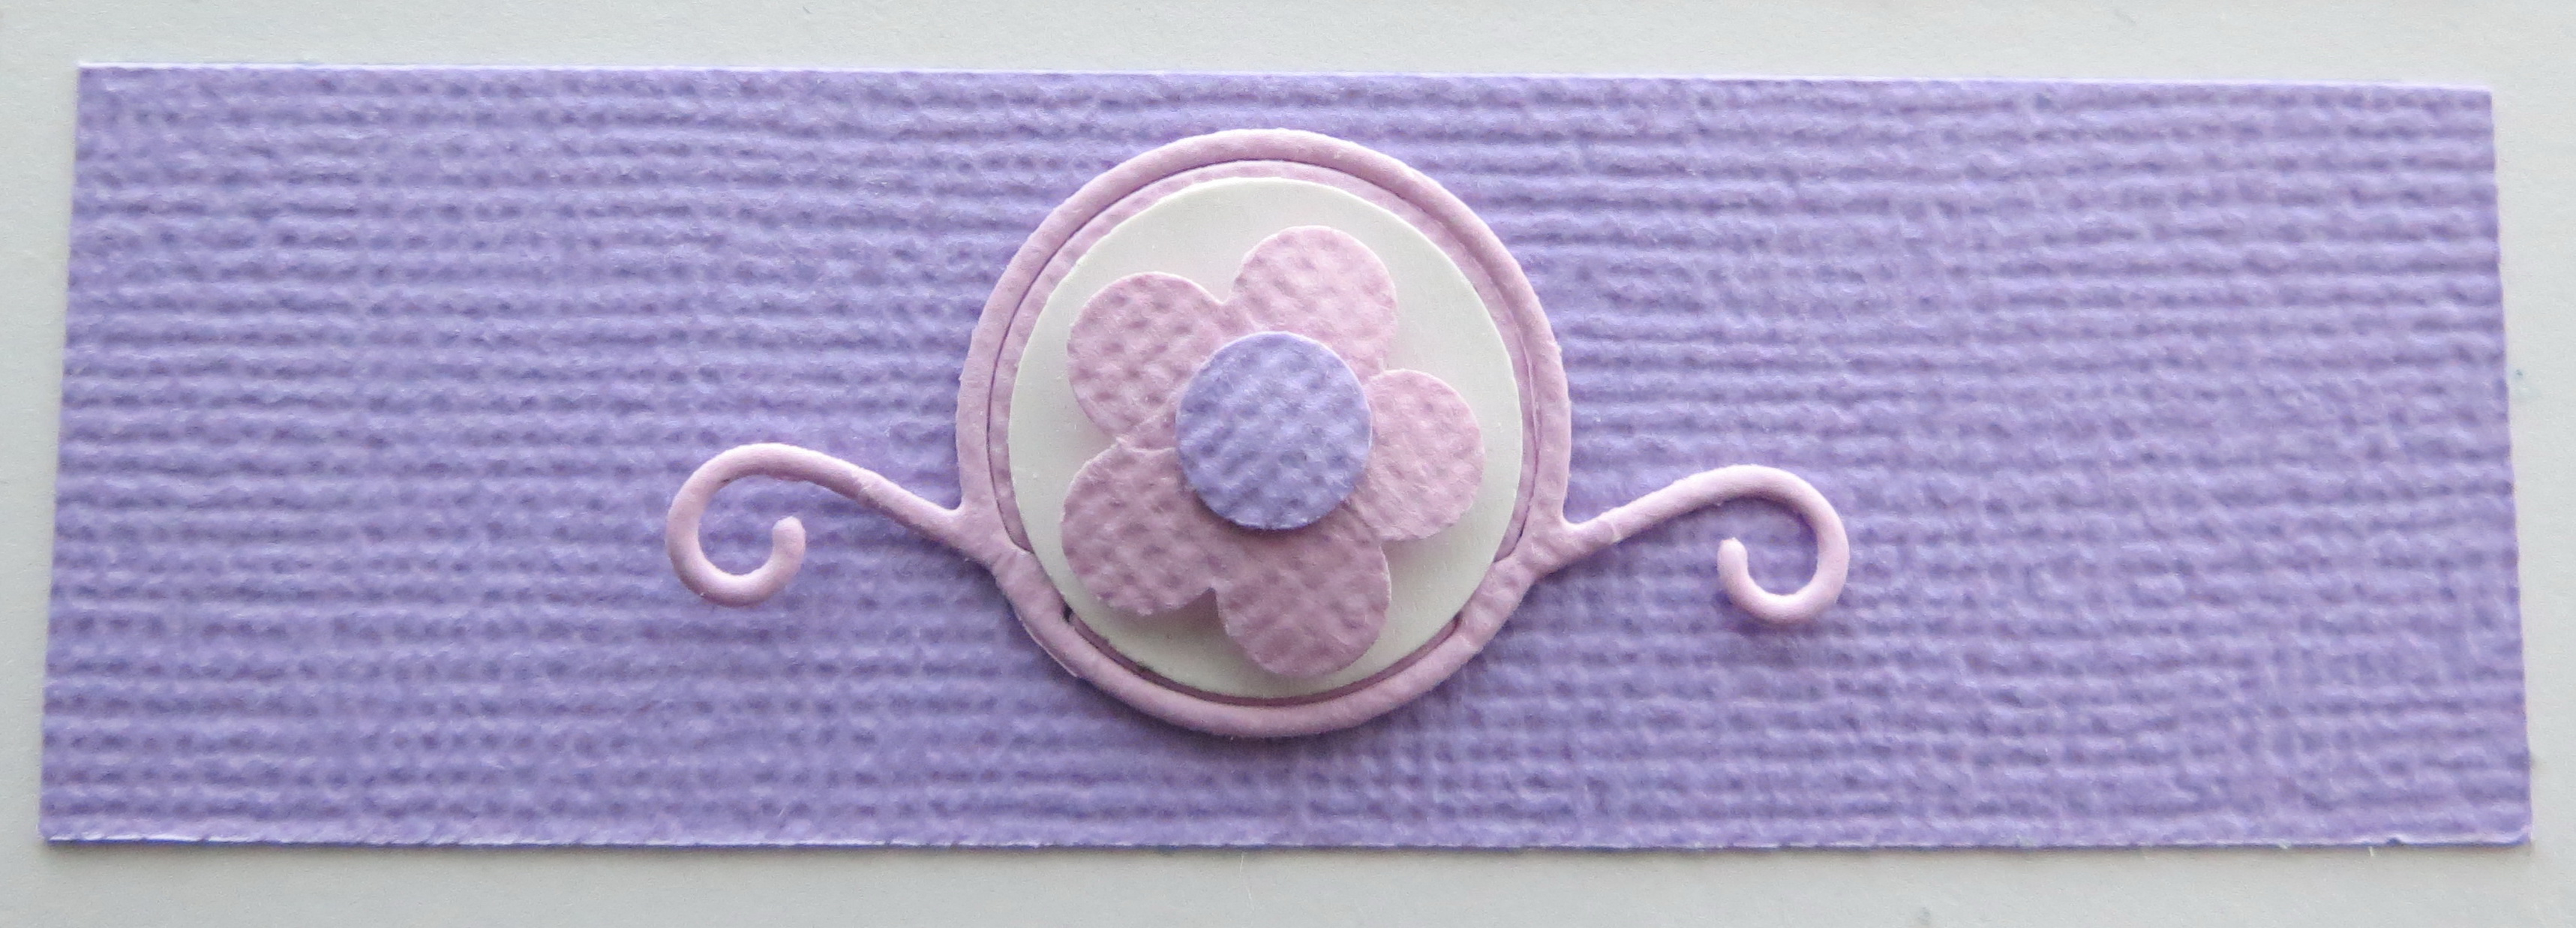
Embellishing Your Scrapbook Pages: Alternating the colors on each page
My title was created in FotoFusion and printed as a photo with a Set B Die to cut to size. It is multi-layered and finished off with a die cut butterfly and punched hearts. You could easily use WORD to do your title and print it out…I found that it was just quicker to print than hauling out the Cricut, and I got the look I really wanted, more of the white on white, subdued colors (well, grey) and allowed the butterfly and hearts to add texture and a pop of color.
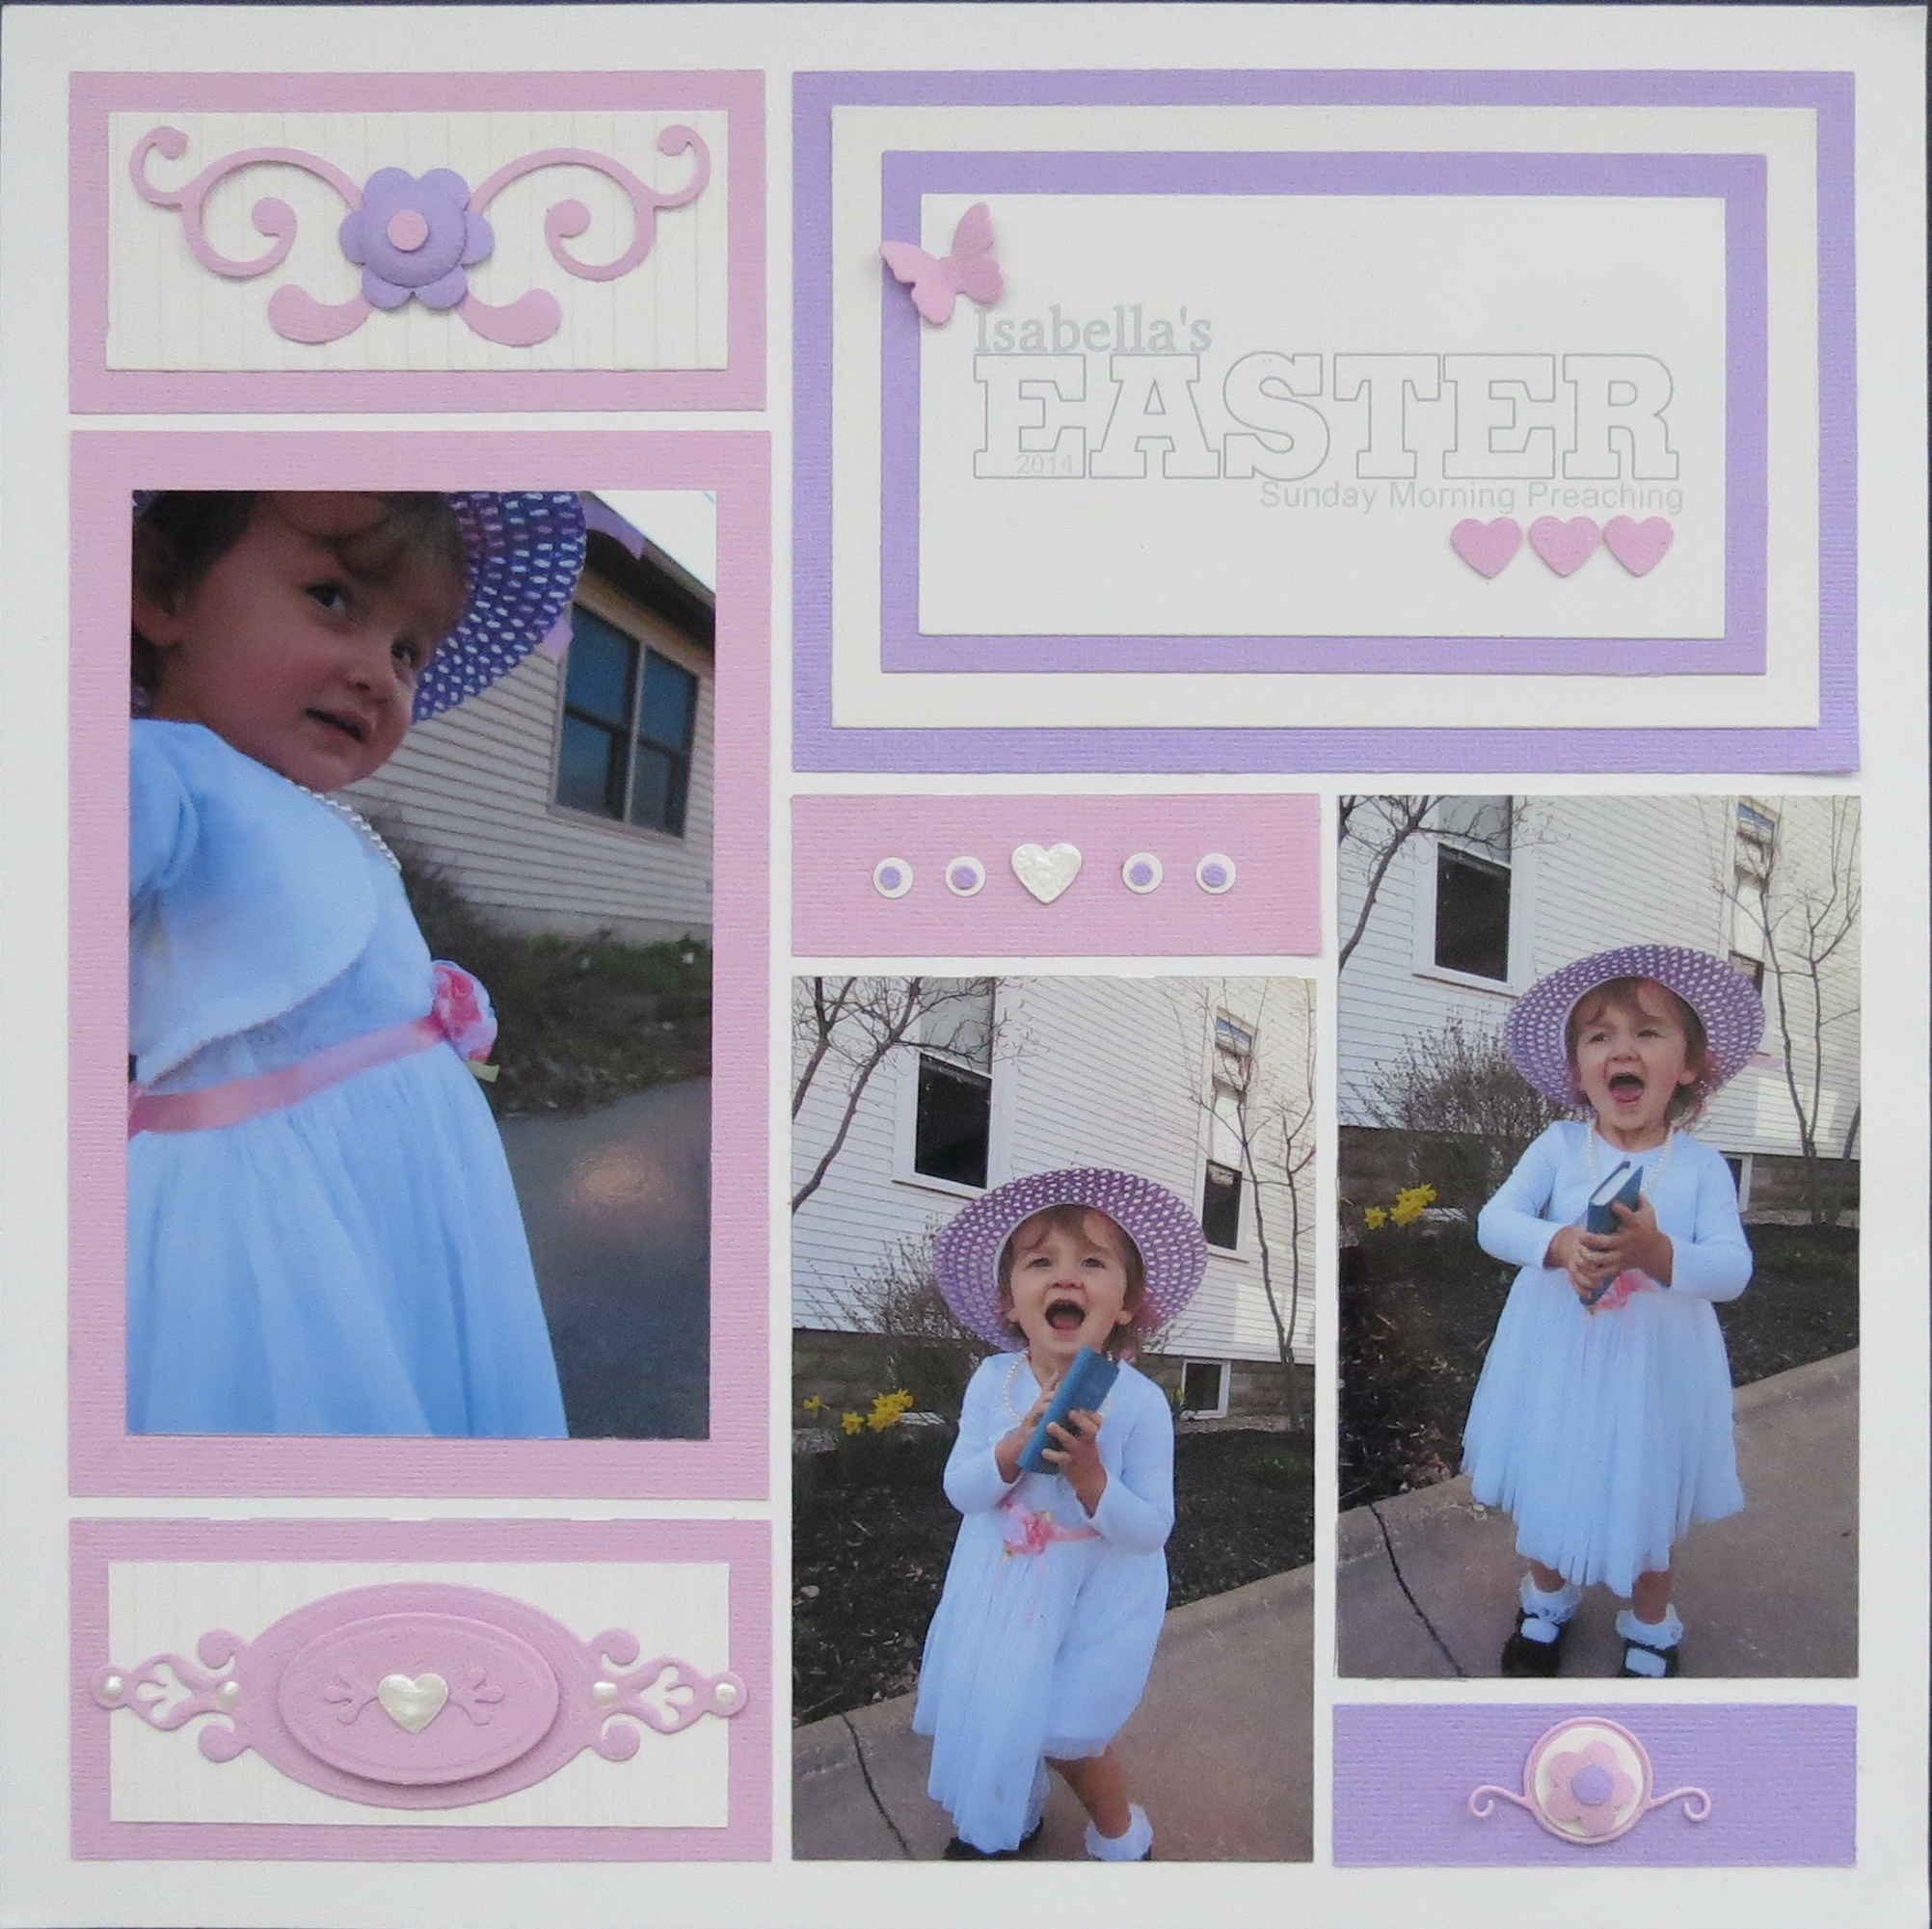
Embellishing Your Scrapbook Pages: Page one

Embellishing your Scrapbook Pages: Title Block printed as a photo, embellished with butterfly and hearts for texture and pop of color.
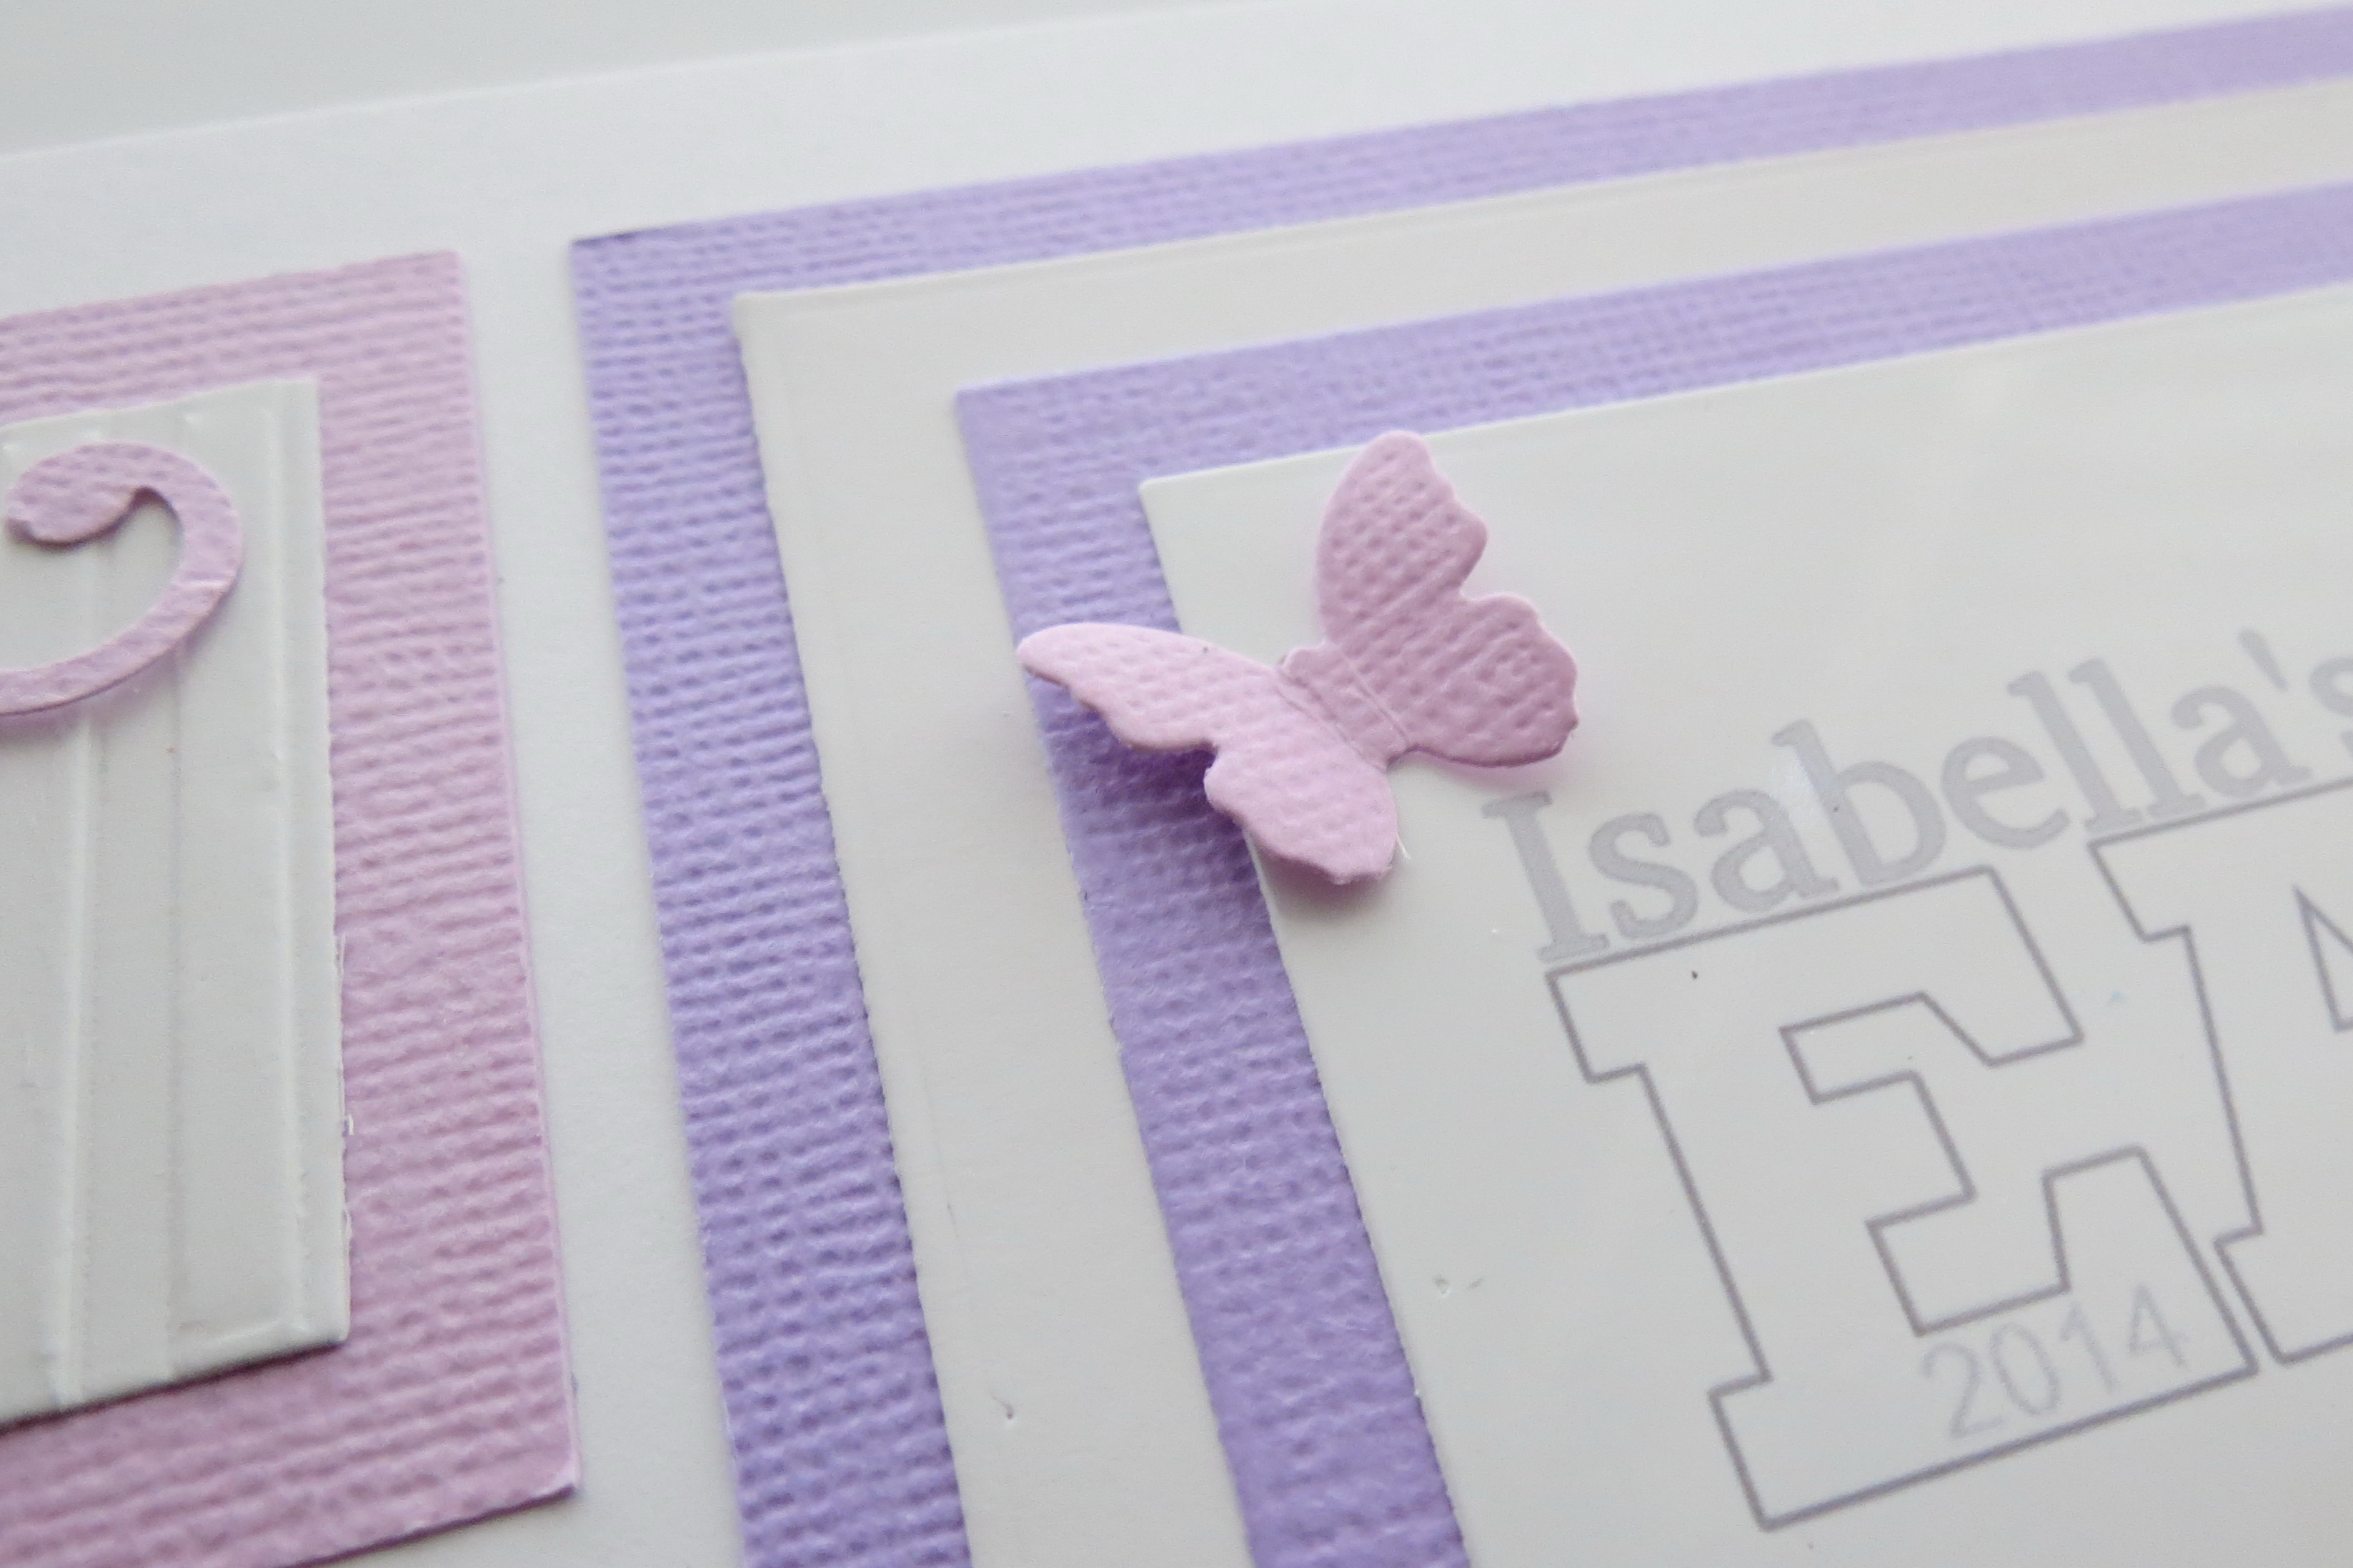
Embellishing Your Scrapbook Pages: Die cut butterfly is scored and bent to create a feeling of movement and secured with glue dot.
Spellbinders labels are placed in two opposing corners with a punched heart that is topped with liquid pearls. The outtakes of the labels are placed to each side of the heart giving it a faux embossed look. The block is finished off with dots of Liquid Pearls in the open spots usually reserved for brads to accent the labels.

Embellishing Your Scrapbook Pages: Spellbinders Label and liquid pearls add a little fancy touch to the layout.
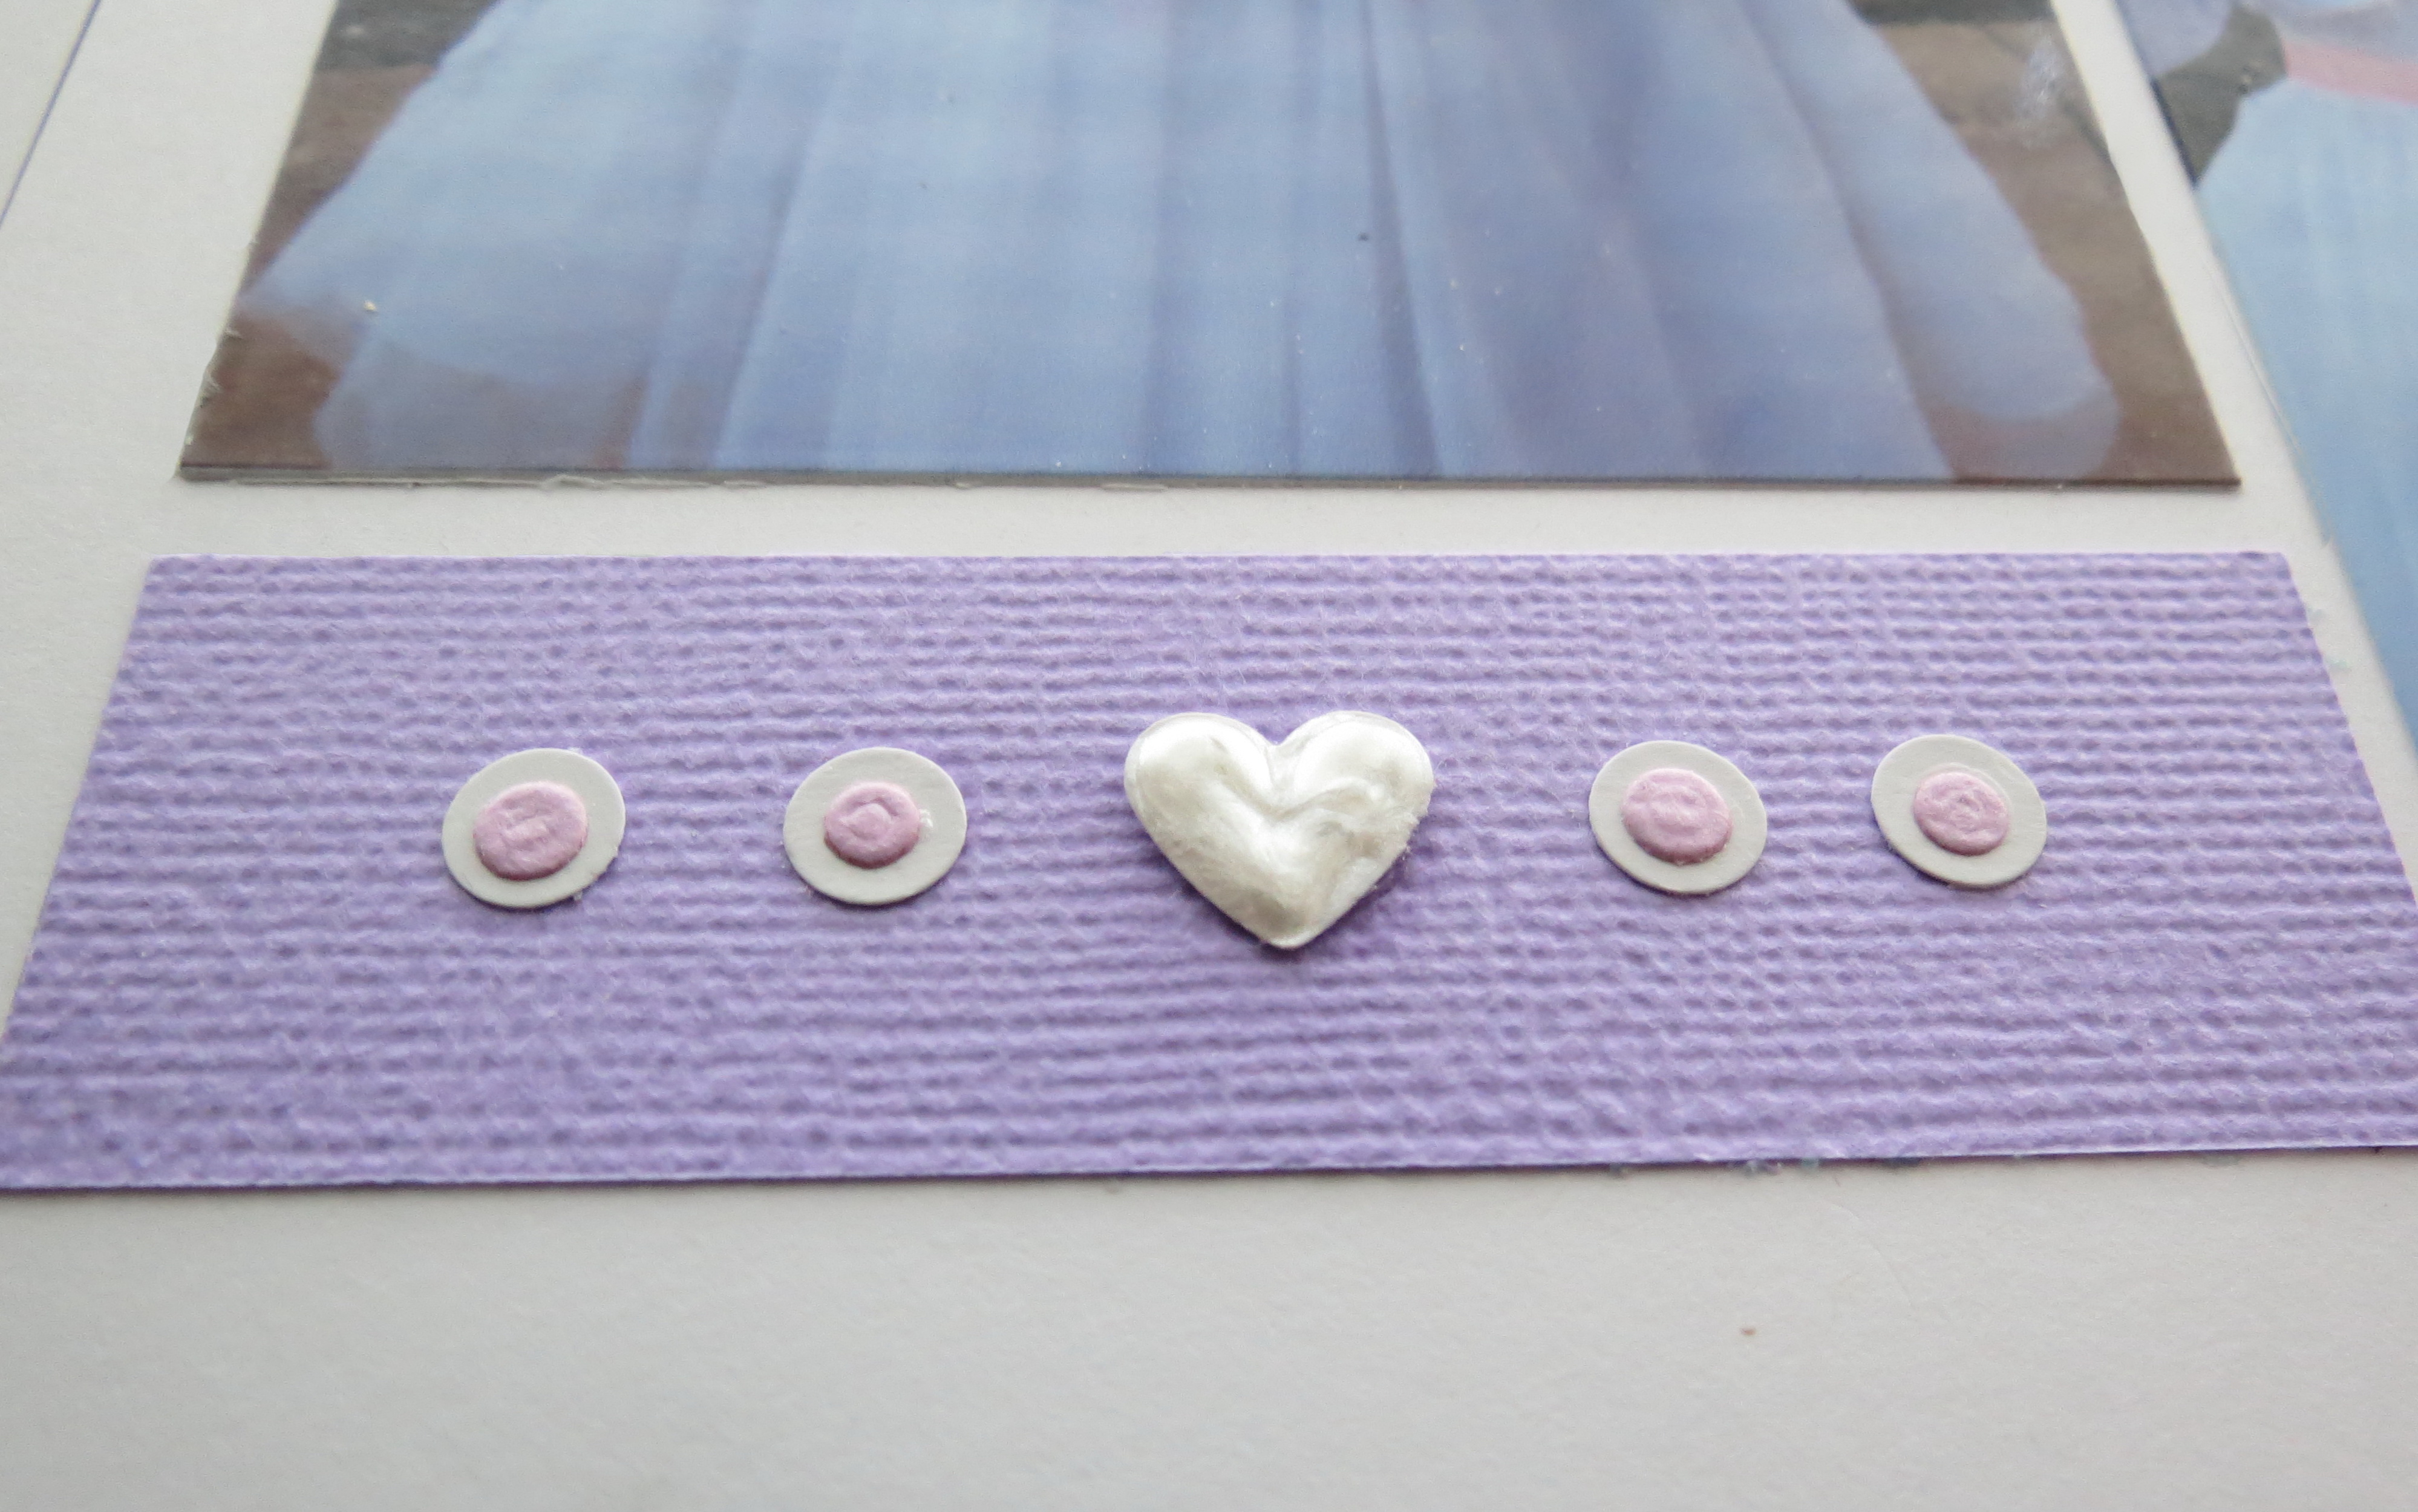
Embellishing Your Scrapbook Pages: Liquid Pearls added to punched heart, layered dots to fill tile for added interest.
I chose to use additional white embossed paper in the design to allow the white grid paper to be more than just a backdrop to the photos but more of the layout. I know it’s more white in the layout, but it really does draw your eye to all the elements of the layout, not just to the grid.
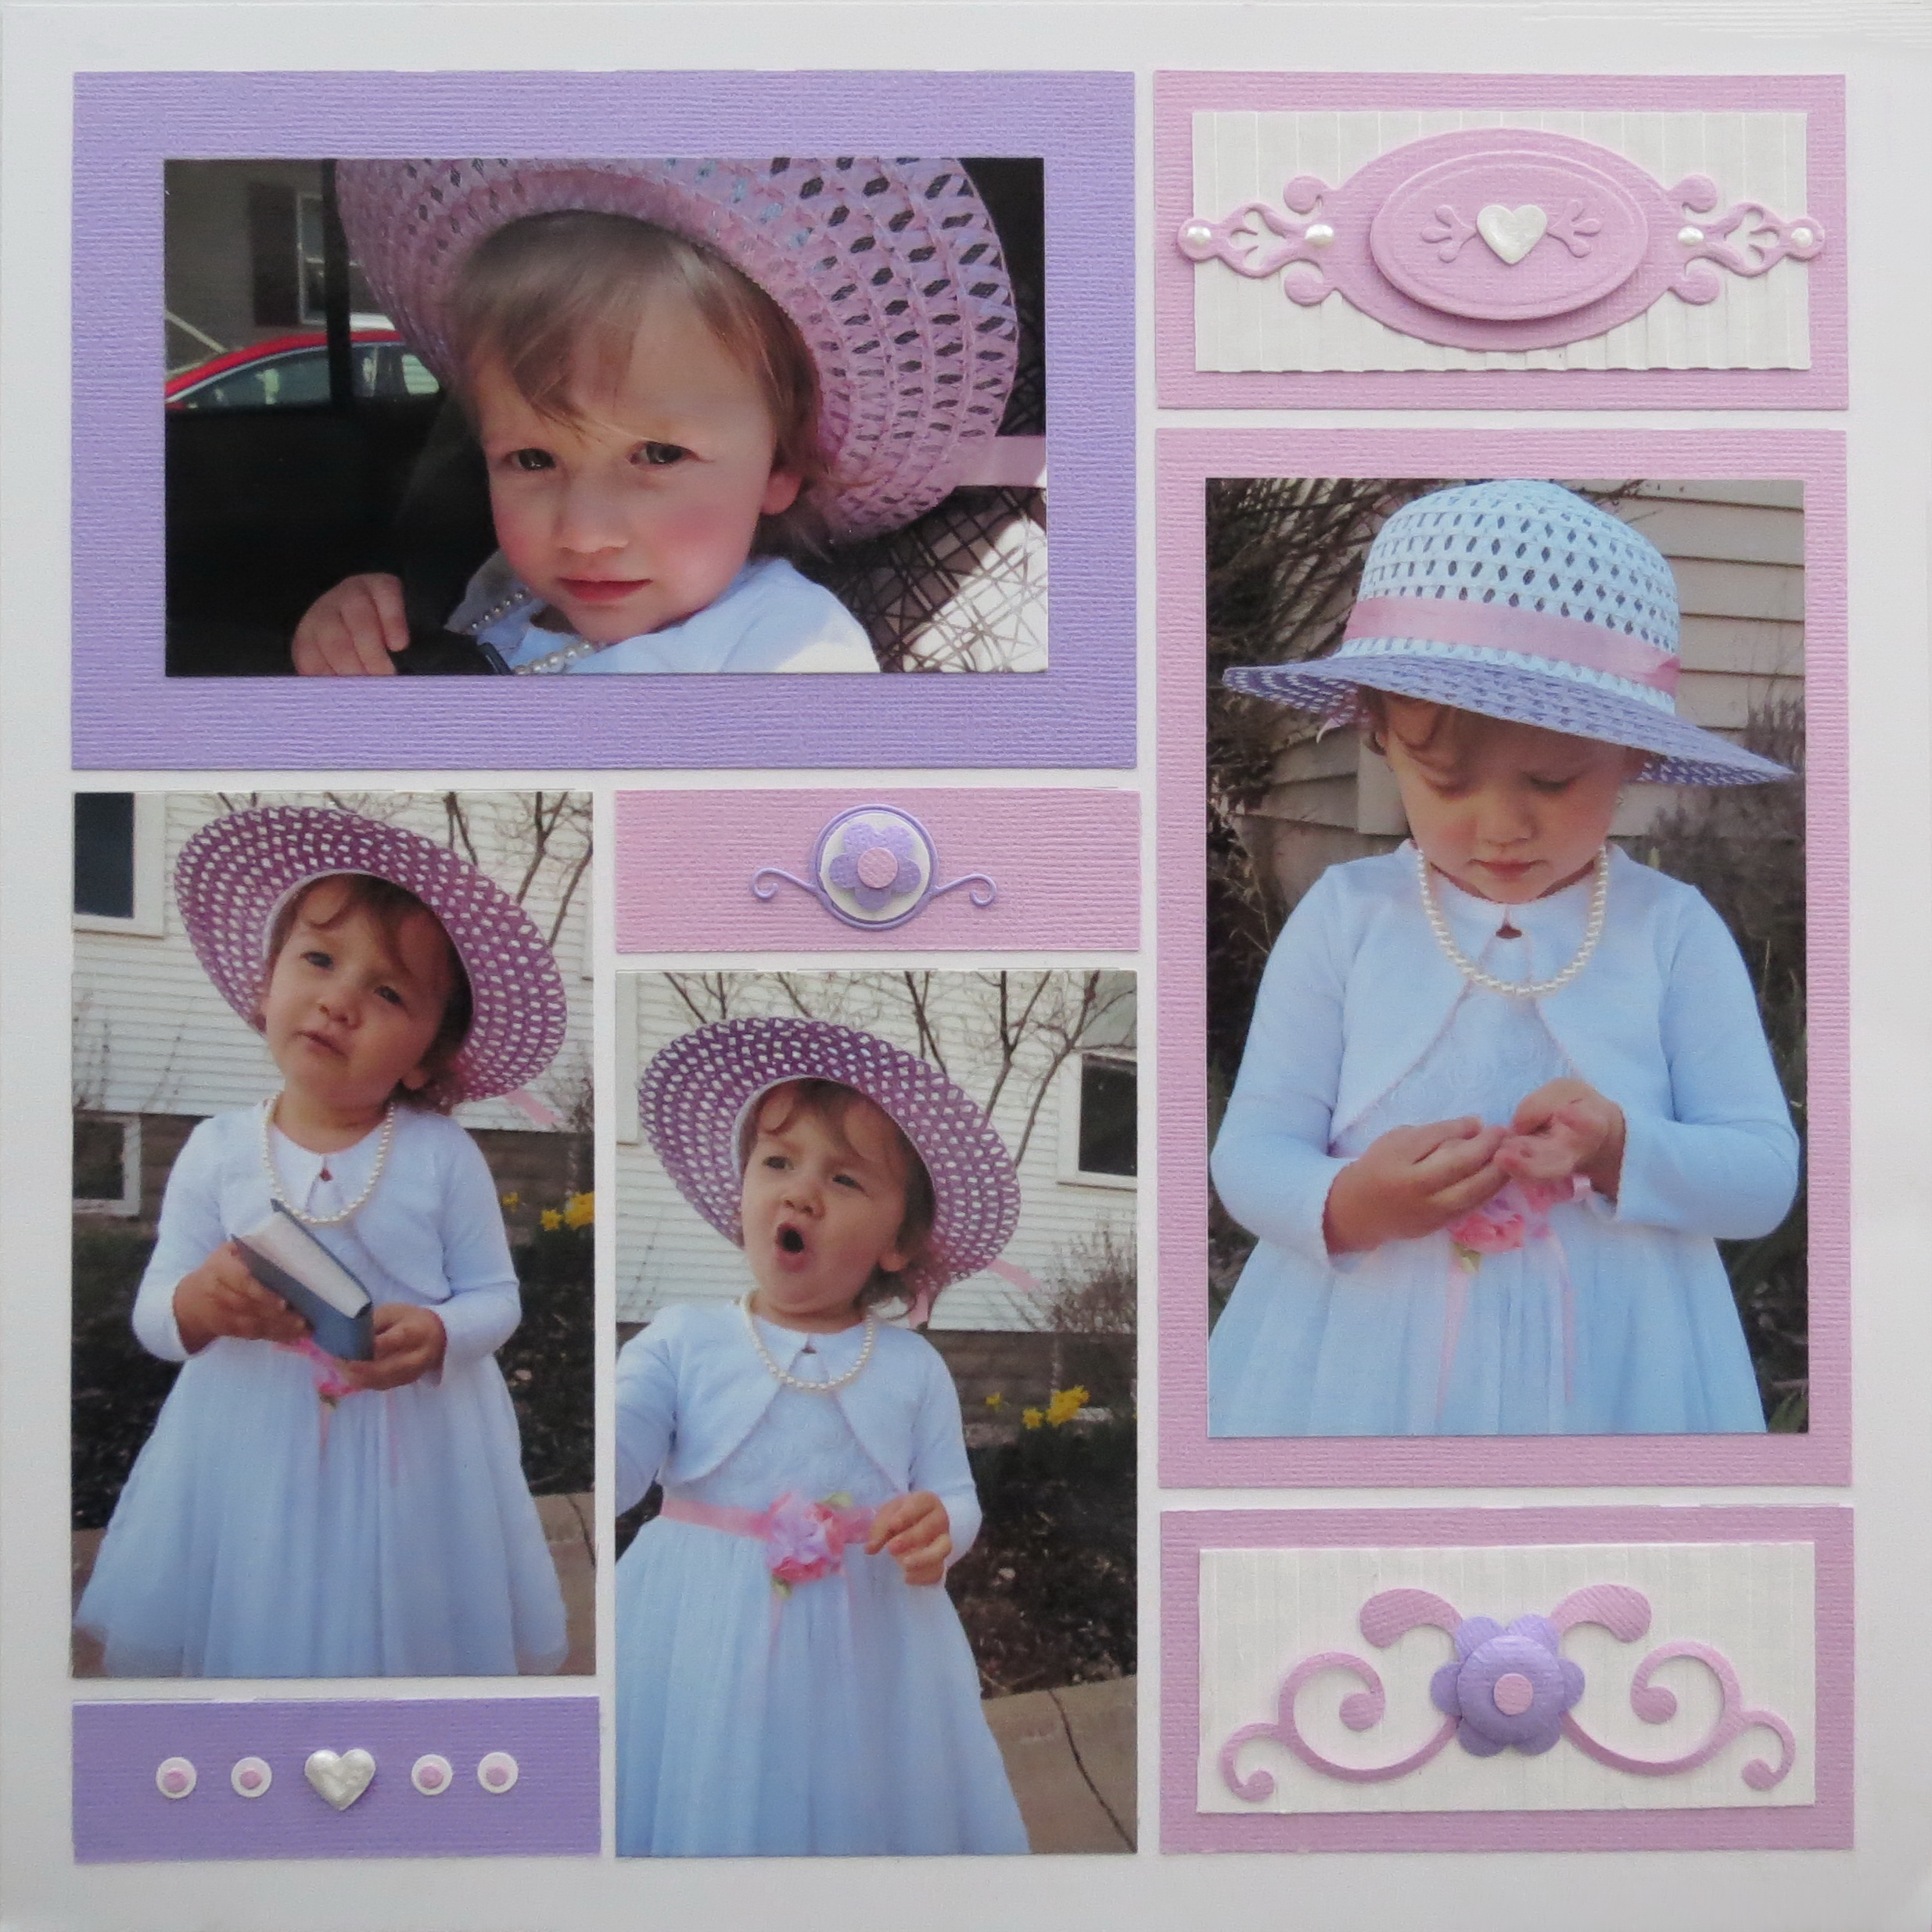
Embellishing Your Scrapbooking Pages: page two
So there you have it a transformation from plain white to a storybook tale. What will your next project be? Remember, no matter what your photos, you will be able to draw inspiration from them and add it to your pages. Even the Plain Jane white grid can go to the ball as a princess transformed with a few simple embellishments. Time to get your magic wand out and get to work!
Andrea Fisher
Embellishing Your Scrapbook Pages