
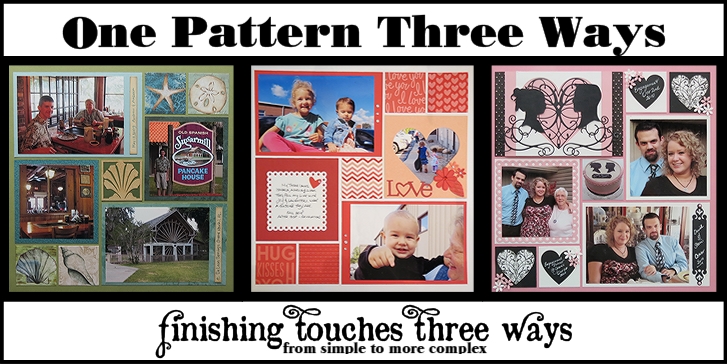
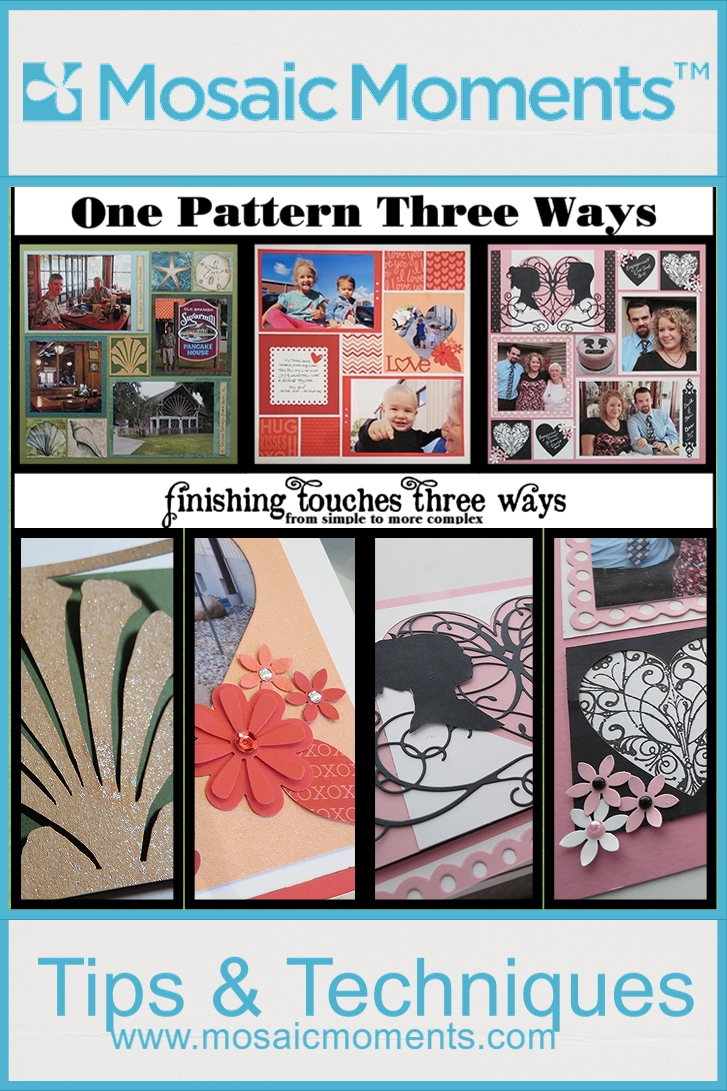
One Pattern Three Ways
Finishing Touches Three Ways…from simple to more complex
Today’s post will take you from simple to more complex embellishments, showing you finishing touches to give one pattern three unique looks.
Let’s begin with Pattern # 163 a pinwheel pattern. It has 2 large rectangles, 2 medium squares and 5 small squares, for a potential of 9 photos spots.

MM_163 pinwheel
Each of the layouts will use the spots differently. You may begin with the same pattern each time but with a few finishing touches your layouts will standout three different ways.
Layout one
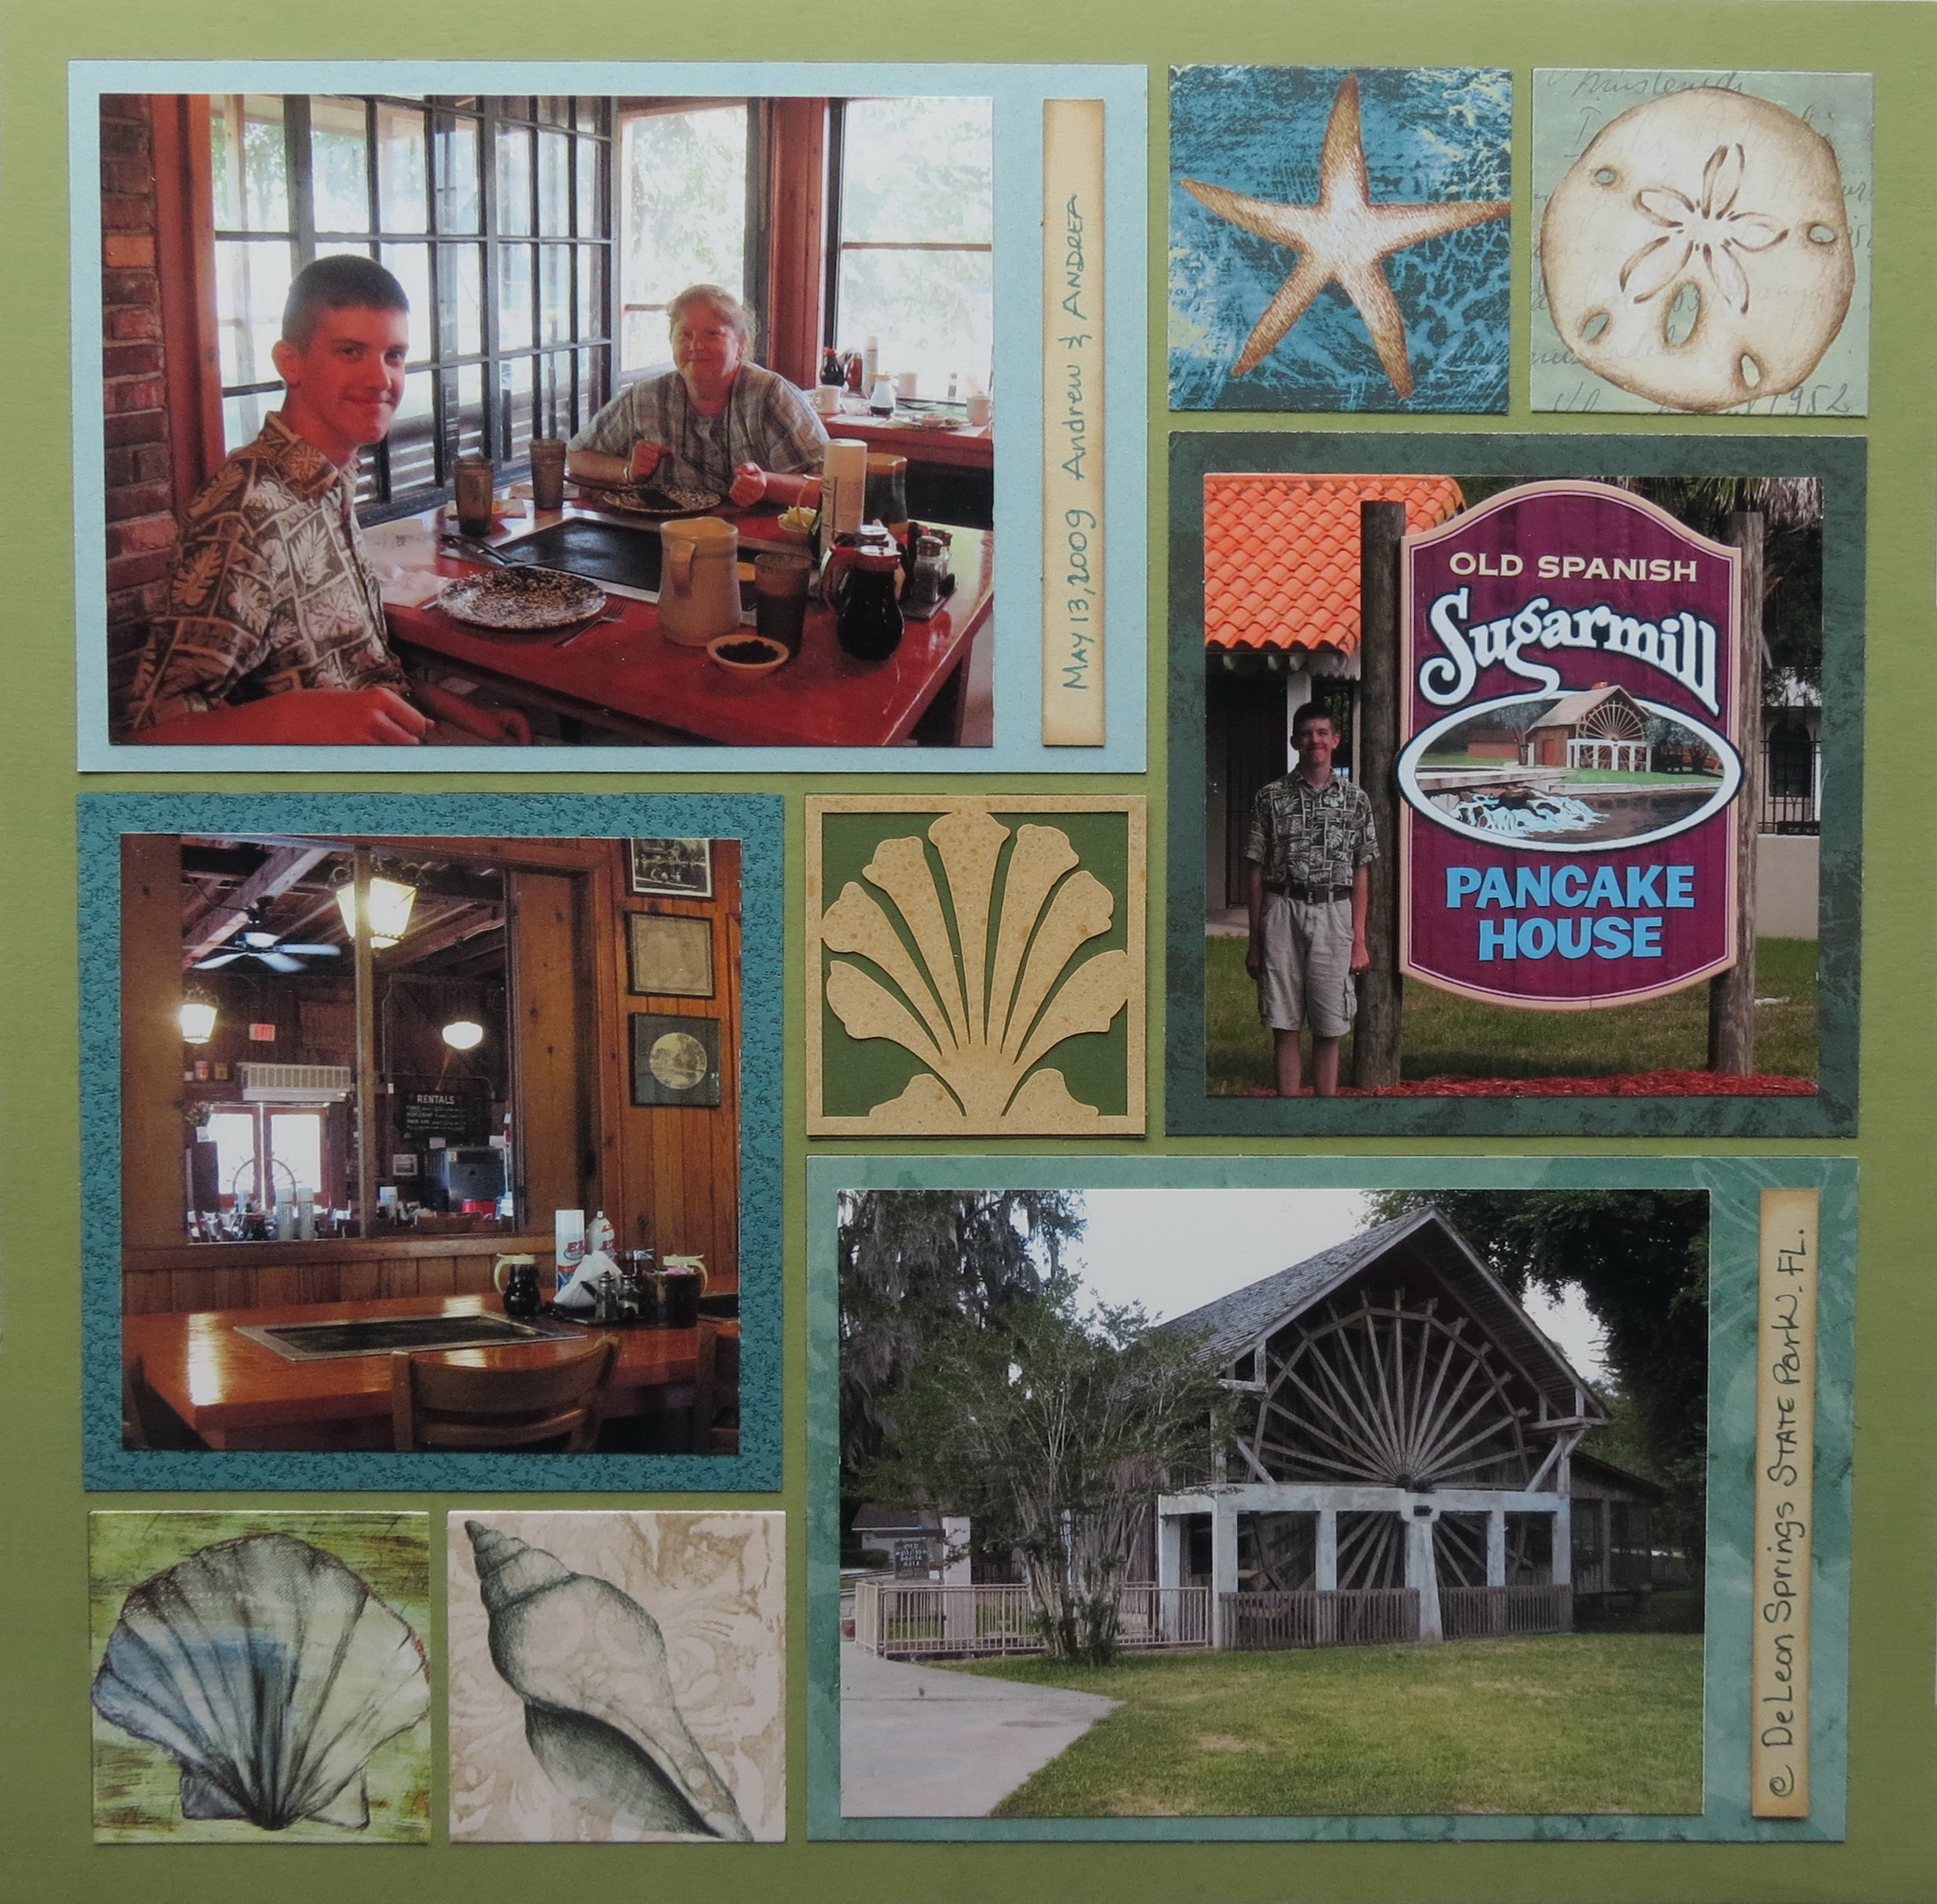
MM Finishing Touches Embellishments Cornerstone Tiles
You may remember this layout from a previous post of a two page layout using Pattern #163 and its mirror image. For details you can see it here.
In this layout all photos are matted. The two larger ones have a narrow strip on the mat with an inked tag with journaling.
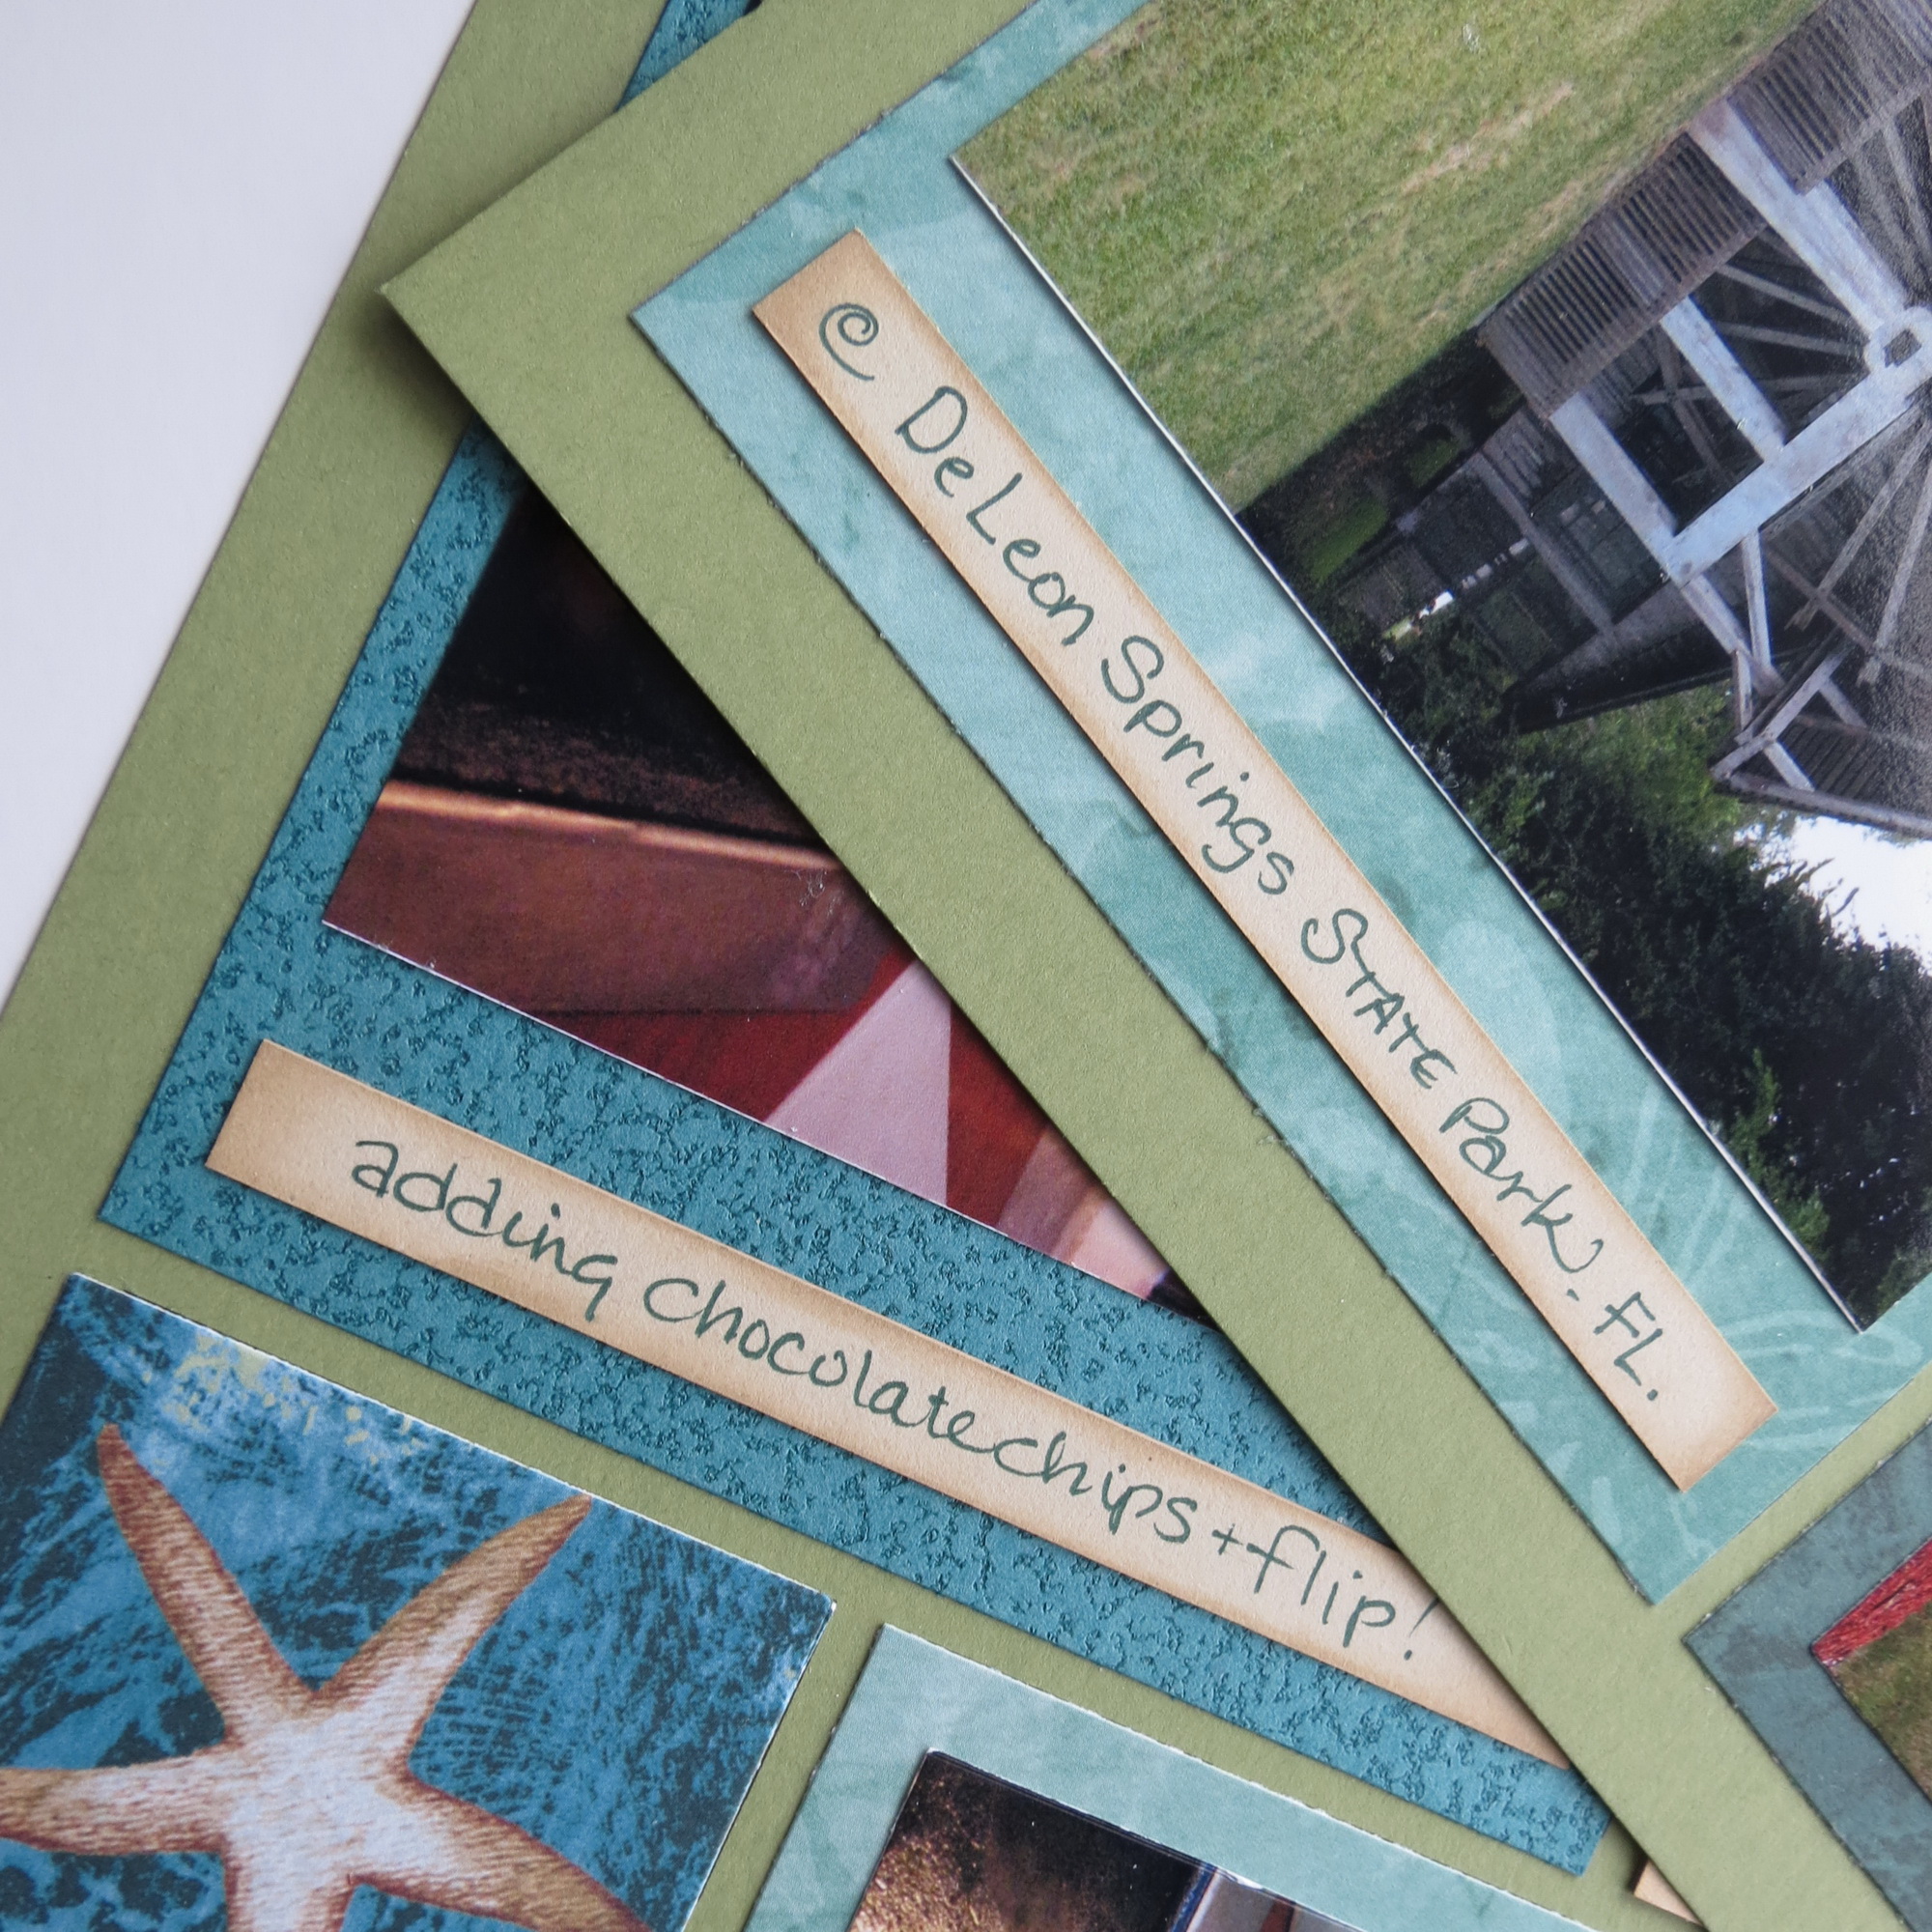
MM Finishing Touches Embellishments Inked journal tags
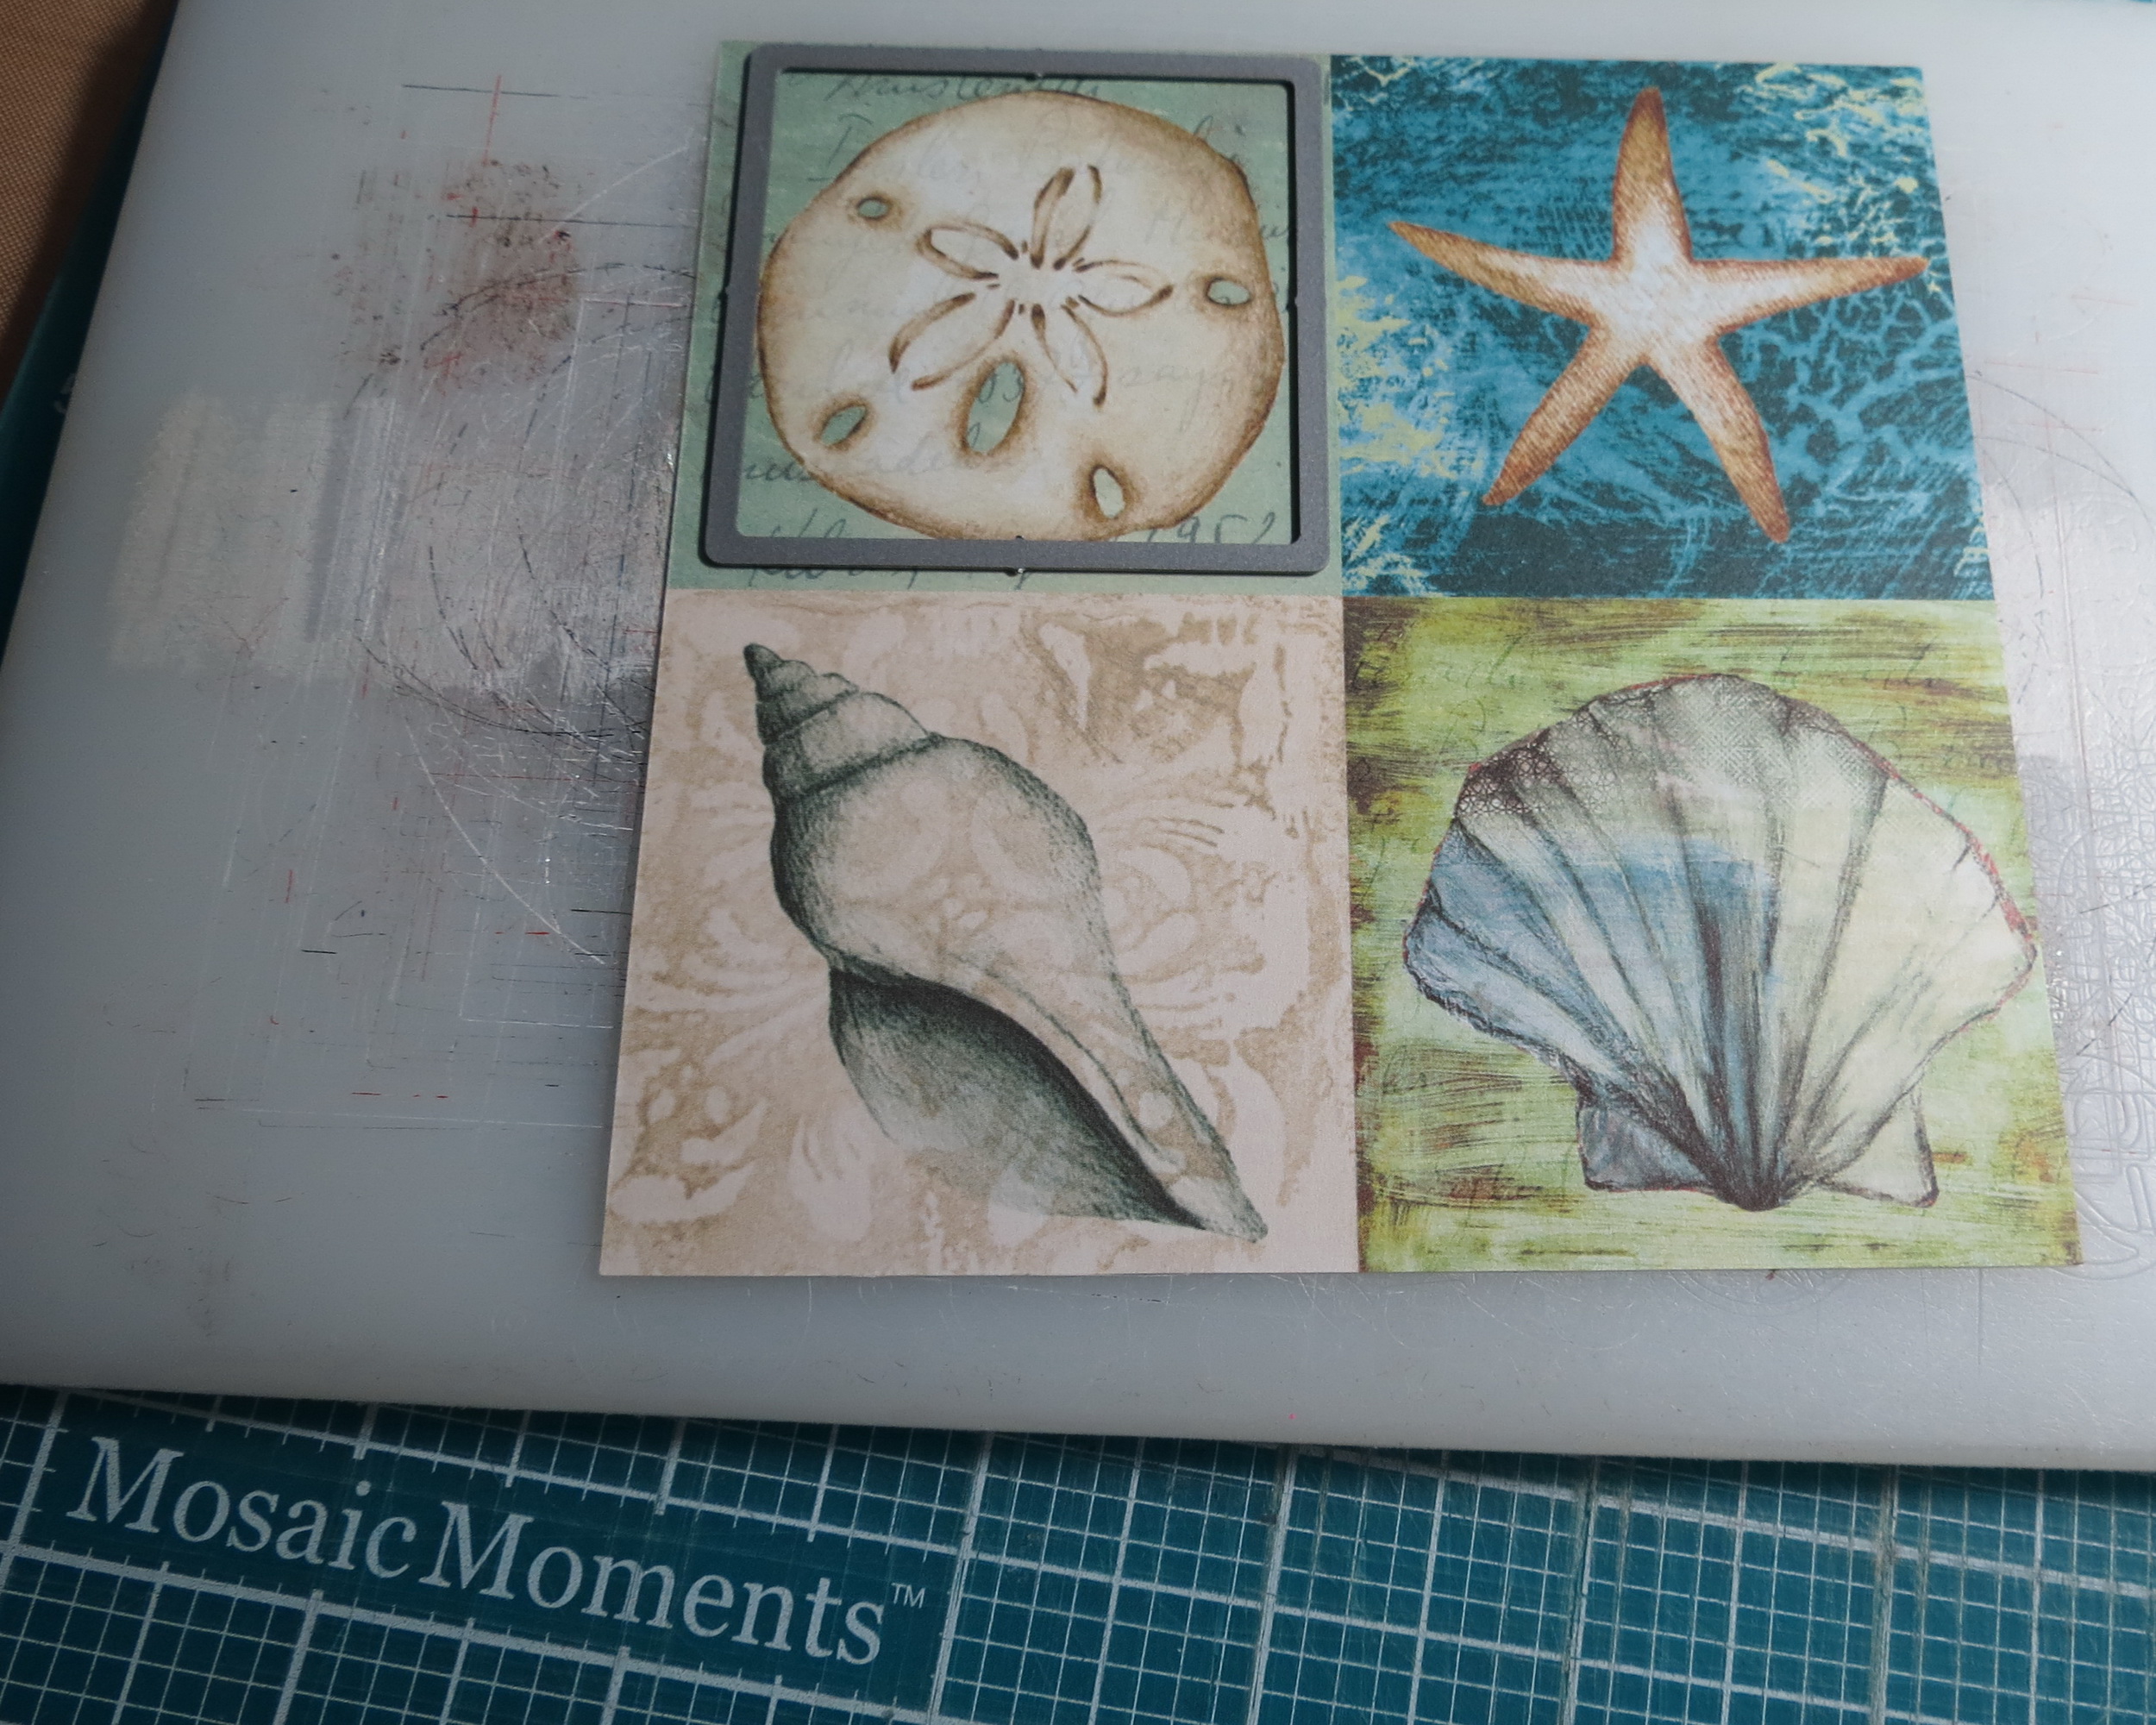
The center Mosaic Moments Seashell Cornerstone Tile is misted with Tattered Angels Crushed Shells Glimmer Mist for a little sparkle.
With so many cornerstone tiles available and now our unique cornerstone tiles dies there will be so many options to choose from your layouts.
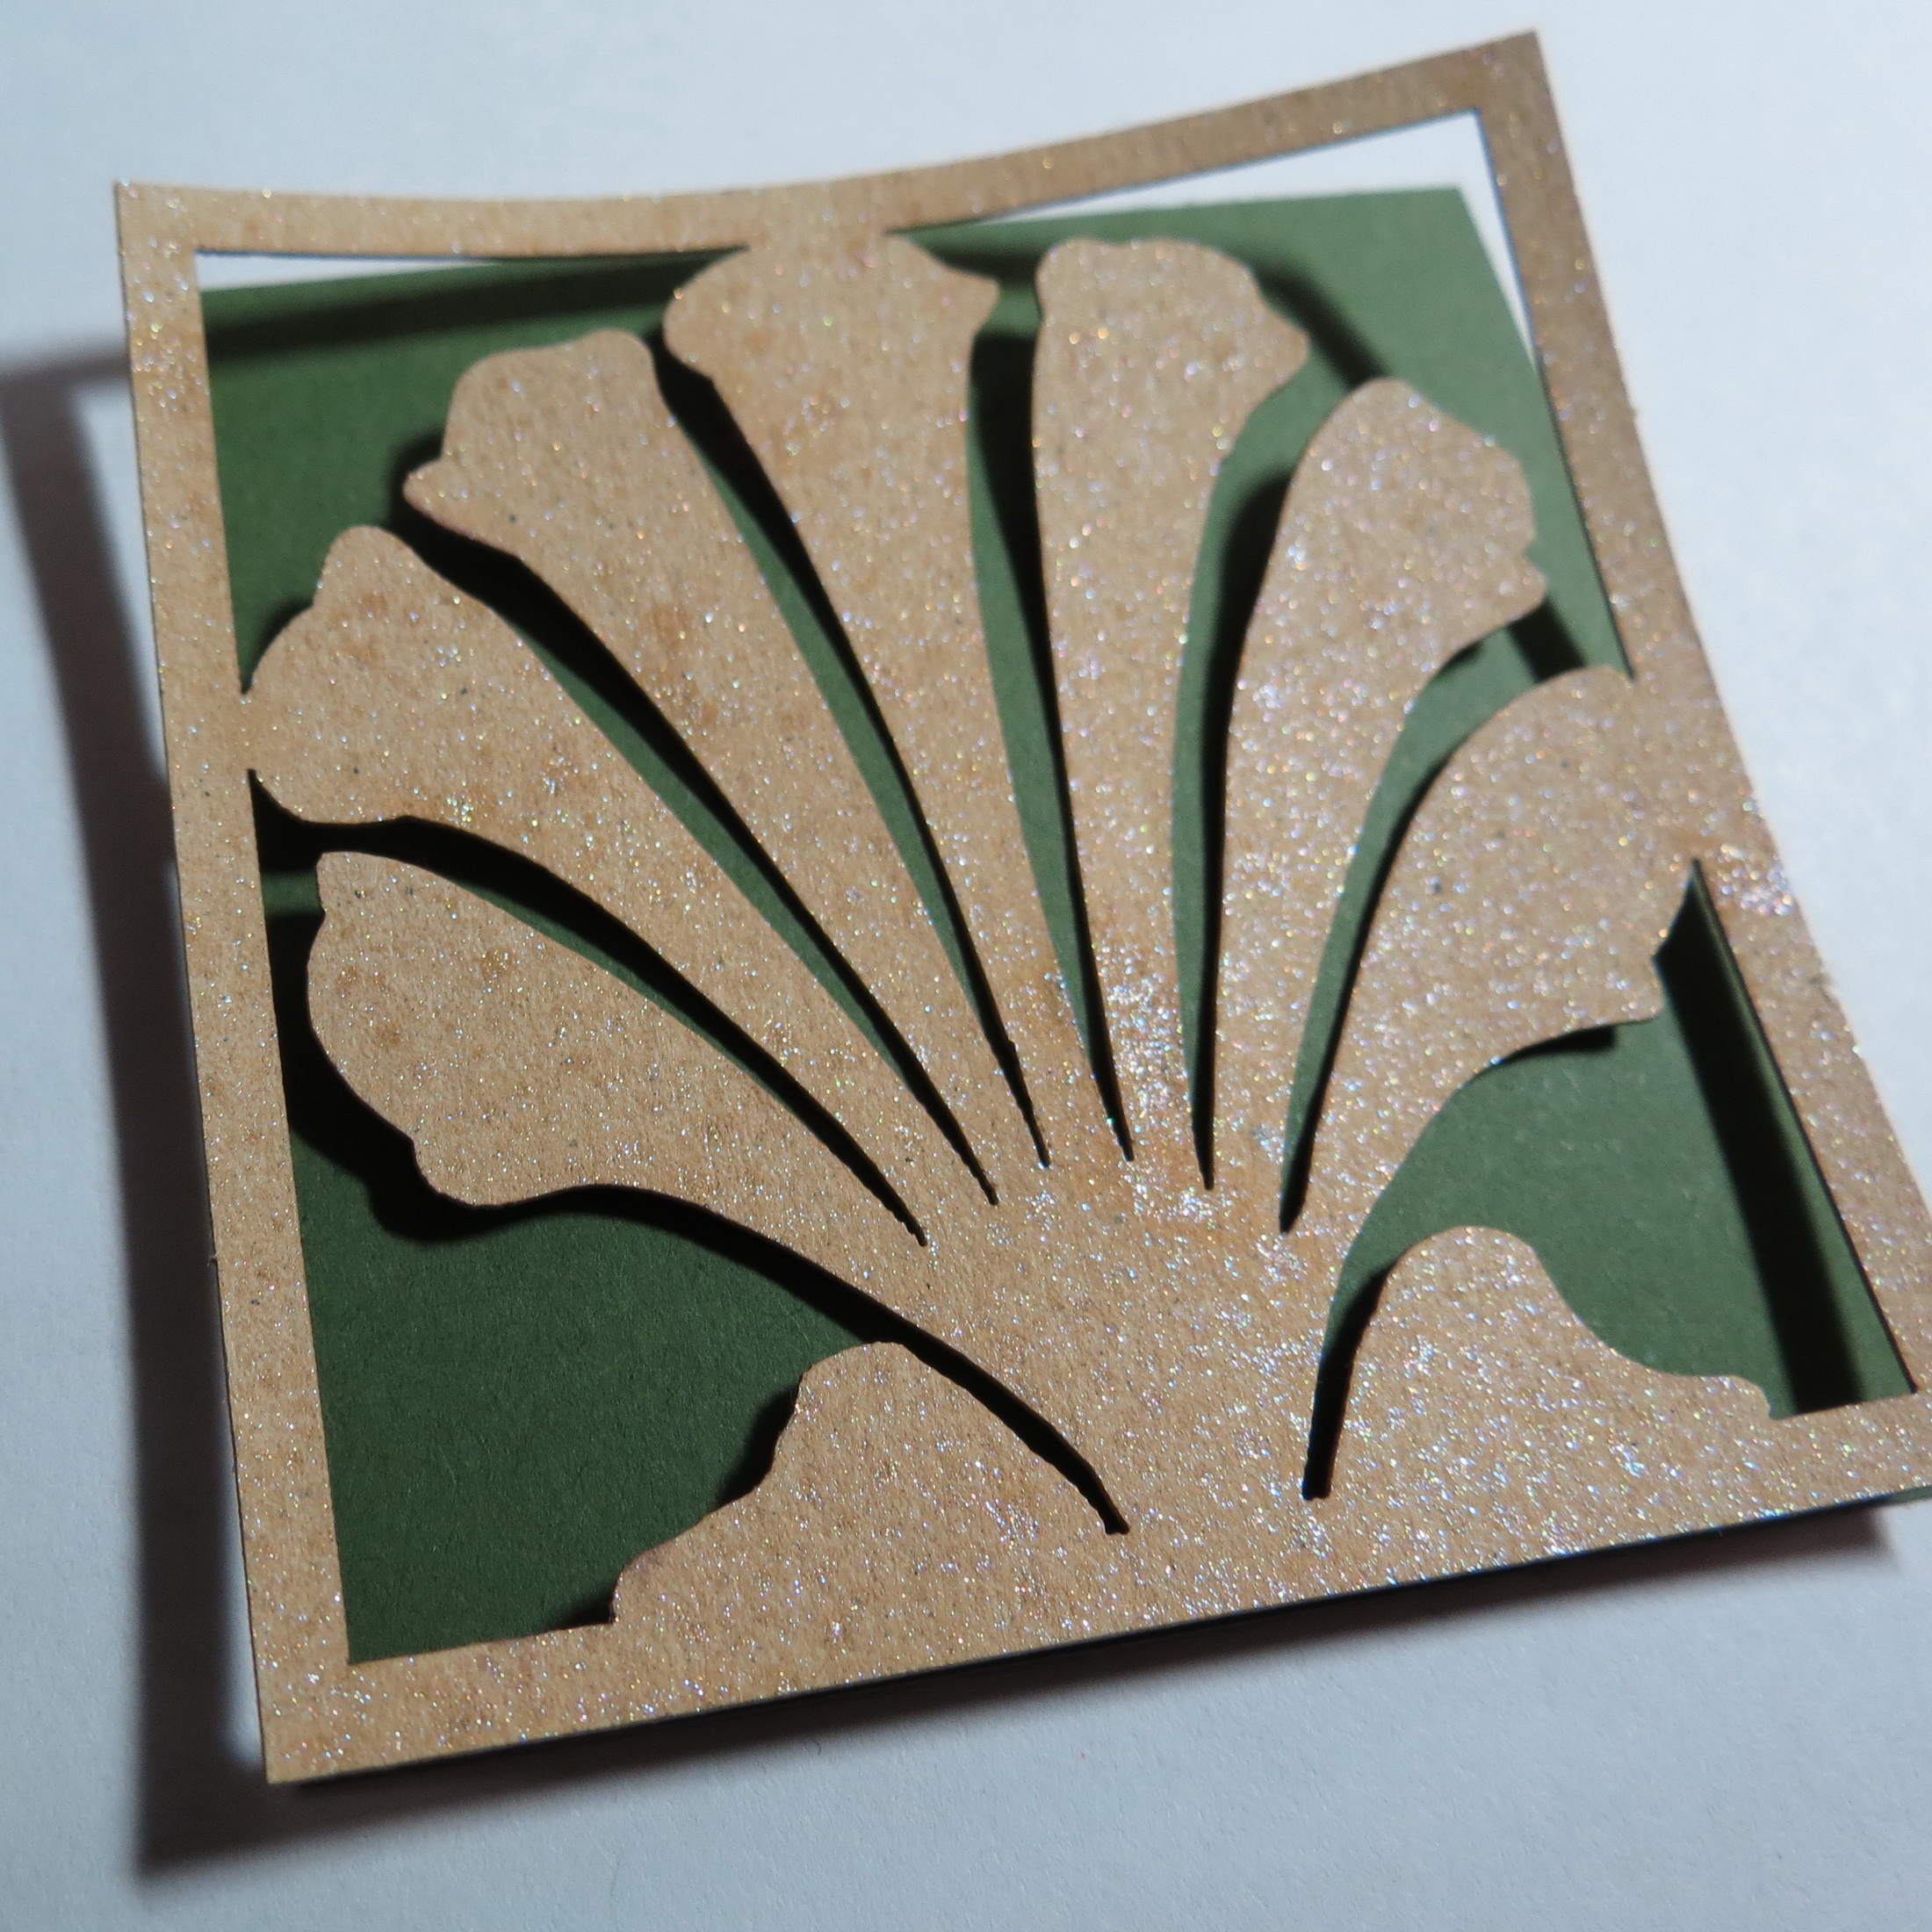
MM Finishing Touches Embellishments Glimmer Misted Cornerstone Tiles
The remaining four 2×2 blocks are cut from pattern paper to fit the Florida theme. It’s quick and simple.
MM Finishing Touches Embellishments patterned paper fussy cut tiles
Layout two
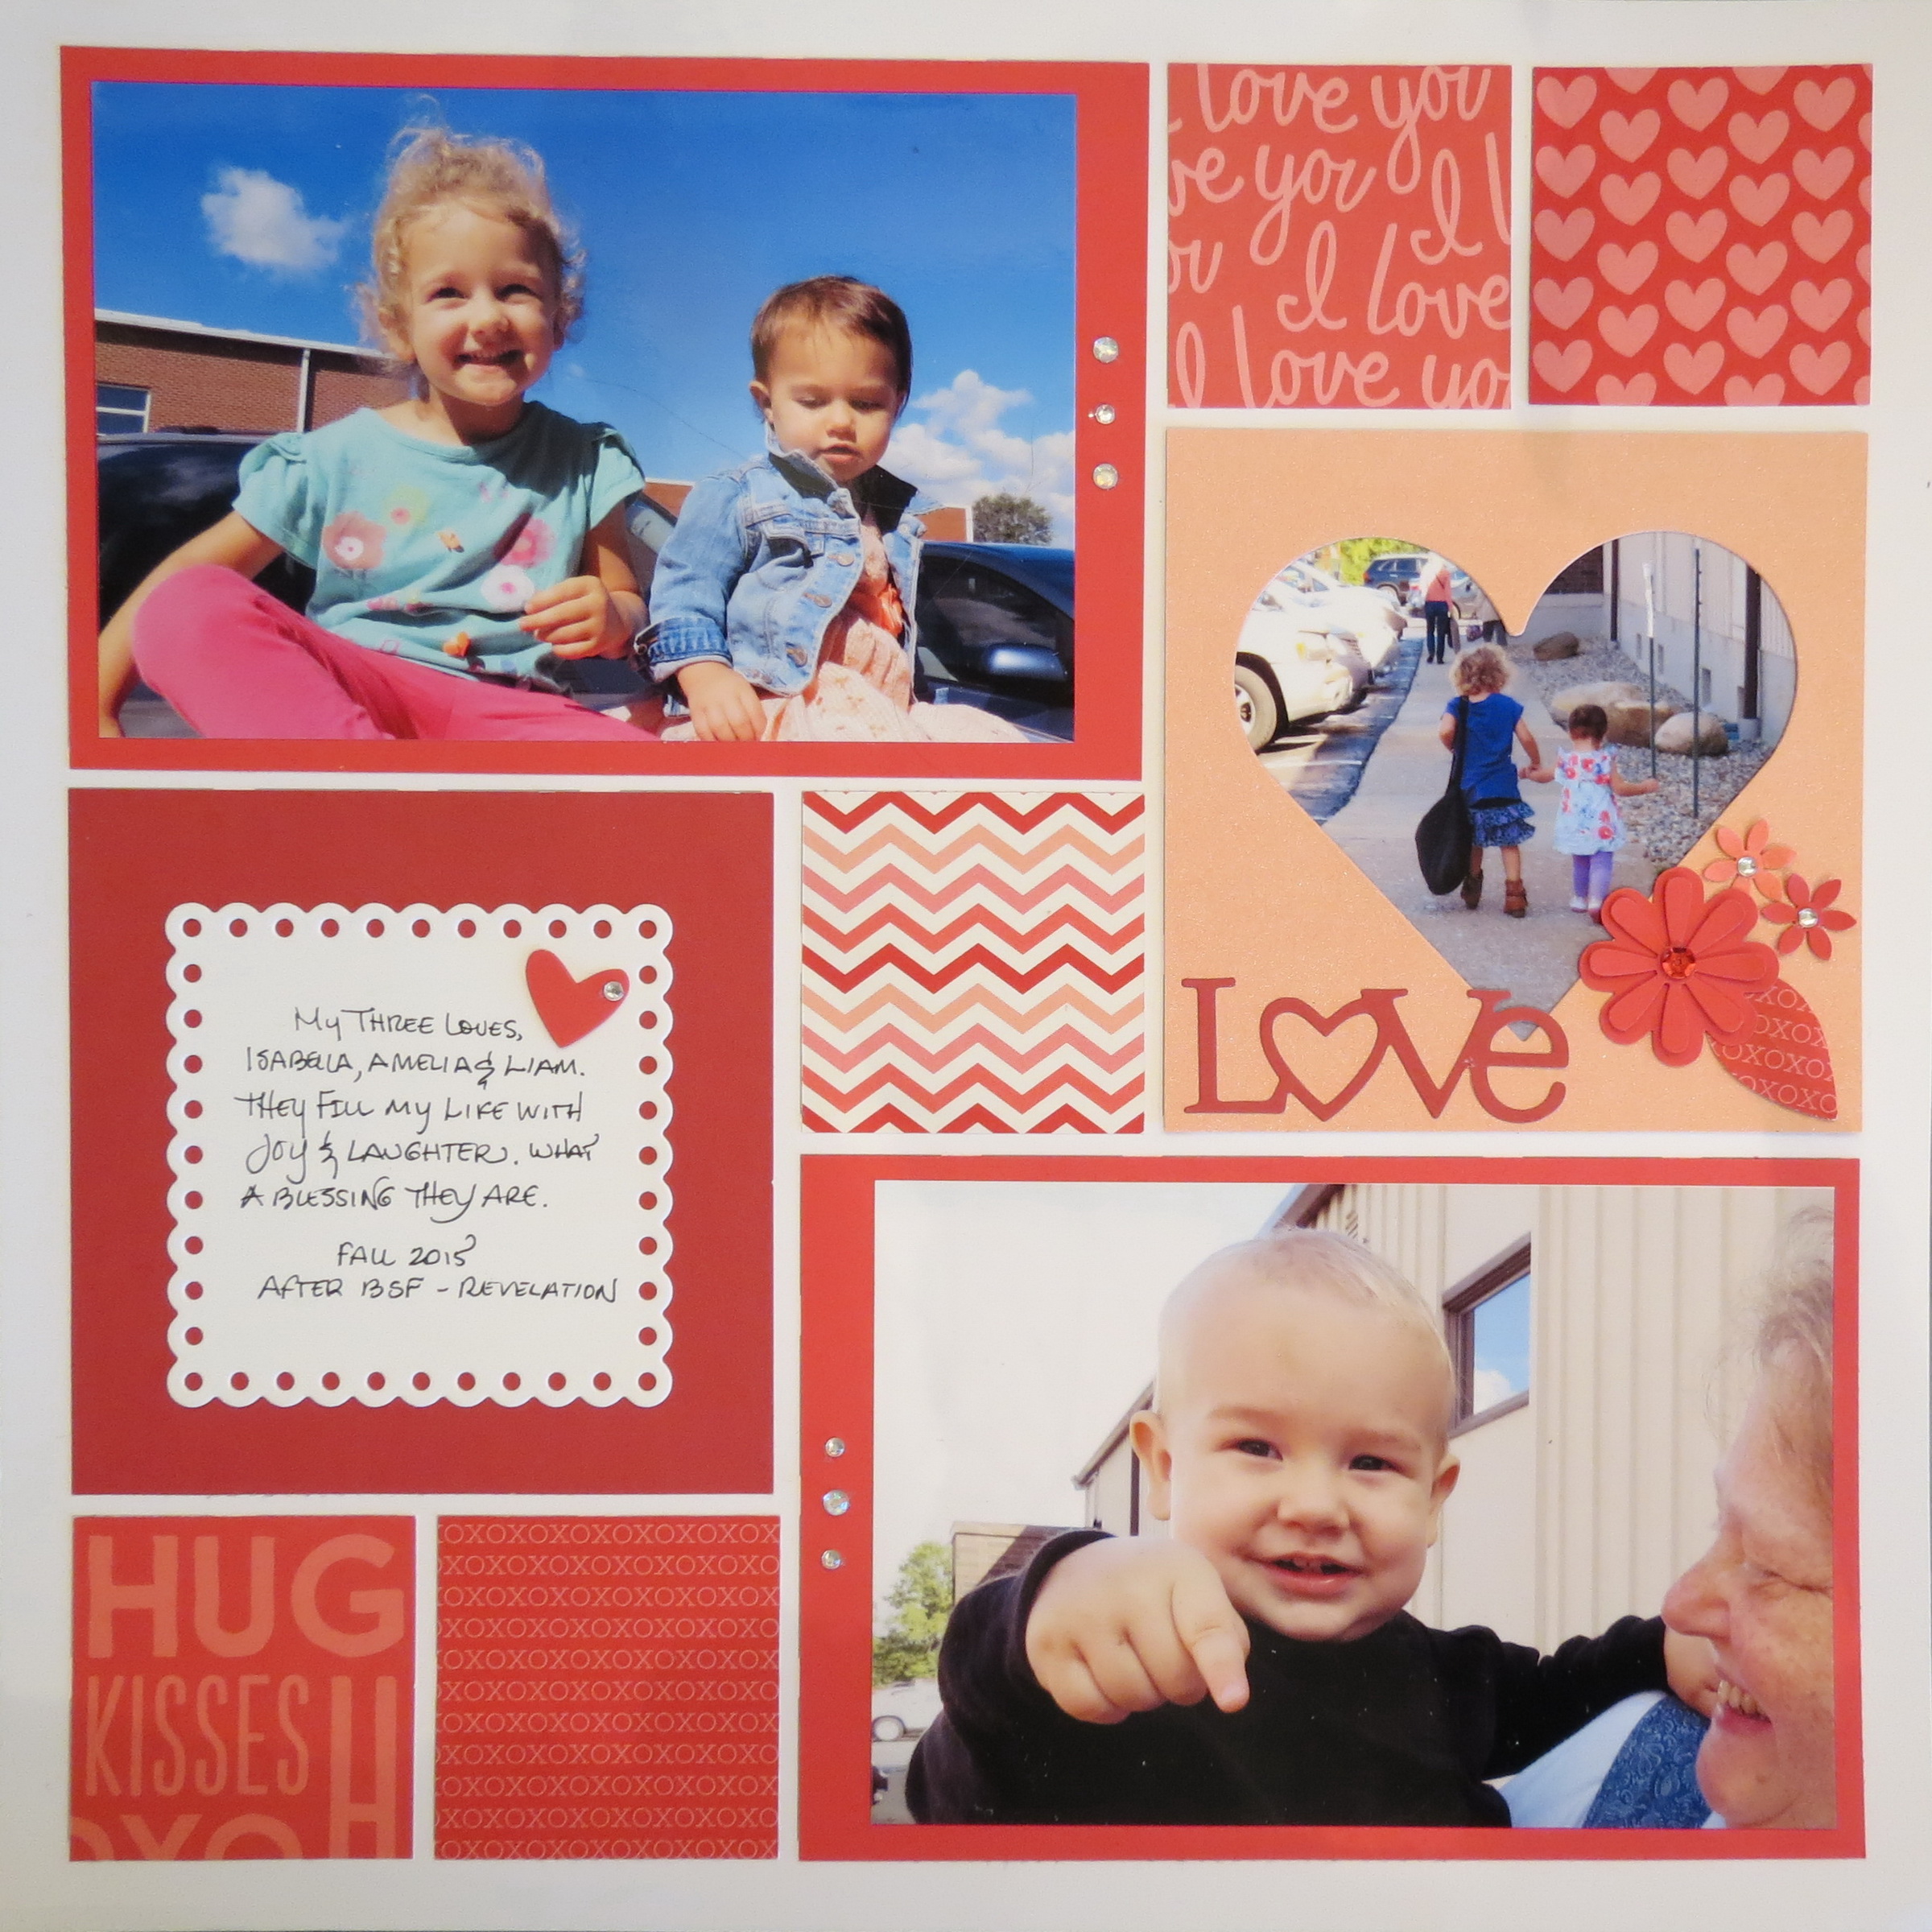
MM Finishing Touches Embellishments Punched flowers, die cuts and gemstones
In this peachy monochromatic layout the journaling space is more than on the first layout and is contained in one spot. Embellishments now include punched flowers (EK Success) and die cuts (Papertrey Ink) using the Mosaic Moments Heart Tile as a base for the embellishments while sequins and gems add some bling in this layout.
The large photos are matted with a little bit of gemstone bling on the mats.
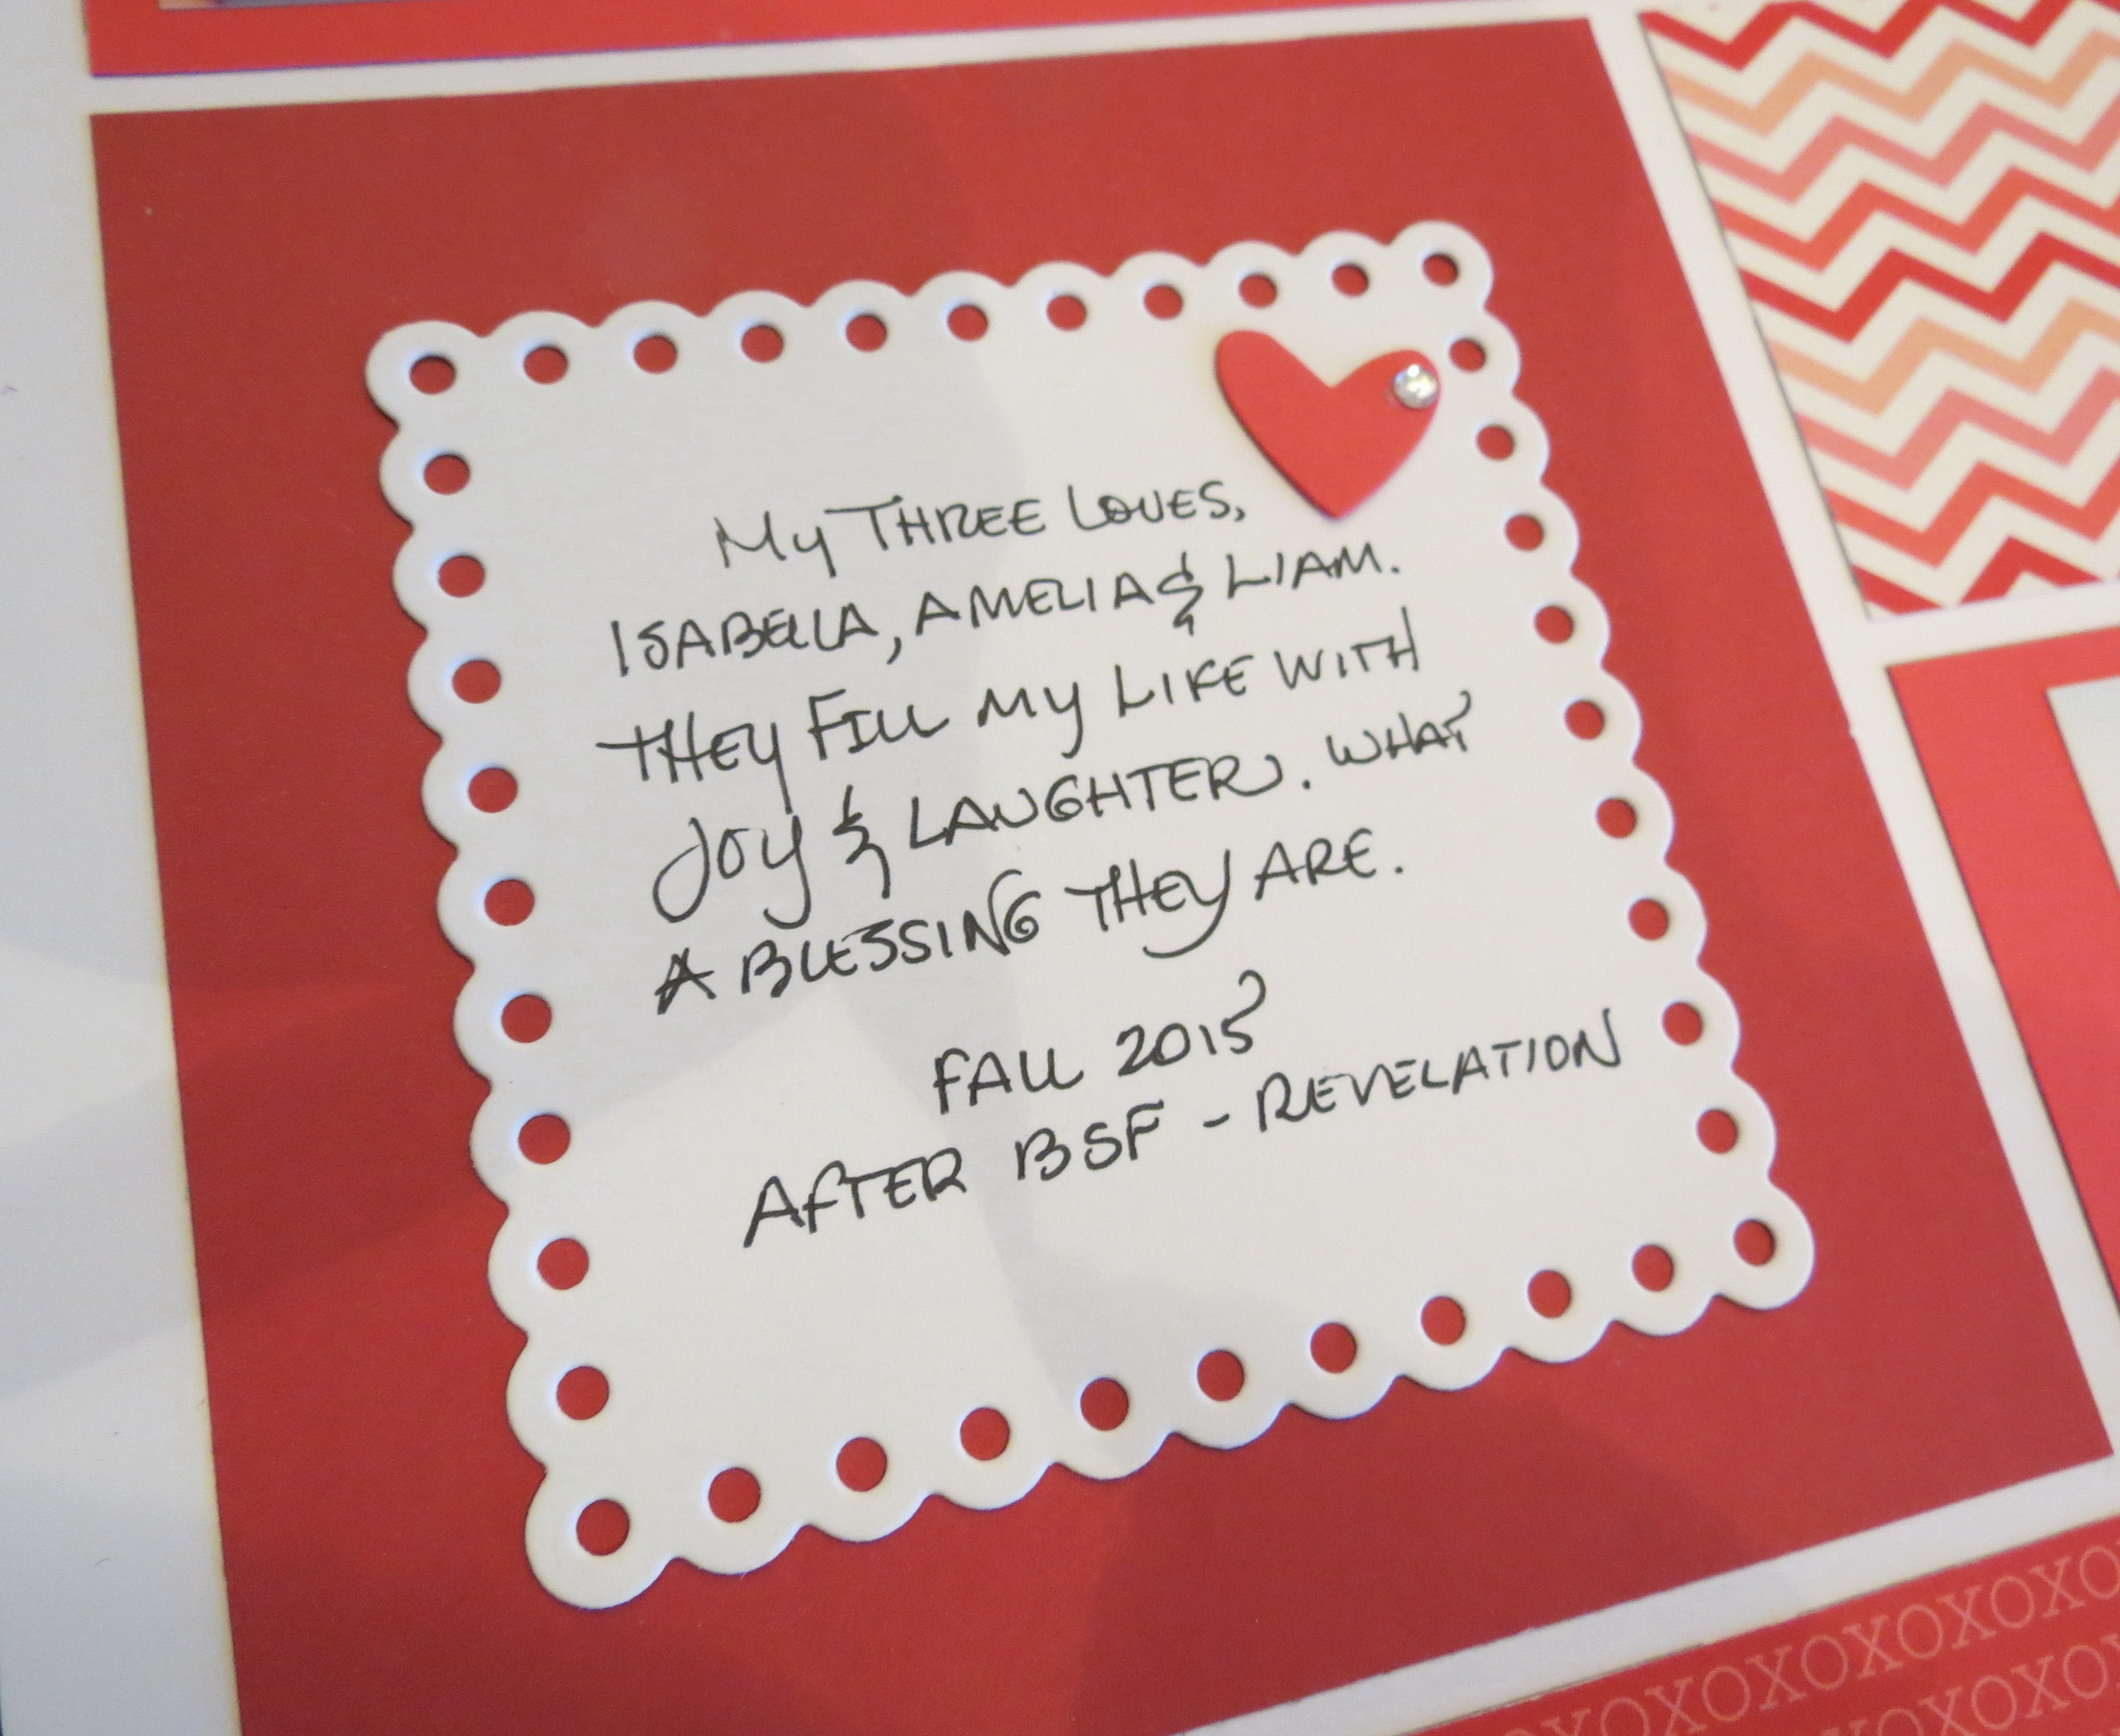
The large red square is topped with the Scallop Dot Mat in white and contains my journaling. The small heart leftover from the “love” die-cut is a good spot for another gem.
MM Finishing Touches Embellishments Scallop Dot Mat Die and a little gemstone bling
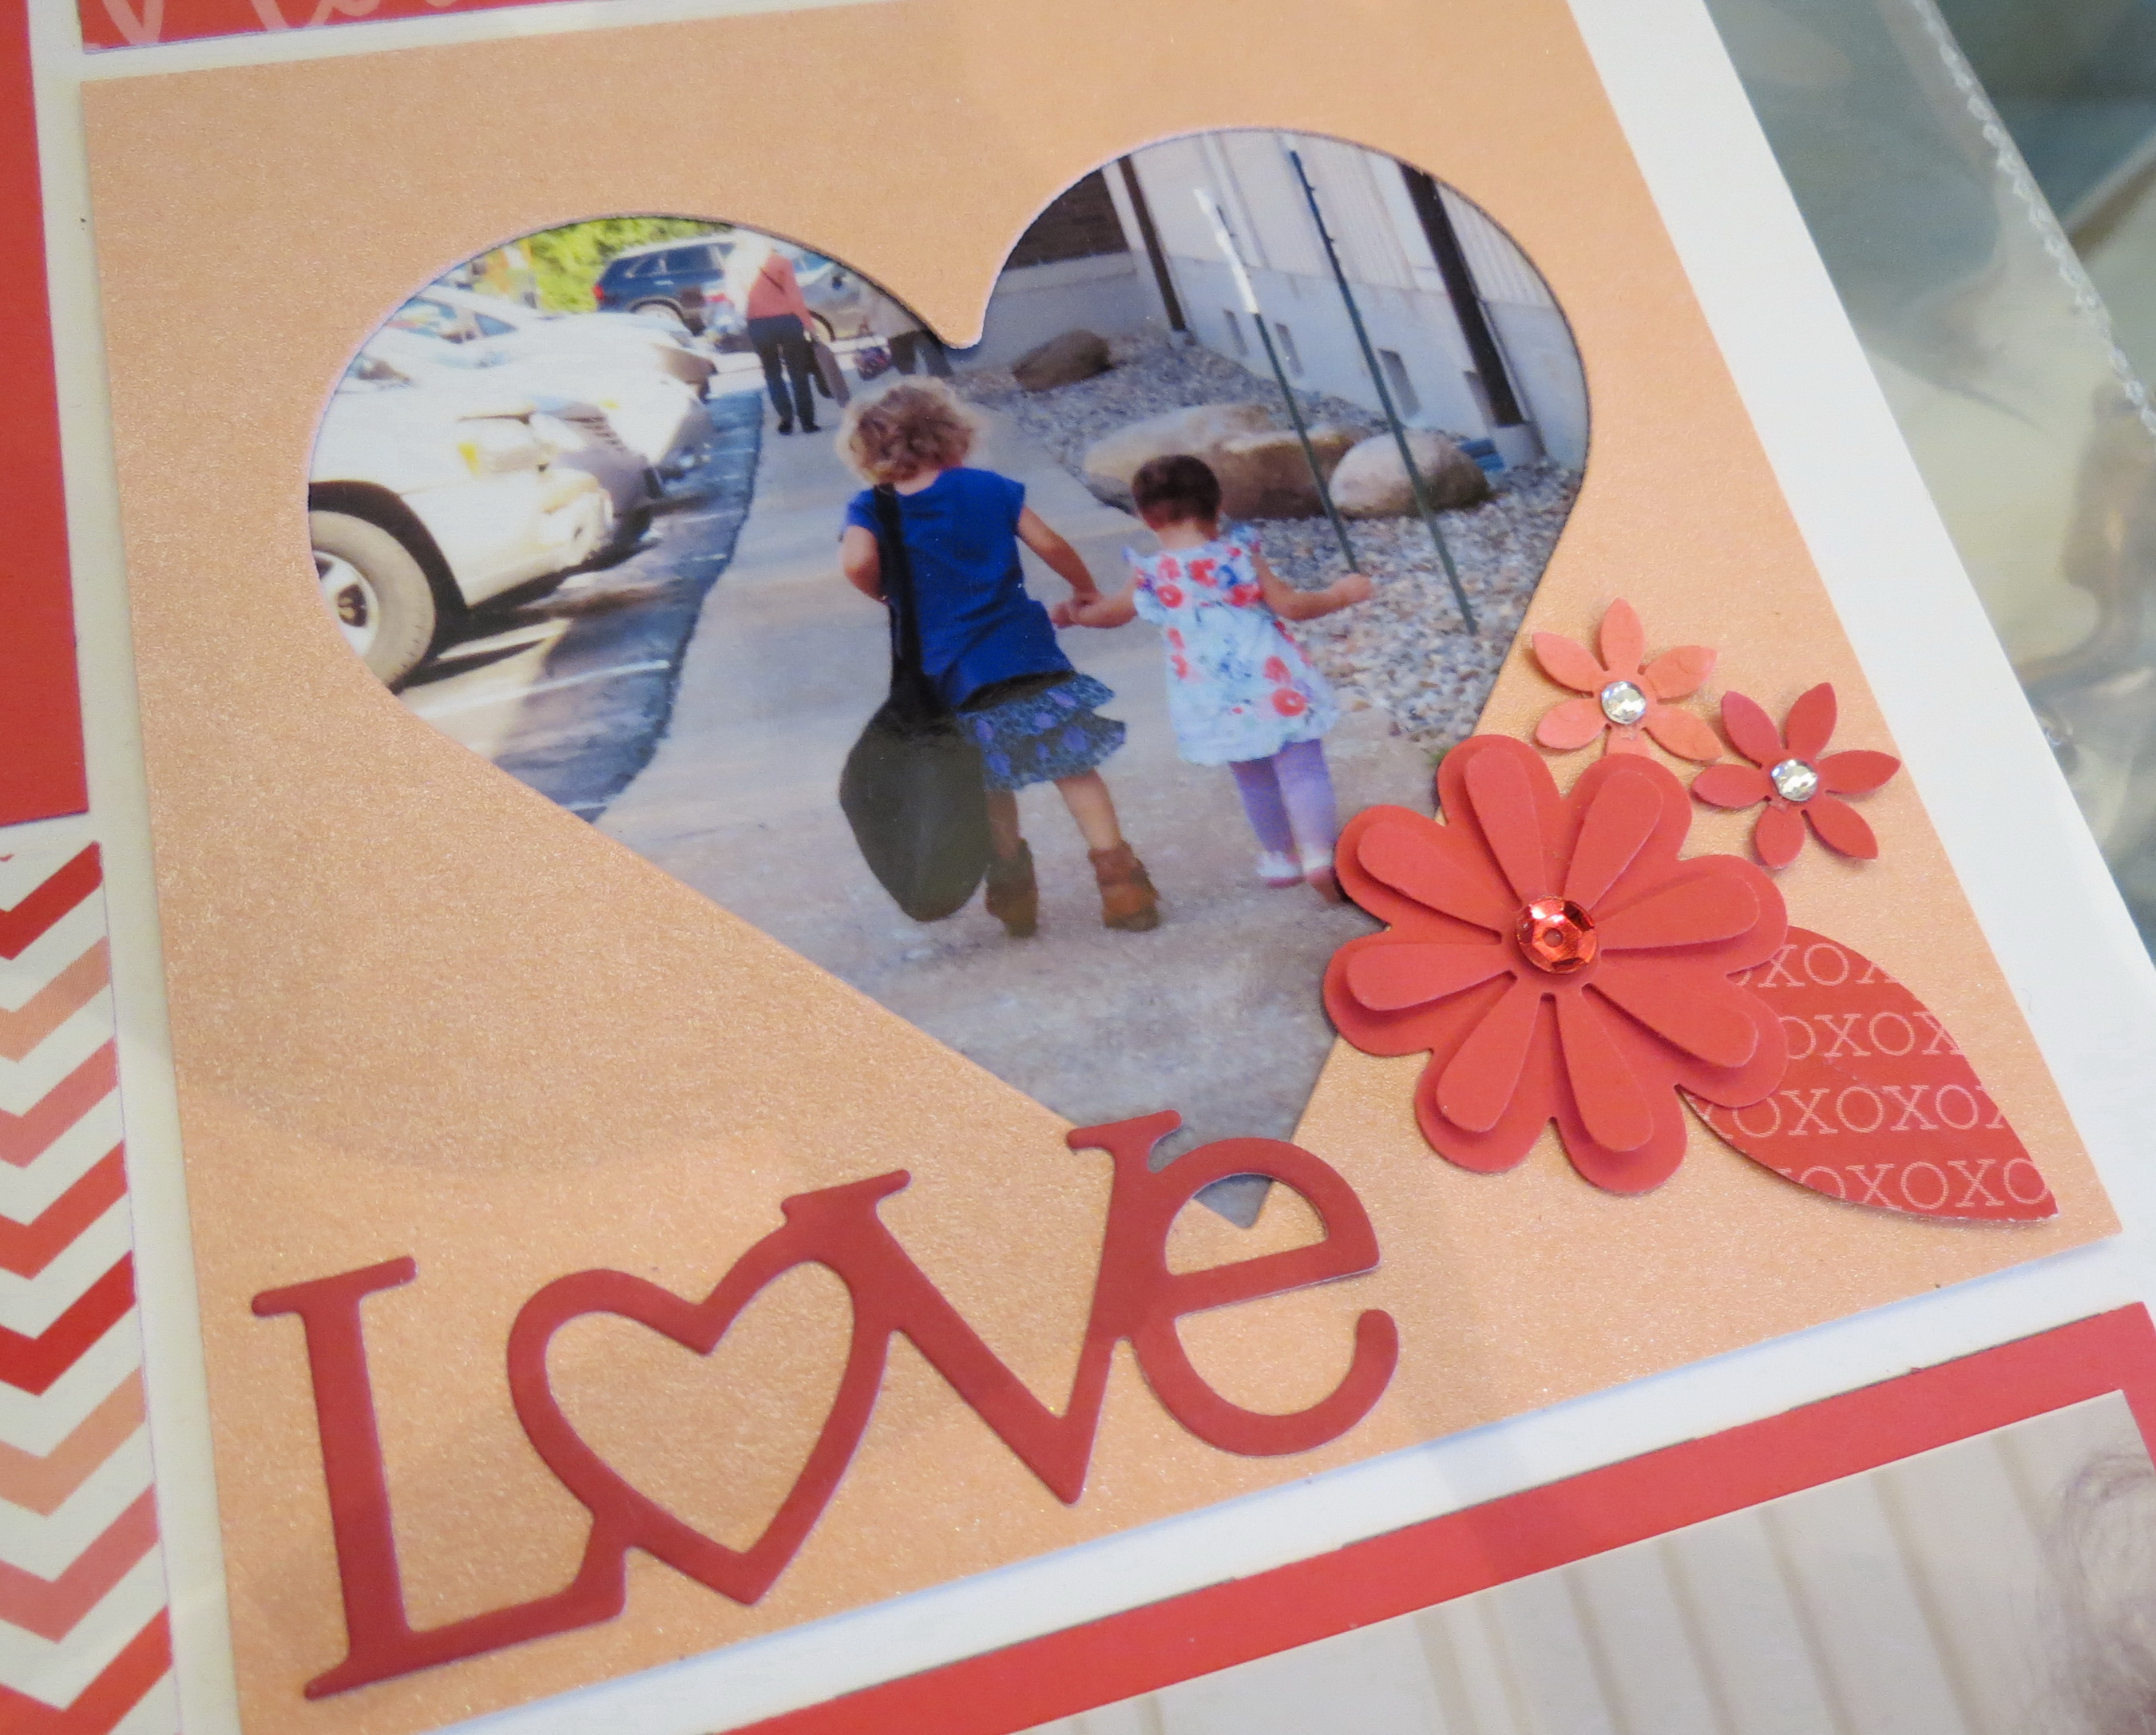
A large heart tile frame with an added “love” die-cut on the bottom edge and cluster of punched flowers topped with sequins and gems give this a step-up in embellishments. A scrap of the patterned paper (Pebbles) is punched for a leaf to tuck under the flowers.
MM Finishing Touches Embellishments Love Die Cut (Papertrey Ink) and Punched Flowers (EK Success) sequins and gemstones.
The 2×2 blocks are made up of double-sided coordinating patterned papers (Pebbles) that were the inspiration for the color scheme.
Layout three

MM Finishing Touches Embellishments Die Cuts, chalkboards, punches flowers, stamped images Heart Tiles.
In the third layout a Mosaic Moments Strawberry 12×12 Grid is our base. The top left large 4×6 block prominently displays the featured embellishment, now an entire block. I began with a sheet of Black Magic Core’dinations Cardstock Hocus Pocus Collection with a pink core trimmed to fit. Then used the Swiss Dots embossing folder (Cuttlebug/Provo Craft) for texture and lightly sanded it to allow the pink to show through in the dot pattern.
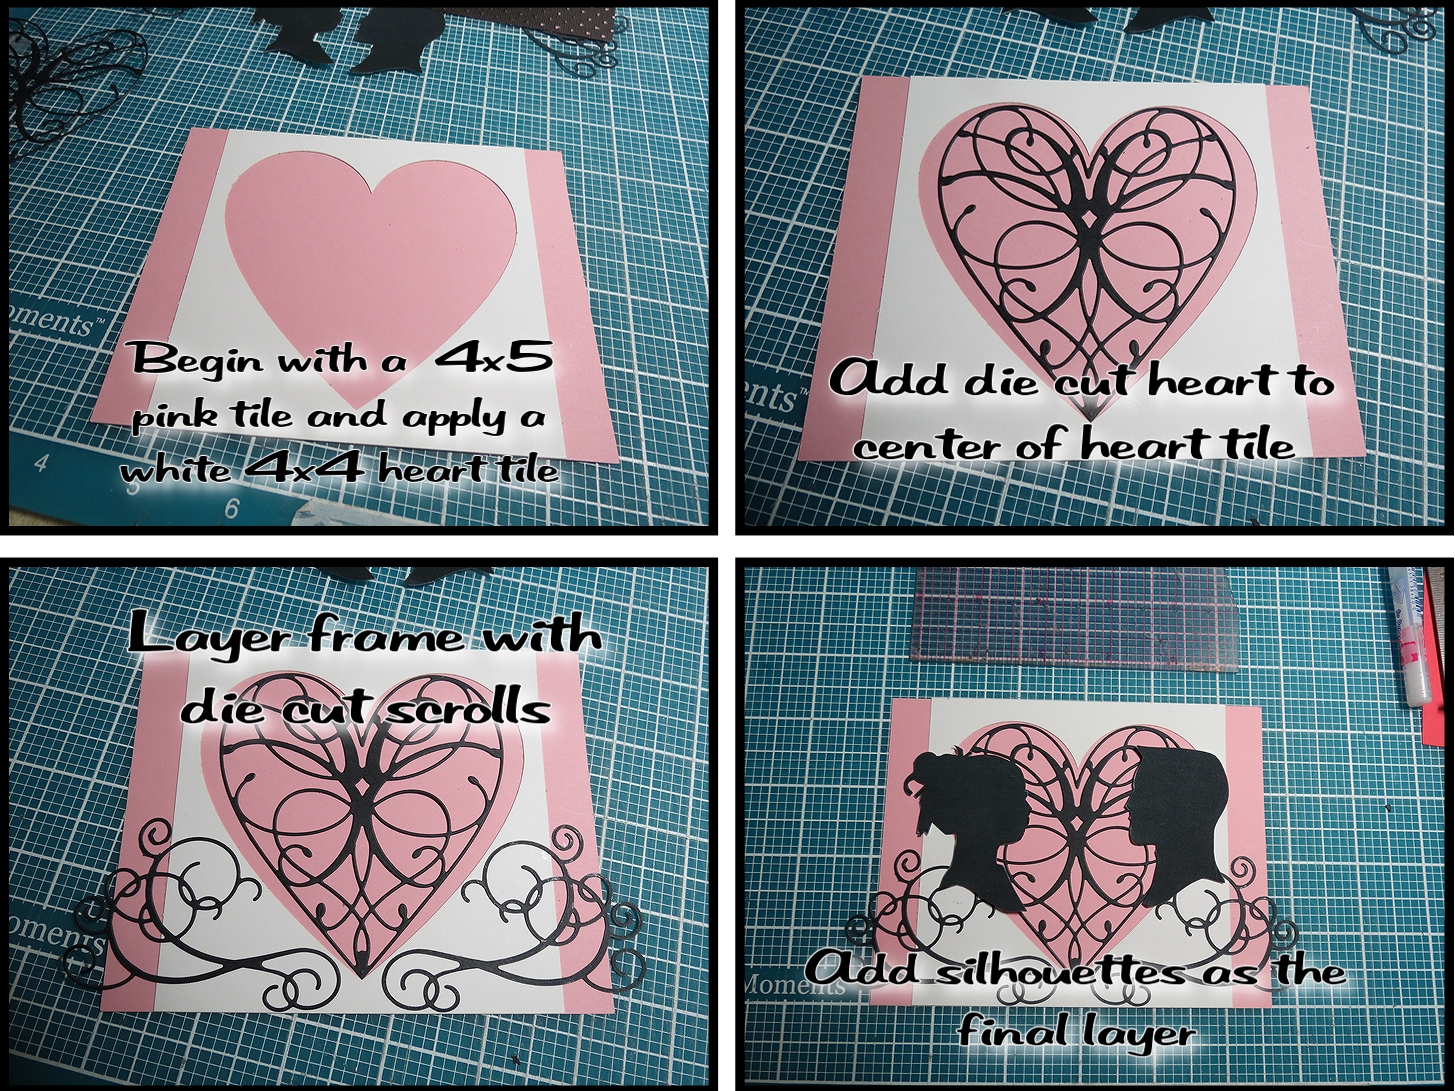
MM Finishing Touches Embellishments Step-by-step
Next, the top layers were assembled on a pink 4×5 paper tile. A white Mosaic Moments Heart Tile is placed on top and a black die cut heart (Memory Box-La Rue Heart) is centered within the frame. Two additional black scrollwork die sections (Memory Box-Elegant Scrollwork) are positioned along the bottom edge of the heart extending over the edges of the heart frame. The silhouette images were hand cut from a photo of the top of the cake, keeping the cake design worked into the overall page design and my main embellishment feature. This whole section is now mounted on the black Swiss dot cardstock with foam mounting tape and placed on the grid.
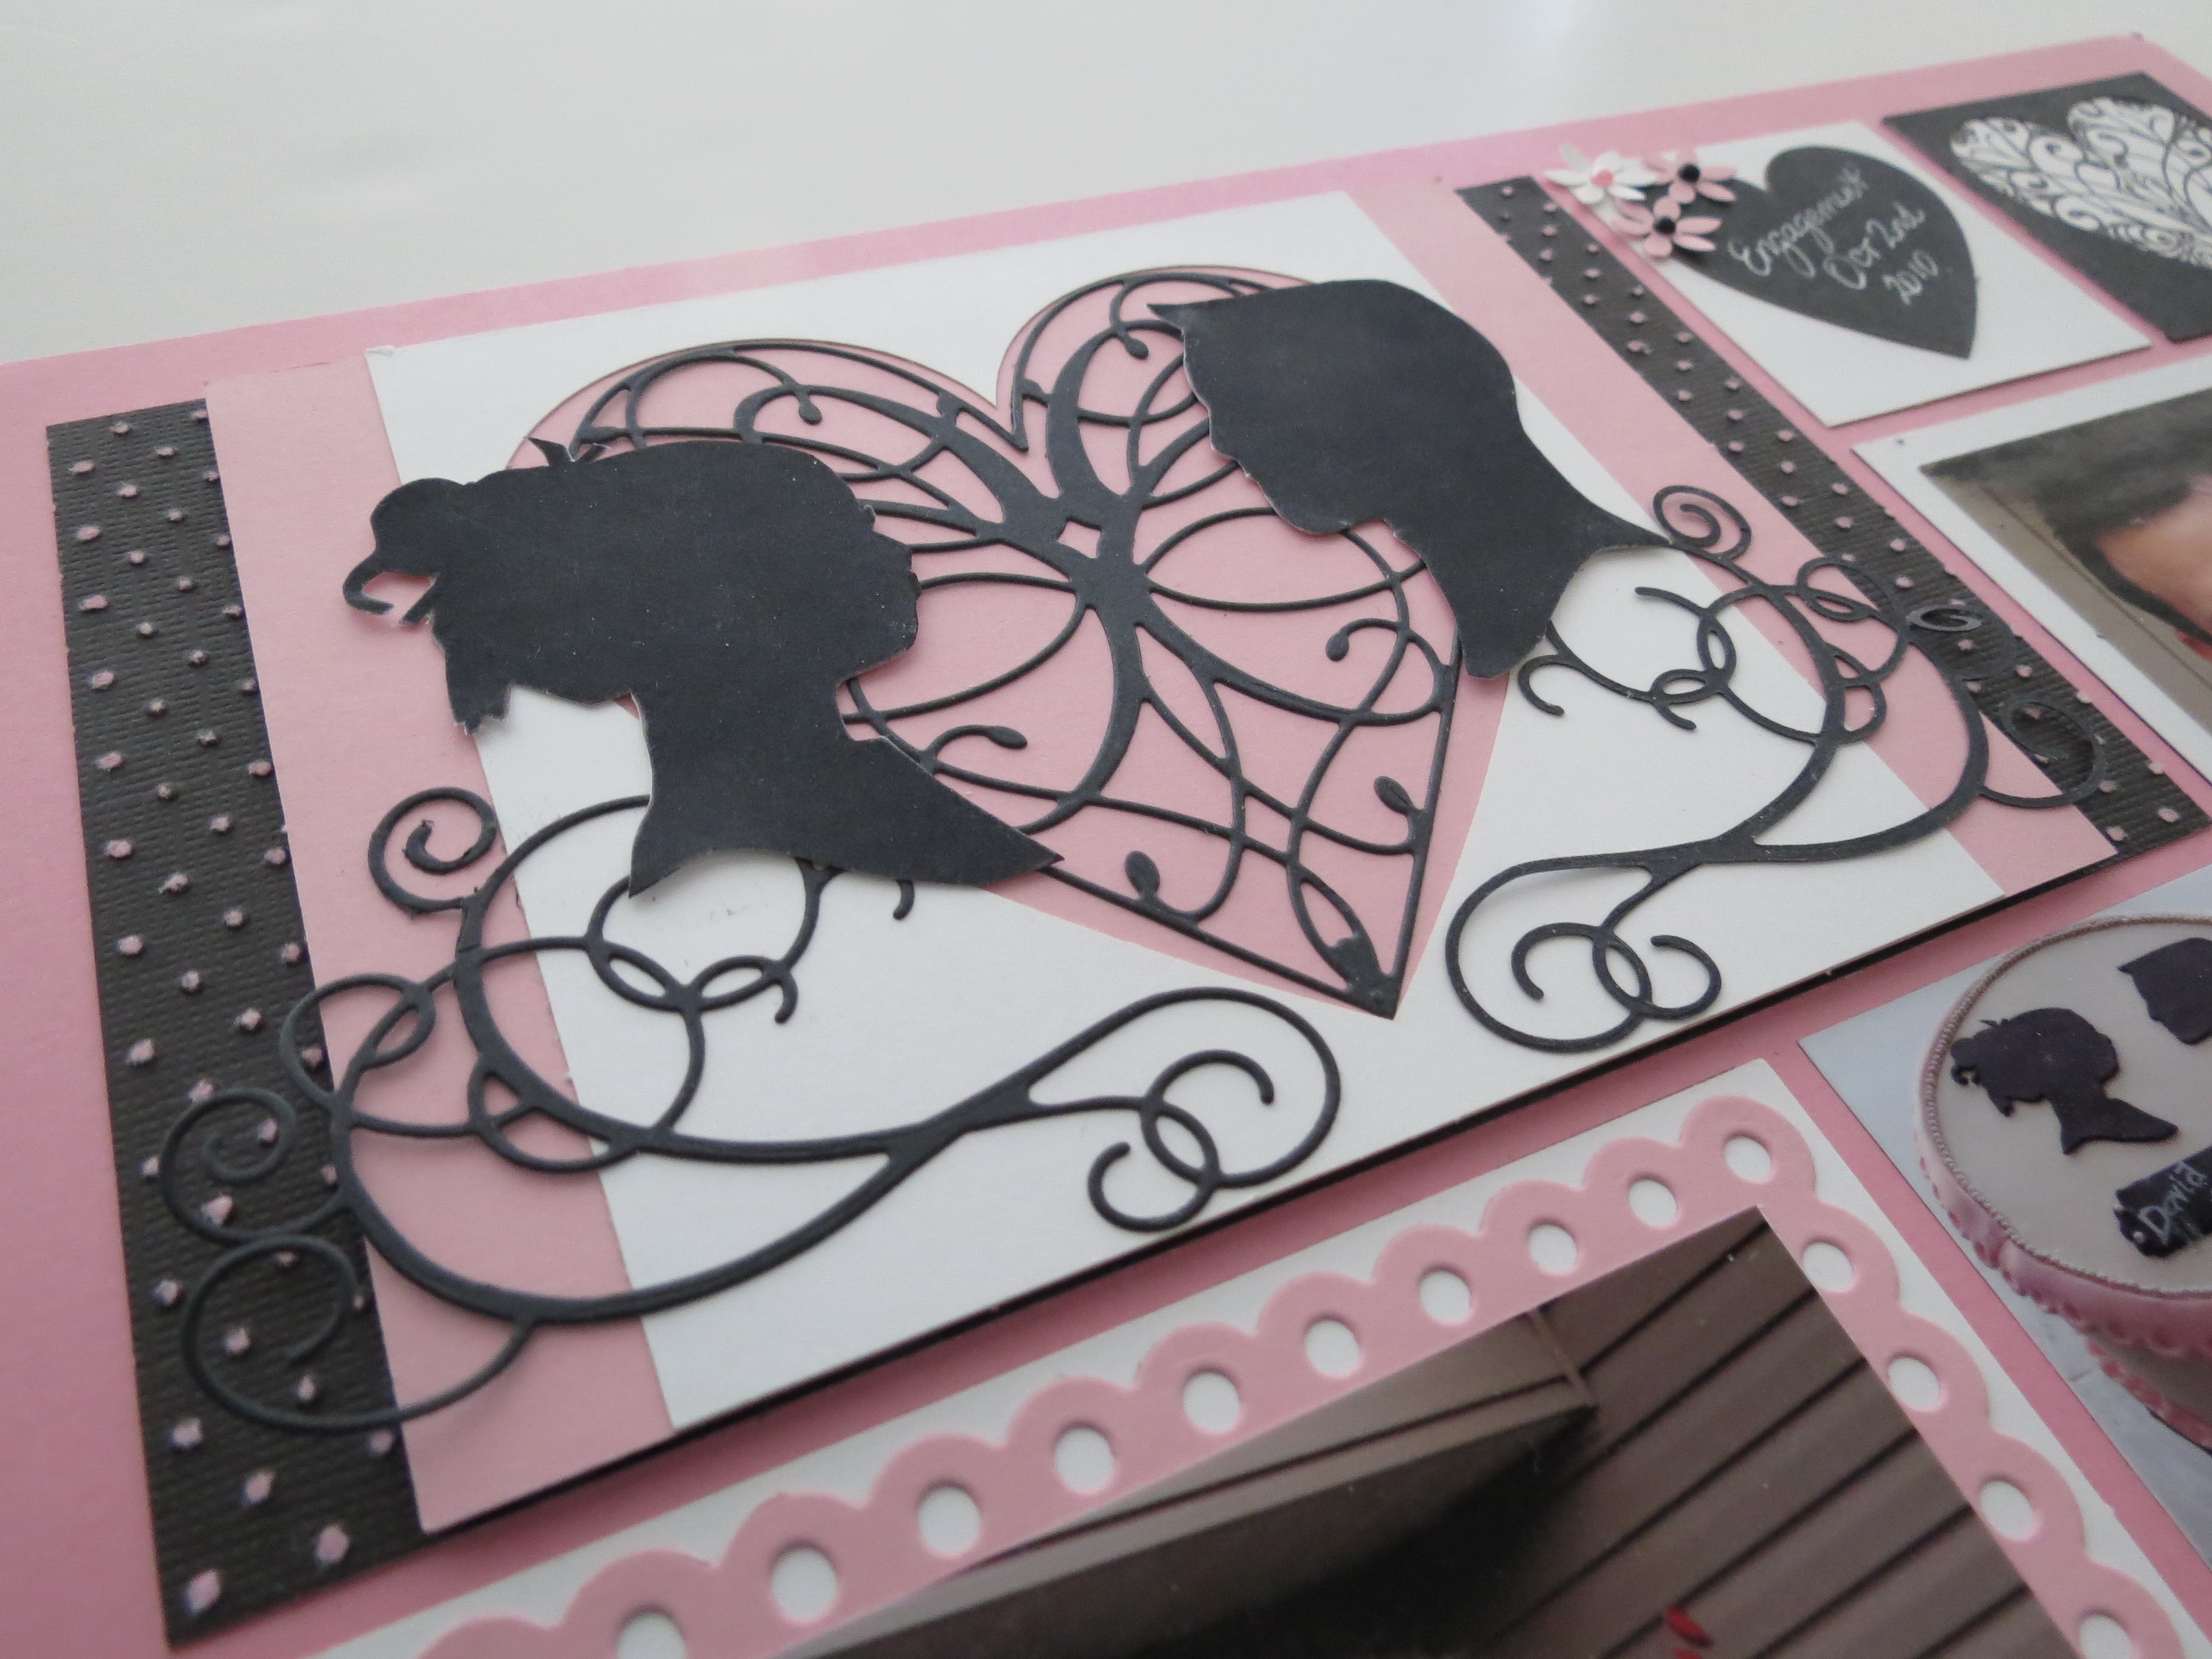
MM Finishing Touches Embellishments foam mounting tape elevates the pink layer from the base.

MM Finishing Touches Embellishments
Two of the 2×2’s serve as additional embellishment squares; two serve as journal spots and the remaining one a photo spot with the cake that is the inspiration for the colors (white, pink and black) and embellishments (chalkboards, scallop edges and pearls).
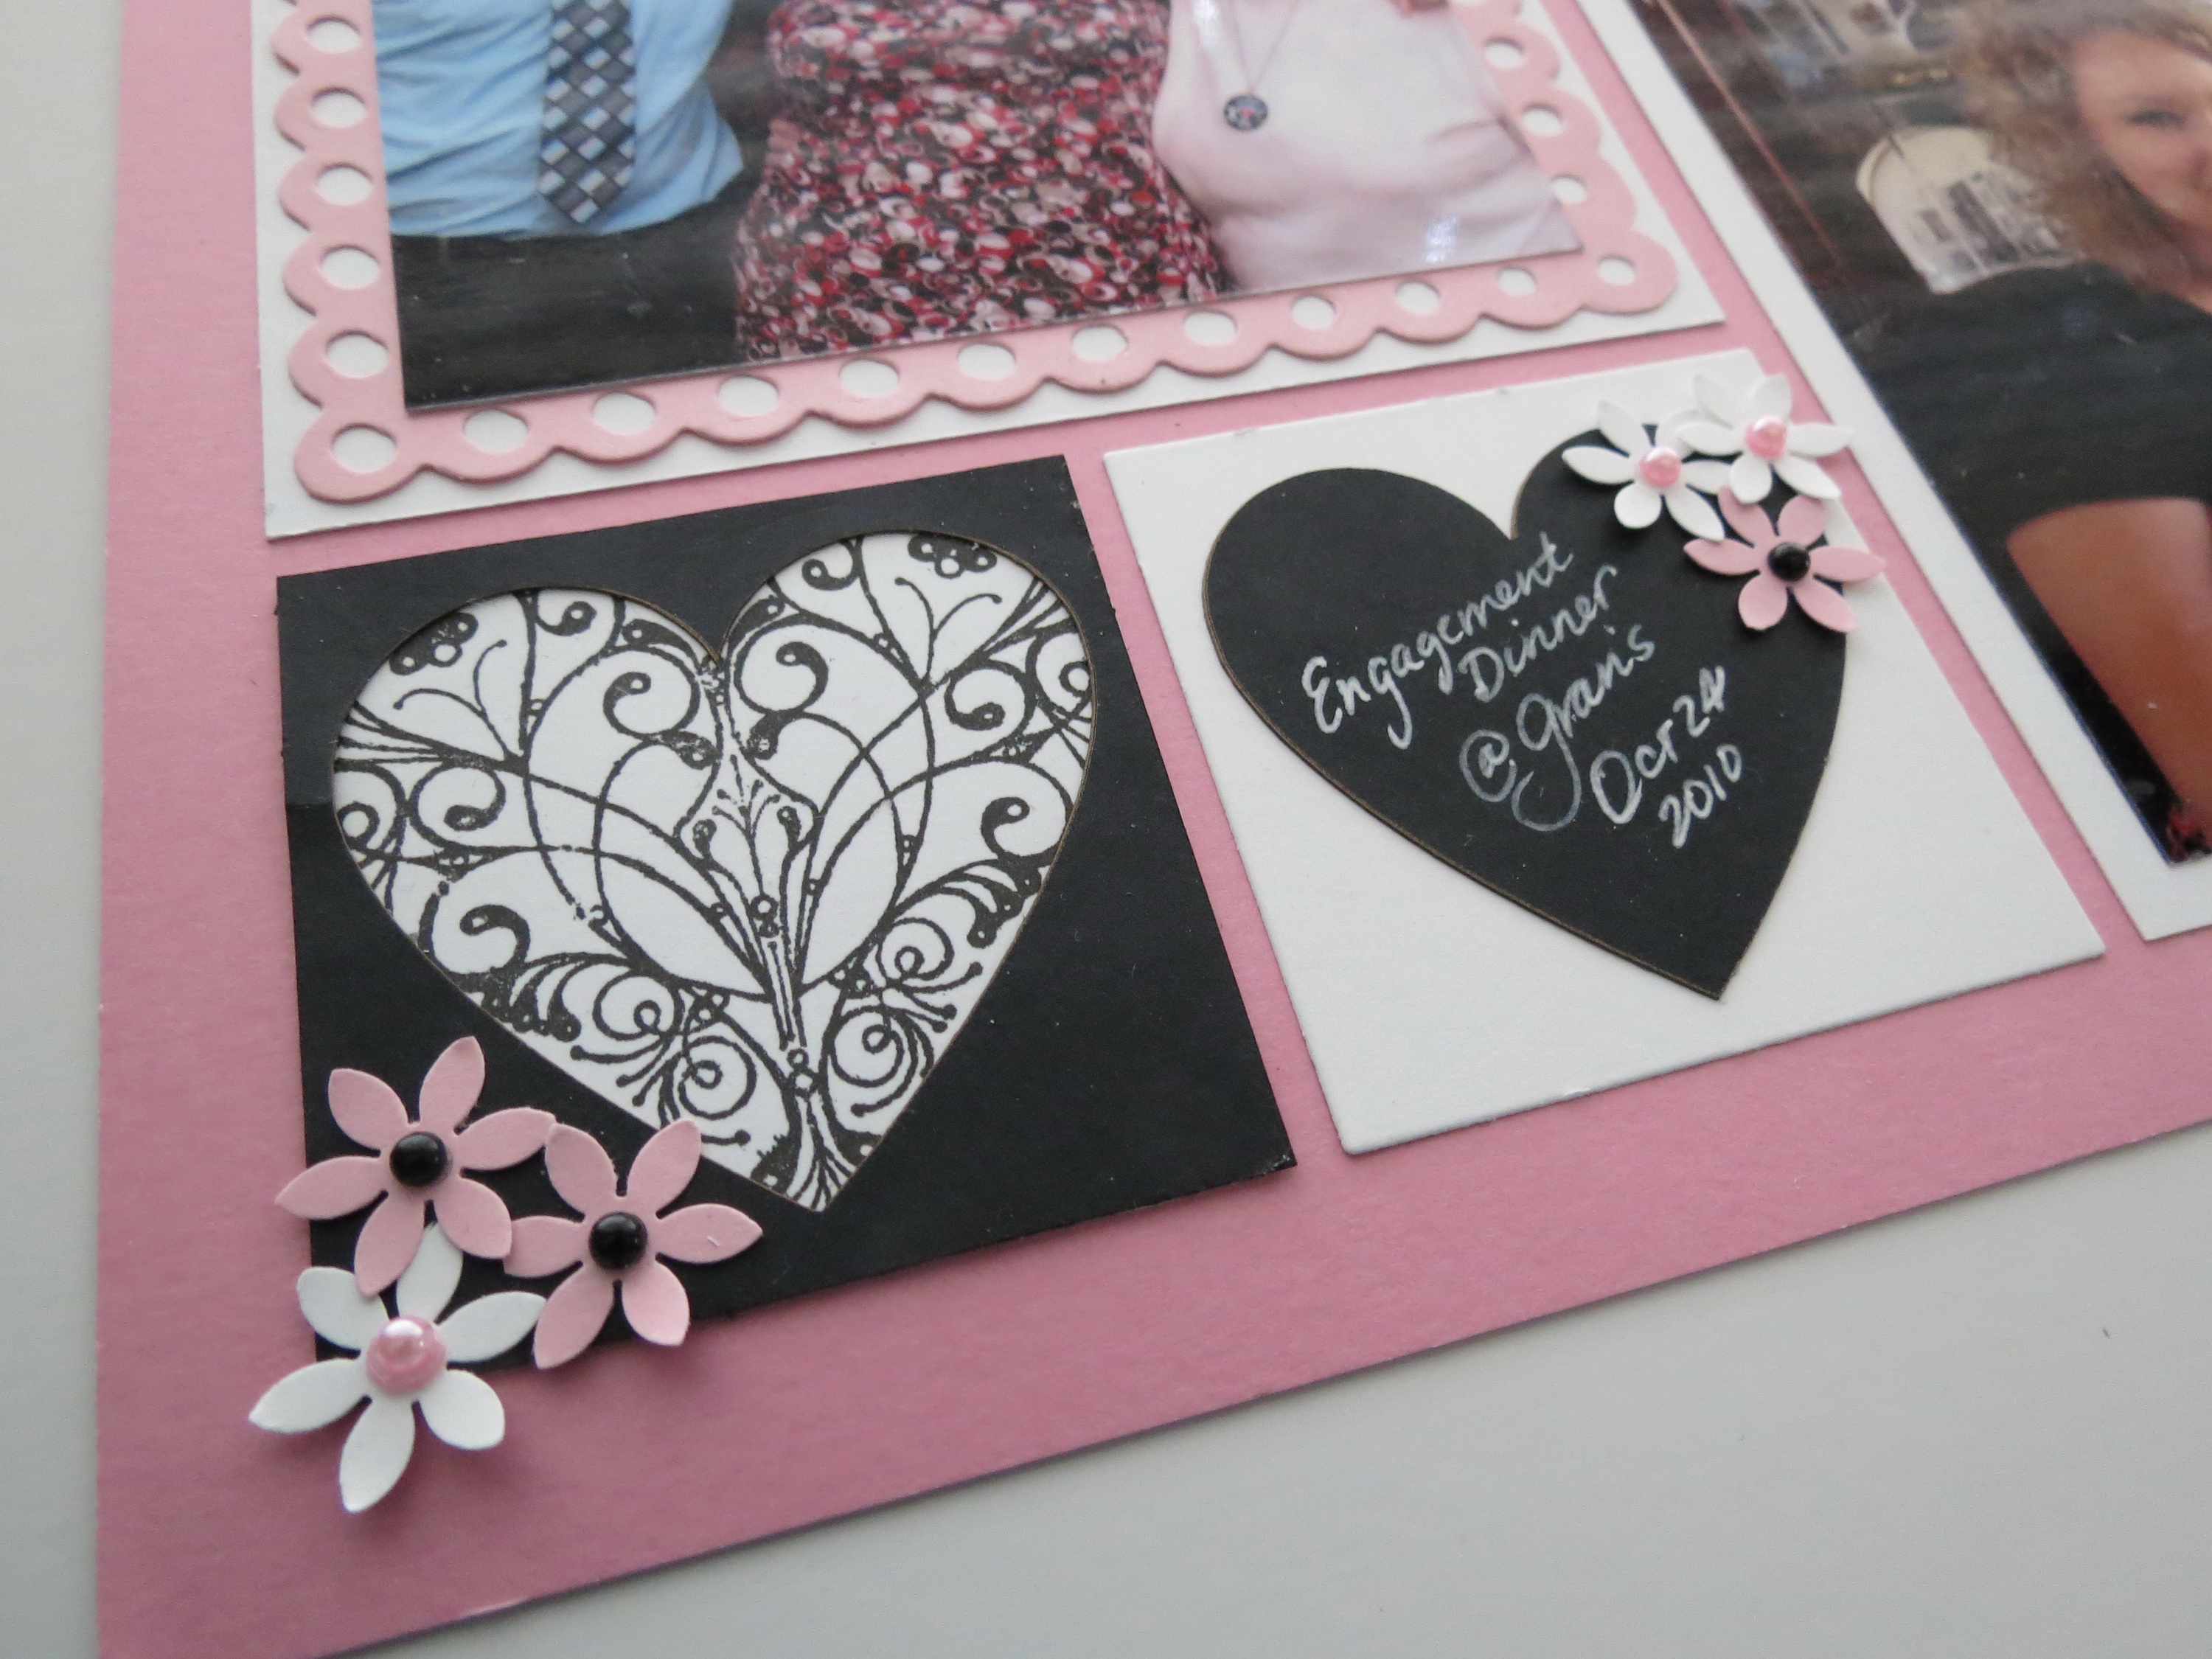
Two black Mosaic Moments 2×2 Heart Tiles and their centers are used with a rubber stamped heart (D2024 Filigree Heart-Impression Obsessions) image dropped behind the frame.
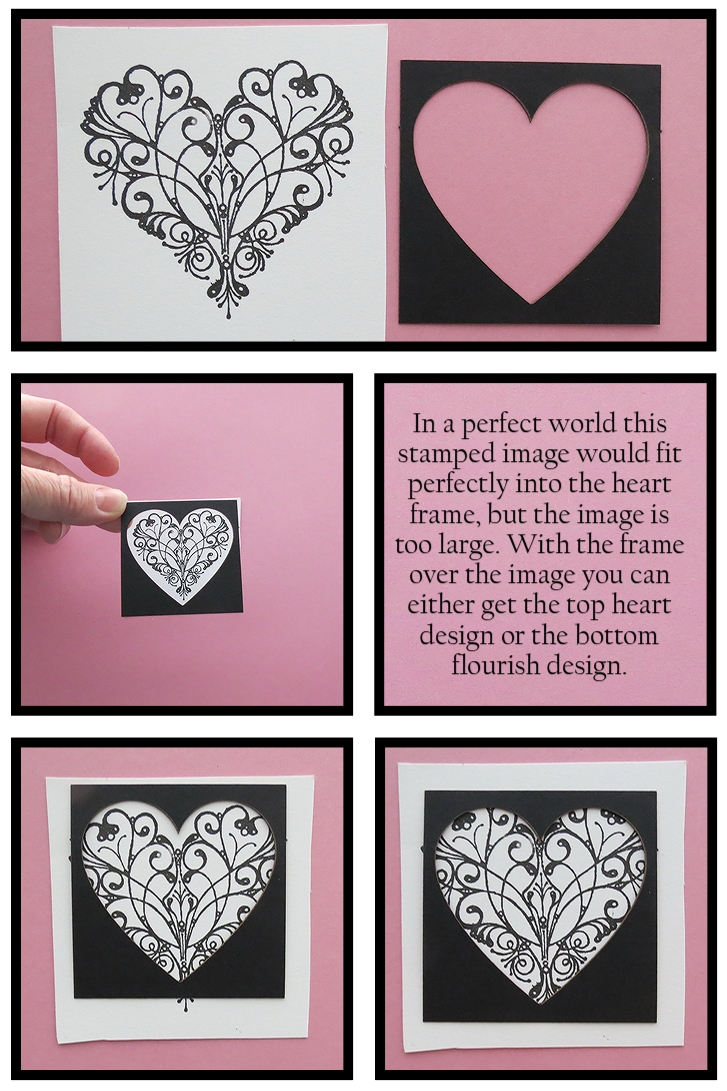
MM Finishing Touches embellishments using Rubber stamps, MM Heart Tiles
The black out-take heart on white is perfect for journaling with a white gel pen. Both are finished off with tiny flowers in white and pink with black and pink pearl centers (Queen & Co.) clustered at the corners.
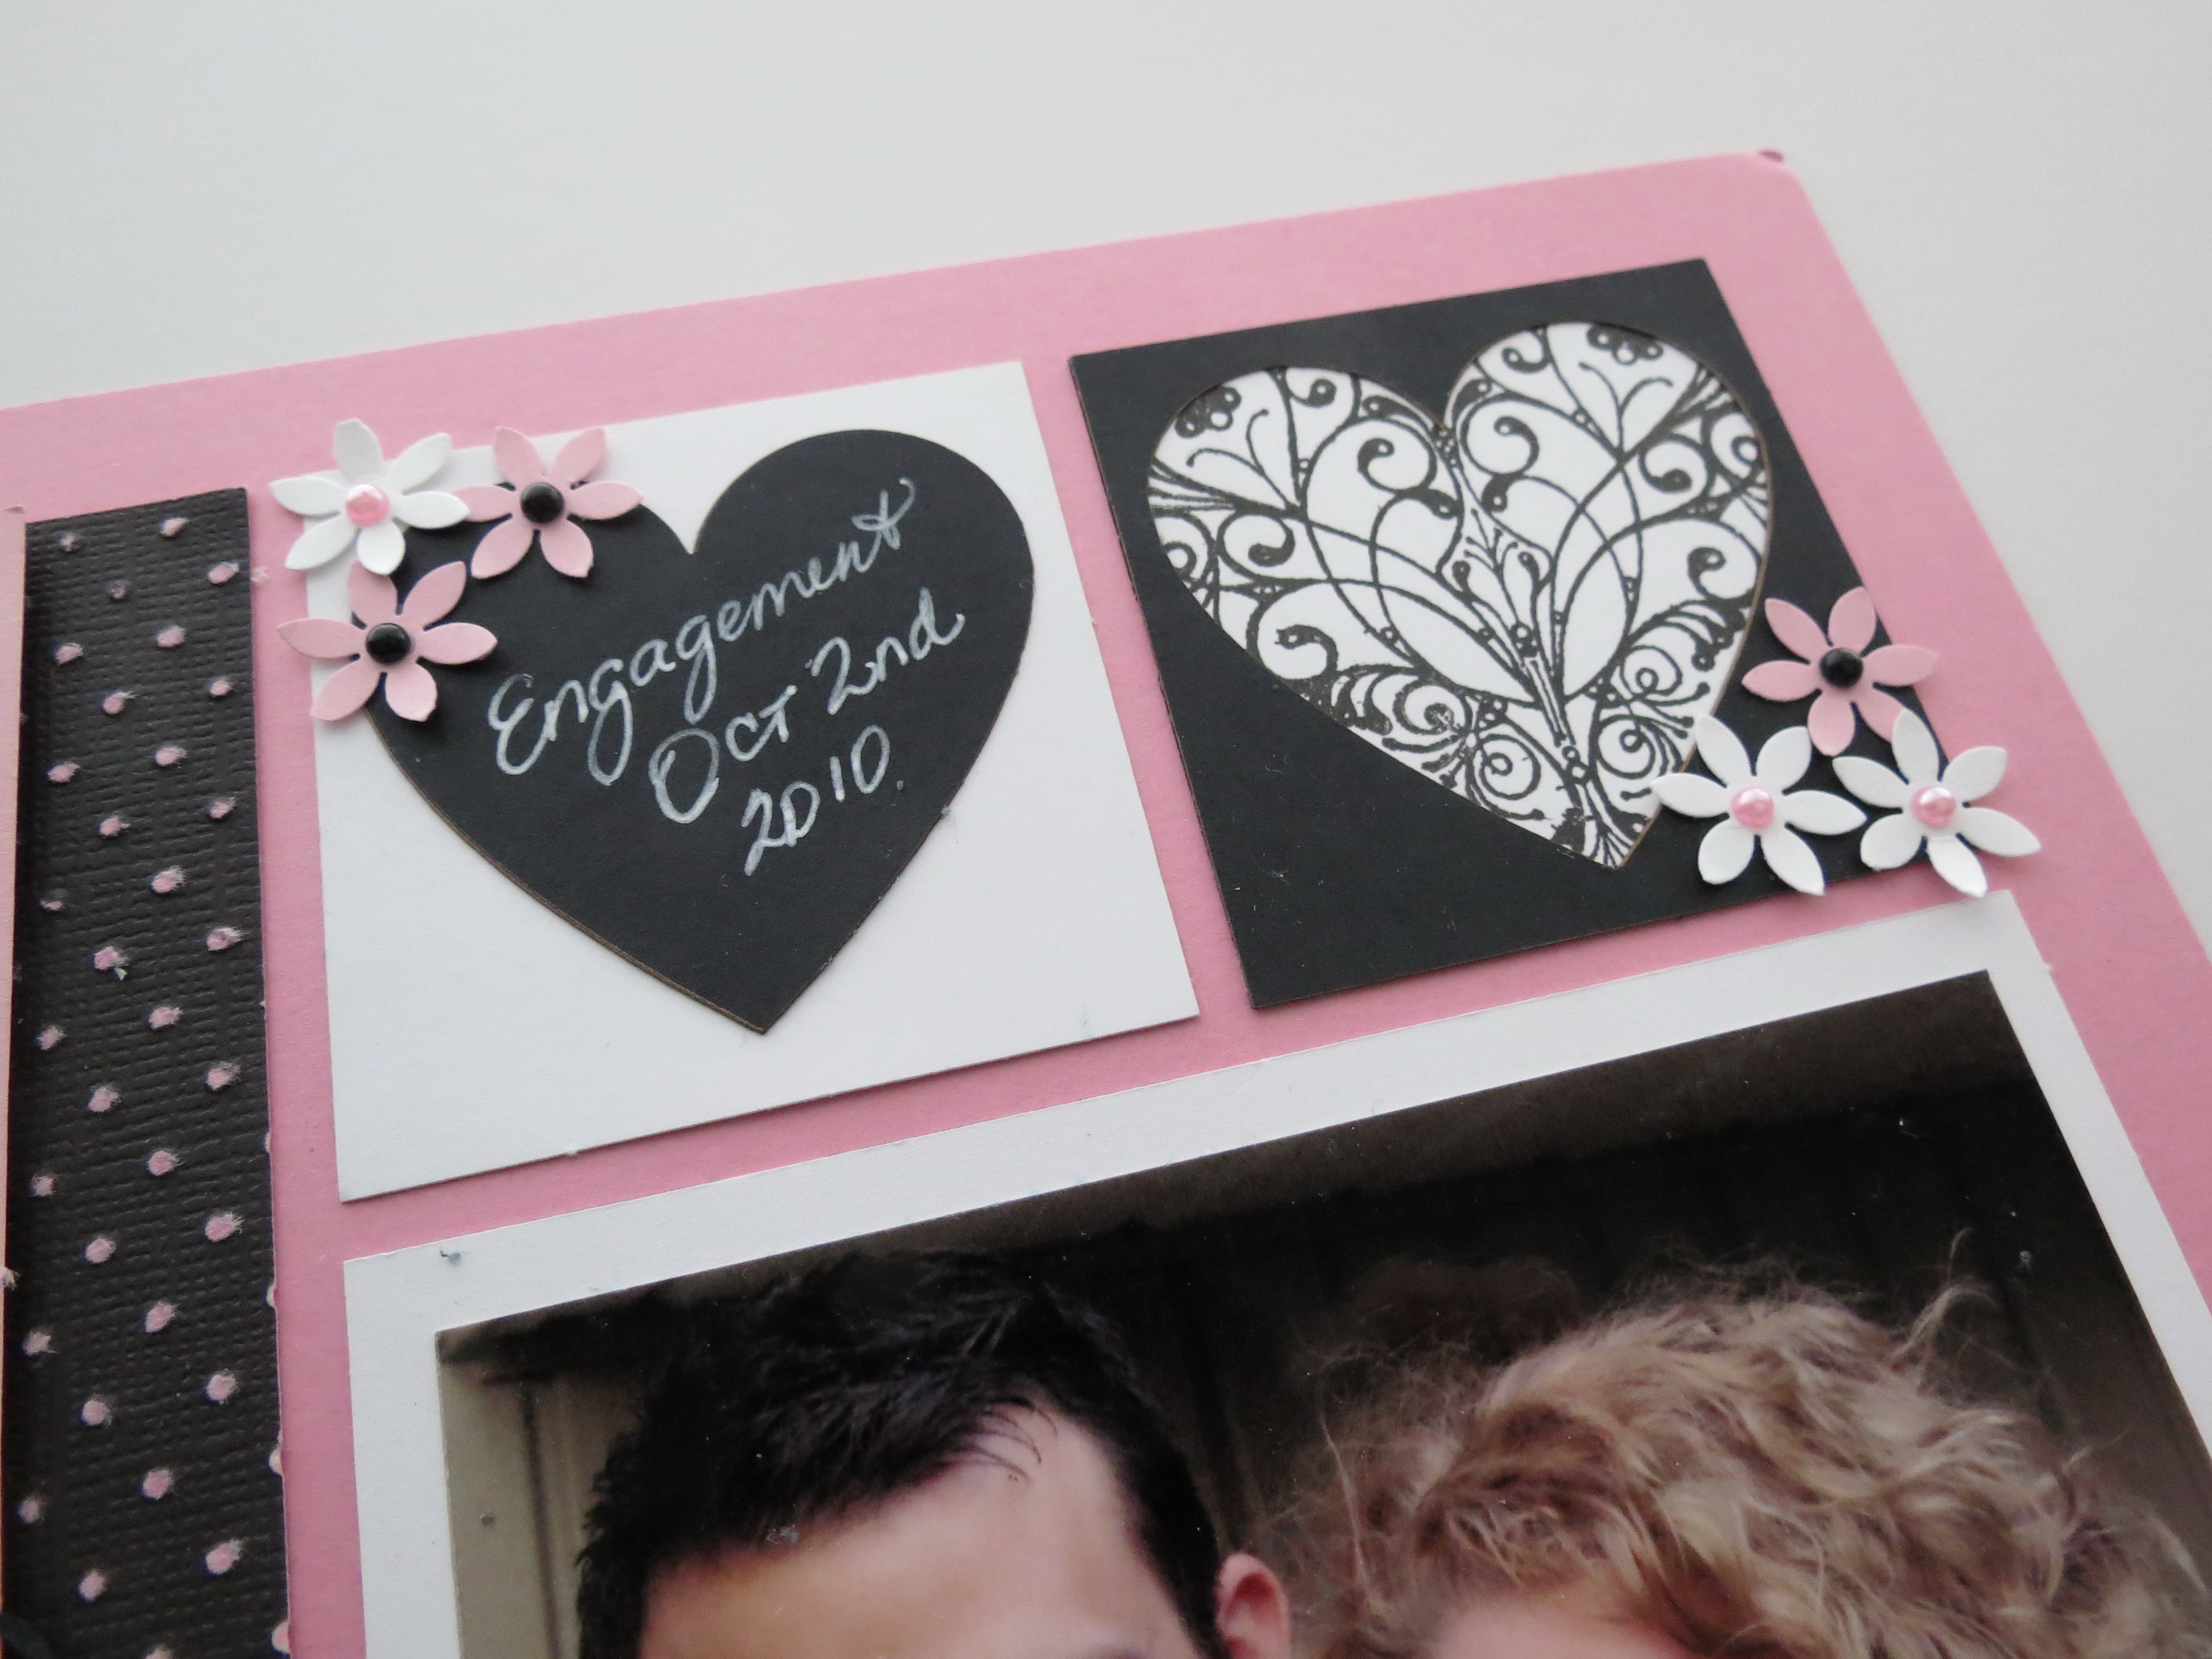
MM Finishing Touches Embellishments rubber stamp images, Heart Tiles, chalkboard journaling and punched flowers with pearls.
MM Finishing Touches Embellishments rubber stamp images, Heart Tiles, chalkboard journaling and punched flowers with pearls.
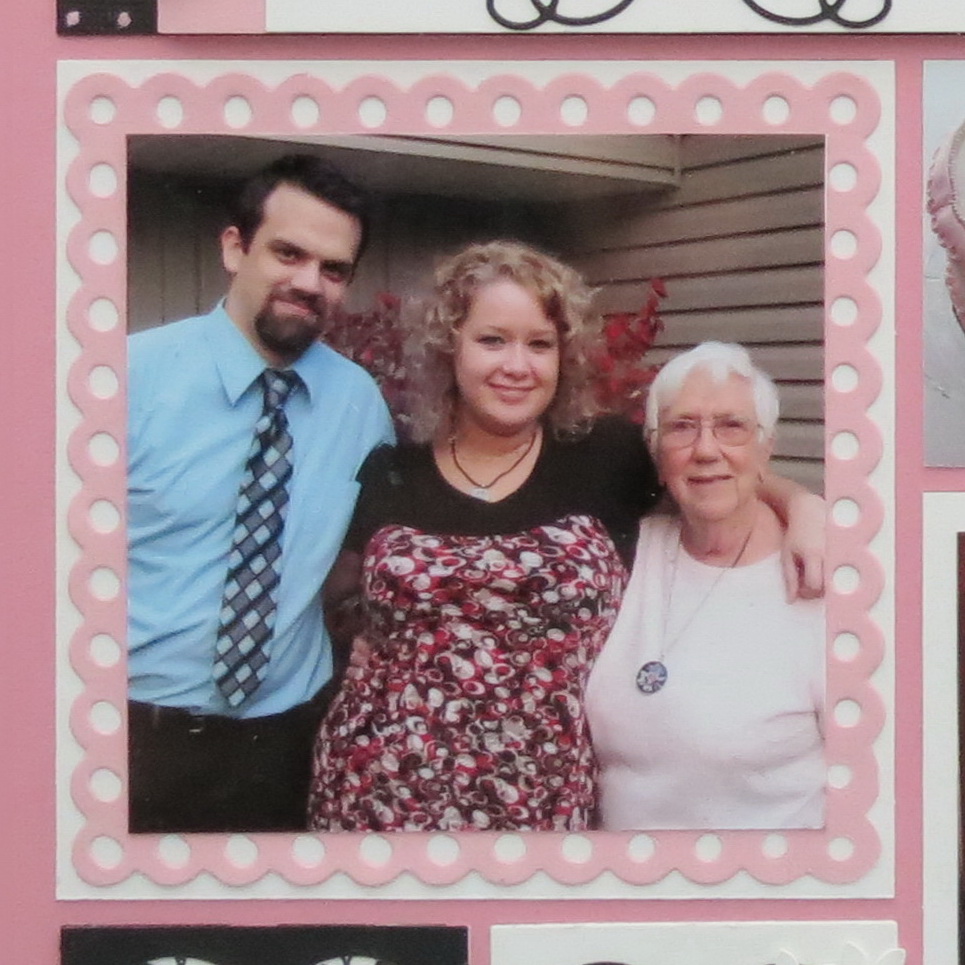
The two 4×4 square photos are both matted. One photo is trimmed to fit on top of a pink Mosaic Moments Scallop Dot Mat to mimic the pink scallop dot trim on the cake. Both are matted on a white paper tile.
MM Finishing Touches Embellishments Scallop Dot Mat Die
The bottom right photo is trimmed smaller than the mat leaving just enough room for a Spellbinders label (Fancy Framed Tags One) for journaling the names and date on the side. It is offset with pink pearls. I chose pearls over gems in this layout because of the pearls on the cake to keep elements of the cake in my design.
So now you have it, one pattern three ways with the finishing touches to achieve different looks by varying the amount and style of embellishments and journaling.
They go from simple to more complex. The first is fairly quick and easy and the rest will take a little added time that will be a big payoff in the end. I hope you’ll give a few of the ideas a try and even share what you’ve been making on our Mosaic Moments Facebook page.
Andrea Fisher
We’ve got ideas galore on Pinterest and find this pin here.
One Pattern Three Ways. Finishing Touches Three Ways from simple to more complex