The Beauty of Mosaics made easy.
Every once and a while you’d like to scrap some photos but find you just don’t have a lot of time. You may even think attempting a Mosaic Layout will take oh, so much longer. I’d like to show you how it can be done…Quick!
A key to making it quick is choosing a pattern that is not too complicated. Then after choosing your photos, keep your embellishments simple or to a minimum letting your photos be the star!
GETTING STARTED
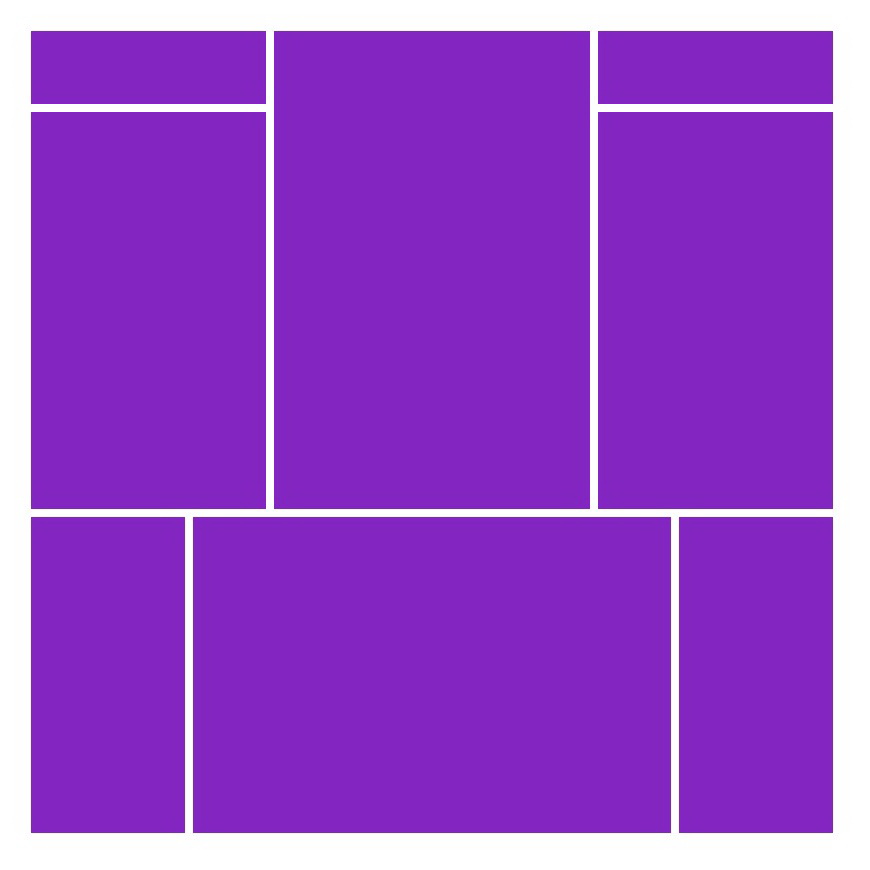
Quick Pages Pattern #200
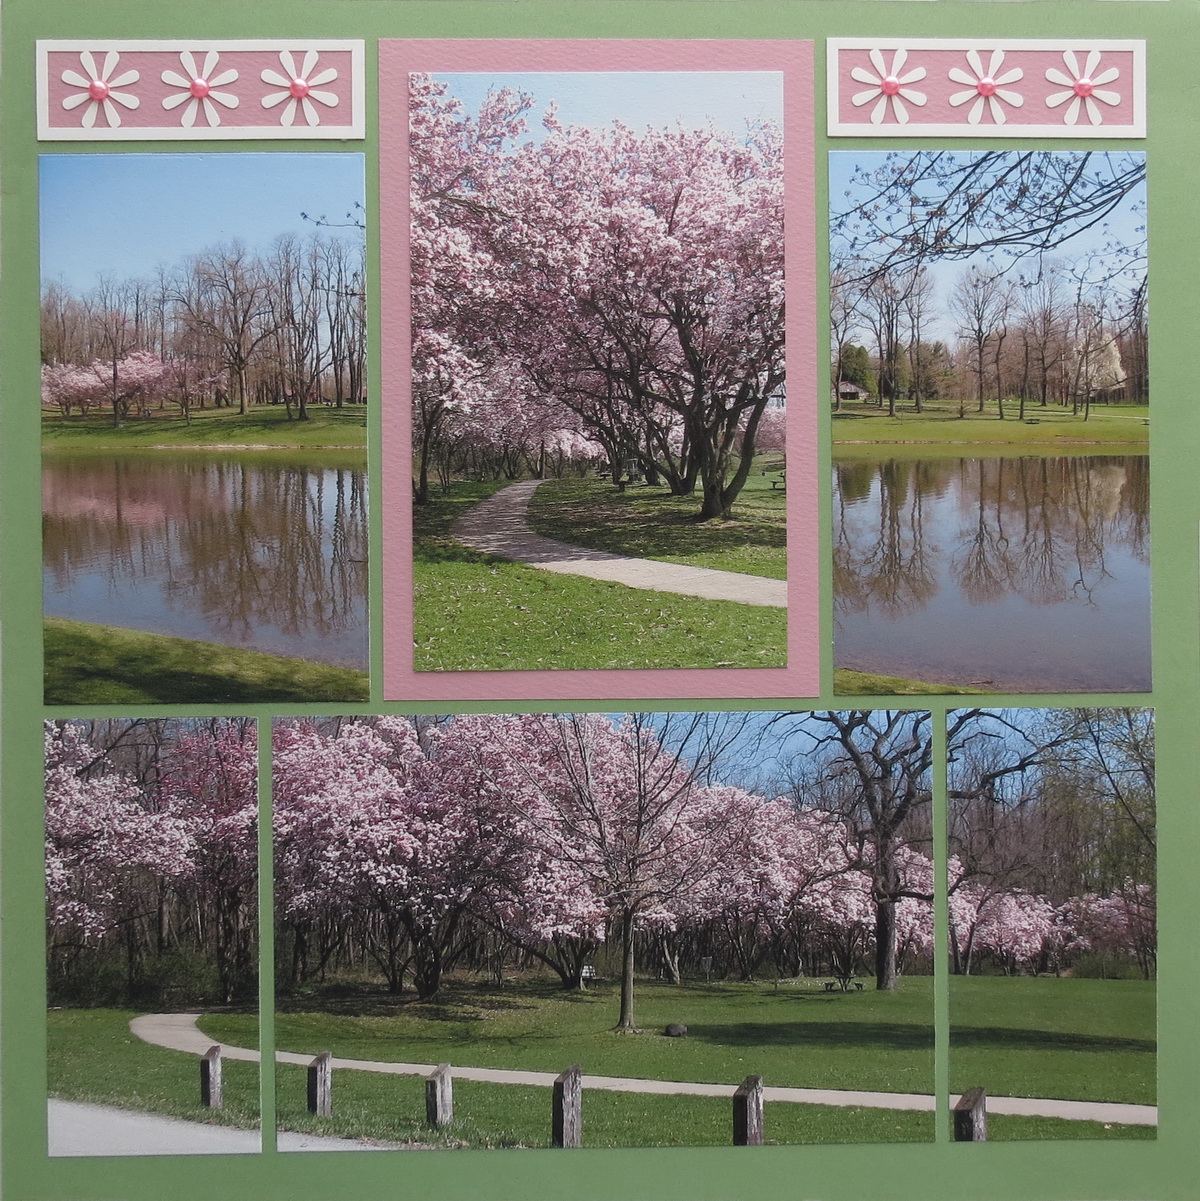
Let’s begin with Page Pattern #200. This is a symmetrical pattern with 8 design spots and made using only one die set…Die Set B. In about an hour the photos will be printed, die cut, embellished, matted and finished!
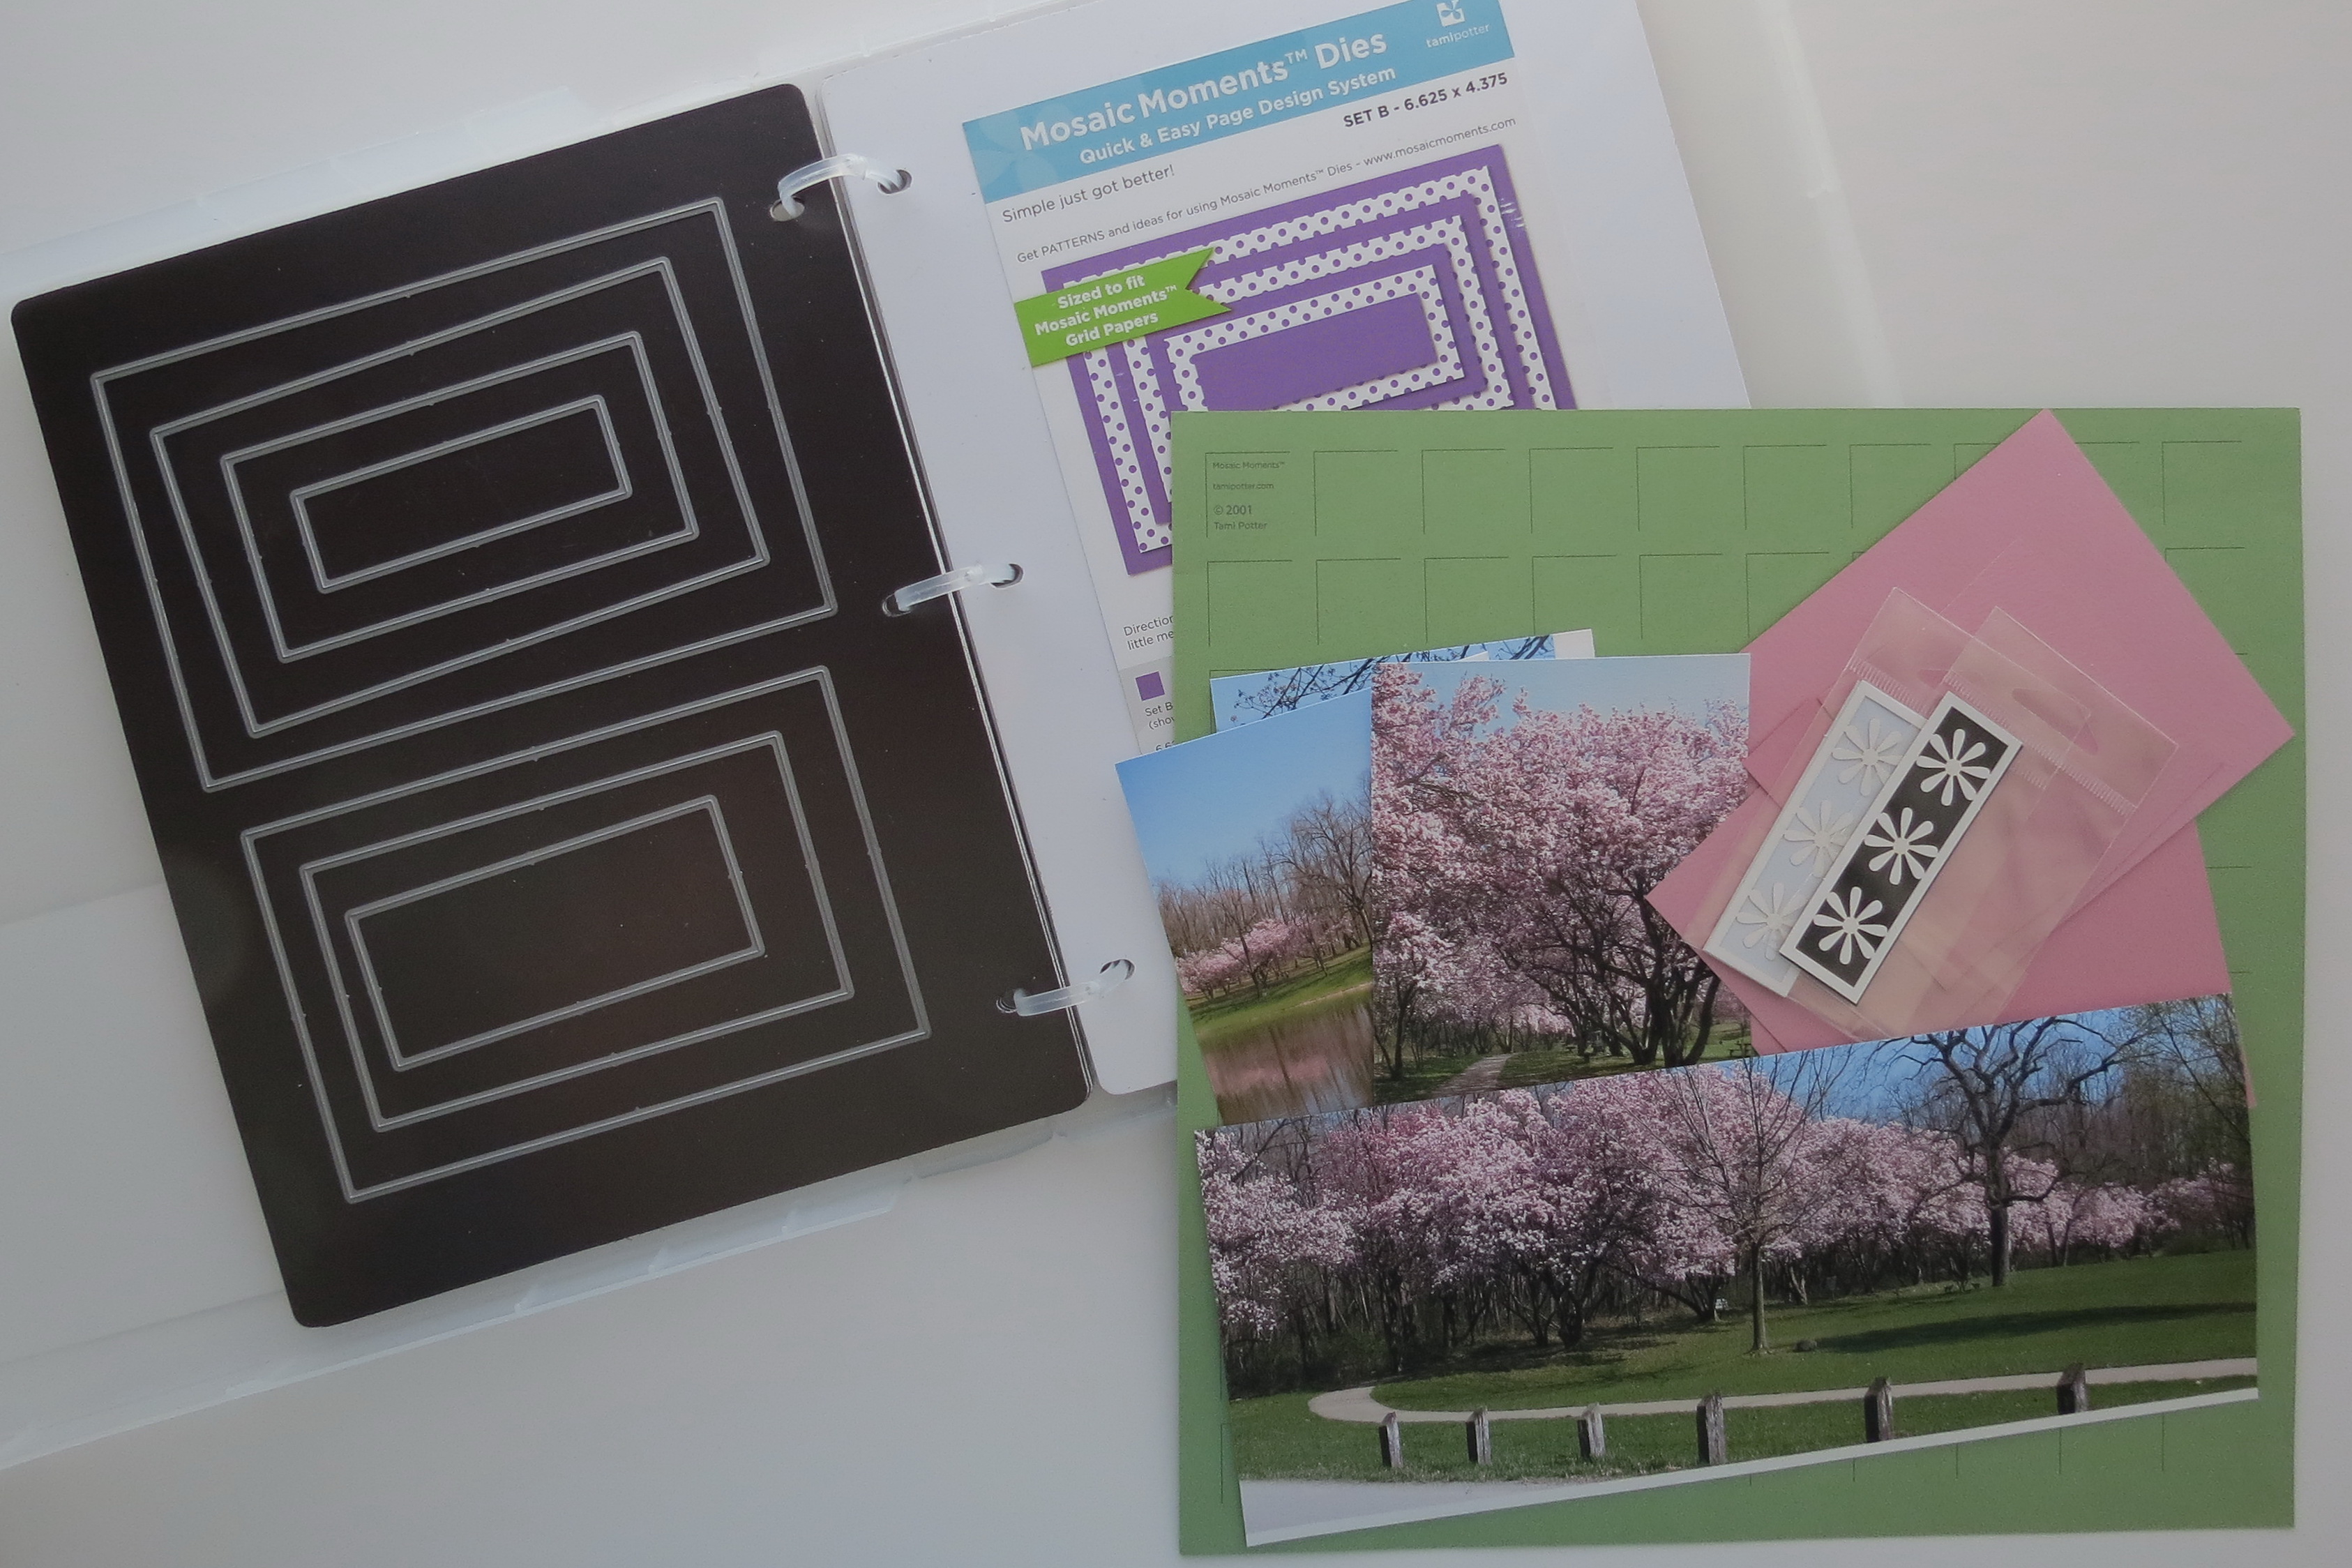
Quick Page Supplies
• Palm Leaf 12×12 Mosaic Moments Grid paper
• Cotton Candy Paper Tiles
• Daisy Chain Flower Cornerstone (you could use the new Daisy Chain Die if you have it)
• Pink pearls
• Stick It! Adhesive
• Die Set B
• Page Pattern #200
• I have used three photos for this layout.
PREPARING THE PHOTOS
1. I chose to use a panoramic photo to fill the bottom three spots. I began with a photo I liked and then cropped out the extra above and below to acquire the photo I want to print. Then on an 8.5”x11” sheet of photo paper I printed the photo. I could have printed the whole photo but for me that’s a waste of ink and paper. Cropped, It leaves me with a half page that I can use later for a 4”x 6” and 3.5”x5” photos.
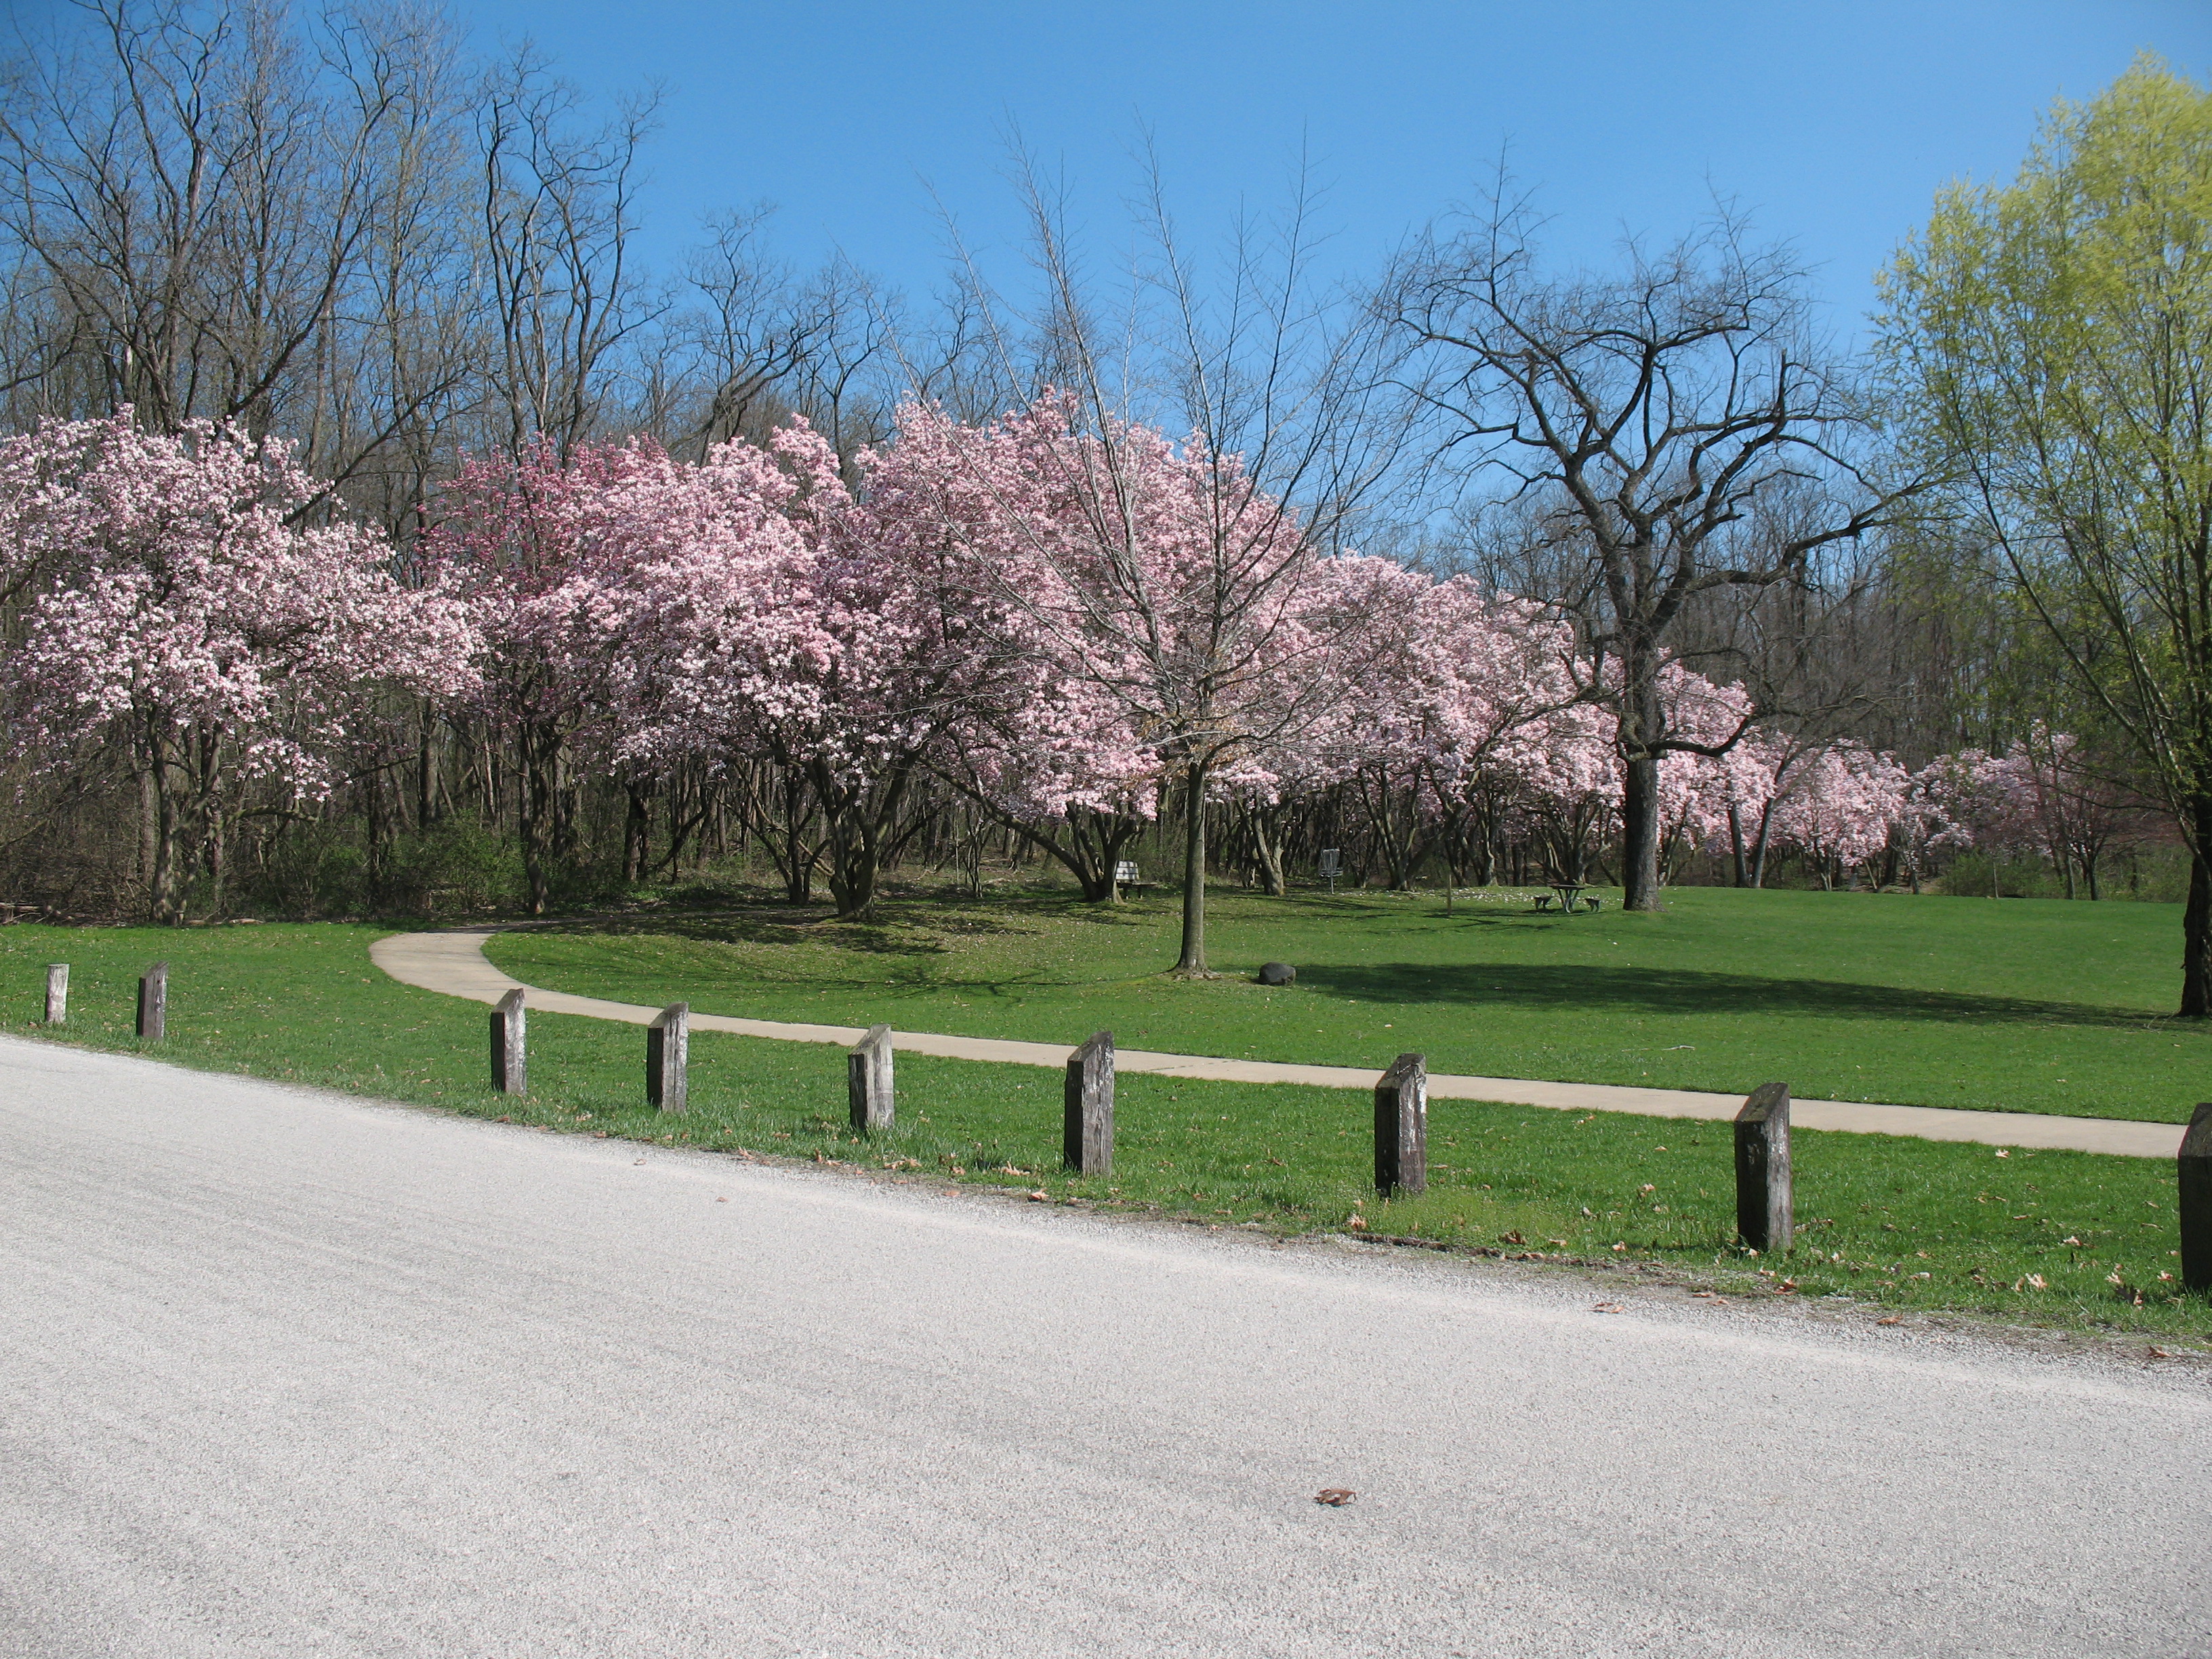
Quick Page original photo prior to cropping to make a panoramic photo.

Quick Page cropped photo to print on 8.5″ x 11″ photo paper.
Now using the dies for a 2×4 and 4×6 I began at one end and cut the first 2×4 spot, then the 4×6, and with the remaining section the final 2×4 die to cut. Then adhere them all to the grid page.
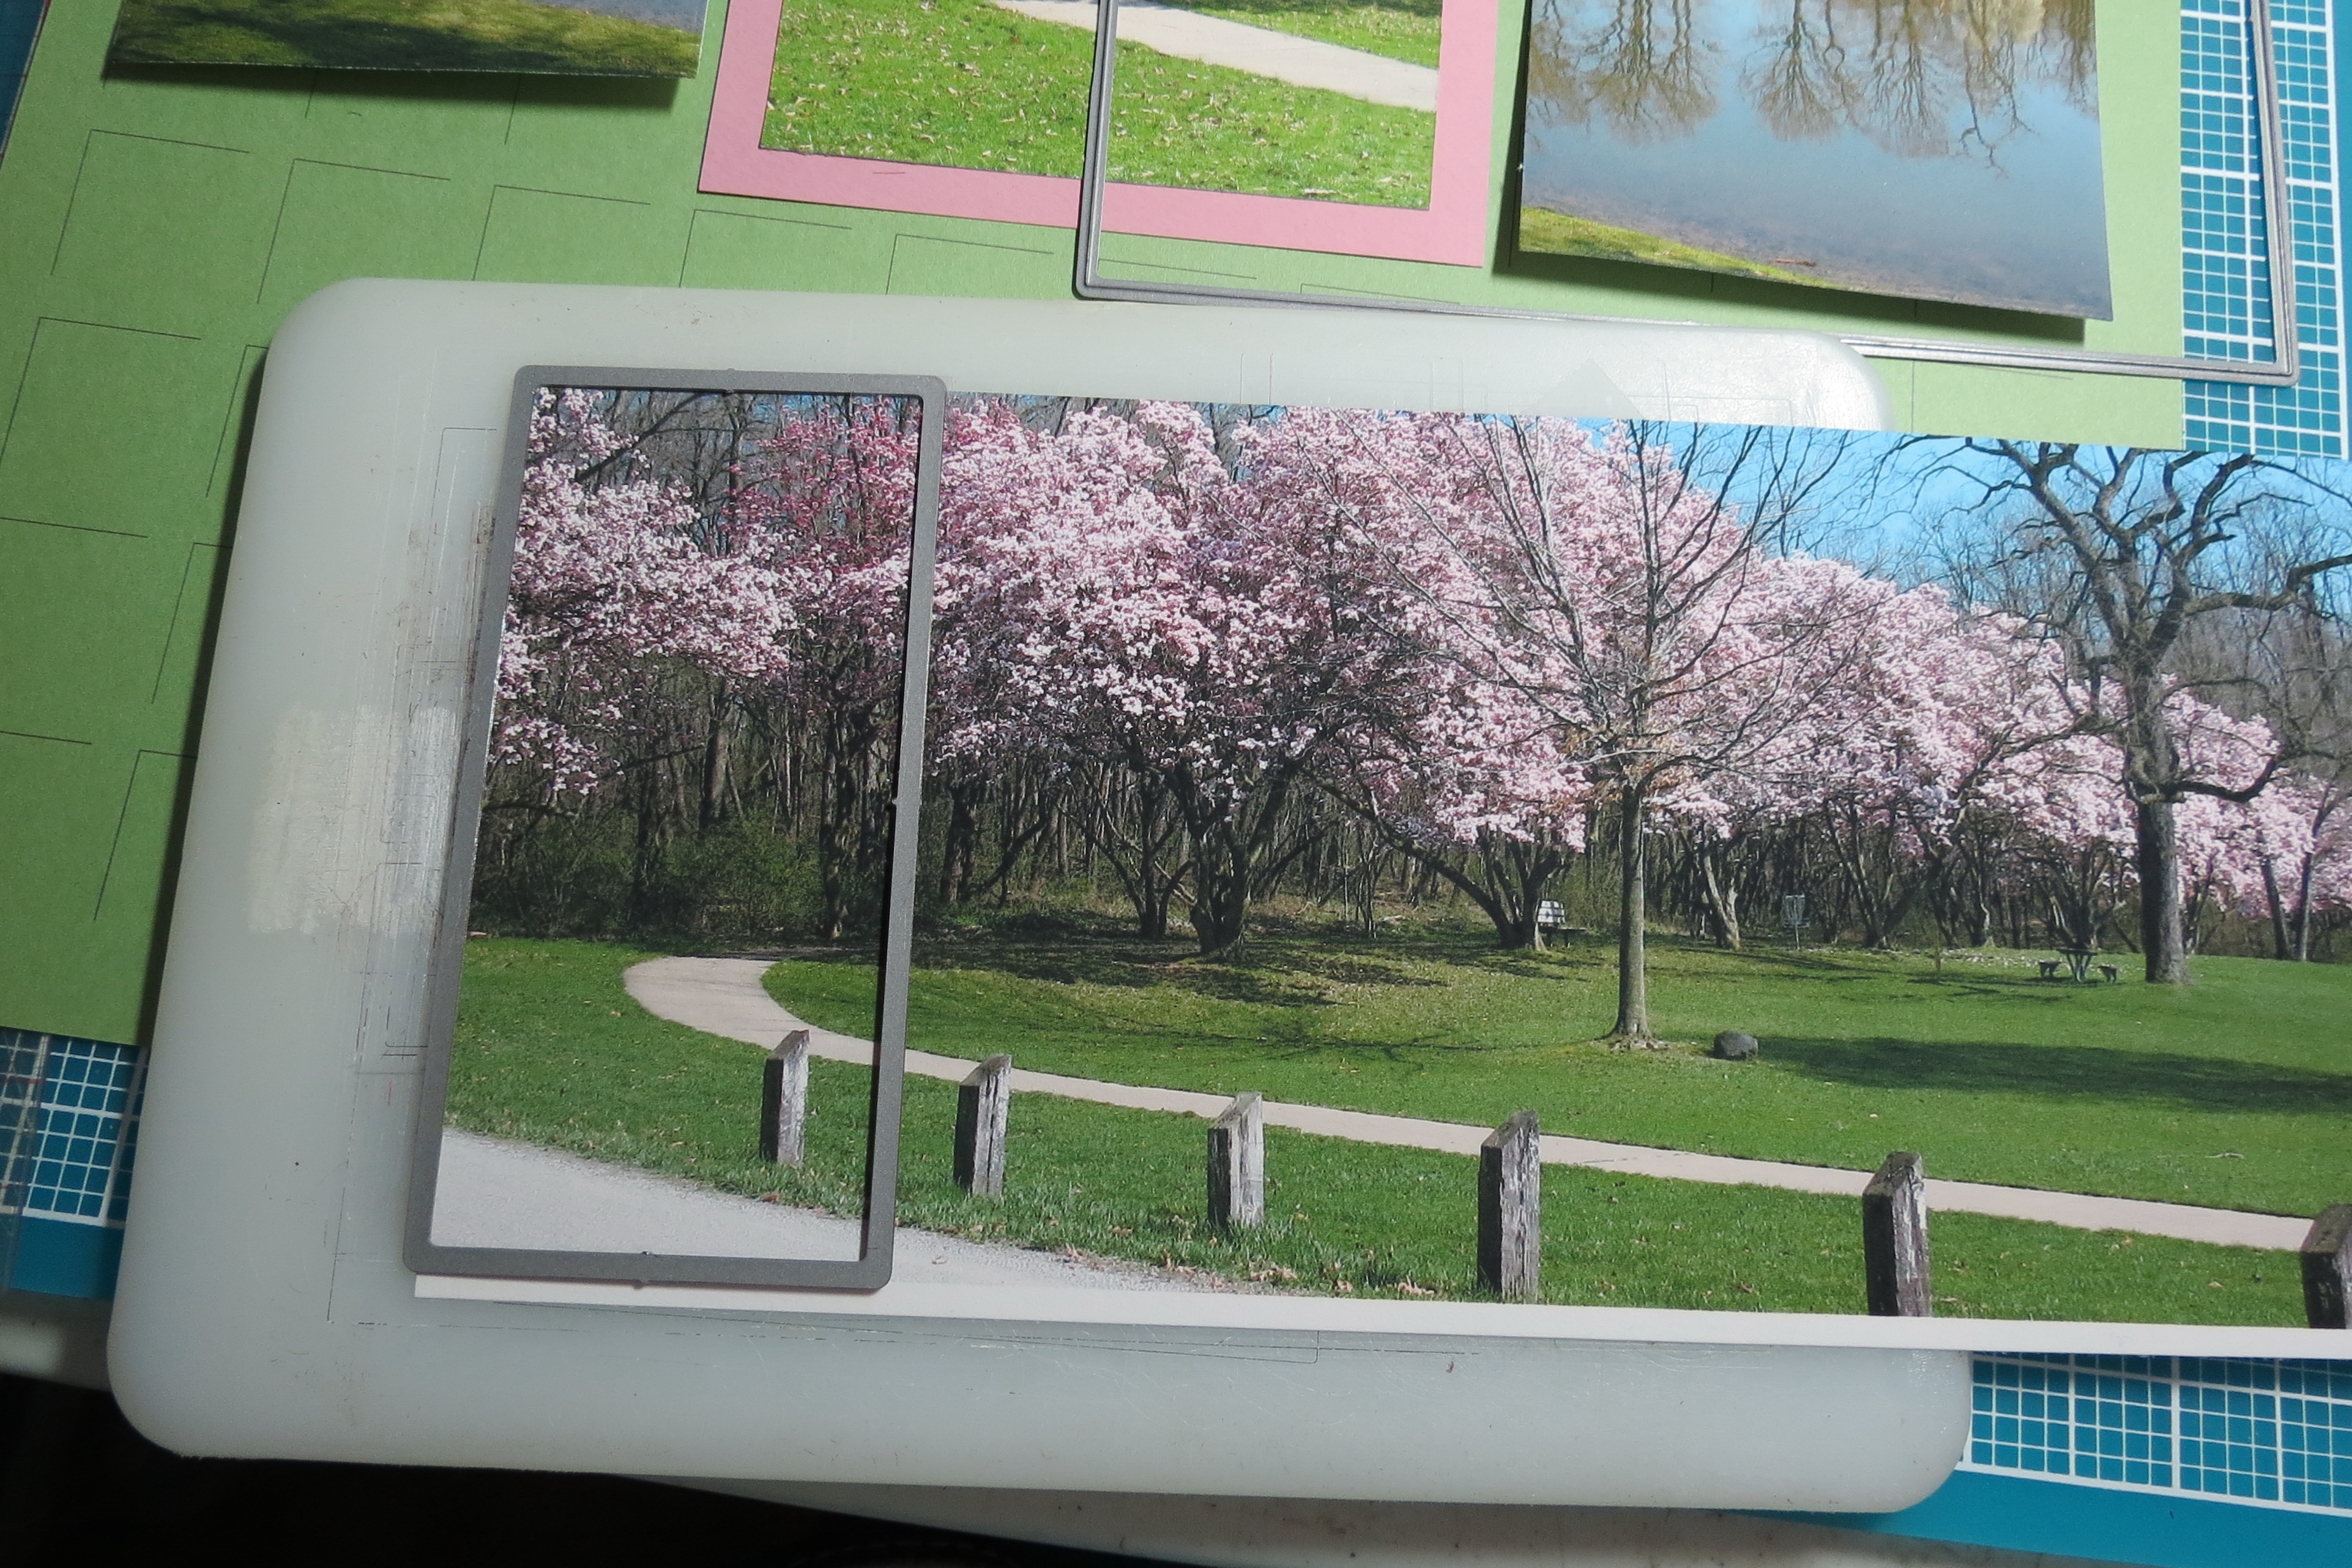
Quick Page Die Cutting a Panorama Photo with first 2 x 4 die
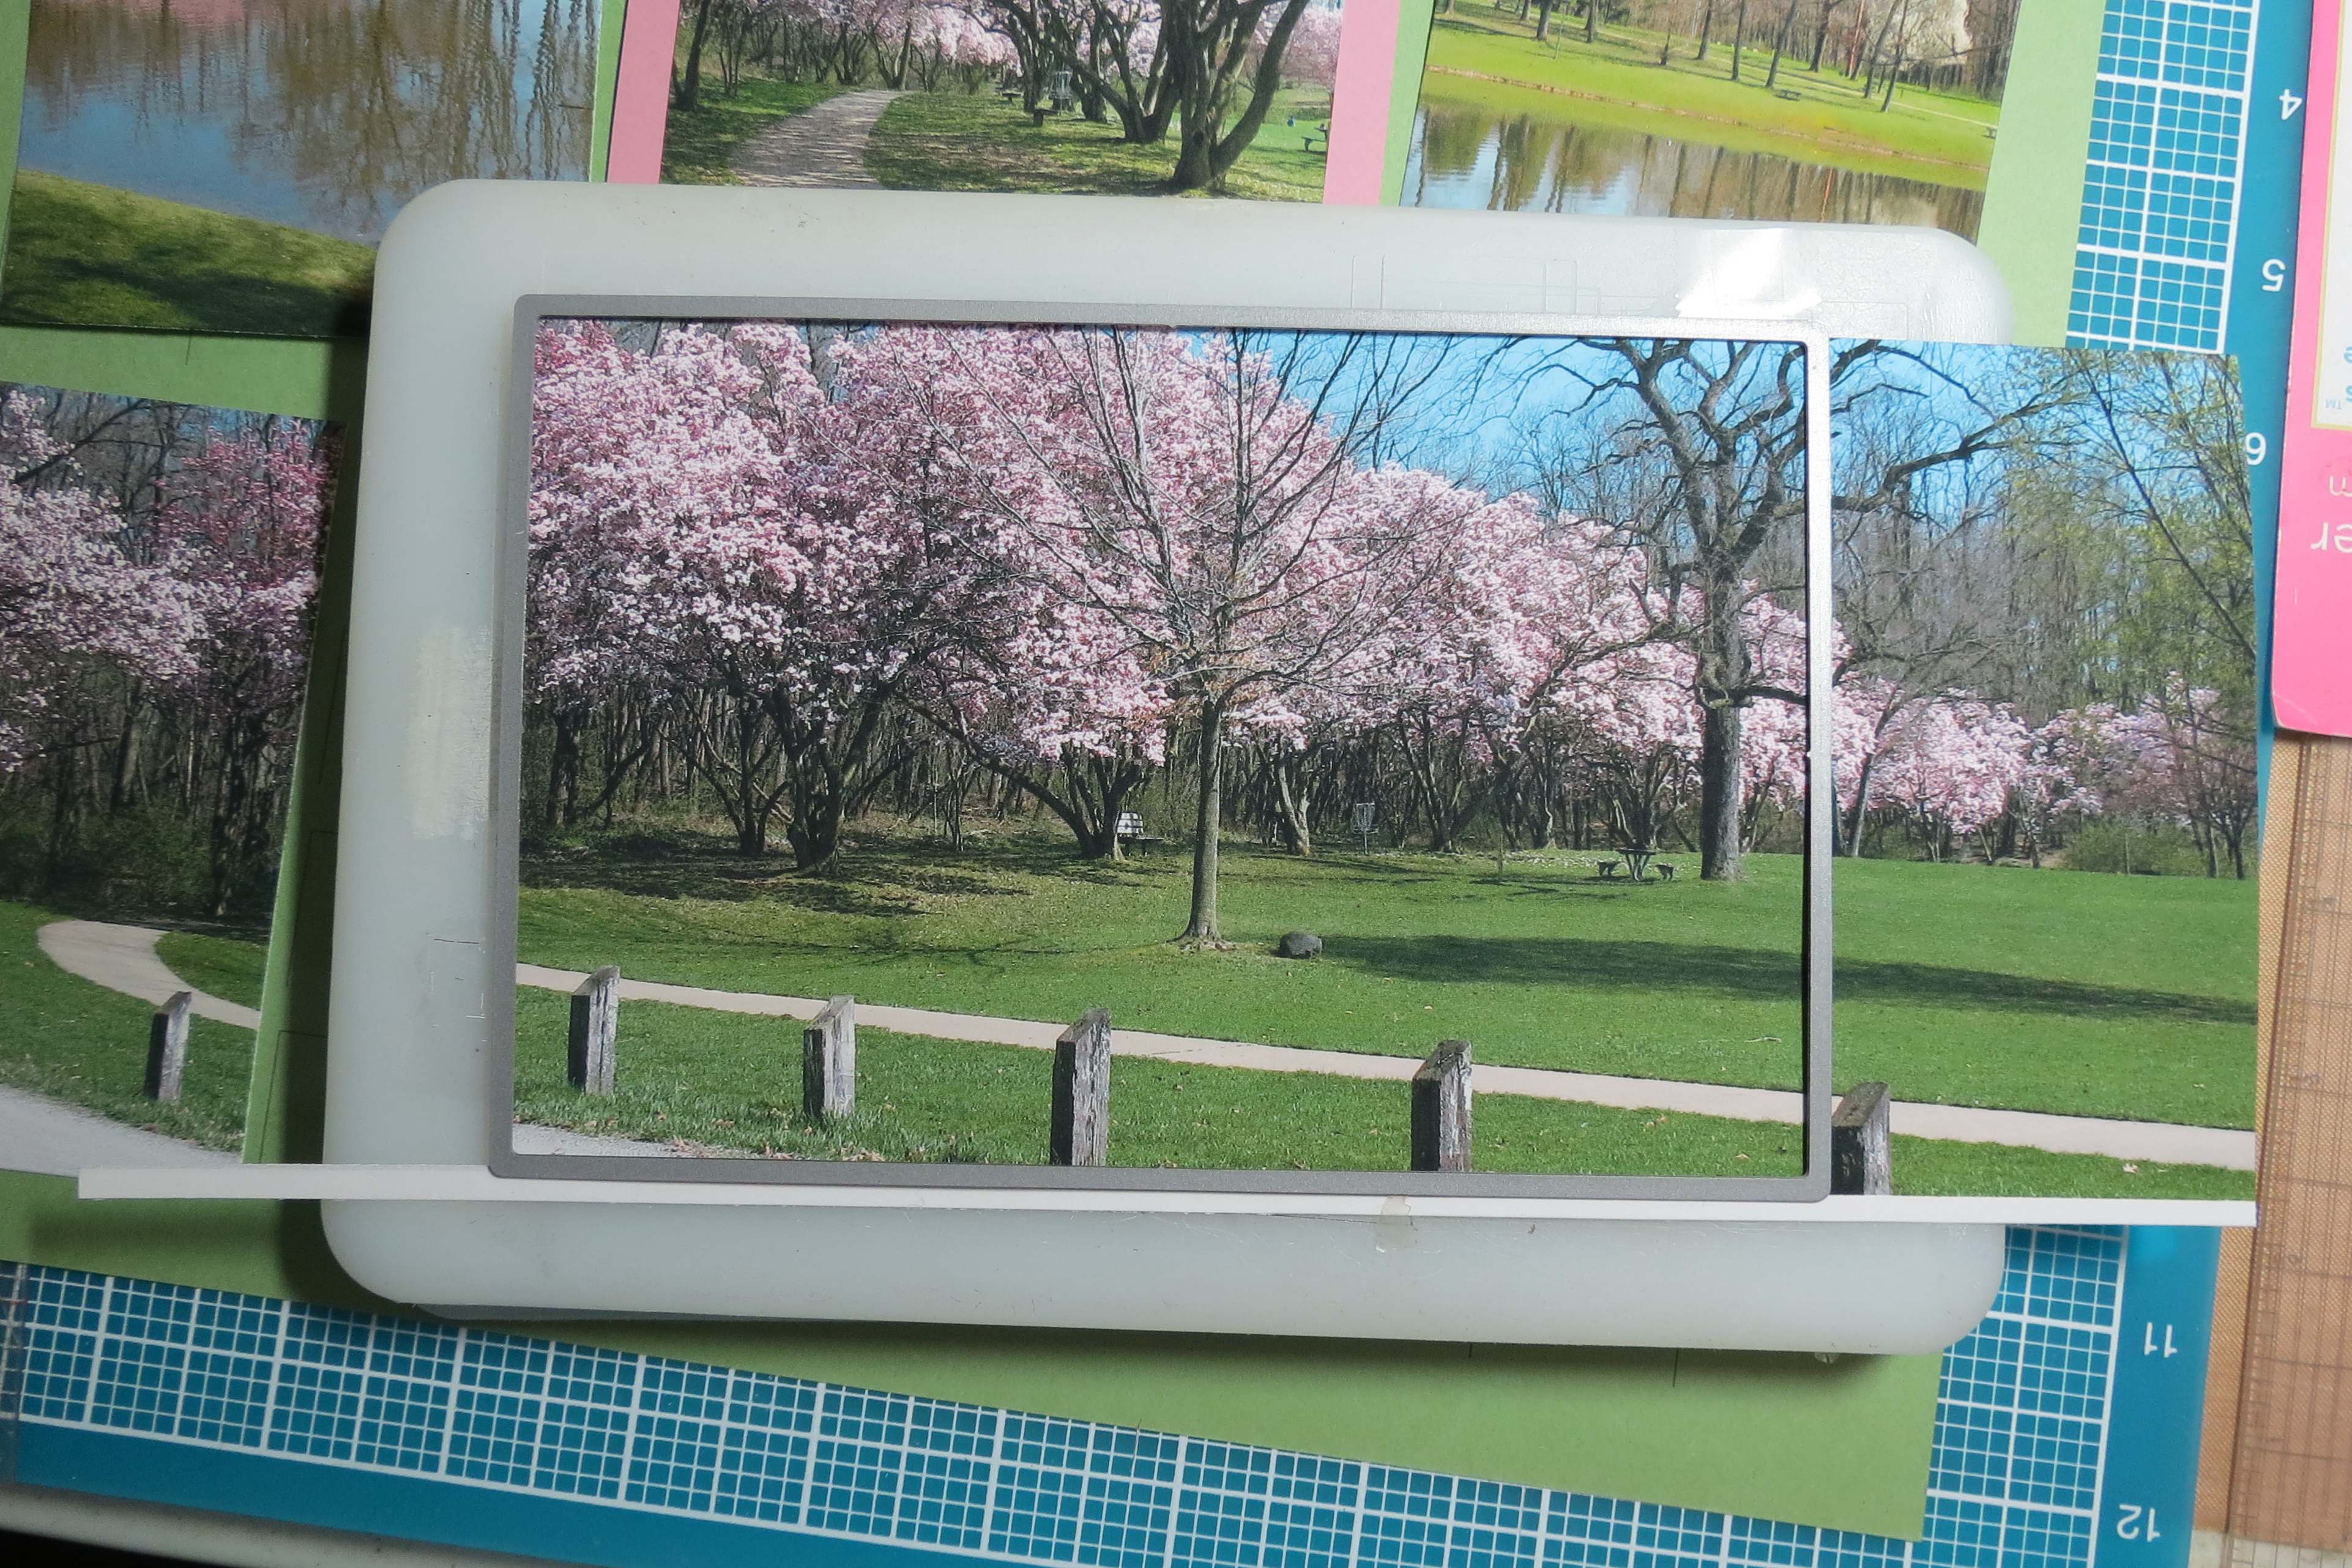
Quick Page Using 4 x 6 die to cut center section
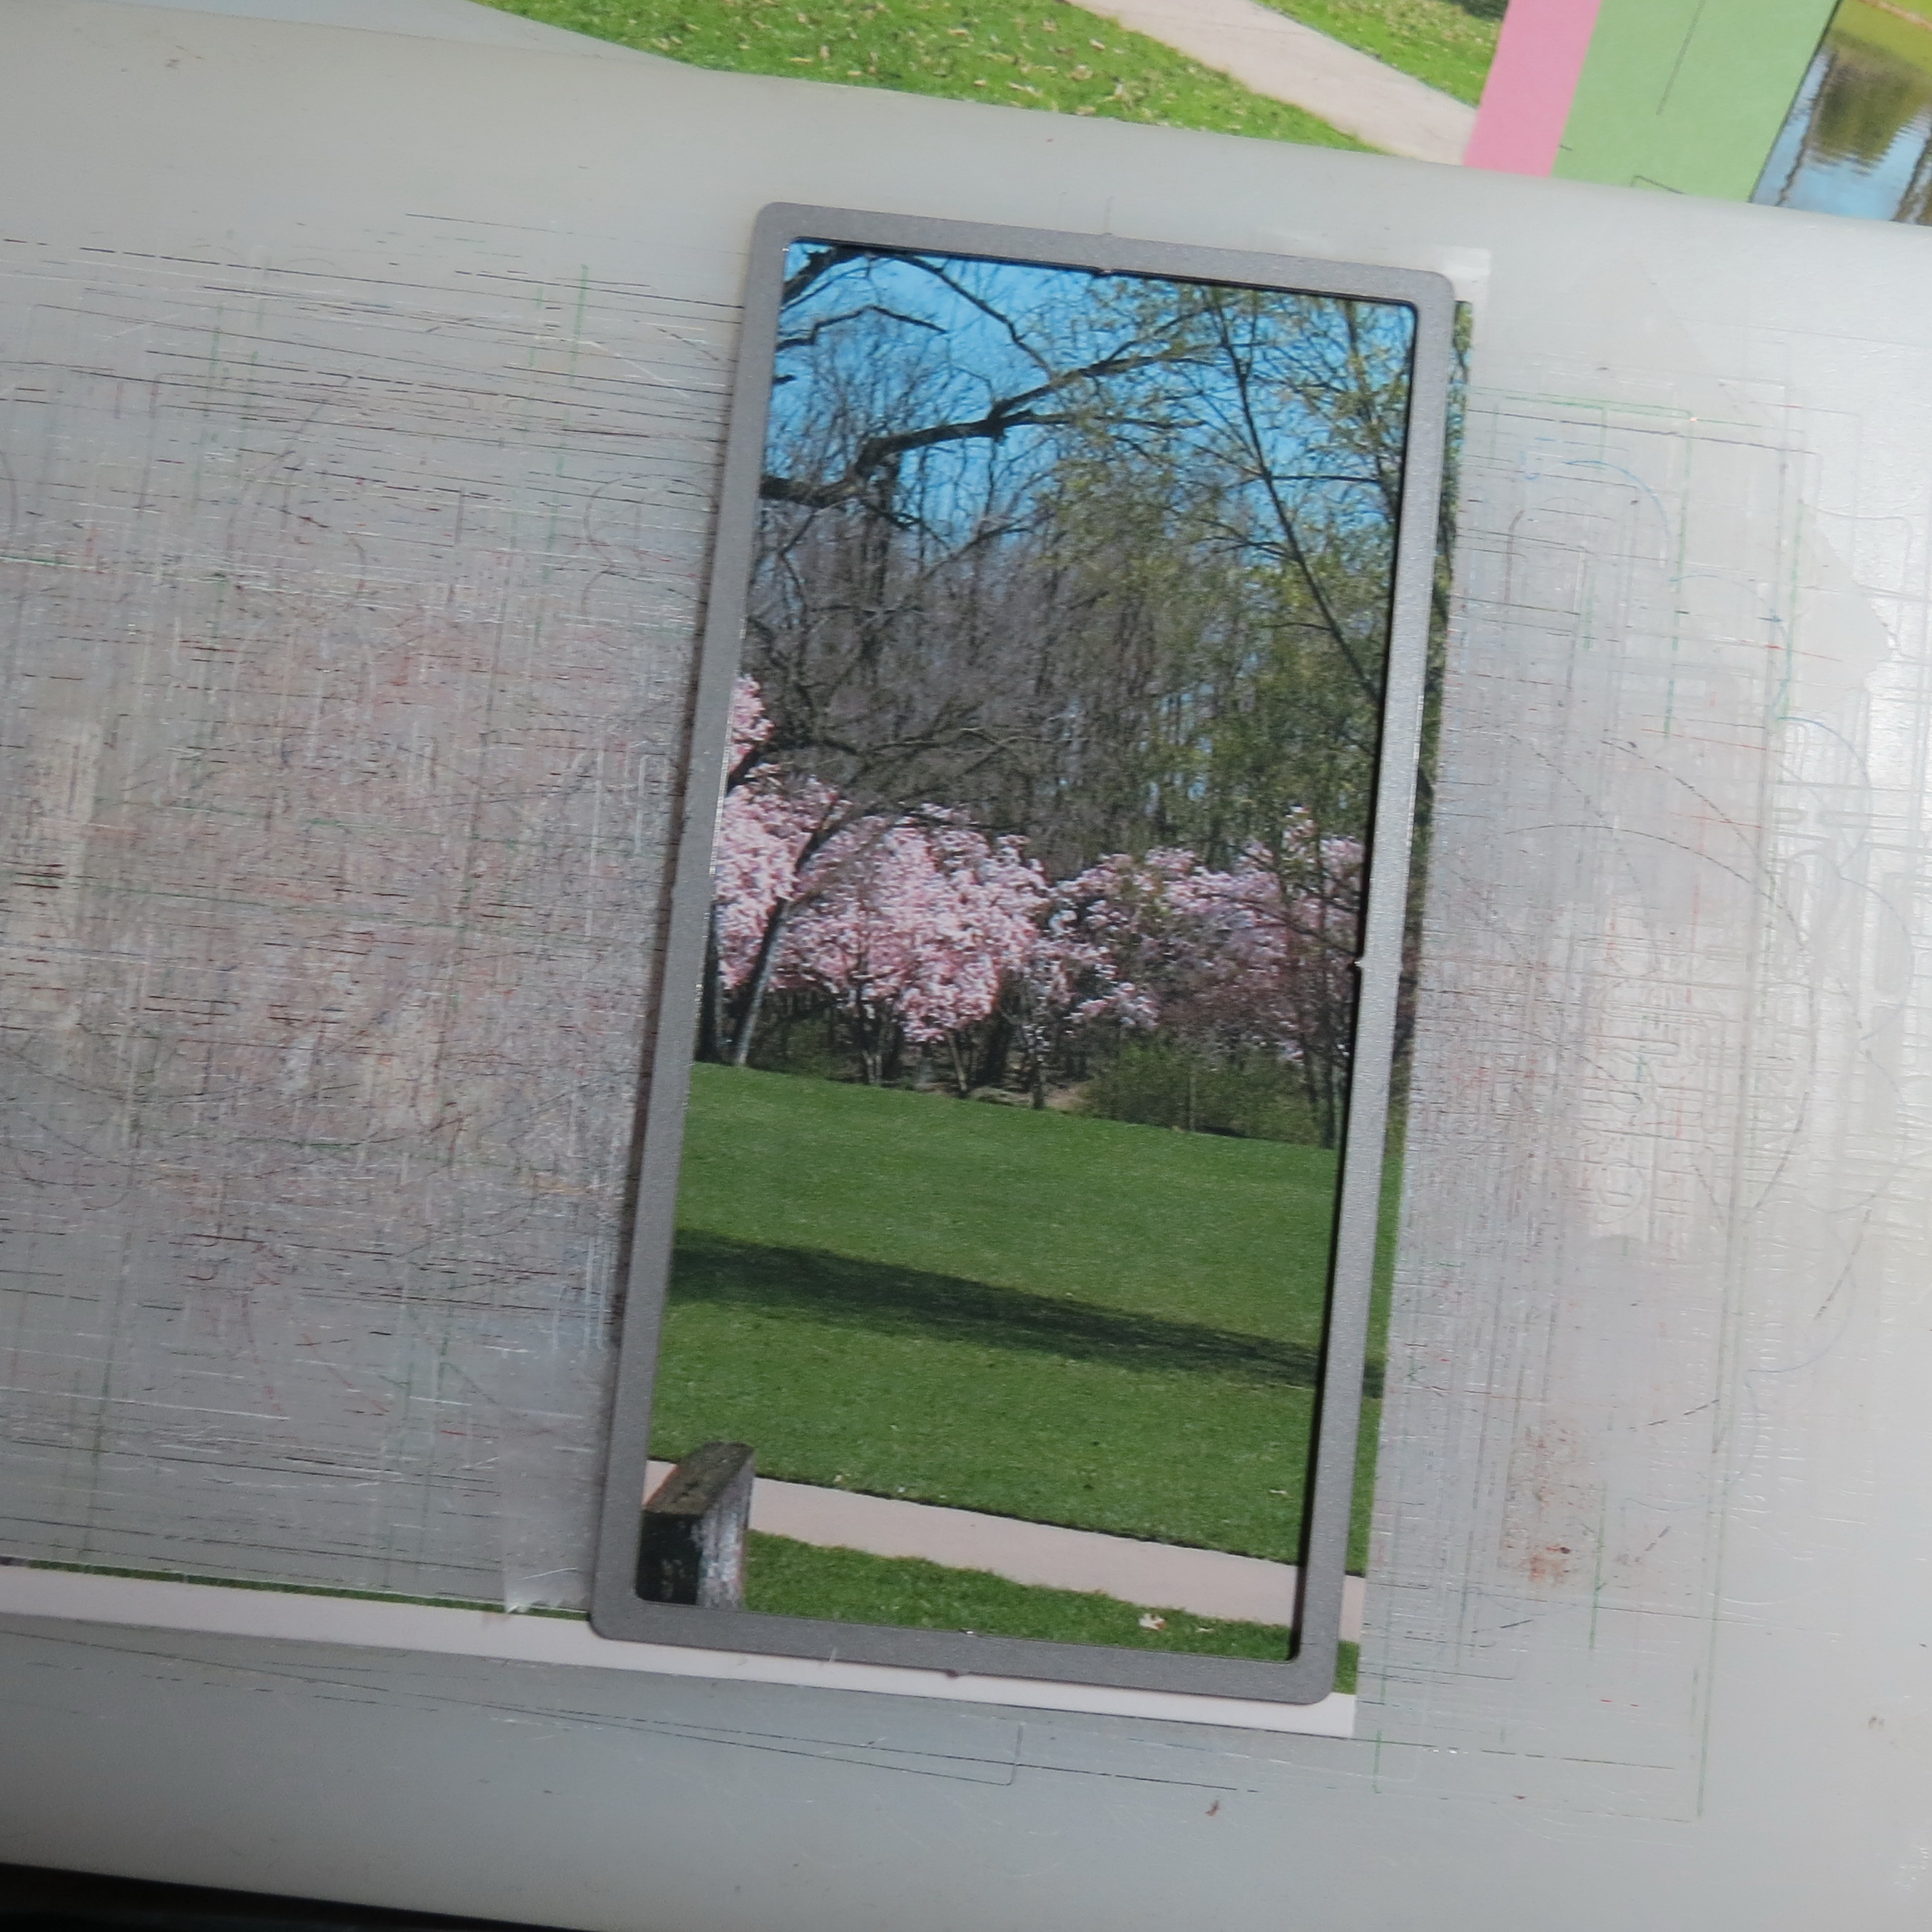
Quick Page Cutting final section with 2 x 4 die from Set B
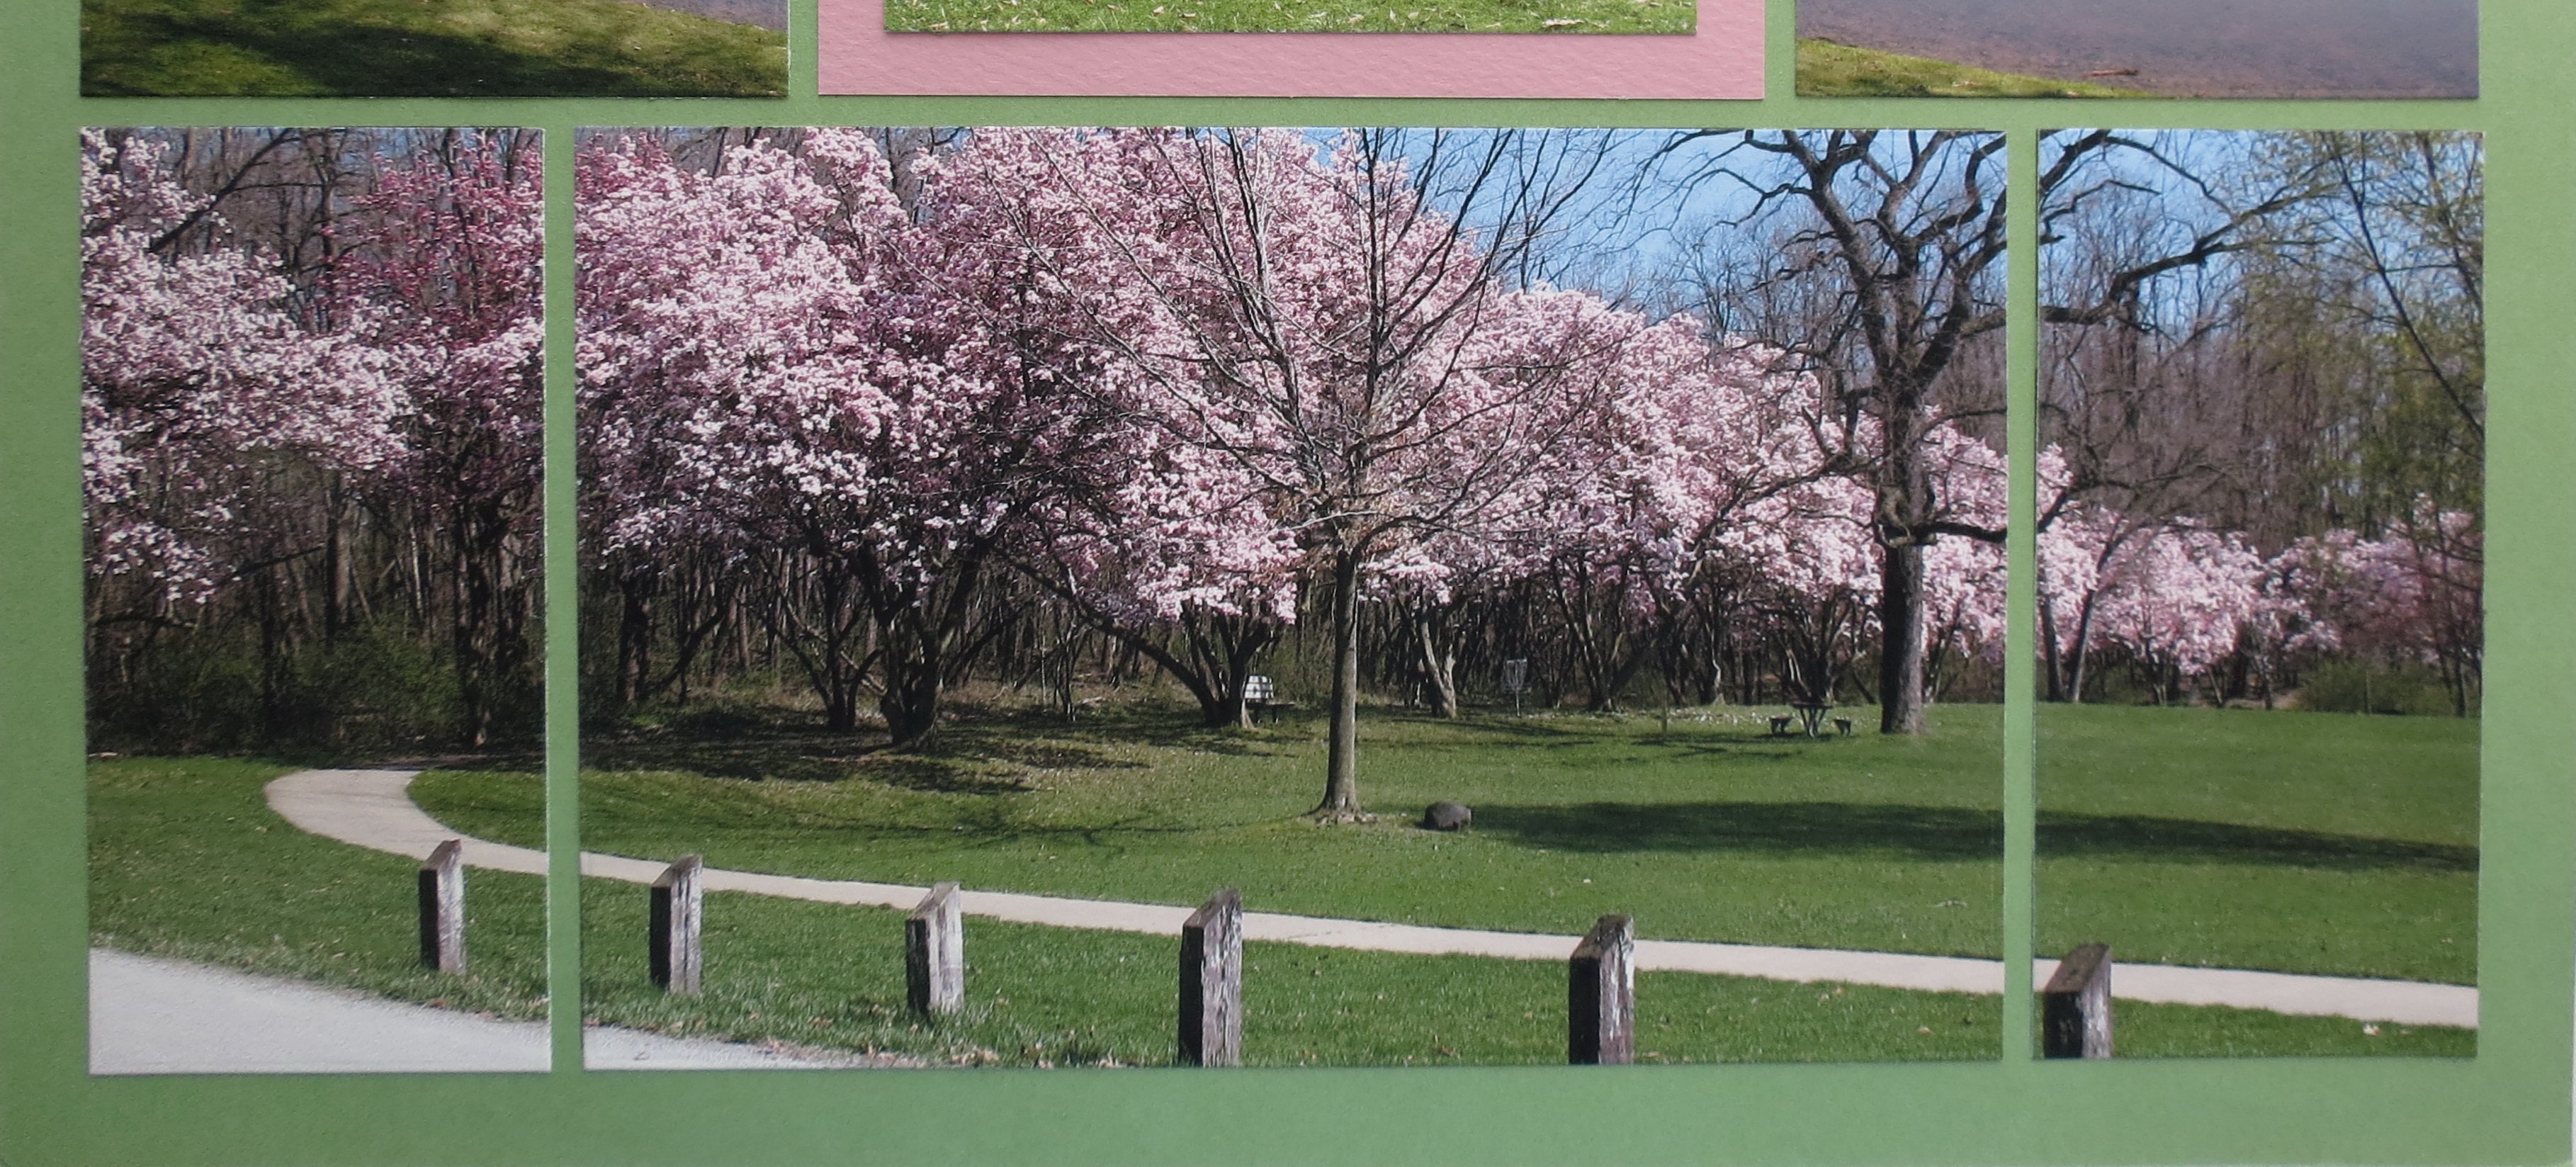
Quick Page panoramic photo divided to fit the bottom three spots.
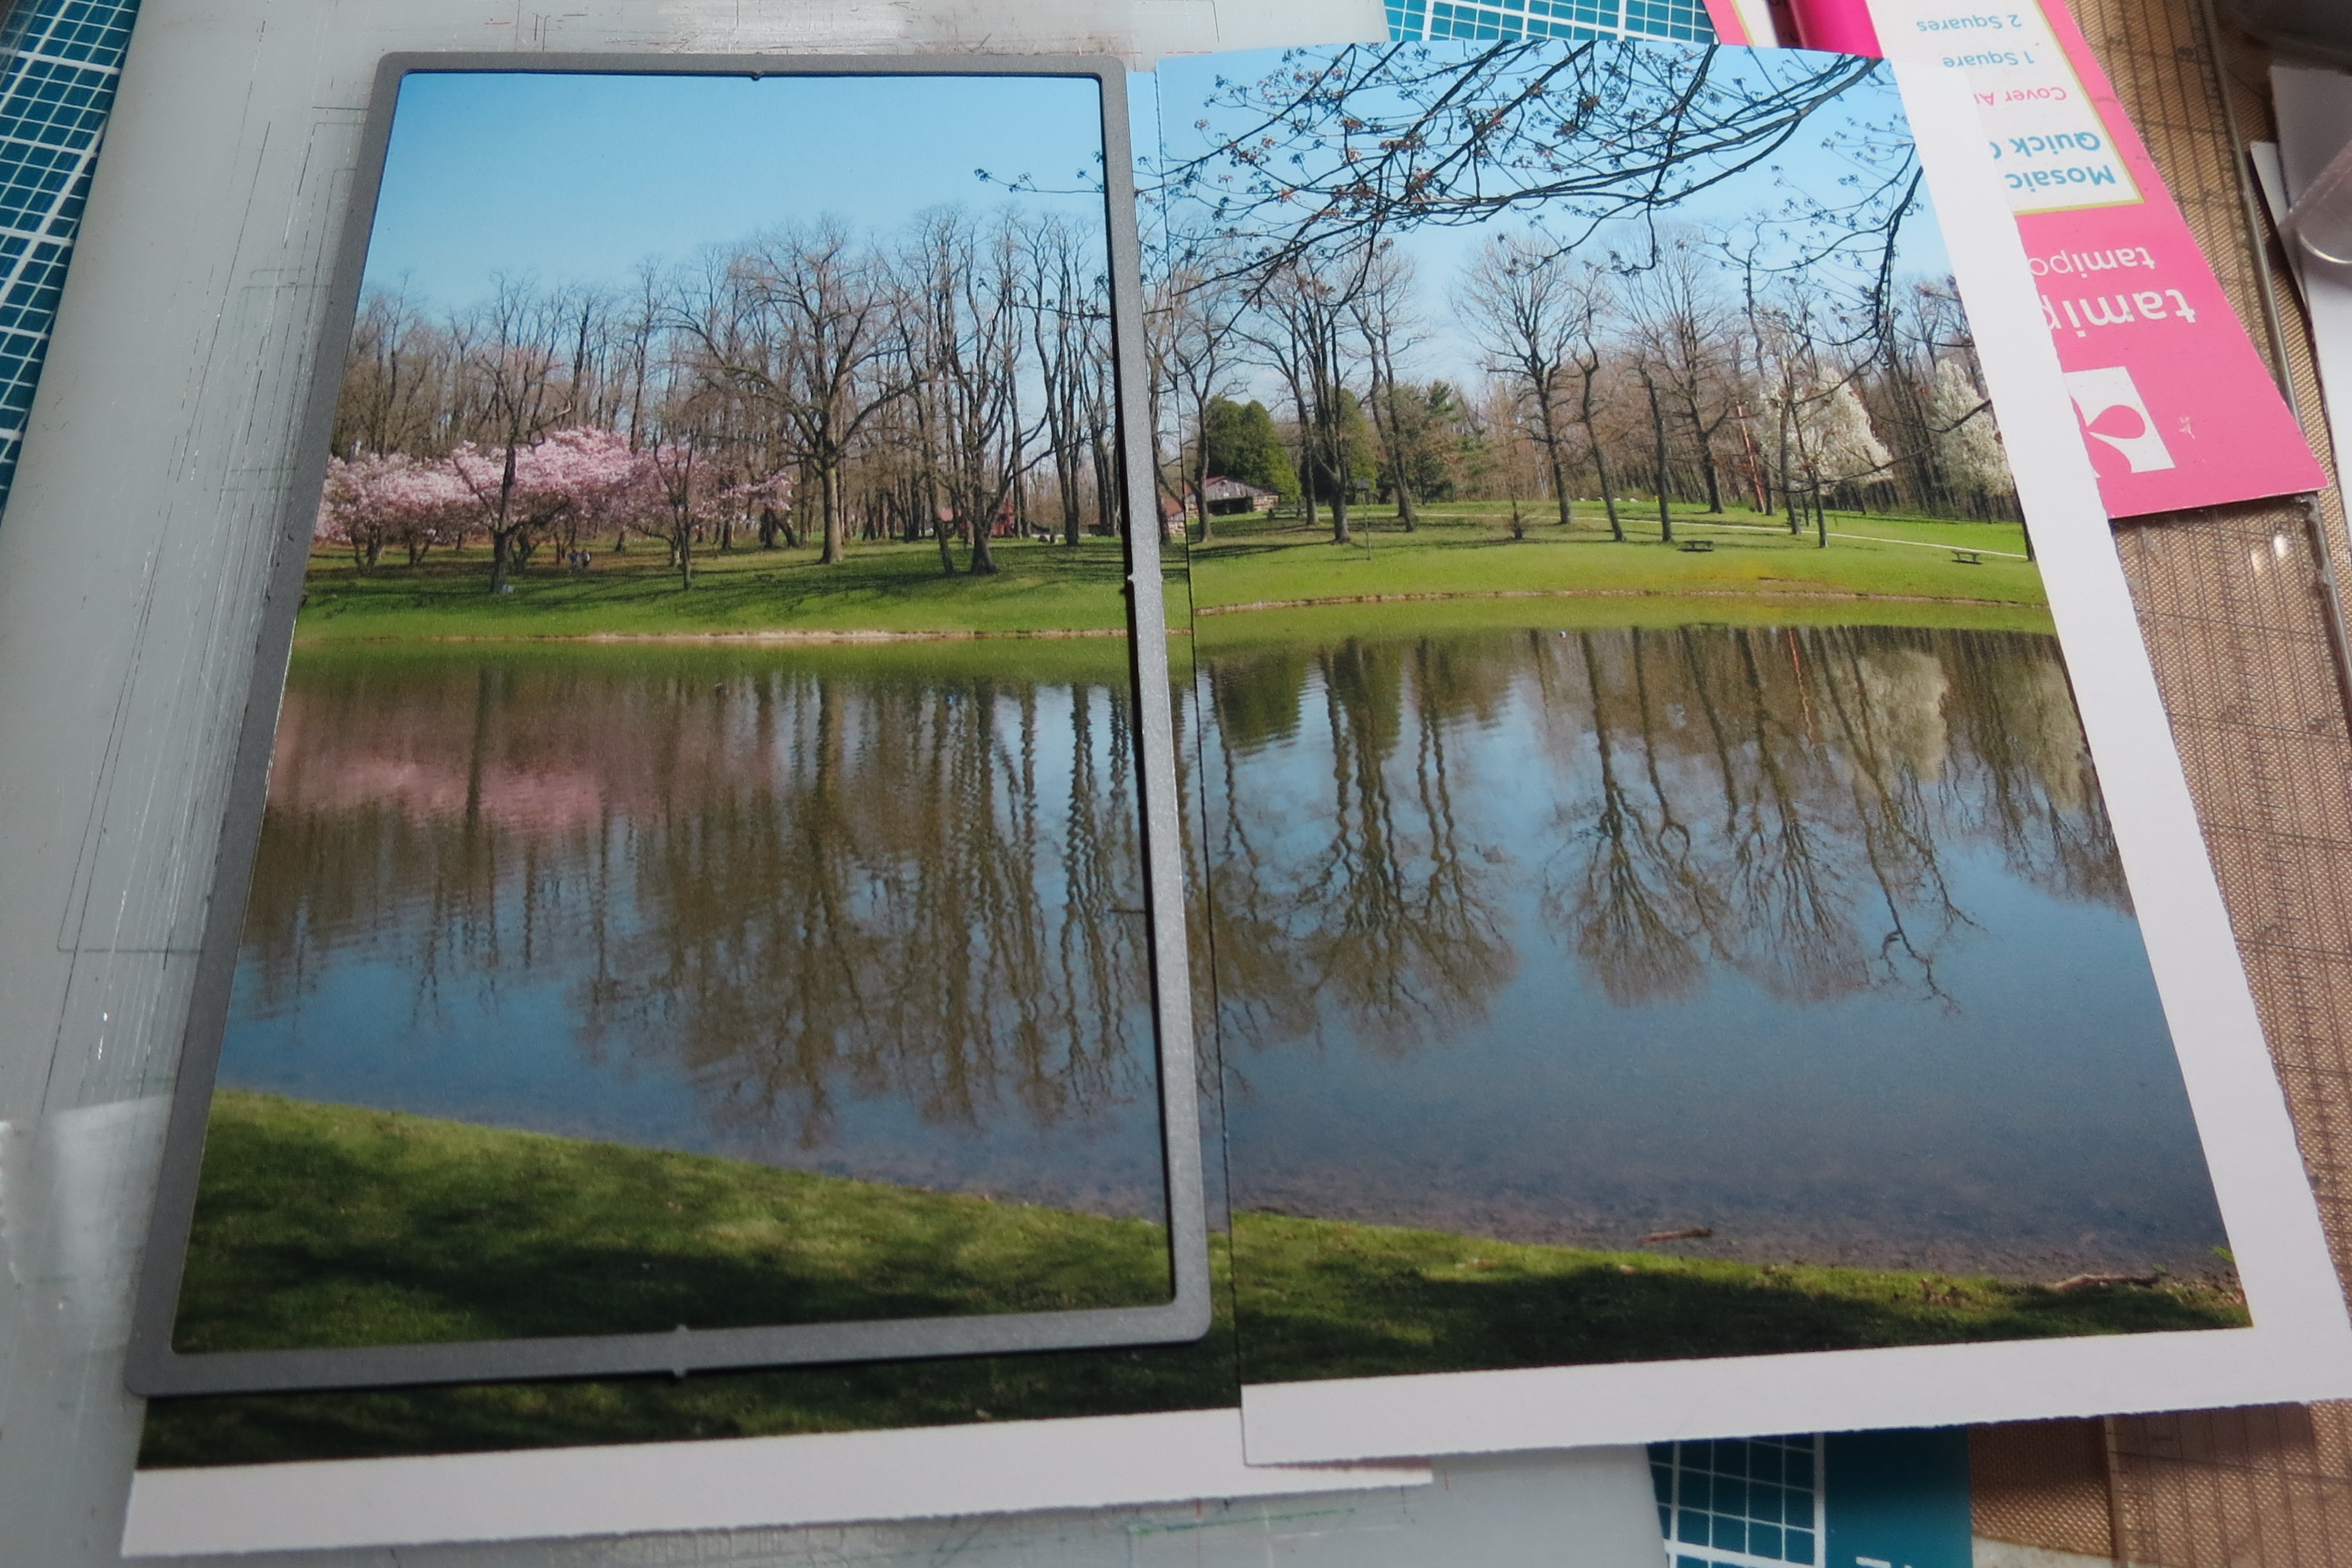
2. The next photo I used was a 4×6 landscape photo. I cropped it into two portrait photos a left and a right side before I printed each out as 4×6 portraits. Die Set B was used to crop them to fit each of the 3×5 spots on either side of the top center photo space.
Quick Page Using 3 x 5 die from Set B to divide photo to be placed on either side of center photo.

Quick Page top of page with divided photos on either side of center feature photo and embellishments.
3. The third photo is printed as a 4×6 and an X-Acto knife was used to trim ¼” off the long side for an even border and mounted on a 4×6 Cotton Candy Paper Tile.
EMBELLISHMENTS
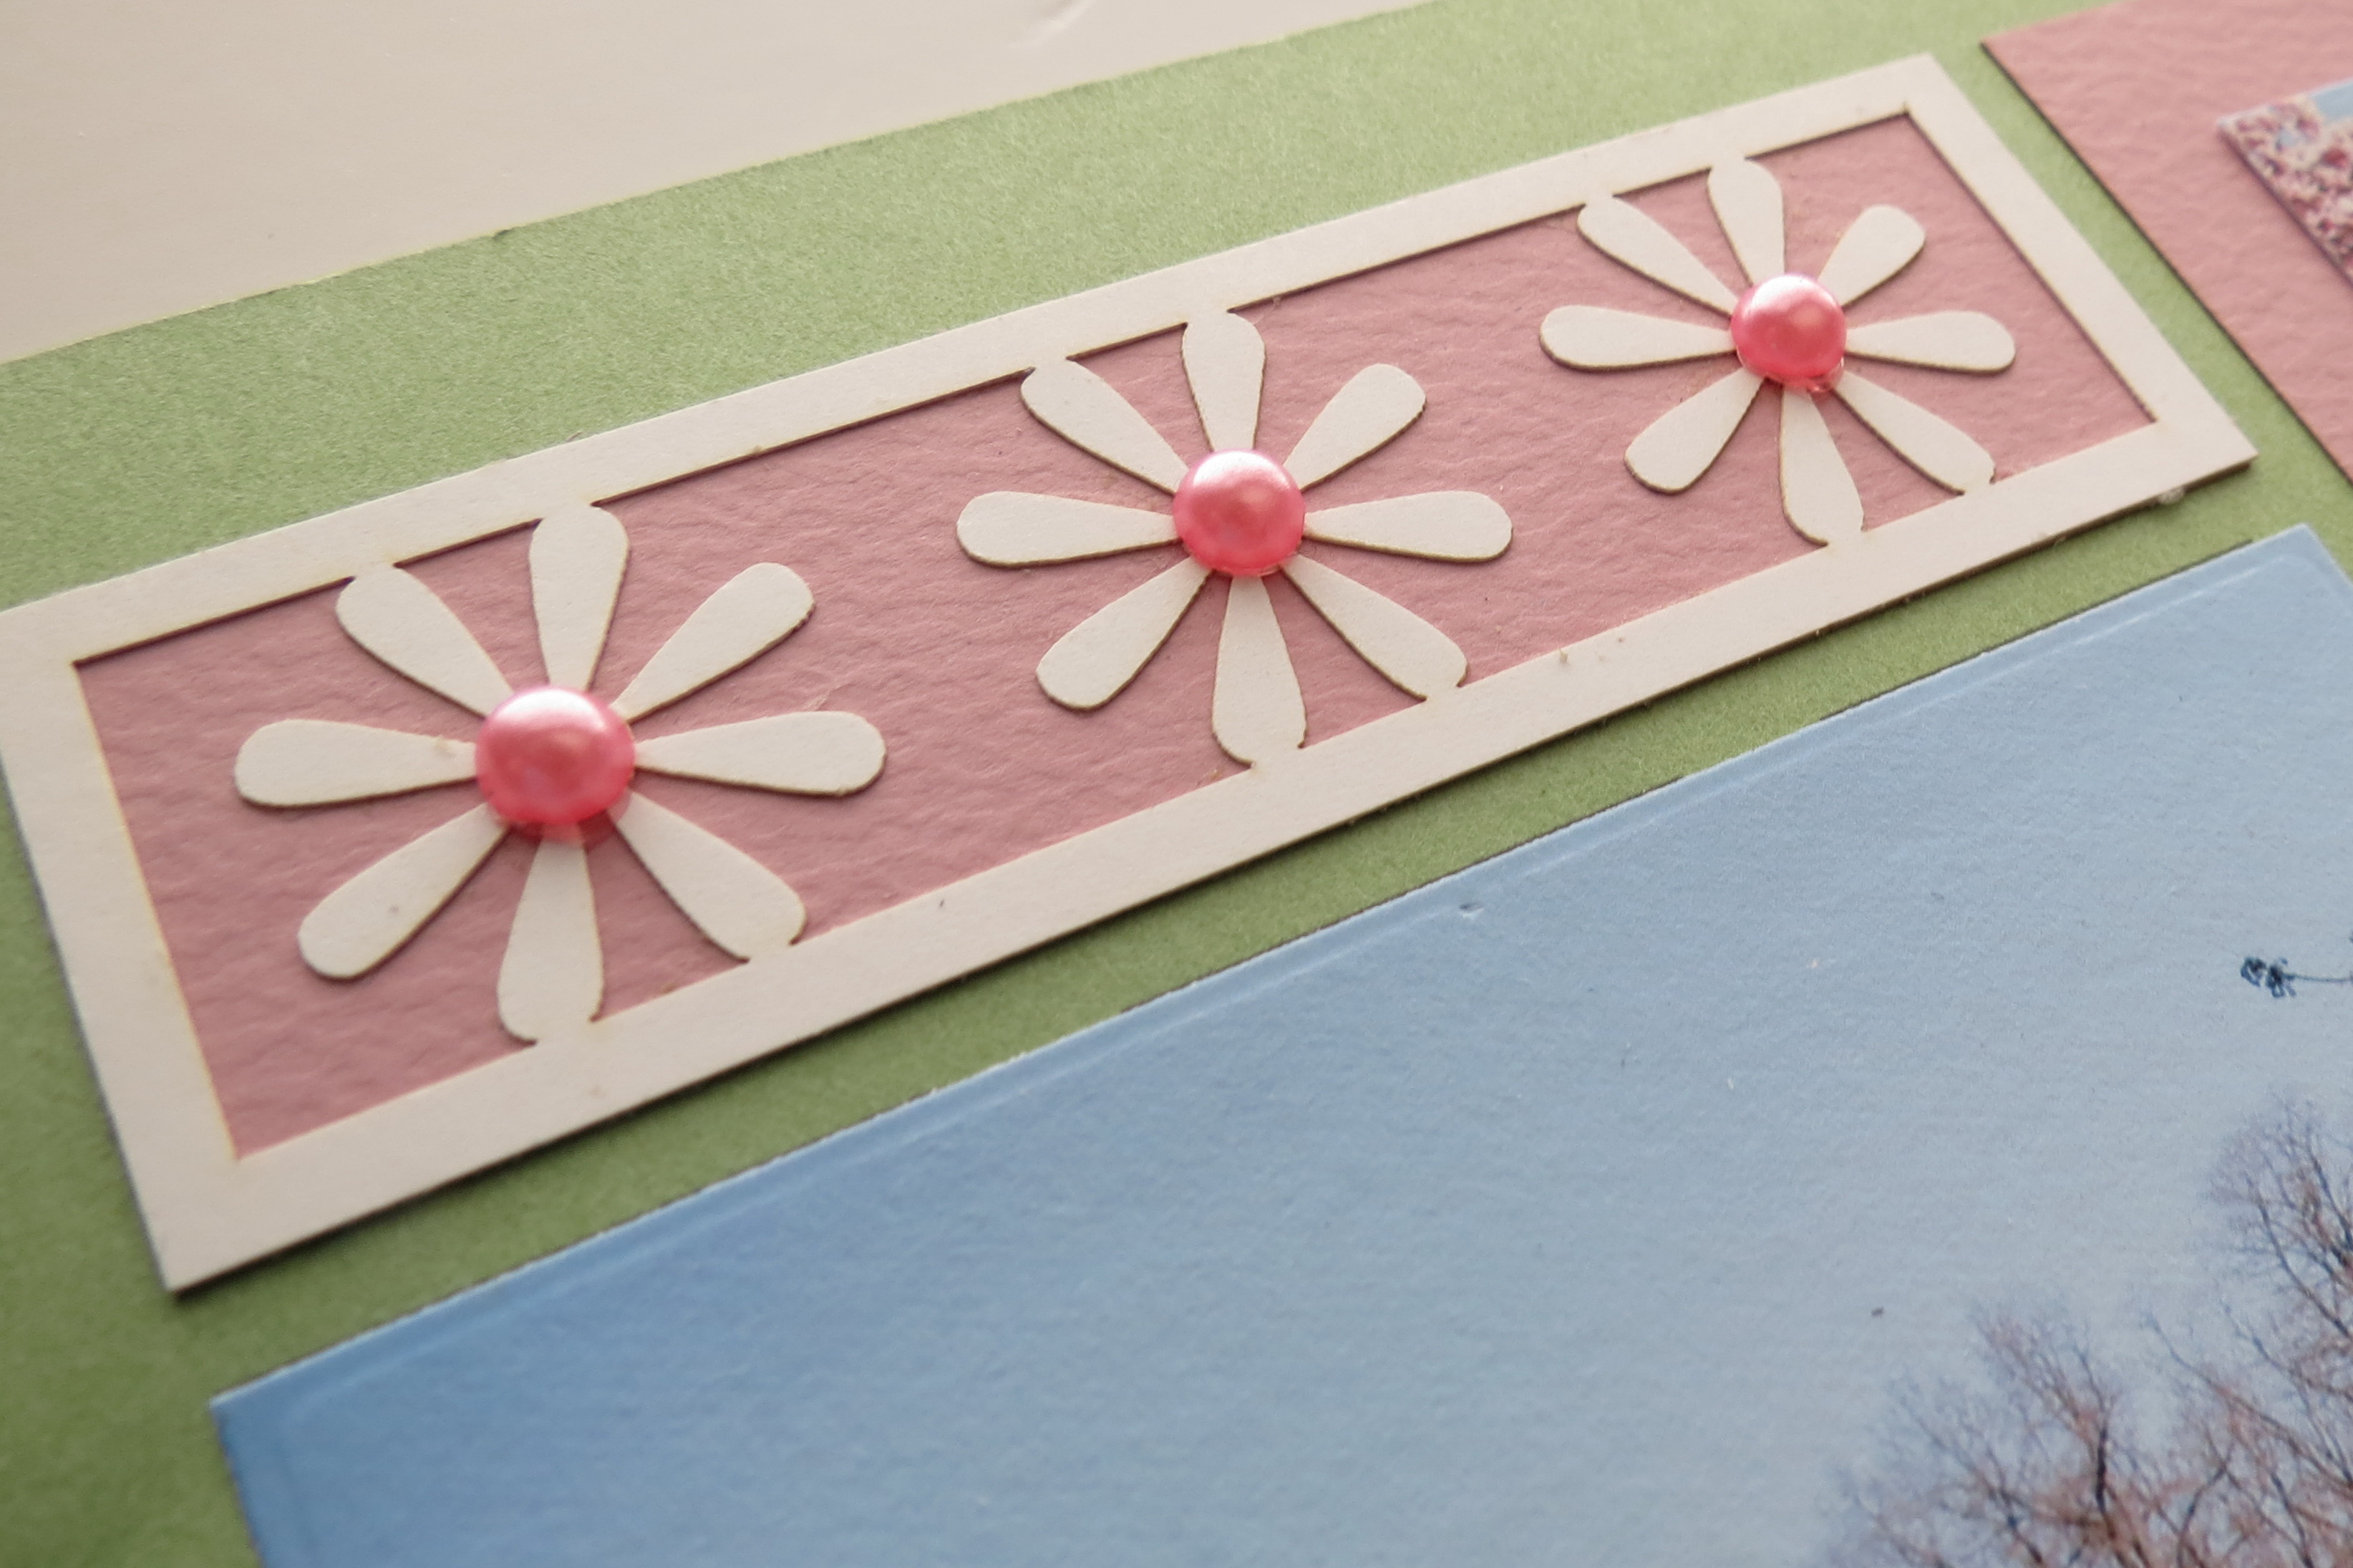
The top two 1×4 spots are the perfect places for a quick page embellishment using a Daisy Chain Cornerstone Tile or our newest Flower Die. Attaching to a Cotton Candy Paper Tile with Stick It! makes this step so very quick and easy. Now your page is finished…or…you could add a bit of pizazz to the center of each flower. I’ve used pink pearls for a pop of color but I considered using gem stones, however the oversized pearls added just the right touch.
This page is complete, including printing time, in about an hour! I hope you’ll make a pattern selection from our Pattern Gallery and see for yourself how quick you can make a beautiful Mosaic page!
Andrea Fisher