
I have a few quick holiday tips for scrapping because if we’ve learned anything about our scrapping it helps to do pages close to the events in order to remember all the details. However, the rush of the holidays, so many things demanding your time and attention, taking time to do so, is next to impossible.
Now if you are someone who finds scrapping your memories to be a relaxing, restorative activity, you won’t want to miss taking the time to do so. So, maybe we can offer some tips for taking that time out without taking too much time out!
Tip One:
The key thing is to keep it simple. Keep your pattern choices simple, your color choices limited, and Grid choices to a few basic choices that will suit any color combo. Keep your die choices for a “Q & E” page to the basics, save the dies that need more planning until after the holidays are over. Layers will be perfect and you have the option of adding in decorative borders or cornerstone dies to fit the theme.
Tip Two:
Another thing to consider is to keep it current. Fresh details to add your journaling will be easier to work with and inspire you more than layouts you are trying to catch up on. If it’s current, you are motivated to capture those moments while you are in that celebrating mood. You might even get a few special memories in a quick and simple layout.
Tip Three:
Atmosphere plays a part in being inspired, whether it’s decorations or snowfalls, holiday movies or music…it works for spurring you forward and taking a short break from the holiday madness and coming back to what is foundational. Make the most of that inspiration!
Tip Four:
Maybe you took advantage of the recent page kit sale, hopefully you picked up a few Christmas themes for speedy layouts. You are already making it easy to complete a layout. If you haven’t, there’s no reason why you can’t plan out a layout complete with paper, cardstock and even cornerstone dies for quick embellishments. Choose your cardstocks and patterned papers, choose a pattern and begin to prepare. Adding photos at another time has been streamlined by this process for you, time saved!
Let’s take a look at some of those tips in action…
- KEEPING IT SIMPLE:
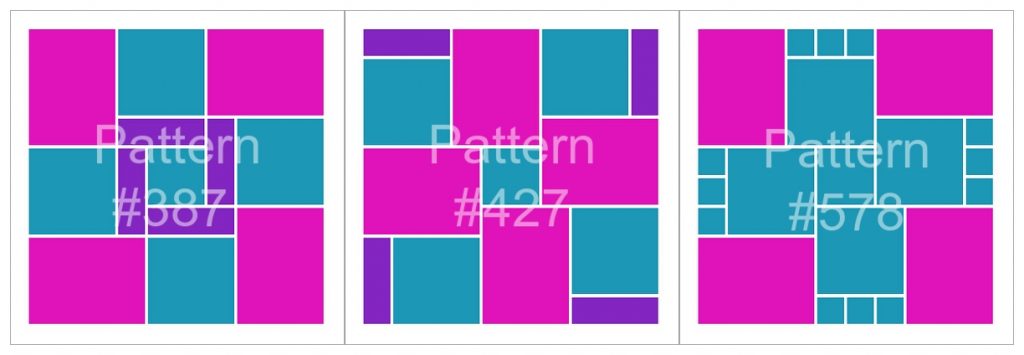
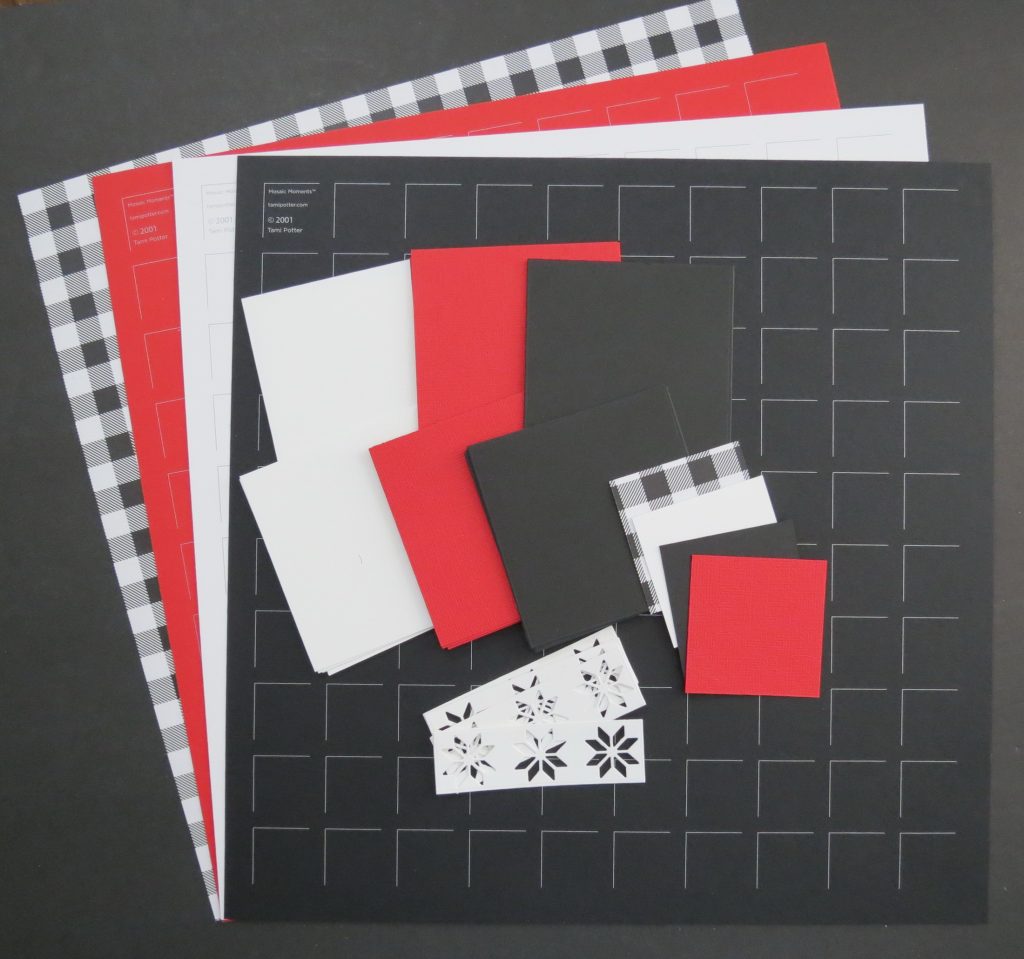
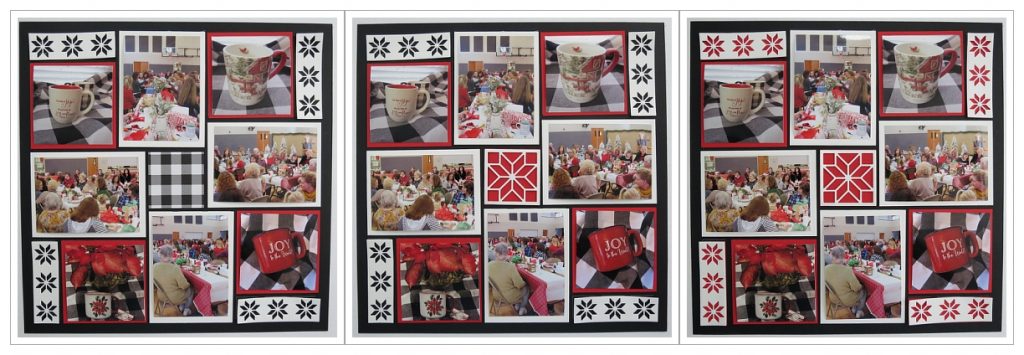
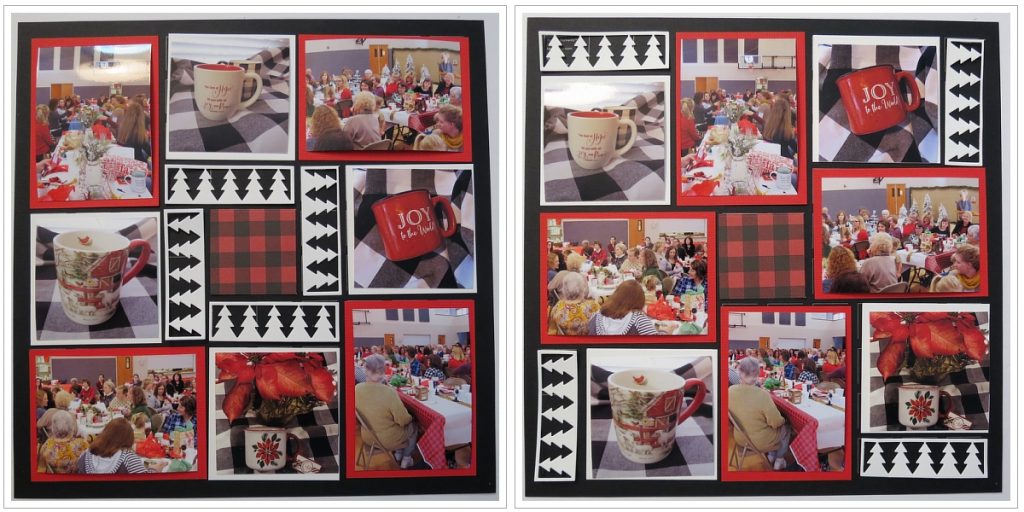
I’m going with the Pinwheel Patterns to keep things simple. Overall, there are many patterns that mainly require two vertical photos and two horizontal photos. Most also allow for some embellishments in smaller spots. I’ve chosen three patterns that are variations of one pattern. They have the same size sections, 3×3 squares, 3×4 rectangles.
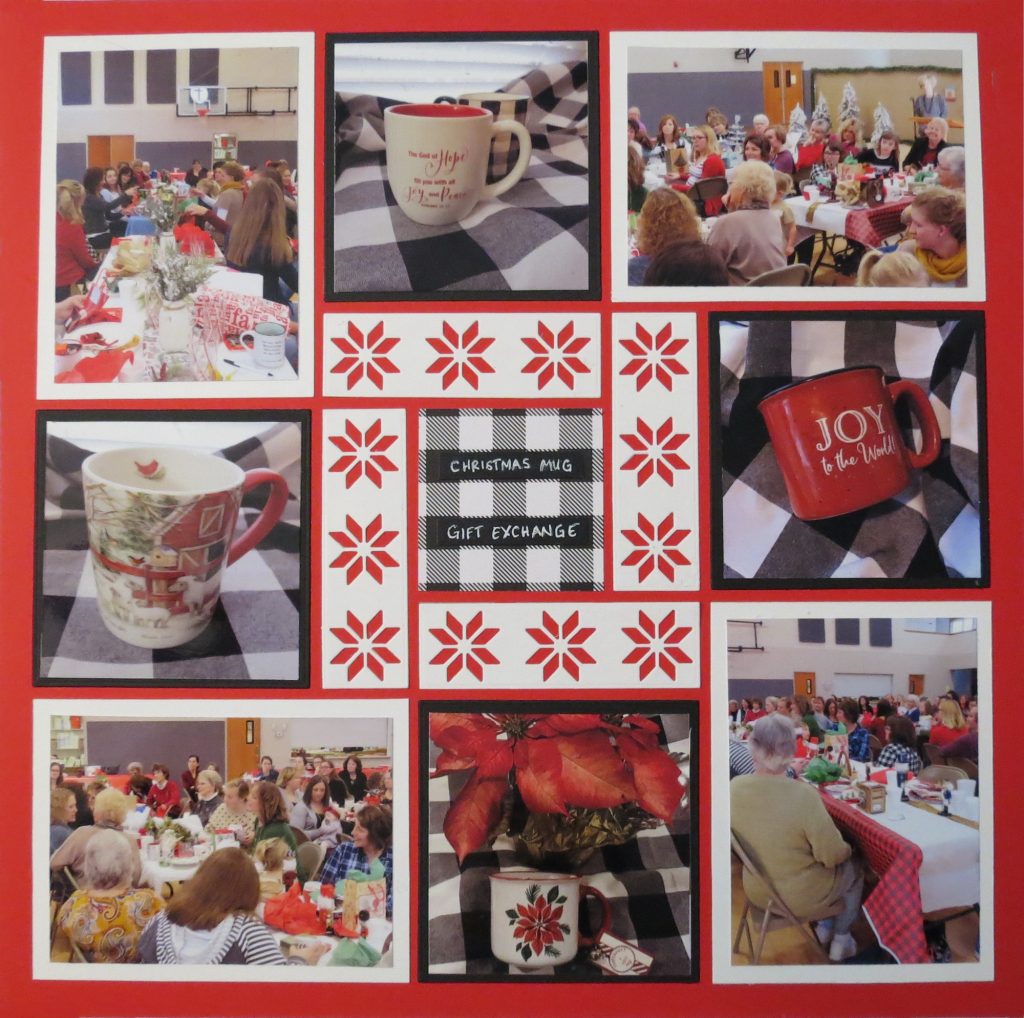
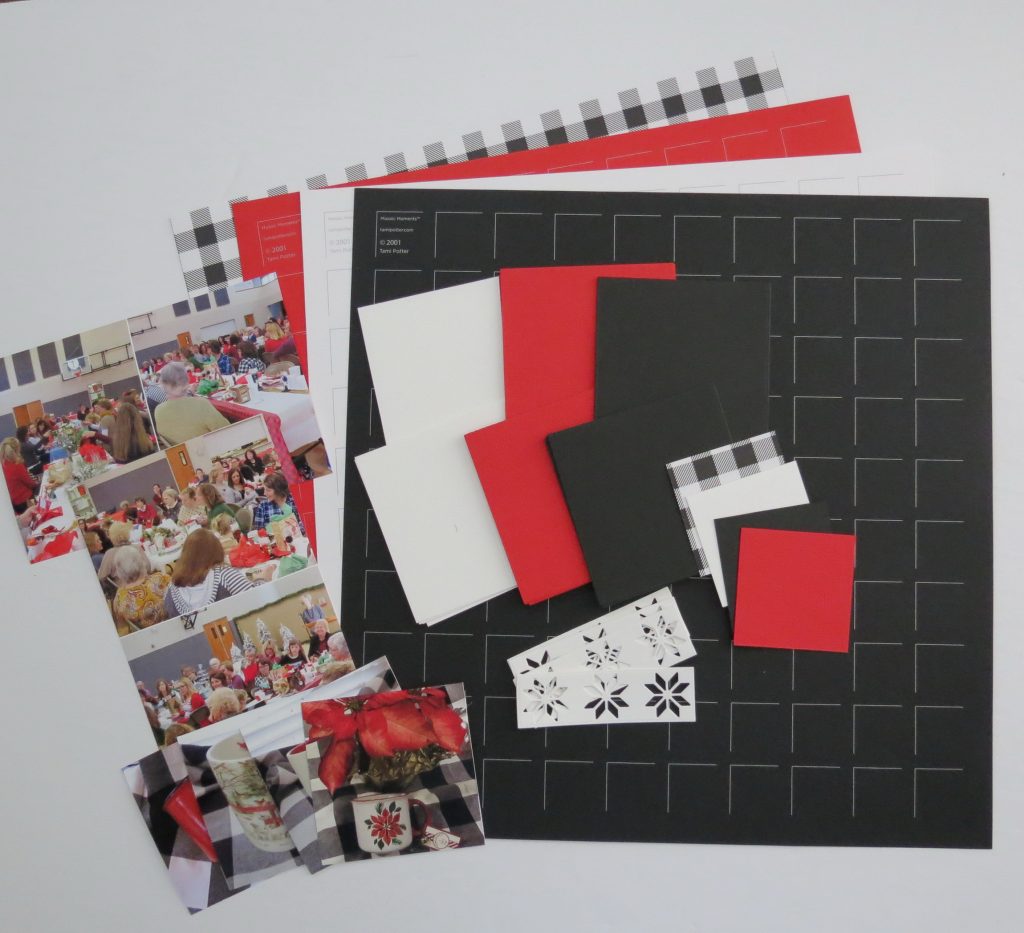
I chose to keep it to three colors, Black, White and Scarlet. Red and white are traditional colors whether it is Redwork needlework or quilting and certainly in any Nordic Christmas style. By combining black in this grouping, we are leaning into the current trends of Lumberjack or Farmhouse Christmas trends. I’ve primarily chosen red, white and black cardstocks, included the black and white Buffalo Check of the Farmhouse trend and for a few of the alternative pages the red and black buffalo check of the Lumberjack style. One is a bit more crisp, clean and upscale while the other leans toward a rustic, cozy, even masculine feel.
- PREPARATION:
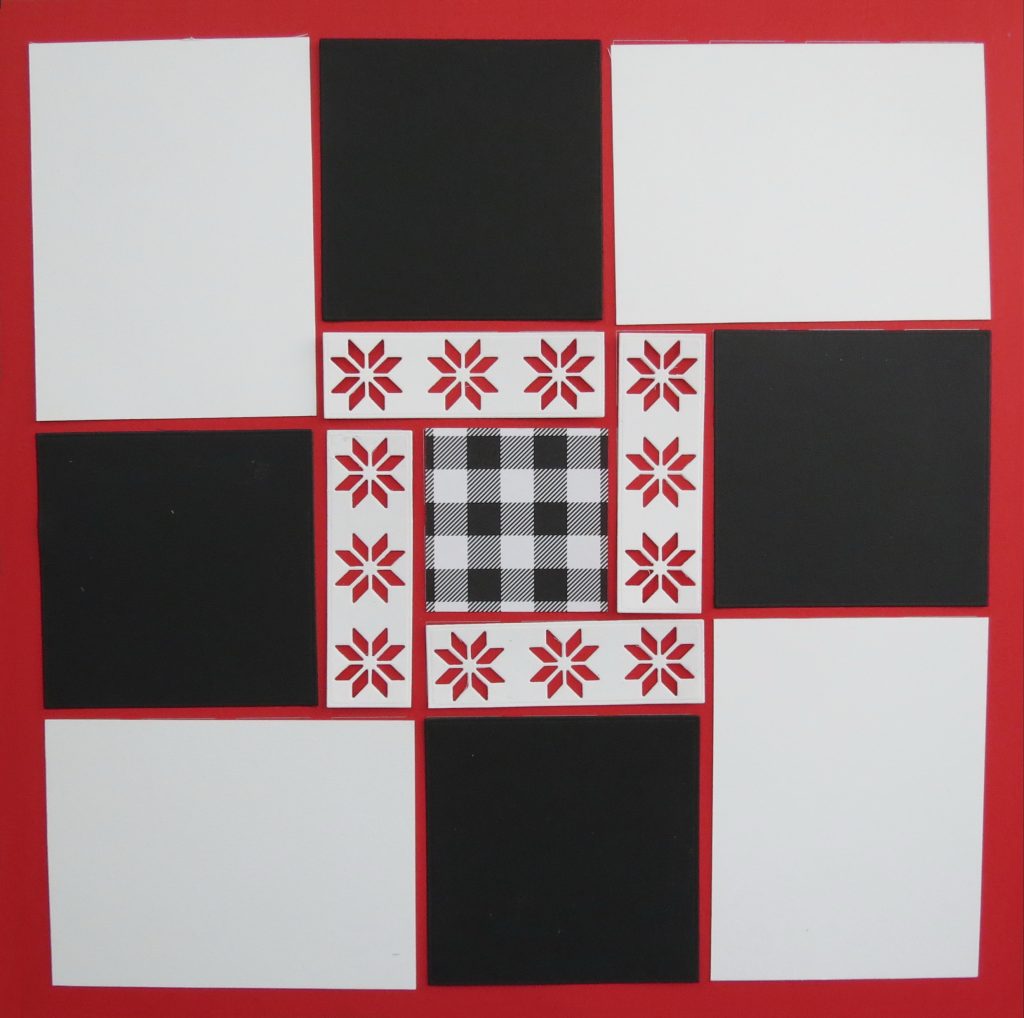
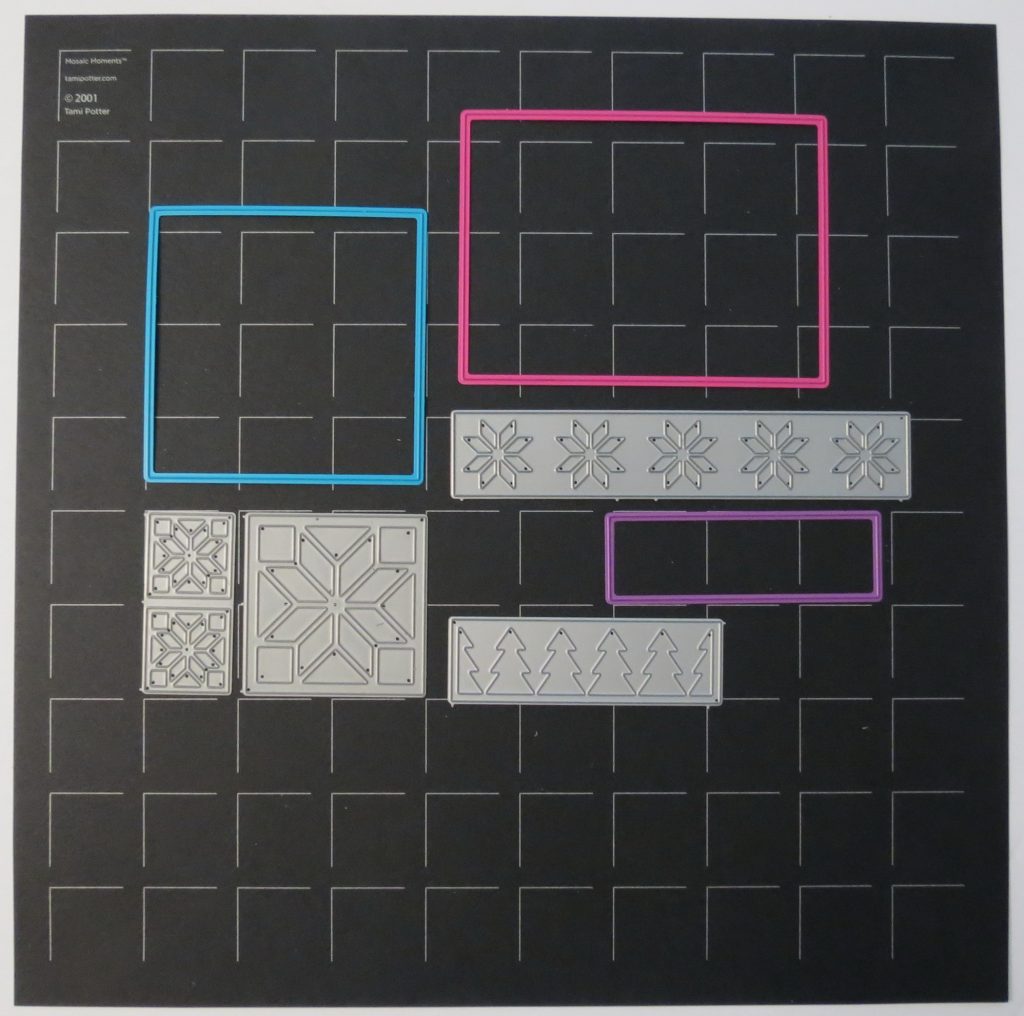
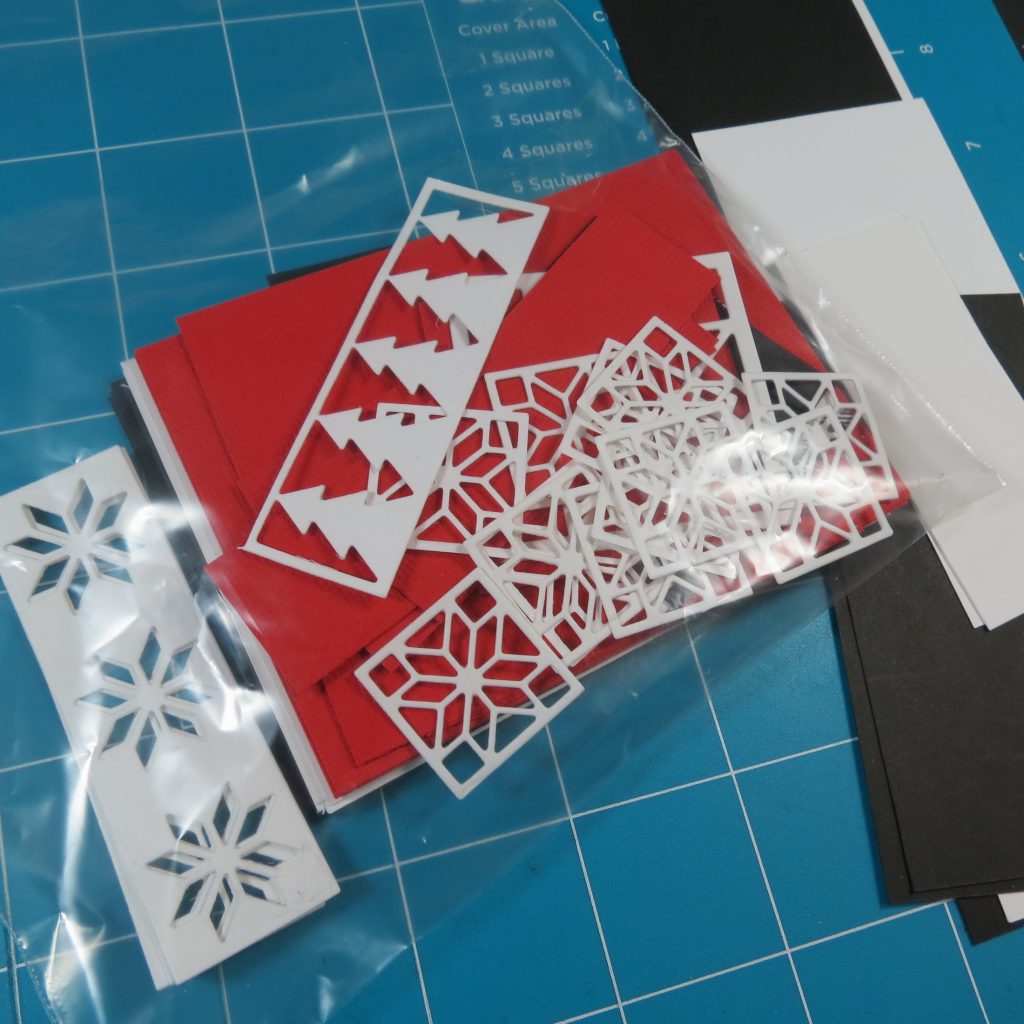
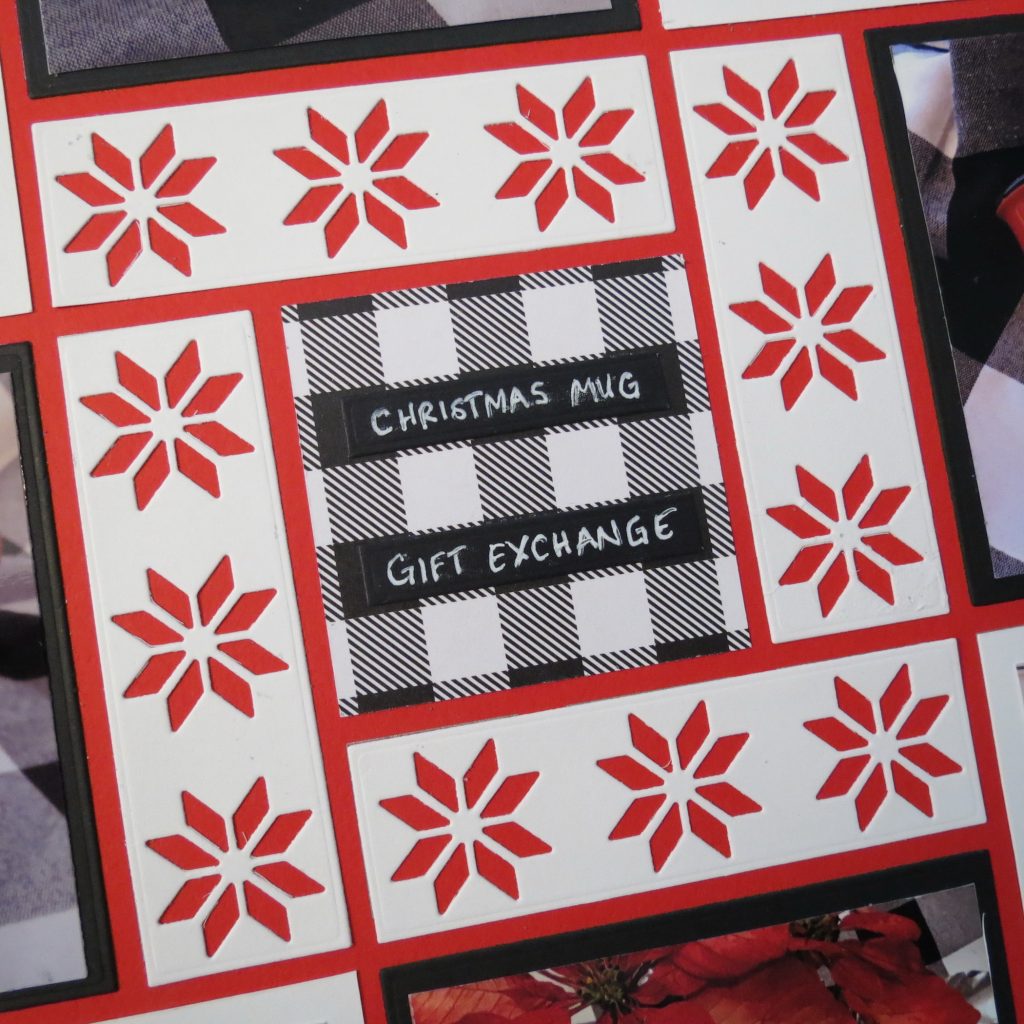
I’ve kept the embellishments simple too. I wanted to use the Carpenter’s Star border from the Mittens border set, but my spots only needed a 1×3 piece, so I cut the die piece out and then used the 1×3 die from Die Set B. Additionally I pulled the Carpenters Star 2×2 and 1” sq dies for alternates.
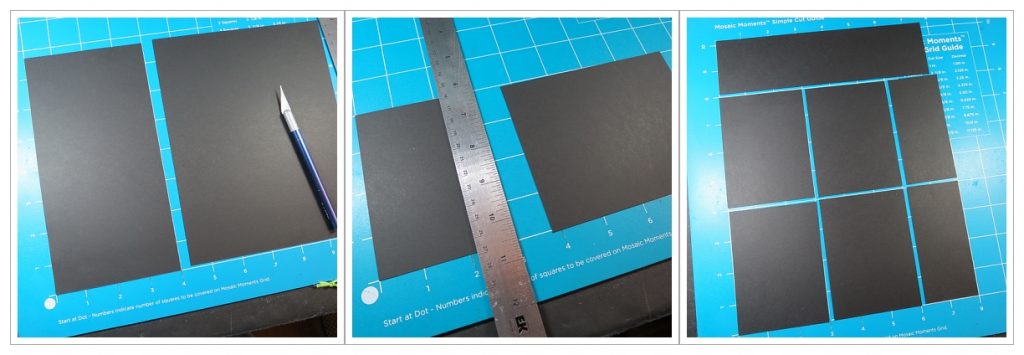
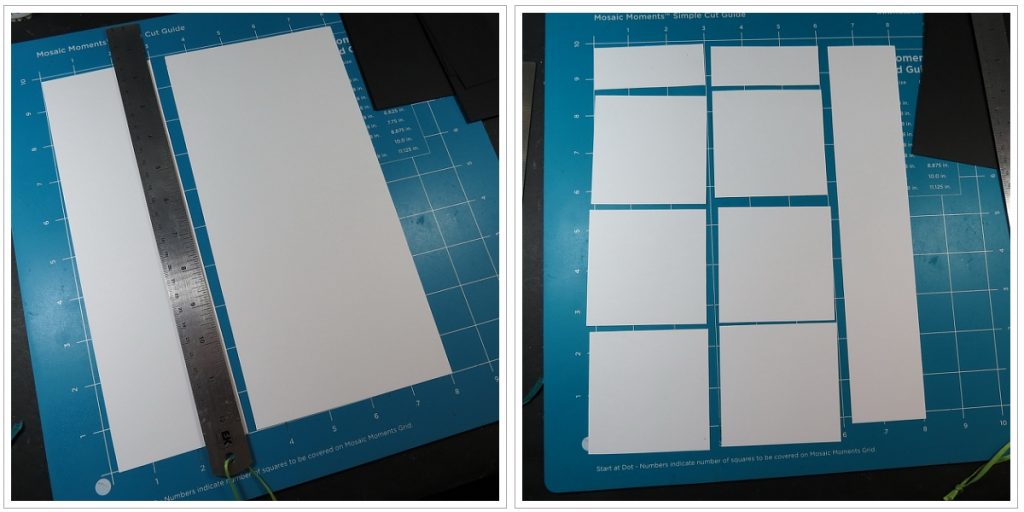
Then I prepared several mats in red, white and black in 3×3 and 3×4 sizes. You can use the dies to cut these pieces, but it is very easy to cut multiples by using the Double-sided Craft Mat. Use the backside of the mat to quick cut your supplies. If you prefer, get your dies out and prepare!
I use a simple quart-sized zip lock bag to store my supplies to keep them handy, ready to scrap when I have the opportunity. Now these colors relate to the Christmas colors I want to use on the upcoming holiday season, but maybe you have fall photos you want to catch up on, then just make color choices to fit that theme and have them prepped ahead of time. Now, if I never get around to using them now, they will be ready for the next time. Black and white are standards and red? Well, Valentine’s Day is just around the corner!
- SO MANY OPTIONS!
The patterns I’ve chosen all require 3×3 or 3×4 sized photos. If you print you own, this is another way to complete your pages quickly. I’ve printed 2-3”x4” photos on 1-4”x6” photo paper, and 2-3”x3” on the same size. The 3×3” are easily matted and for an even border on the 3”x4” photos, I trim and 1/8” off of the long edge.
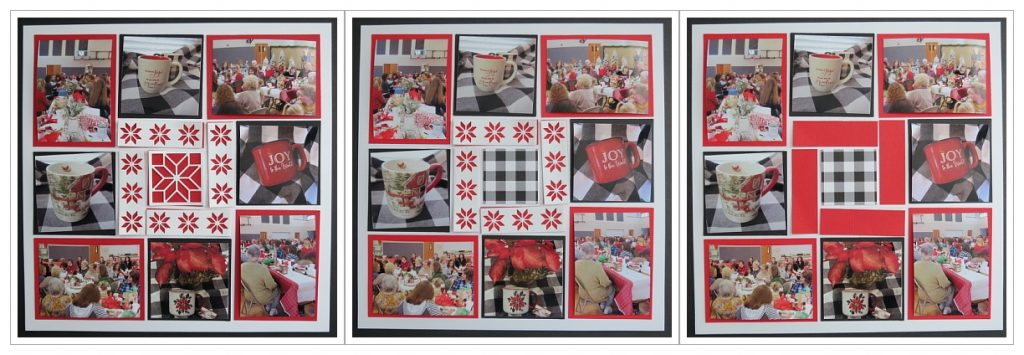
There are many options for these three patterns and I thought I’d show you a few of the options I was playing around with. Hopefully this will inspire you to find patterns and options for yourself. I just love the idea that I can easily mix and match and have completely different looks.

- JOURNALING:
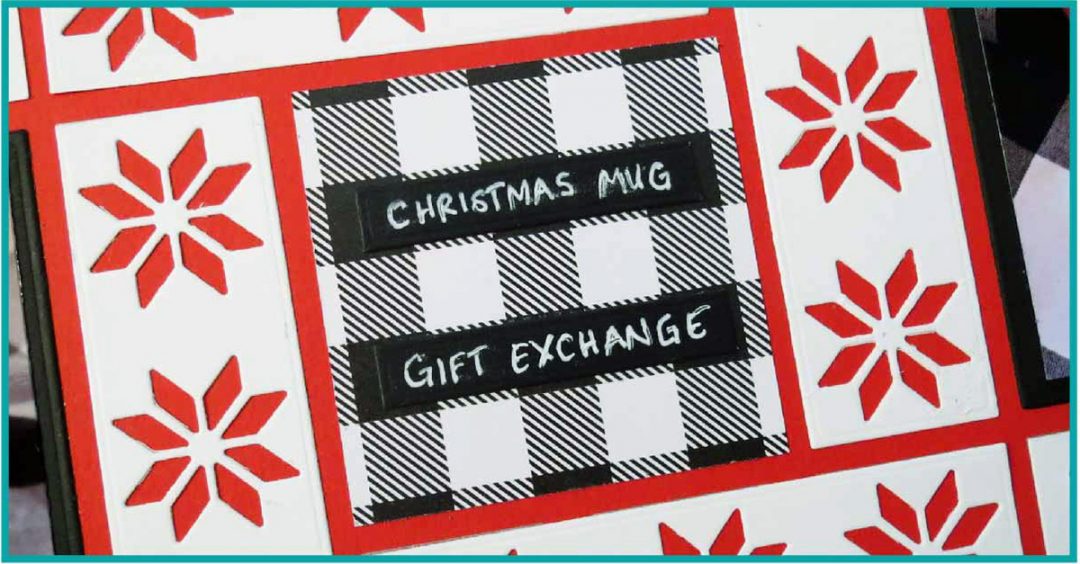
This time I’m keeping it limited to small strips in the center 2×2 block, black strips with white gel pen lettering. It names the event and the photos show the gathering and the gifts from the exchange. As it’s a part of a larger collection of layouts of the same event where there are more details, keeping the journaling simple helps to keep the page Quick & Easy to complete.
So, gather your grid papers, pick a color scheme and a pattern and get started with prepping for the upcoming holidays. Having some of the work already to go will take away some of the stress of where to start and let you take a little break from all the rest of the season’s events.
Hope your Holidays bring you more memories to scrap!
Andrea Fisher