
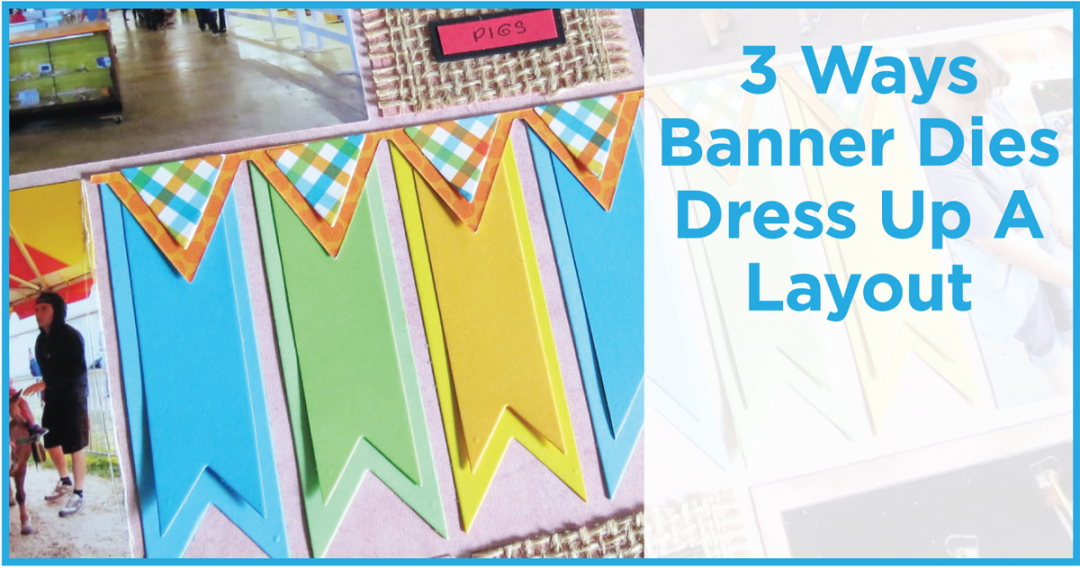
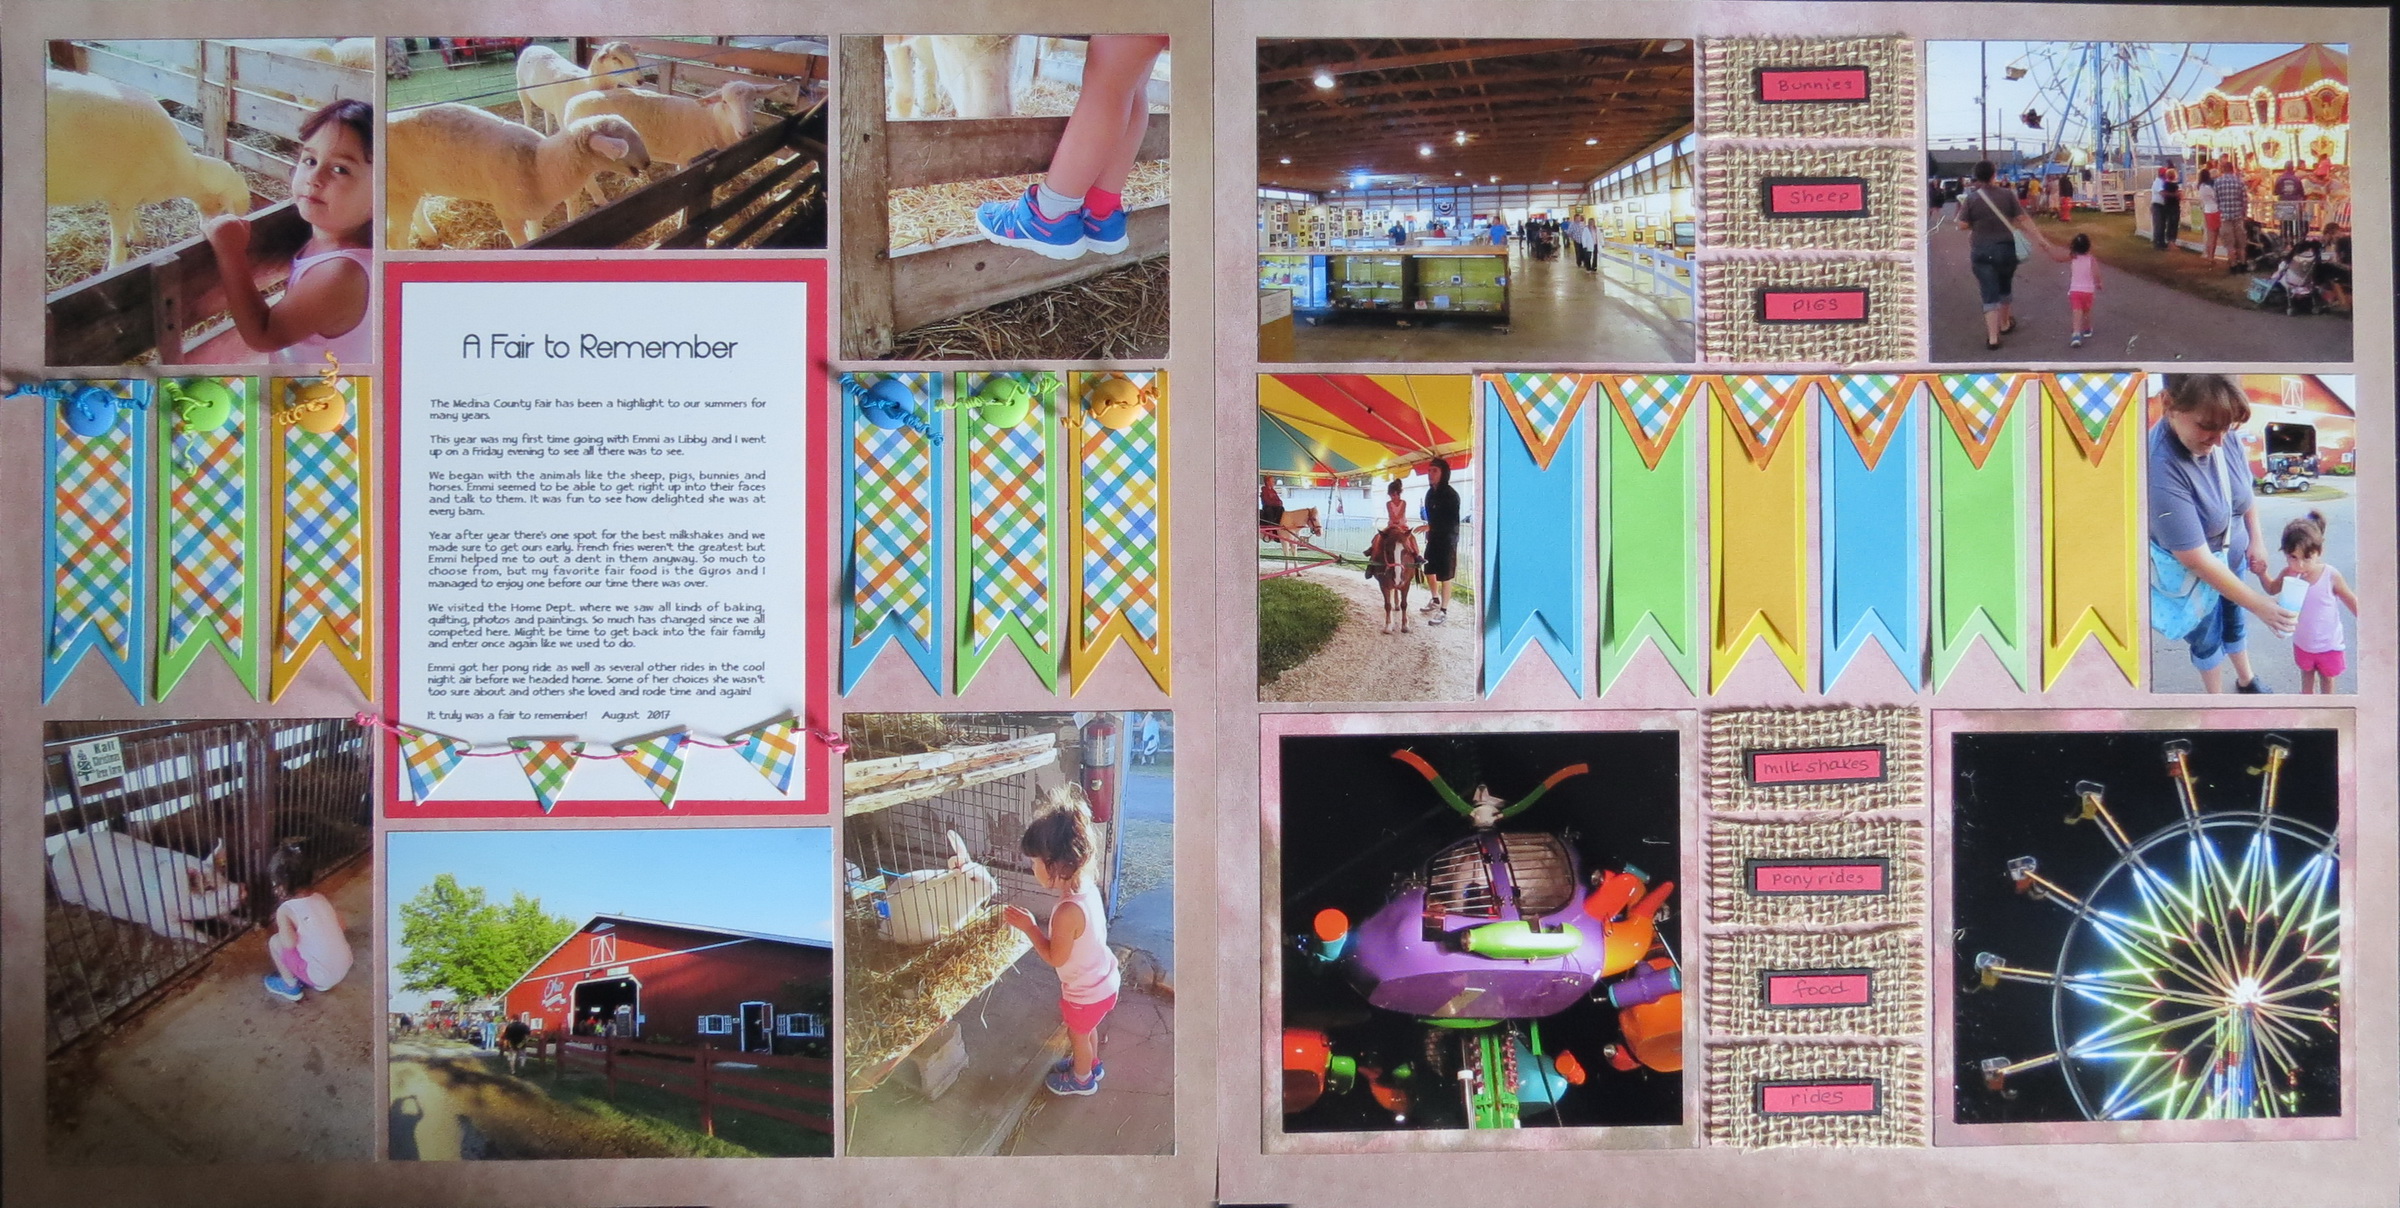
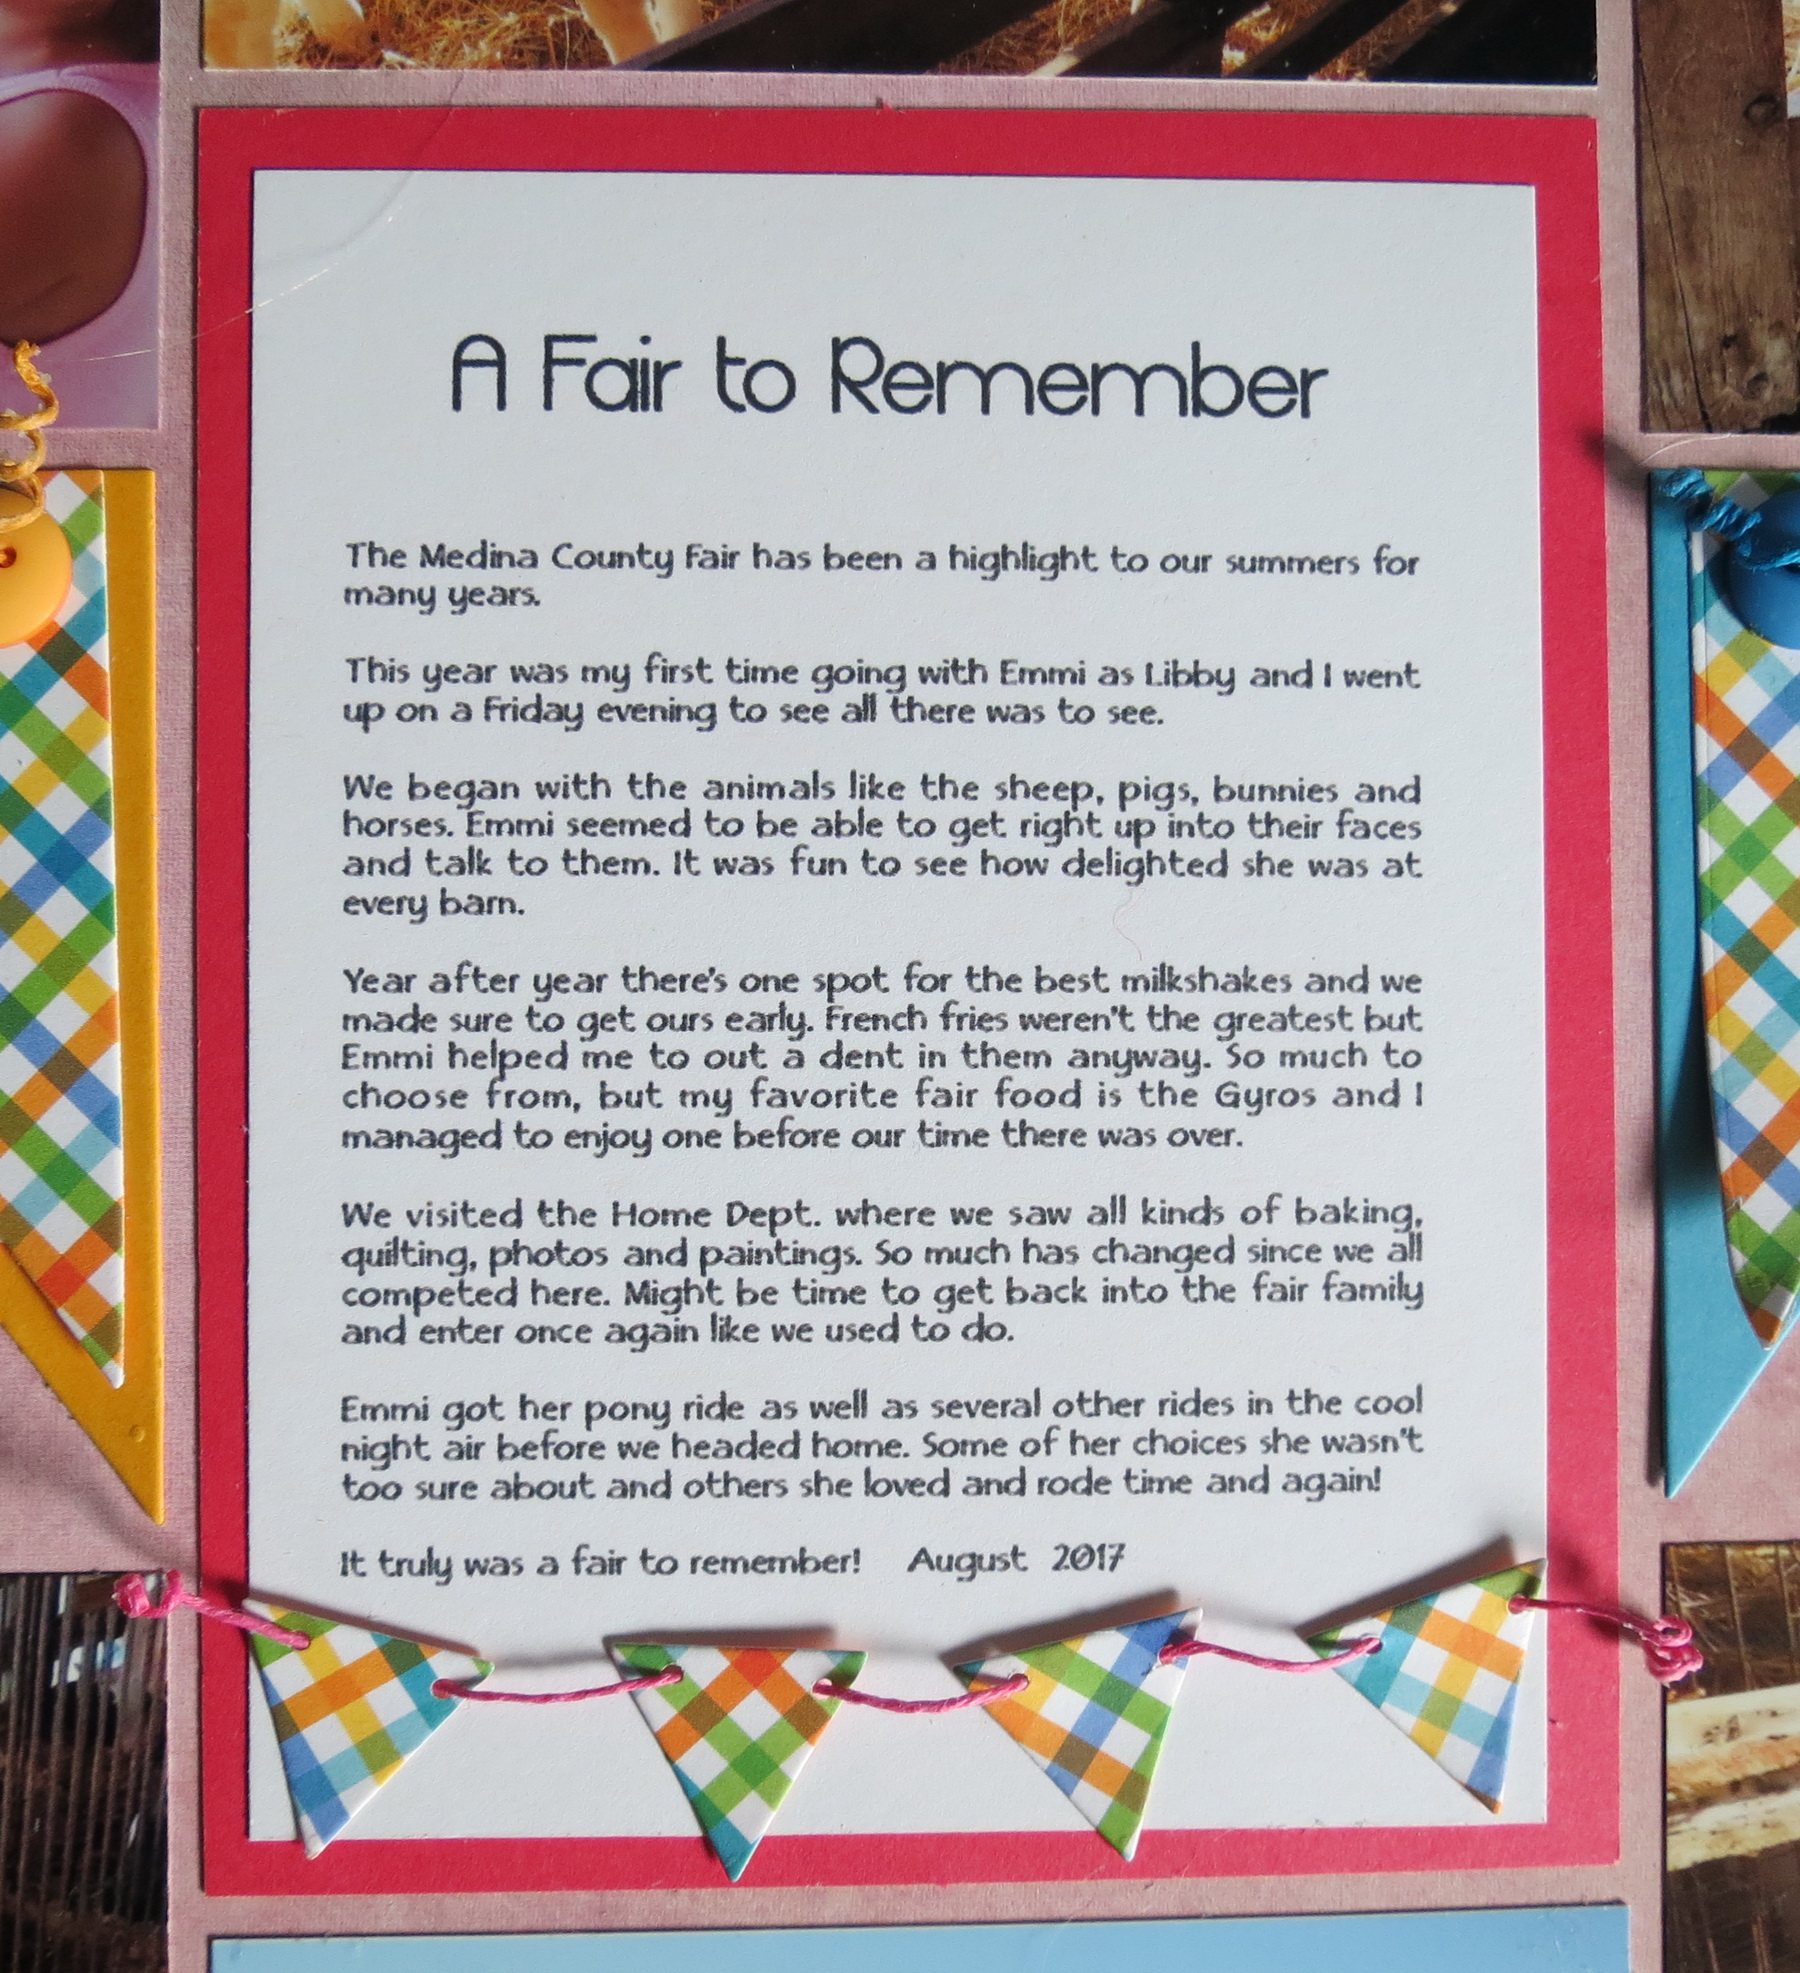
A Fair to Remember
For this week’s Pairing Patterns we’ll see 3 Ways Banner Dies Dress Up a Layout featuring Patterns #196 & #193. Along with Mosaic Moments Pendant & Scallop Die Set, 4 Banners Die Set and Layering Banners Die Set and the new Mosaic Moments Weathered Pink Grid Paper from the Dockside Collection.
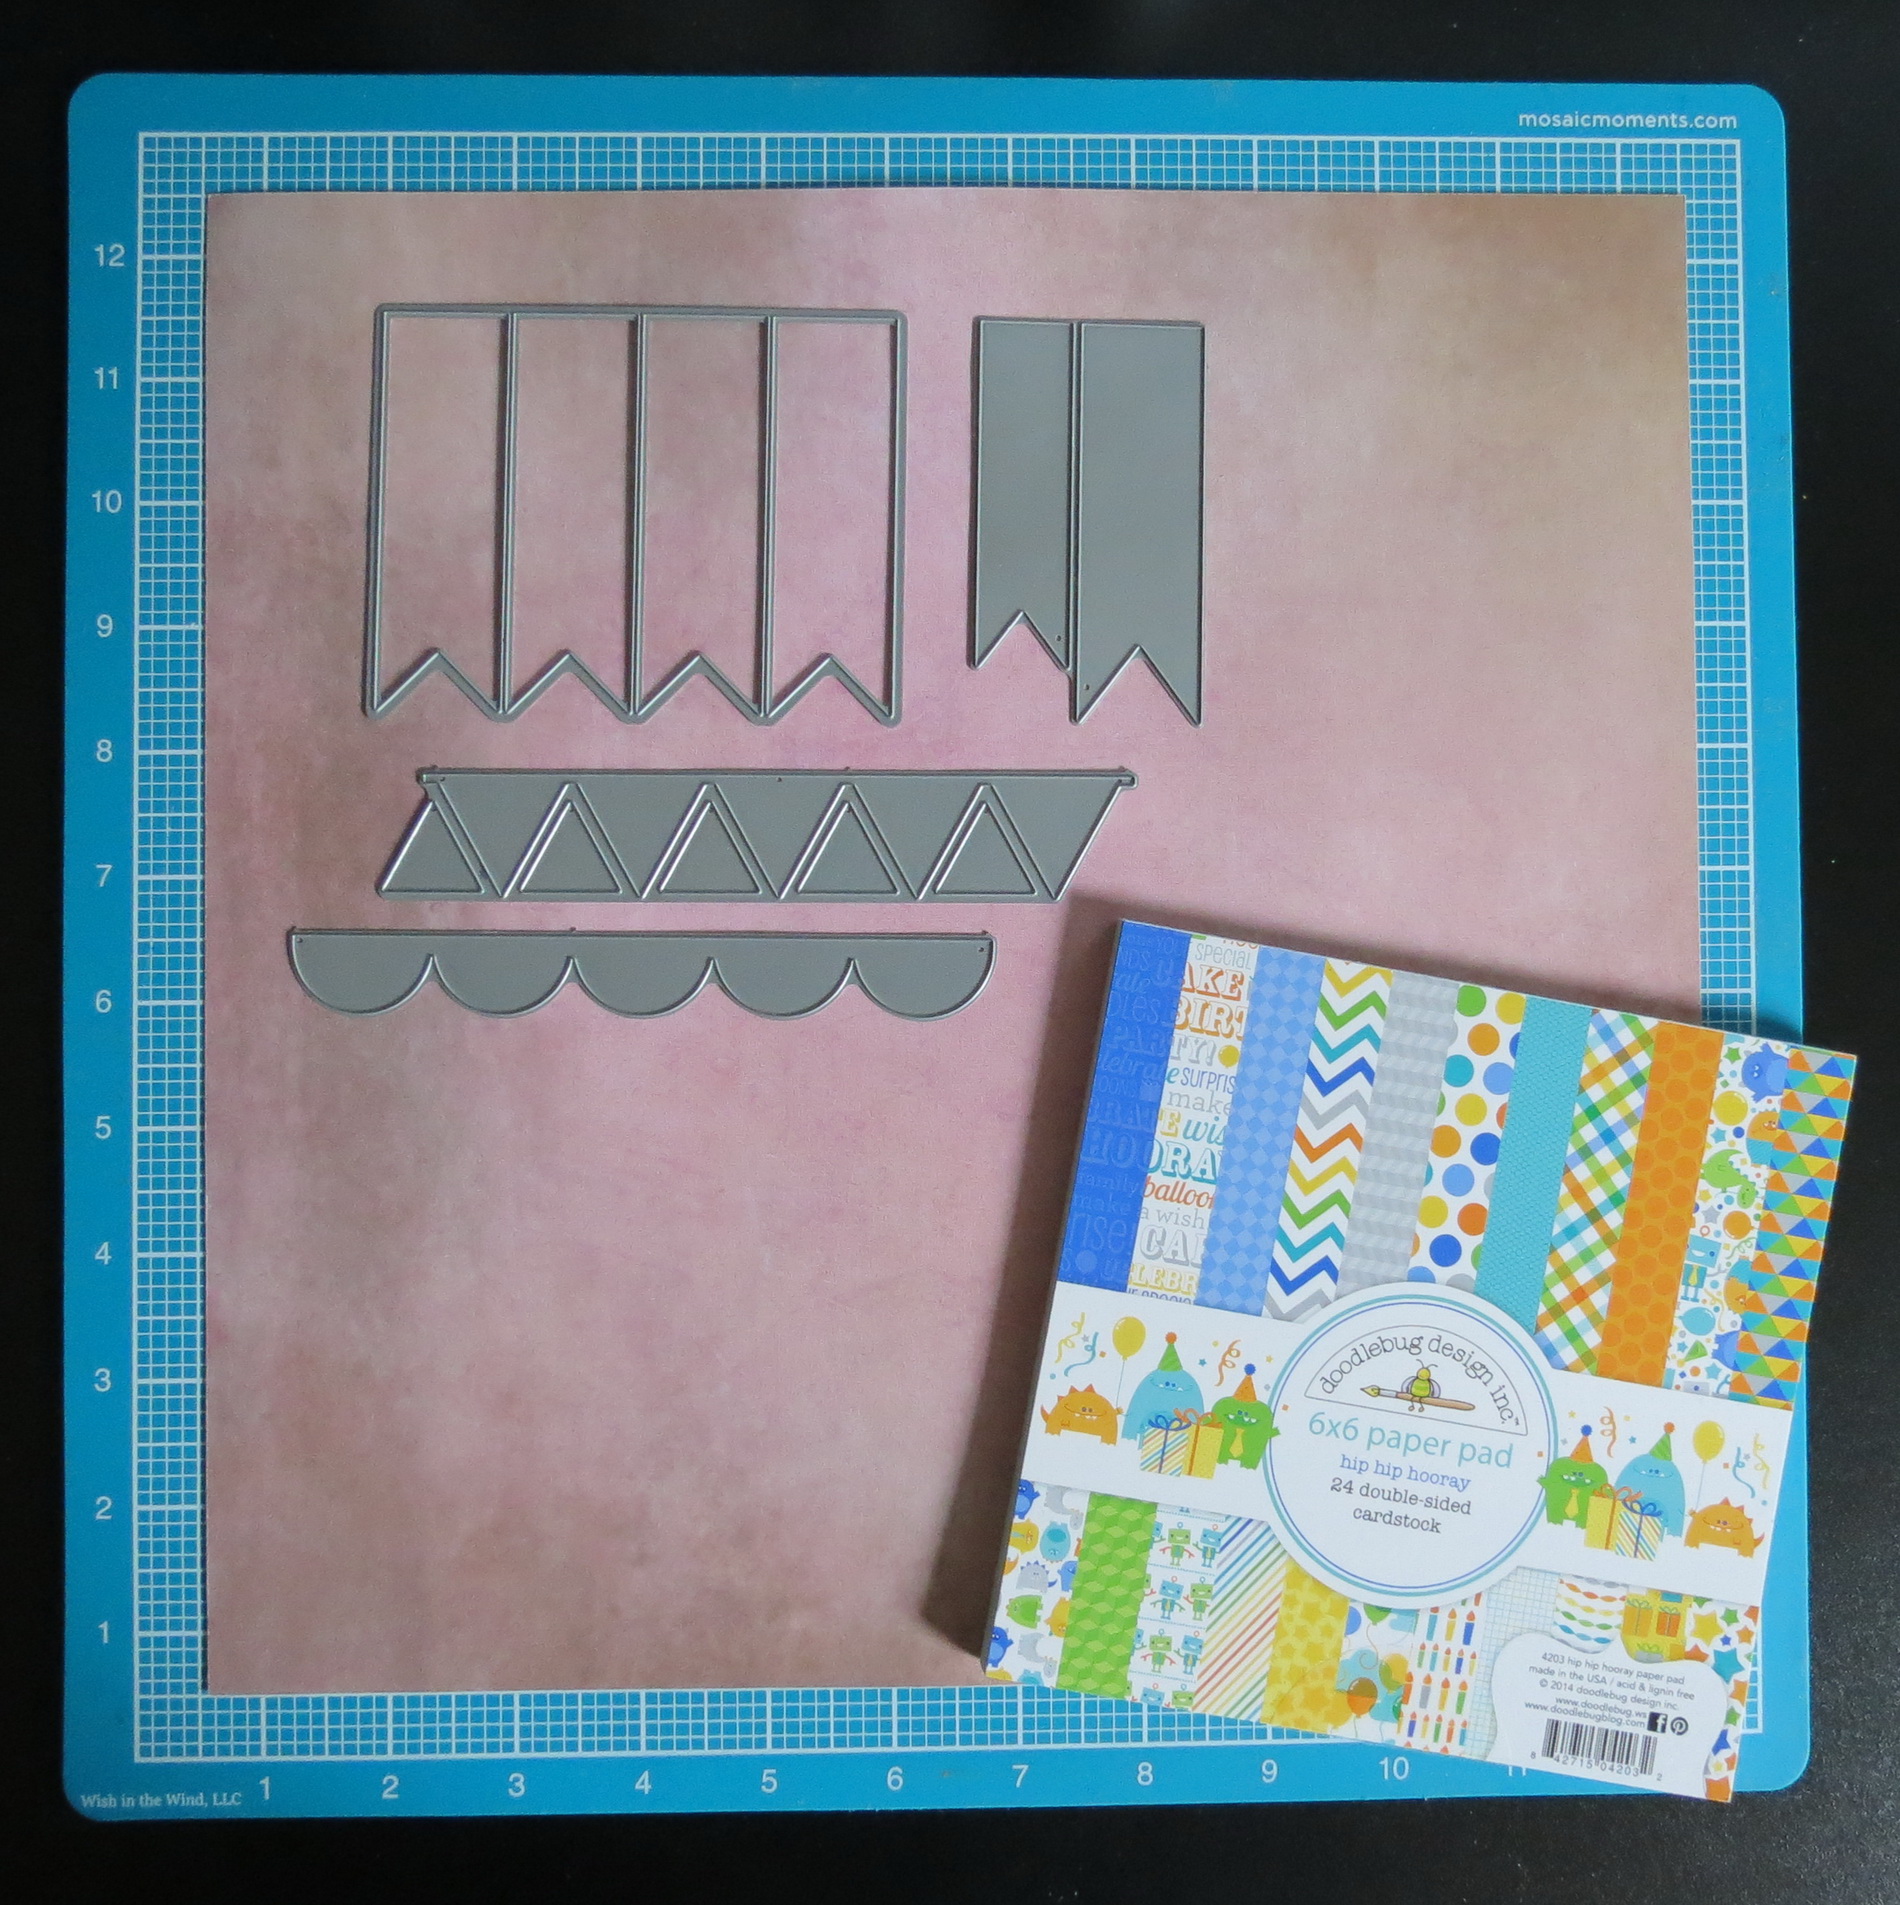
Mosaic Moments Pairing Patterns Border Dies Supplies
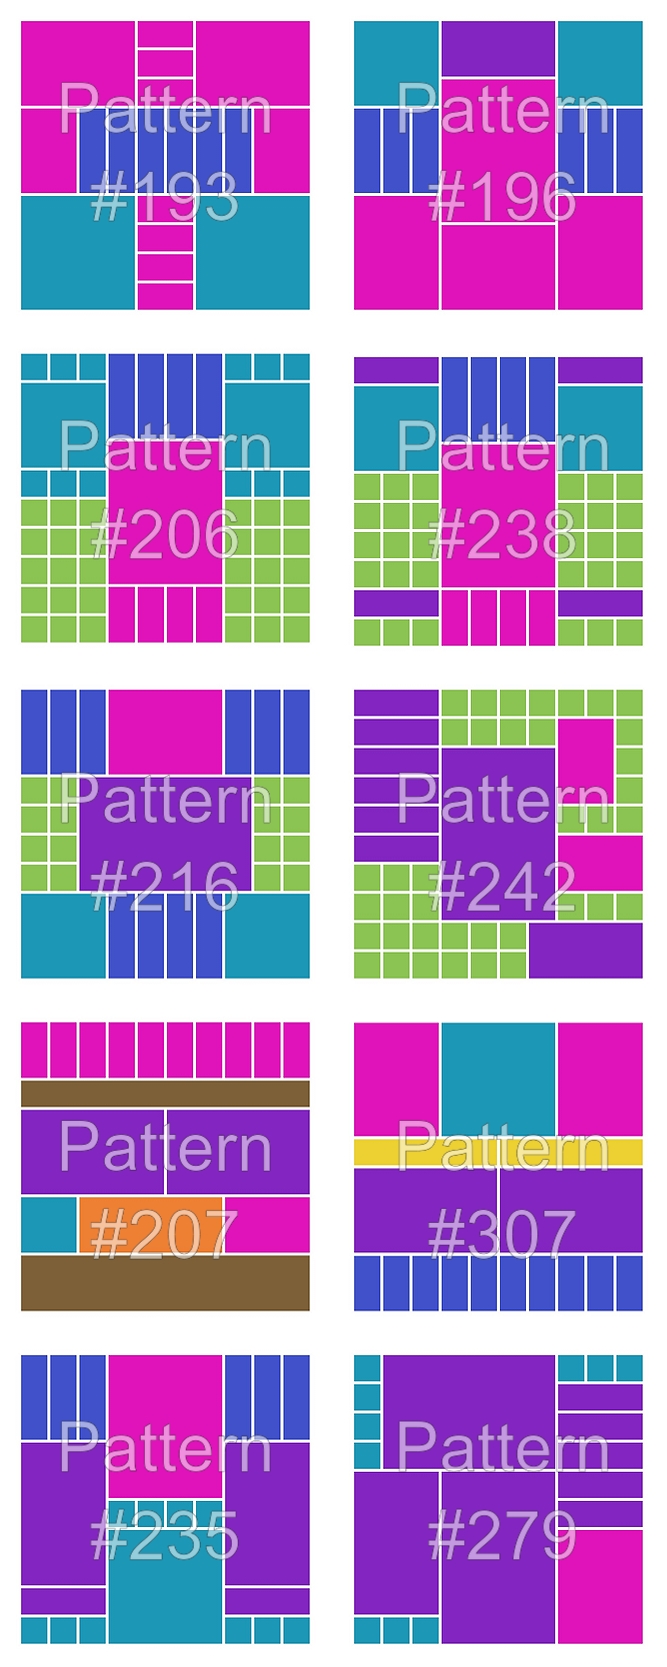
To best showcase any of the banner die sets I searched though The Pattern Gallery for strip patterns and selected several pairs with possibilities. Not all were strip patterns but all had sections with several pieces all the same size in a row.
Mosaic Moments Pairing Patterns October
Several of the patterns intrigued me with what they could be showing off the banners, but the photos I would be using had to be considered too.
• Two pairs featured a lot of mosaic style that wouldn’t work the best for people or animals.
• Two pairs featured photo spots of similar shapes but might not work the best for the photos I was going to use.
• The last pair had similar sized photo spots, good banner spaces and would accommodate lots of photos. I did however, switch the position of the patterns so the spot I wanted for a journal and title spot would be on my first page.
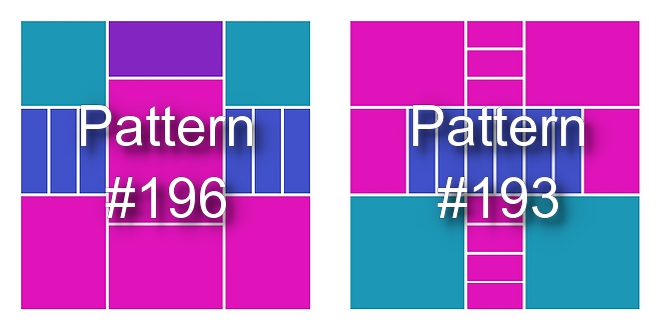
Patterns #193 & #193
There are several ways to incorporate banners into your layout, and we’ll look at a few I’ve used on these pages. The Patterns #196 & #193 together form a near continuous row of strips in the middle of the pages for a wave of banners to fly. Spots for a journal/title block on page one and two small 2×3 spots break up that wave a bit.
Mosaic Moments Pairing Patterns Banner Dies
My photos are of our county fair so banners as ribbons could fit nicely. There are always banners and flags, ribbons, pennants and strings of lights swaying throughout the fairgrounds. I’d like to show you a few ideas I used for three different ways to use our banner dies.
Mosaic Moments Pairing Patterns Banner Dies
ONE
The Layering Banners with the Pendant Die
If you are going to use all one color you may prefer to use the 4 Banners Die to make it quick. I chose several colors from the lights on the Ferris wheel to use as accents, one darker, one lighter with the darker color on top. I then went in search of patterned papers to add another layer of banners and found a perfect plaid to match in the Doodlebug Hip Hip Hooray Collection. I cut the die out twice so I could stretch it across the previously layered banner section by adding a single section to the strip. I used the reverse side of orange dots for the bottom layer and the plaid on the top.
Mosaic Moments Pairing Patterns Banner Dies
Mosaic Moments Pairing Patterns Banner Dies

Mosaic Moments Pairing Patterns Banner Dies
TWO
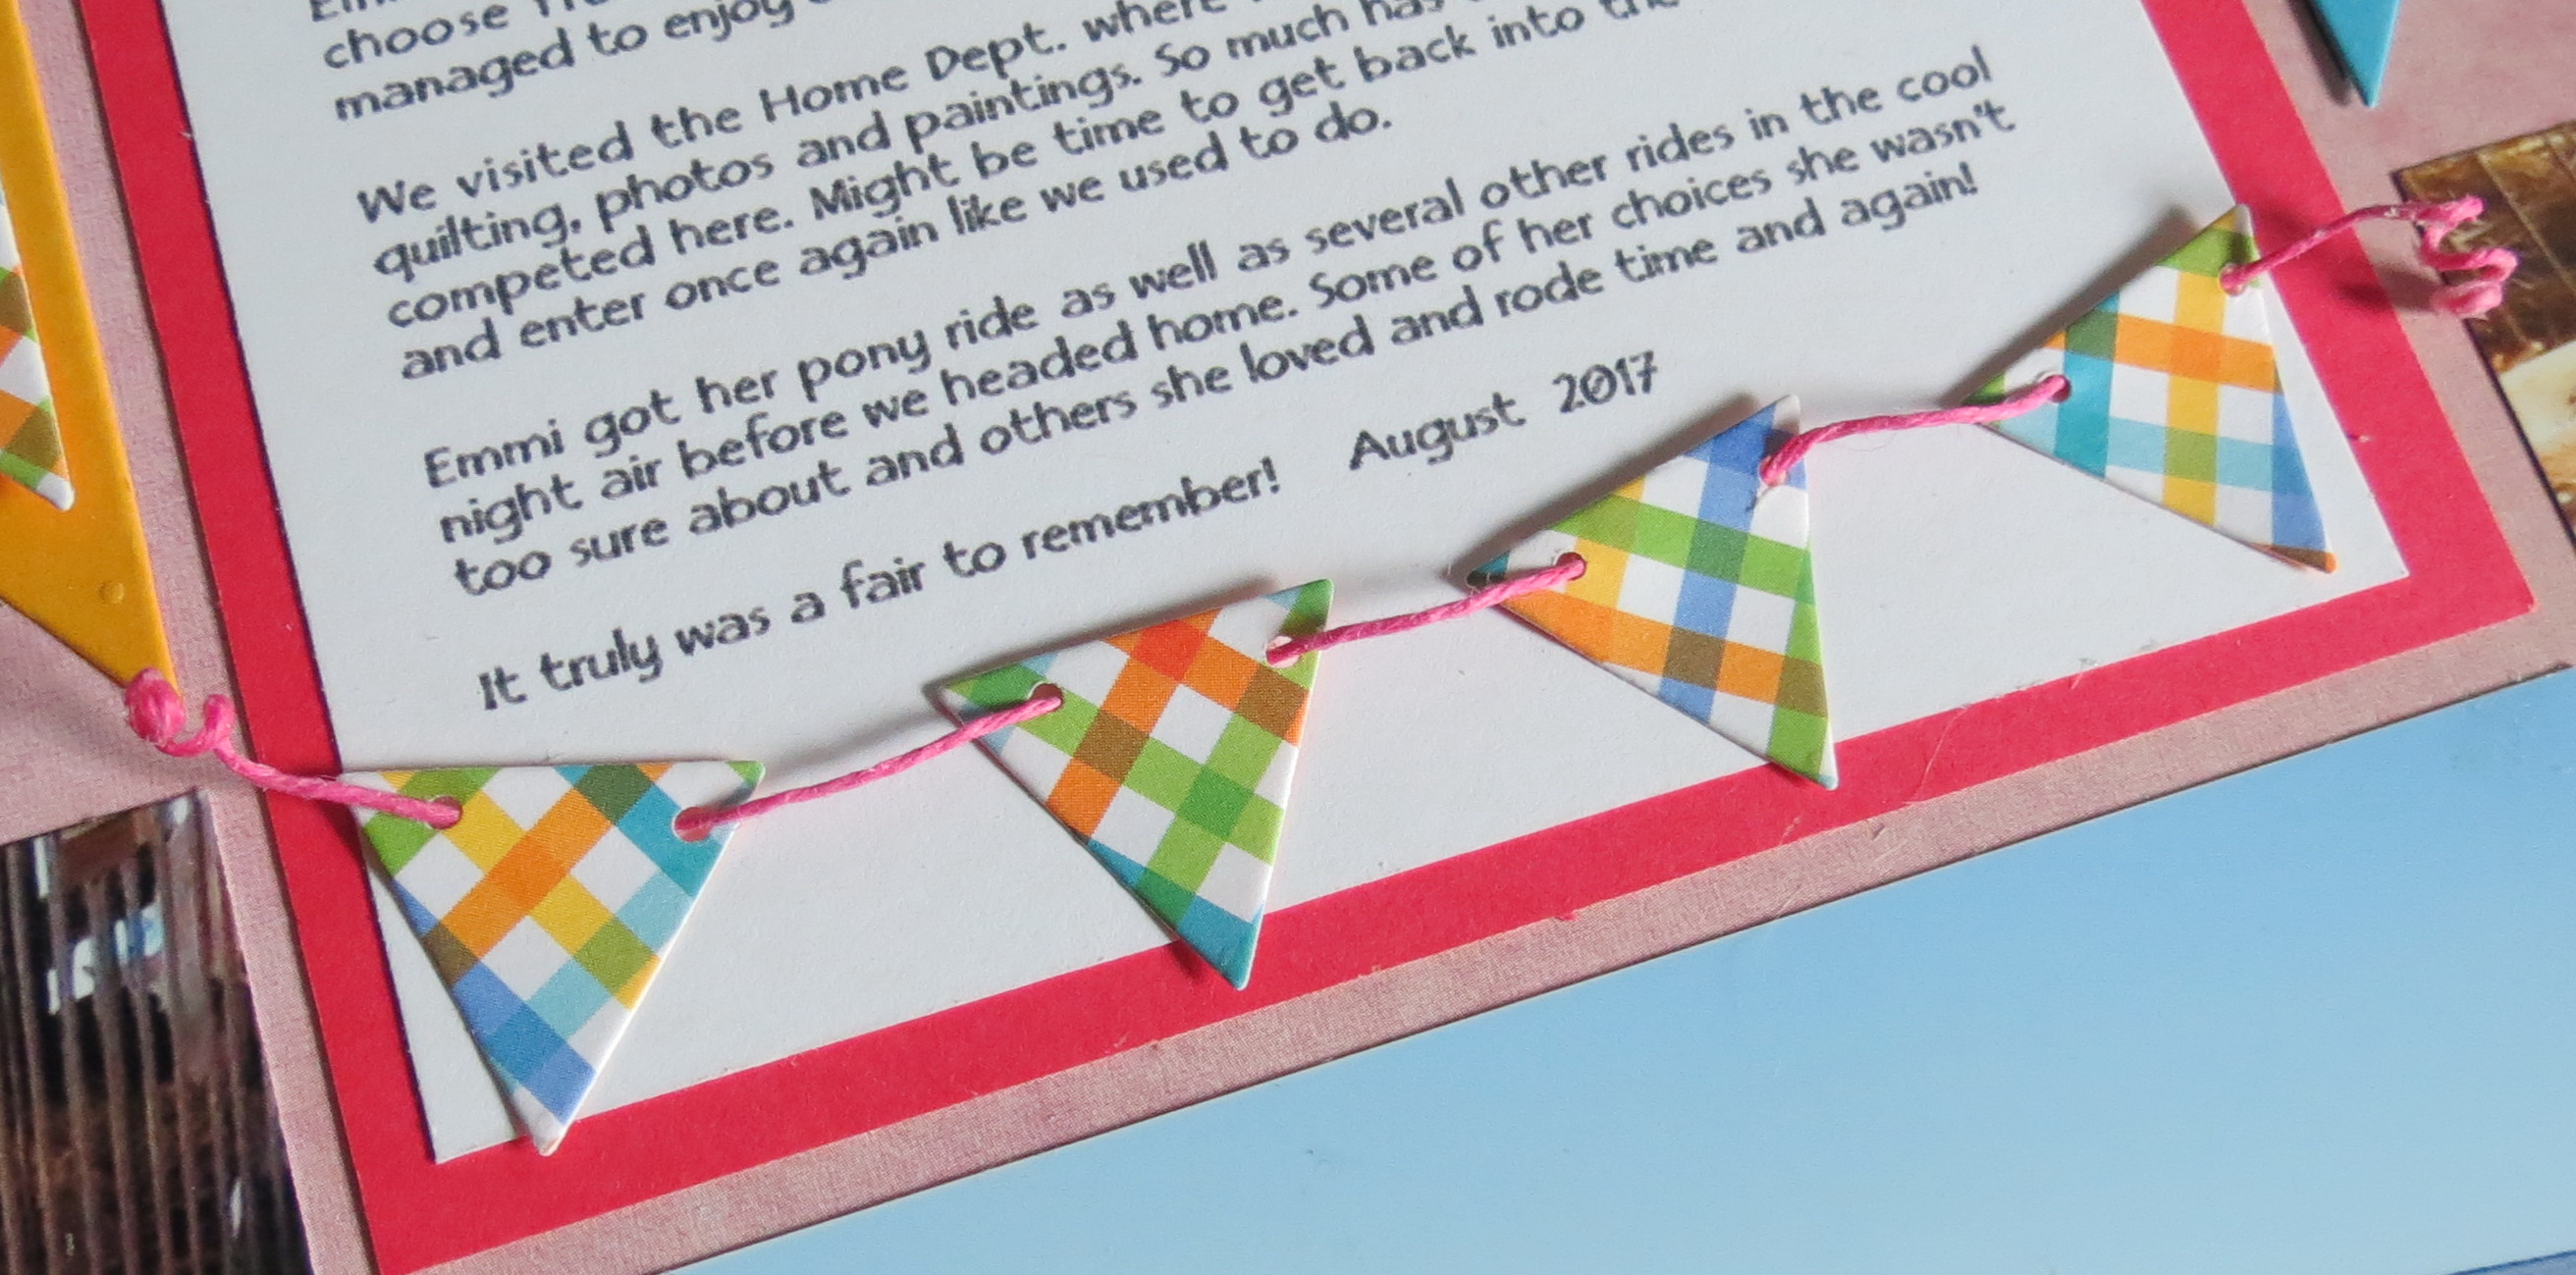
Next I took a few of the leftover single banner sections and punched two holes in the top to thread hemp cording through for a banner that I could place along the bottom of the journal block. Each of the ends of the cording are twisted around my piercing tool with a light coating of craft glue to hold the coil shape. It doesn’t need to dry on the piercing tool but can be removed and gently expanded to form the coil the way you want to and then let it dry. A small glue dot is placed on the backside of each flag and placed loosely along the bottom easing the cording up a bit between flags.
Mosaic Moments Pairing Patterns Banner Dies
Mosaic Moments Pairing Patterns Banner Dies
THREE
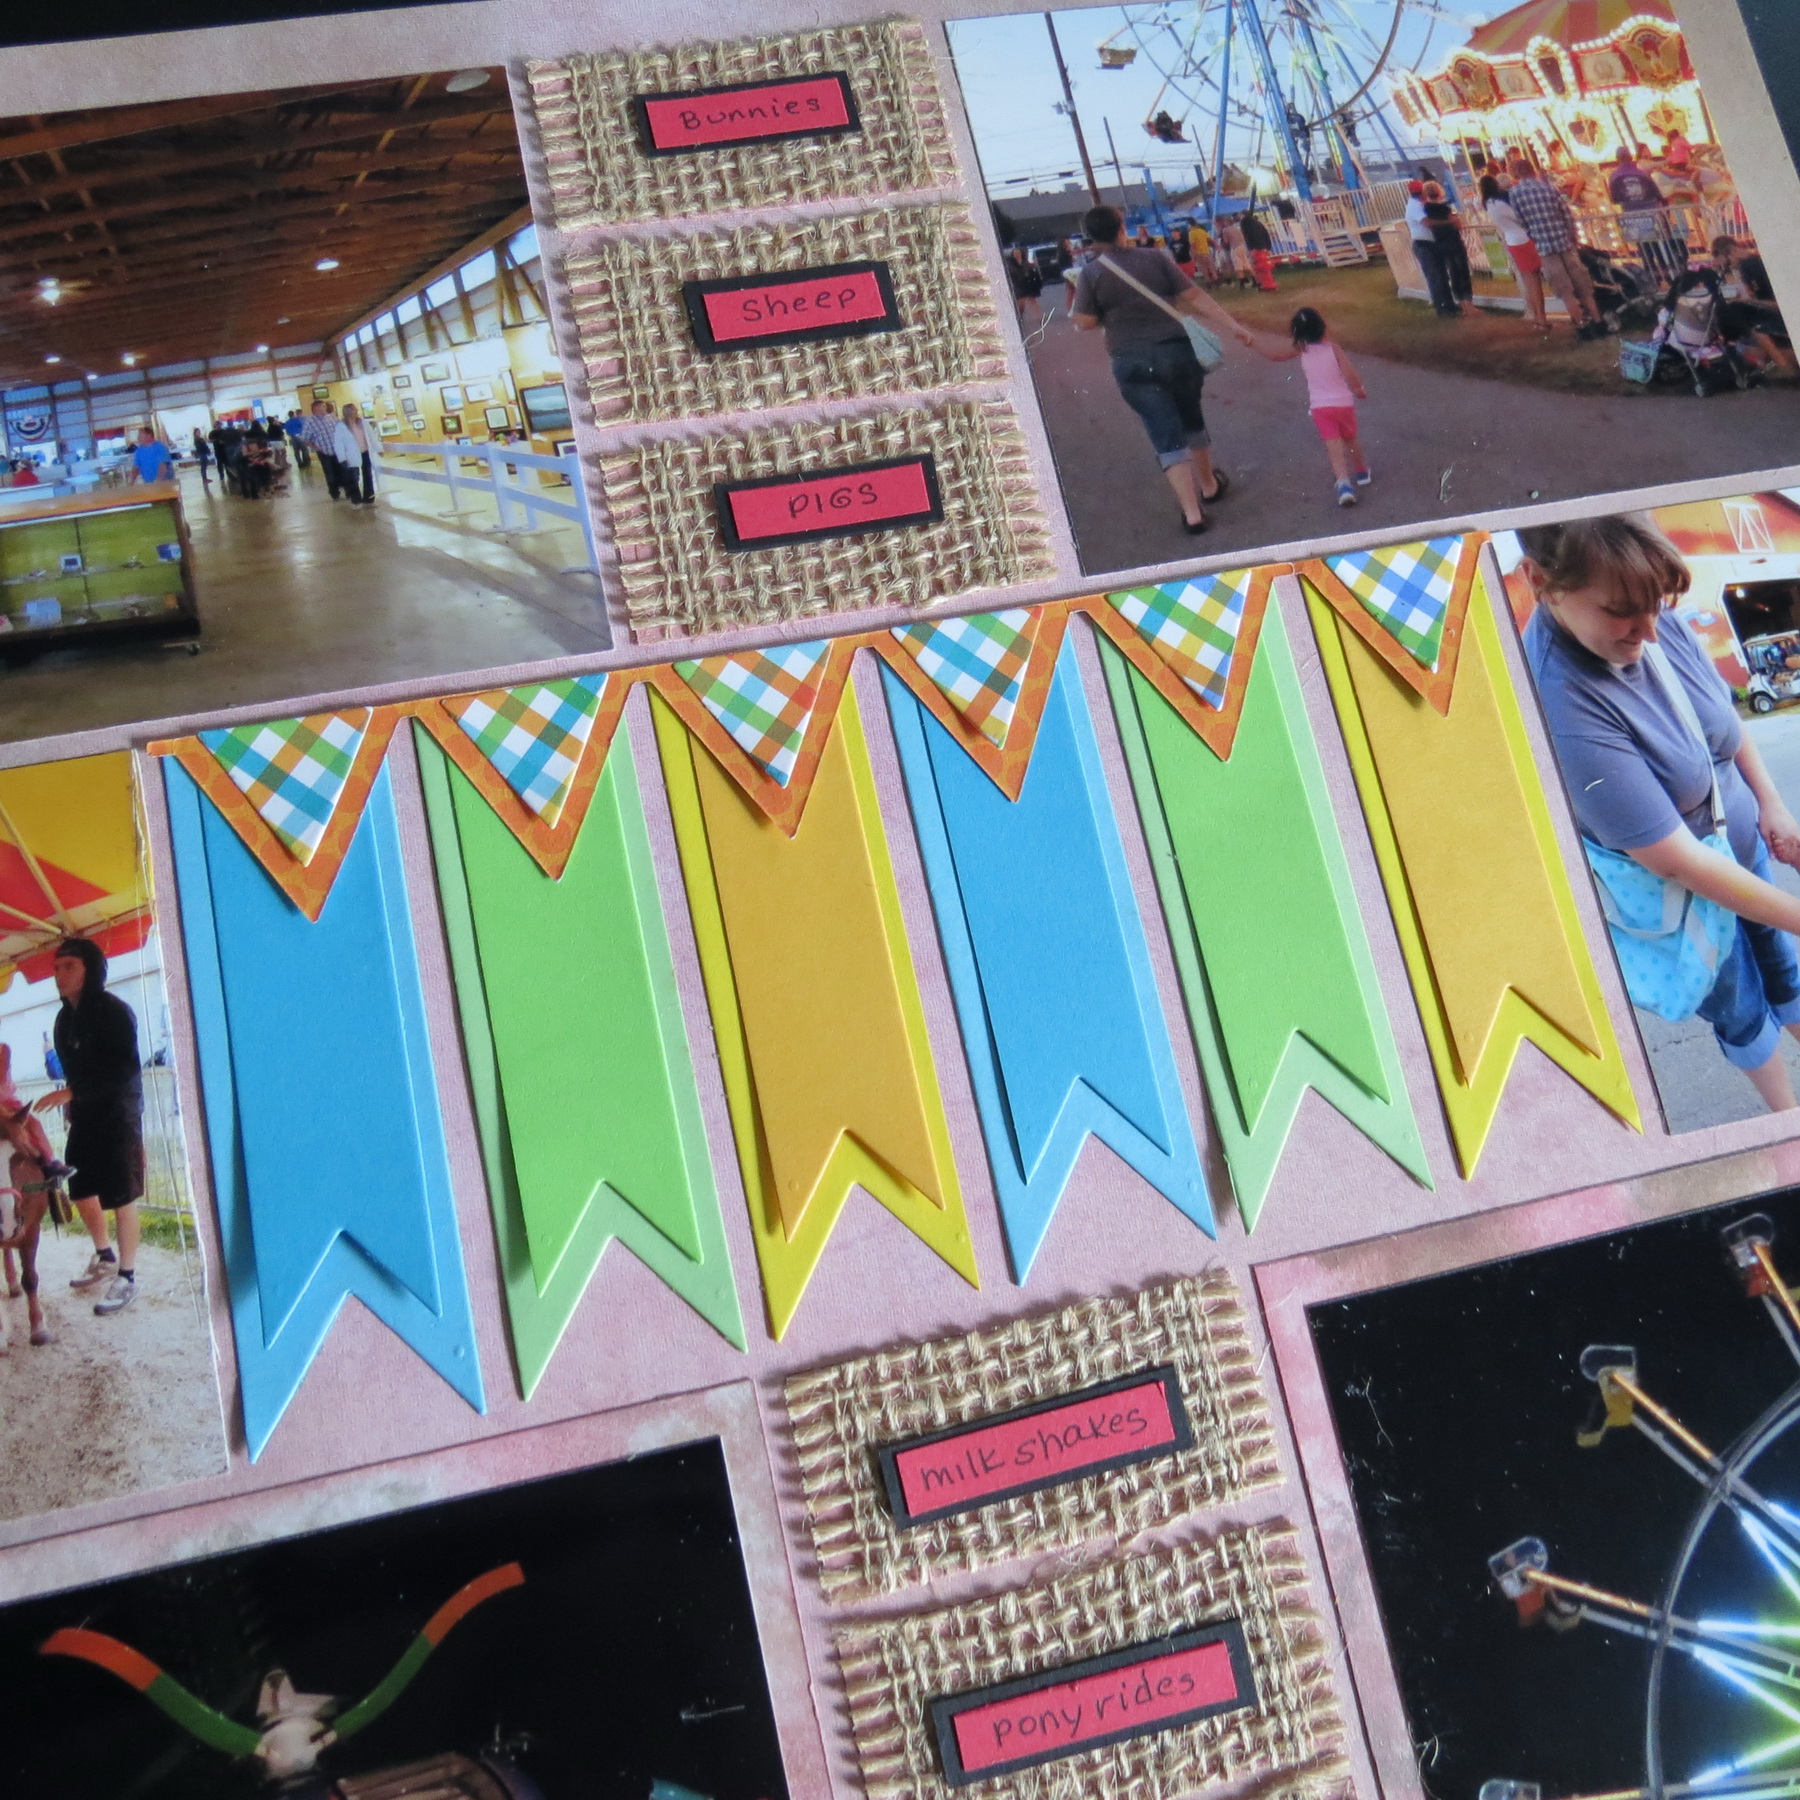
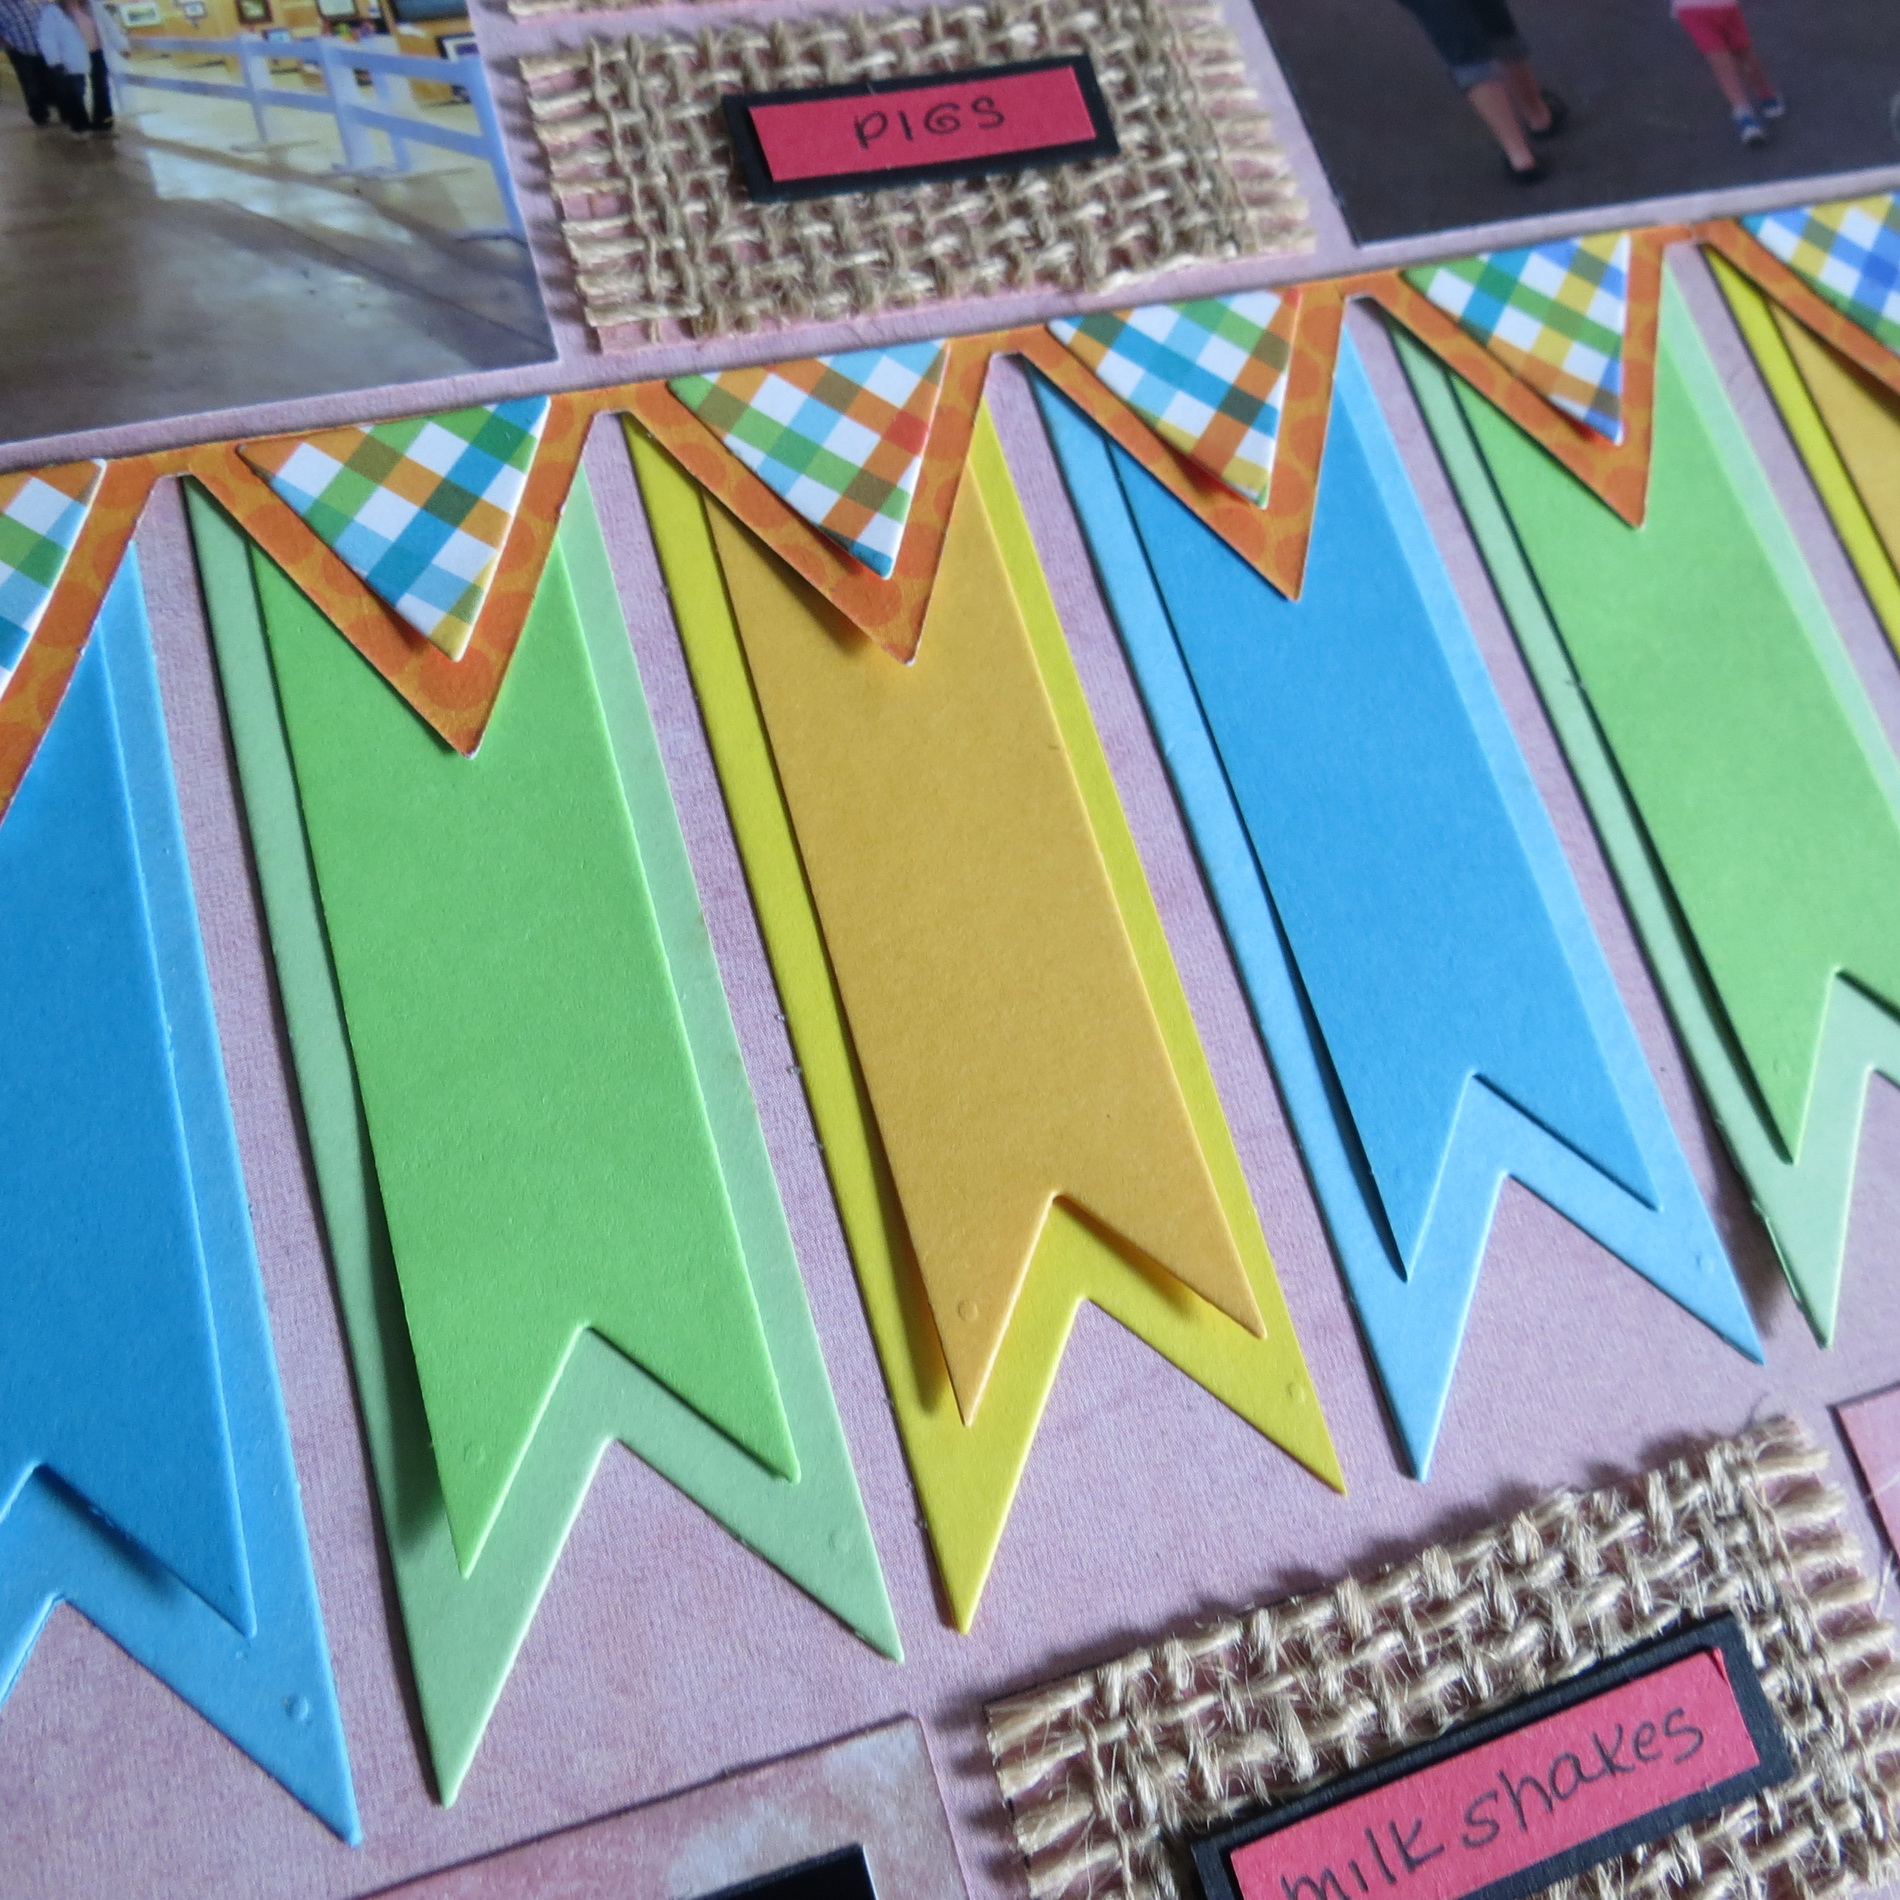
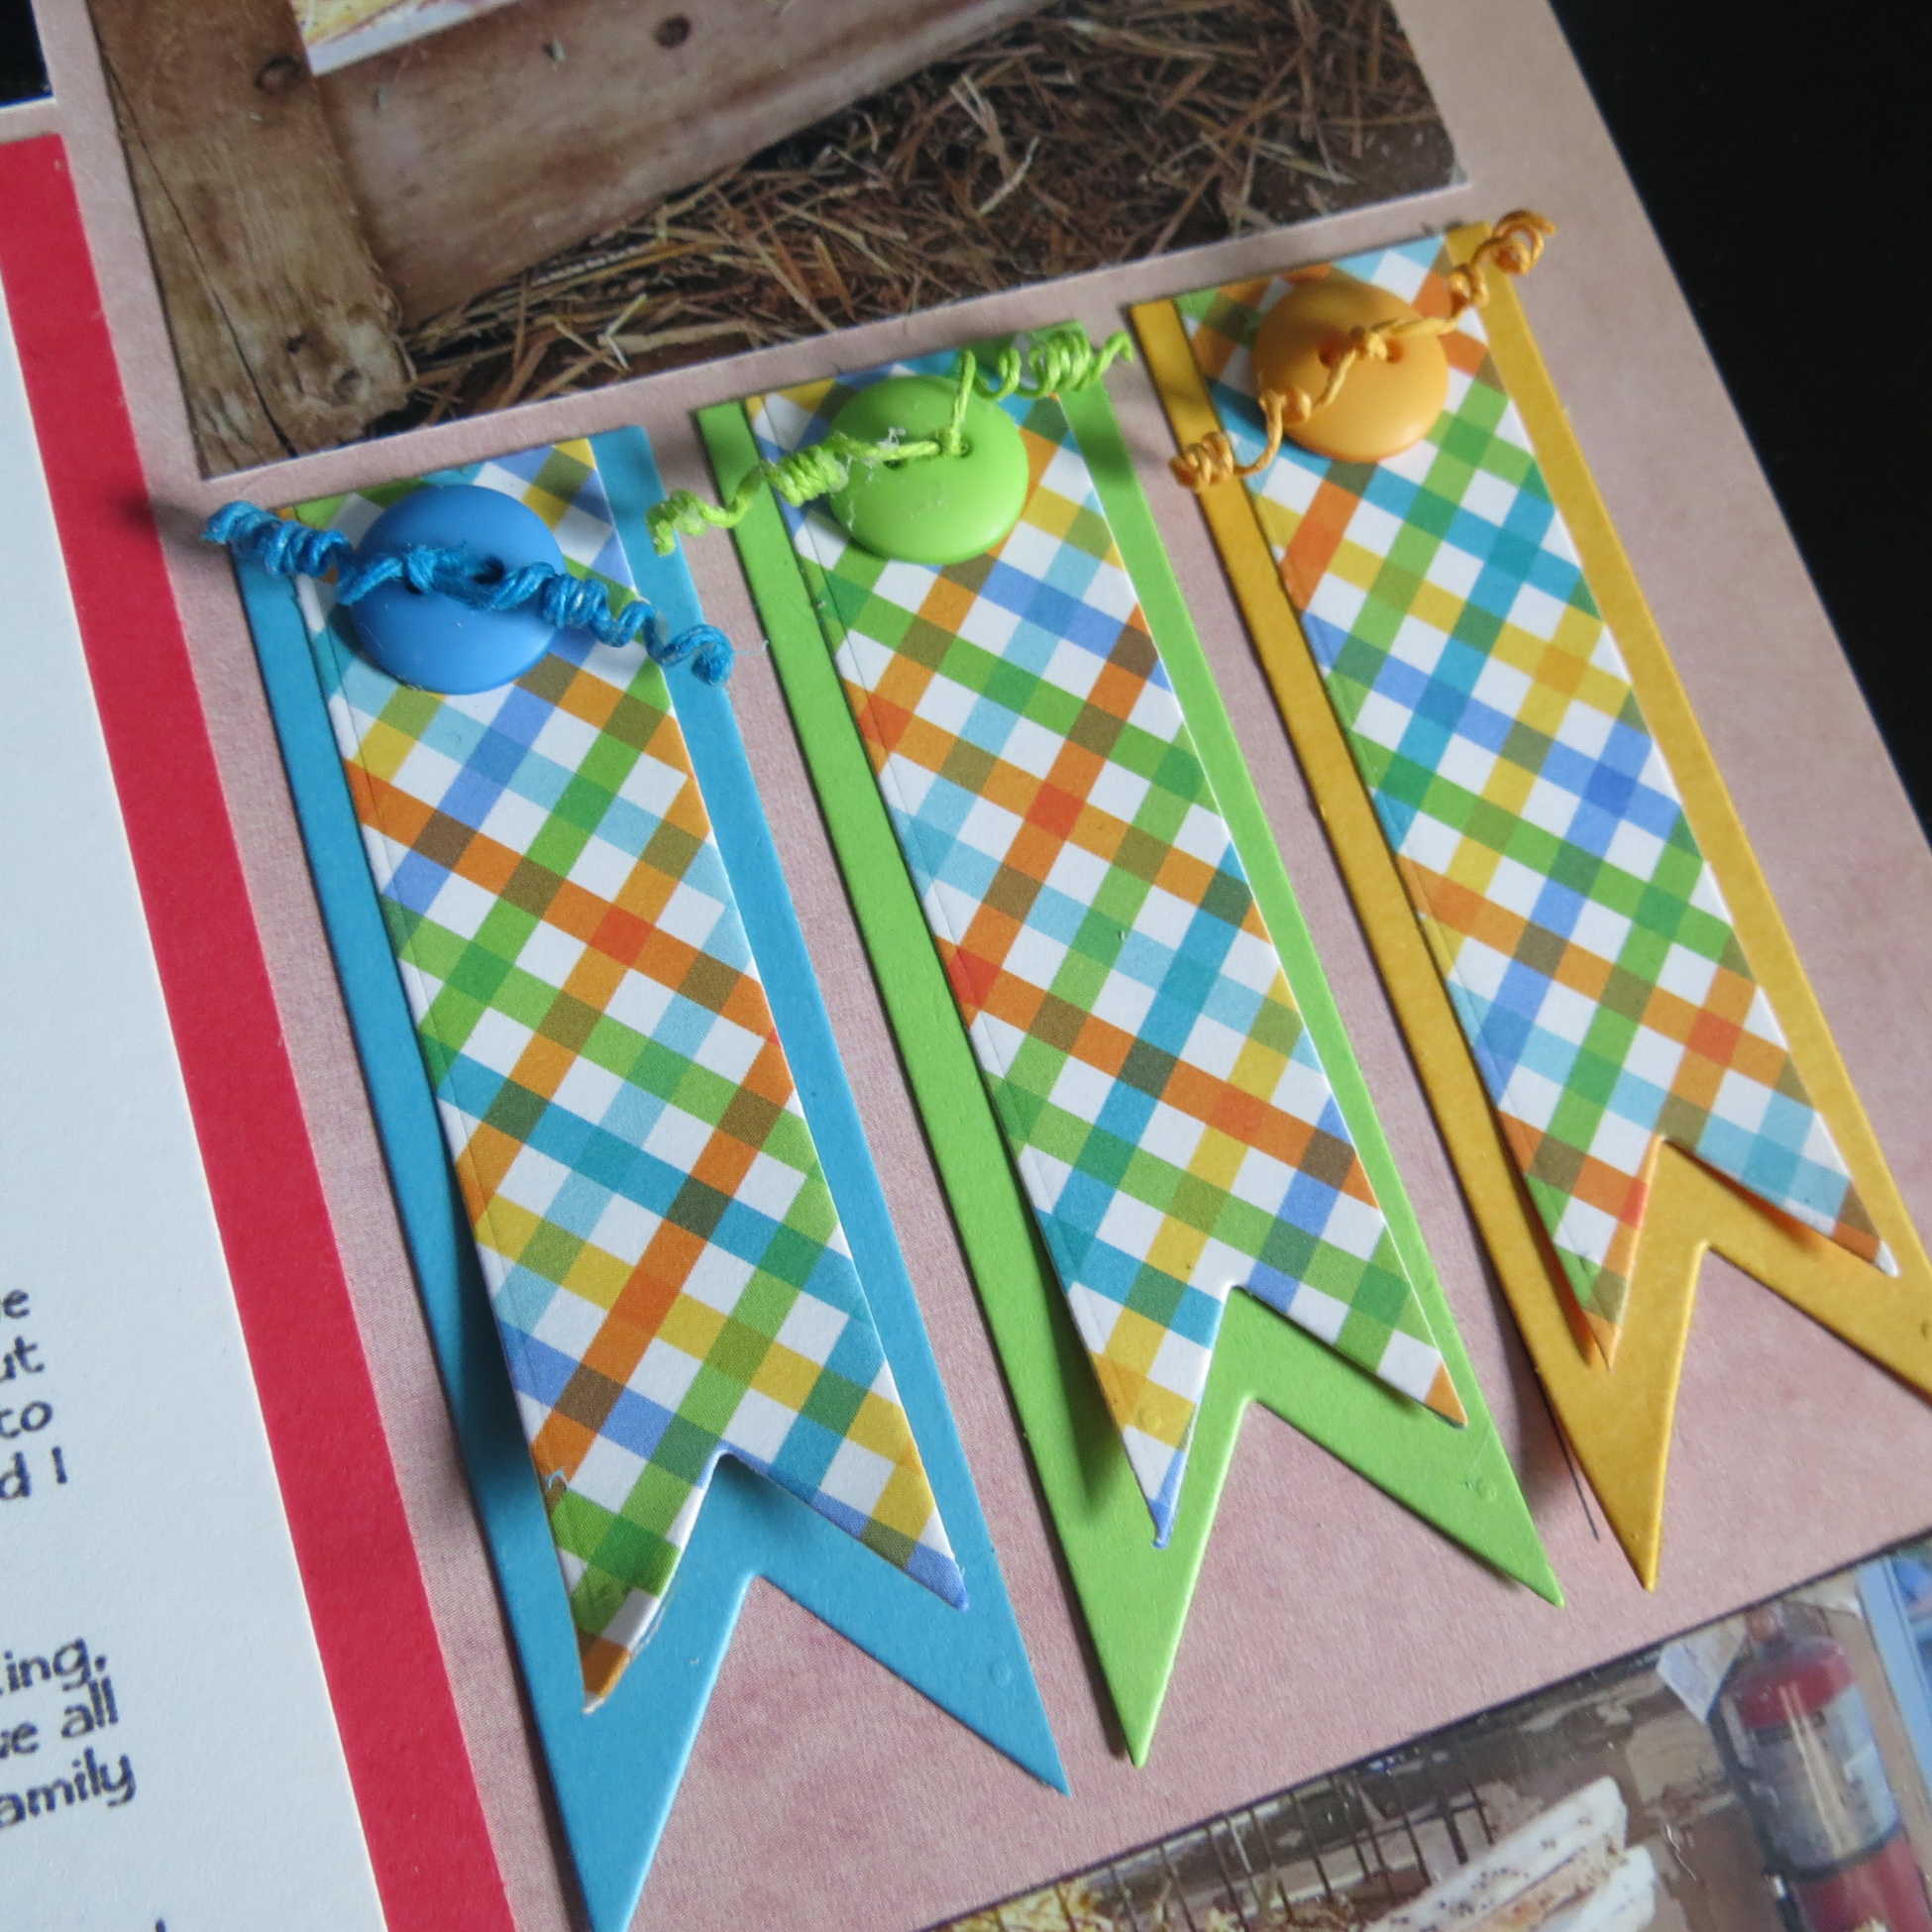
Finally, I’ve combined the bold solid color bases with a plaid top layered section. Then using coordinating buttons threaded with coiled cording knots they are then glue dotted on top. None of the layered sections are fully adhered to the base, but are left to appear to be moving in the breeze.
Mosaic Moments Pairing Patterns Banner Dies
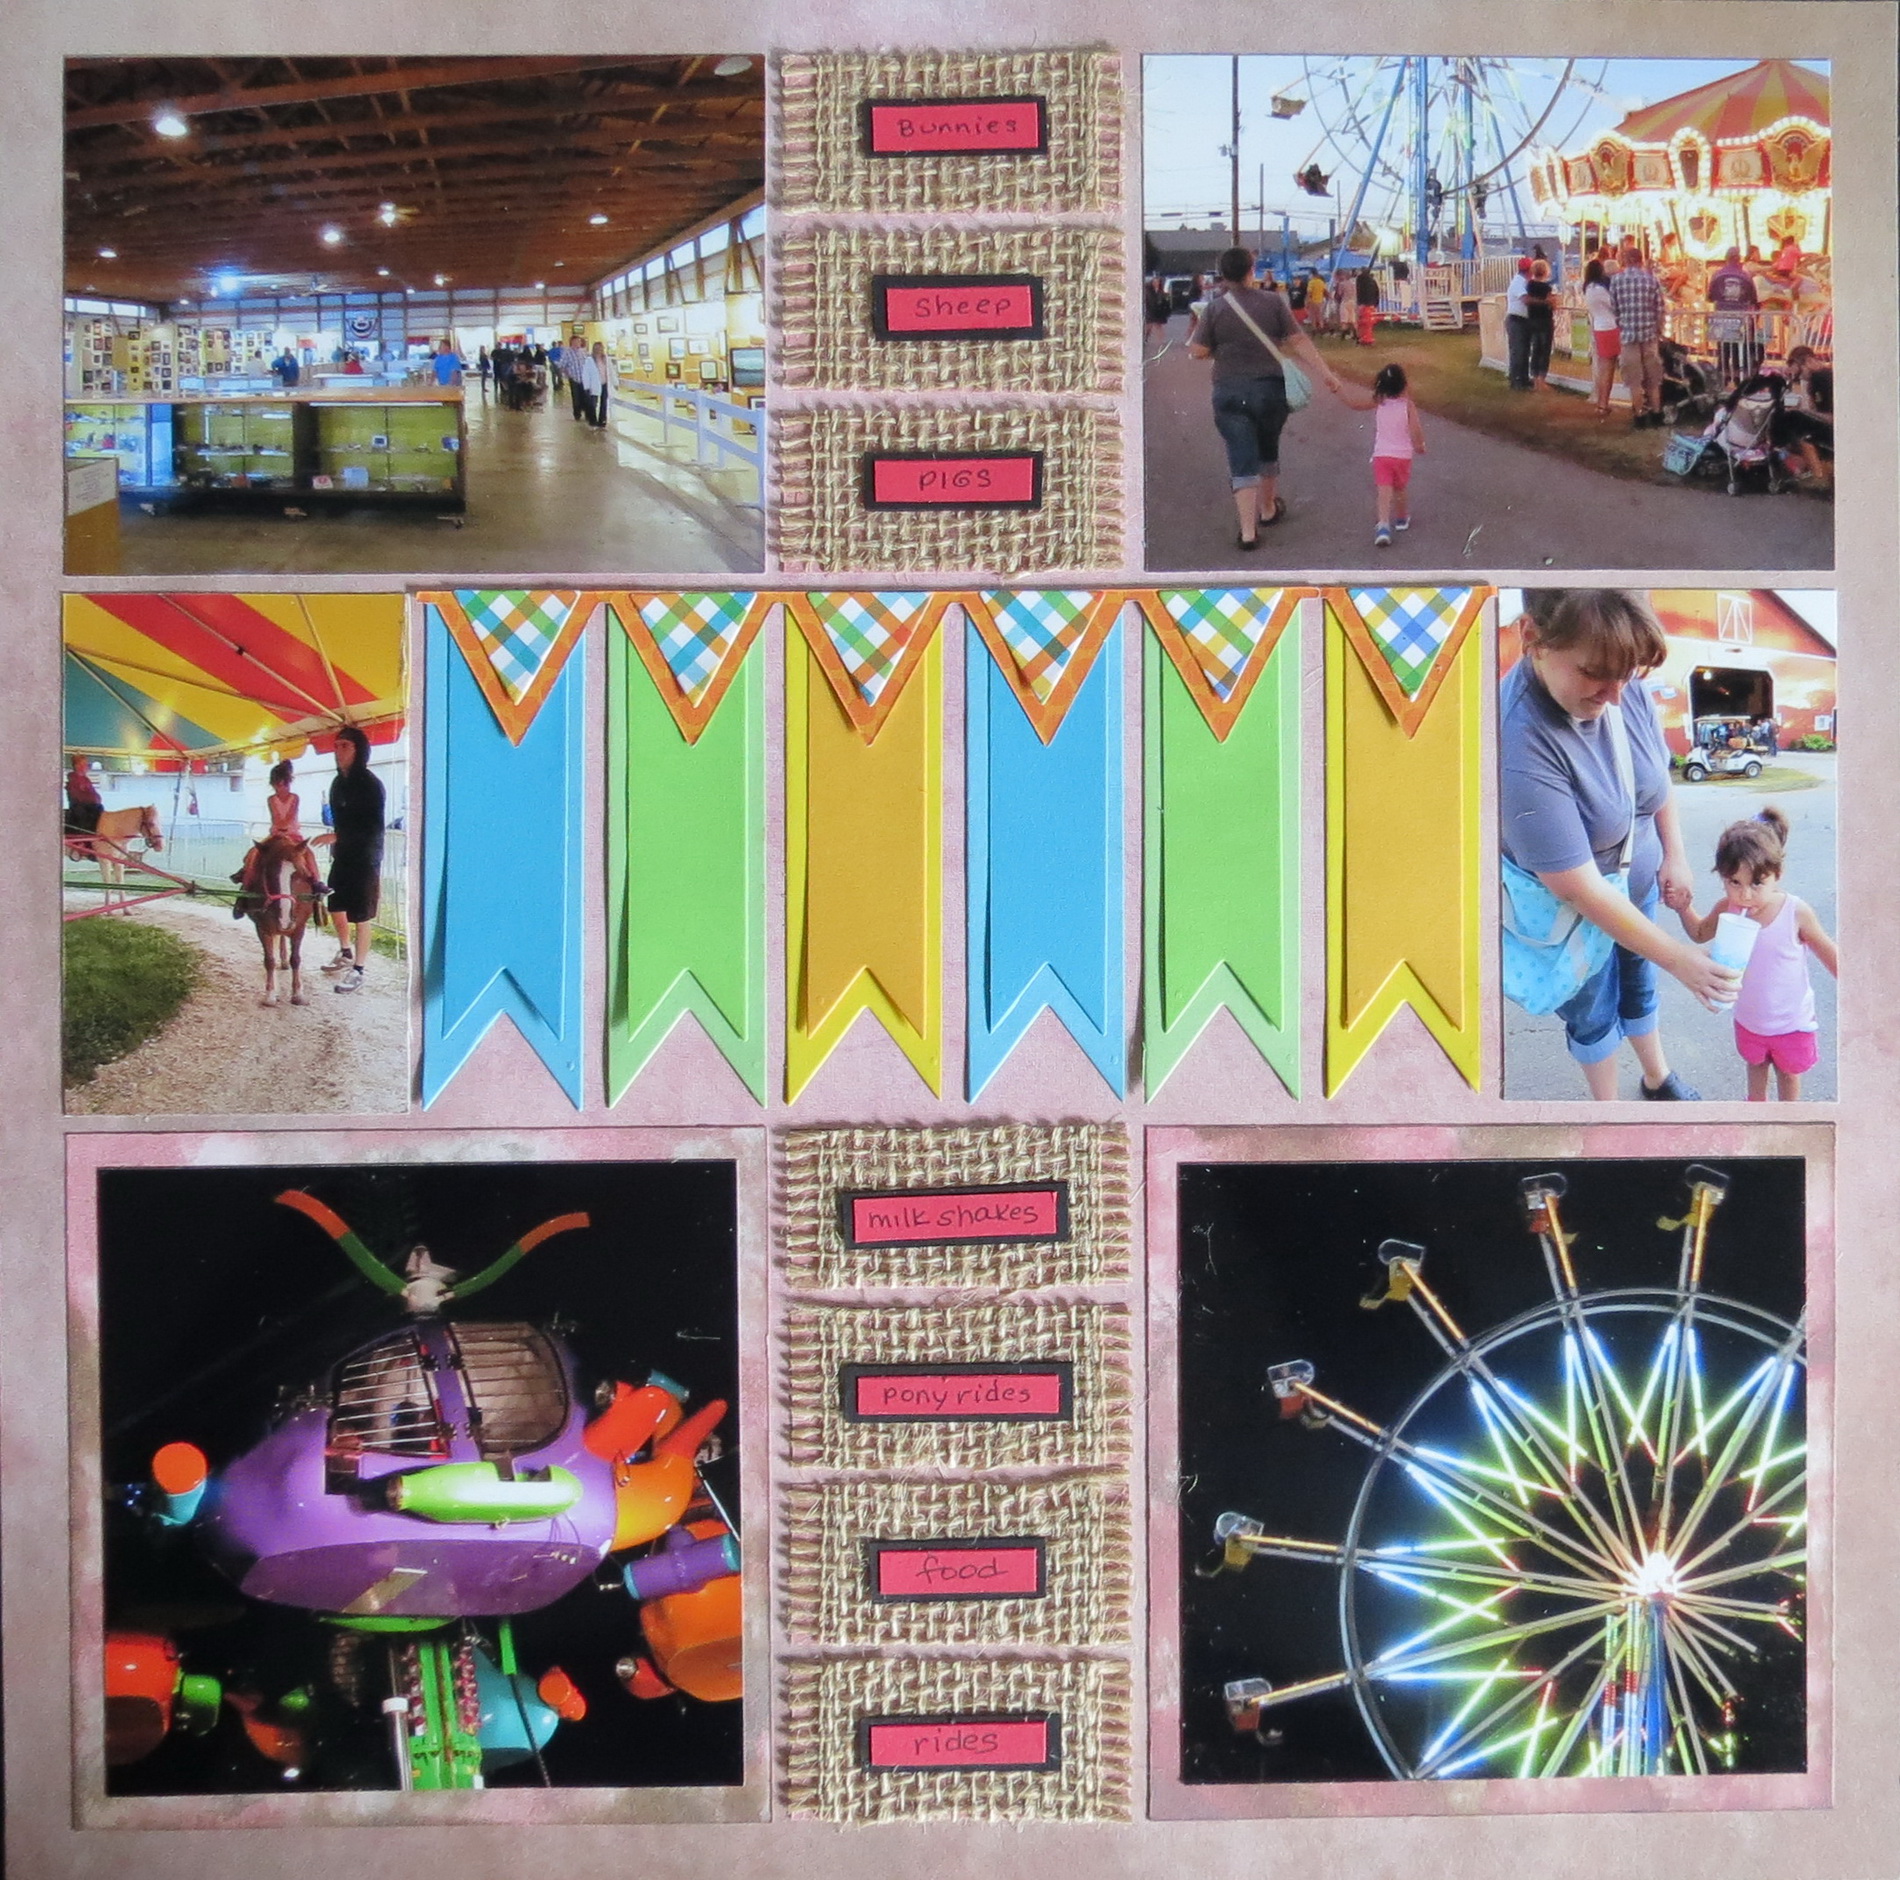
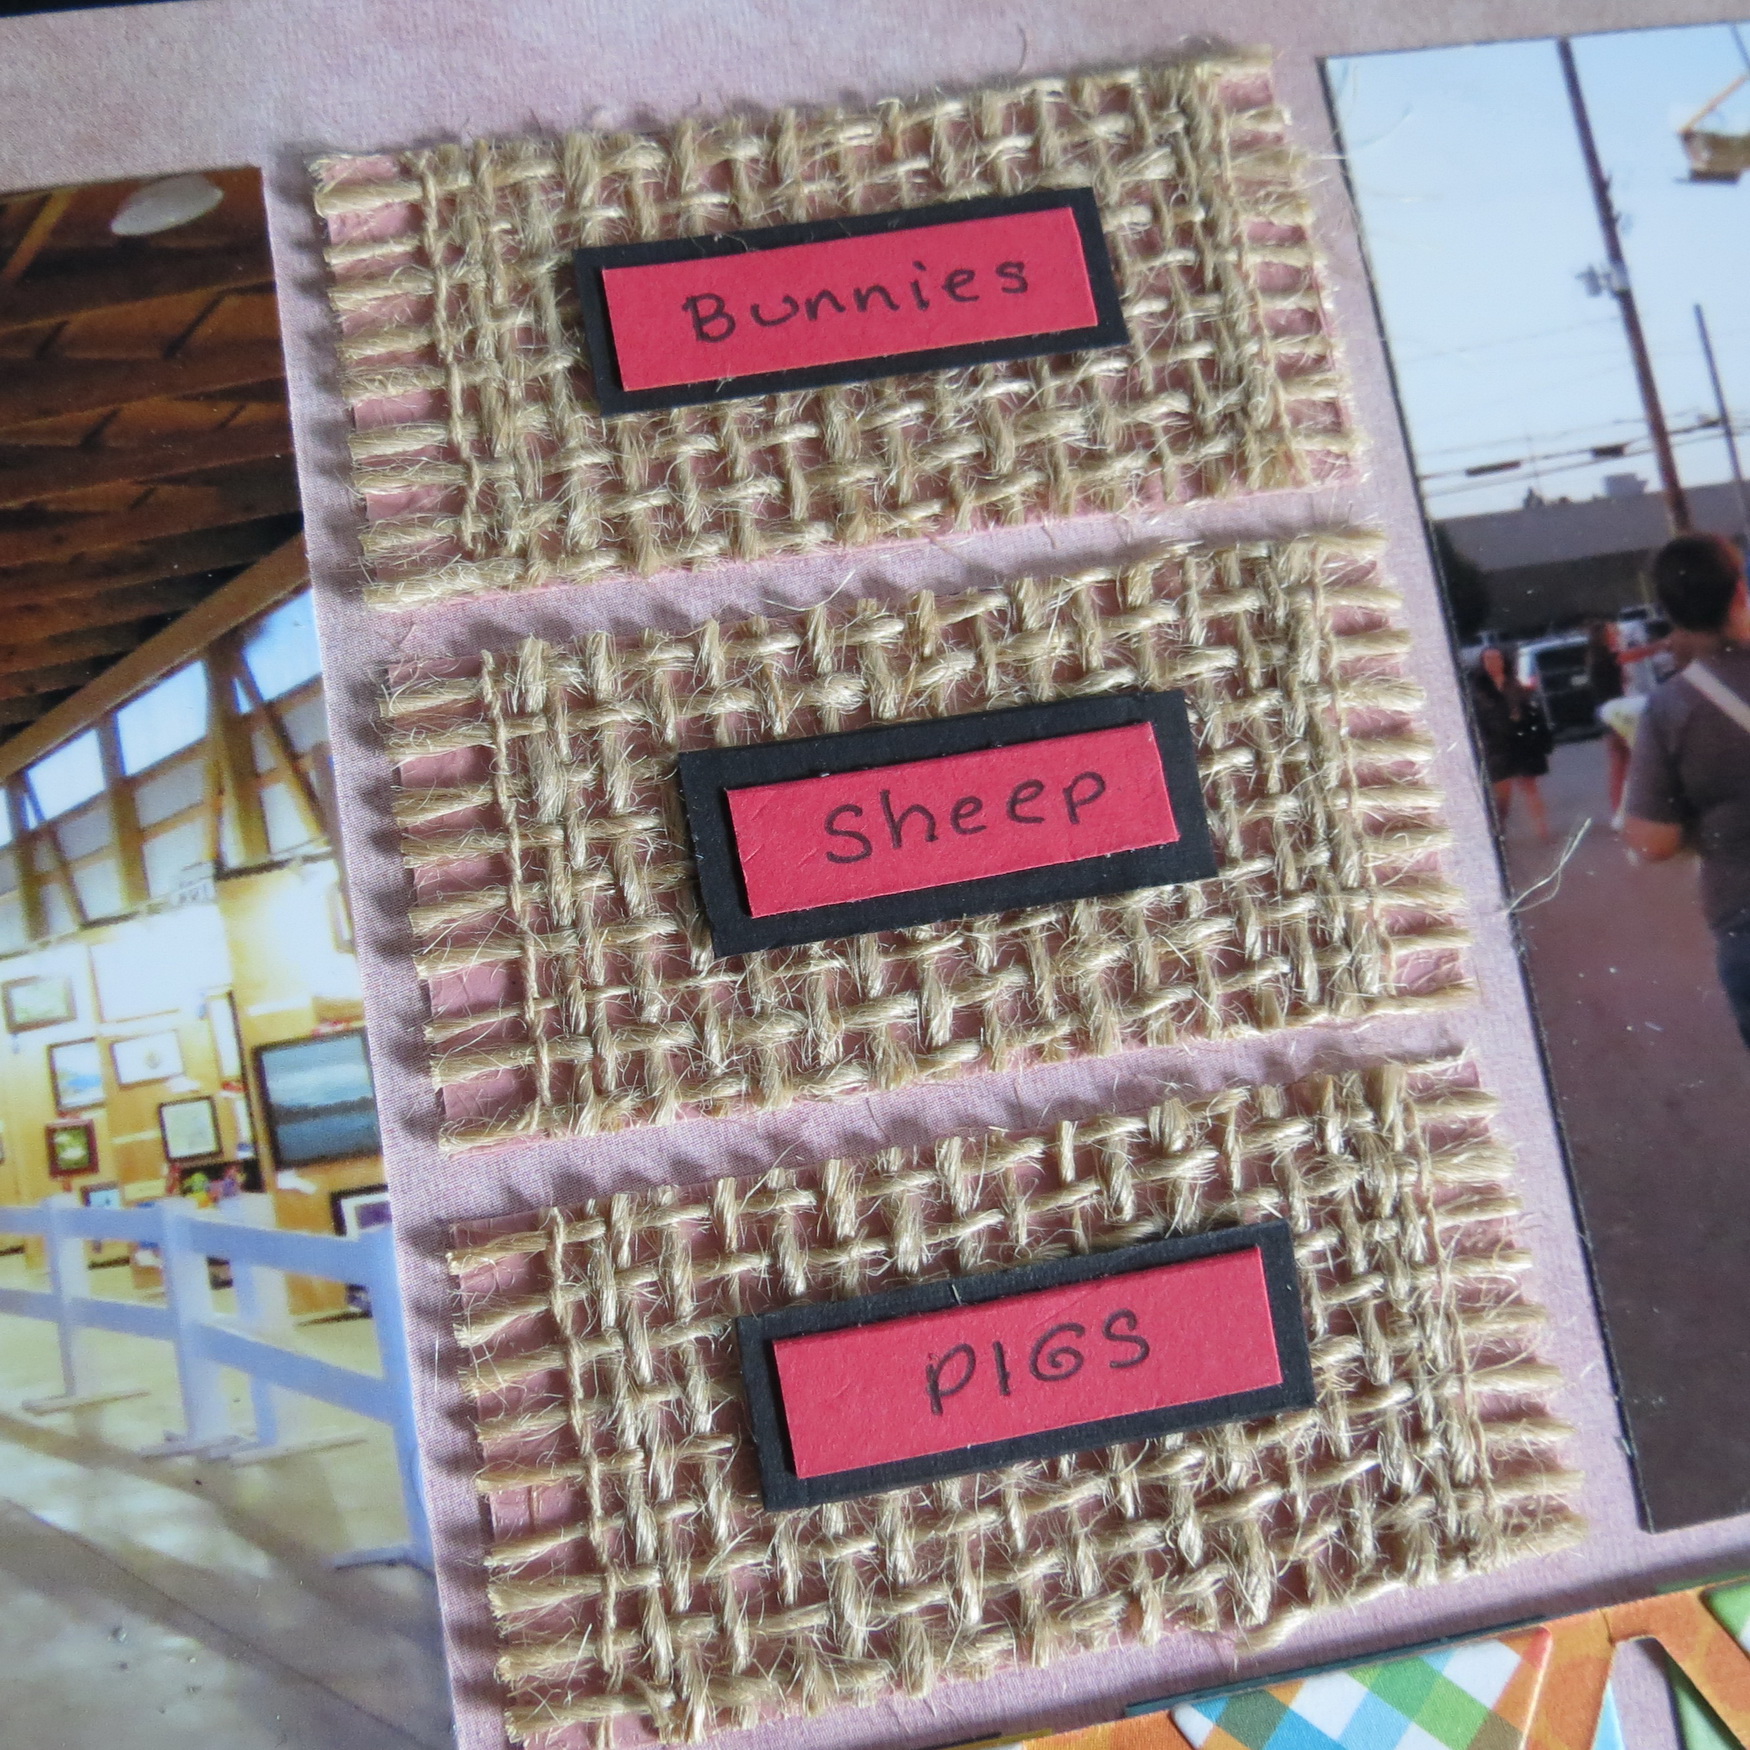
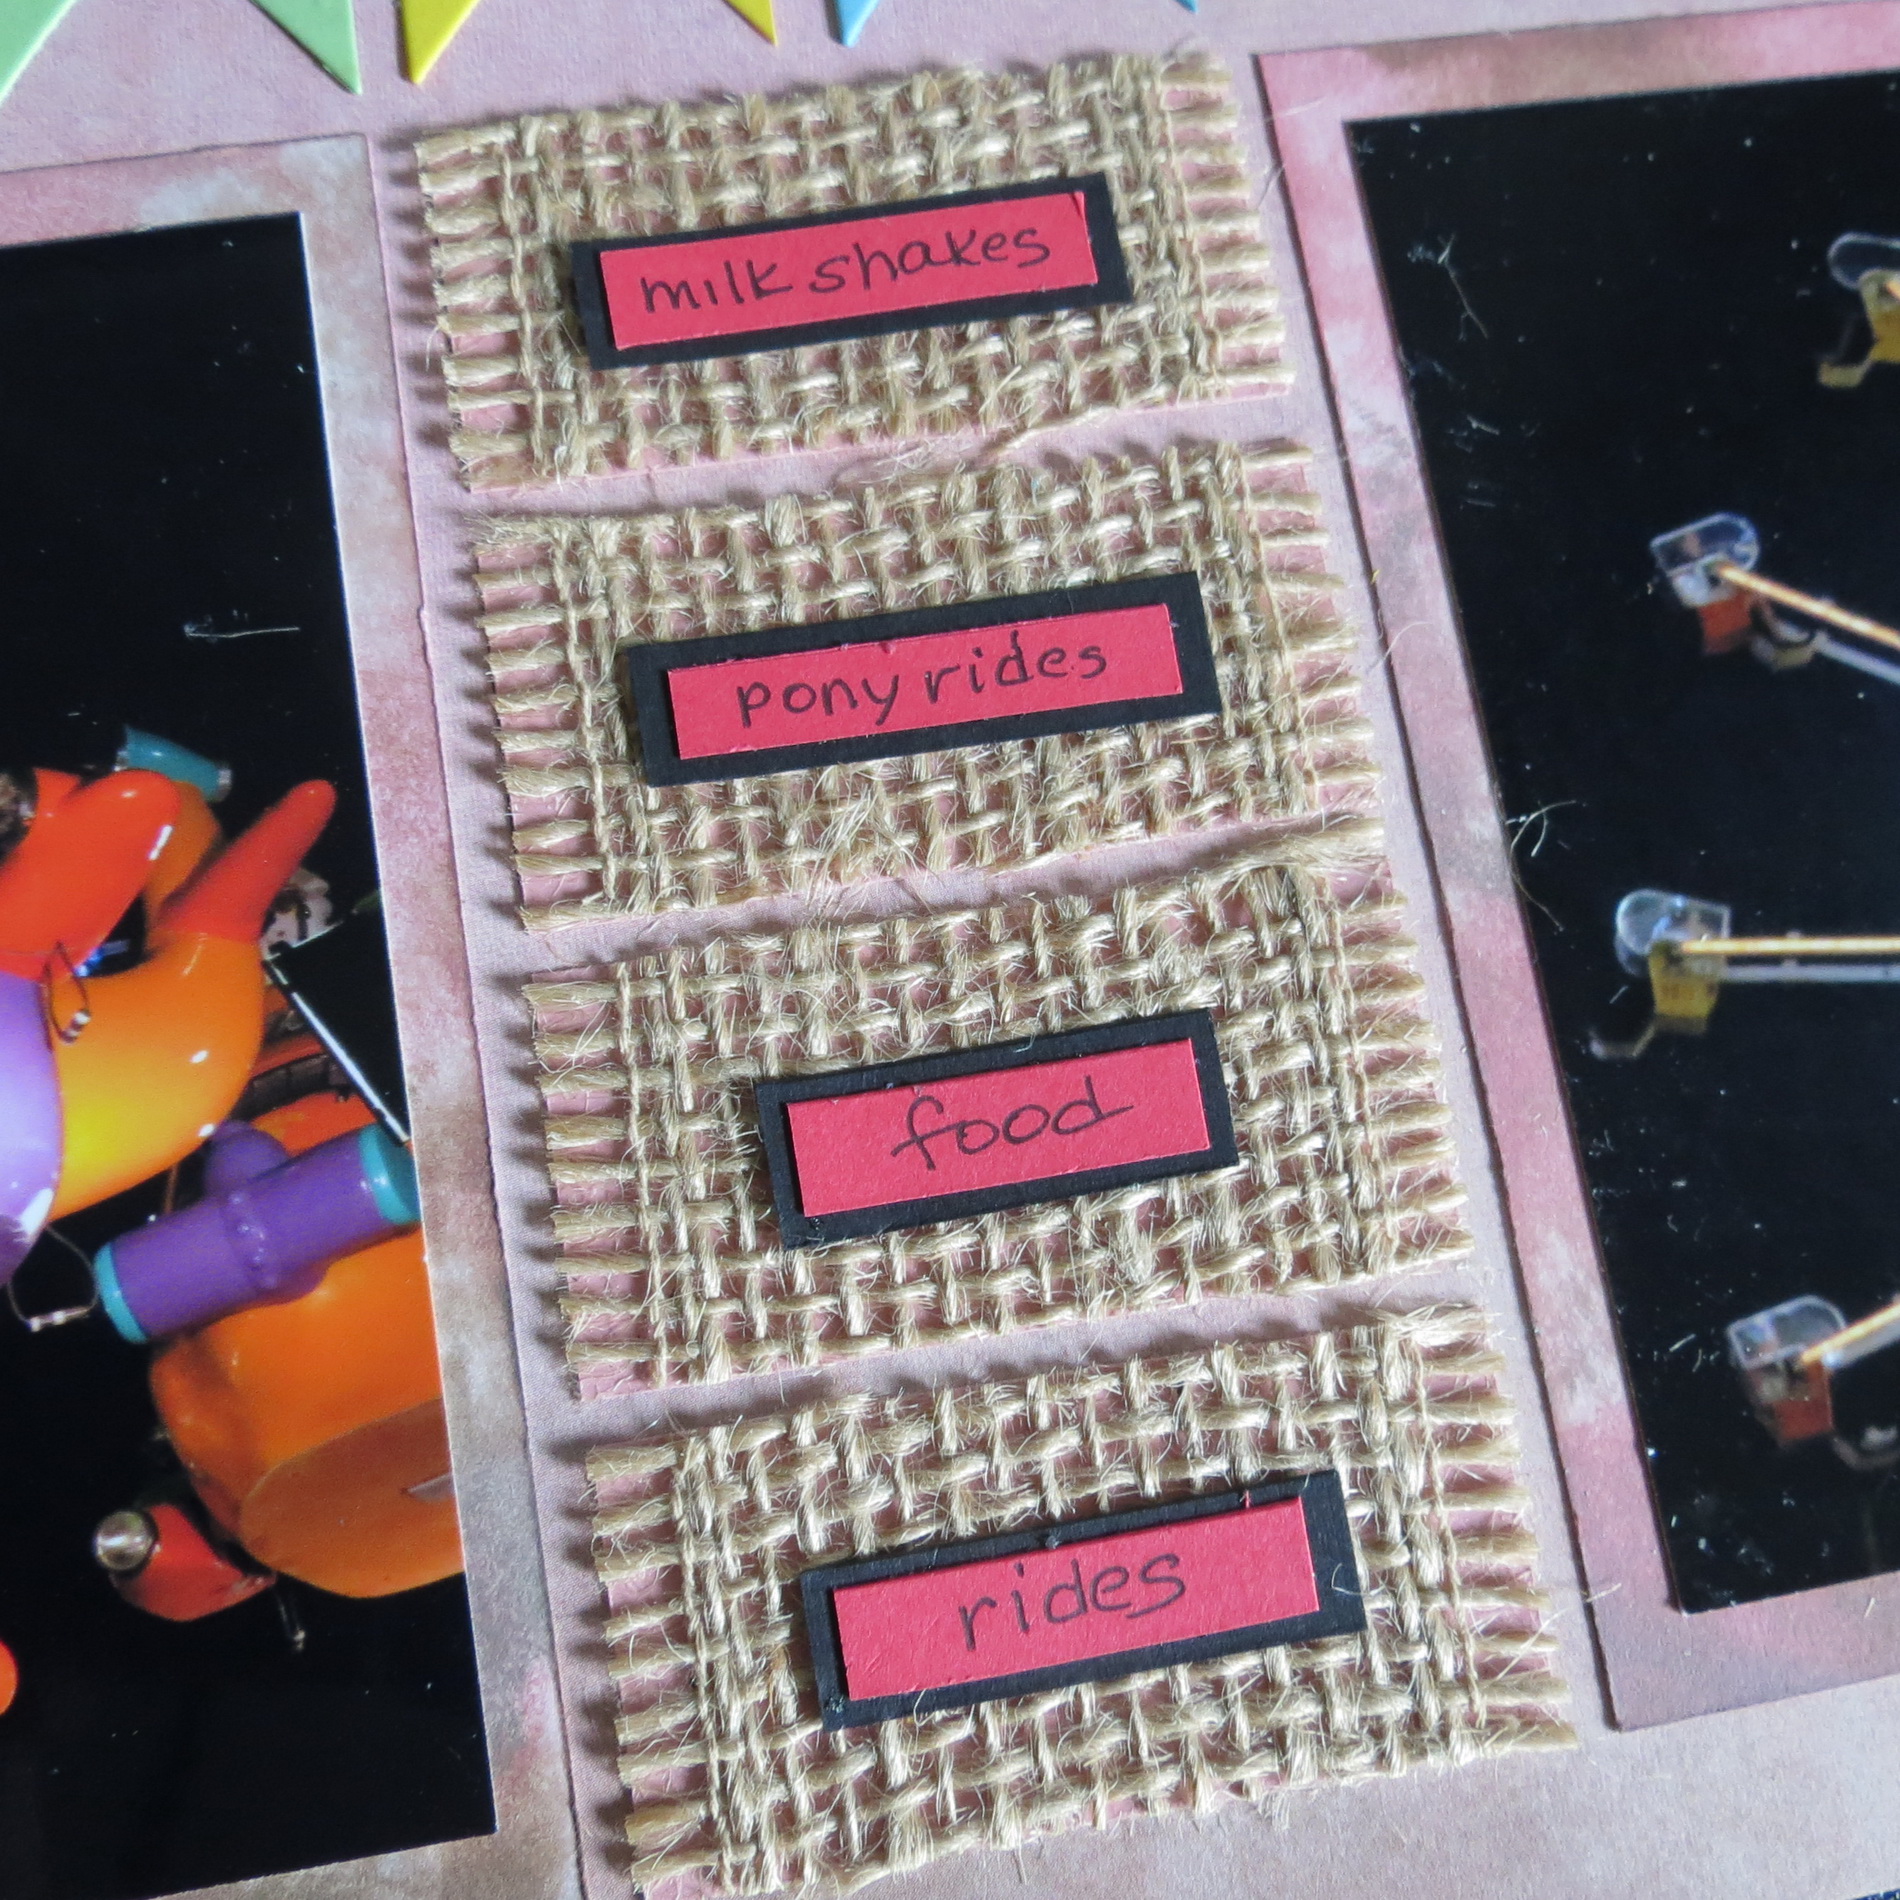
I have one other section of 1x 2.125” strips that are in the middle of page two. I used burlap for this section and to make it easier to work with I took a strip of cardstock and ran it through the Xyron and then placed the burlap ribbon on top. I used my rotary cutter to cut through the burlap and trim the edges. I then added words of things we saw or did at the fair and placed them on center of each block.
Mosaic Moments Pairing Patterns Banner Dies
Mosaic Moments Pairing Patterns Banner Dies
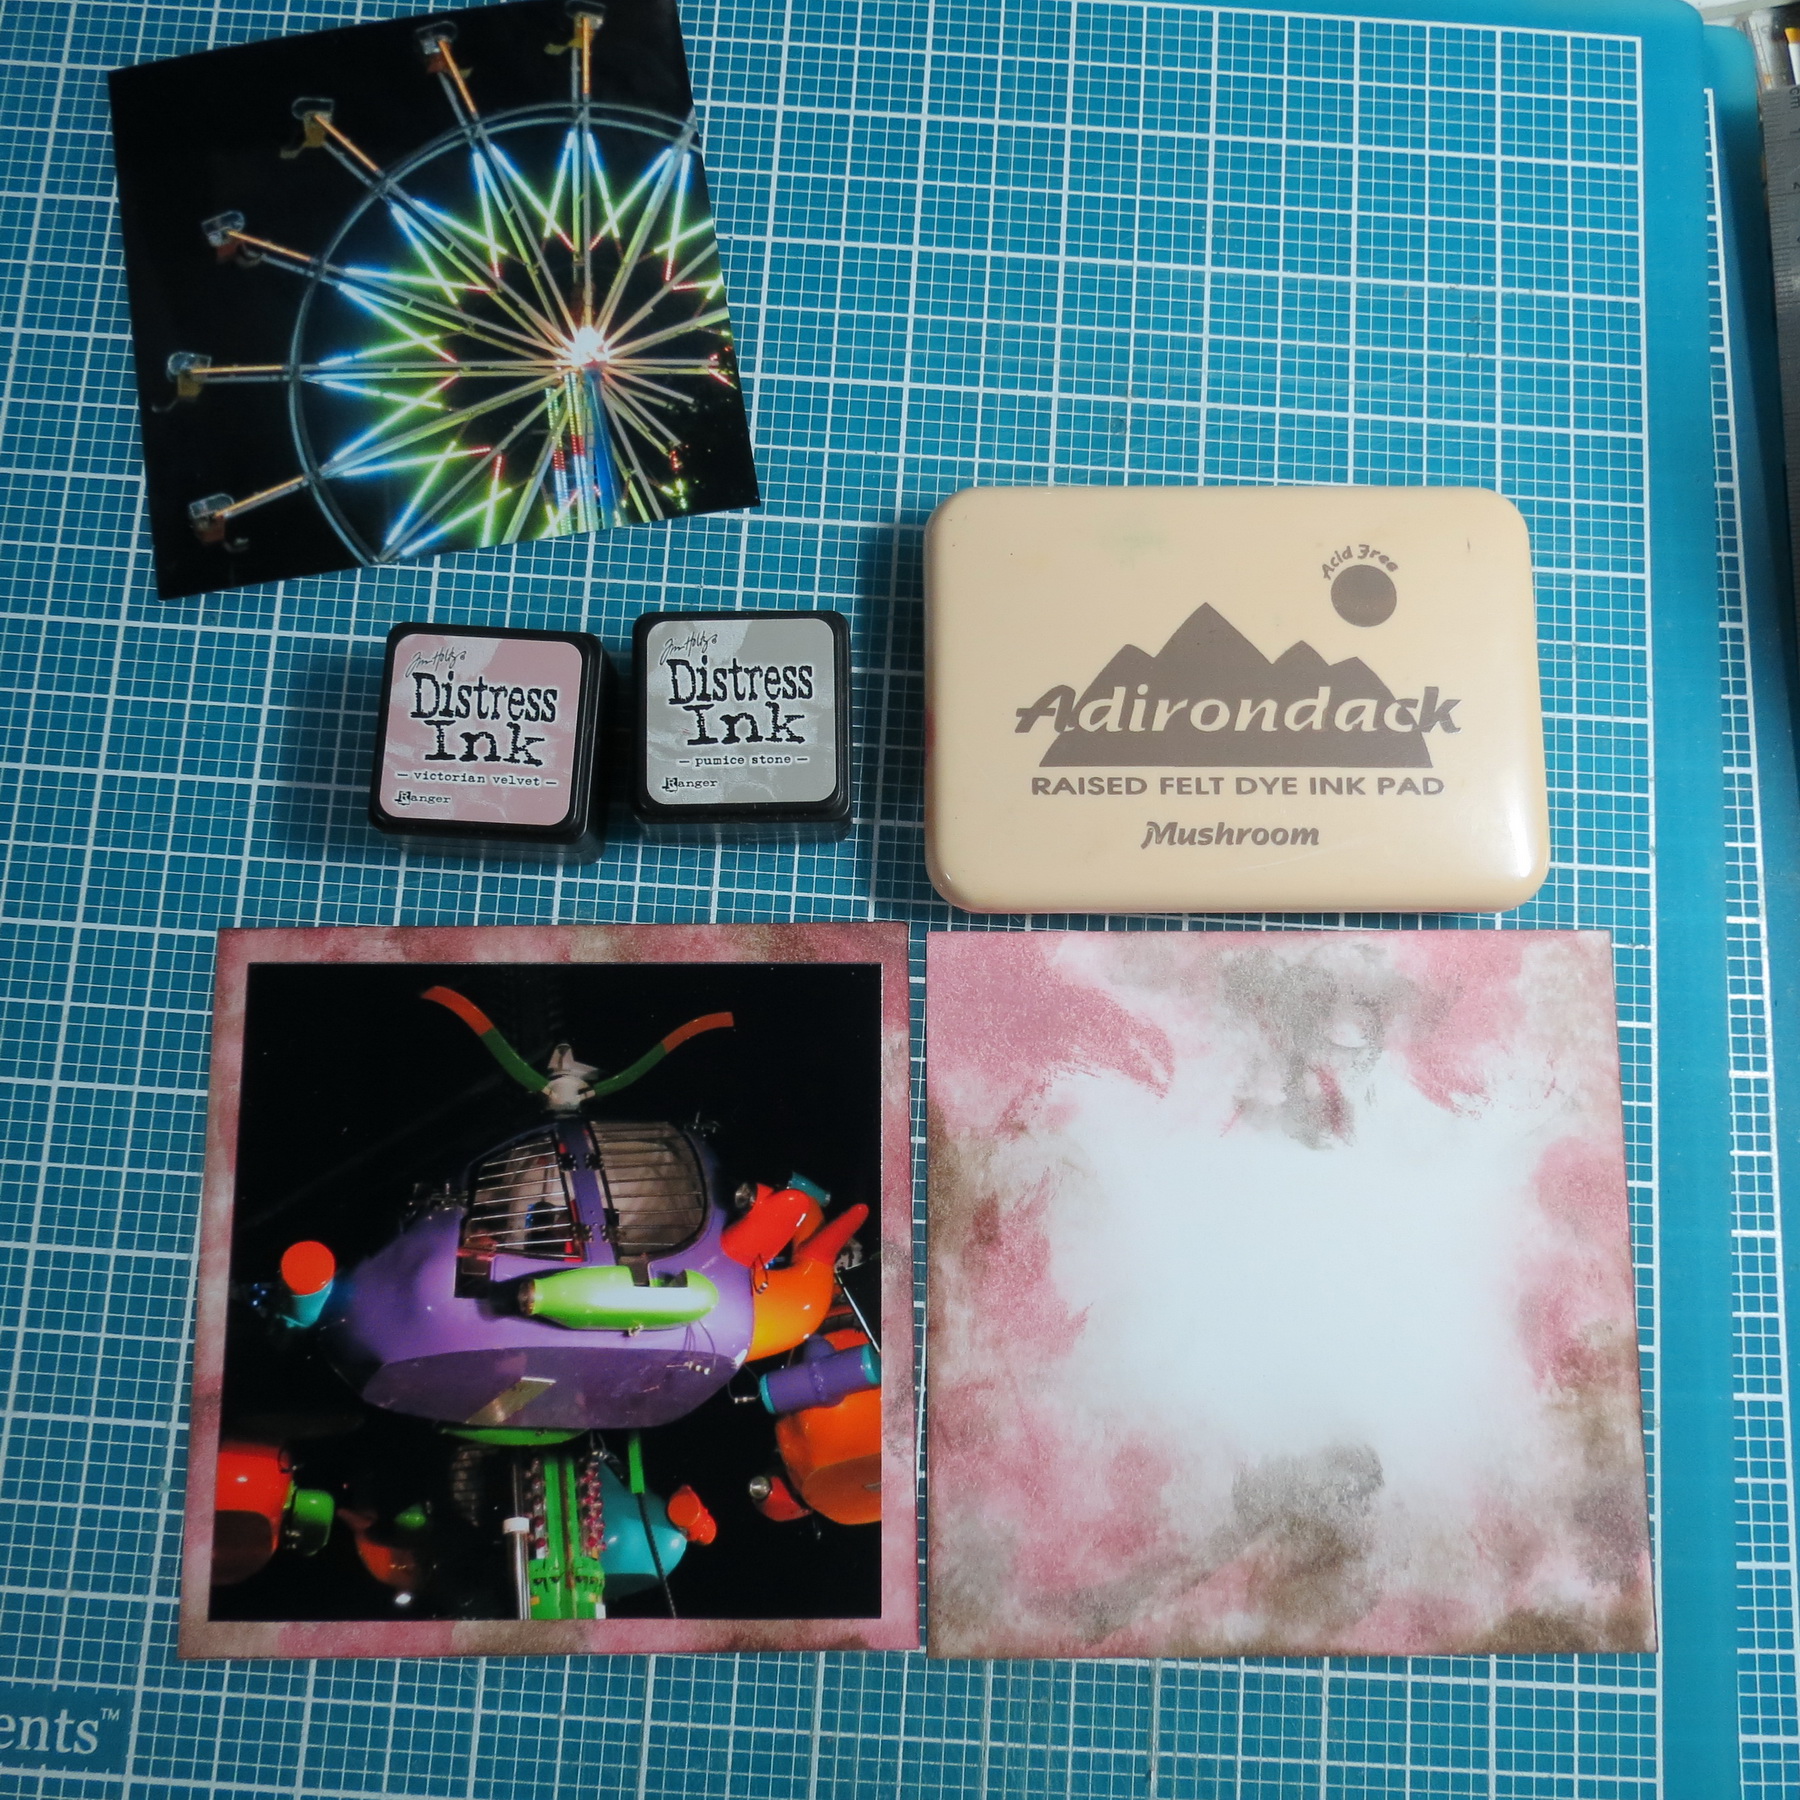
Two of the photos would need a mat to fit into the pattern space. I really didn’t want another color for the mats to draw attention away from the banners. I really wanted them to blend into the Grid paper. However I did not have extra Weathered Pink Grid Paper to cut so I decided I’d take white cardstock and inks to create a block to blend in.
Mosaic Moments Pairing Patterns Banner Dies
I used Tim Holtz Distress inks Victorian Pink and Pumice Stone and Adirondack Mushroom to get it pretty close to the Weathered Pink.
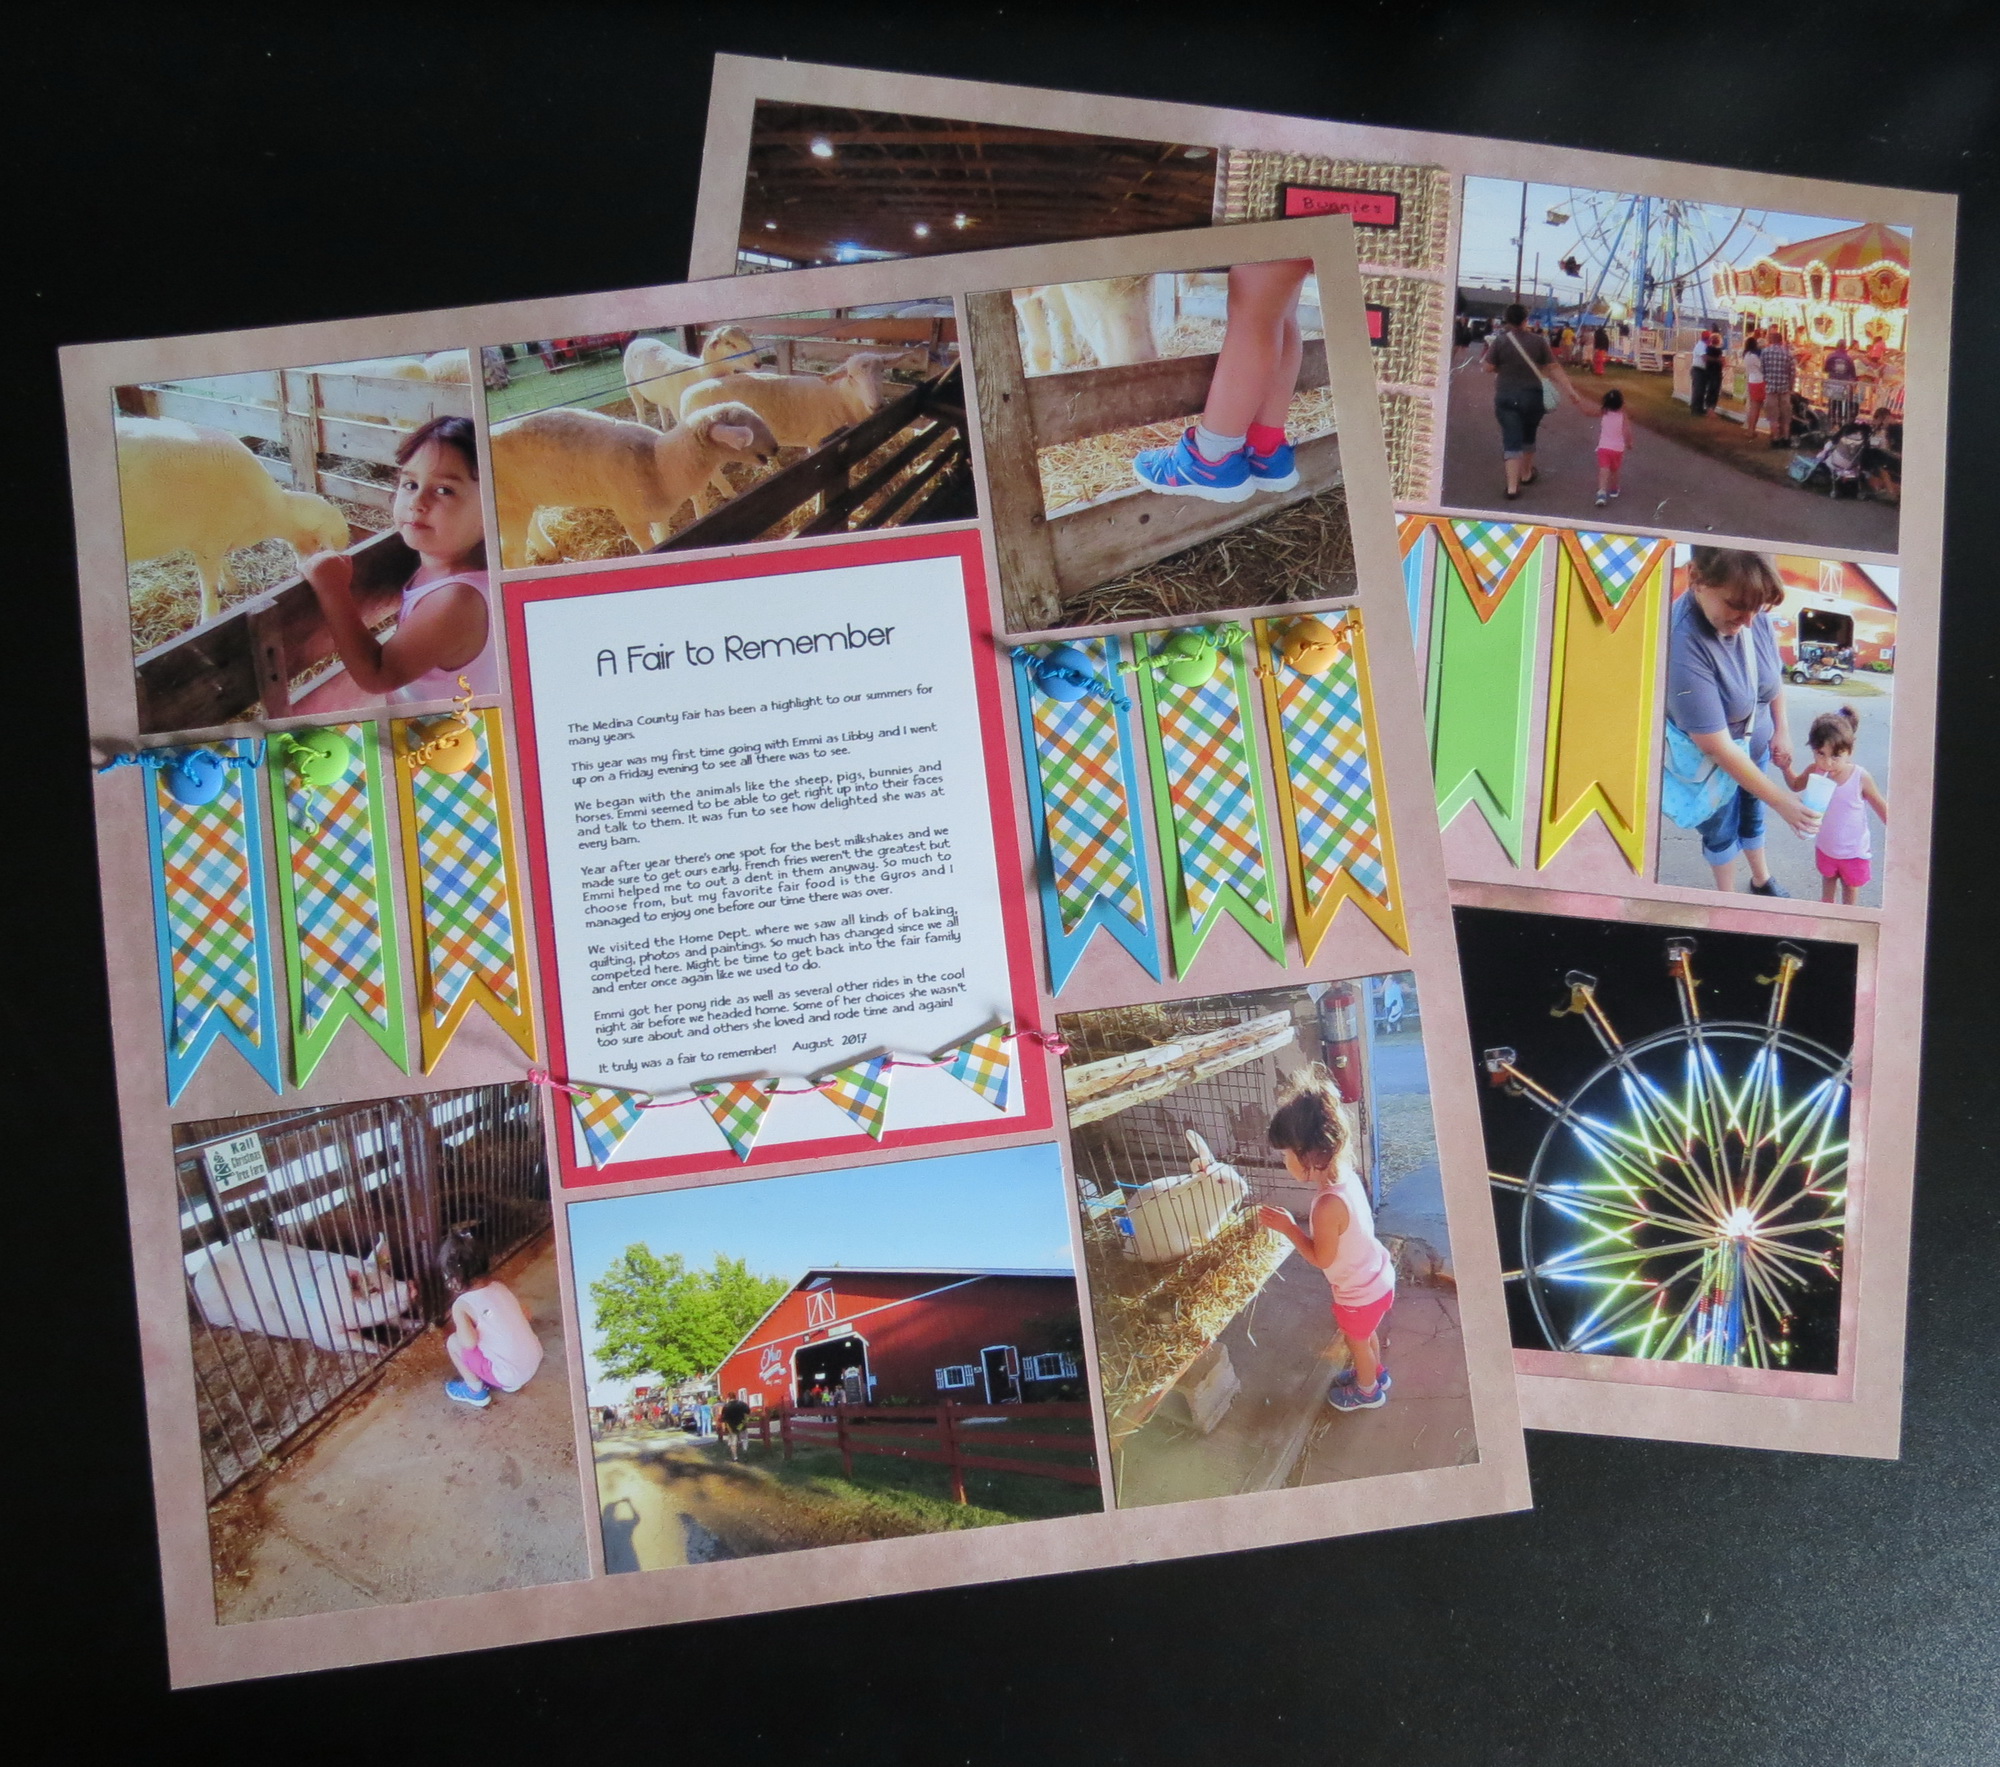
The fair was full of sights, sounds and colors and I think that’s managed to come through in the layout.
Mosaic Moments Pairing Patterns Banner Dies
With these ideas you can be inspired to include a banner or two on your next celebration page. Have fun creating!
Andrea Fisher

Mosaic Moments Pairing Patterns Banner Die Sets