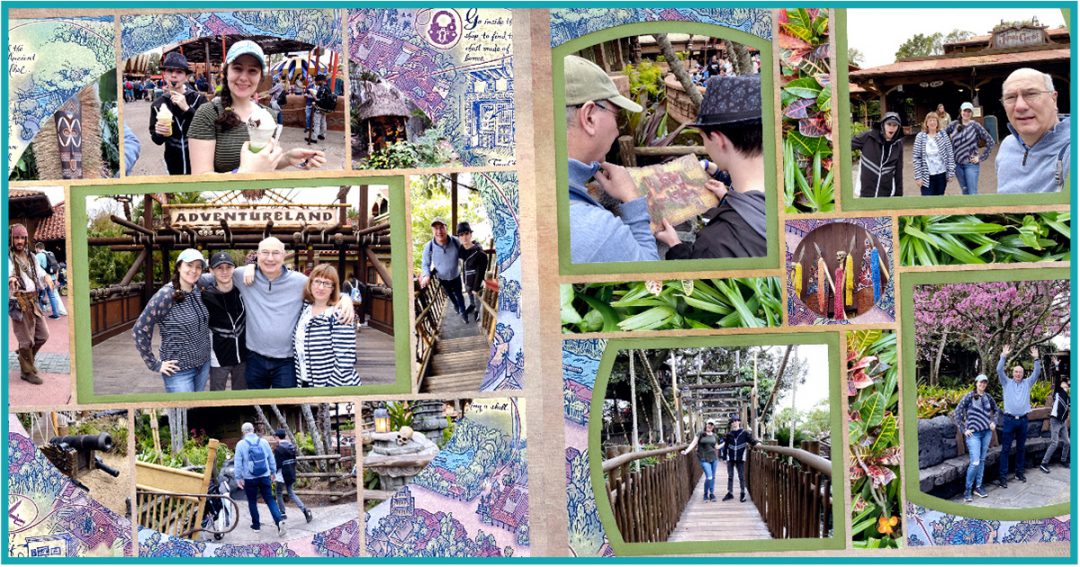
Turning two single-page layouts into a two-page spread is easier than you may think.
In addition to using the same pattern paper and cardstock colors on each side, you can also use dies from the same collection. The dies do not have to be identical on each layout, but they should share the same shapes.
It is always easier to understand by seeing examples, so we have included 11 here for you.
Level 2 Die Collections
Start with Strip Frames
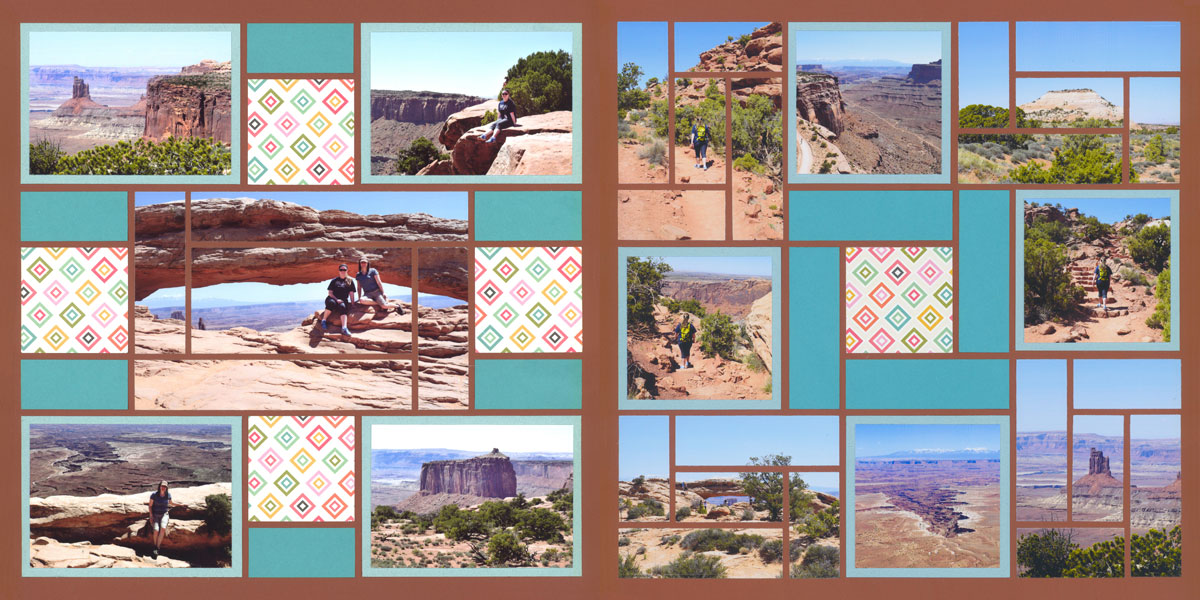
"Canyonlands" by Paije Potter - Patterns #202 (Symmetrical) & #387 (Pinwheel)
Strip frames work great on travel and landscape photos. And, they can help you highlight a person, sign, building or monument in the distance -- notice how the rock formation is framed in the bottom left.
Here, Paije used the largest strip frame die on the left page. (Note: You will need to print a 5x7 photo to use this die.) She balanced it with a smaller strip frame die cut in each corner of the right.
To add to the strip-frame theme, she used pattern paper and cardstock to replicate the feel of the strip frame dies in the center on the right.
Repeat the Rounds
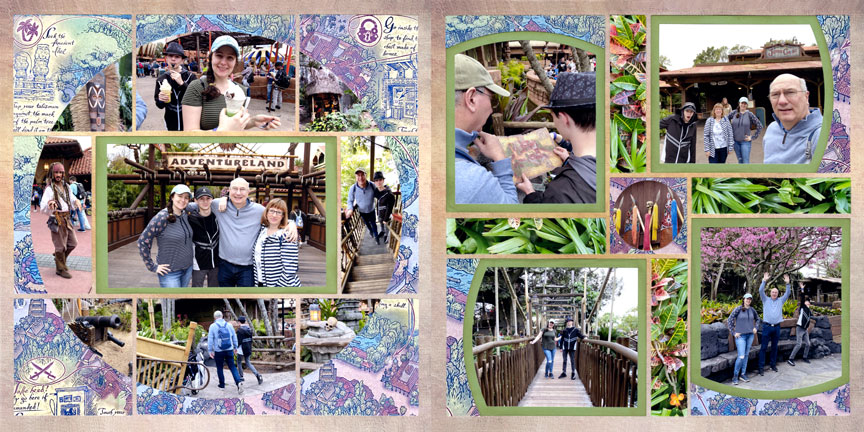
"Adventureland" by Paije Potter - Patterns #477 (Rotated) & #161 (mirrored)
To balance the round layout, created using Horizon dies on the left, Paije used the Horizon 4x5 Dies on the right side without turning them into another circle. Placing them in a pinwheel pattern gives her the round edge and space for pattern paper without looking at side-by-side circles.
Using the circle frame die in the center further repeats the roundness of the other layout.
Set Some Strips
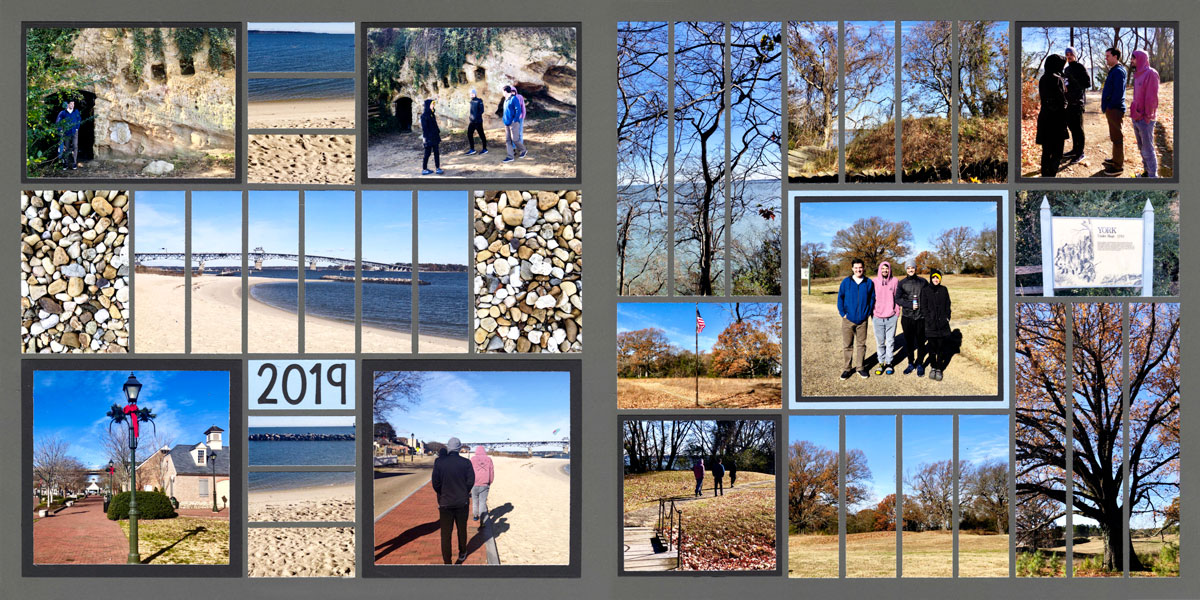
"Yorktown 2019" by Jodi Benson - Patterns #193 & #293 (Both Strip Patterns)
Strips add a unique flair to your layouts that is all Mosaic Moments®. Through a bit of Mosaic Magic, they can be used to create faux panoramas, merge multiple photos into one, and somehow make a not-so-perfect photo look amazing.
Here, Jodi used a set of strips in the center of her left layout. On the right side, she used strips on both the top center and bottom center to coordinate. Then, she added longer strips to two of the corners of her right side for a bit of dramatic effect.
Cut the Corners
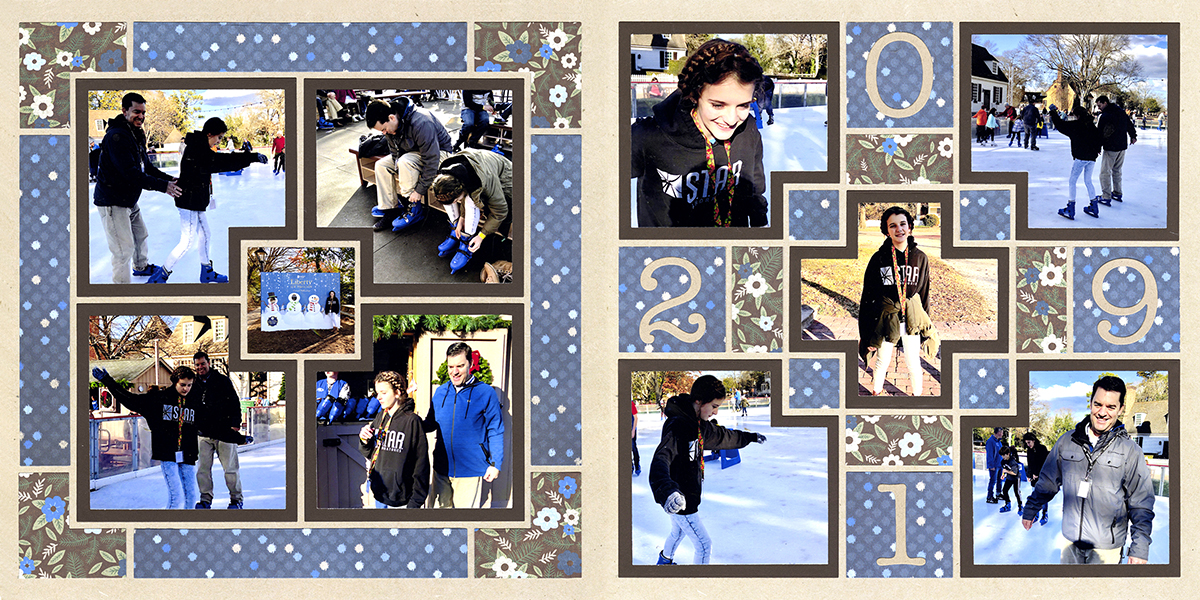
"Liberty Ice Pavilion" by Jodi Benson - Free-styled Patterns
For this spread, Jodi used the Corner Cut-Out Squares on both layouts. On the left, she moved them into the center of the layout. On the right, she spread them out to the corners and placed the coordinating Four-Corner Cut-Out Die Set in the center.
While the pages look completely different, they coordinate perfectly because of the repetition of the same dies.
Continue the Corner Strips
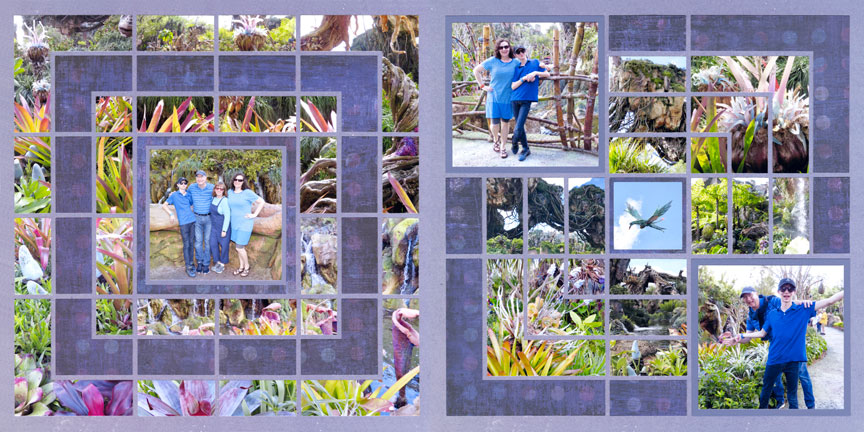
"Pandora 2018" by Paije Potter - Free-Style Patterns
Here are another set of layouts that are completely different, but use the same set of dies to coordinate beautifully.
On the left, Paije used the Corner Strips Die and its partner, the Corner Connector Die, to create a multi-layered frame around the center photo.
Then, she repeated the size and shape of that center photo, but placed them in opposite corners on the right-hand page. Then, she filled in the rest of the page with the Corner Strips Die and Corner Connector Die, with a small photo in the center.
Make it Whimsical
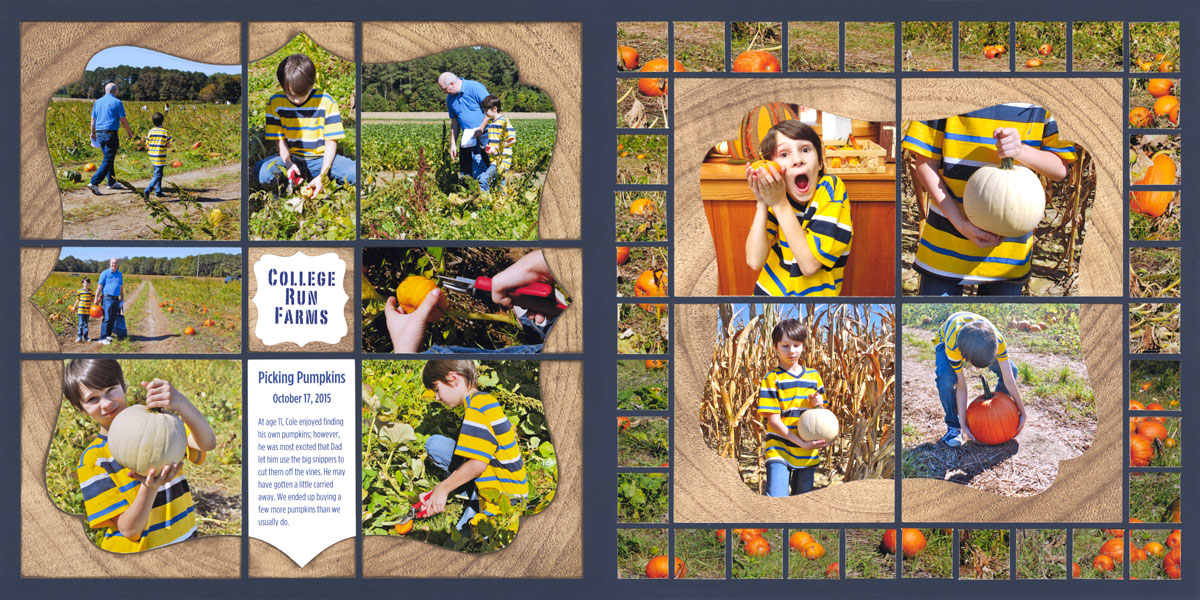
"Picking Pumpkins" by Tami Potter - Patterns #368 (Symmetrical) & #133 (Mostly Squares)
Many die sets designed to create a complete layout on their own, like the Whimsy Set shown here, can be used without all of their parts to create a different shape.
Here, Tami used the Whimsy Set as intended on the left side of her spread. But on the right, she used just the four corner pieces, moved to the center of the page.
This gives her space to add a mosaic border, allows her to repeat the wood-grain pattern paper, and continues to fun, light-hearted feel of the layout.
Level 3 Die Collections
Coordinate the Crisscross

"Robinson Treehouse" by Tami Potter - Patterns #477 (rotated) & 596 (Both symmetrical style)
When using larger collections, like the Crisscross Dies shown here, there are many, many options for coordinating layouts.
For this pair, Tami created a "typical" crisscross design on the left side. Then, she used the smaller dies on the right in a pattern similar to a compass star. But, if you look closely, you will see the trademark crisscross around the actual compass in the center of the layout.
Prism's Point the Way
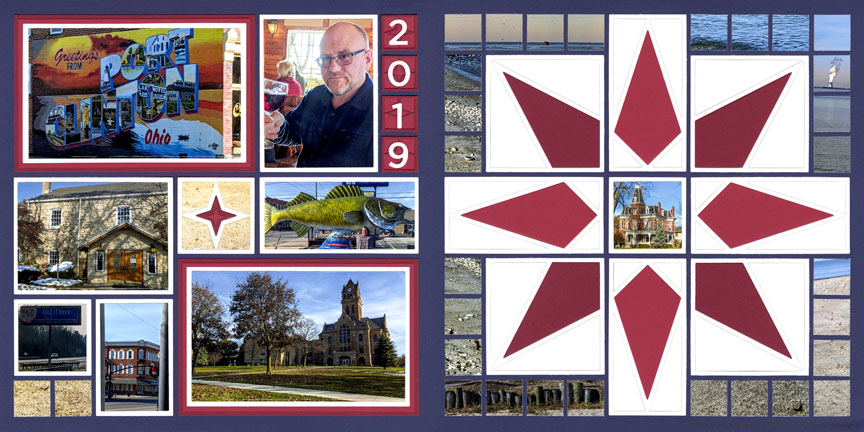
"Port Clinton" by Candy Spiegel - Free-Styled Design & Pattern #596 (Symmetrical)
When you are stumped for something unique for your travel layouts, try using the Prism Dies. When turned just so, they can resemble a rose compass.
Candy used the smaller dies from the Prism Collection on the left page to help reinforce the theme. Although she used the same colors, she placed the smallest prisms under the numbers, as well. It provides a bit of texture.
Spread the X-Factor Over Two Pages
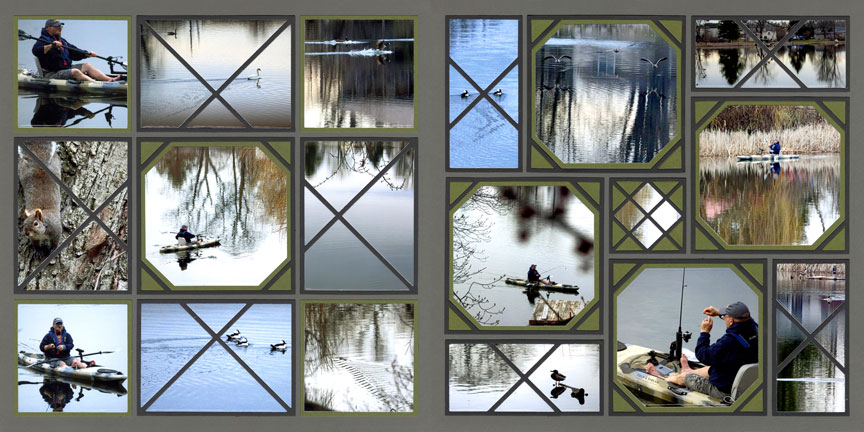
"Fishing by Kayak" by Candy Spiegel - Patterns #344 (Mostly Squares) & 373 (Pinwheel)
For this two-page spread, Candy found two page patterns that allow the lines from the X-Factor Dies to continue from one side to the other.
These lines naturally take the eye from photo to photo, allowing time to take in all of the details.
For the center of the Pinwheel pattern, right, Candy used one of the geometric dies to continue the look of the X-Factor Dies, even if it does not line up perfectly.
Share the Luck of the Irish
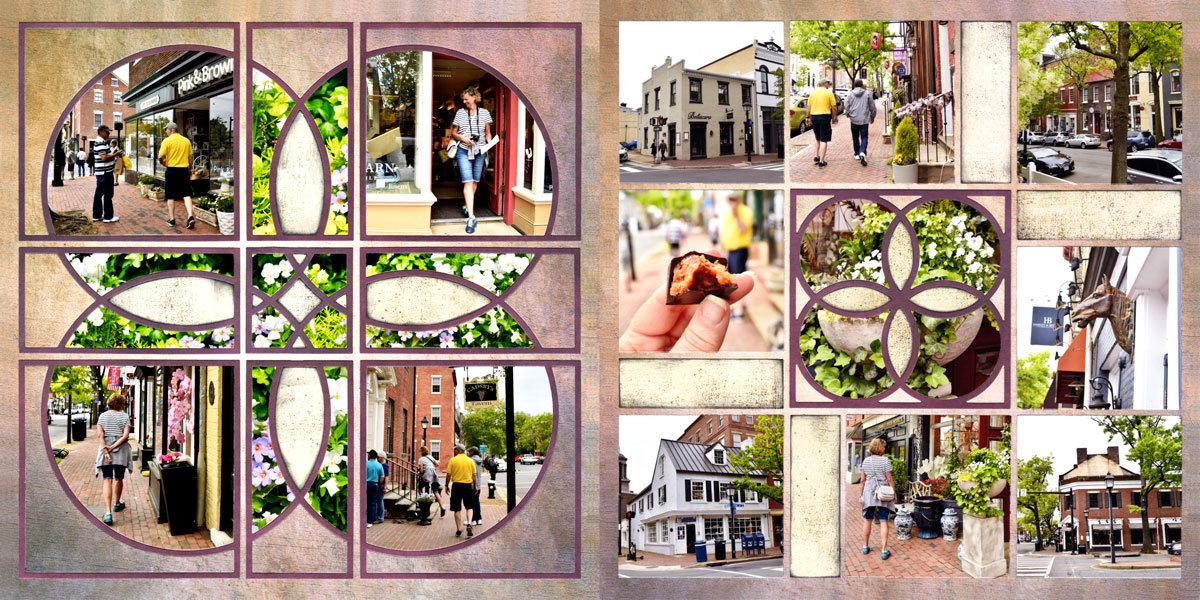
"Alexandria" by Paije Potter - Pattern #368 (Symmetrical) & #448 (Mostly Squares)
Technically, the Clover Set, shown on the left, is a stand-alone set of dies.
However, the Lucky Charm Die, right center, repeats the same pattern on a smaller scale, so they work perfectly together.
Show the Love
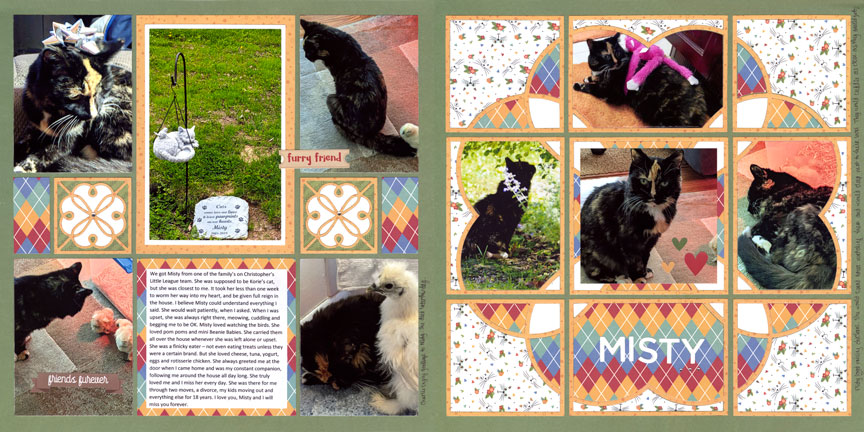
Perhaps the easiest way to connect the two pages into a single layout is to use a die collection, like the Sweetheart Dies used here, on the right and the smaller version of that die on the left as decorative elements.
This treatment does not require additional thinking and it works everytime.

