
- The first is using ribbons and Sticky Face Easter/Spring Stickers.
- The second is a basket weave on basket weave technique that was inspired by a past tip post.
- The third technique is bringing paper lace into the layout by using border punches.
- And finally some tags, big and small for journal spots.
- Last post I used glitter on Sticky Face Sticker squares, this time I’m using the Easter/Spring set and the medium and small eggs. I began by removing the entire egg from the page, leaving the top cover on for now; I also put a spot of adhesive on this top side and then attached to my board with the Sticky Face sticky surface up to add rows of ribbons across the surface edge to edge. The ribbon will extend beyond the edges and can be trimmed once the egg is full, just turn it over and trim close to the egg. If you are worried about fraying ribbon edges use some fray-check to seal the edges. Remove the backing and attach wherever you would like to place your eggs. I have also used a trimmed rectangle of foam mounting tape to give the front egg a little more depth.
2. Now in Paije’s previous post on weaving she was working with a three row section. In my version I have added texture and extended the weaving to the whole page that doesn’t have a photo. I also really wanted a basket feel, so I used an embossing folder from Cuttlebug, Anna Griffin collection, to achieve that. From a sheet of Core’dinations Color Core from the Whitewash Collection, I cut several 1”x 11 1/8” strips for my horizontal strips and lightly sanded them to allow the blue underneath to show through for a weathered look. I also cut several strips in the blue and aqua colors for the vertical strips. I lined up the pattern according to the 12 x 12 White Mosaic Moments Grid Paper. I have used the weaving predominately for the lower two rows but carried it up to include the area I was going to use as a journal block.
3. For the basket’s top edge I thought a nice lacey look would be nice, so I cut four strips of 1” x 11 1/8” pale yellow and put two as the base layer. The top layers were punched with a border punch for a lace effect. On the top straight edge a row of adhesive tape was laid down to attach a 3/8” satin ribbon. Then, I turned it over and used foam mounting tape on the back and lined it up to the top edge. This gives it a nice shadow and dimensional feel. A ribbon bow at the end of the row adds a perfect touch! What Easter layout doesn’t need a few bows? So don’t forget to add them!!
4. What’s a basket without a tag? I’ve taken one large piece of yellow cardstock and rounded the top corners then punched a nice scalloped edge along the bottom. I attached one of my ribbon eggs, wrote my journaling, punched a hole for a loop of hemp cording, and looped the cording through a bow and attached the bow with a glue dot allowing it to swing free. The smaller tags were also strung with coordinating colors of hemp cord threaded through the ‘slats’ of the basket weave with a tapestry needle and knotted to hold in place.
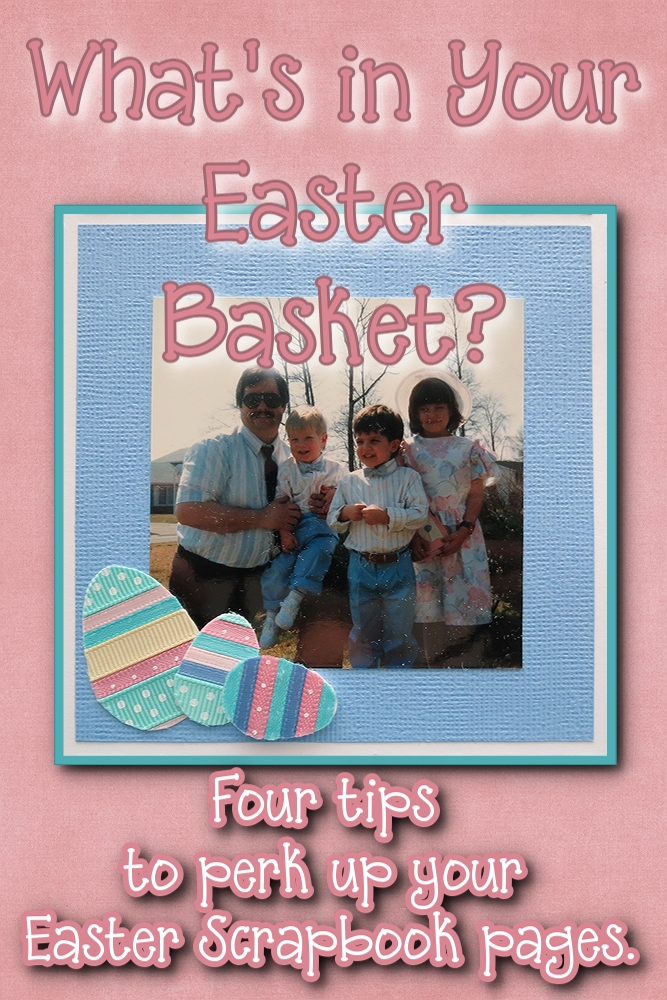
With all those elements put together here’s how my layout turned out!
Hope you will share your Easter pages with us on our Facebook page or on the Story Board at Journella.com we’d love to see what’s in your Easter basket!
Andrea