
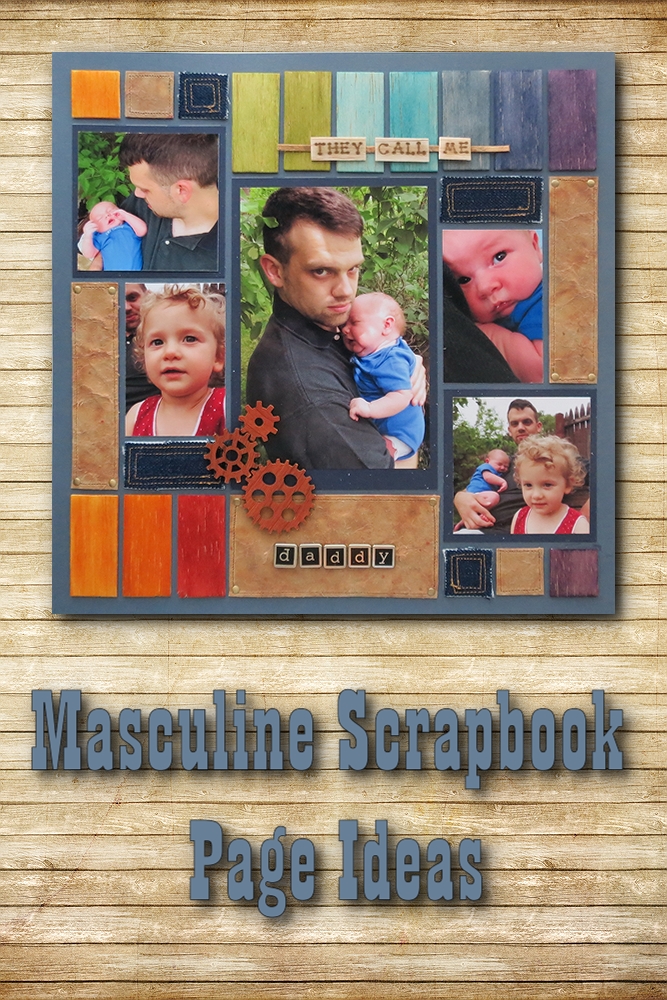
It’s June, and time for all things outdoorsy!! It may be your summer camping vacation or Dad manning the BBQ, but we want to create pages that reflect the personalities and interests of the men in our lives. We often have no problem coming up with ideas for pages featuring our children, but what about dads and older teen boys? We need pages that reflect that maturing male personality and hold back on some of those fun light, bright juvenile colors and choose the warmer, richer, deeper colors and embellish with woods, metals, fabrics and buttons instead of pastels, florals, ribbons and bows. So today I’ll show you a few ways to create a page for the men in your life with these masculine scrapbook page ideas.

Masculine Scrapbook Page Ideas:Tip #1 select items like wood, denim, metals, and leather.
I began this layout with a group of materials I wanted to incorporate, denim, wooden gears, balsa wood, nail heads, faux leather and wood burned elements. Then I took my photos. I knew I wanted to have one large photo featuring my son, and four additional ones of him and his children. This is two week old Liam’s scrapbooking debut. This was not as easy as I had hoped, a bit more difficult than candid shots but in the end, I did find one that would be the perfect photo centerpiece. I had prepared a sketch of what I wanted to do, which was building around a central photo and balancing each side with two additional photos. Once I had that laid out I played around with some of the elements and worked out the best size and placement for each item and how and where to incorporate the rest. Execution was all that remained. The color of Mosaic Moments Grid 12 x 12 papers for this layout is Storm, and navy cardstock is used to mat three of the photos. I used some repetition in my design. Several groups of threes, three gears, three sizes of ‘spots’ 1 x 1’s, 1 x 2’s and 1x 4’s, three sizes of photos, groups of three ones, and three small pieces of wood for the top portion of the title. I had faux leather that I had made left over from a previous challenge layout that I could use again. Did you know you can turn a piece of cardstock into a pliable sheet of leather-like soft paper with just a few steps and some time?
MAKING FAUX LEATHER
This tip previously shared here on Journella. Complete Steps and photos can be seen there. I began with a small spray bottle, distilled water and Glycerin. I worked on my Teflon sheet as it’s easy to clean and dry and when I used the embossing heat gun it doesn’t hurt the mat. 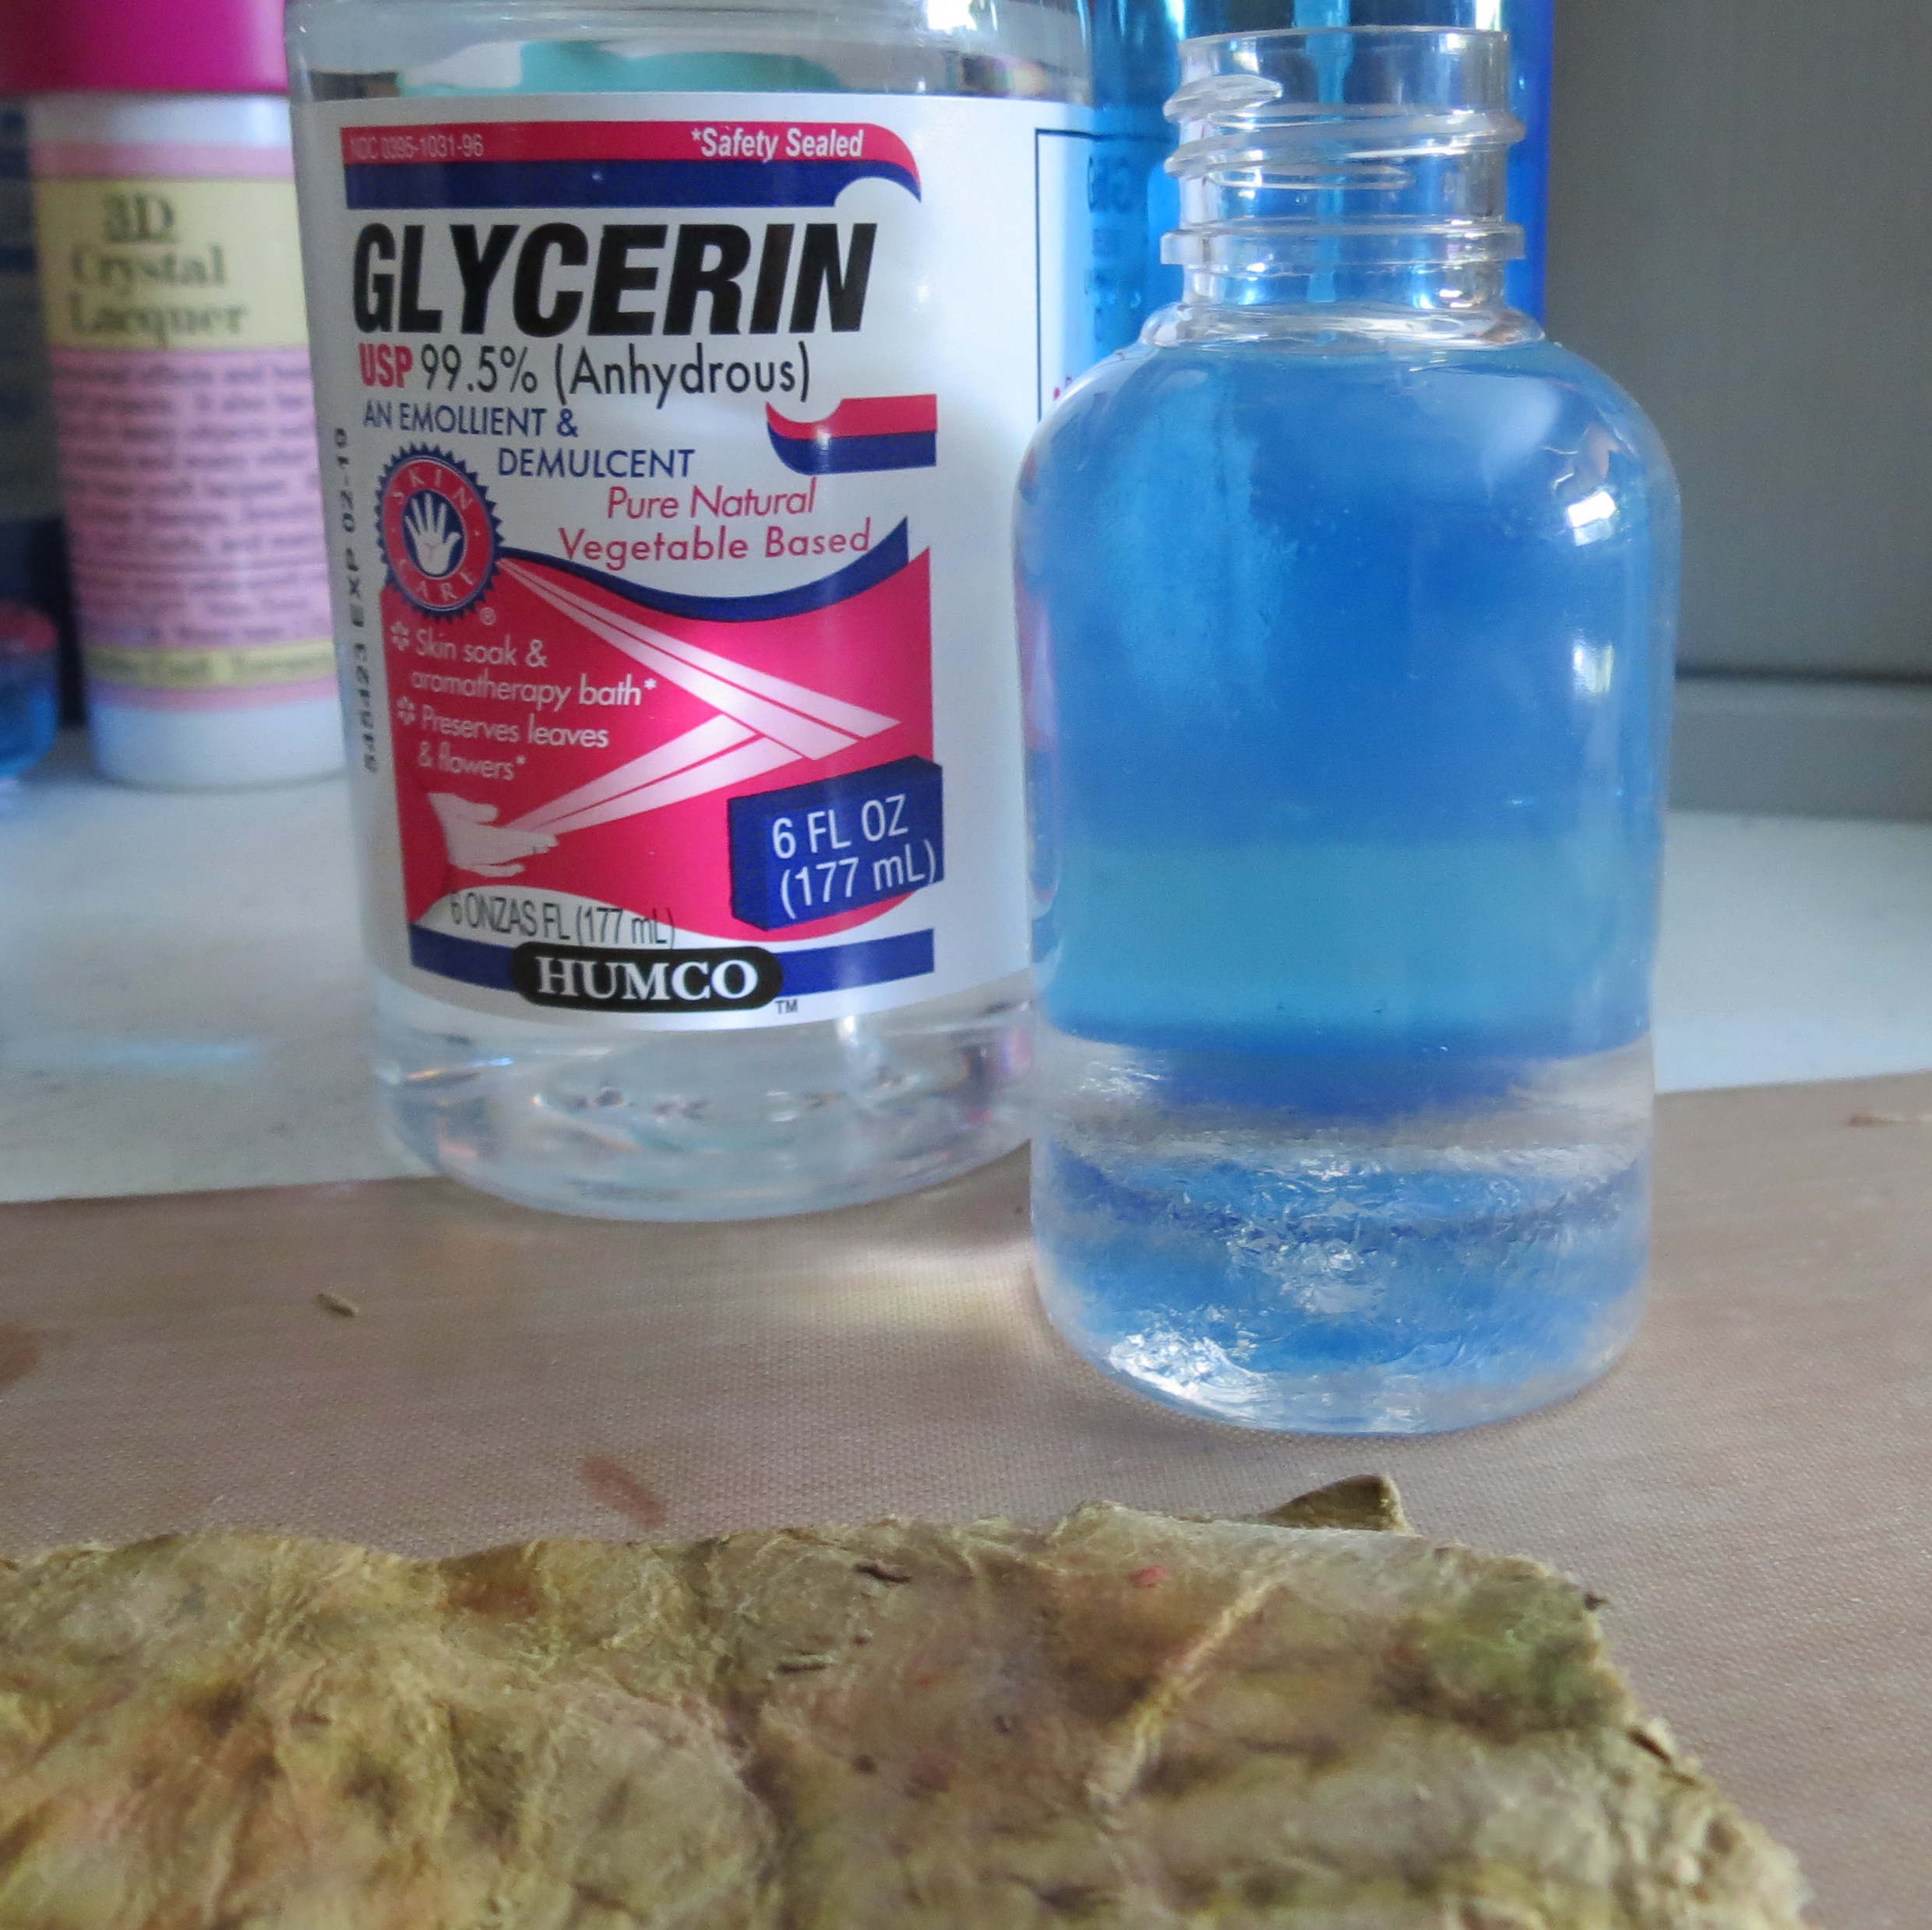 I used 6 parts water to 1 part glycerin mix. The cardstock was just a regular piece that I began by spraying down and rubbing it into the paper. The glycerin conditions the paper and breaks it down making it more pliable. Spray both sides of the paper and allow to dry most of the way.
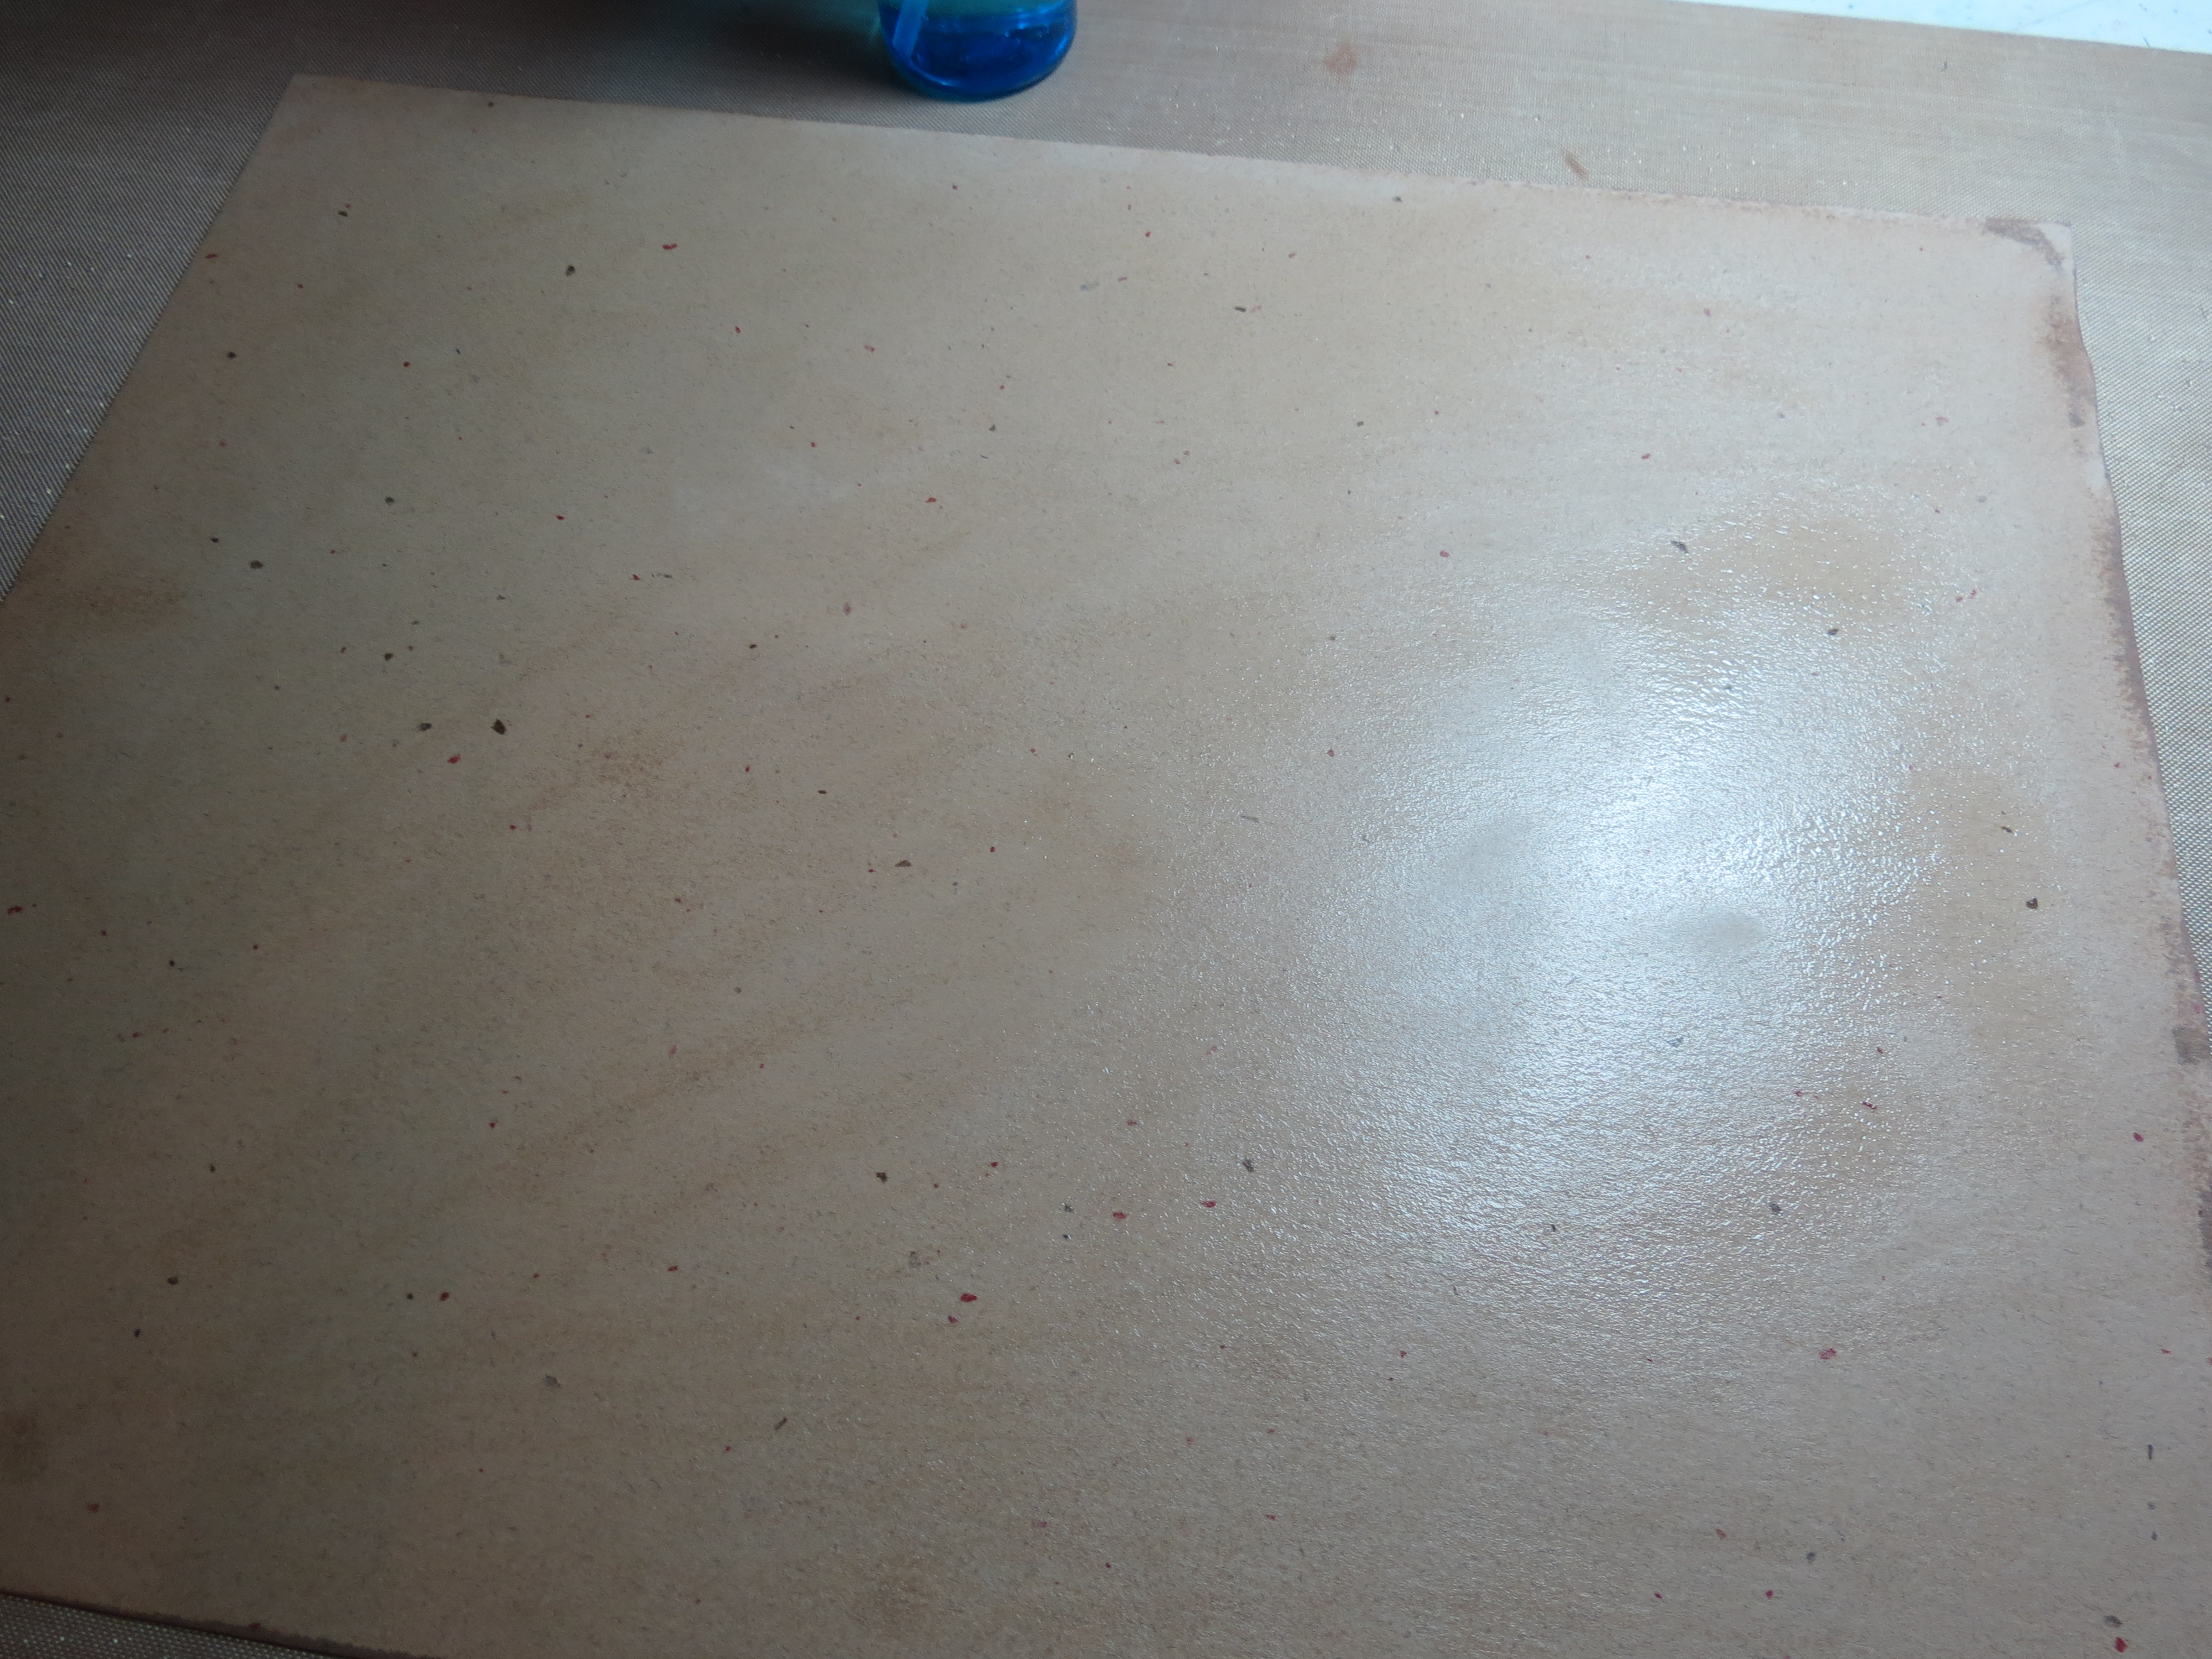
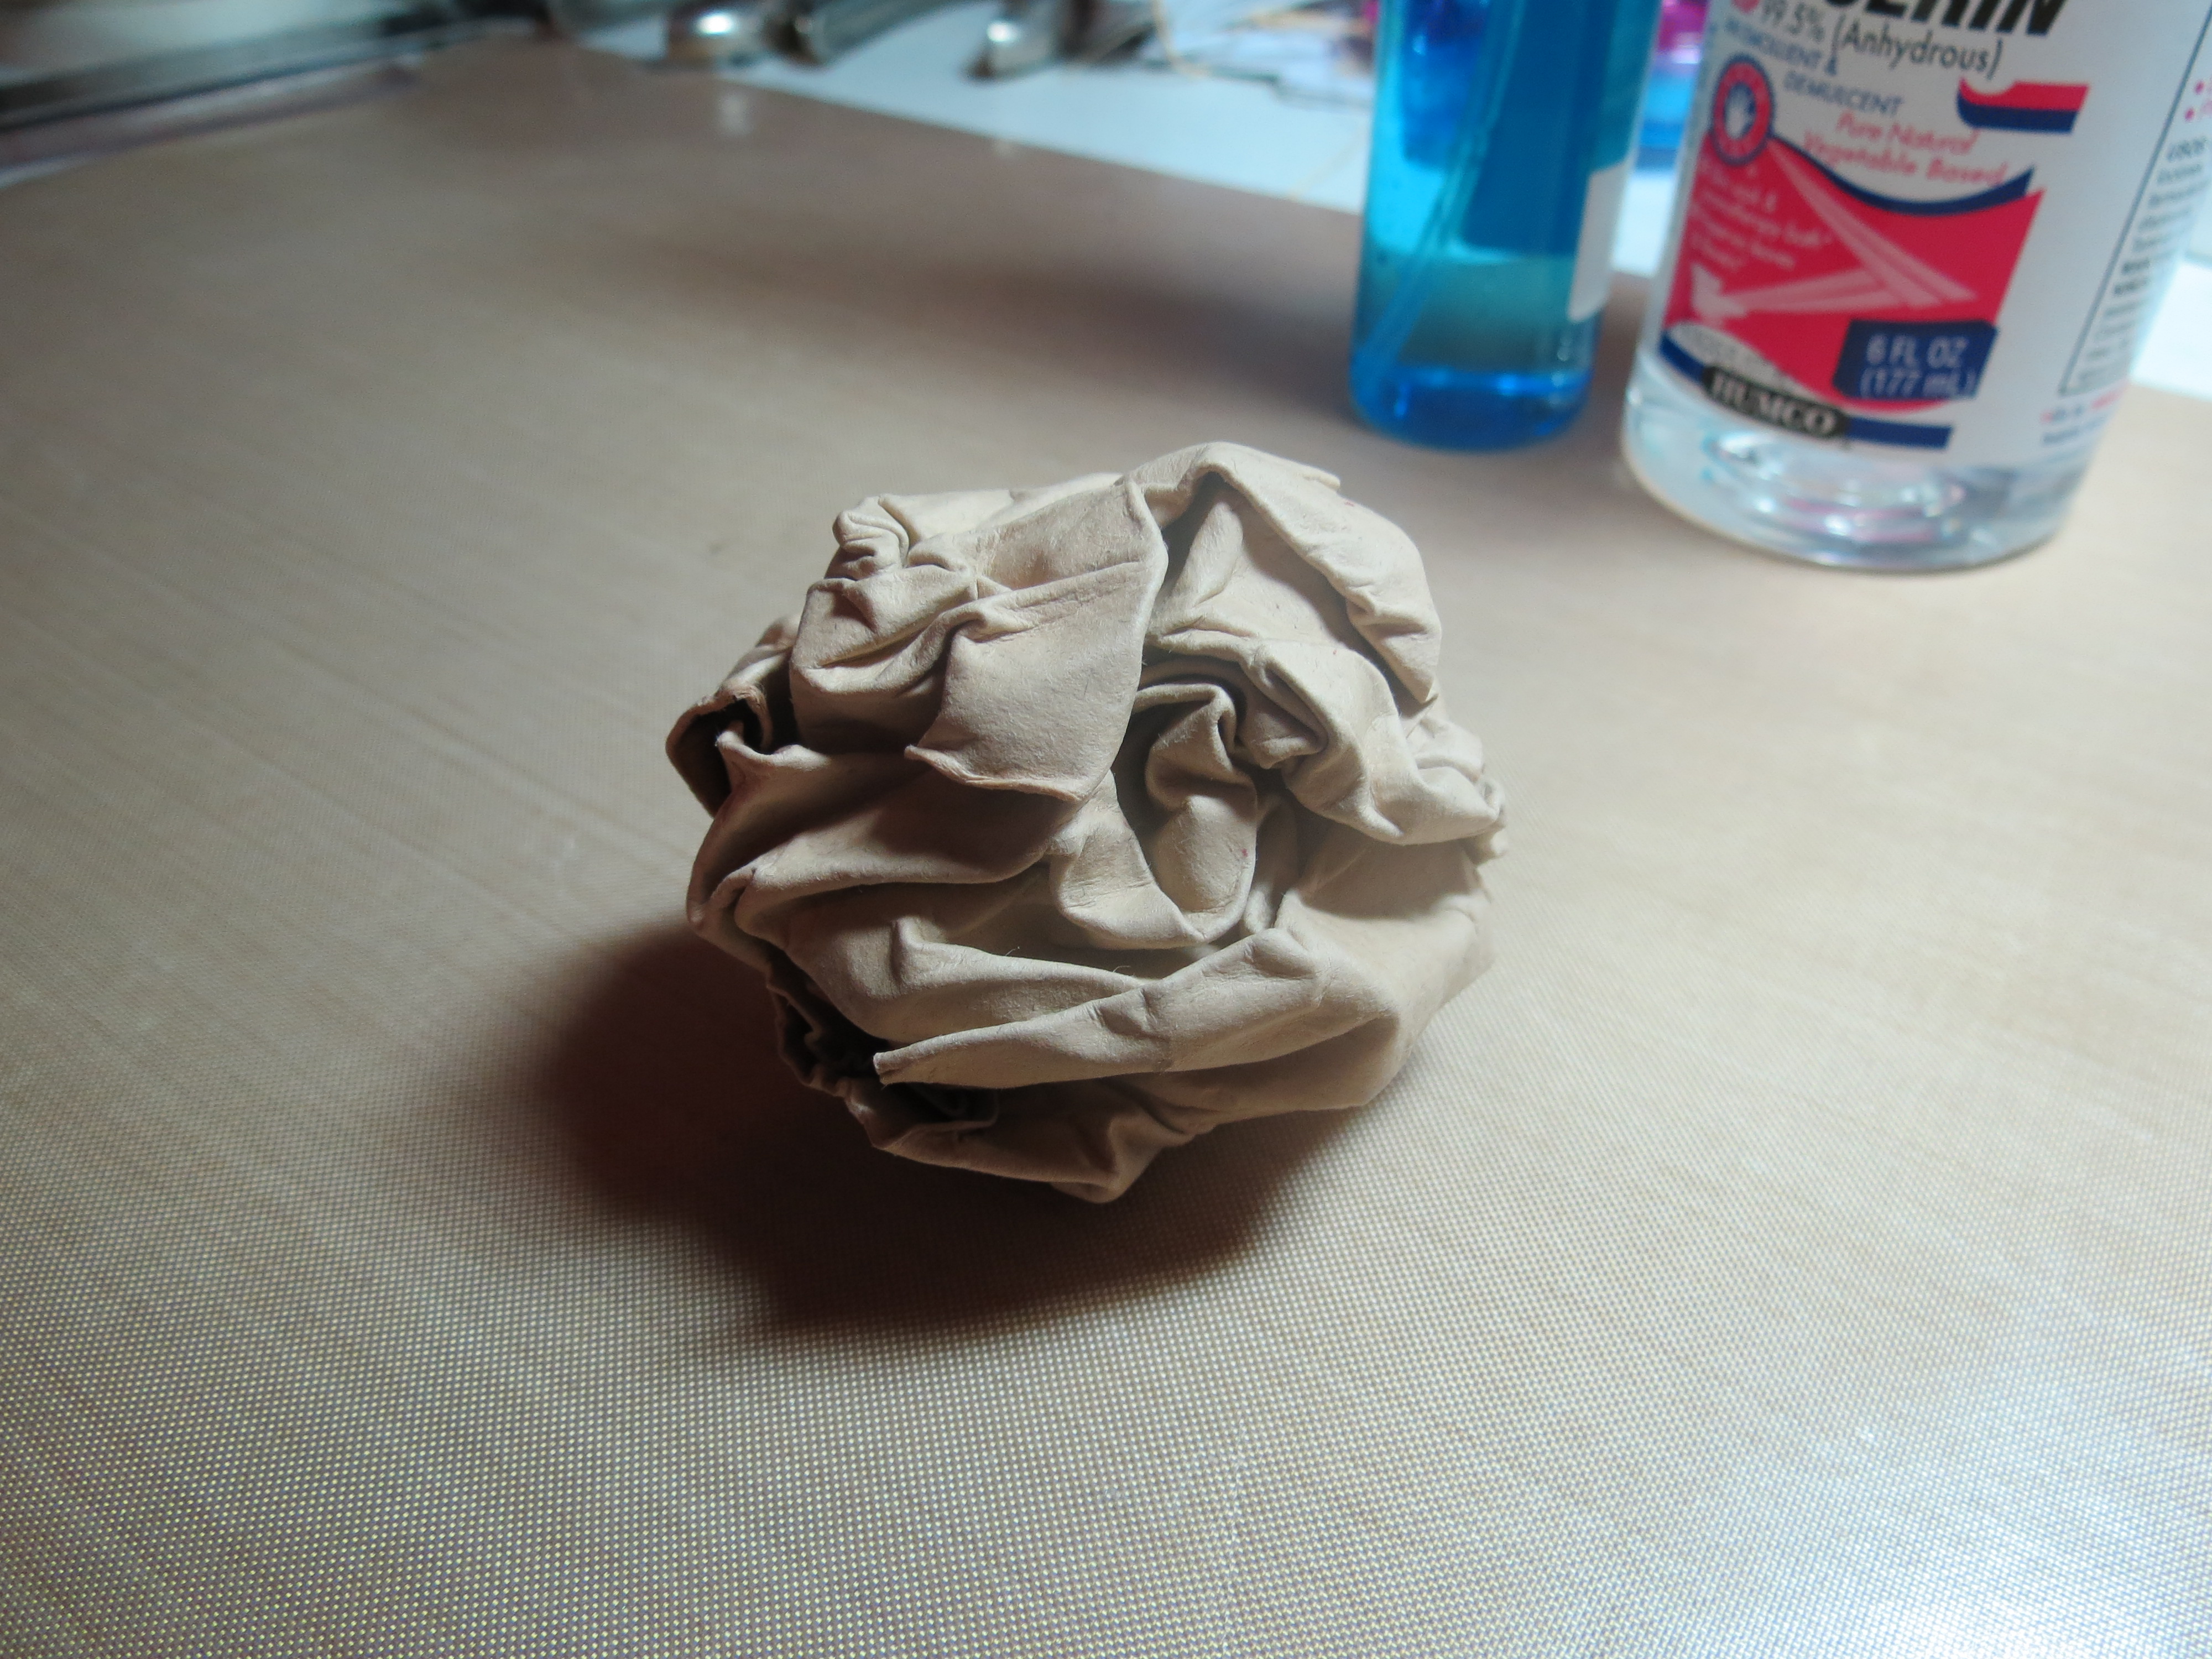 Then crumble the piece and straighter it out again. I used Tim Holtz Distress Inks in Tea Dye, Vintage Photo and Walnut stain, one color at a time, direct to surface catching all the ridges of the folds.
 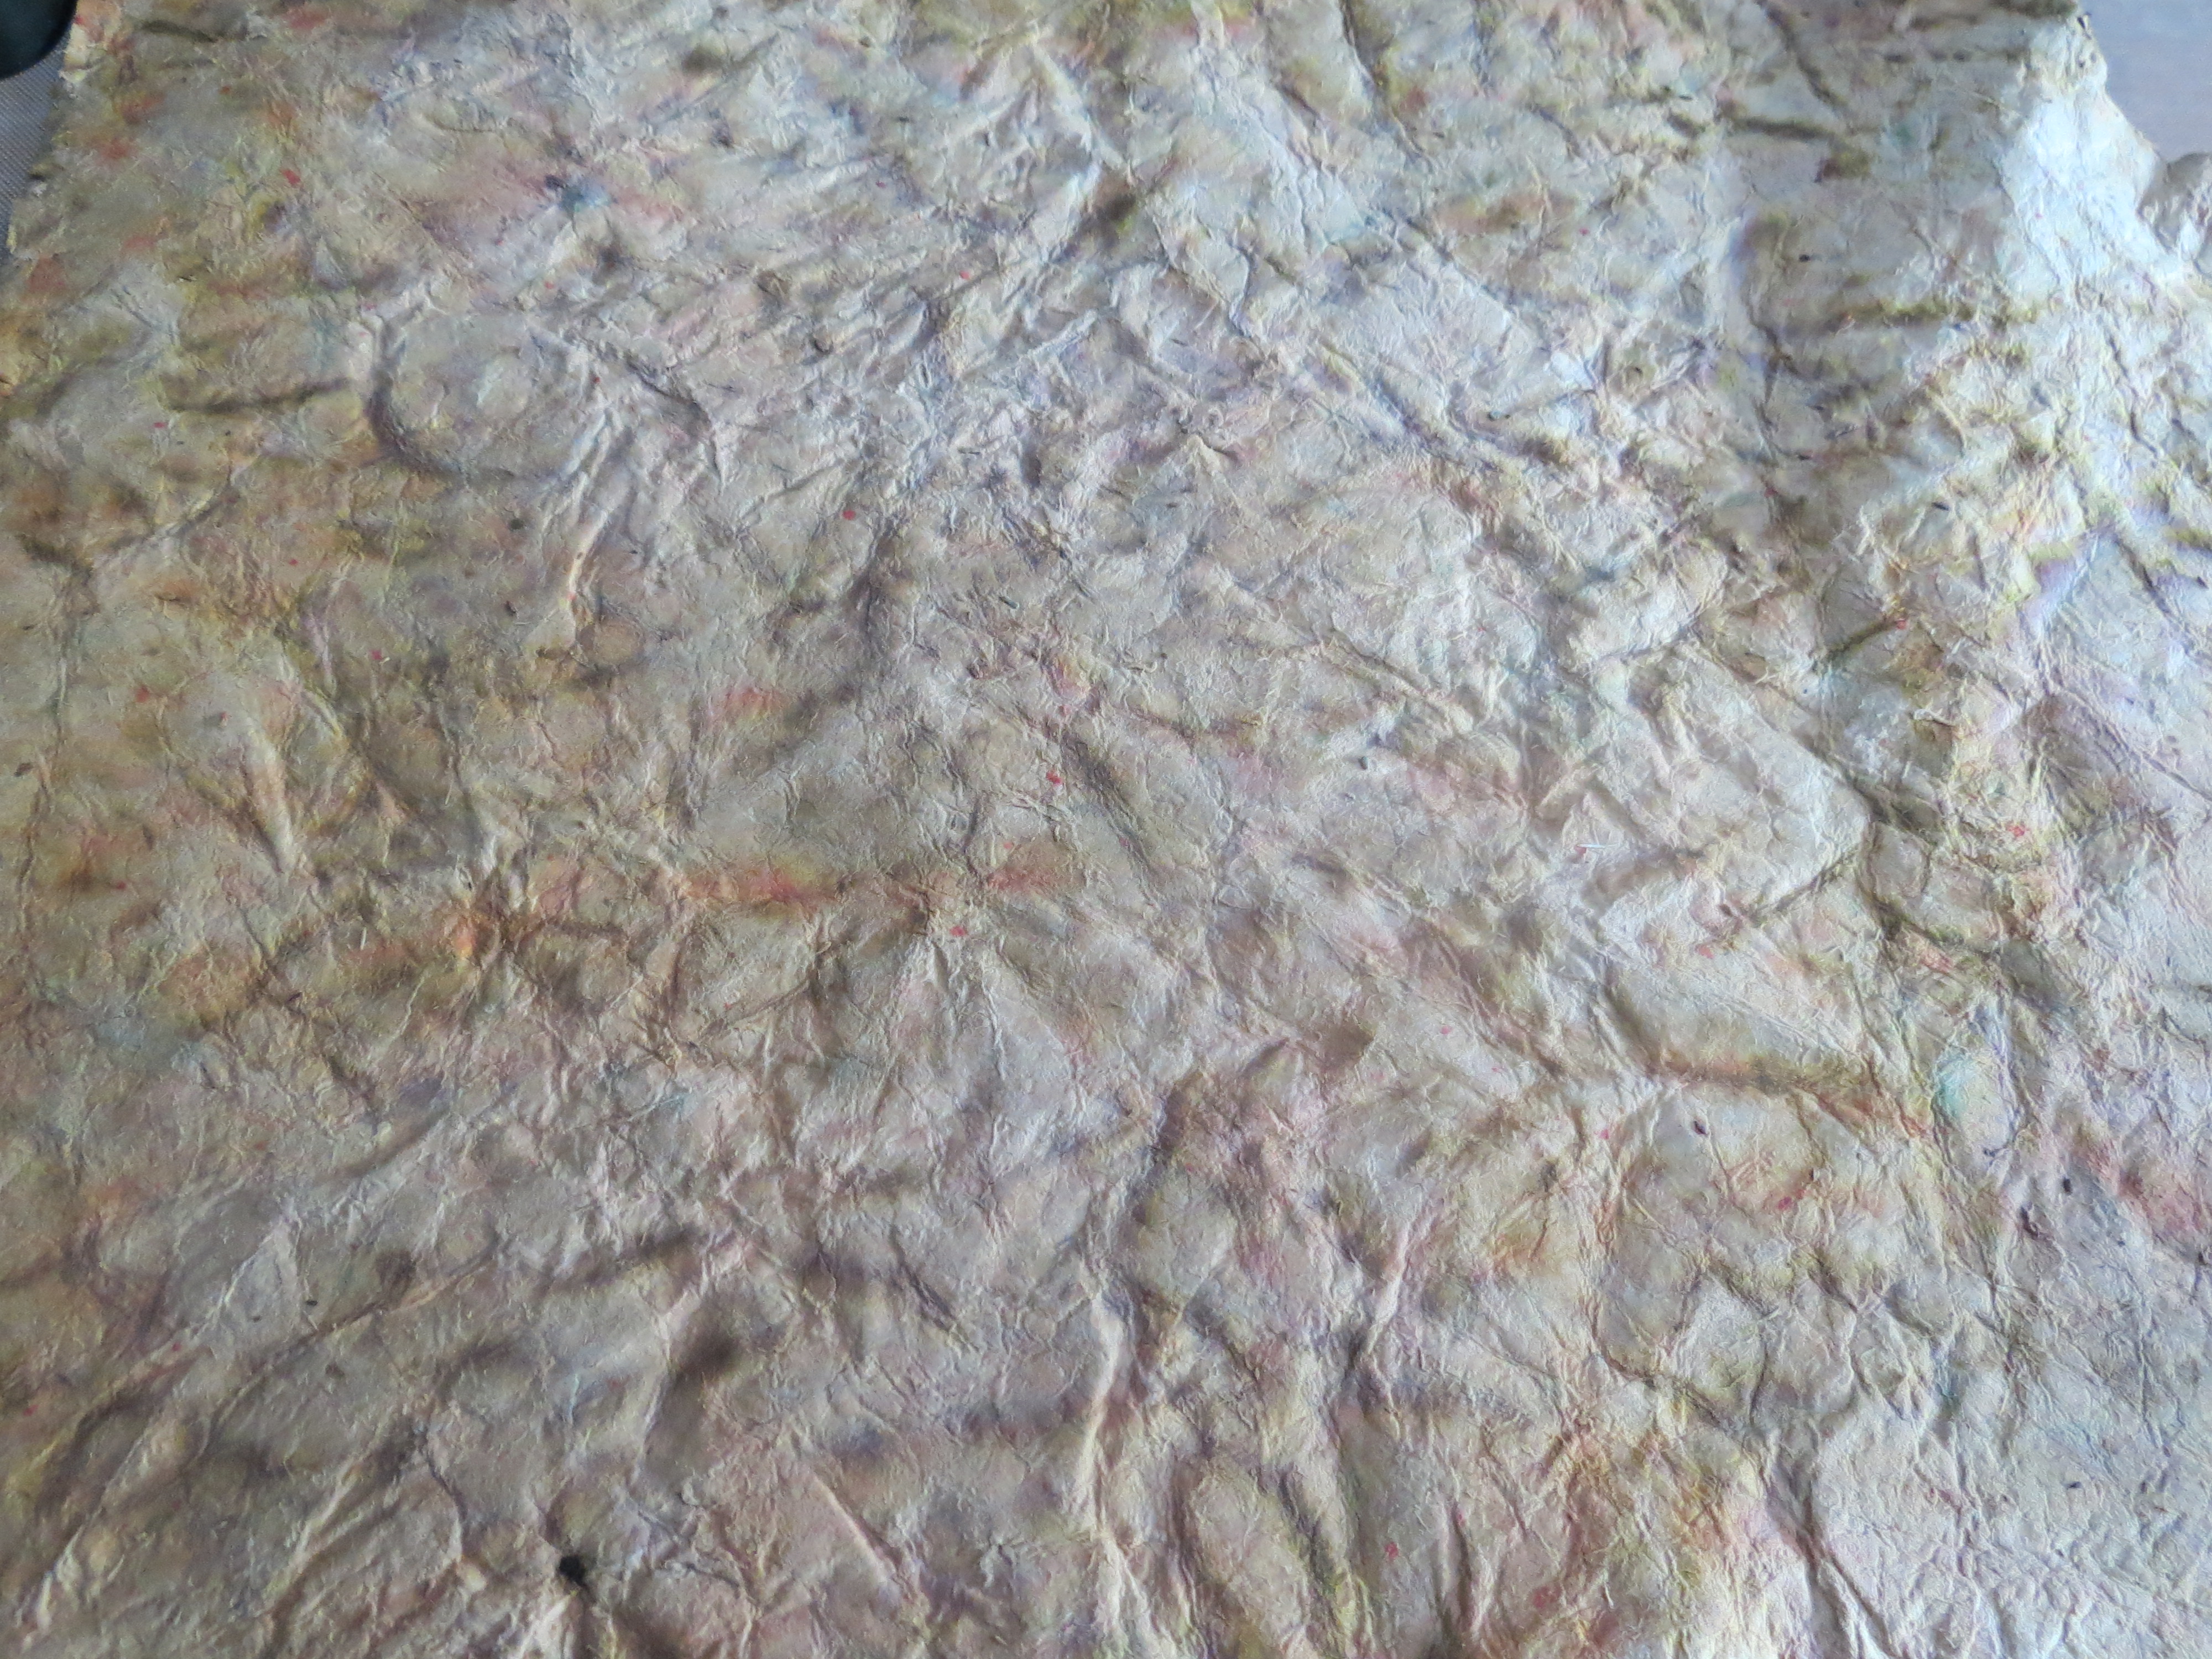 Spray and work in the ink as you can. Allow to dry and repeat the process. Each time that you crunch the paper you will create new lines to work another layer of ink into. Working the water mixture into the paper will begin to change the texture of the paper. You can use a heat gun to speed the process, be careful not to burn.
 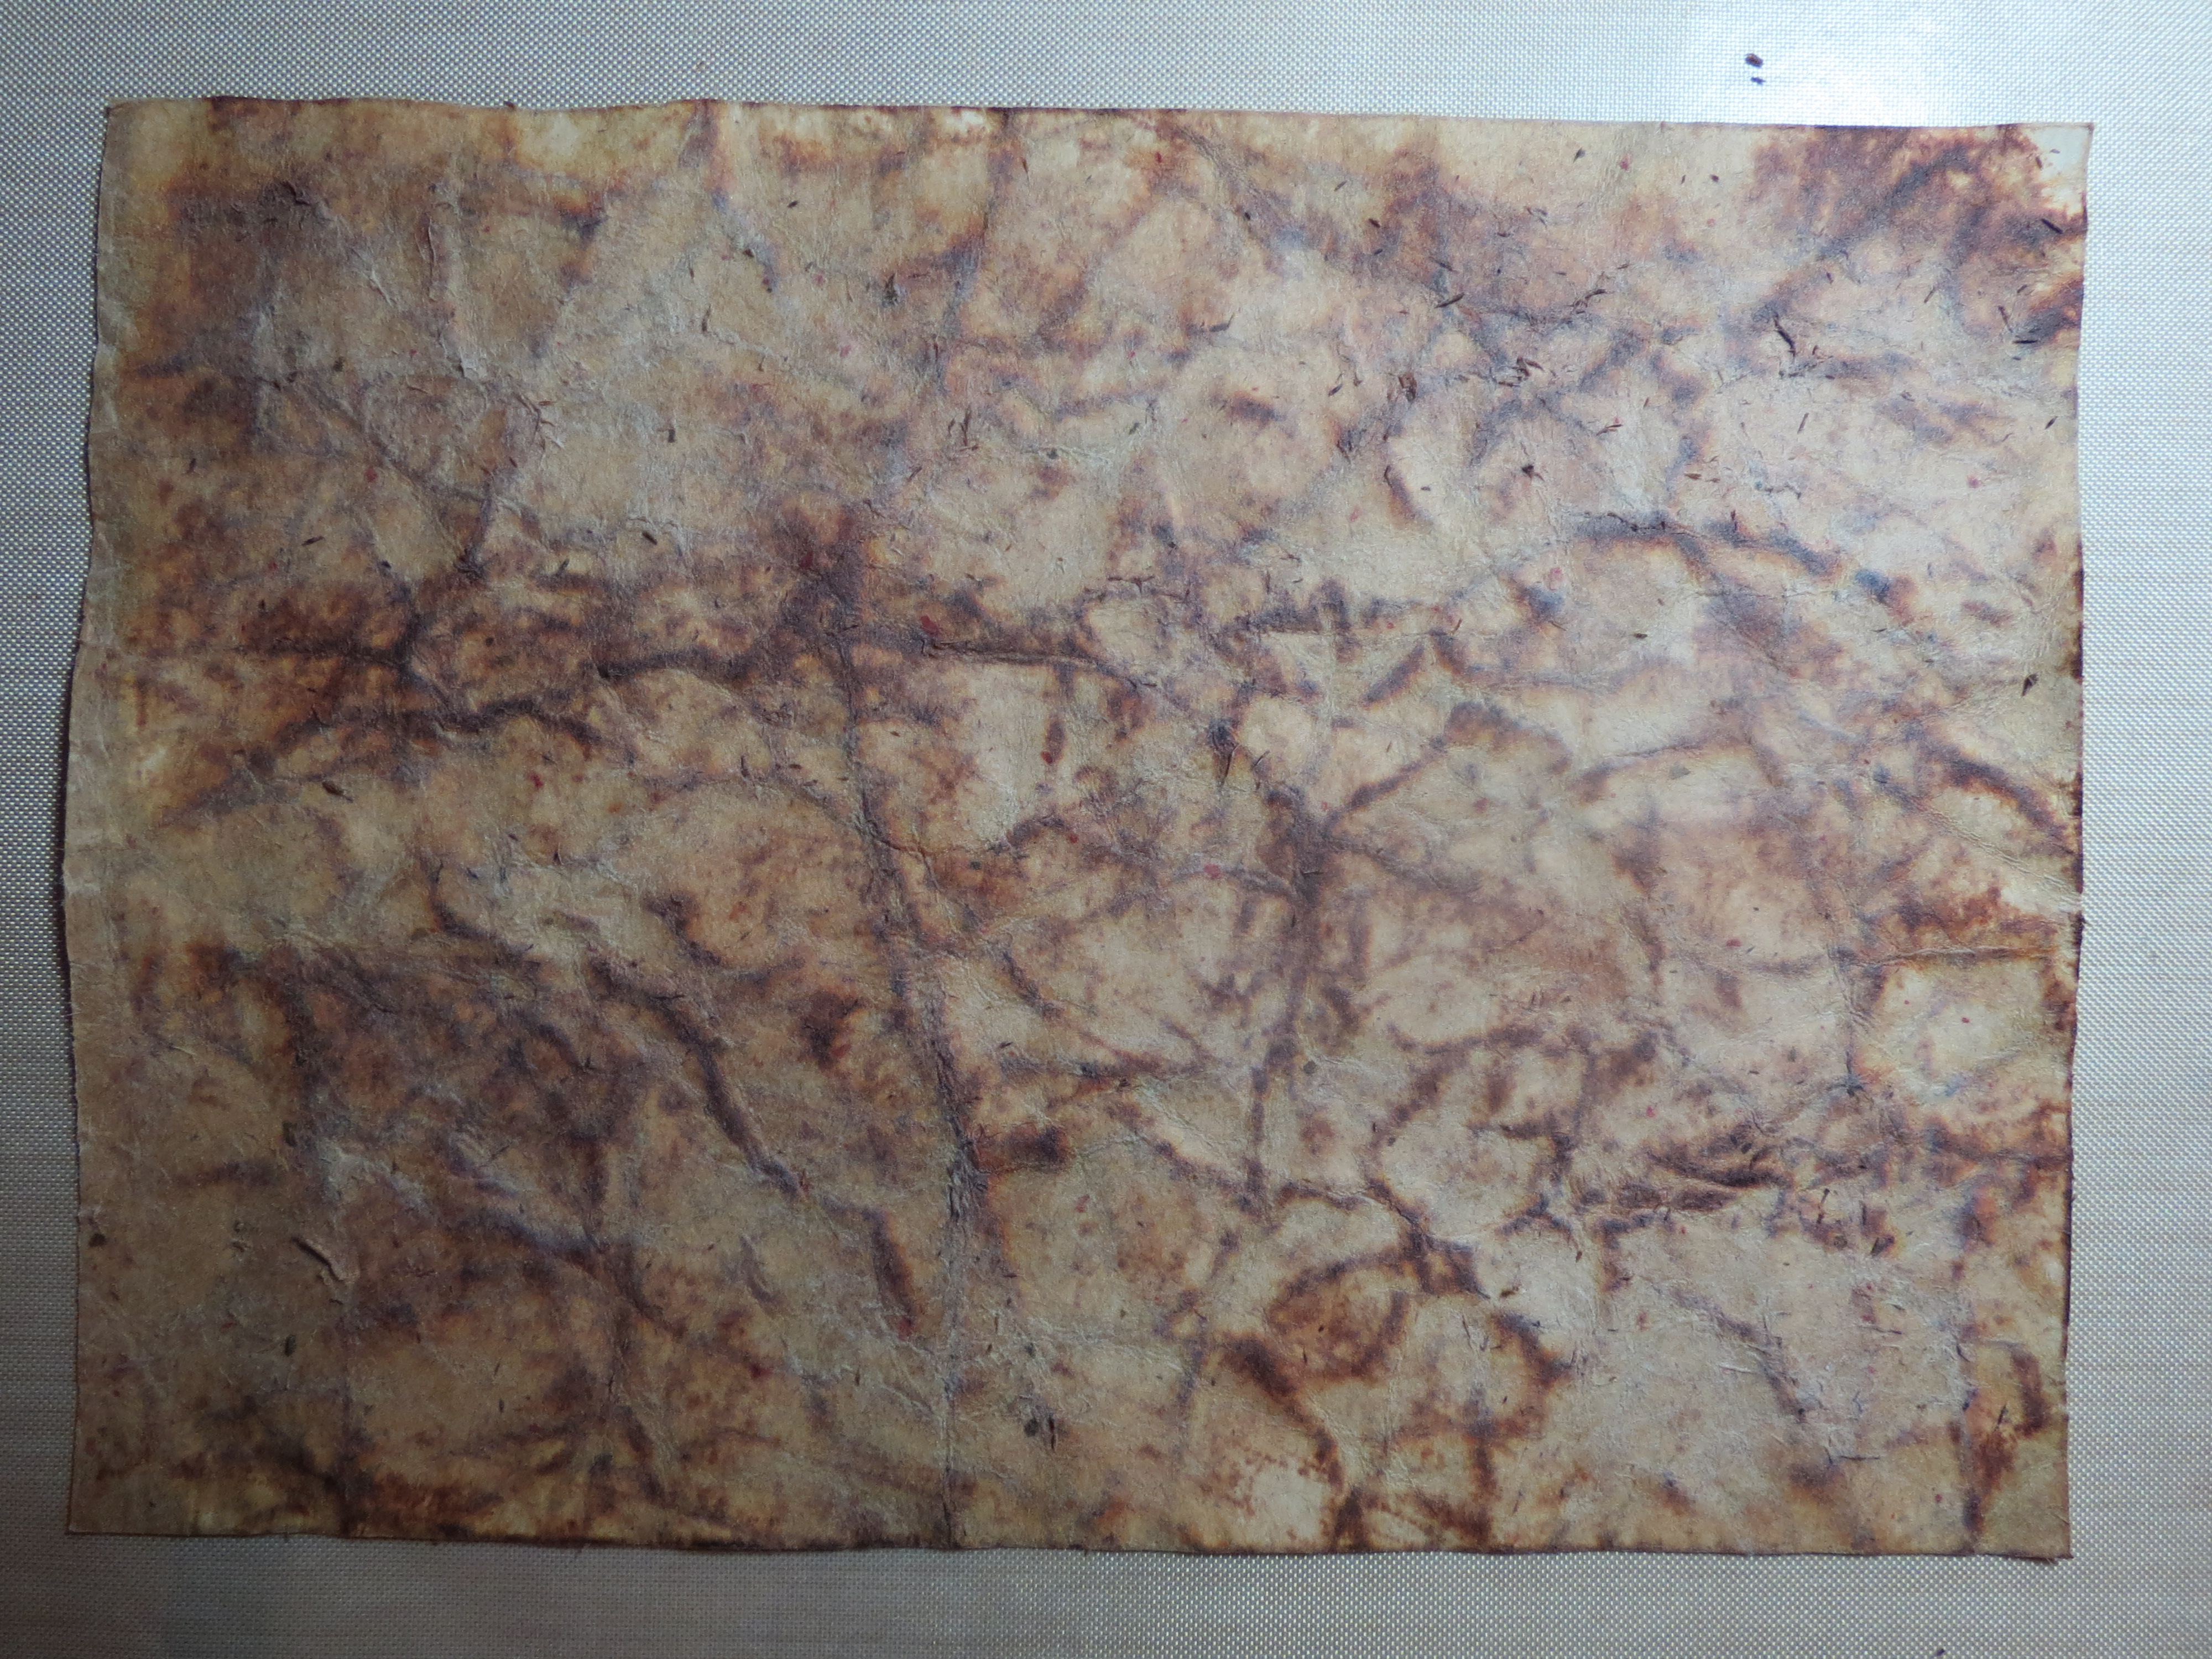 It’s a long process, but the results are worth it. In the end your finished product will be very flexible. I used a rotary cutter and my mat to cut the paper like a piece of fabric.
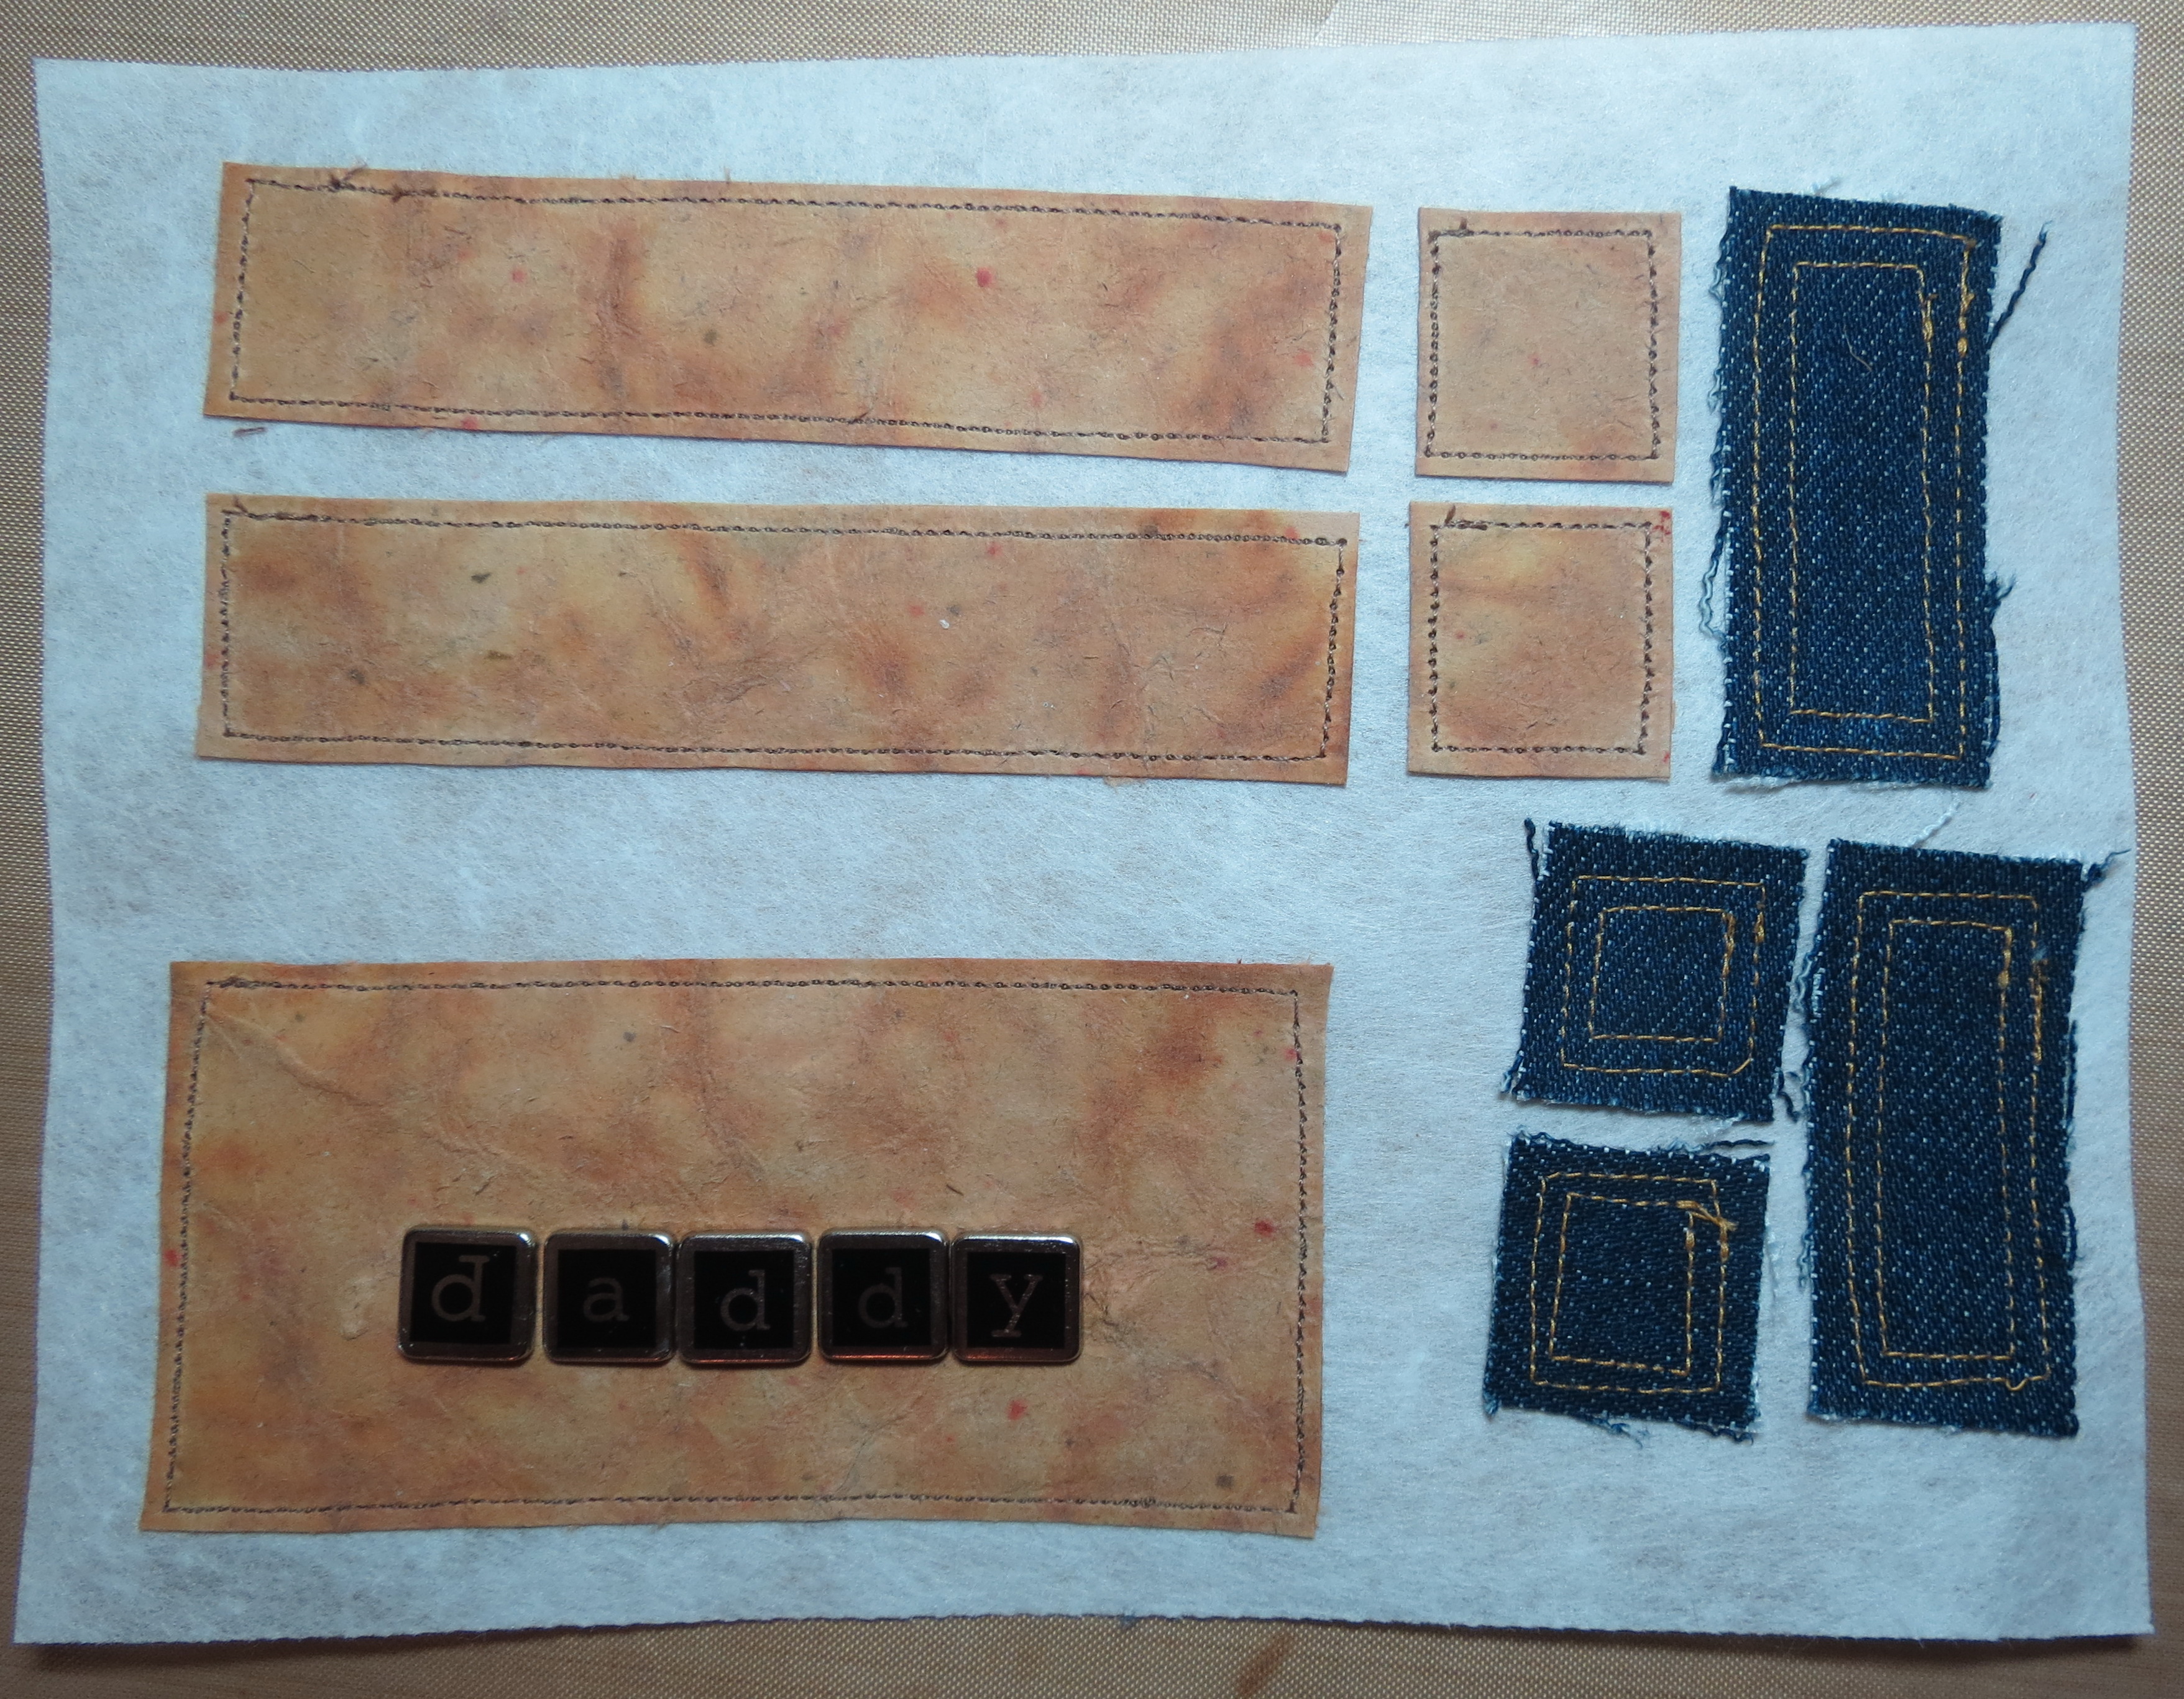
 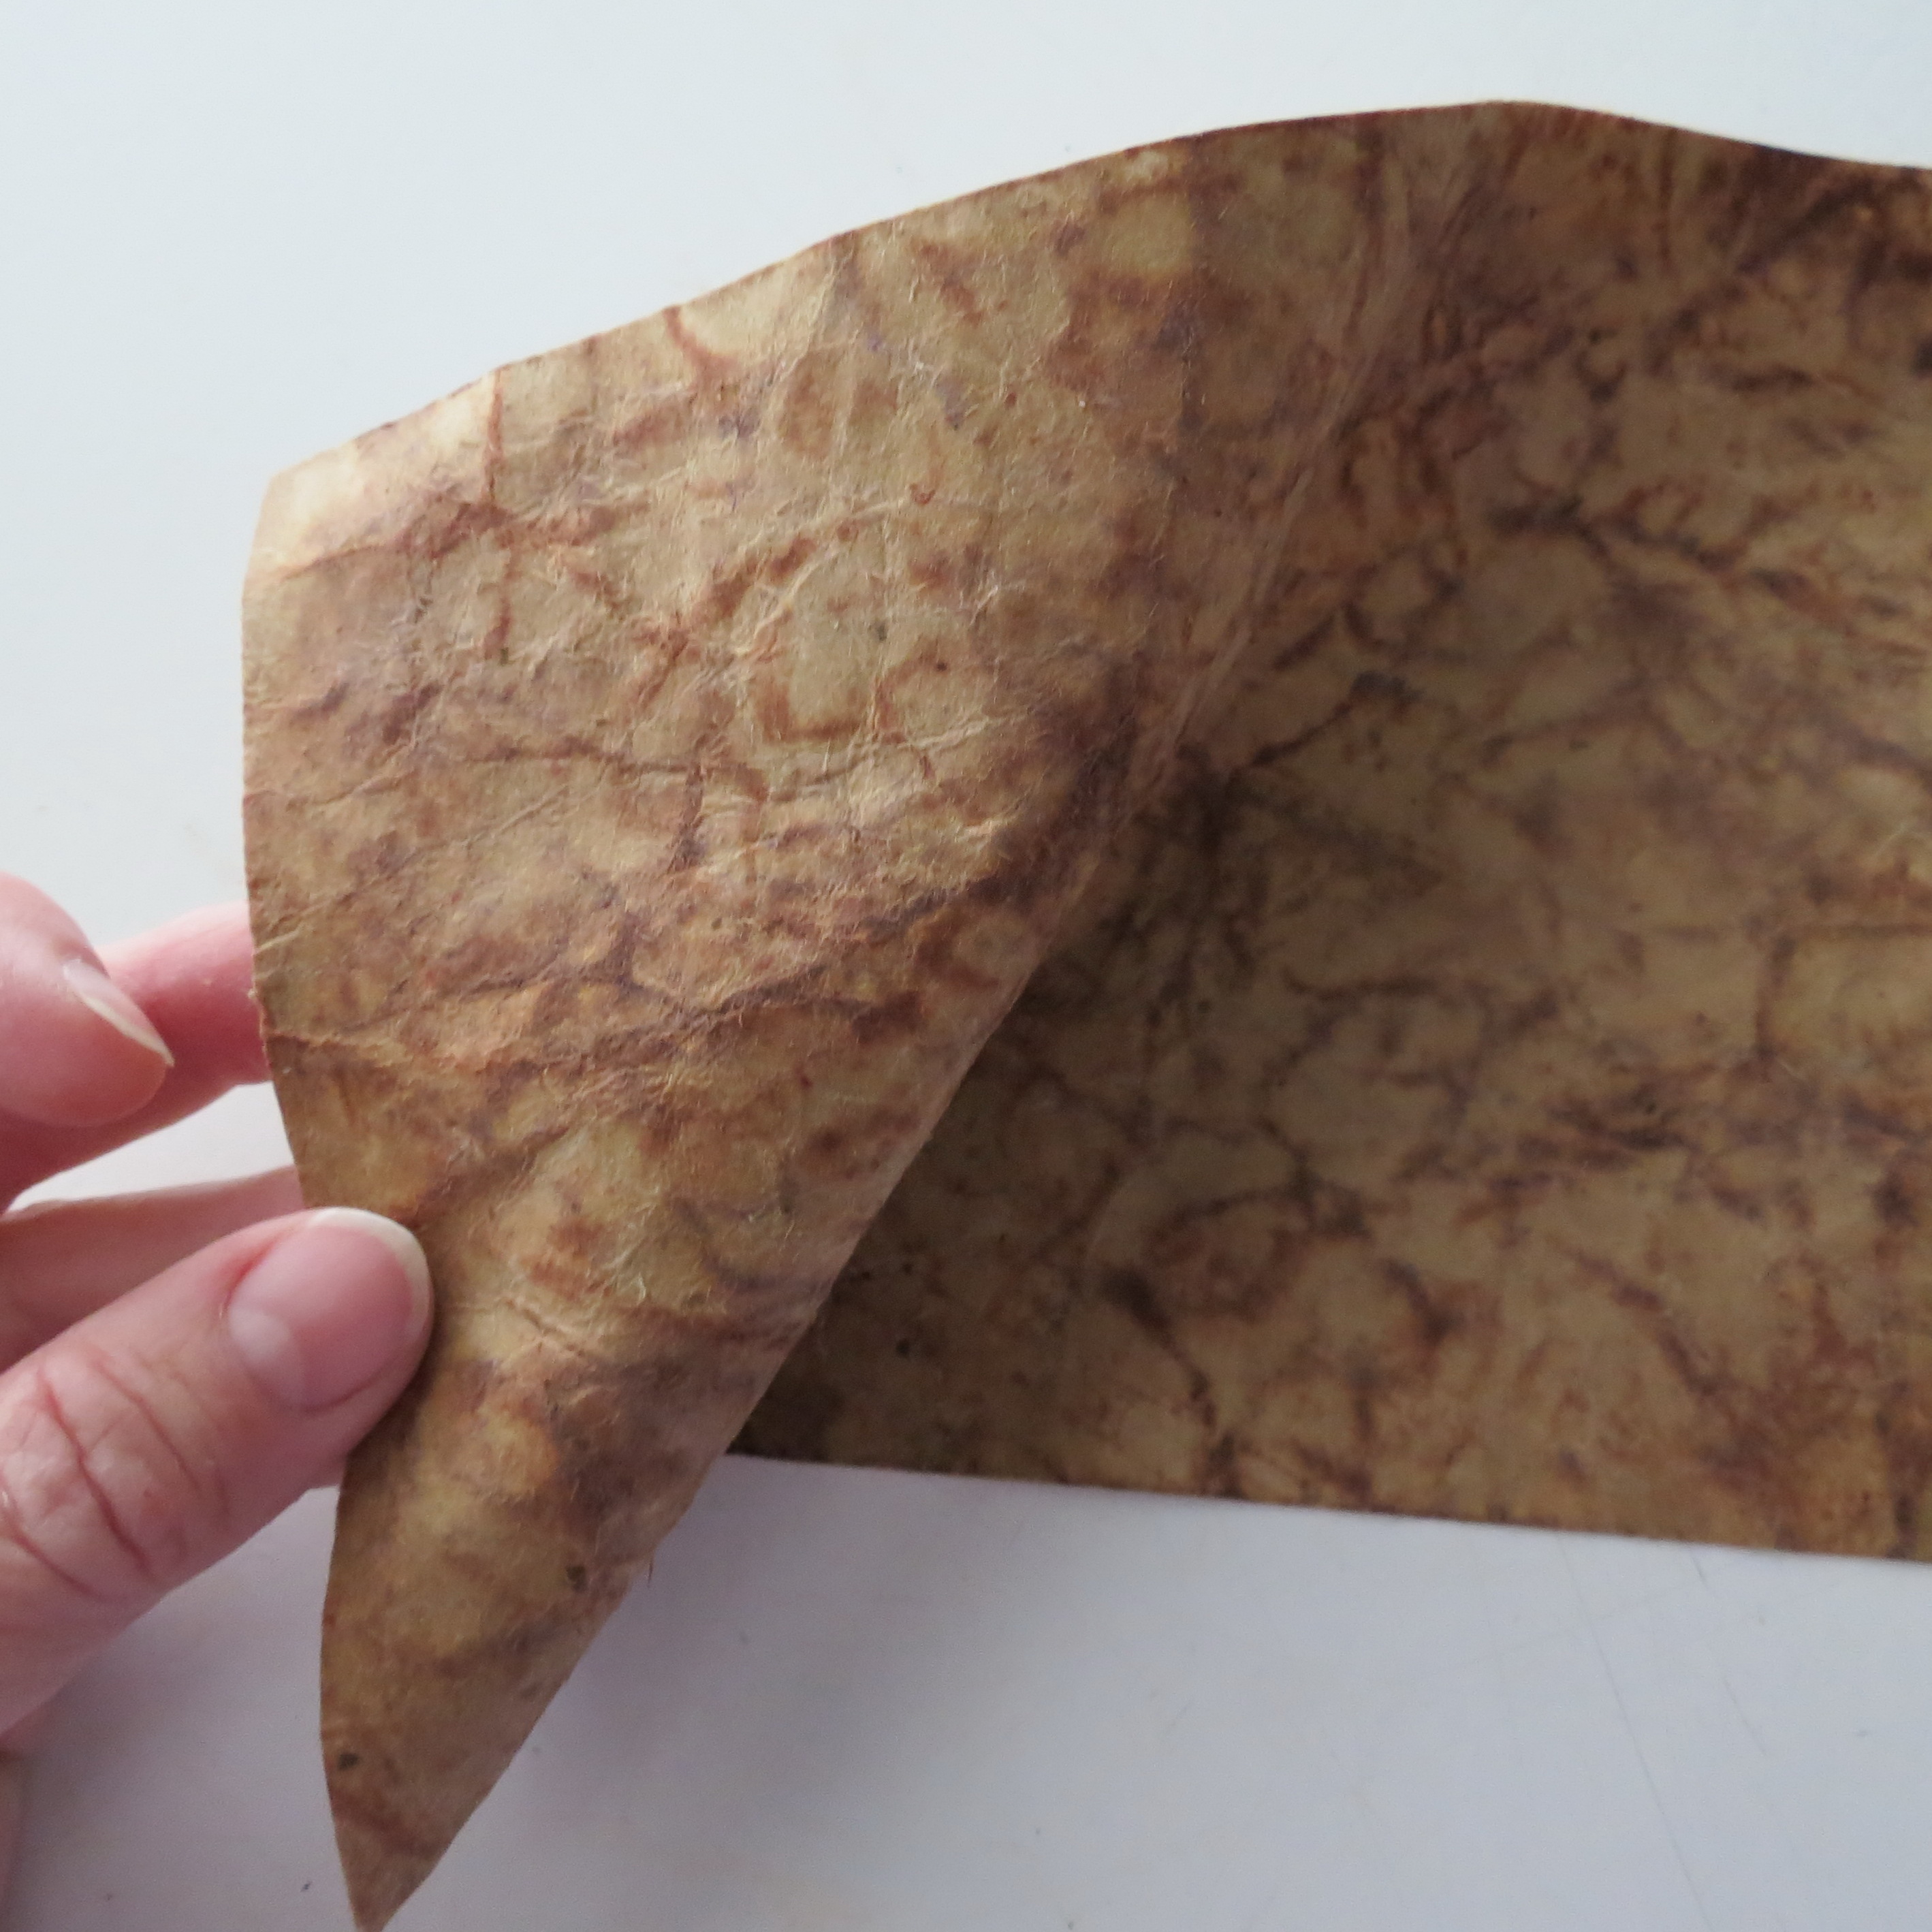 Using some brand new denim, frayed edges and all with double stitching reminiscent of his favorite jeans was another element to incorporate. I sewed both the denim and faux leather to a stabilizer to give it something to be able to attach to the paper. I did not want to sew it directly to the pages. The faux leather would not hold together to stitch it without the stabilizer backing. Because the properties of the cardstock has changed ,the faux leather will not take a glue dot or tape runner to attach to the page, which is why I used stabilizer this time. I used a heavy duty double-sided tape to the back of the stabilizer to secure it to the page. For the 1/8”strip at the title top, I should have used crystal lacquer to attach the wood to the strip of leather and then the strip of leather to the wood tiles.
Masculine Scrapbook Page Ideas Tip #2: fabrics with stabilizer added will give support and shape and a surface to adhere to.
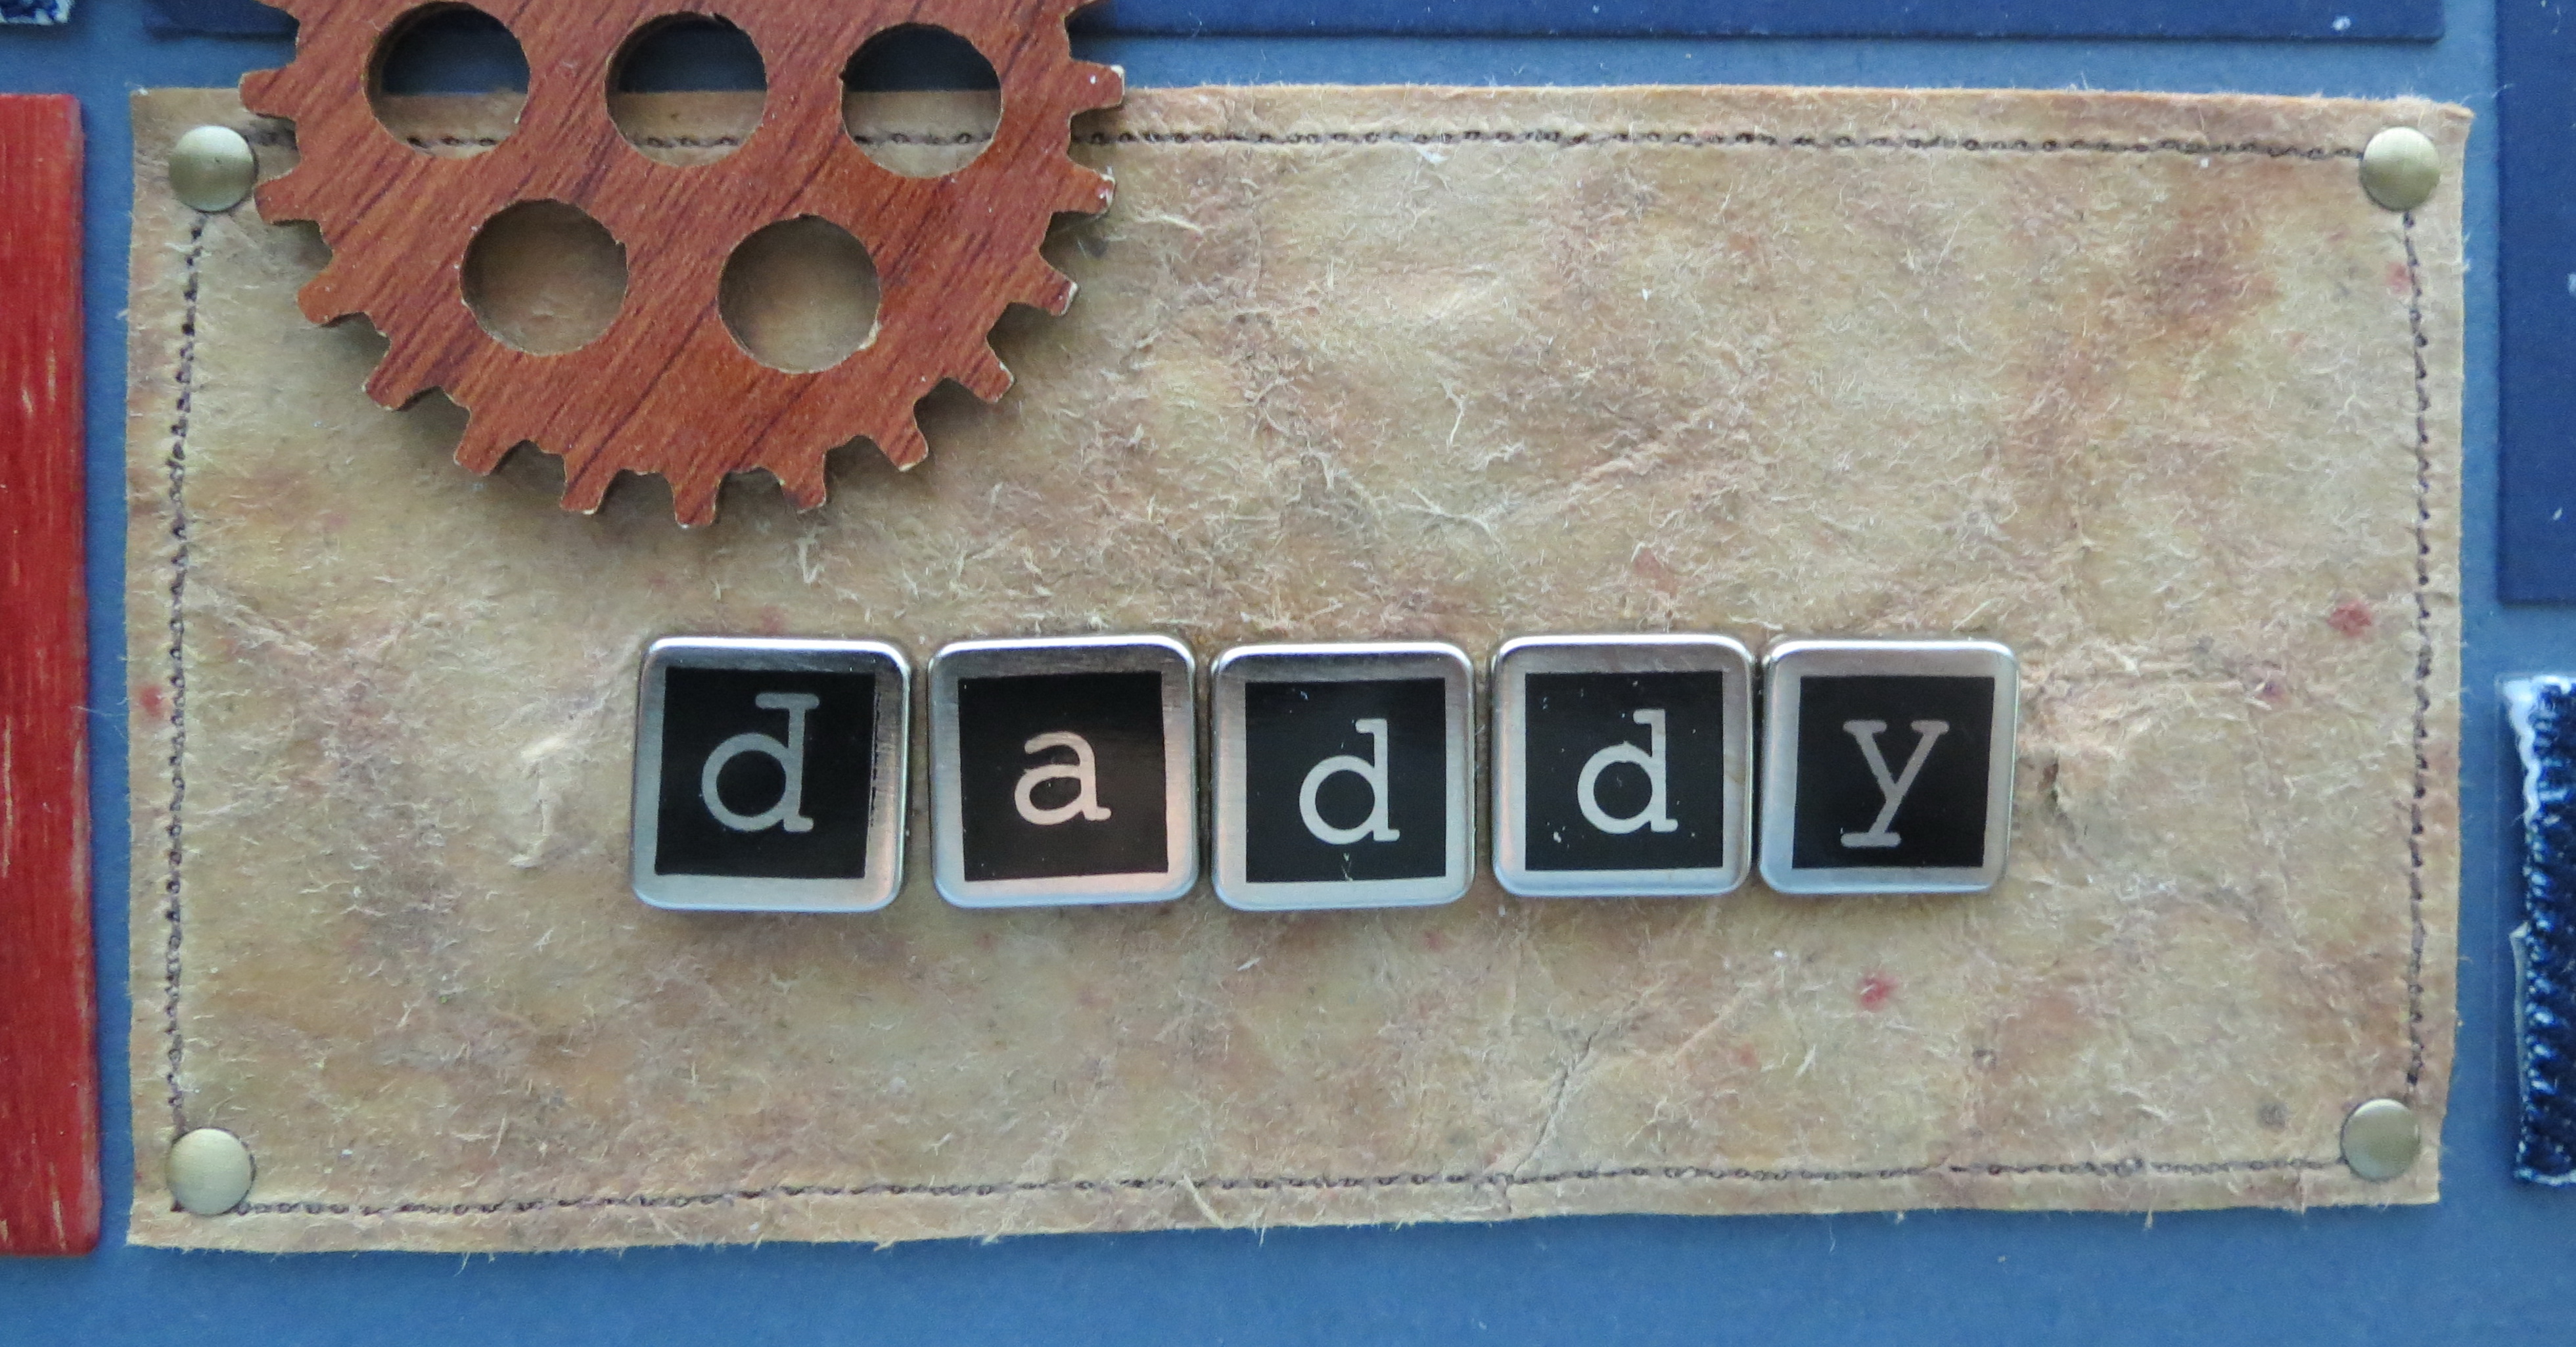
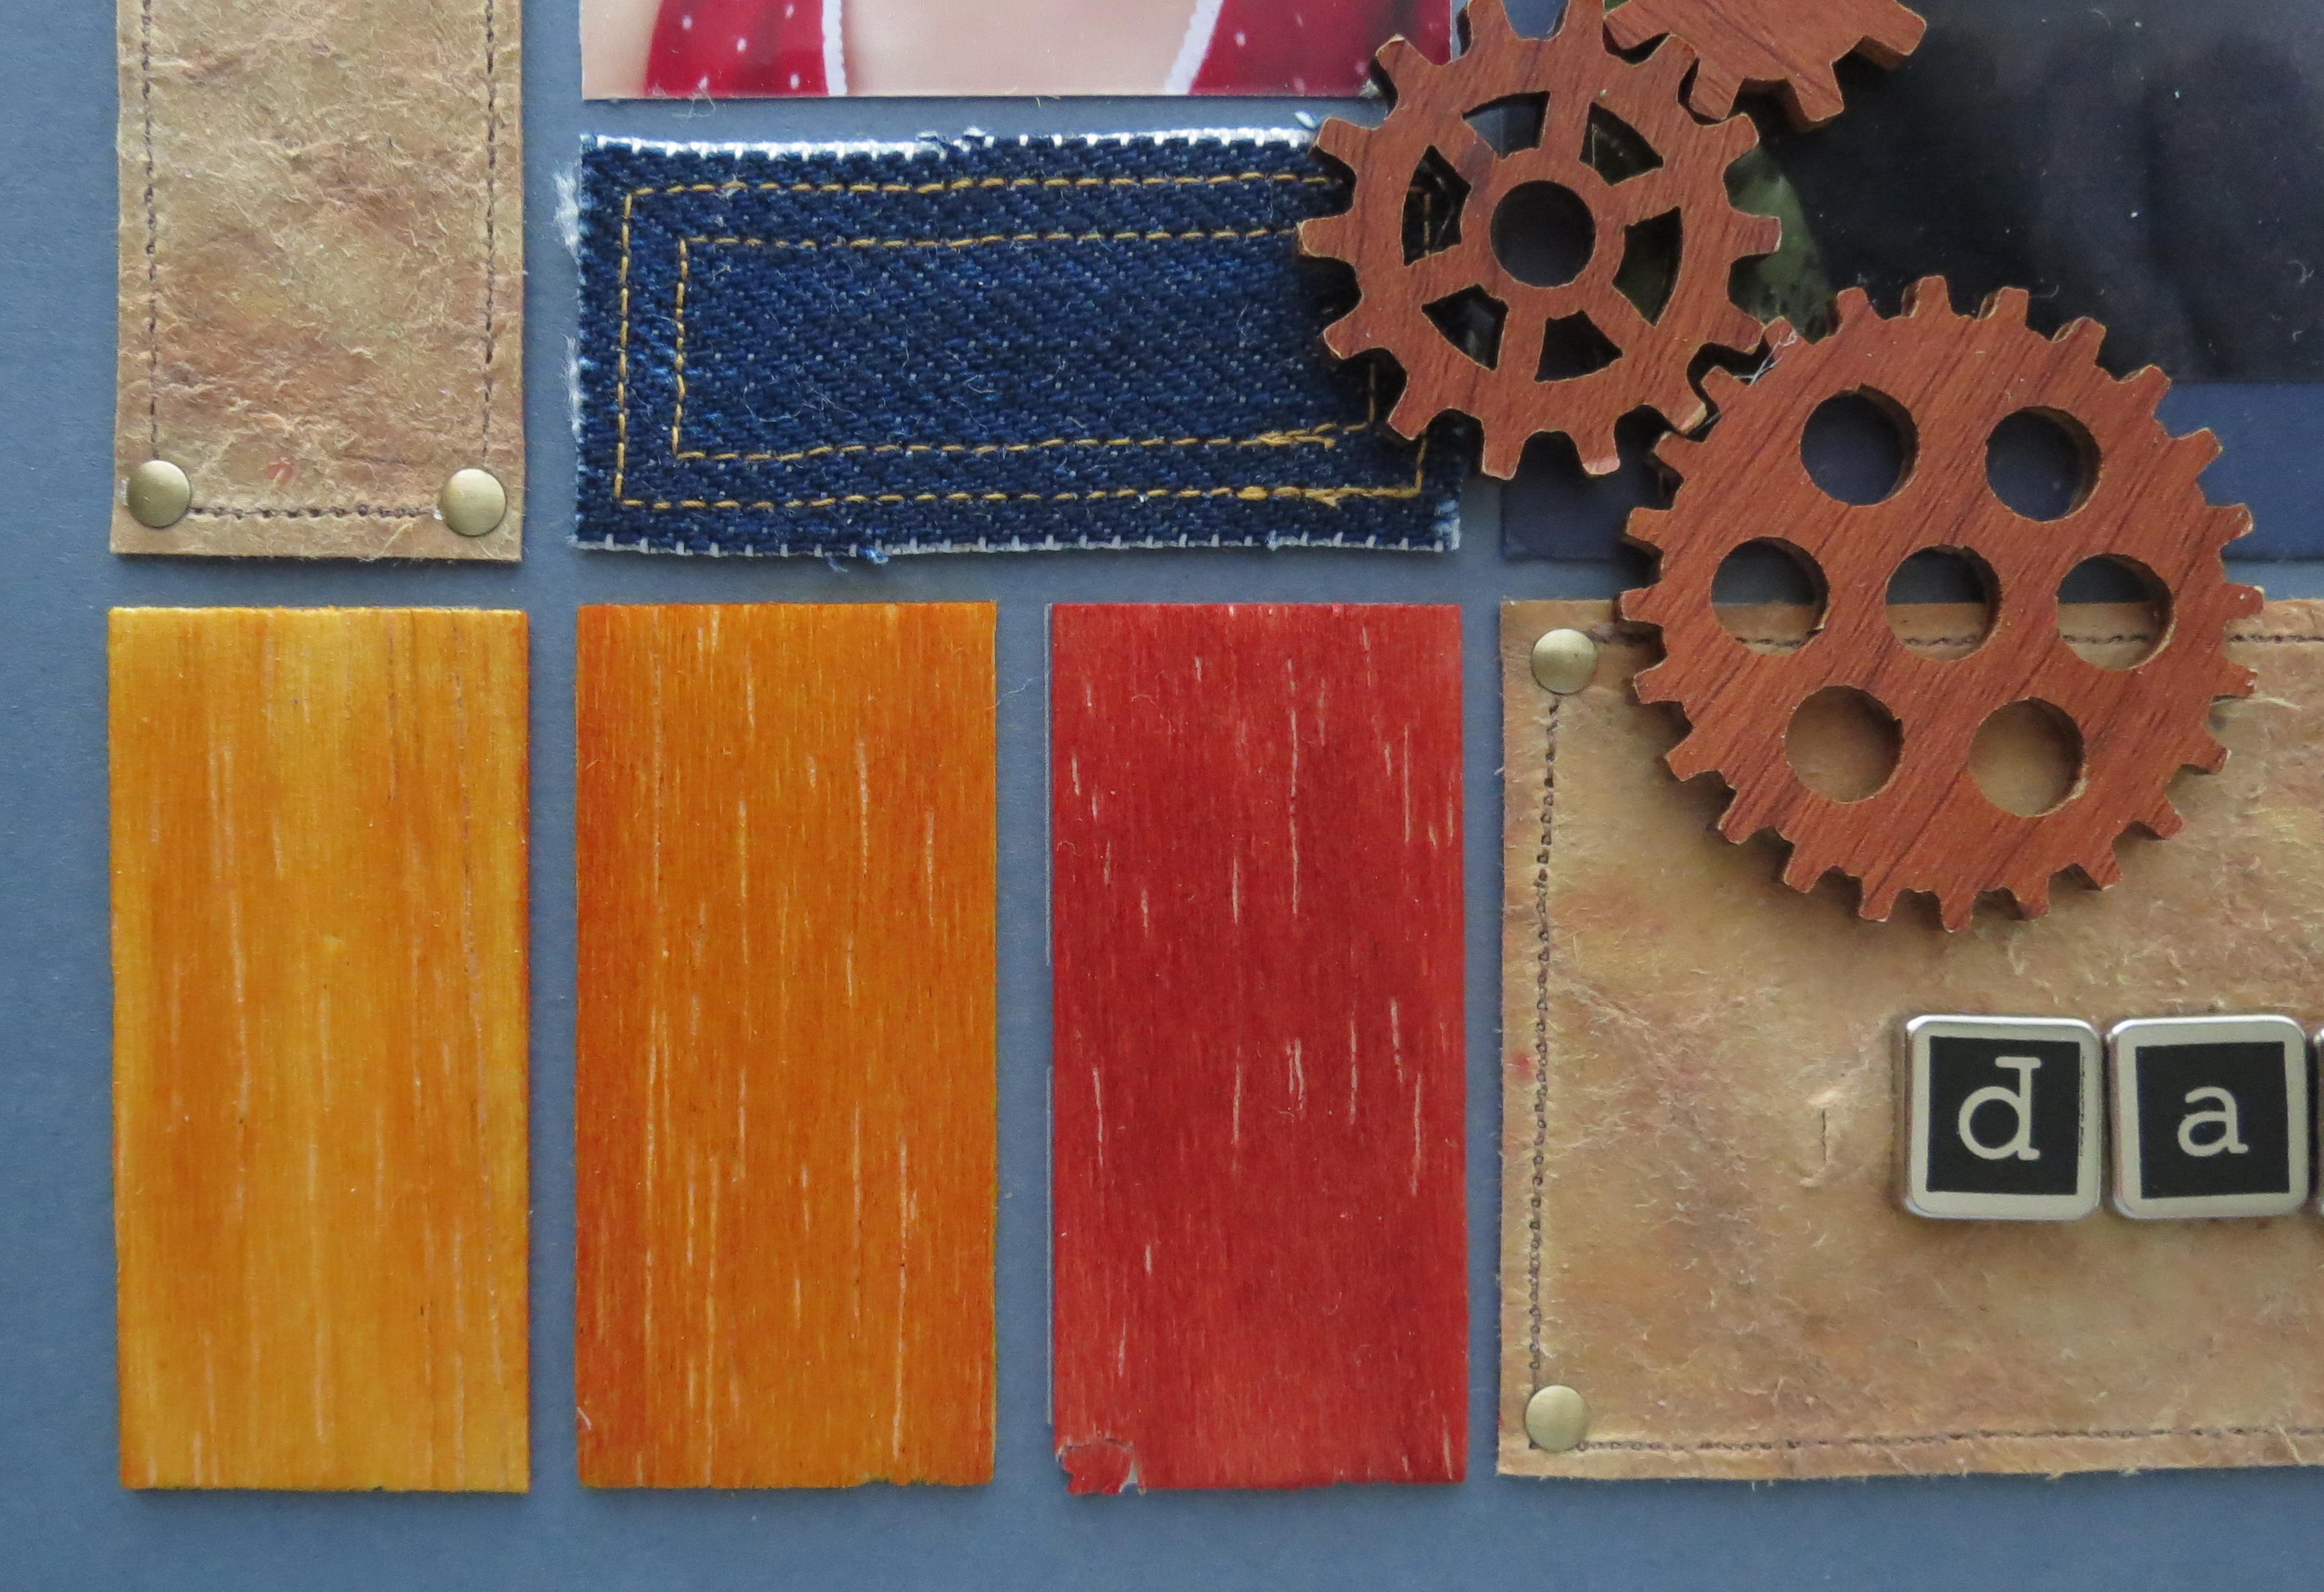
As I looked through my stash of stuff for something metal I came across these terrific letter brads from Colorbok that were just right for spelling out daddy on the larger leather section to complete the title. It reminded me of the patch on jeans with the brand name displayed and thought it was the perfect spot to complete the title. There were also the nail heads that are hot-fix pieces that attached easily to the corners of the leather where the stitched corners intersected. I had planned to use them on the denim, but when playing around with them I thought they added a bit more interest and bling to the leather bits while the contrast stitching on the denim created its own interest.
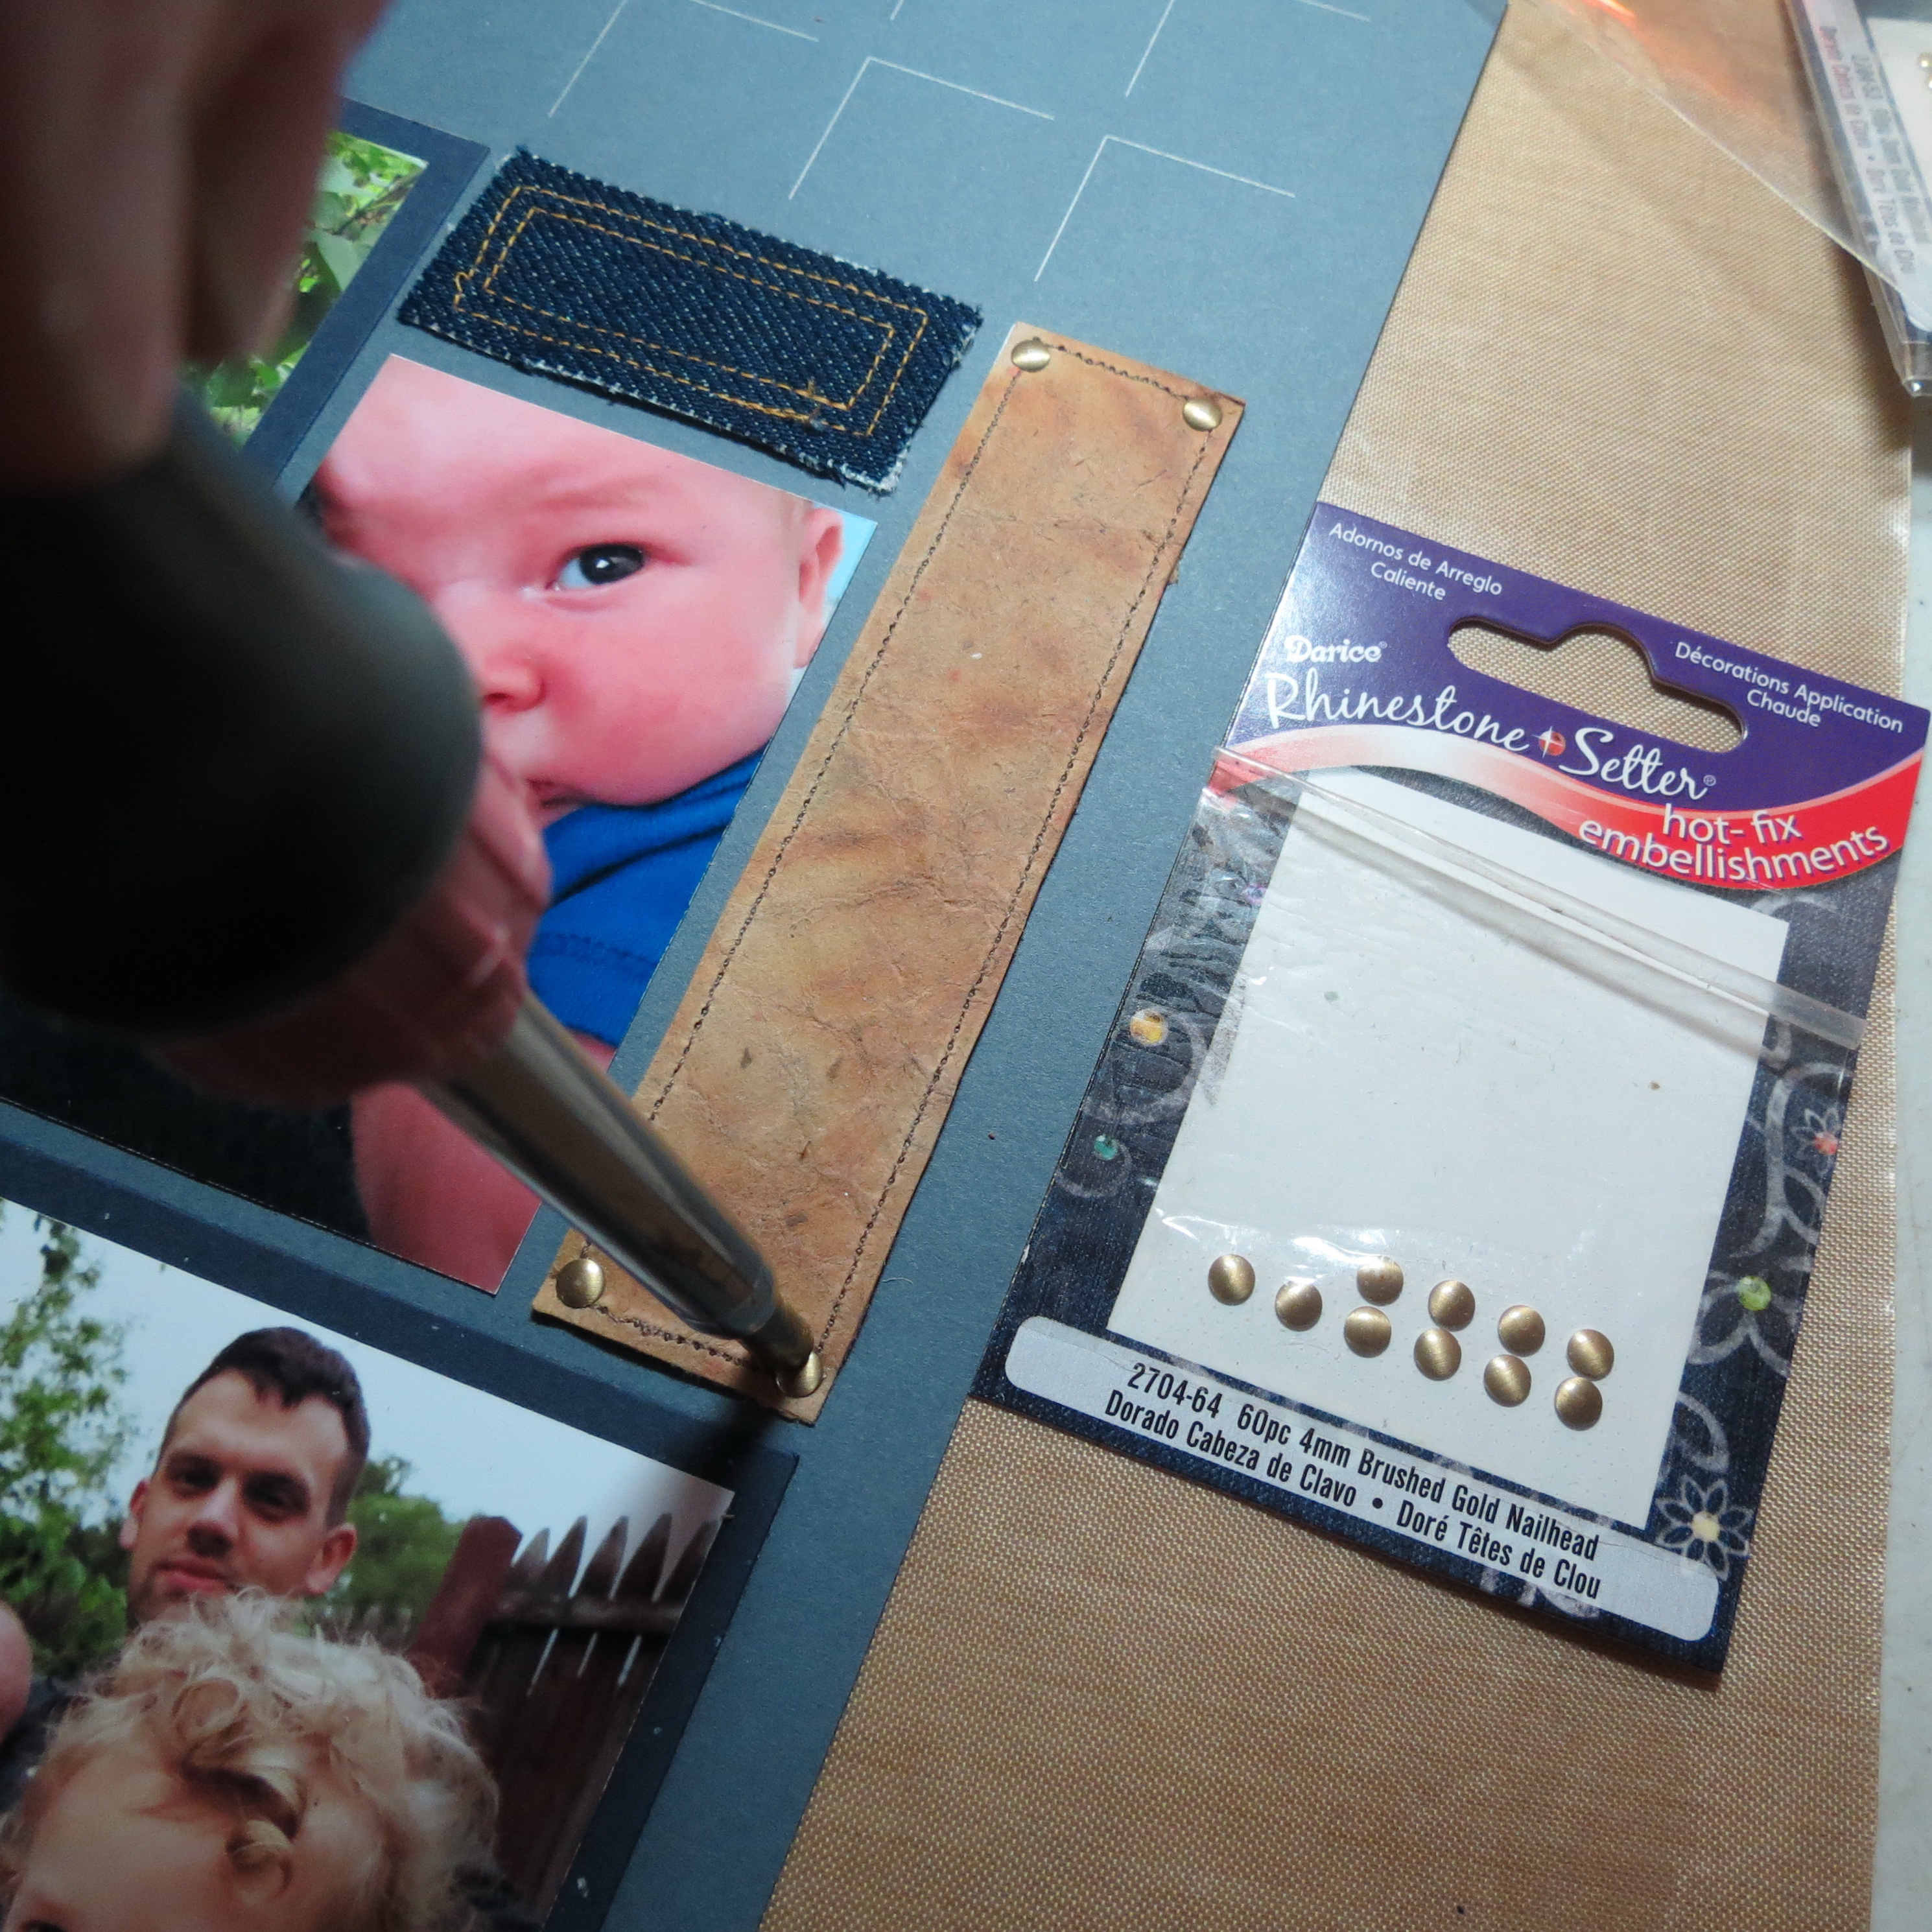
Masculine Scrapbook Page Ideas Tip #3: Nail heads and metal brads are the bling for your guy pages!
I had some wooden gears with nice warm tones that I‘ve been eager to use that also were incorporated. For me the gears were also symbolic of a family working together and in this case the addition of a new member to the crew.
Masculine Scrapbook Page Ideas Tip #4: Gears in wood or metal, metal finds, wires and metal brads add layers of texture and interest. Tip #5: leather, real or faux brings a softness to the finished project. You just want to touch!!
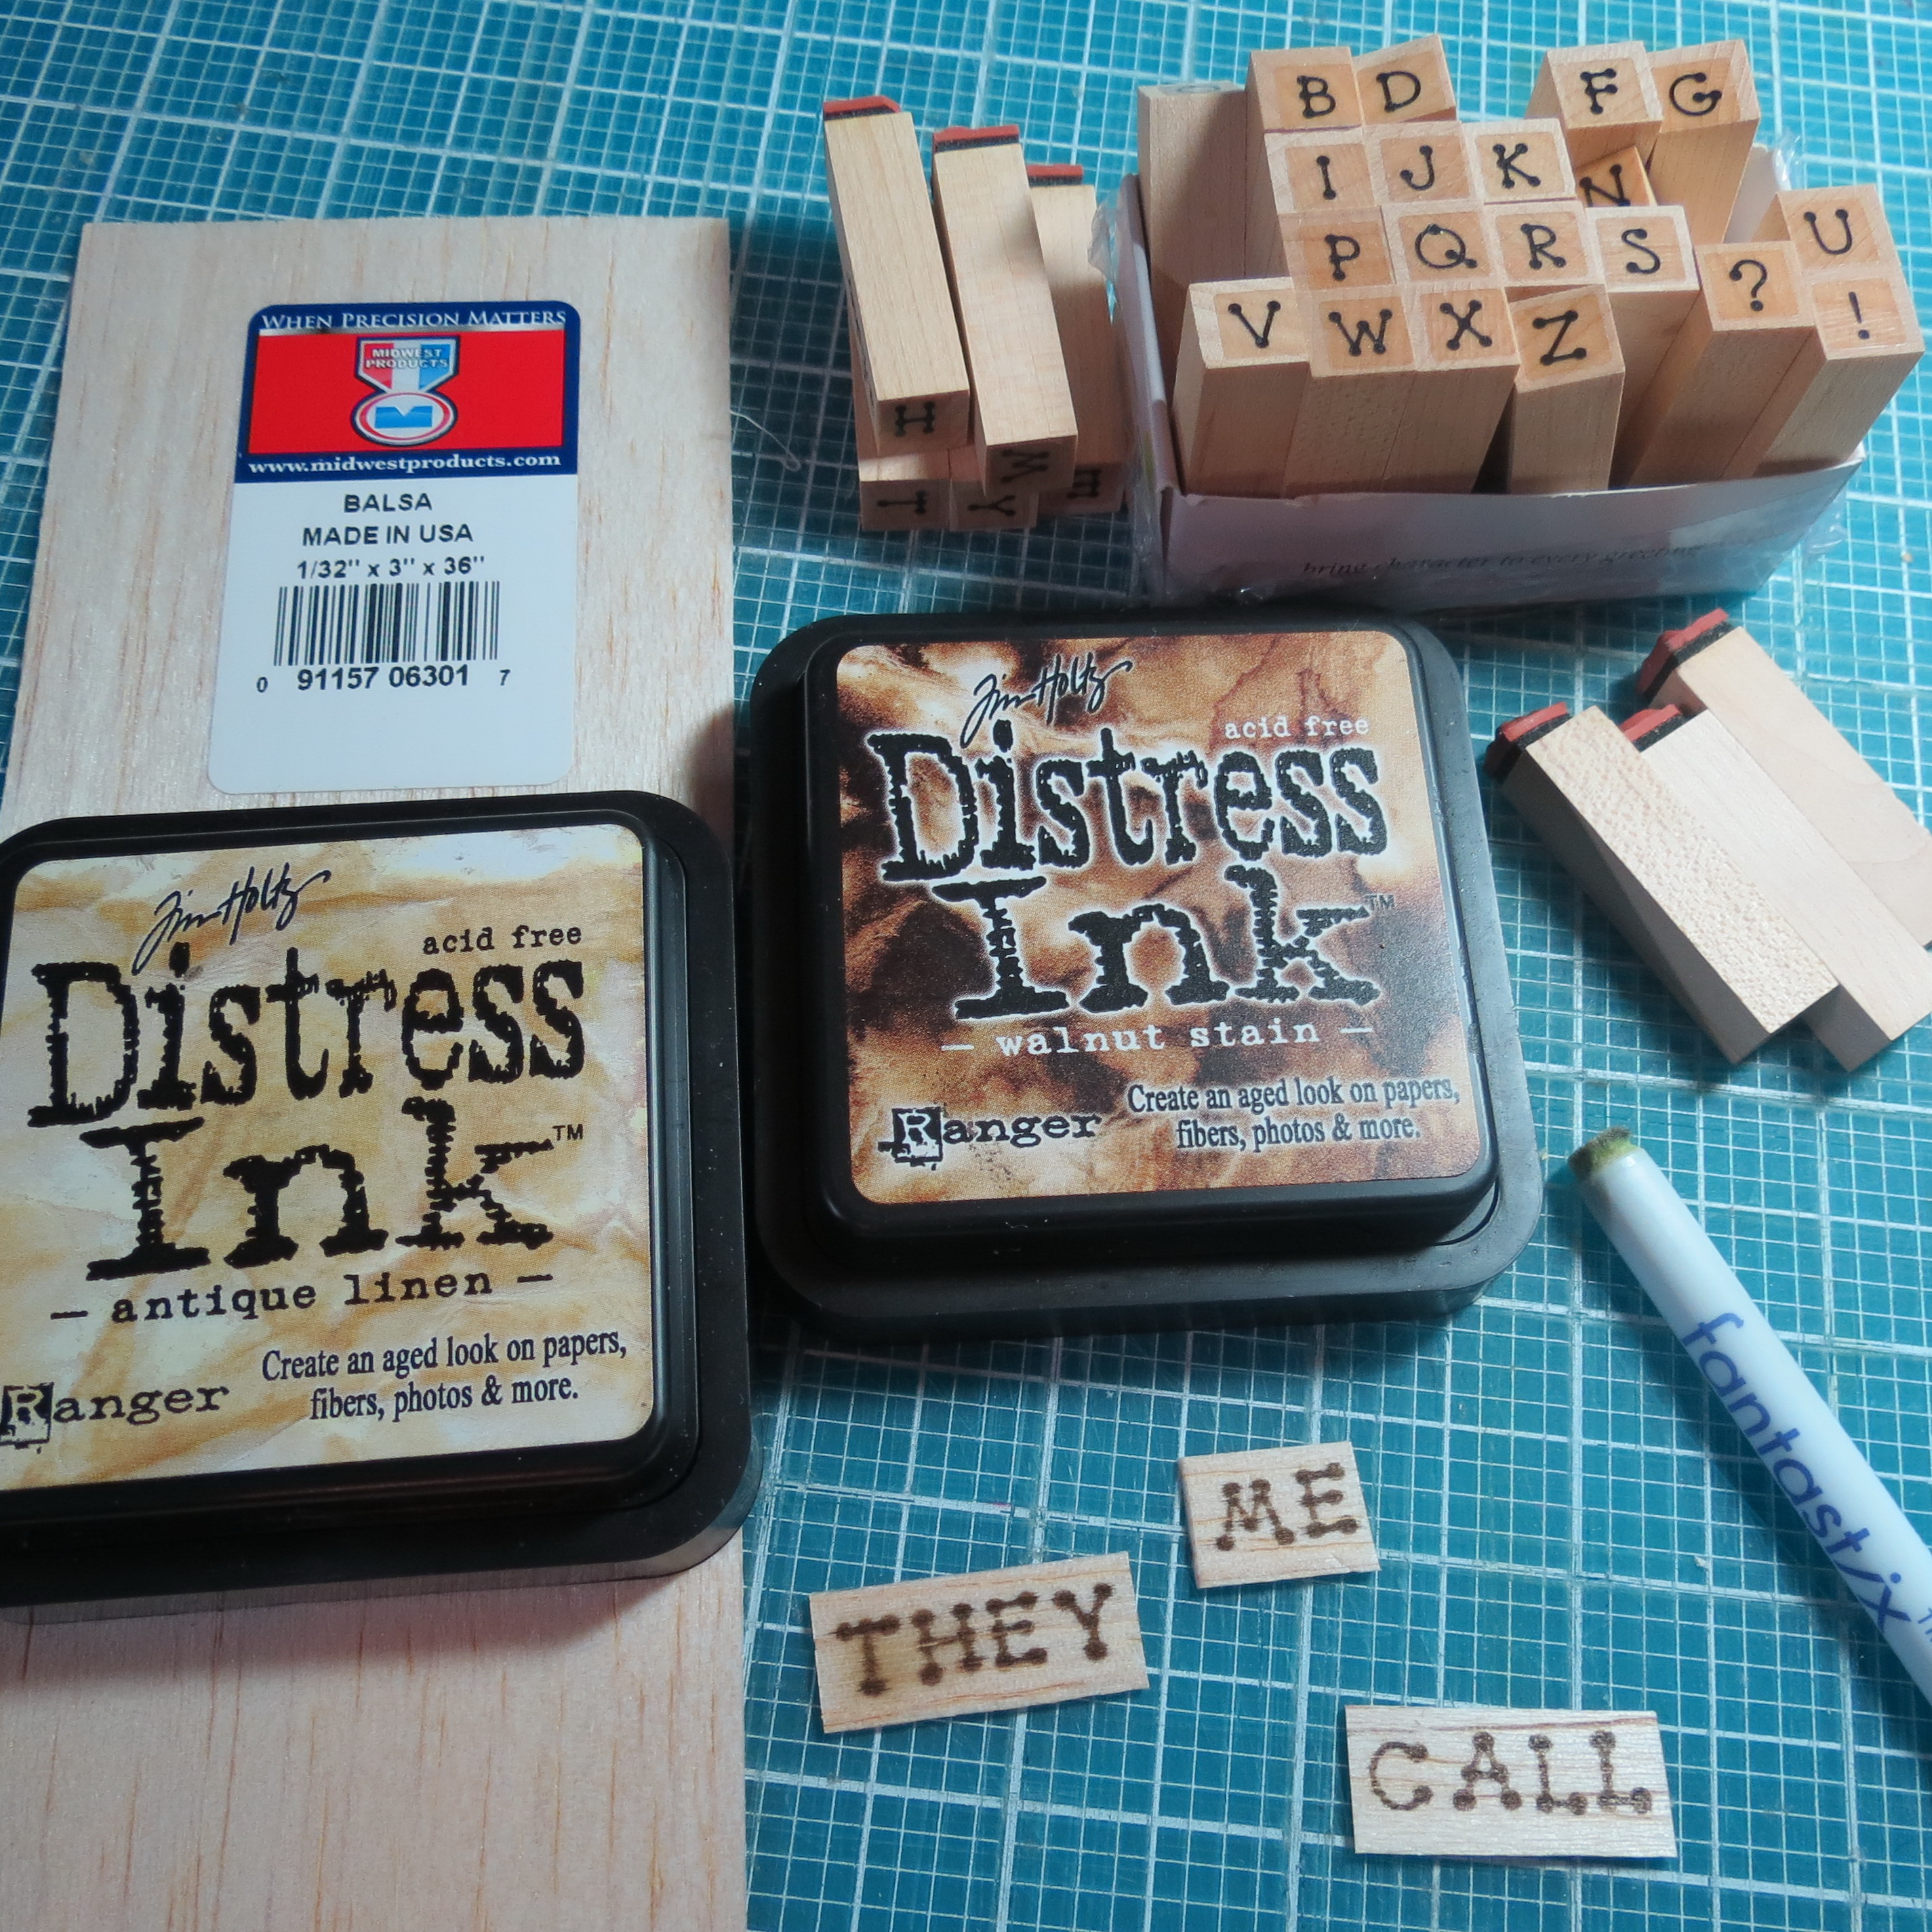
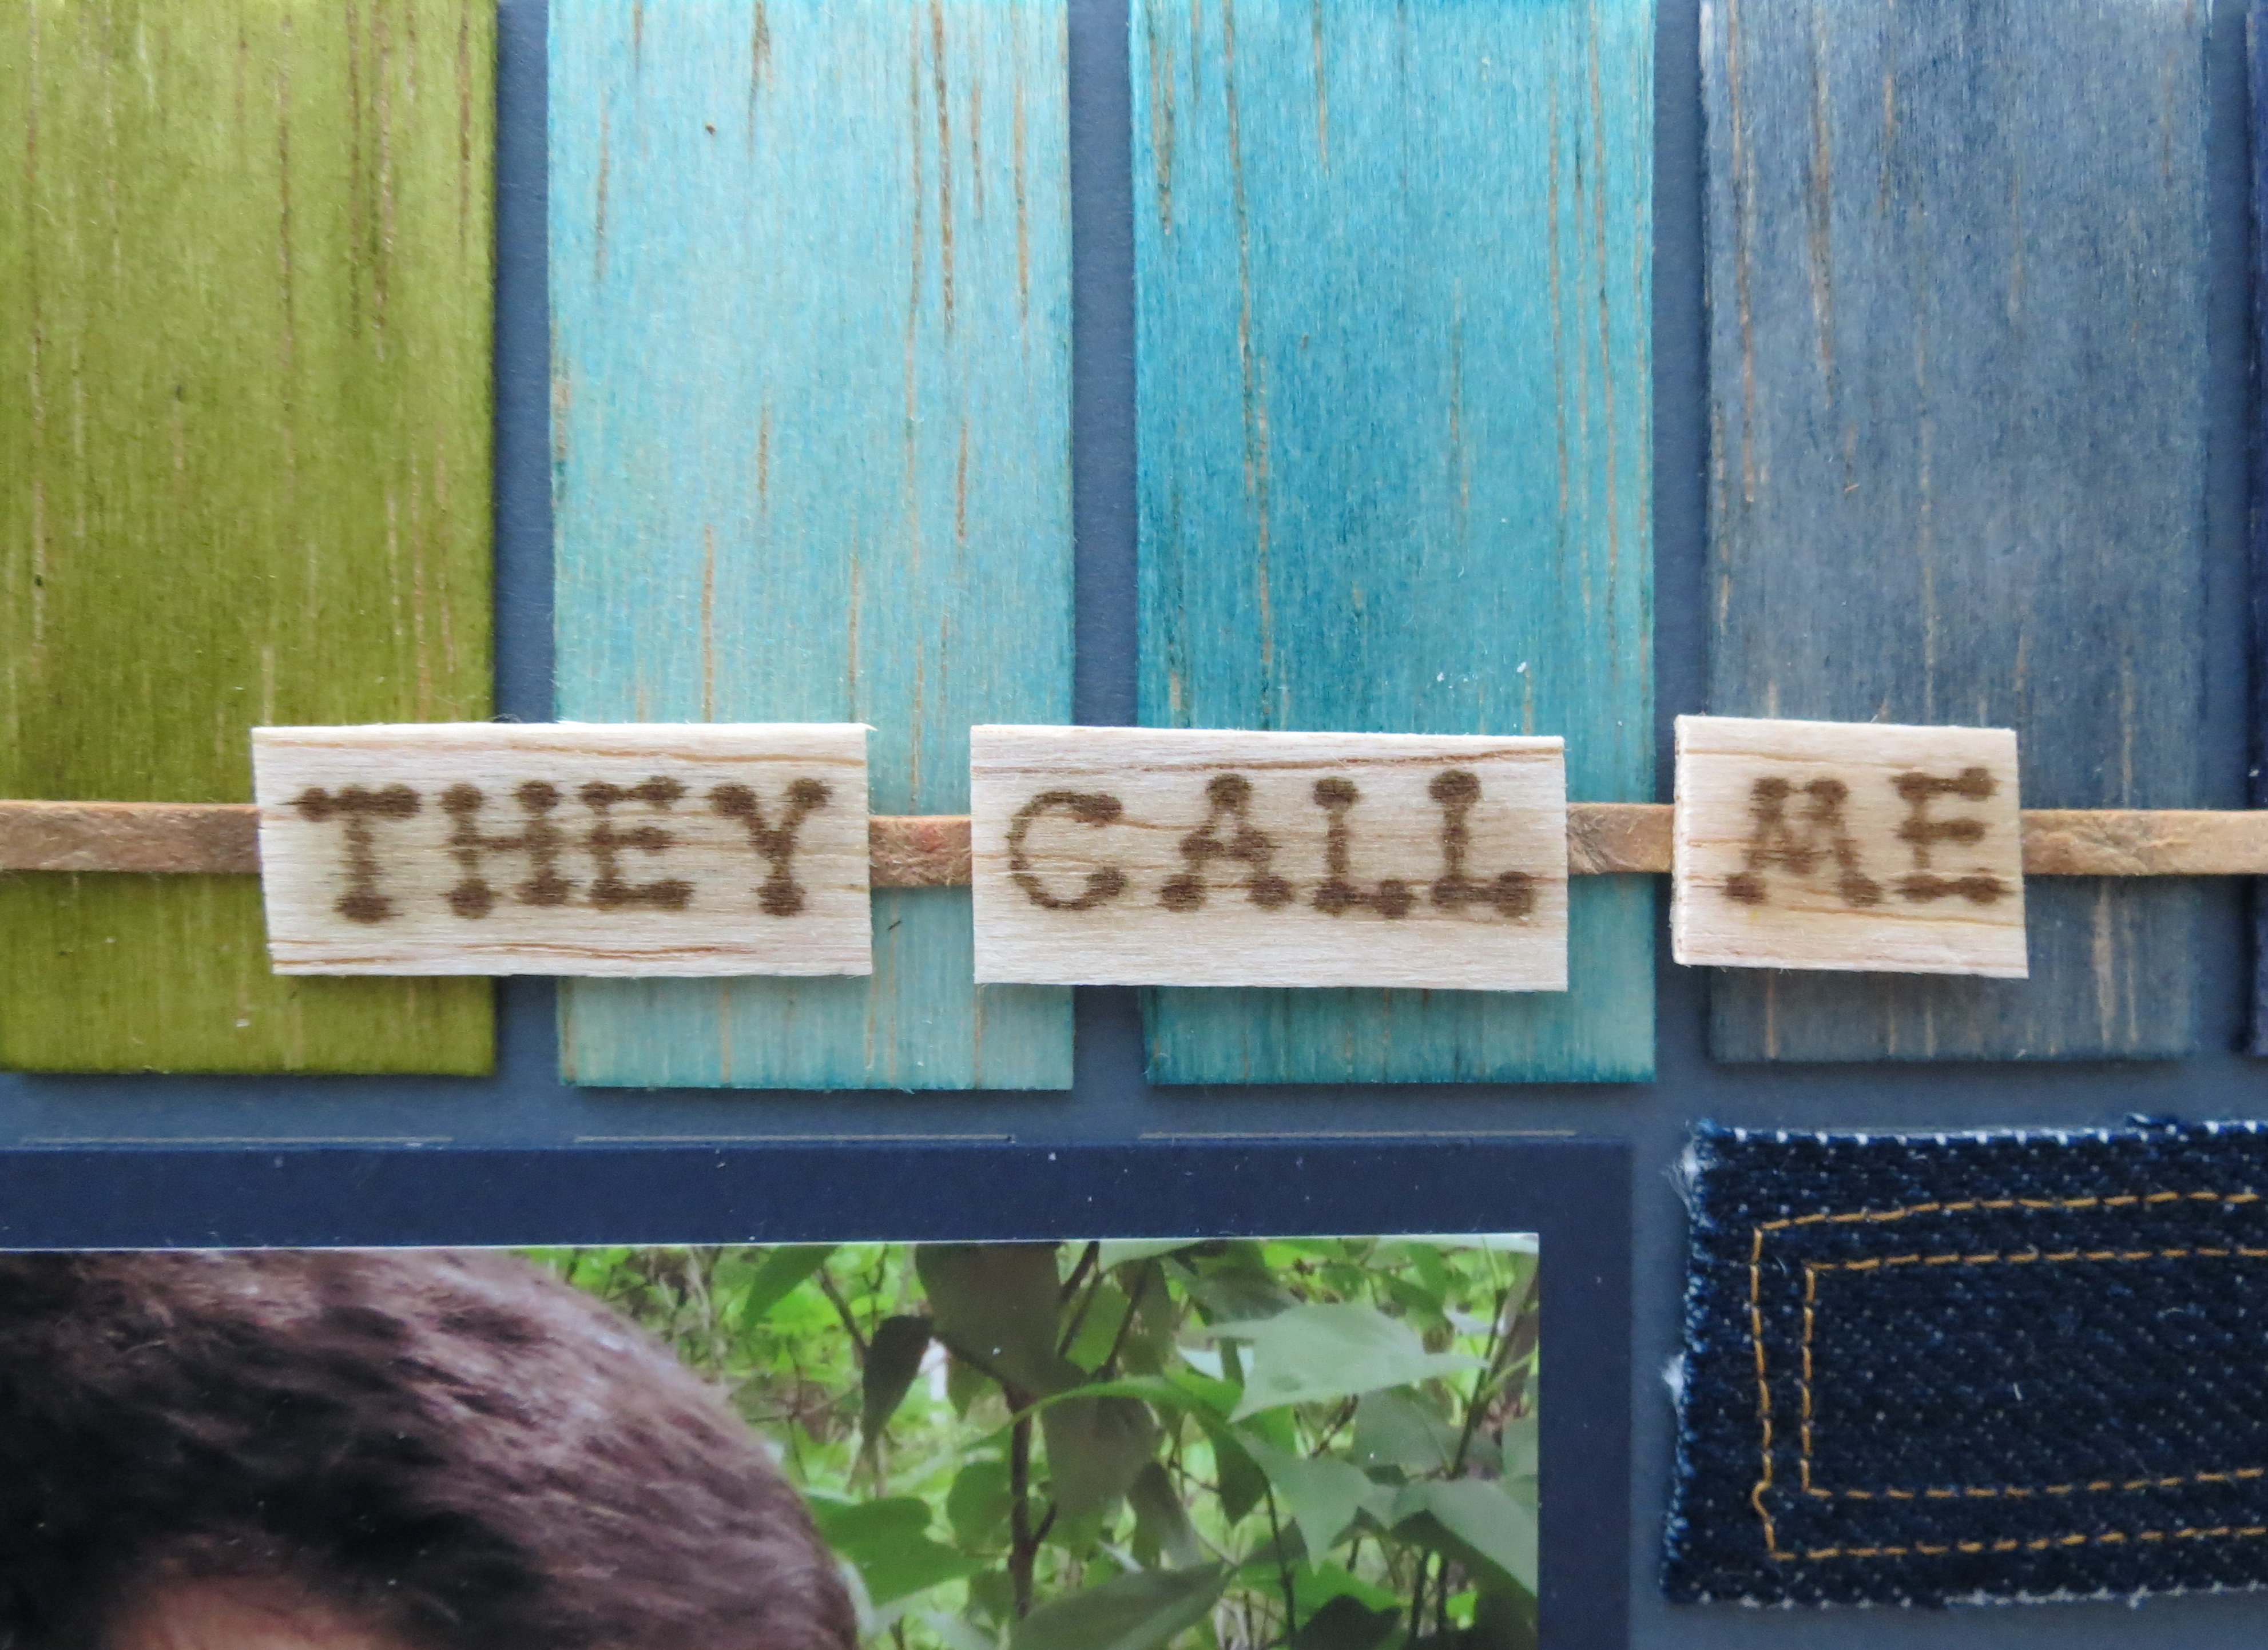
I knew I wanted to try out a wood burning sign on the balsa, and to show an alternative for a faux wood burning look for those who might not have the tools. In the end I went only with the faux look, so quick and very easy, you’ll love it!! The Balsa is very easy to cut. I used a rotary cutter and lined it up on my Mosaic Moments mat and metal ruler just like I would a sheet of paper. I thought the rotary blade rolling over it to cut was a bit easier that using my X-Acto, but you could use that just as well, just take care not to rip it. A sheet of 3” x 36” was very inexpensive. To store it I cut it into three 12” sections and used almost a full section on this layout.
Masculine Scrapbook Page Ideas Tip #6 Wood burning elements add a touch of the workshop to your page.
Masculine Scrapbook Page Ideas Tip #7 Ink and rubber stamped images can create a faux wood burning look.
Masculine Scrapbook Page Ideas Tip #8: To attach wood to wood, fabric or leather use Crystal Lacquer.
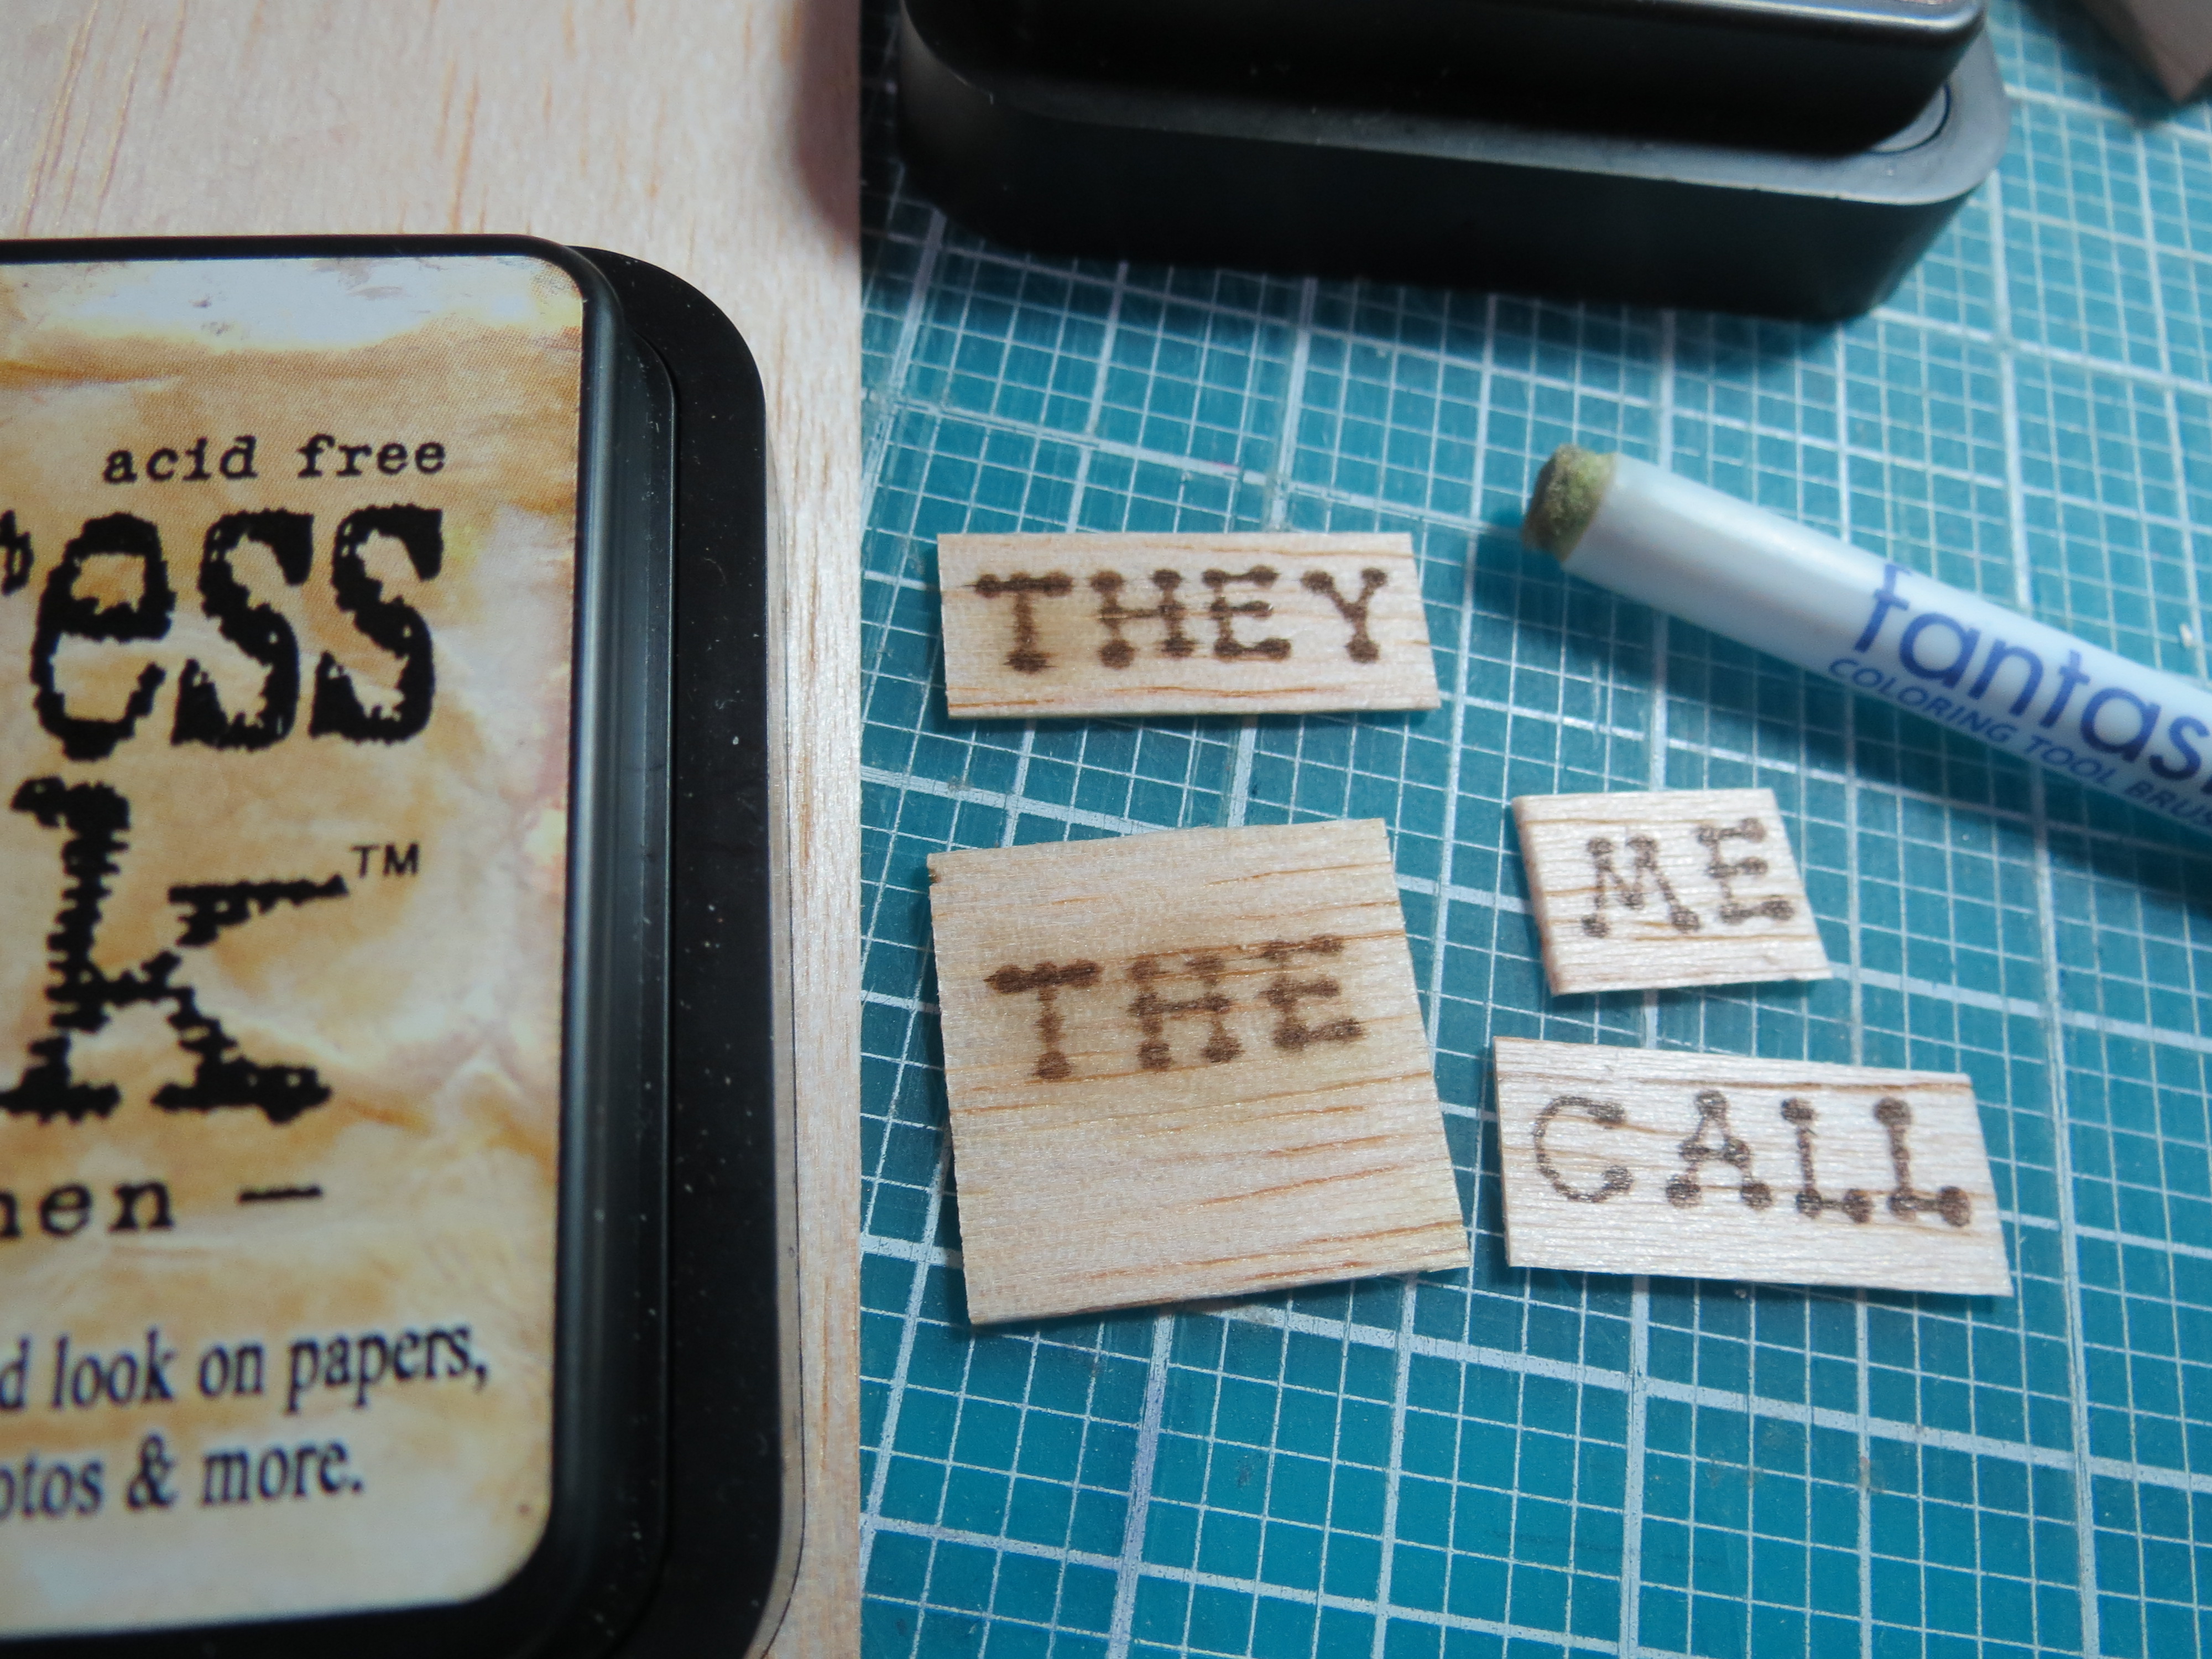
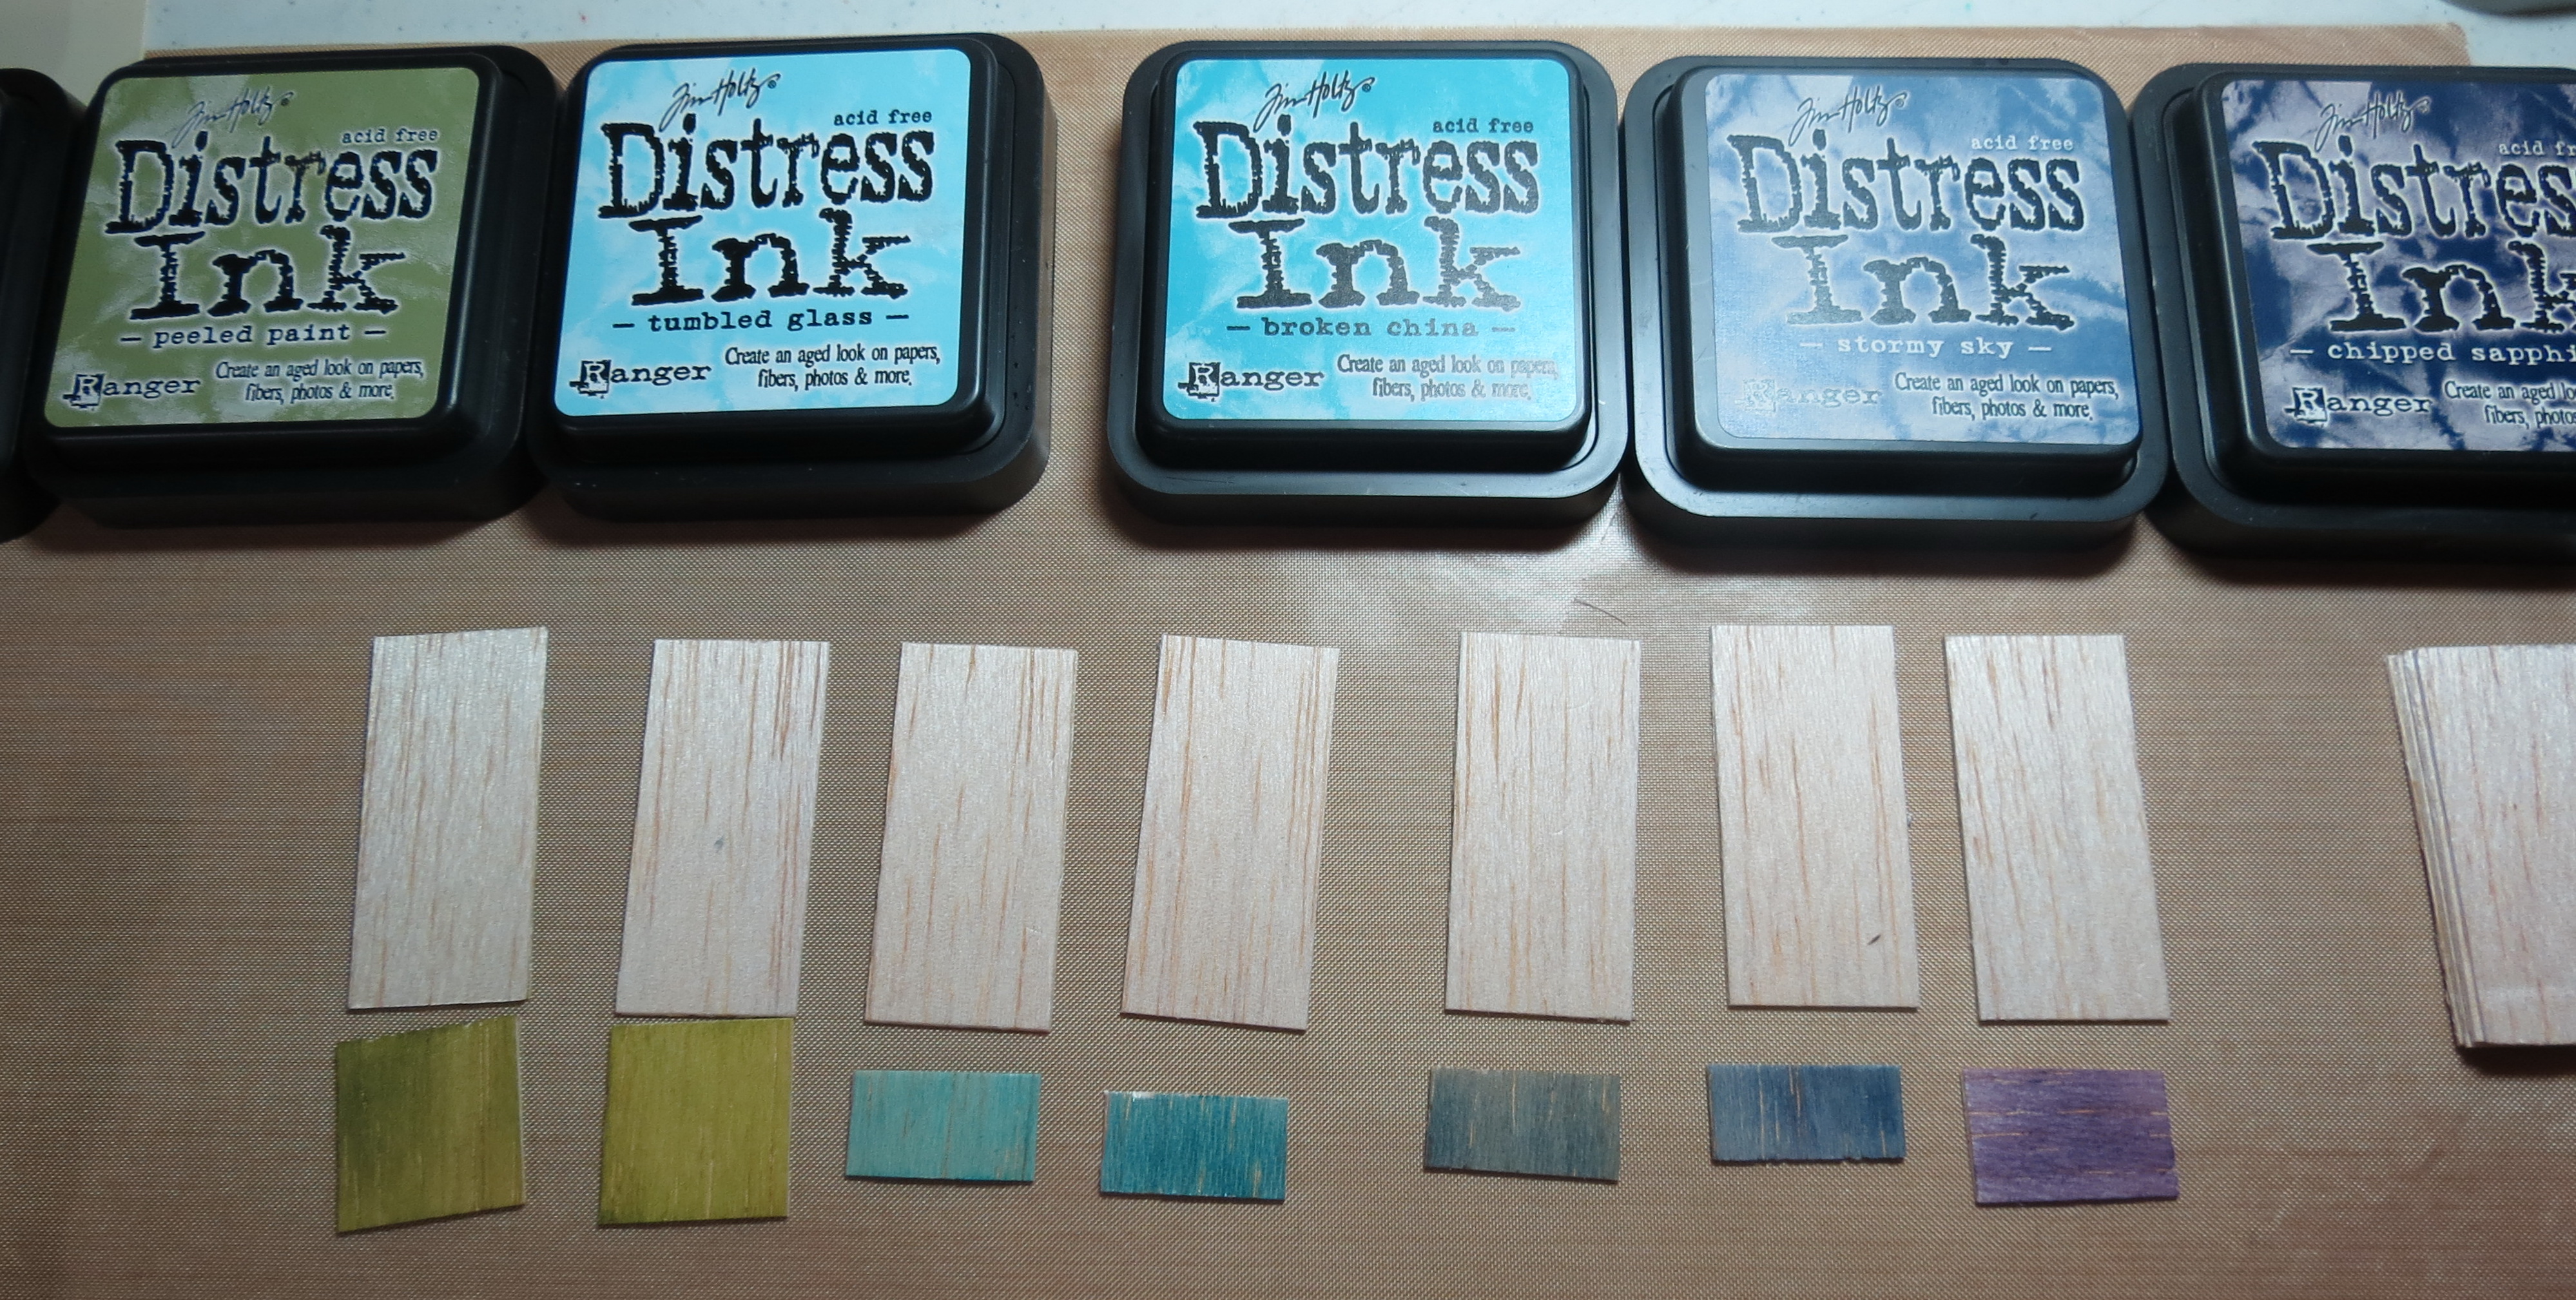
Trim a 1” section of the Balsa wood in half, going with the grain for easy separation. Using Walnut Stain to stamp the letters onto the un-stained wood is the first step. When it dries, use Antique Linen to shadow each letter to give it a look of the lighter areas that surround a letter that would have been burned into the wood with a tool. Instead of relying on your handwriting while wood burning to give an even appearance the use of the stamps is far easier and quicker. I think the results are just right for this application. I mounted the tiny signs on a 1/8” strip of faux leather that was placed across the wood strips after they were stained. There was also Balsa wood I’d planned to use that now became a perfect place to try out some stains. I was inspired by a digital paper pack from Kristen Cronin-Barrow at the Sweet Shoppe that caught my eye the other day and I thought my Tim Holtz Distress Inks would be the perfect color palette to choose from although I was going to focus on only a couple blues and greens shades, my daughter urged me to be a bit bolder and try a few more so that I really did recreate the digital inspiration I had had.
Masculine Scrapbook Page Ideas Tip #9: Wood strips can be used as is or stained with inks for interest to match the layout.
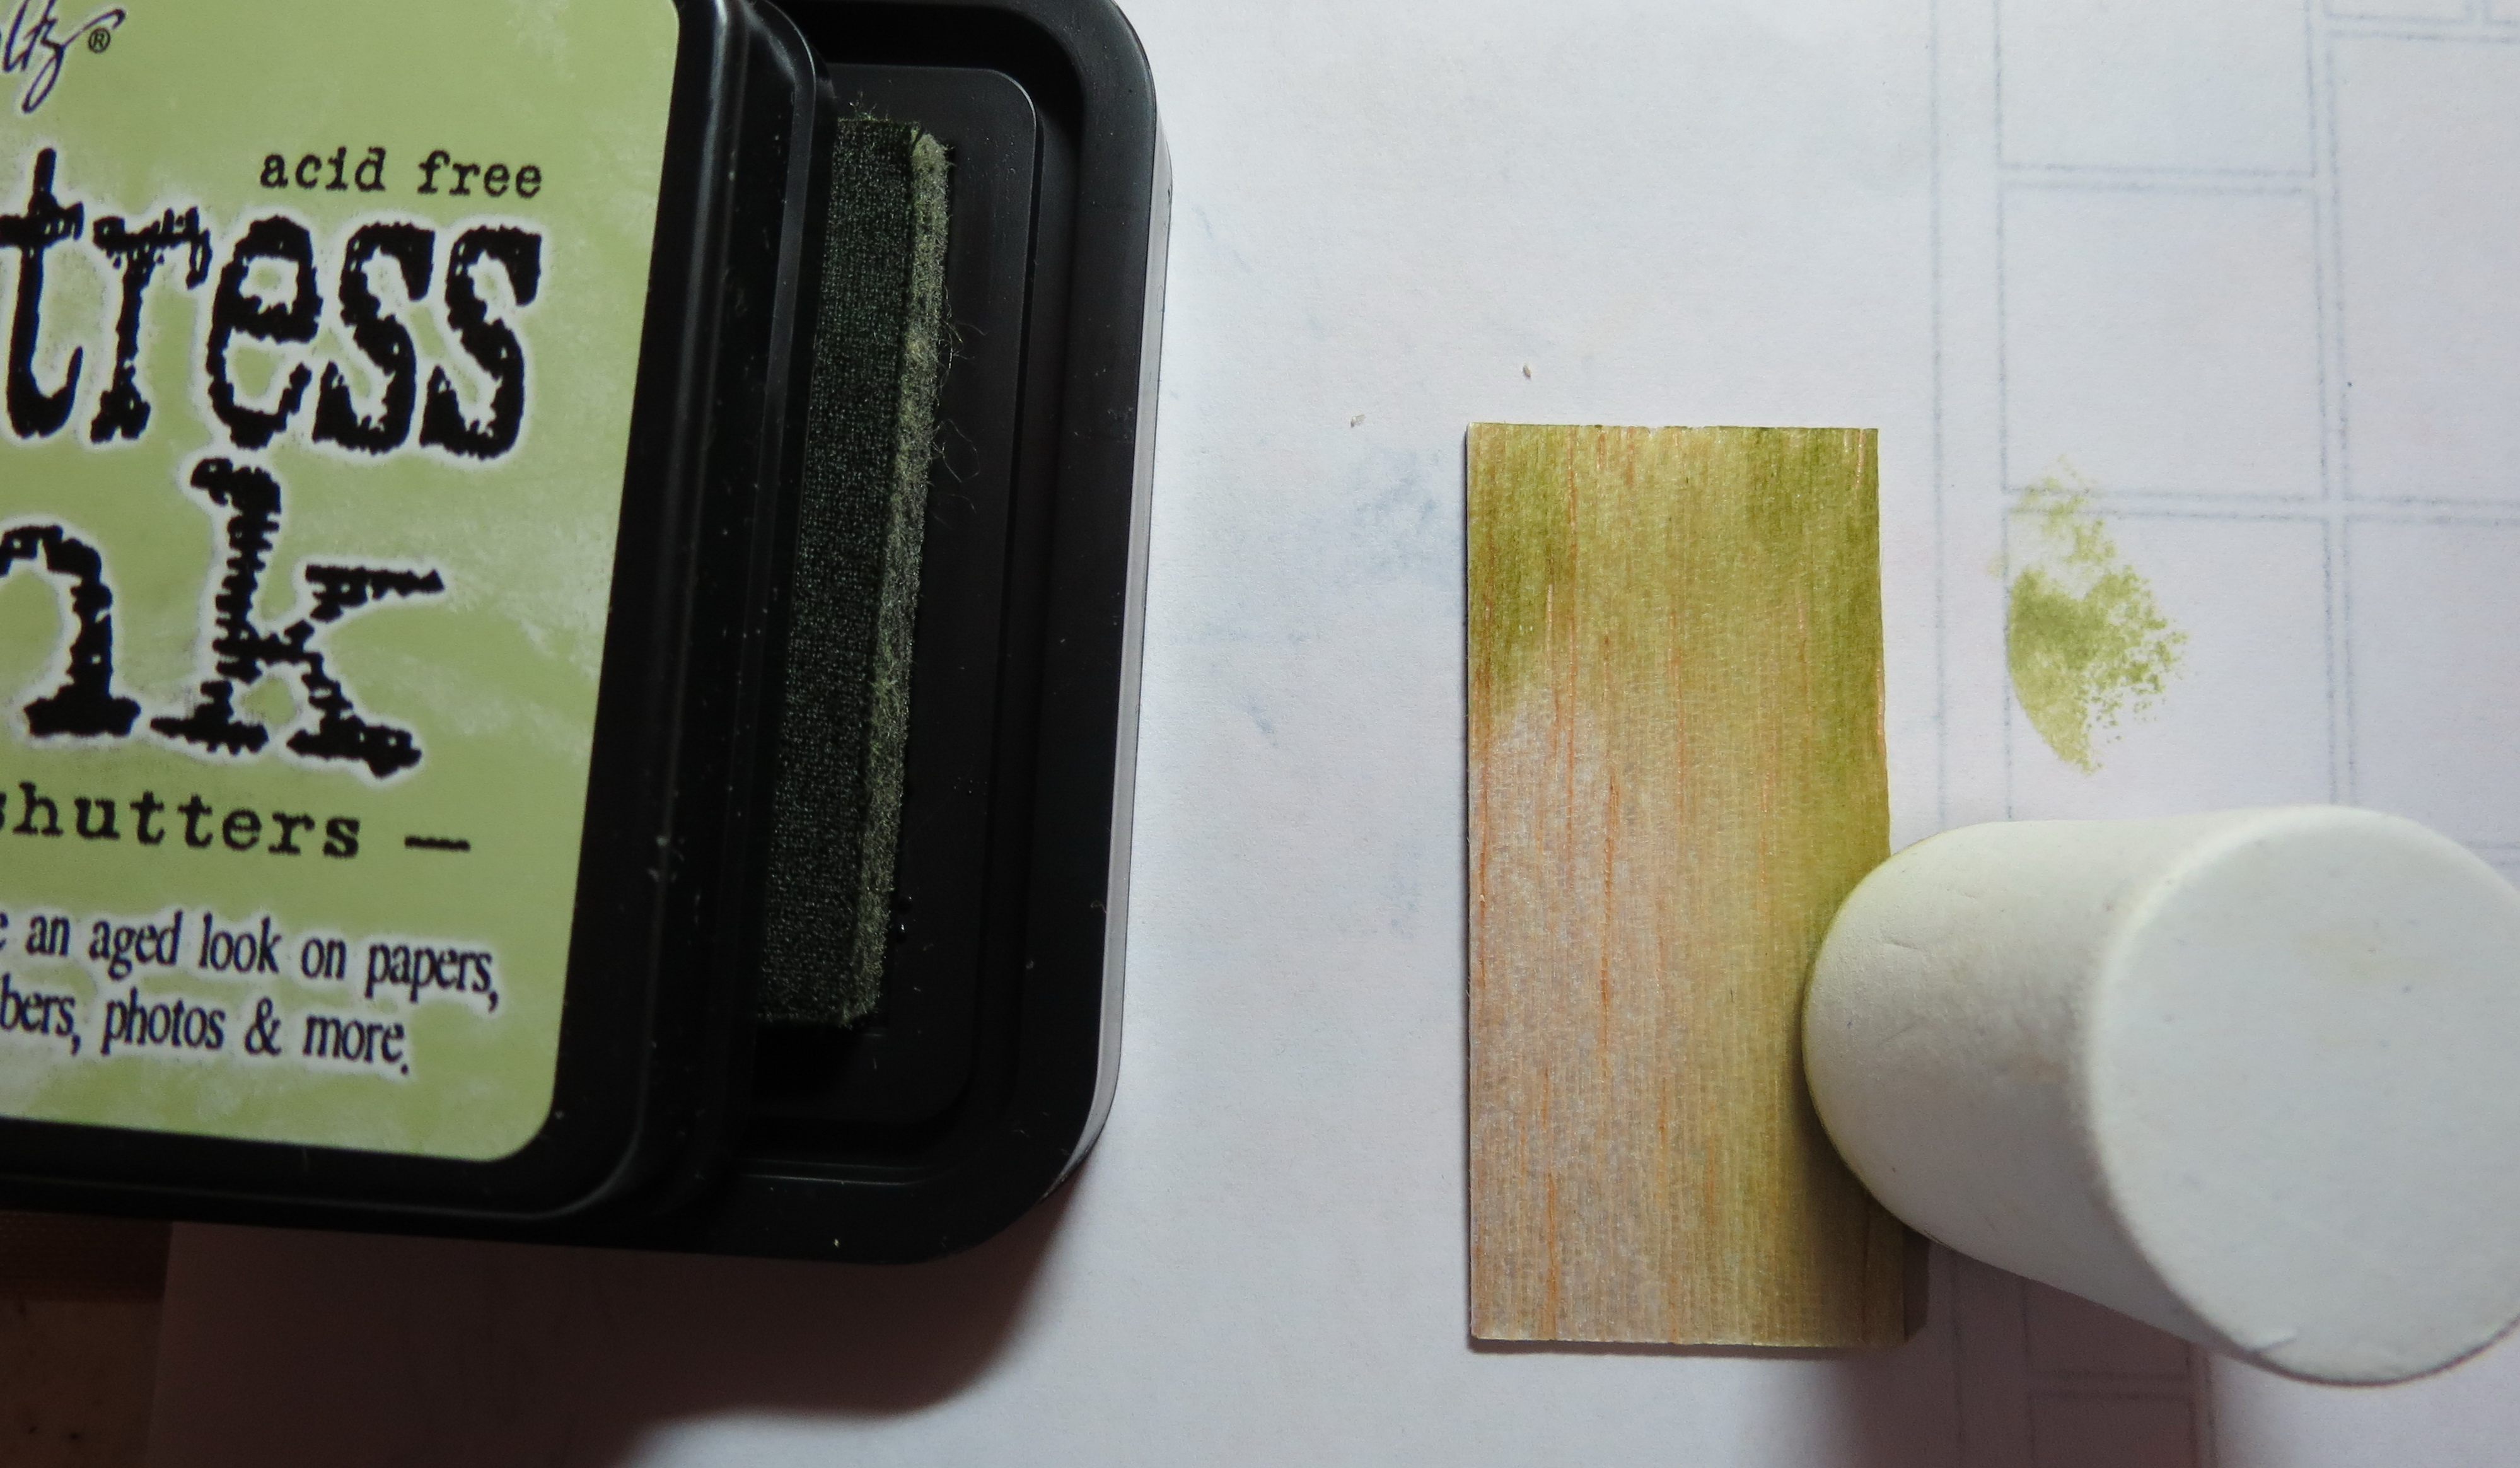
Masculine Scrapbook Page Ideas Tip #10 Use foam daubers to rub on inks in layers until you obtain the depth of color you want. Store for future inking projects.
Staining the Balsa wood didn’t take a long time to do. I began by creating a small swatch of each of the colors I was considering and then lined them up in the order I wanted to place them. I used a foam dauber to apply the ink to the wood. I have a small tray of them to use for each color family when I want to apply colors directly to a surface. They are inexpensive, store nicely and are easily reused. You won’t need a lot of ink so, begin lightly and add layers to get the color depth you want. I wanted the wood grain to still show through. I needed seven colors to go across the top section and planned to repeat a few to place in the lower left-hand side section of three, that’s when Hannah challenged be to go ahead and add in the yellow to red colors. I thought it actually worked well in that corner as it helped work with the warm tones of the gears, and Izzy’s red shirt. The Distress Inks use the same rainbow of colors we’ve used before yet gives a bit of playful maturity to the page with the subdued shades. It’s a simple change to make your pages grow up. 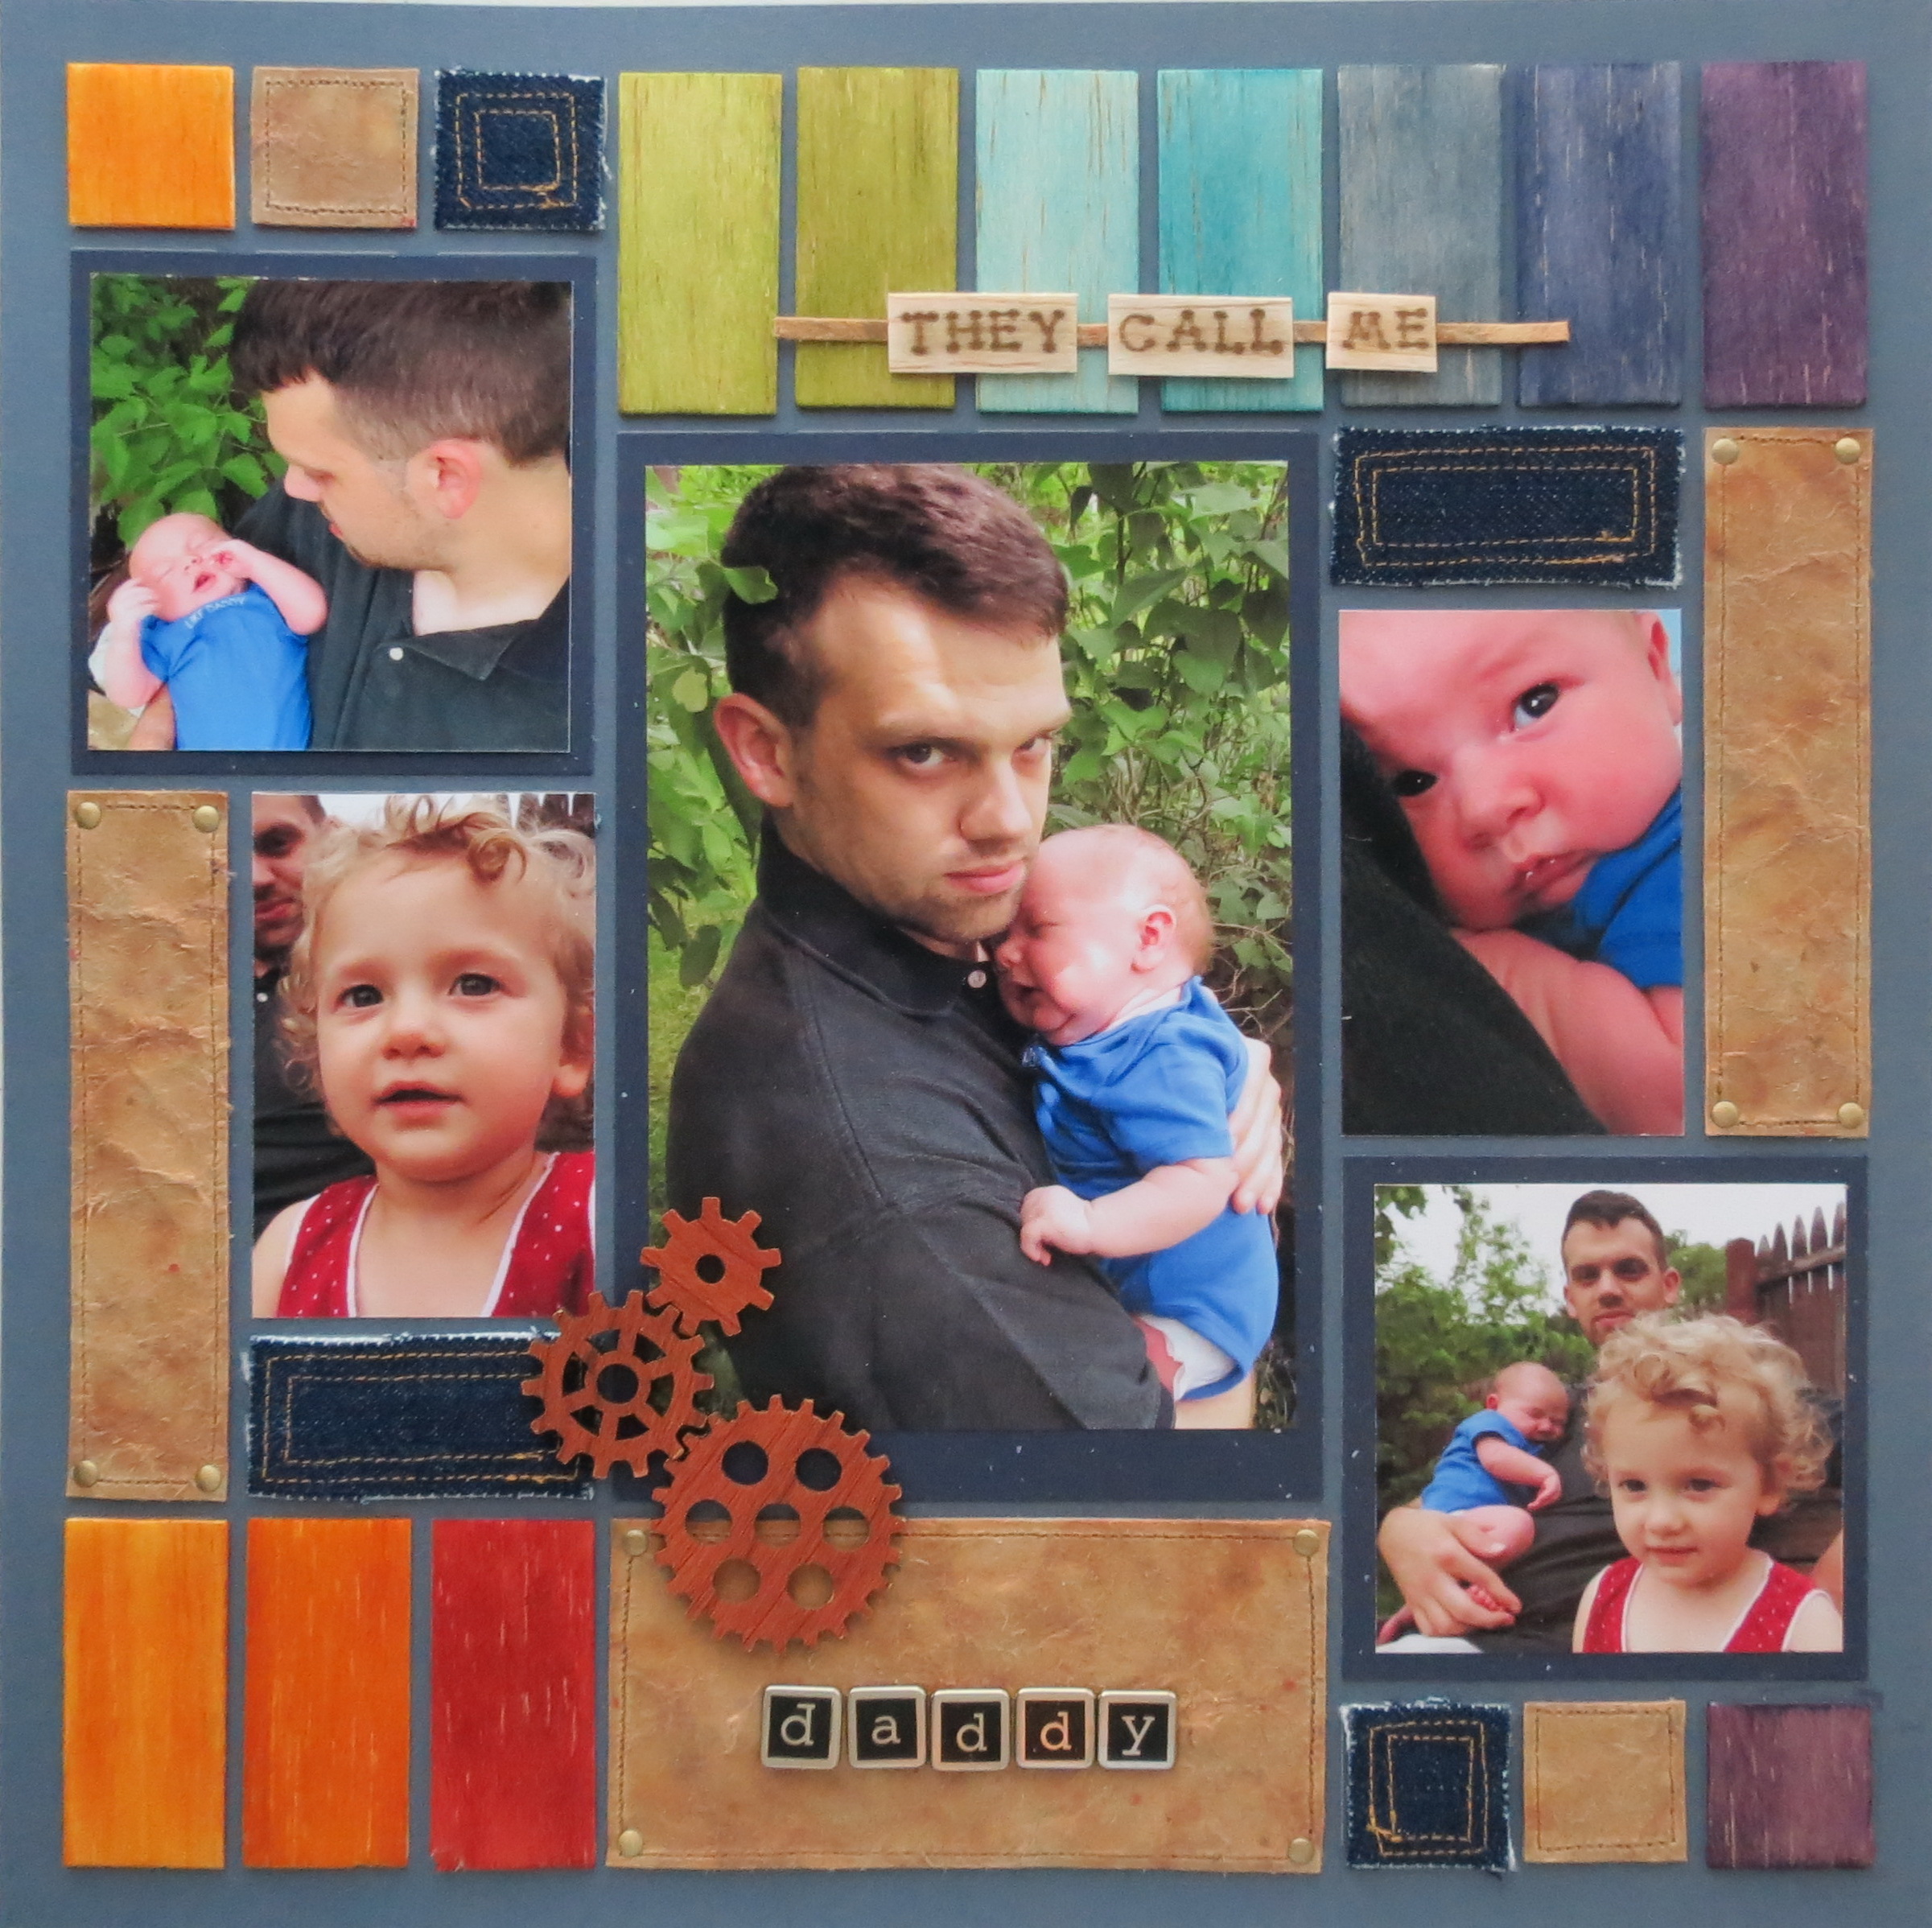 Think of all the summer events that you might like to try out a few of these masculine scrapbook page ideas. Father’s Day is around the corner, baseball, soccer practice, camping and hiking…think of the possibilities! Once you try out an idea, share it with us on our Facebook page or over at the Journella Story Board. We’d love to see them, please share!!
Thanks for dropping in, come back soon!!
Andrea Fisher